
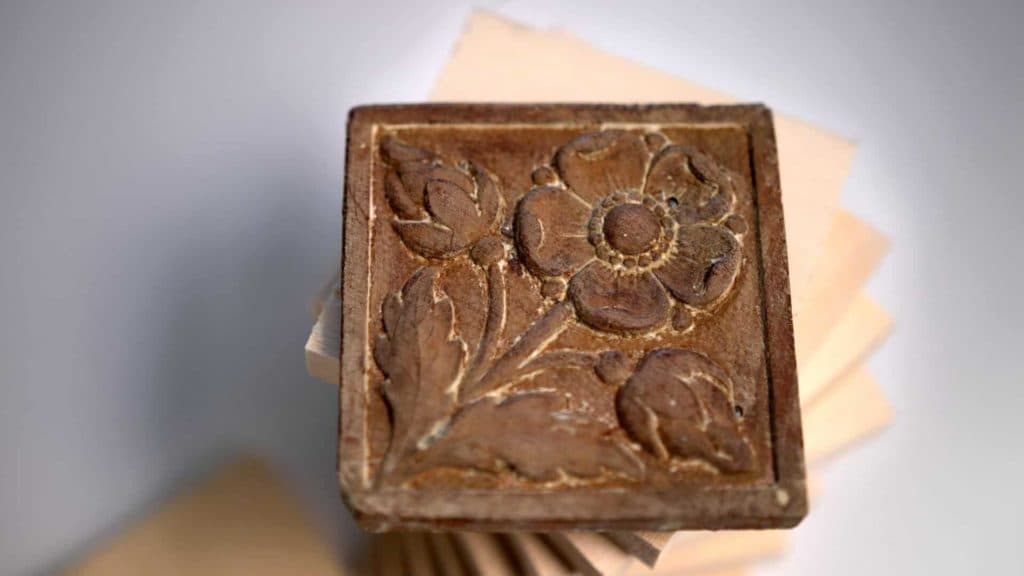
Alexander Grabovetskiy, woodcarver, School of Woodcarving · Published 2017
How do you carve a set of matching rosettes for one order?
Quick answer: A matching rosette order is batch work first and carving second. Nine were ordered, so ten blocks went through the planer, took patterns trimmed off a sheet printed nine to a page, and got their spray glue in one session. After that, the first rosette showed which gouges fit.
A matching set of rosettes starts as one batch of blocks prepared together, with one block more than the order. My order was nine, so ten blanks went on my bench. Each was basswood, two and a half inches square and three-eighths of an inch thick, about 64 mm by 10 mm.
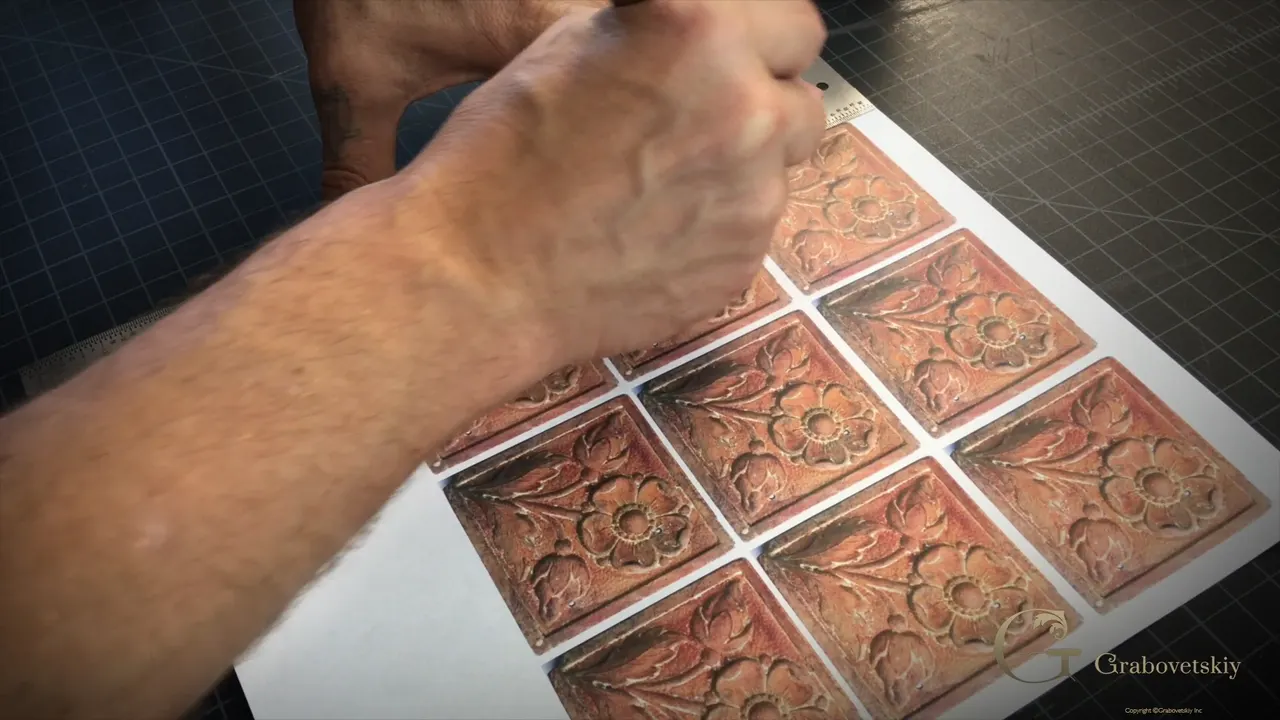
Turned wood rosettes for door trim are made with a rosette cutter. Mine were flower rosettes carved by hand, and the batch work came first. Every paper pattern came off a sheet printed nine to a page, plus one more for the tenth, and a knife and a ruler trimmed them all. After the planer, the blanks lay in rows on a piece of cardboard, every one facing the same way, and blocks and patterns got their spray glue together. Then the first rosette showed me which tools fit the drawing.
Would you rather spray glue once than ten times? Do you want ten flowers that sit side by side like brothers? Then get the paper and glue work done for the whole set before you carve, the way lesson 1 of Carving Flower Rosette does it.
What follows is the order of work as I did it, ending with the tools the first block asked for. The way I put these patterns on is a little different from what we did on a big rosette.
My ten-block routine, short
Nine ordered, ten made, one kept.
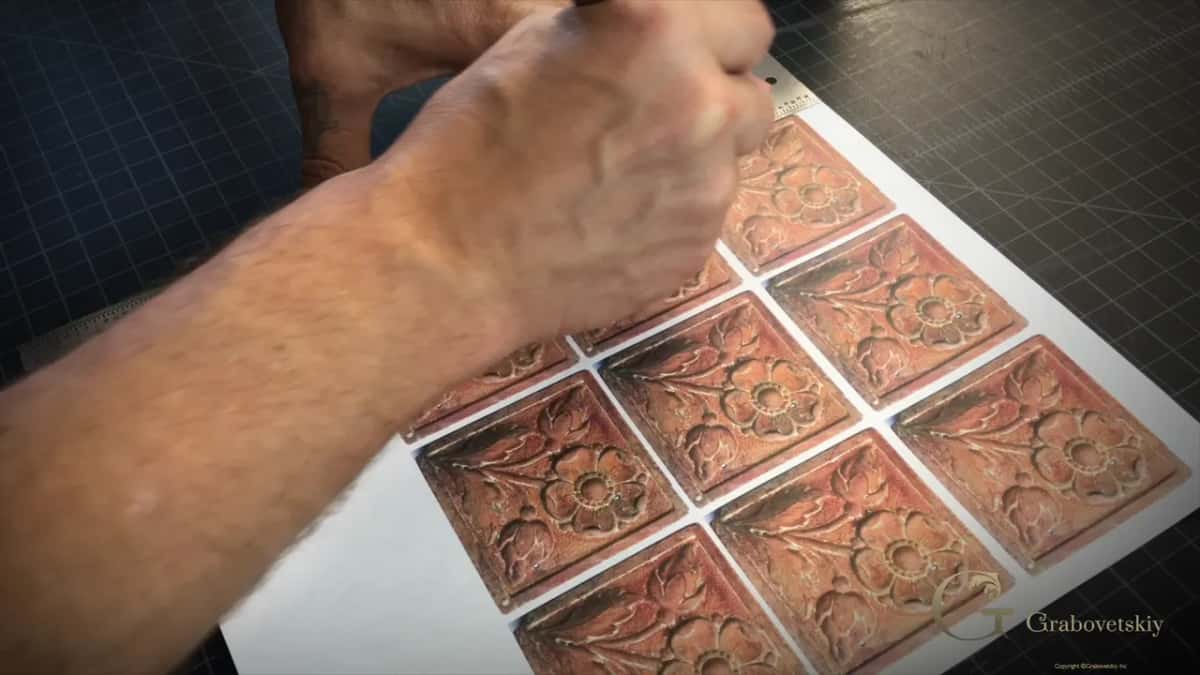
One printed sheet carries nine patterns, and a second page carries a single rosette.
A knife and a ruler trim every pattern before any glue comes out.
Blanks face one way on a sheet of cardboard while the patterns lie face down beside them, and one spraying covers both.
On the first block I held gouges against the drawing, and the number 6 that fit stayed out on my bench for all of them.
While that number 6 was in my hand, it went round every part of the outline it fit.
The border waits, because it sits a little lower than the flower and gets carved back in later.
Why put ten blanks on the bench for an order of nine?
One extra goes in just in case, and I keep that one. On small projects like this it is a good practice for me to keep a prototype, because some of my customers come back and ask for more of what I made before, a habit the course page tells in full.
The blanks were already cut to size when the camera came on. Ten of them. The patterns, the planer and the glue went to all ten of them, while the depth mark and the carving in lesson 1 went to one block.
What size do you print a rosette pattern for ten blocks?
Print it at one to one, so one inch on the paper equals one inch on the block, and one centimeter equals one centimeter. I took a picture of the old rosette and scaled it down to its real size, and in the lesson I said the drawing comes on two pages.
One page holds a single rosette. The second page holds nine of them. Actually, I made that nine-up page for myself, and I put it in just in case you are going to carve several pieces like these.
I did not redraw the picture, and I did not turn it into black and white. Really simple design. A really nice design too, and the printed photo went onto the blocks just as it was, scaled in SketchUp after my phone took the picture straight down and a scanning app from Microsoft squared it up. I have done some really complicated drawings and renderings in that program, even for furniture I am building. If you never used SketchUp, I said, use it, because it is useful for wood carving too, even just to get the patterns to the right scale.
Next come the knife and the ruler. Every pattern gets trimmed before any glue is opened, and the ones on my bench are color prints of the old rosette, reddish brown. I trimmed nine off the big page, then the single one, since I had said ten.
How do you glue patterns onto ten blocks at once?
Lay everything out on one piece of cardboard and spray it all in one session. Before that, every blank had a pass on the planer, and a couple of angled strokes with a block plane took off the trail marks its knife leaves, a step I said is not necessary and the course page already tells.
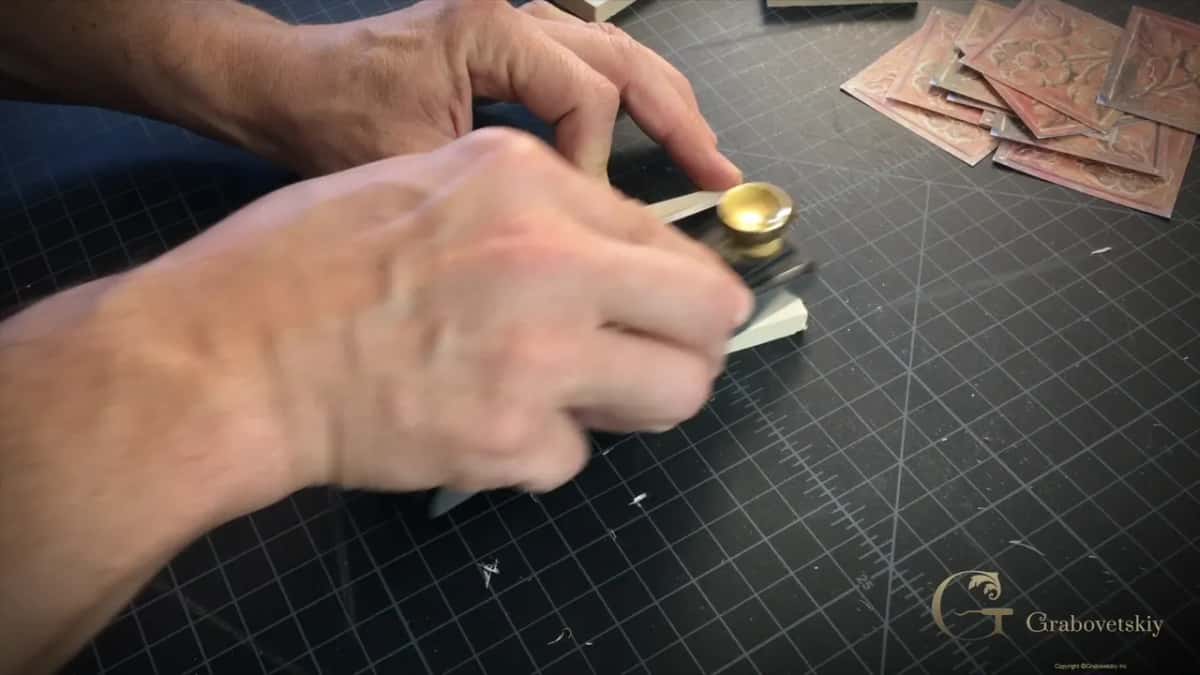
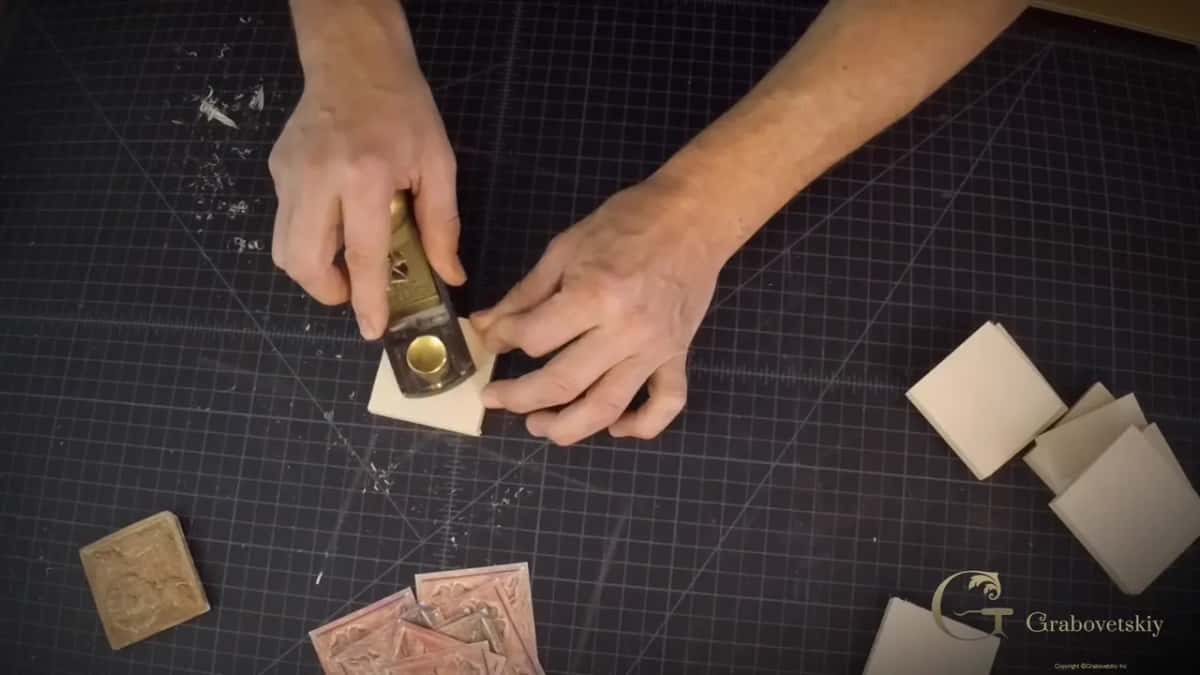
For the spraying I used a Priority Mail box.
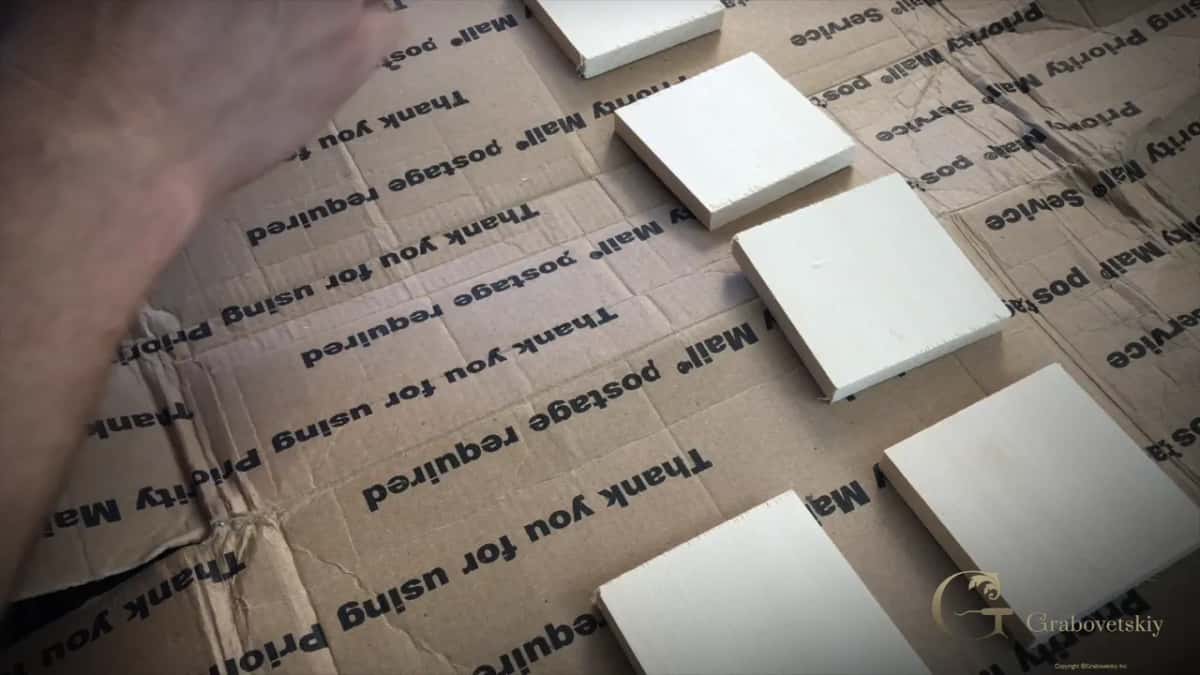
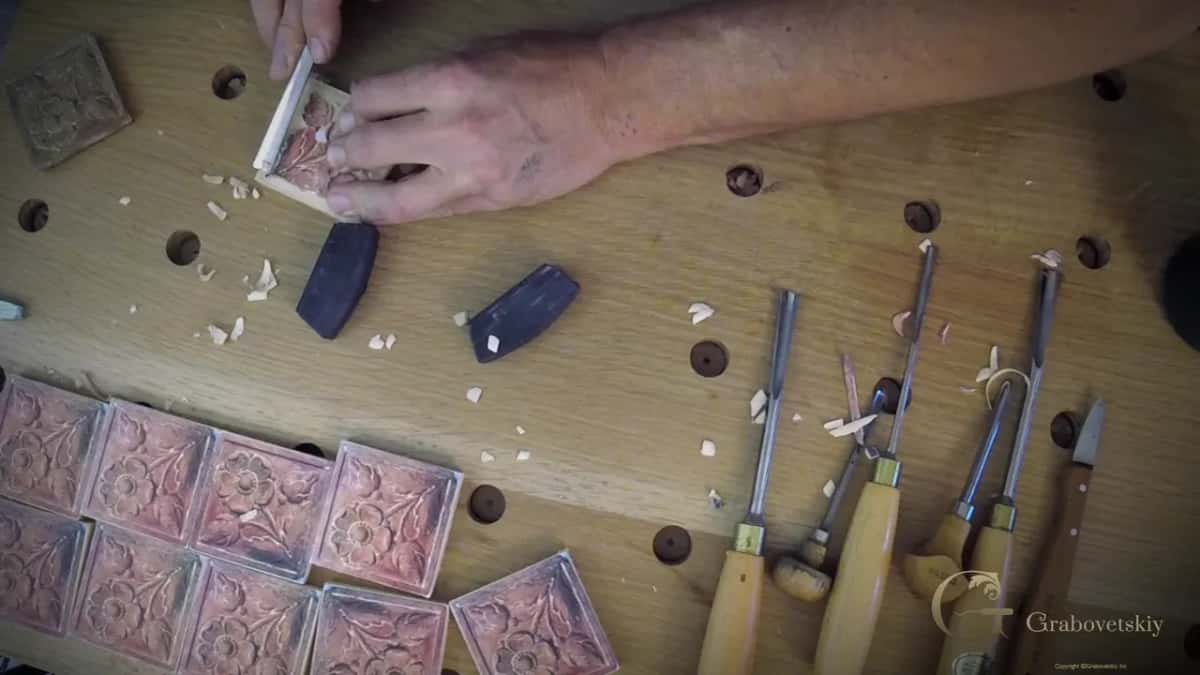
I put the blanks down facing the right direction, all of them the same way. Ten blocks. The patterns got the same treatment, face side down, and the glue went on both at the same time.
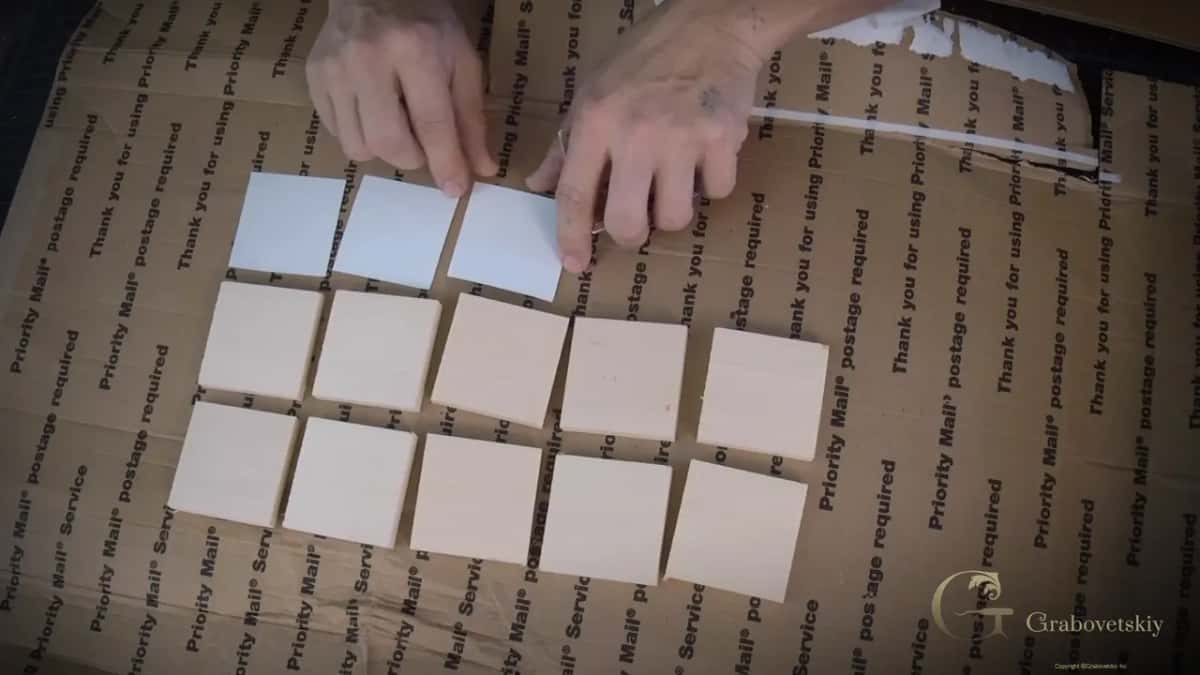
No yellow glue this time, although I use it a lot. For a small project like this one I called spray glue an excellent approach,.
Any spray adhesive is going to work, even a mild one. Mine was a Loctite, because that is what I found in my shop, and it was a heavy duty one that does not give a really tiny spray pattern. Fine anyway.
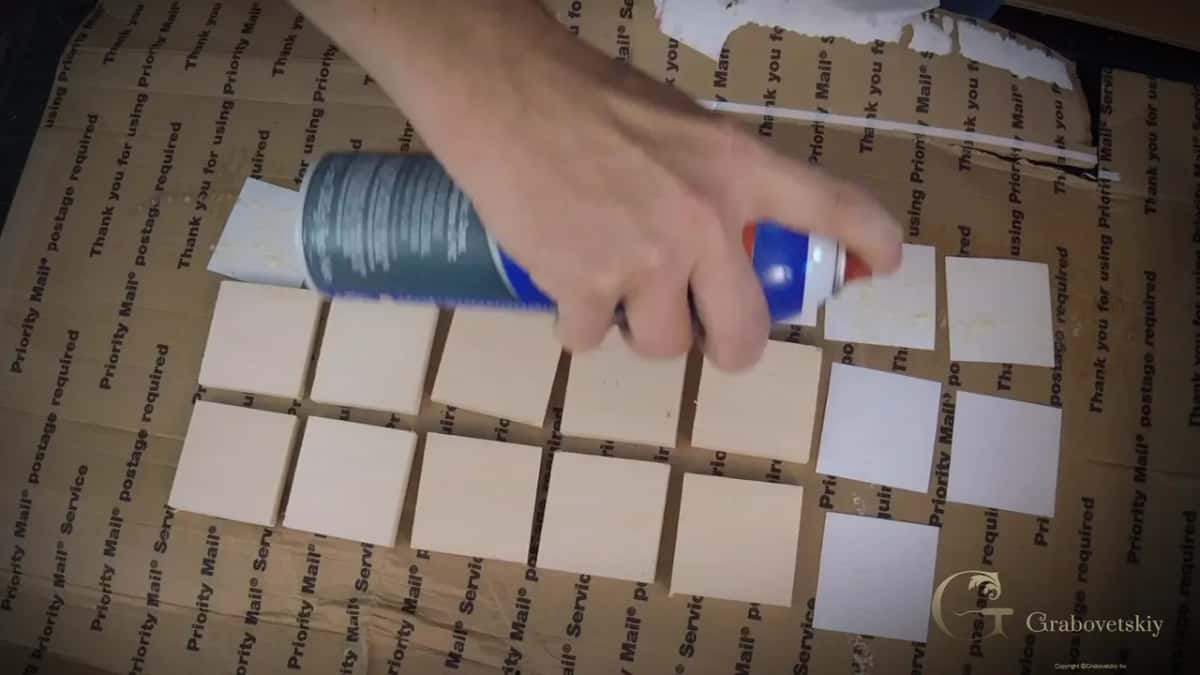
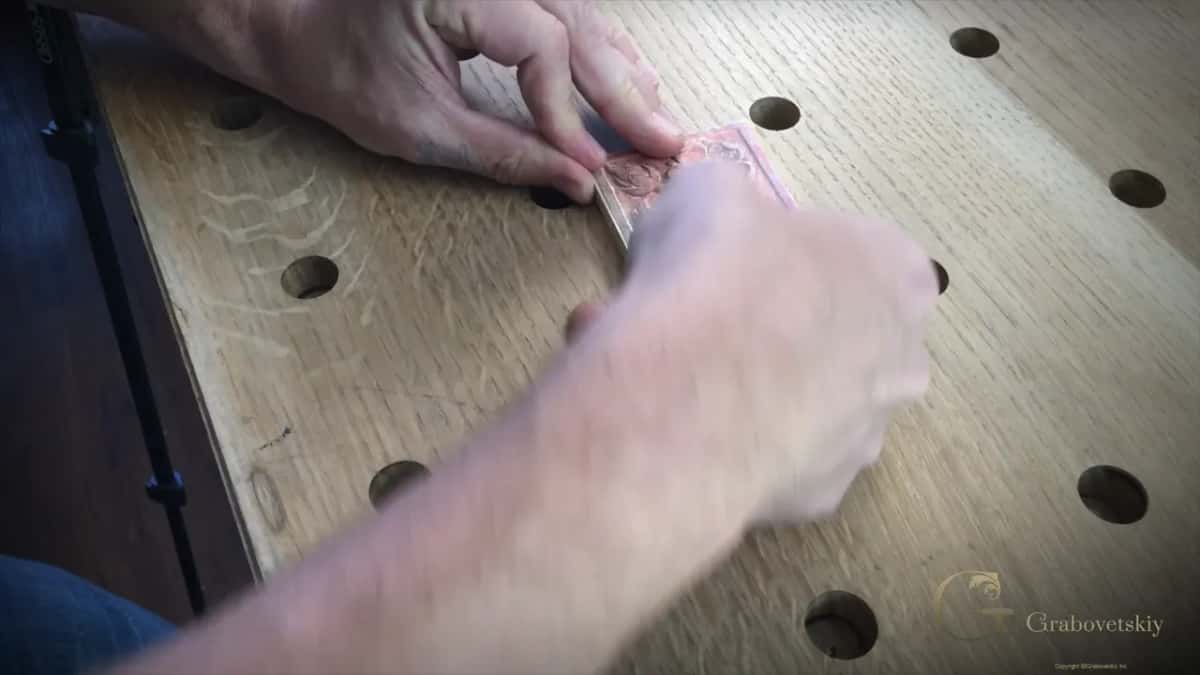
After spraying I moved the board away, so it was not sitting in the space where I work, and gave it about a minute before the hand test. Align, position, press. That glue is really strong, and once the patterns were down the blocks were ready for work, ready for me to place my gouge in them.
Which tools does the first of ten carved wood rosettes need?
The first block decides, one sweep at a time held against the drawing. Once the paper was on, I was ready to carve, and the first step was to establish my edge. Before that, I stood the old original against the blank, eyeballed it, made a mark about a quarter inch plus a thirty-second, 7 mm, and ran a marking gauge round from that notch. The sweep is the profile of the gouge, the curve of its edge, and finding the right one was all I had to do from there.
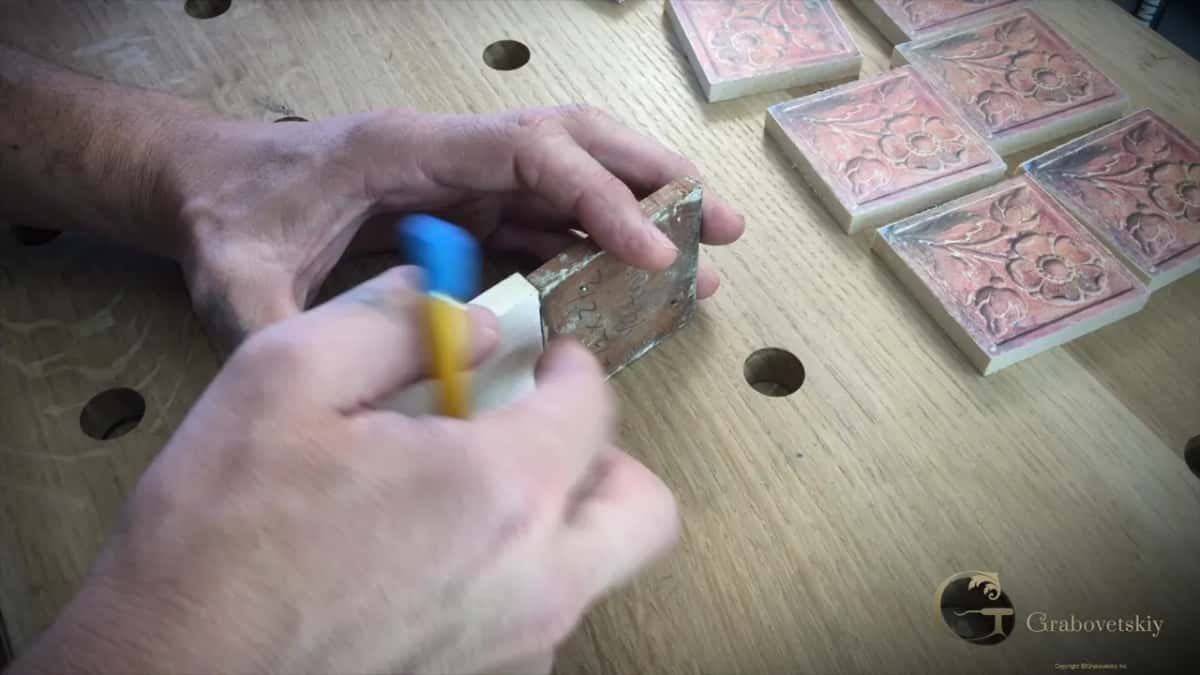
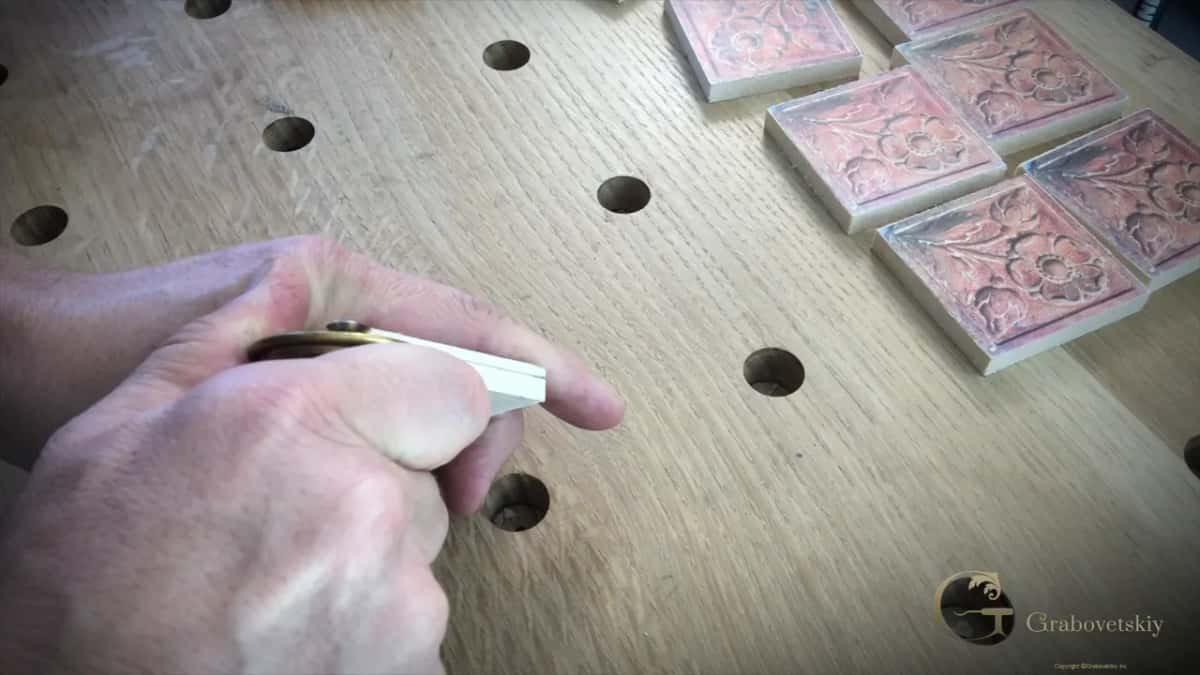
Copying an old piece is its own subject, and how to carve a replacement that matches an antique is on the blog. Here the old rosette sat on my bench, and I went back to it more than once.
The block sat between two Festool stop blocks in the 20 mm holes, about three-quarters of an inch, that I drilled in my workbench. A small block has not too many ways to hold it. I could lock it in place. On a carving this tiny I really don't need to.
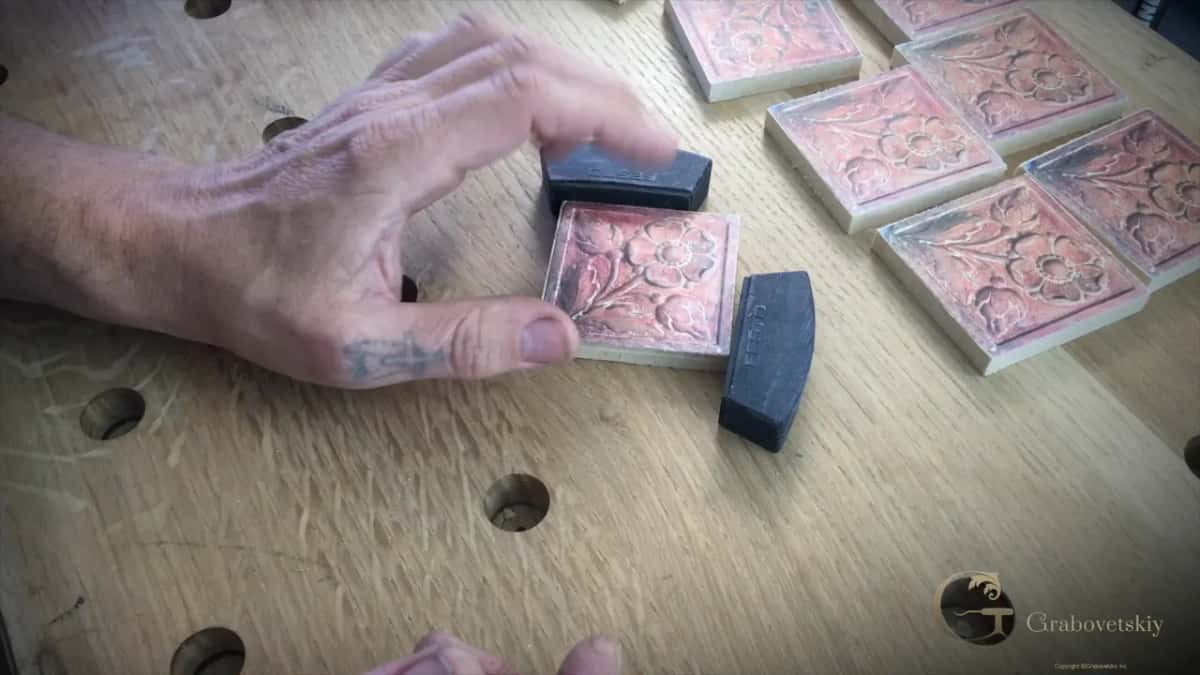
I started with the biggest element, the flower itself. My guess was a number 6. Checked on the drawing it was working excellent, about half an inch wide, 13 mm, and with the mallet I drove it down right on the line, rotated, and set it for the next one.
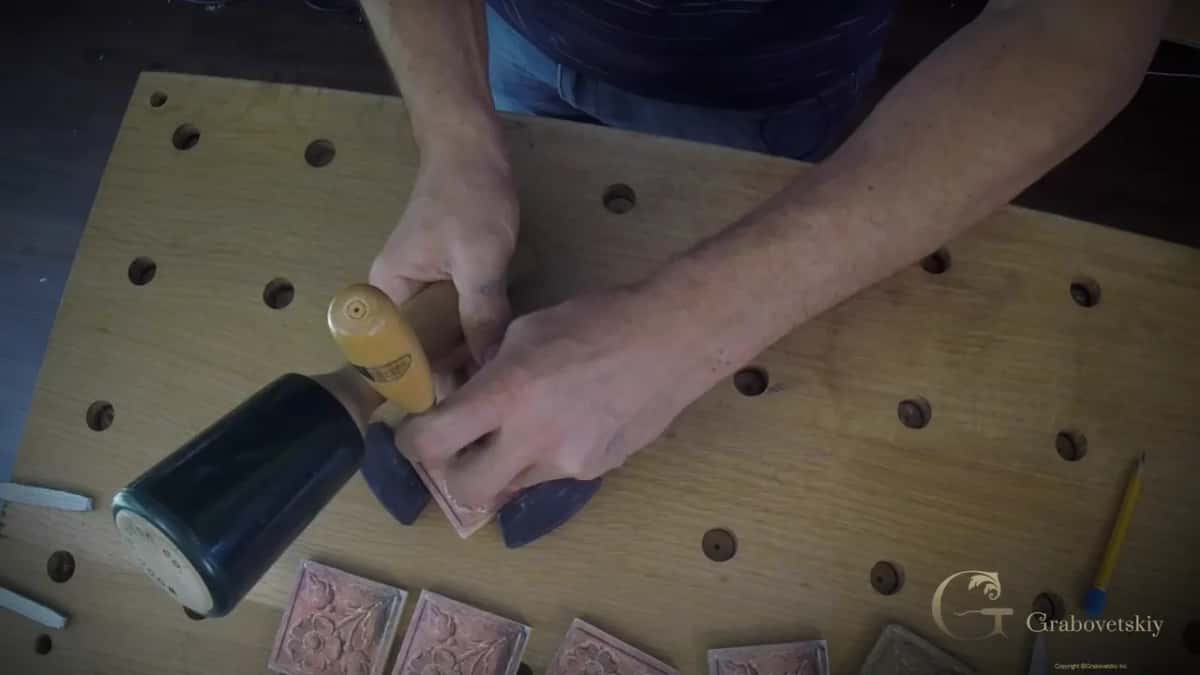
Then I checked the same gouge in the corners. It did not fit. That tool stayed out on my workbench for all of those rosettes, so I know exactly which one I used, and I moved on to the next sweep.
Those corners needed a sweep of their own, so I went to the small petals instead, second in line and right below the main ones. A small gouge fit them perfectly, a Pfeil number 9, and it went down on those lines the same way.
My antique style rosette starts with the same kind of layout, and how to start carving an antique style rosette covers that one.
Where does the knife take over from the gouges?
Where the drawing wants a really small sweep, or where a curve turns back on itself. On the main outline I needed a really small sweep or the number 12 knife, and I took the knife and connected those spots, which was just fine.
One side of the flower has a small opposite direction movement. I had to be really careful with that. There the knife made my outline like the original one, angled in about one-eighth of an inch, 3 mm, and I said a knife alone could do every one of those outlines.
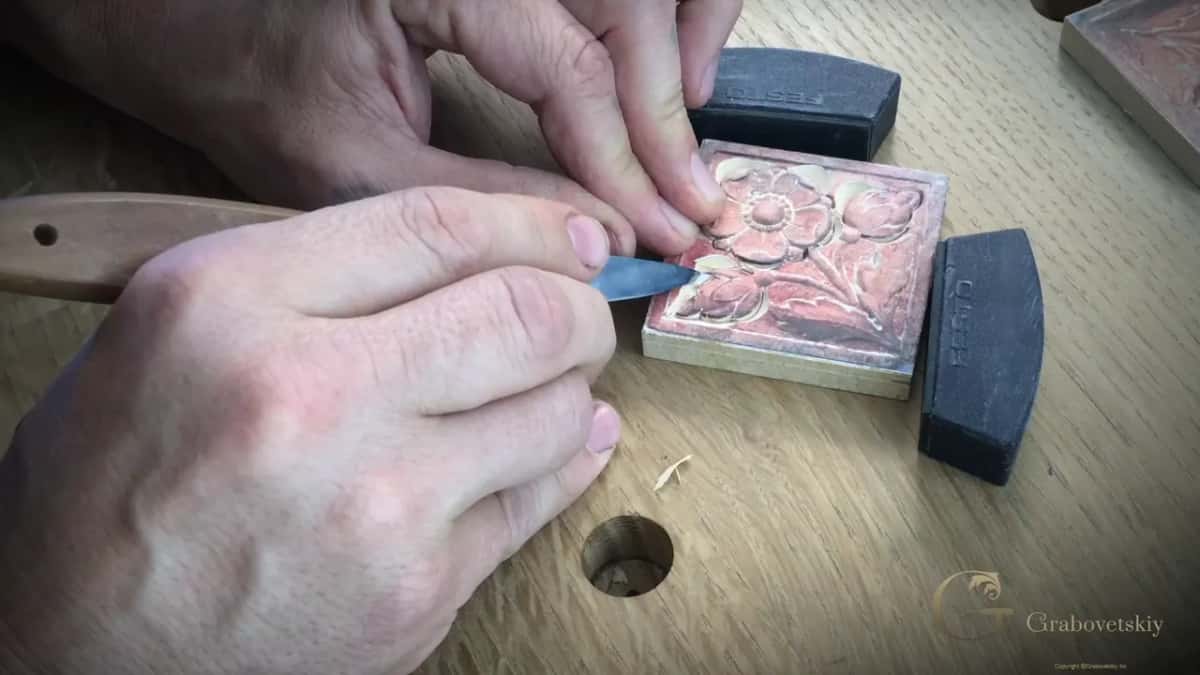
The leaves got the knife too, because it's easy, and it was already in my hand. Different gouges would work there. I didn't think they were necessary in this case. Then the other side the same way, find the outline, and the knife goes round it again.
That knife is a number 12 made for chip carving, a Pfeil. Angle it, remove the waste, clean a little, and the outline is set.
Should one gouge go everywhere it fits before you switch?
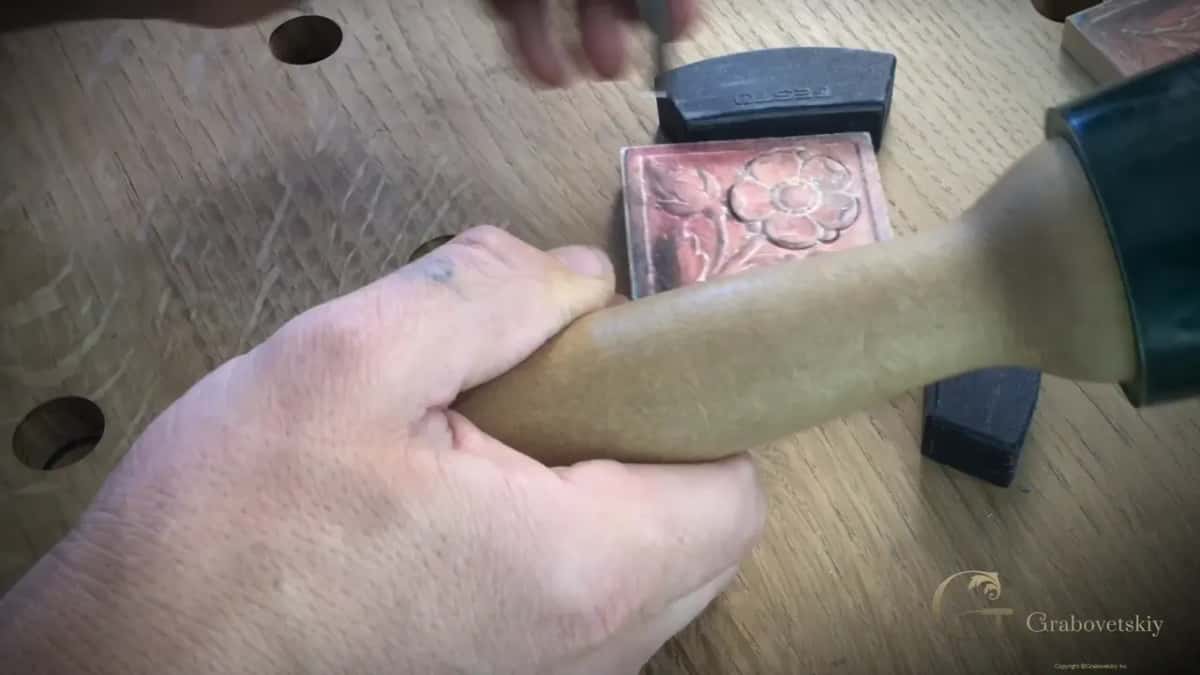
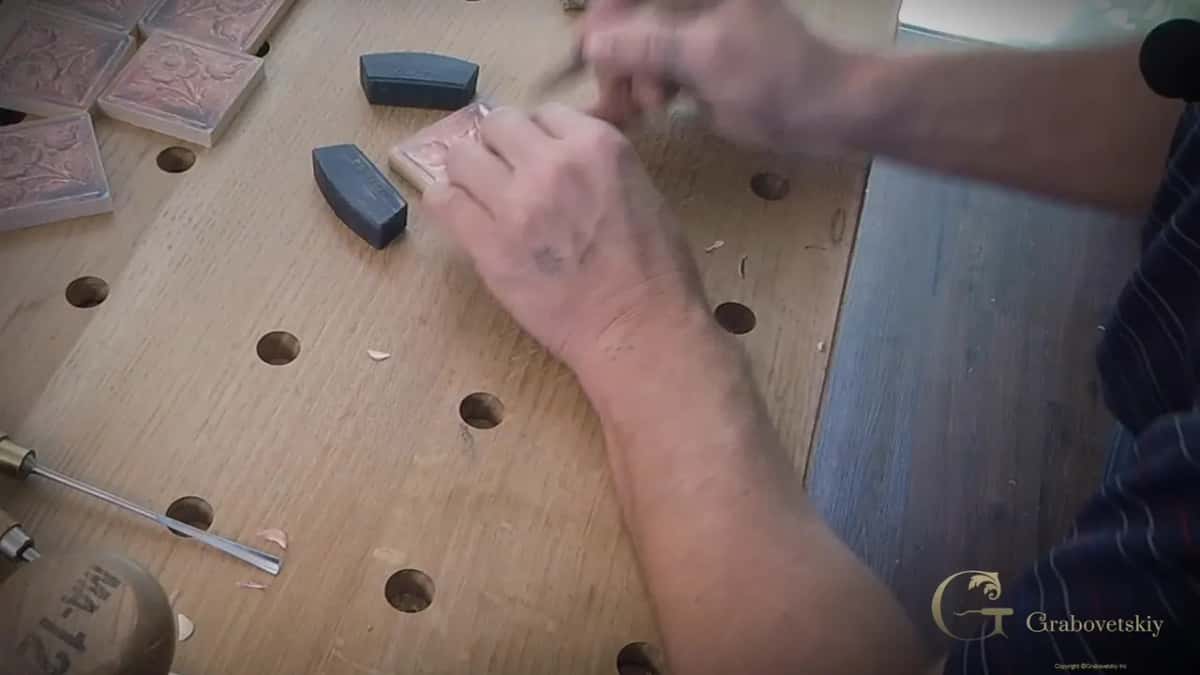
On my first rosette it did. That half inch number 6 made the first notch right round the flower. Rotate, take this side, rotate one more time. Then I checked whether the same profile would work in the next section, and exactly the same tool worked there too.
While I was holding that tool in my hands, I did exactly the same thing on the other sides and made that outline. It does look good, I said. For a smaller section I had the original right beside the block and checked which profile would fit better there.
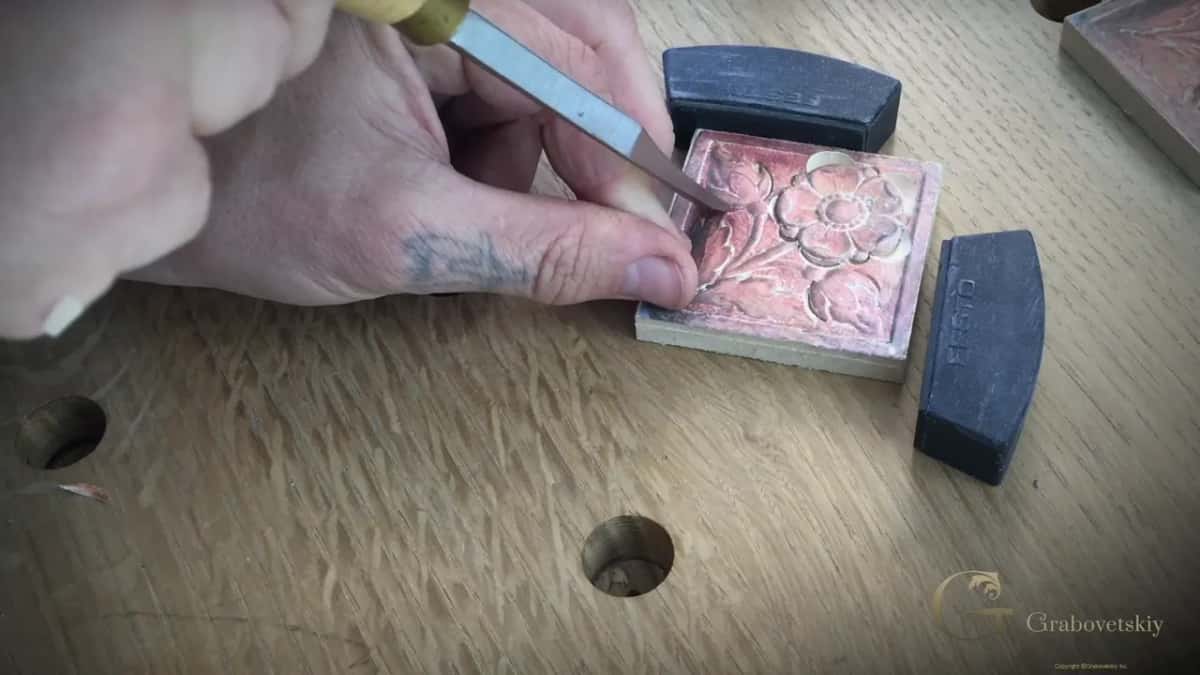
Smaller. Maybe even smaller. I asked myself whether a number 7 would do, then picked up another gouge, and that one definitely fit. It was a number 6 again. Only a quarter inch wide, 6 mm, and it fit the next detail as well.
For the background I could have kept the gouge already on the bench, I said, but I like a little bigger sweep there. A number 8. It just removes better, I think, and on that block the grain ran one way, so the number 8 went across it, the safest way to remove most of the material, and I kept rotating it as it went.
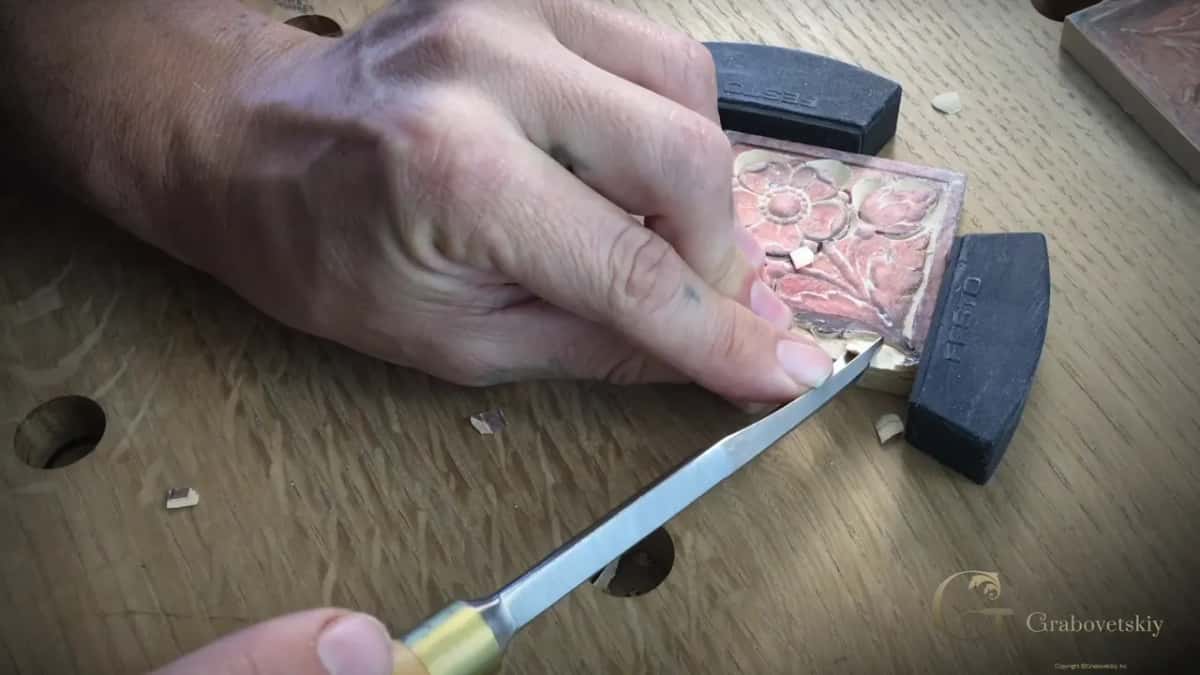
Here is where each tool went on that first rosette, in my own words from the lesson.
Spot | Tool | Words |
|---|---|---|
The main petals | A number 6, about half an inch | working excellent |
Petals below them | Small Pfeil number 9 gouge, driven down | fit perfectly |
Tight outline spots | The number 12 knife, joining the spots | just fine |
One smaller section | Another number 6, only a quarter inch | definitely fits |
Reverse curve side | Knife again, making it like the original | really careful |
Both leaf outlines | Same knife already in my hand, angled | it's easy |
Ground round everything | Number 8 across the grain, number 5 after | removes better |
Which sweep does which job is a whole course of its own, All About Tools for Wood Carving, and keeping those edges sharp has Carving Tool Sharpening.
What gets left for later on the first rosette?
The border, and the last of the depth. As of now I really don't worry about the border, because it is going to be a little lower than the main profile of the flower, which means I take it out now and reestablish it again later.
Close to another detail I had to be really careful. There I only poked it down. The plan for the ground was to take that material all the way to the line, in time. With the number 8 I went a little deeper, but not too deep, rotating my tool and constantly watching, and I said there is a good reason I don't want to go all the way.
About a sixteenth of an inch, 1.5 mm, stayed above the line. After that I worked down with a number 5 and kept an eye on my line the whole time, careful in one area more than the rest. Twice I said oops out loud. Lesson 1 ends with me still a little above the final line, working my way in.
At the end of lesson 1 the rest of the blocks were sitting there in two rows, papered and waiting, with gouges lying out on the bench beside them.
Carving Flower Rosette 2 is the next lesson in the course. Other rosettes on the site are the Chamomile and Bow Rosette and the Venetian Flowers Rosette. For one rosette on its own, the blog has How to carve a rosette in wood, and when one of yours is finished, how to check a carved rosette before you send it in shows what I look at.
Is there a drawing you would happily carve more than once? Would one gluing session suit you better than ten? Then come and watch the rest of this rosette at my bench. The beginner course here is First Cuts for Beginners, and Tuition and Access are laid out on one plan page.
How it's done
- Add one block to the order. Count the order and prepare one more. Nine were ordered, so ten basswood blanks were cut two and a half inches square and three-eighths thick.
- Print and trim every pattern. Print the nine-up sheet and the single sheet at one to one. Trim all ten with a knife against a ruler before the glue comes out.
- Plane the faces. Send the blanks through the planer. If trail marks show, take them off with a couple of angled block plane strokes so the paper sticks better.
- Spray blanks and paper together. Lay the blanks on cardboard facing one way and the patterns face side down beside them. Spray both at once, wait about a minute, then align and press each pattern on.
- Fit the tools on the first block. Gauge the depth, set the block between stops and start with the flower. Hold gouges to the drawing until one fits, and keep it out on the bench for the others.
- Carry each tool everywhere it fits. While a gouge is in your hand, take it round every part of the outline it fits. Where no sweep fits the curve, use the knife.
Frequently asked questions
Do you carve all ten rosettes at the same time?
Lesson 1 carves one of them on camera. The other nine were planed, papered and glued alongside it, and the number 6 that fit the flower stayed on my bench for every rosette in the order. That way I know which one I used.
How many tools did the first rosette of the set need?
Five gouges and one knife, counting what the lesson shows. The number 6 in two widths, half and quarter inch, a number 9 by Pfeil, a number 8 and a number 5 did the gouge work, and a number 12 chip carving knife took the tight spots and the leaves. I considered a number 7 and left it out.
Does the spray glue for paper patterns have to be strong?
Even a mild spray adhesive will do it. I had a heavy duty can in the shop, and its coarse spray worked fine. Wait a minute or two, and press the paper on once a touch of your hand comes away clean.
What to carve next