
Alexander Grabovetskiy, woodcarver, School of Woodcarving · Published 2018
How do you carve high relief without a thick block of wood?
Quick answer: Deep relief comes out of a thin board when you stop digging for height and start adding it. Saw the design from seven eighths stock, hold on to every piece that falls off, and glue those pieces back wherever the work has to stand tall. Same board, same grain, joints nobody finds.
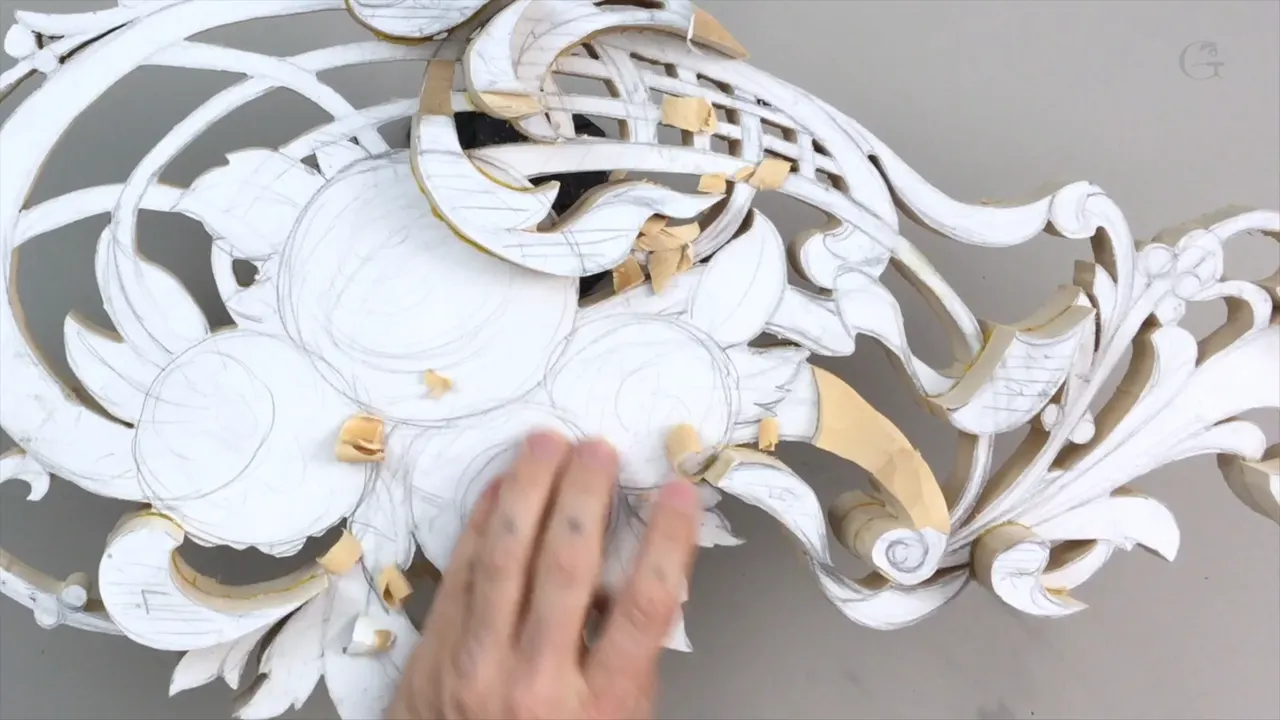
You do not need a thick block to carve deep relief. Cut your design out of a thin board, keep every offcut, and glue the offcuts back on top where the work needs height. A board seven eighths of an inch thick becomes nearly three inches at the flowers, and the joints vanish the moment you carve through them.
Not a shortcut. This is how I get four inches of depth out of timber I can actually afford.
Look at a carved panel with flowers standing clear of a background and most people assume a very thick, very expensive plank, the greater part of which ended up on the floor as chips. That is one way to do it. That throws away the larger share of what you bought, it takes days of removing wood nobody will ever see, and in the deepest pockets your tools cannot even reach the bottom. So I stopped doing it that way, and this is what I do instead.
How the stack goes together
- Draw the design, glue the paper to a thin board.
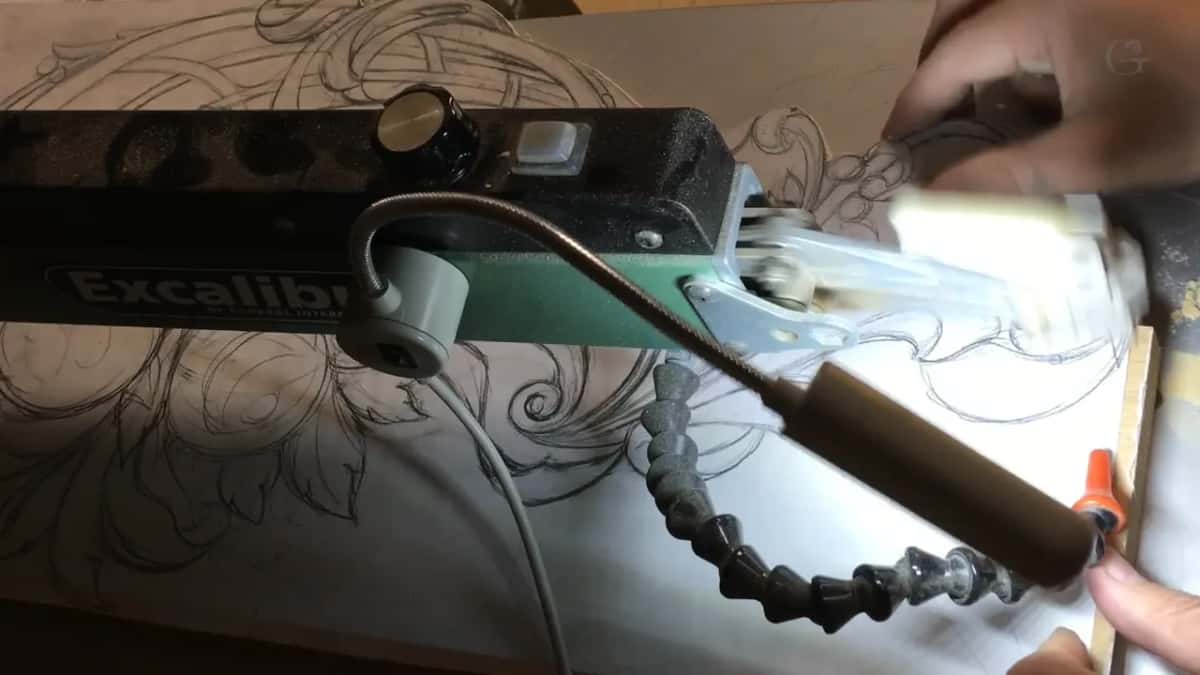
- Cut around it on a scroll saw, and let nothing reach the scrap pile.
- Peel the paper off, shift it to a waste piece, line up grain and colour.
- Glue that piece on at the high spot. Add a third layer in a couple of spots, like the scroll.
- Skip the clamps and slide the piece until it drags and holds.
Why does a glued layer disappear?
Two things settle it, grain direction first and colour second. Laying the paper pattern back on a waste piece also decides how that offcut's fibres will run once it is glued down. Line them up with the board underneath and a tool passing through the joint meets one continuous piece of wood.
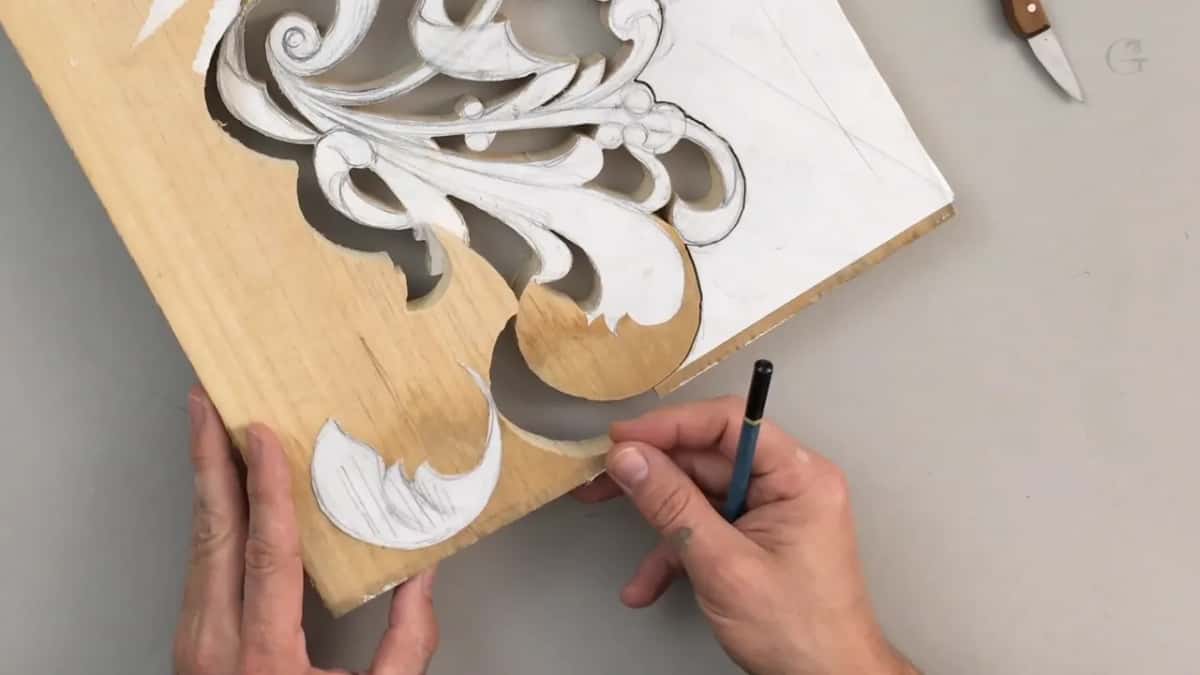
The offcuts help you here. They came off the same board minutes earlier, so the grain already matches and so does the colour. That is the quiet advantage of building from your own waste rather than from a fresh board out of the rack.
Carve into the seam and it stops existing. Thirty minutes after glue up I was taking a number 3 across a joint and could no longer find it by eye, and that is on limewood, which shows everything. Furniture makers have built this way for centuries, and laminated stock in a beam is the same idea doing heavier work.
What board do you start from?
This panel is 12 inches wide by 24 long and seven eighths thick. One ordinary board. Nothing about it says the finished carving will stand three inches proud of its own background.
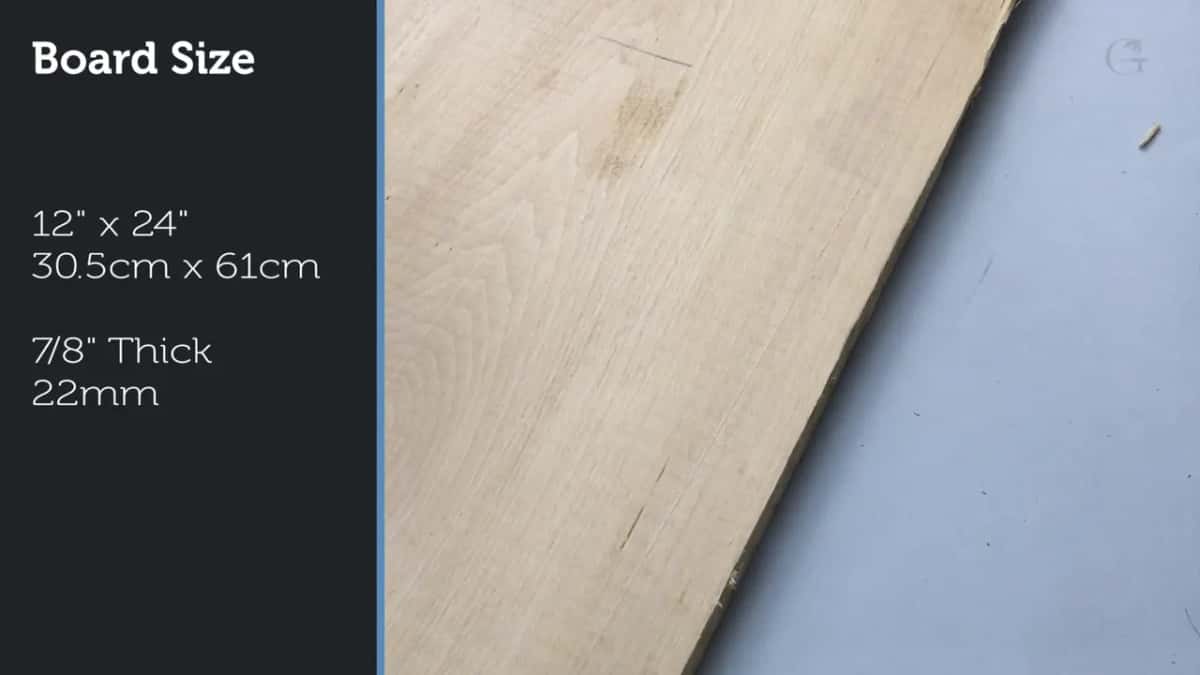
Seven eighths is deliberate. I could have bought two inch stock, or four, and carved down into it. The point of working thin is that the material you need for height is material you have already paid for and were about to throw away, and good carving timber is not cheap. You have to be real about that.
| Approach | The price | Where it lets you down |
|---|---|---|
| One solid four inch block | Four inch stock, and days spent turning most of the board into chips | Pockets too deep and tight for any tool to reach the floor |
| Thin board on its own | Next to nothing | Flat work that reads as nothing at all from across a room |
| Thin board with its own offcuts glued back on | One board, one afternoon | Very little goes wrong once the grain lines up |
| Separate parts pinned on afterwards | Time, plus fittings | Joints move, and a moving joint shows itself eventually |
Where do the extra layers go?
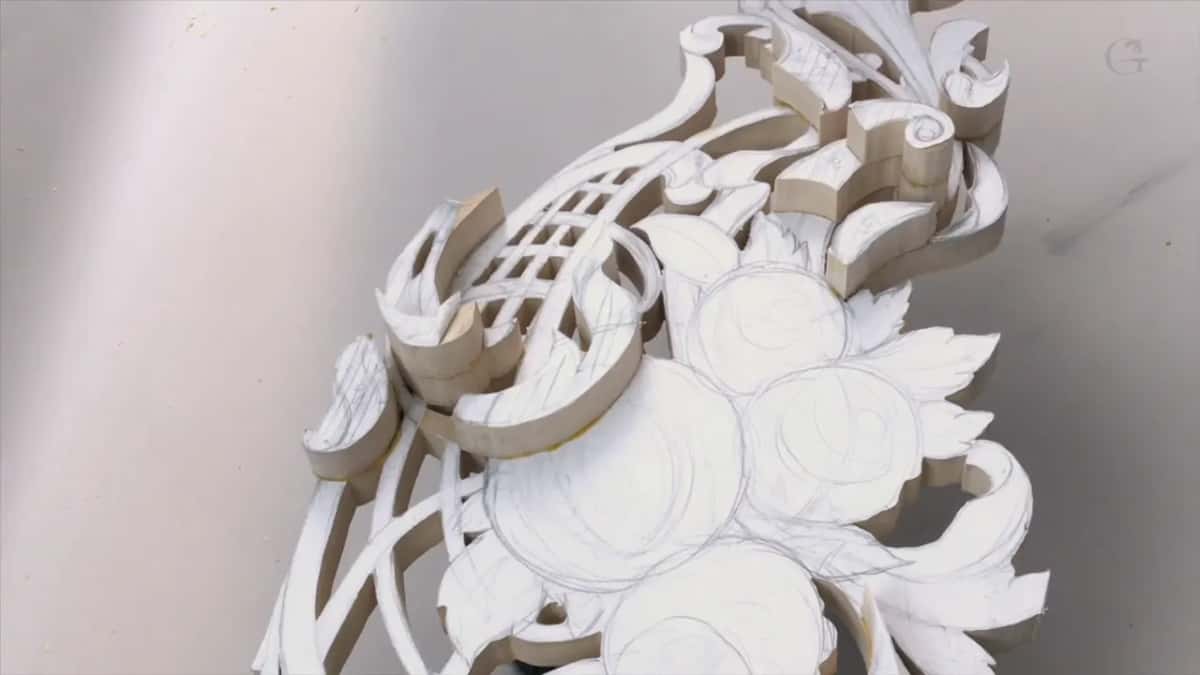
Decide that on the drawing, before the saw touches anything. I mark which parts of the design have to stand highest, and those are the only places that get a second piece glued on, and a third layer goes on in a couple of spots, like the scroll, where I want my highest point.
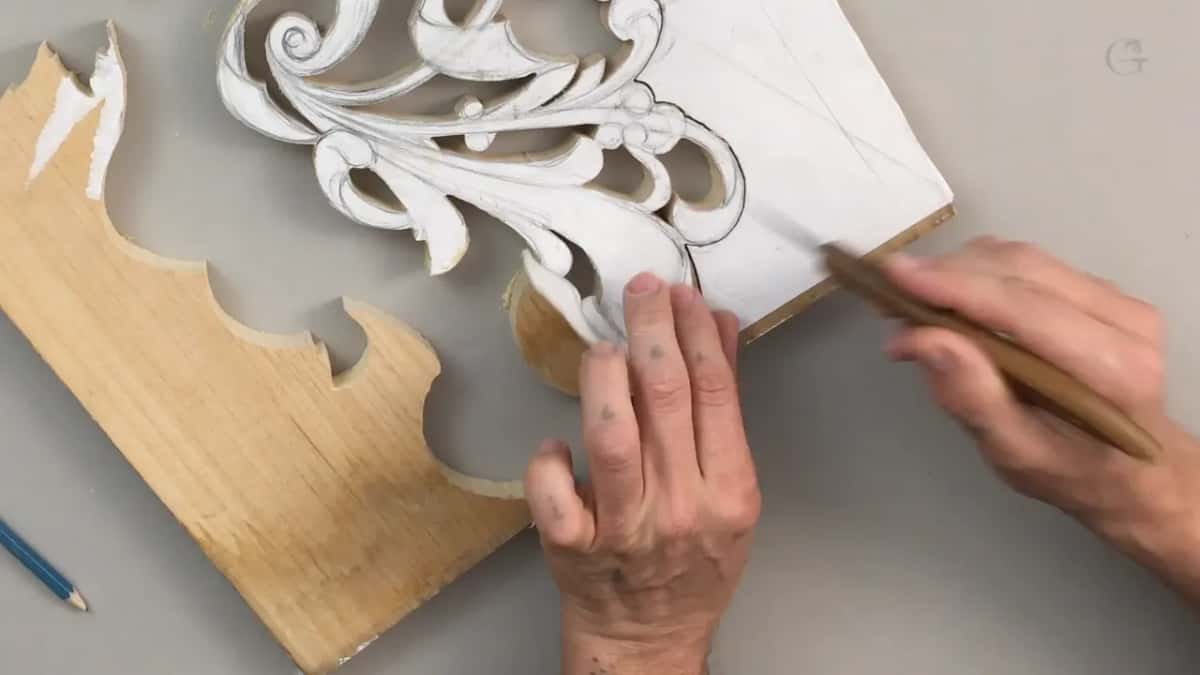
Get it wrong in the other direction and you have glued a slab onto a spot that wanted to be low, which means carving it all away again and no harm done except time. Get it wrong the way that hurts and you reach the detail stage with no wood left where a petal needed to lift. Wood you did not glue on is not wood you can add later without the joint showing on a surface you have already shaped.
So err high. Two pieces where you think you need one, at the two or three spots the eye will go to first, and let the carving decide the rest.
Which glue, and why that one?
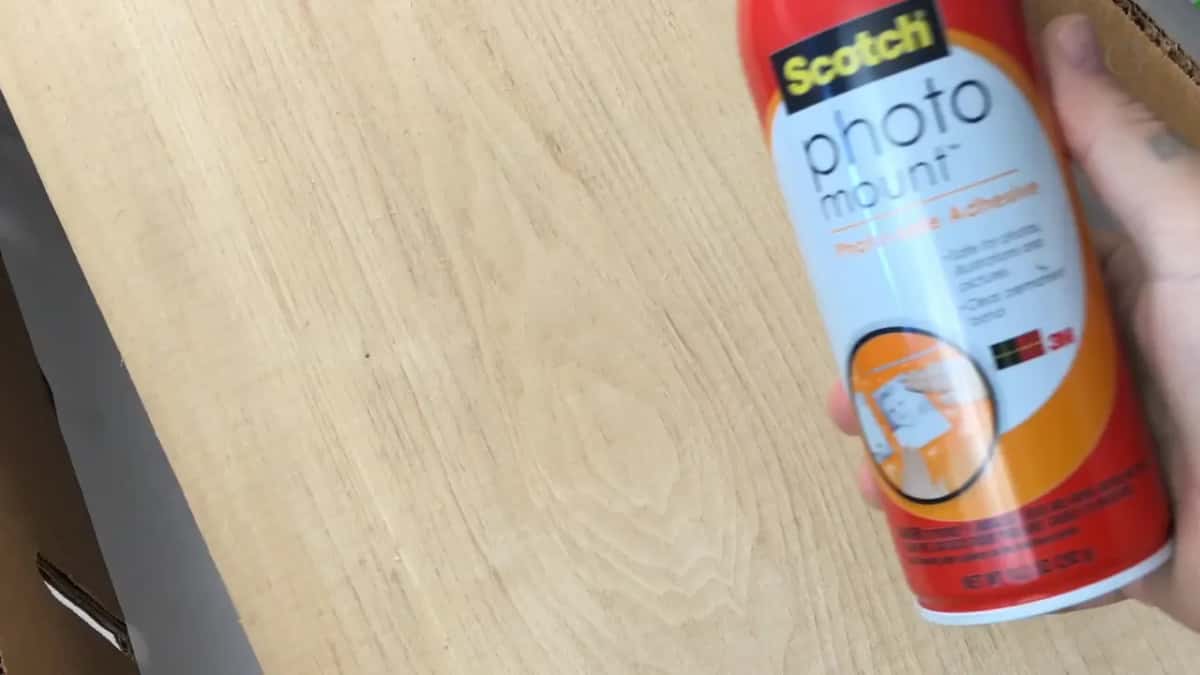
Photo mount, in a rattle can. It became my favourite adhesive on the bench for a reason that has nothing to do with strength: it lets go of paper cleanly.
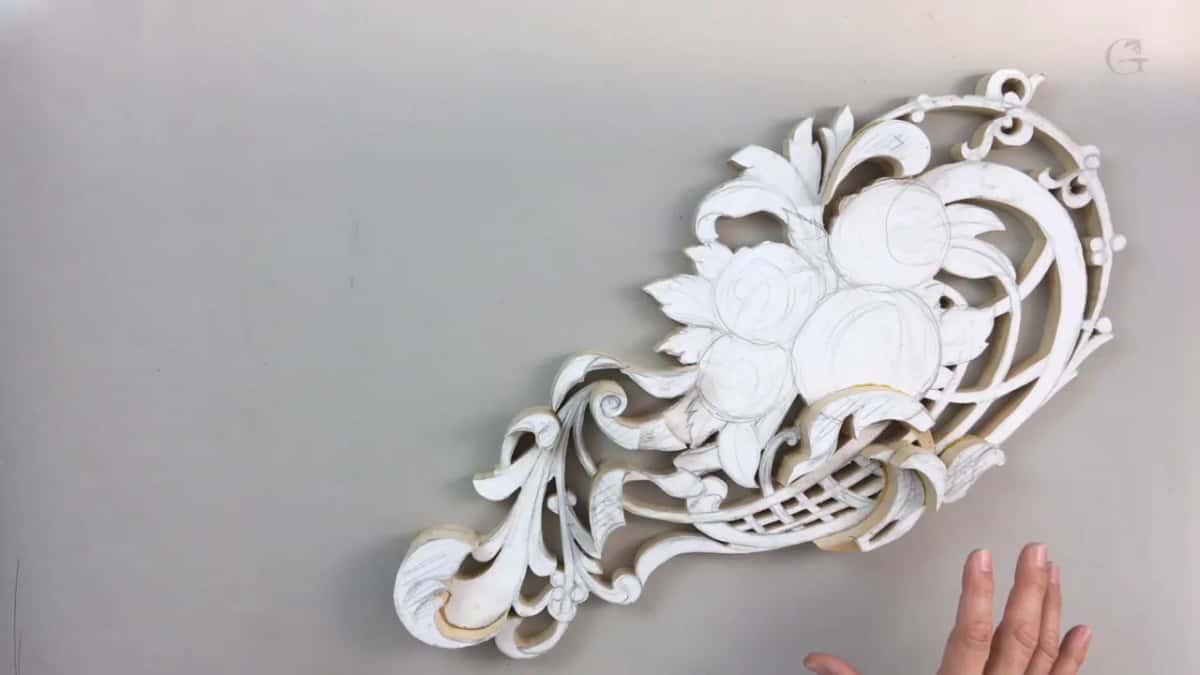
That matters because the paper pattern does two tours of duty. It goes on the board, the saw follows it, then it comes off in one piece and moves to a waste piece, so you can place that piece exactly where its shape belongs. Try that with a glue that tears the paper and you are redrawing the design.
The spray is mild too, and makes no mess. Spray glue has ruined a face of good wood on me before now, and this one has never done it.
Do you really glue without clamps?
You rub it. Put glue on both faces, set the piece down roughly where it goes, and slide it back and forth under hand pressure until it starts to drag, and it pulls itself down and stays.
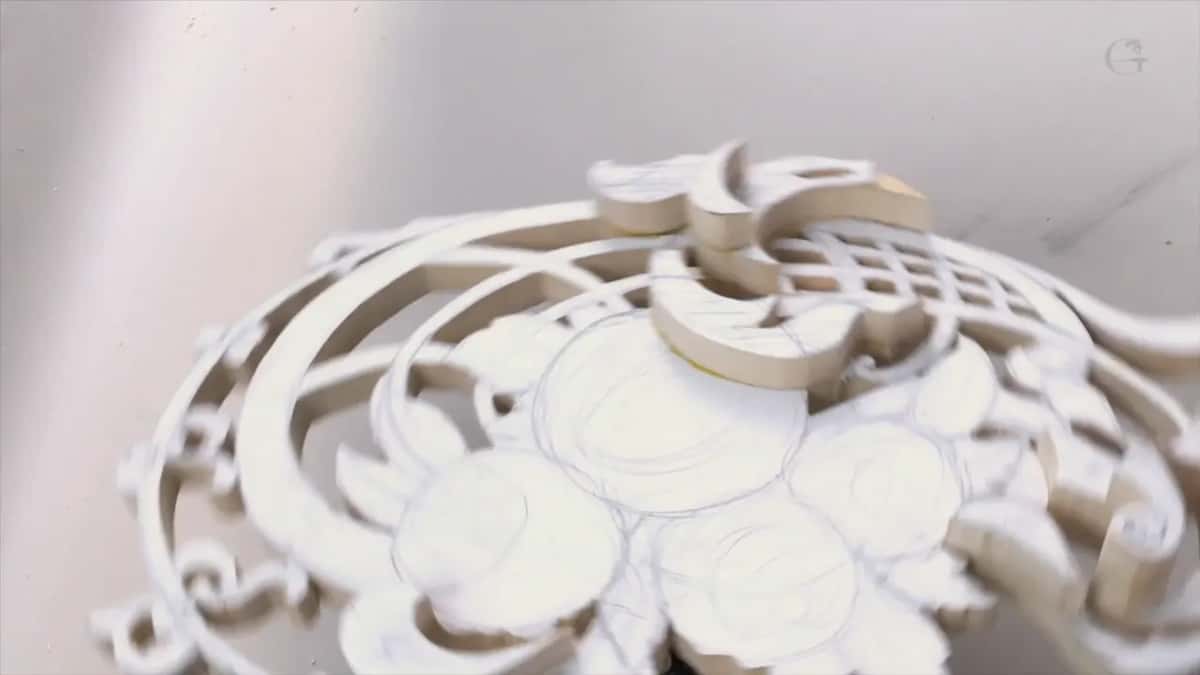
Two reasons I prefer that to clamping. A rubbed joint sits exactly on the pencil line, whereas a clamp almost always shifts a piece a hair as it tightens, and on a design where one petal has to line up with the one under it, a hair is enough to notice. The other reason is simpler. On a shape like this there is often nowhere to put a clamp at all.
Give it a day if you can. I waited roughly thirty minutes on this one because I wanted to keep filming, and I got away with it. Twenty four hours is the honest answer.
How do you hold a panel this shape?
A corner vice from the kit I actually use, screwed into the back of the board with one inch screws.
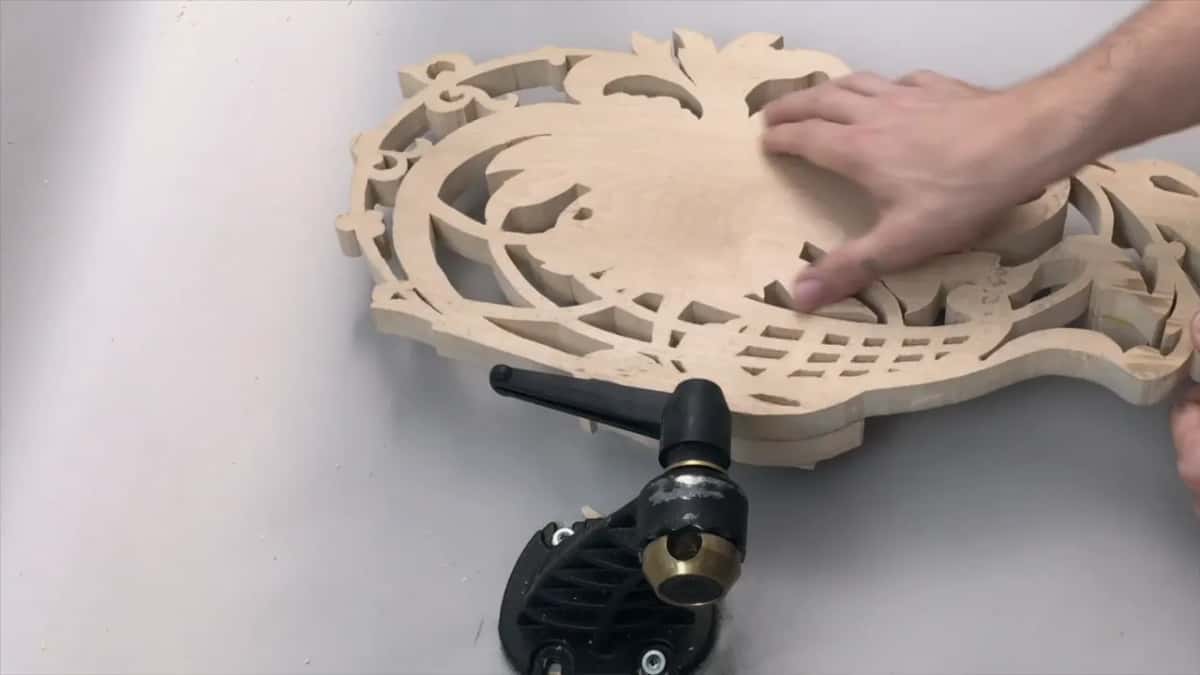
Which is why I leave one solid area on the reverse when planning a piece. That spot is not decoration, it is where the vice goes, and later it is where the hanging hardware goes. Plan that spot before you saw anything out, because a fretted panel with nowhere solid to grip is a panel you end up clamping badly.
The gain is rotation. I can swing the work to meet the tool instead of twisting my wrist to meet the work, which changes what your hands can do more than any single gouge you will ever buy.
Where do you start carving?
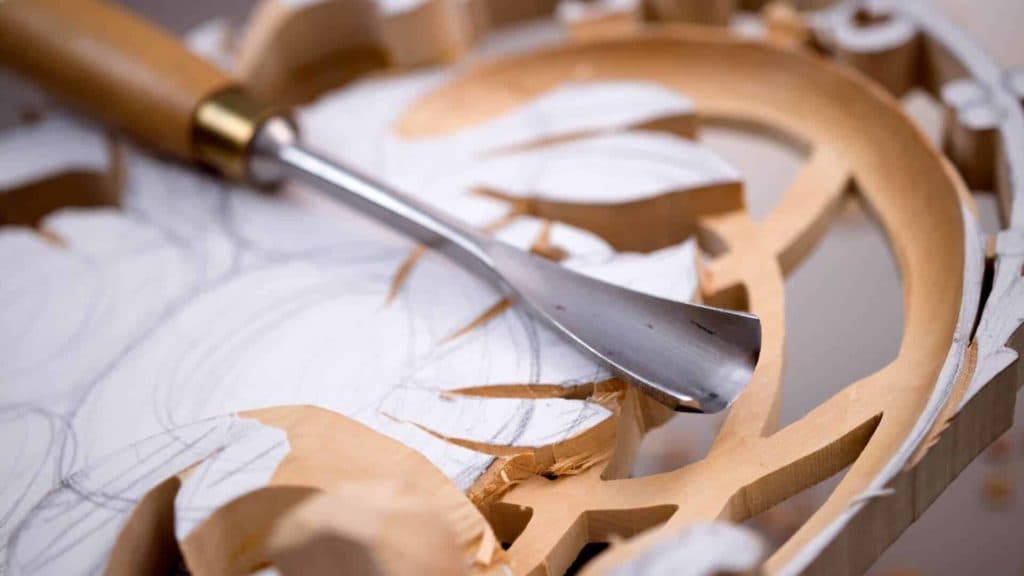
At the high spots, working down toward the base board. The first stage falls to a number 3 fishtail at 20 millimetres, lowering each glued layer until it meets what it is supposed to meet.
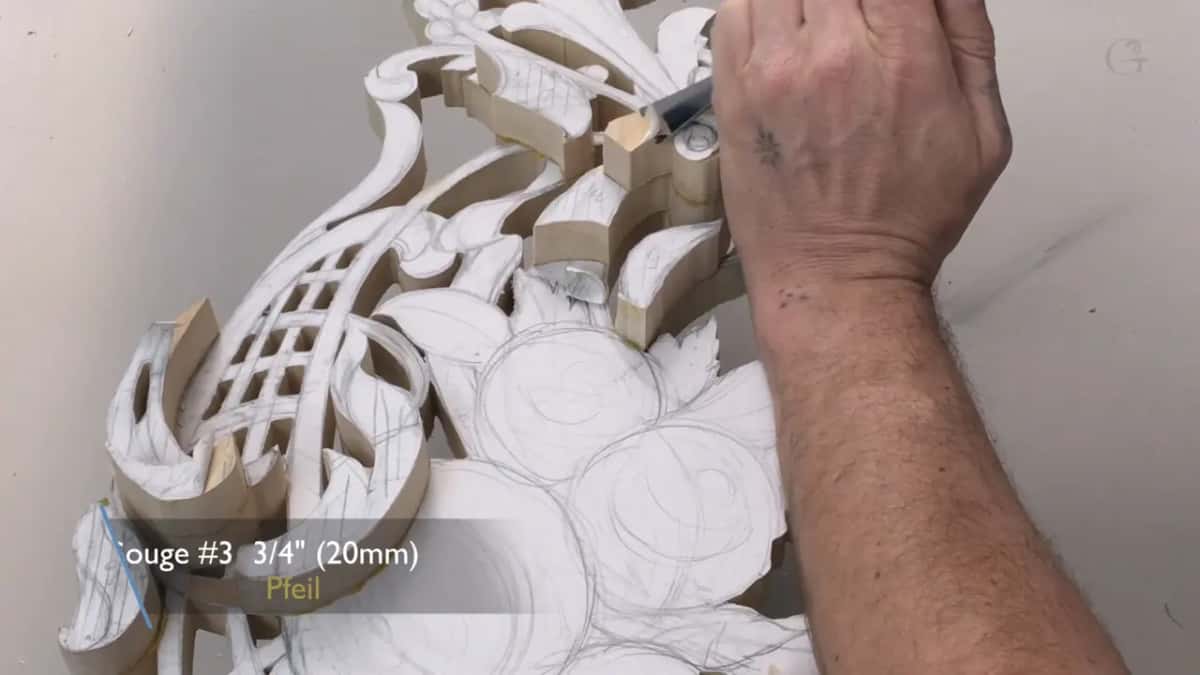
Bigger tools, always. A wide gouge leaves a surface so clean there is nothing to do to it afterwards, and it lets you take a broad pass or a narrow one just by using the corner. Reach for a small tool at this stage and you will be there all week leaving a surface you then have to fix. The same argument runs through the techniques course.
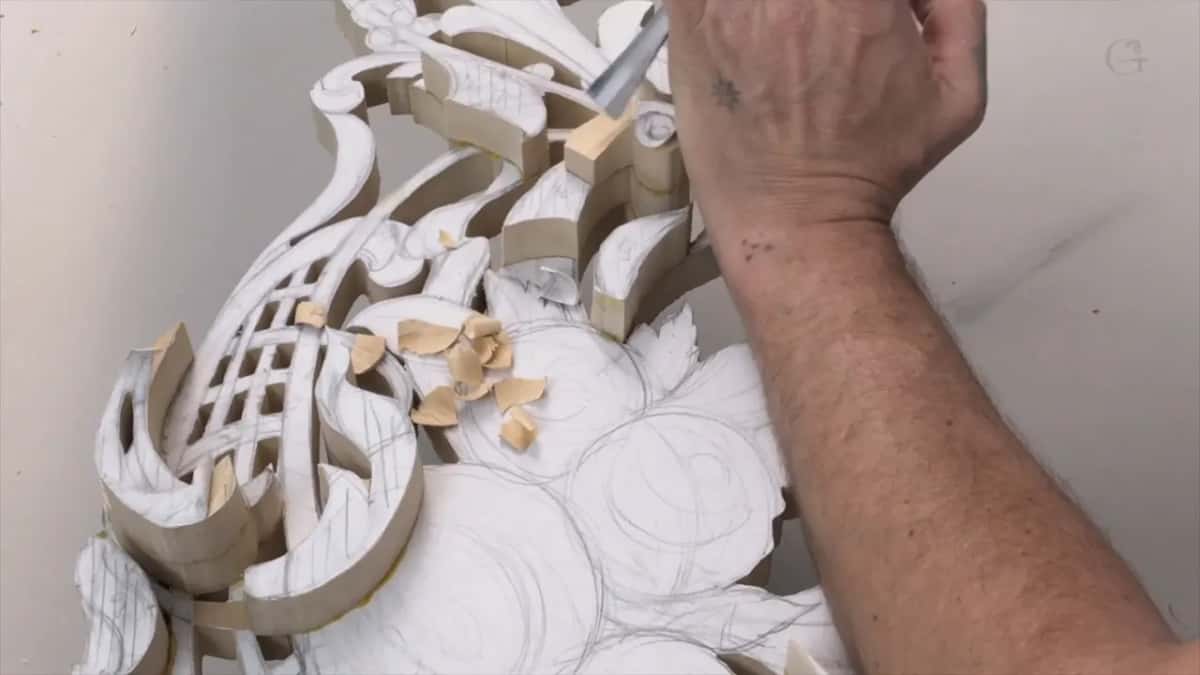
I work with a mallet for most of it, and people are always surprised. A mallet gives more control, not less. Your arm supplies a steady push that is hard to stop; a mallet delivers a measured tap and then nothing, so the tool goes exactly as far as the blow you chose.
What does a big gouge do that a small one cannot?
It leaves a surface you do not have to touch again. The deep hollows on this panel are carved with a number 9 an inch and an eighth across, which is a tool most carvers would call absurd for work this size.
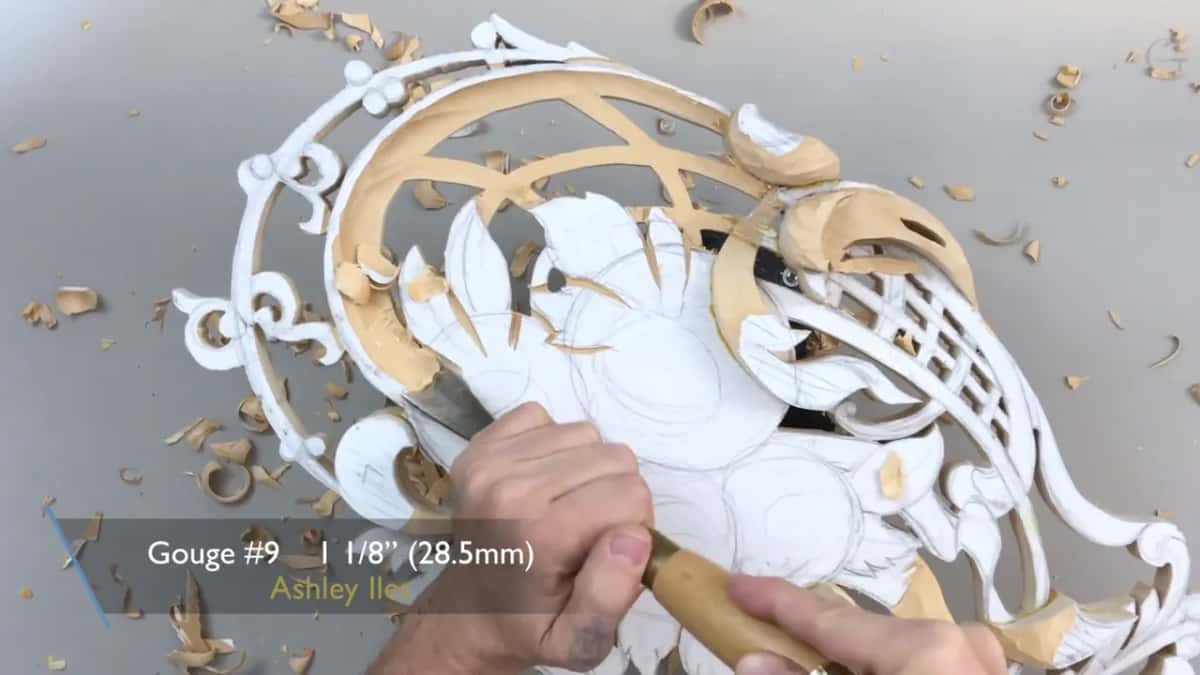
Rotate it through every pass. The gouge goes in, turns along its own axis as it travels, and comes out, and the wall it leaves behind is smooth enough that a finishing pass would only spoil it. Drive the same tool straight ahead without that turn and you get a torn surface and a fight, on the same wood, with the same edge.
Grain will change direction on you halfway through a hollow. When it does, stop and come at the rest of it from the other side rather than forcing through. That habit alone separates a clean hollow from one full of picked fibre, and it is the first thing I teach in person.
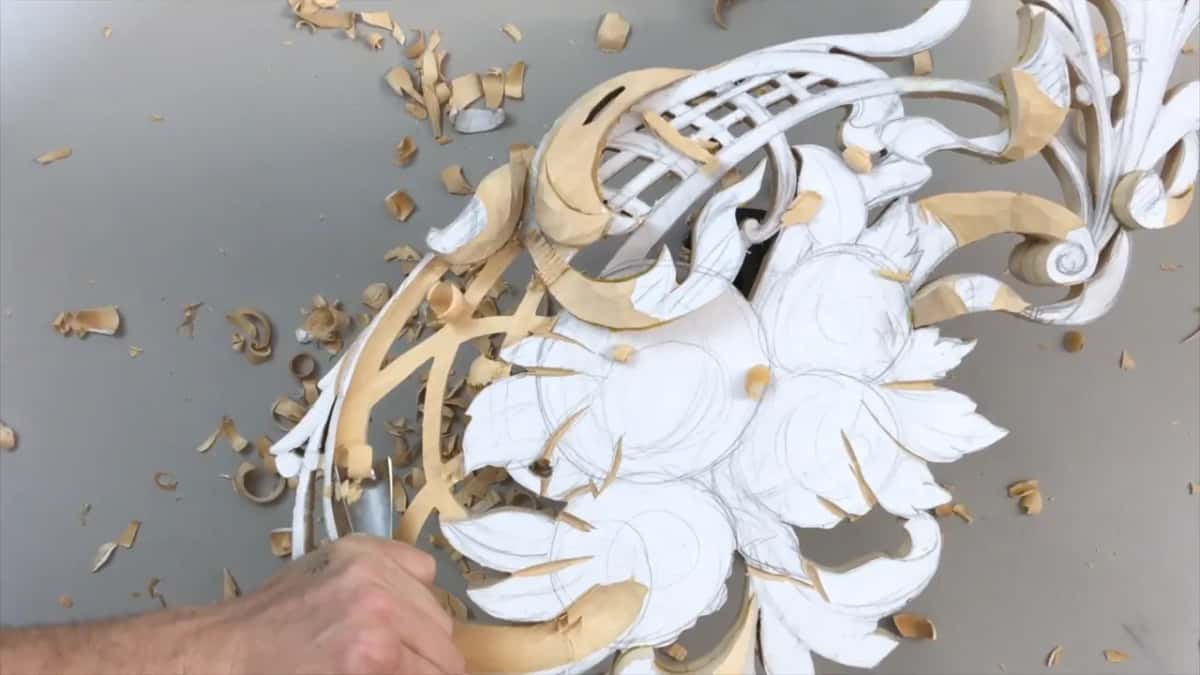
Smaller tools come out for the corners a wide one cannot enter. Three quarters of an inch of number 8 handles most of those here. Going down in steps like that, rather than starting small, is a habit worth building early and it applies to every panel you will ever carve on this course.
What goes under the flowers?
Leaves, even where nobody will see them. Once the flowers are on top, most of that leafage is hidden, and I carve it anyway.
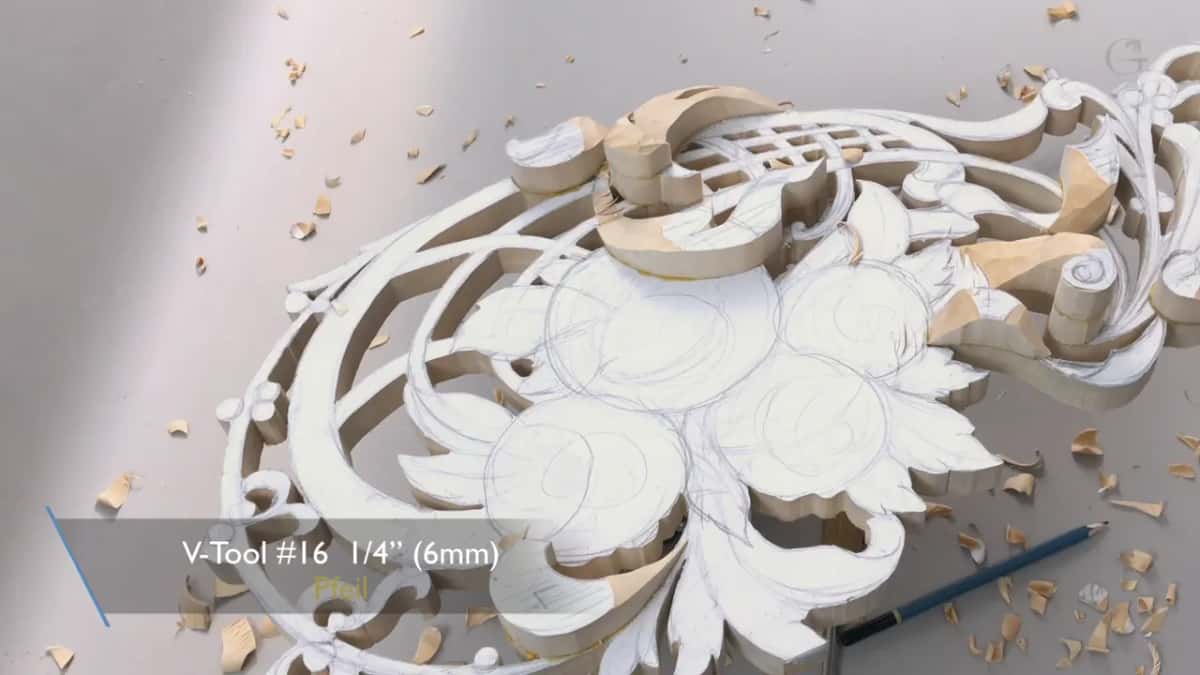
From directly in front you will never know. From an angle, which is how anybody walking past a panel actually sees it, you catch shape and shadow in the gaps, and a background that was left flat reads as a hole. A V tool and a mallet outline the leaves, then a wide number 9 hollows between them so the shadow has somewhere to sit.
Two ribbons run through the upper part of this design, and later I will carve a name along them. The customer is called Hashemi, and you can put your own there. Separately there is a wreath, and the wreath drops below the leaves rather than sitting on them, which is what gives that corner its depth. I go through the reasoning behind that kind of choice in the design course.
How close to the line dare you go?
I carve right up to it, and after forty years I am comfortable there. You may not be, and nobody is asking you to be.
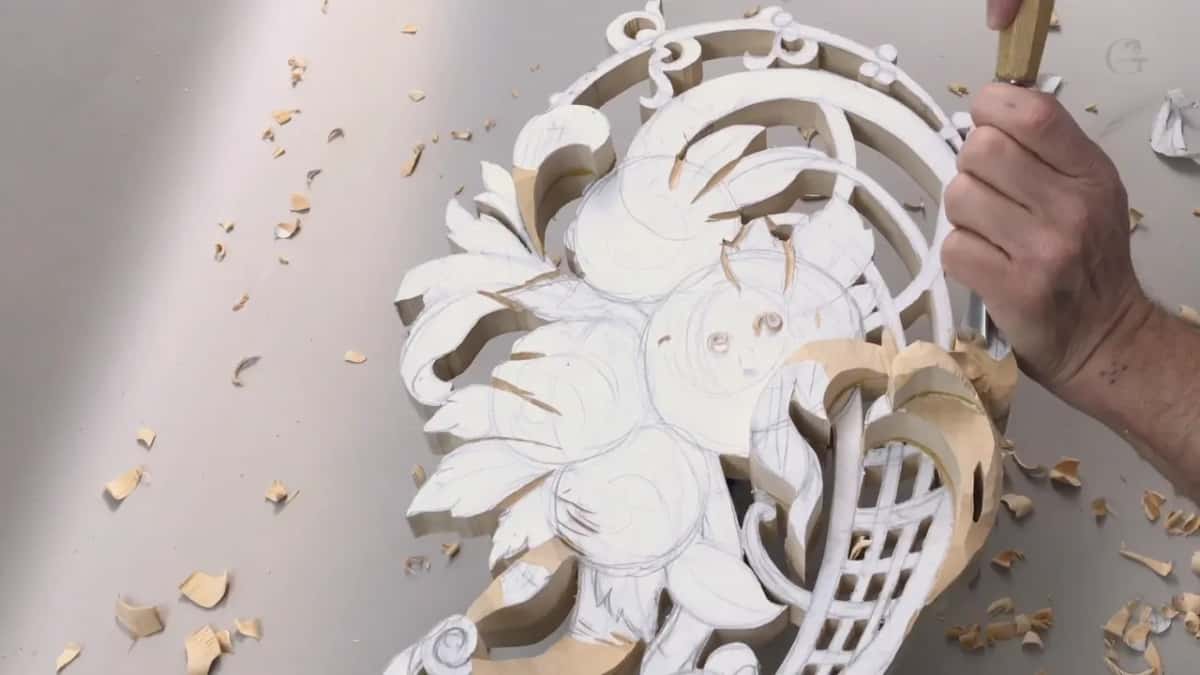
Stand off a sixteenth of an inch, or an eighth, and you lose nothing except a little depth you can take later. What you gain is the wood to fix a pass that wandered. Around the edge of this panel I left an eighth, and in one spot where a return curve was coming I left a quarter.
Grain decides how brave to be. Where the fibres run out across a thin element, that element is weak no matter how sharp you are, and a mallet blow that was fine two inches away will snap it. Slow down there and go over to hand pressure. Having a properly sharp edge is what buys you that option in the first place.
And the offcuts you never use?
Into a box under the bench, all of them. A scrolled panel throws off dozens of small pieces of good carving timber, already dry, already the right species, and most of them are too small for a layer on this piece and exactly right for something else.
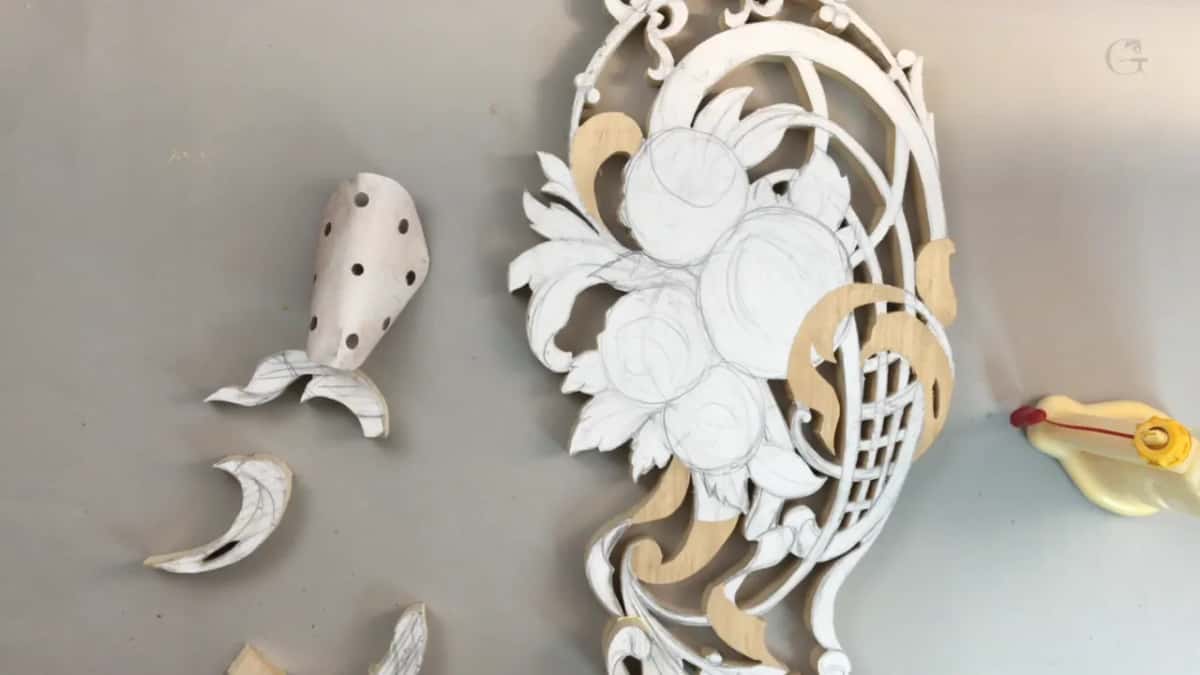
I practise on them. A student who wants to try a new element should carve it on a scrap first, which is the advice I give in every class and the advice almost nobody takes until something snaps on the real panel. There are simpler shapes to start on in the beginner lessons, and the ornament vocabulary behind the flowers on this board comes out of the technique library.
Does this really work on a complicated design?
This is the part I most want to settle. People look at relief work like this and decide it is beyond them before they have picked up a tool.
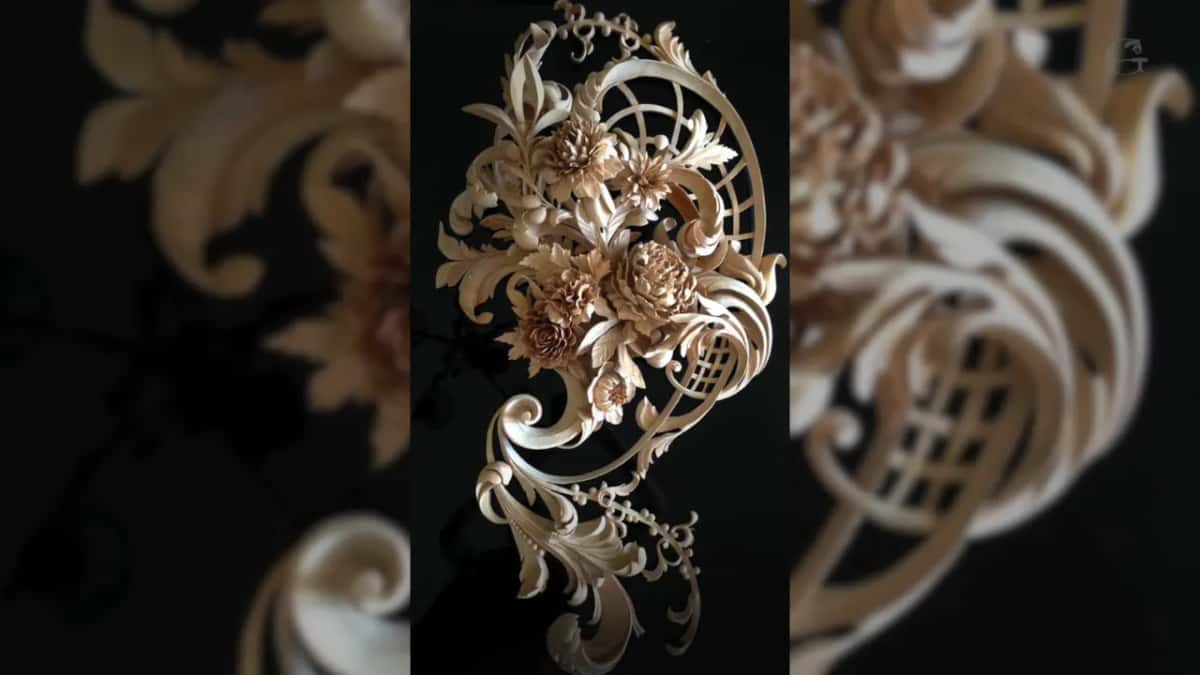
Talent has very little to do with it. This kind of carving is technique, almost all of it, and technique is a thing you can be taught in an order that makes sense. Build the height in layers instead of digging for it, hold the work so it can turn, use tools bigger than feel comfortable, and read the grain before every pass. Four habits. None of them is hard, and together they are most of the distance between a flat board and a panel with real depth. The beginner course starts further back than this if you need it to.
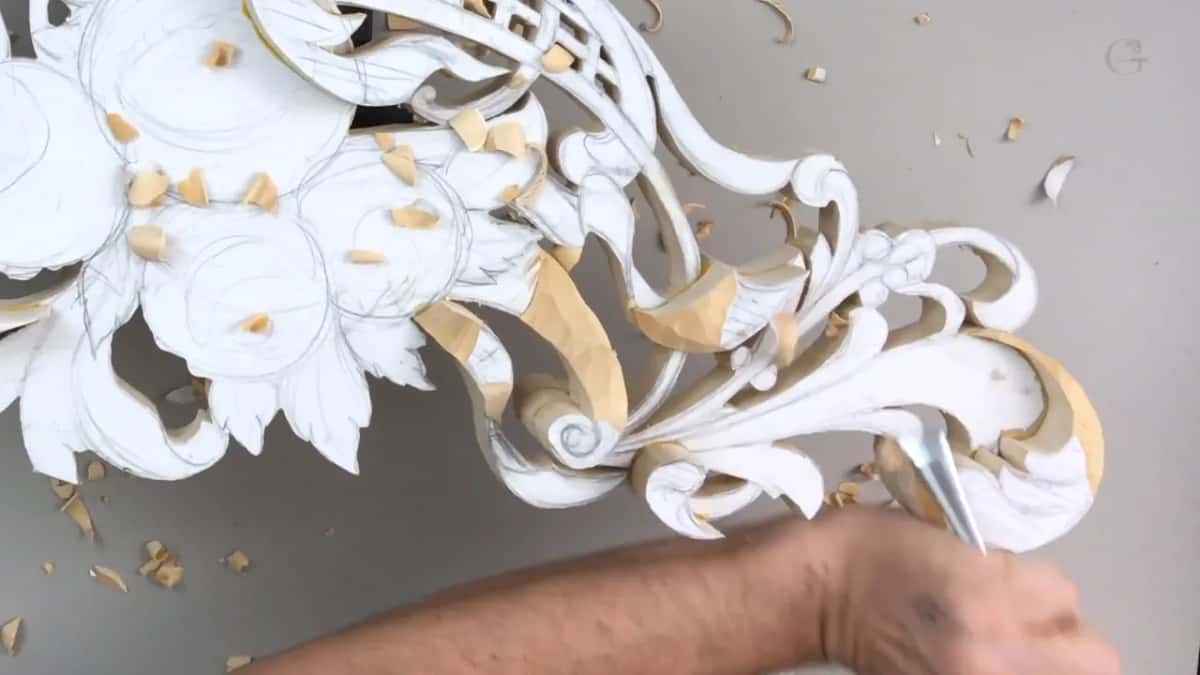
The rest of this project runs across fifty lessons in Carving Hashemi Flowers, from this bare glued stack to flowers standing free of the background, and the whole library sits inside the school. The next one picks up with lowering the second set of levels.
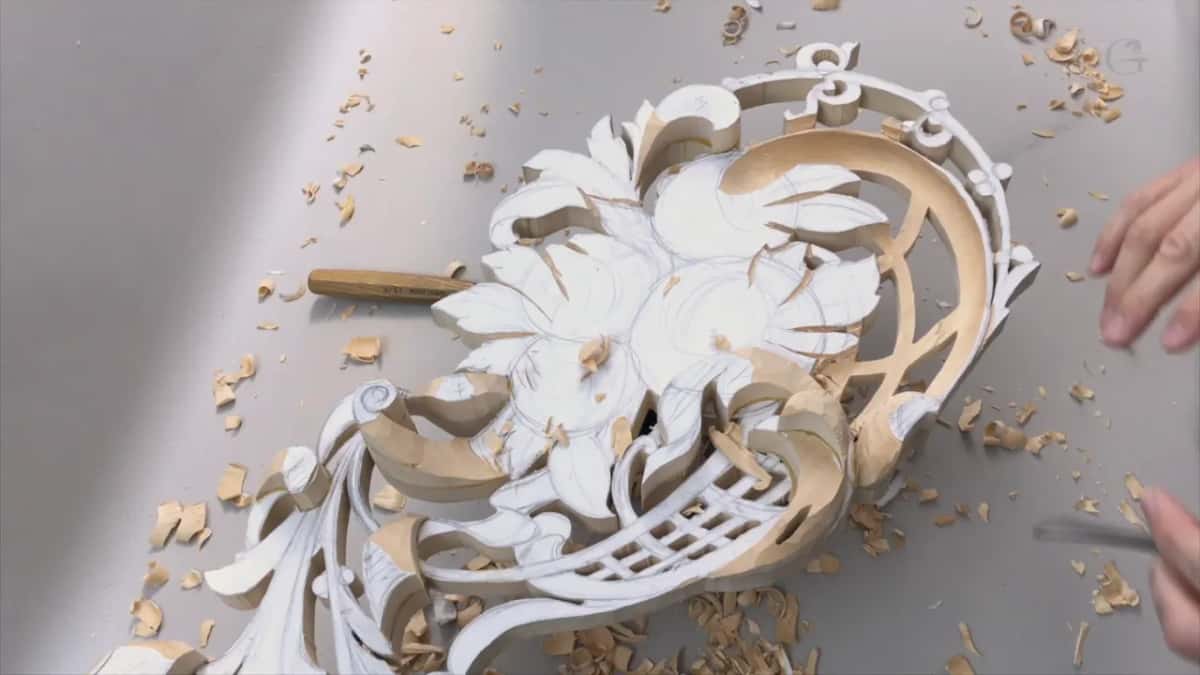
That board, by the way, has been in my shop more than ten years. It has gone a darker colour with age, almost pink in places, and limewood does that if you leave it long enough. No reason it should matter to the carving. I like it anyway.
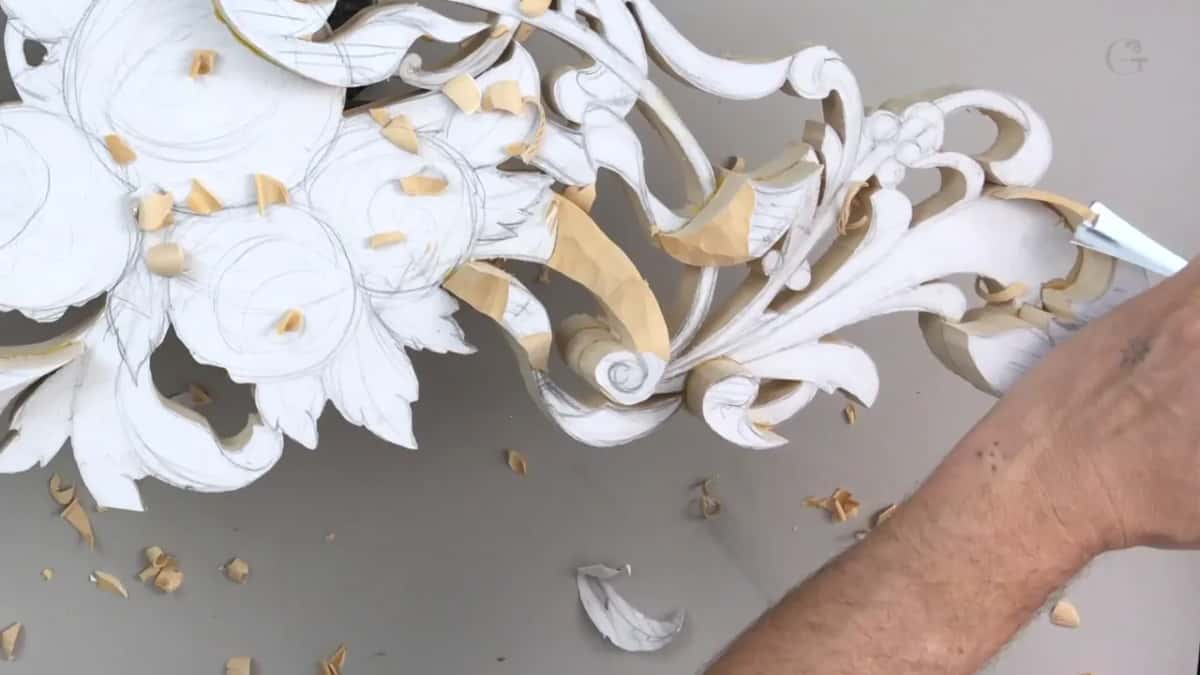
How it's done
- Draw the design and glue the paper down. A photo mount spray holds the pattern to a seven eighths board and lets go of it cleanly afterwards, which matters because the same sheet of paper gets used twice.
- Mark where the height has to be. Two or three spots the eye will reach first. Those are the only places getting another layer, with a third where the flowers sit.
- Saw the shape and keep the waste. Everything that falls off the scroll saw is good dry timber of the right species, and nearly all of it is about to go back on the panel.
- Move the pattern onto a waste piece. Peel the paper, lay it on a piece whose fibres run the same way and whose colour is close, and the exact shape you need is already cut to size.
- Rub the joint instead of clamping it. Glue both faces, set the piece roughly in place, and slide it until it drags. It pulls itself down and sits on the pencil line, where a clamp would nudge it off.
- Screw a vice to the solid part of the back. Plan that solid spot before sawing. It holds the vice now and the hanging hardware later, and it is what lets the panel rotate to meet the tool.
- Carve down from the high spots. Twenty millimetres of number 3 fishtail lowers each layer to where it belongs, and the seams stop existing the moment a tool passes through one.
- Use tools bigger than feel comfortable. Over an inch of number 9 leaves a wall so clean that finishing it would only spoil it. Rotate through every pass and read the grain before each one.
Frequently asked questions
Will the glue joints show in the finished carving?
Not when the waste piece came off the same board minutes earlier with its fibres pointing the same way. Thirty minutes after glue up I was taking passes across a joint and could no longer find it by eye.
Is this weaker than carving from one solid block?
A well rubbed joint in limewood is as strong as the wood beside it, which is why furniture has been built this way for centuries. The failures come from mismatched grain, not from glue.
Why not just buy thicker stock?
Cost and waste, mostly. Four inch carving timber is expensive, the greater part of a thick board leaves as chips, and the deepest pockets end up too tight for any tool to reach the floor of.
What to carve next