
Alexander Grabovetskiy, woodcarver, School of Woodcarving · Published 2026
How do you keep from getting tired when you carve wood?
Quick answer: Staying fresh at the carving bench is, in lesson 1 of my hazelnut course, about how the waste comes off. I sliced from one side of the gouge's edge to the other, kept each pass near 3 mm (1/8 in), and let the tool work, because driving the whole tool in just wears you out for no reason.
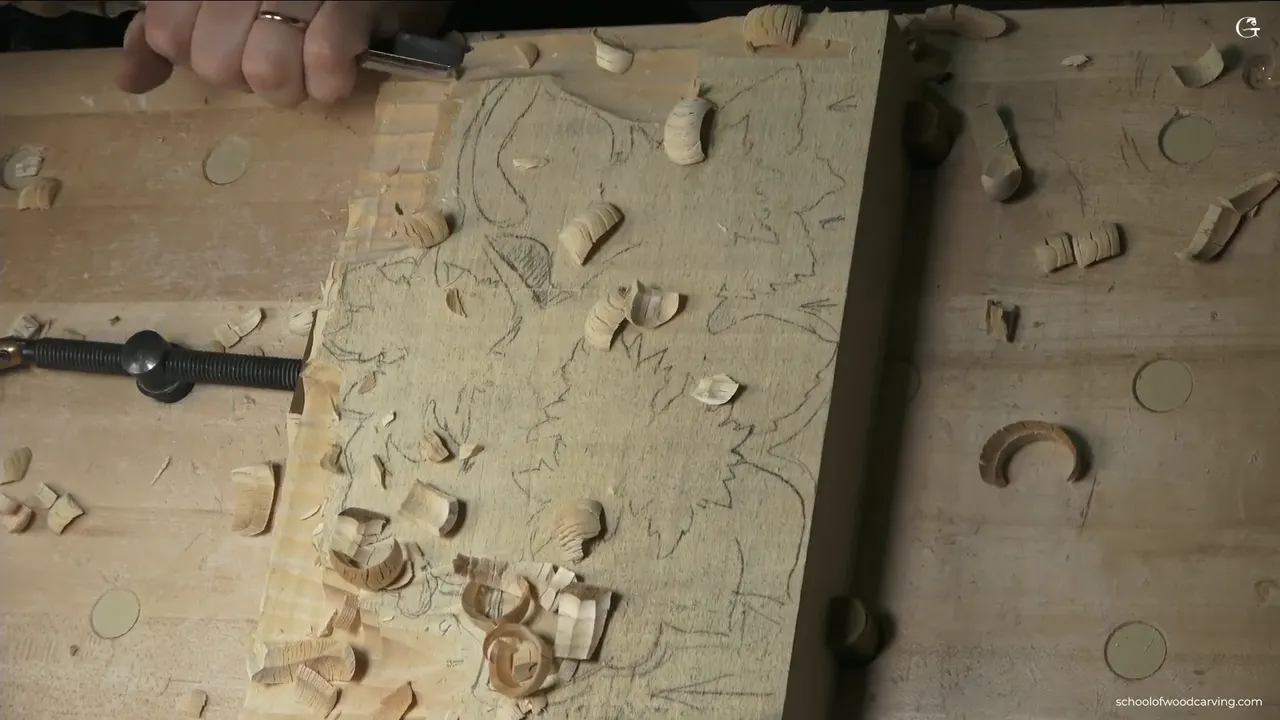
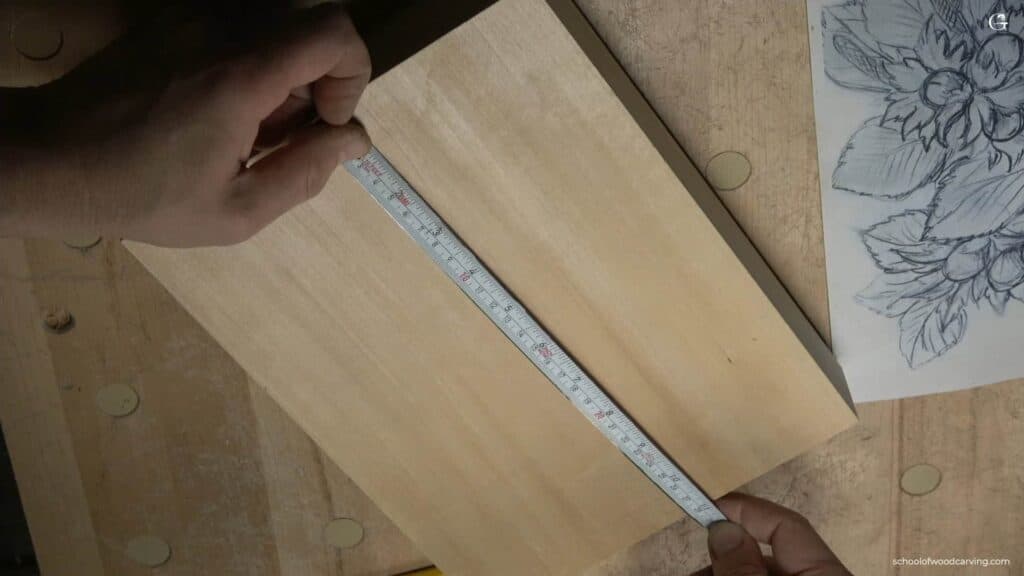
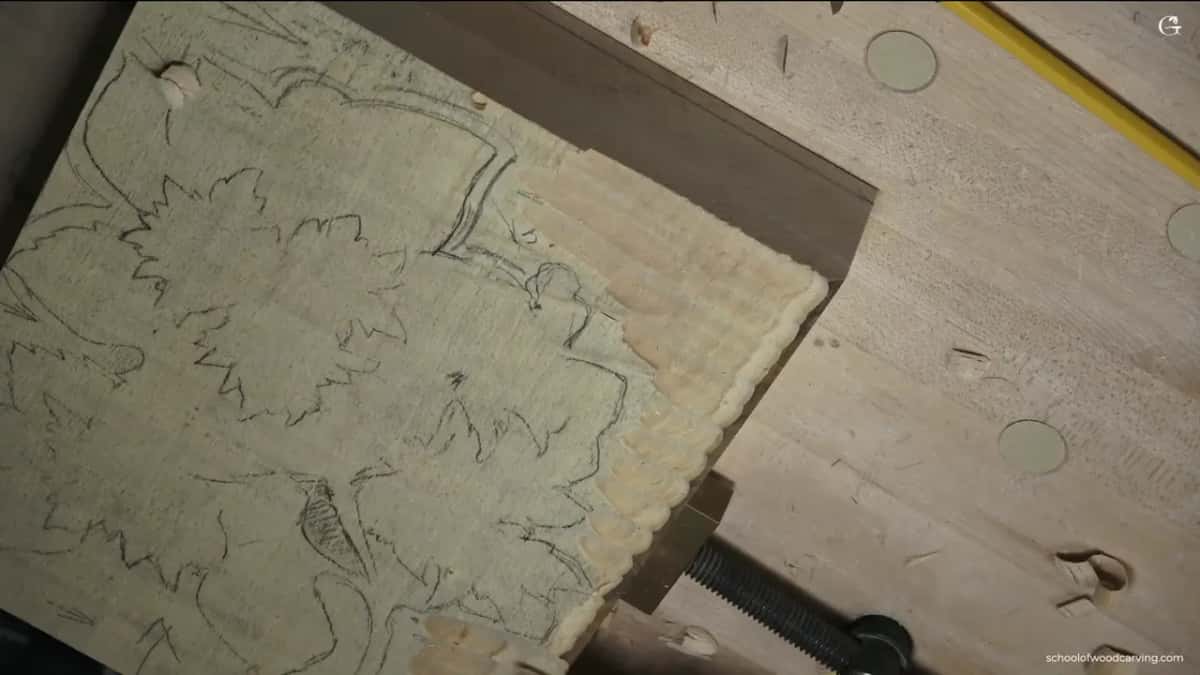
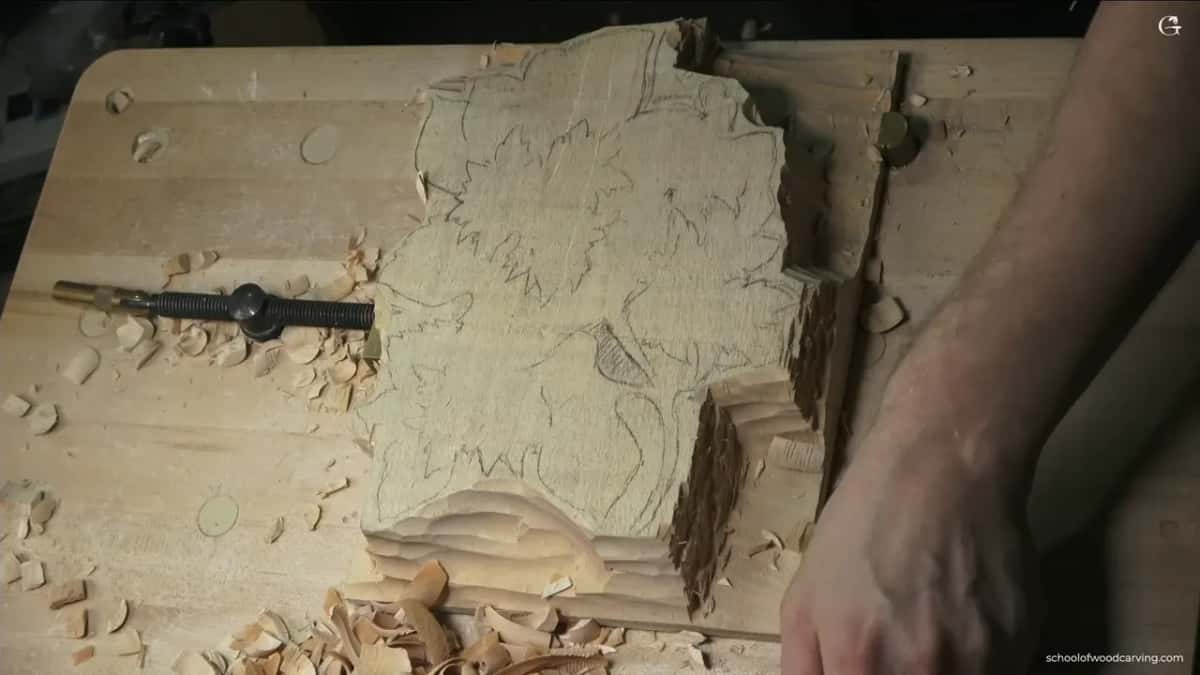
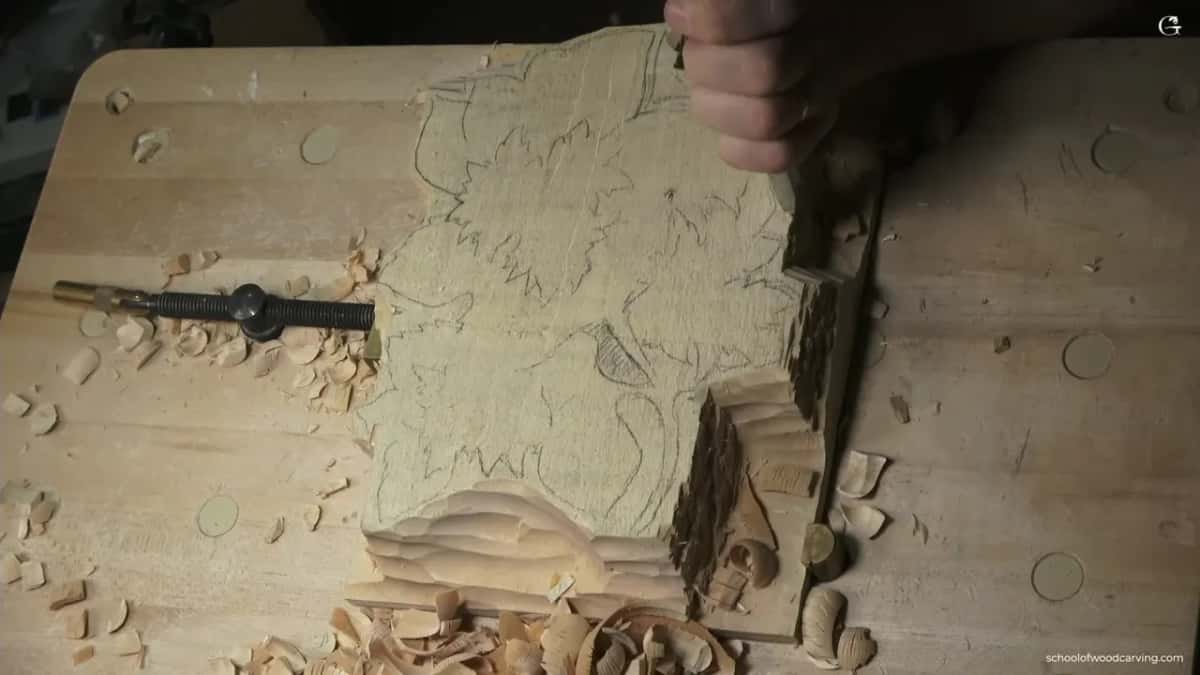
Keeping from getting tired at the bench is, in the first lesson of my hazelnut course, mostly about how the wood comes off. That lesson is the heavy day, so my relief carving tips start there. The panel is about the size of printer paper, 8 1/4 by 11 inches (21 by 28 cm). Its main block is about two inches (50 mm) thick. All the waste around the design goes, and I took it off with a number 9 gouge, 20 mm (3/4 in) wide, working across the grain from the outside in. While I worked I gave the reason in plain words: put the whole tool in and try to lift the whole thing out at once, and you're going to get tired.
If your hands or your back give out before the carving does, you're in good company. I get tired too, and I've said so on camera in more than one lesson. Here are those lines, my own lesson first and then thirteen others, each linked so you can watch me say it. By the end you'll know the one sign I watch for on my own bench, and why my bench sits as high as it does.
How I keep from wearing out, in seven lines
Slice so each pass starts at one end of the edge and finishes at the other; it's less of a fight.
Keep each pass to an eighth of an inch (3 mm) or so.
Turning the long grain away and attacking sideways gives you a lot better control.
A crowded bench means I'm tired, and I take a break.
With a big piece I jump to another area, and on a small one I take care of the spot right away.
My bench sits at elbow height when I stand.
If you're tired already, the clean up near the line can wait.
Why did I slice the waste instead of forcing the whole gouge?
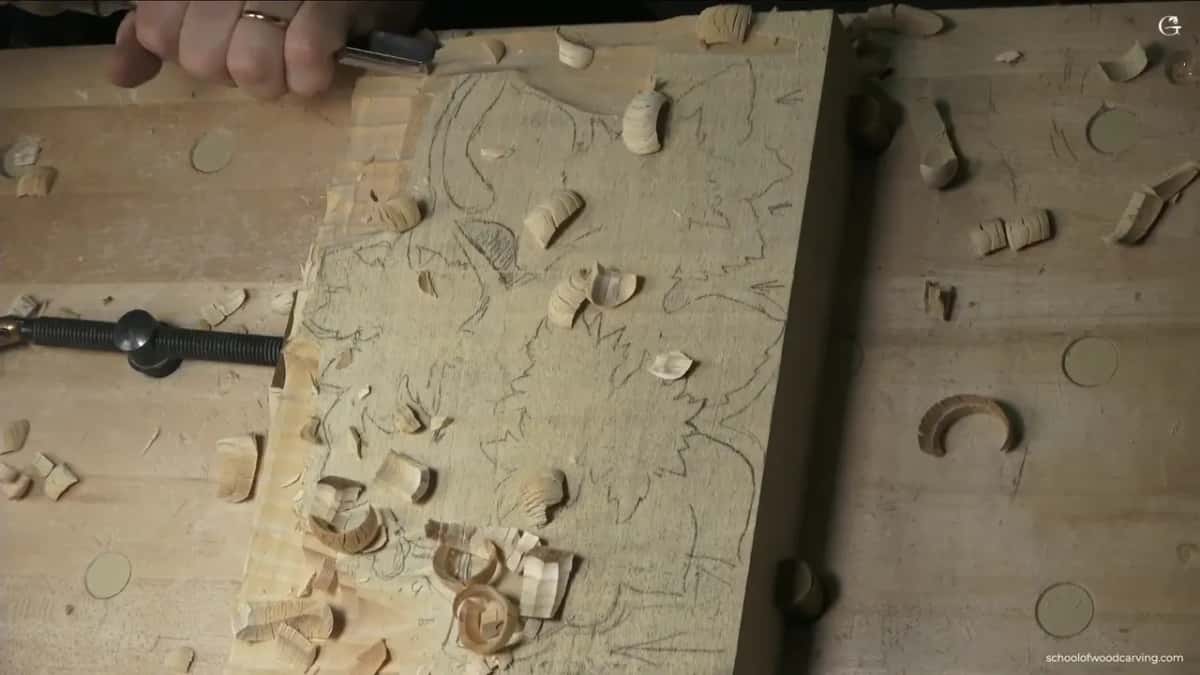
Slicing gave me less to fight, and I said so twice in the same few minutes of the lesson. I start each pass on the left of the tool's edge and finish on its right. That, I said, is a lot less fight for me. And you don't really have to make a long pass. A minute and a half later I said it again, nearly word for word: I have a lot less fight. In this case, I said, I can work just one side at a time, then flip it and attack from the other side.
The other half of it is how much you ask the tool to take. I don't force it, I said, and I try to take the same amount of material every time, from above down. I kept each pass to no more than an eighth of an inch, about 3 mm. And I warned against the opposite, which is placing the whole tool and trying to remove the whole thing in one go. I called that almost impossible, then took it back right away. It is possible. You'll just get tired, and there's no reason. Let the tool do the work and not you.
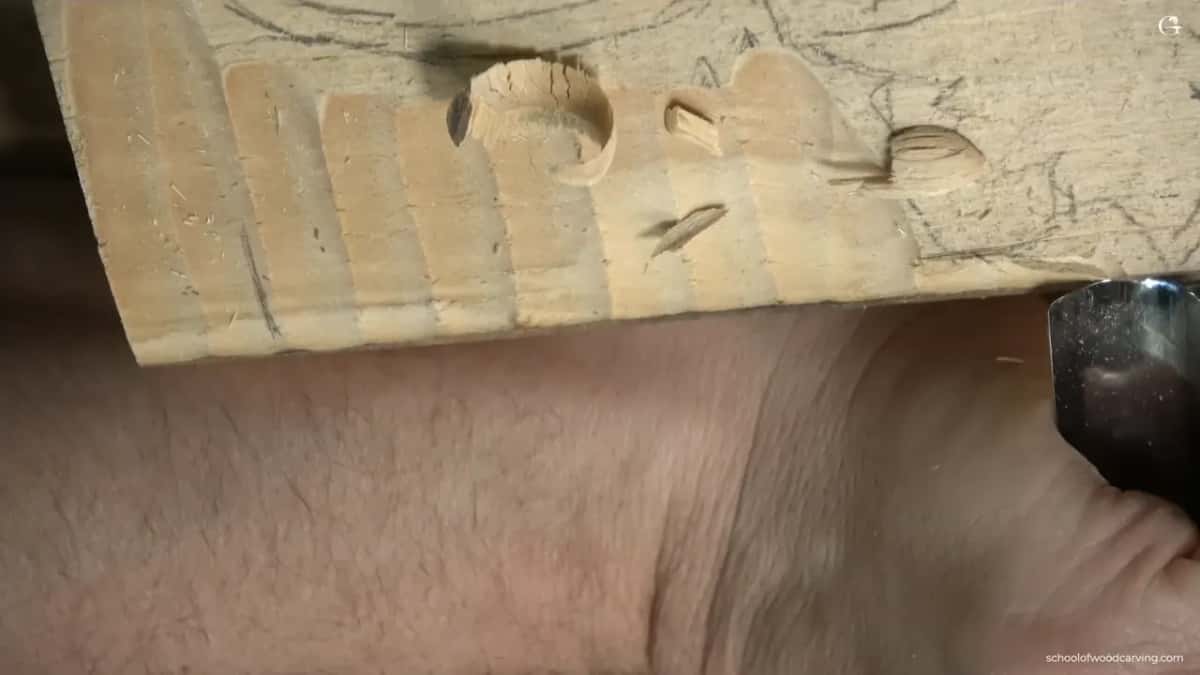
Force is also why I don't run a pass right across the board. If I kept going with that much force, I said, I could catch a micro-crack and split it, and lose some of the material. So I went about three-quarters of the way to the line, then attacked from the opposite side toward the center. I keep saying across the grain because I see a lot of guys who make that mistake. Don't be tempted to go along the grain, either. You'll catch the grain and split it. No bueno.
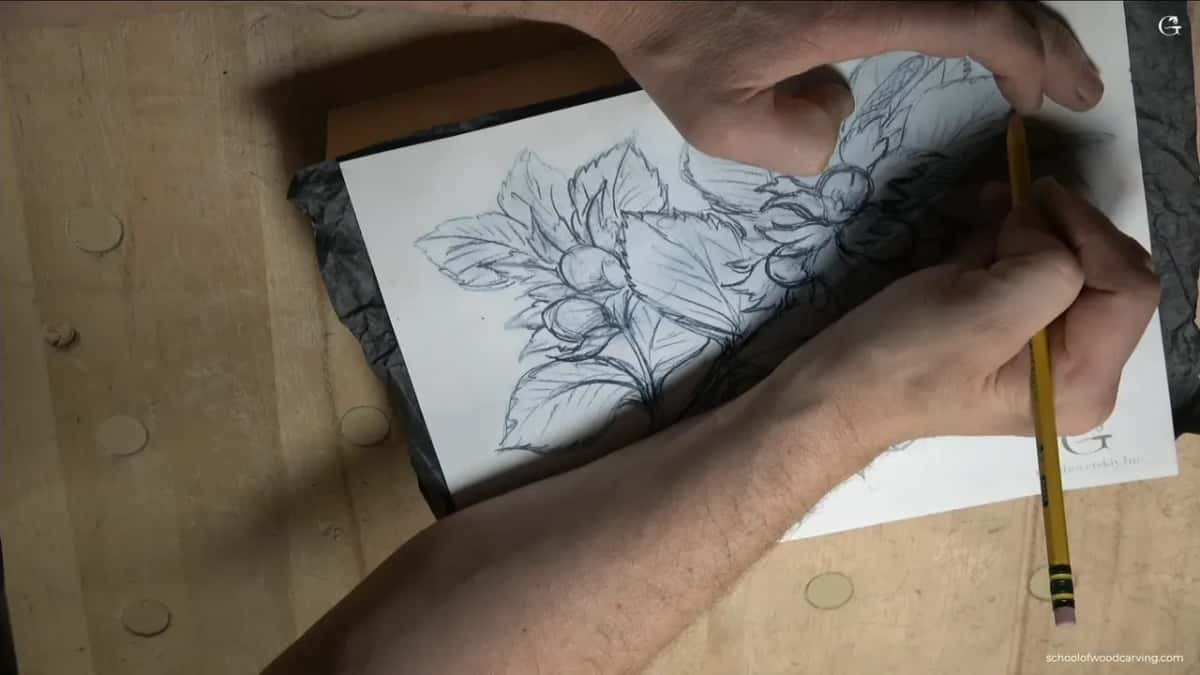
Before the first chip I said all of that material is waste, and I need to remove it. I double-checked first, so as not to take out what I don't need to take out. Even the tracing got the same plain treatment. All I needed was the main outline, and I said don't spend too much time on that. No reason. I wasn't going to worry about 1/8 inch (3 mm) on the paper either, and I left out all the curly bits, since I didn't want to create too much mess.
Does where you stand change the work?
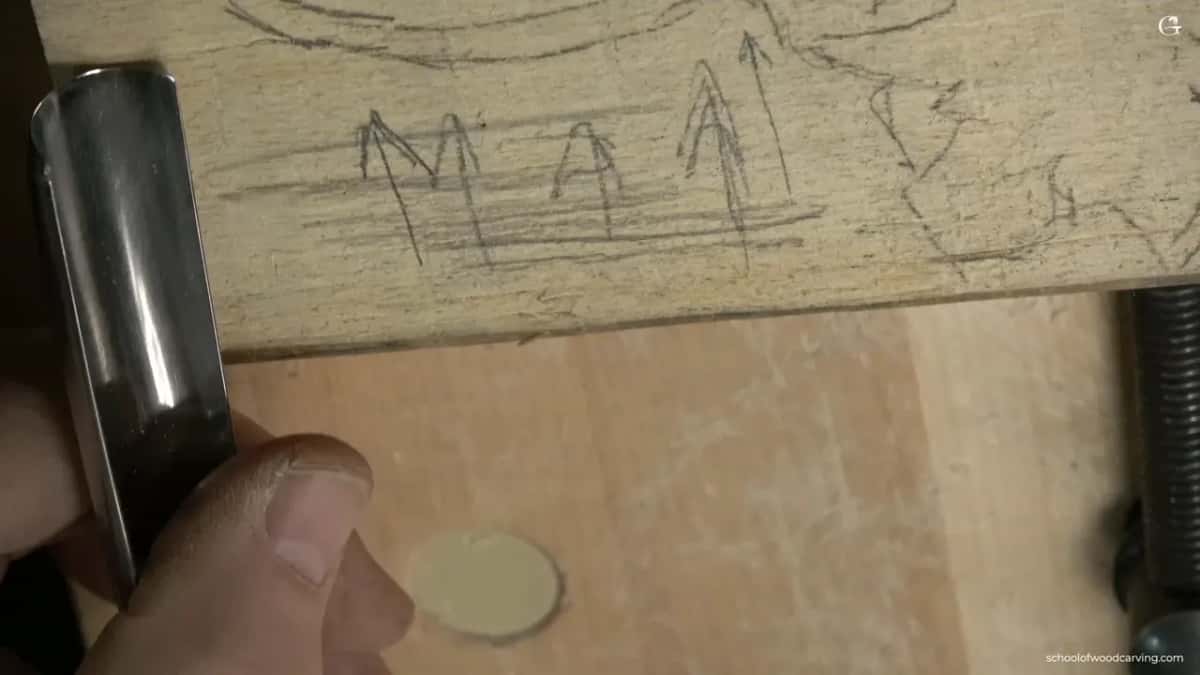
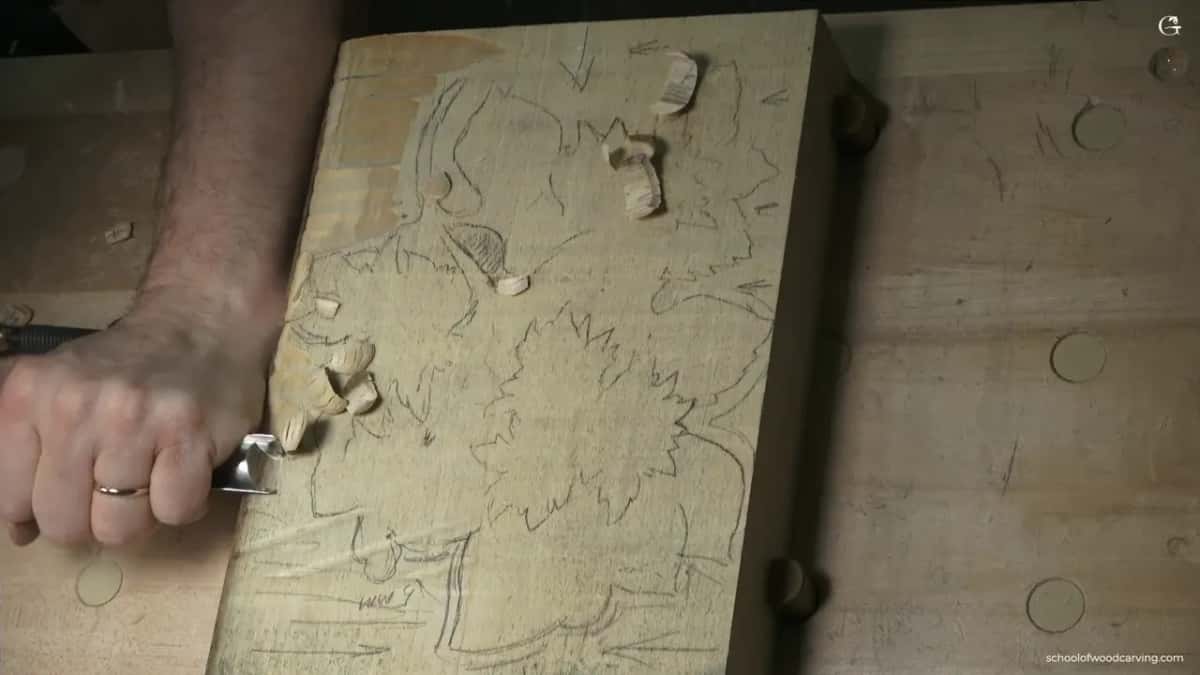
It changes your control, and I showed two ways to set up in the first part of the lesson. Fasten the piece really solidly first. I used screw clamps and a couple of bronze stoppers, and I said to make sure you don't hit the bronze when the material comes out. Whichever way you stand, the waste comes off perpendicular to the grain, from outside toward the inside, all the way around the panel. Before any of that, I penciled arrows on the block to show which way the grain runs.
One way is to stand at the front, with the grain running across in front of you. Then you still stay a little bit on an angle as you work toward the center, and you use the whole body pretty much, moving it, from both sides if you like.
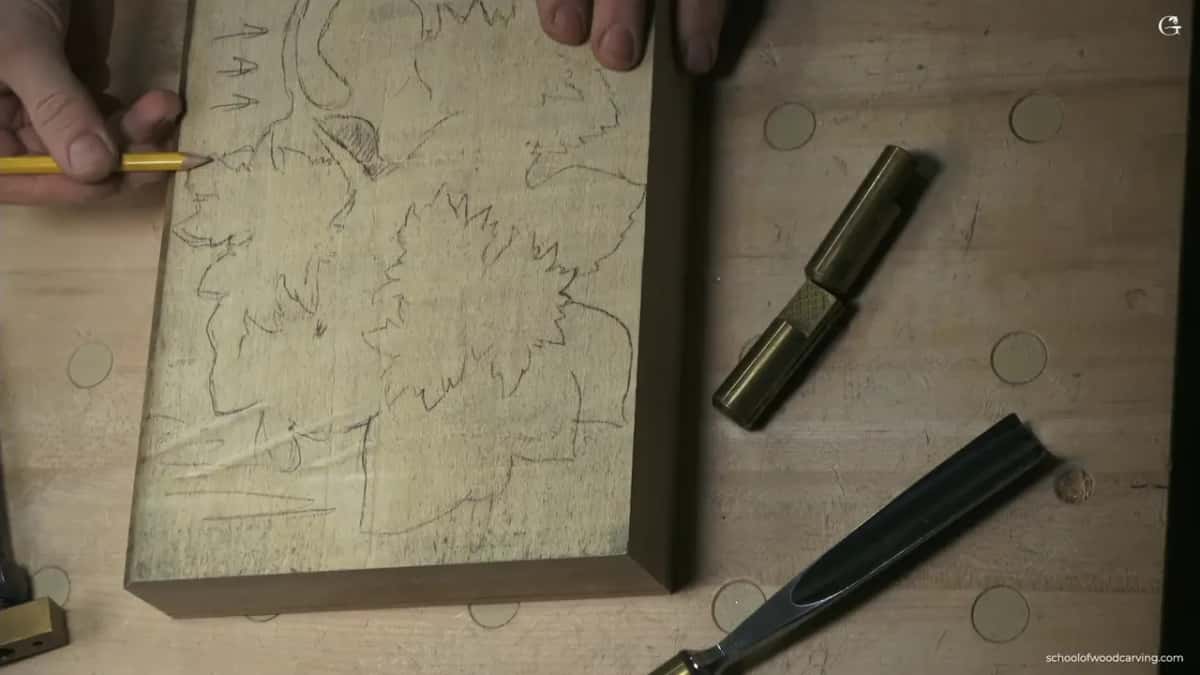
The other way is the one I used that day. For me it doesn't work all the time, I said, but sometimes it's a good idea: the long grain points away from you and you come at it from the side, and you can have a lot better control, actually. I'm not sure it makes sense, I told you, but try it. Being right-handed, I said I'd work from the right-hand side, and to flip it and attack again.
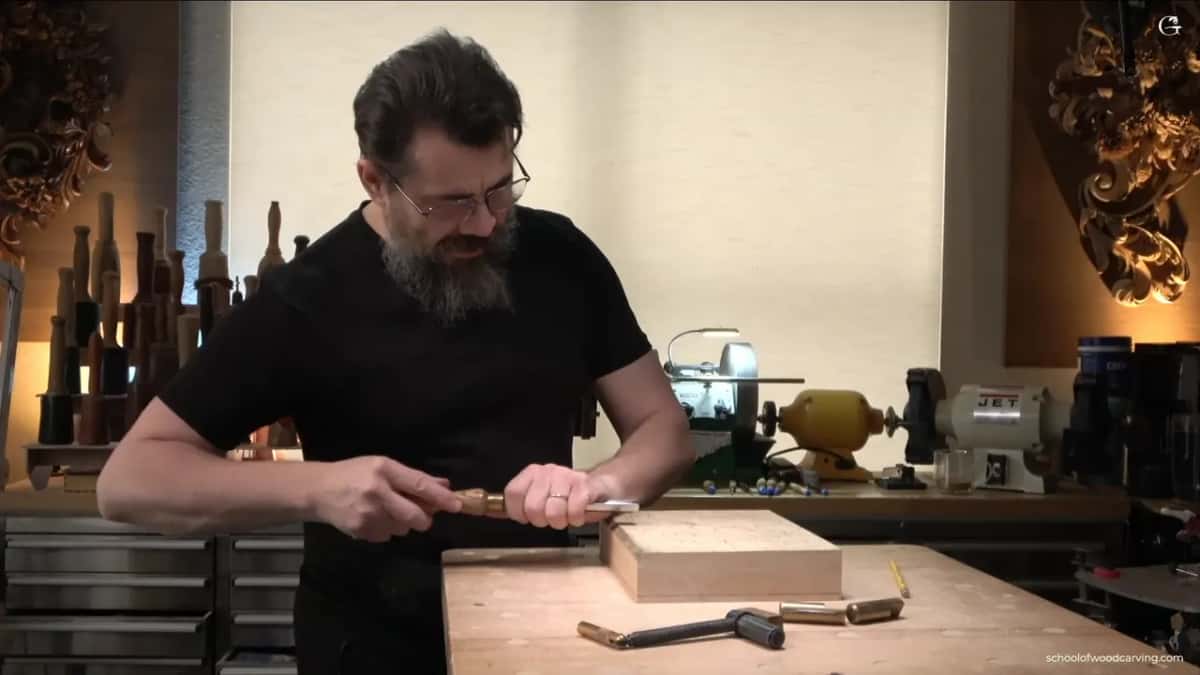
In that lesson I didn't say which set-up wears you out faster. What I said is that the front one puts the whole body into the work, and the side one gives you better control. The body comes up in my first Grinling Gibbons class in Maine too, where I told a student that just pushing uses too much force of your body, and you're going to get tired.
There's one more honest moment about position. Early in the second part I noticed I was too far from the edge in that camera position, and I readjusted slightly before going on.
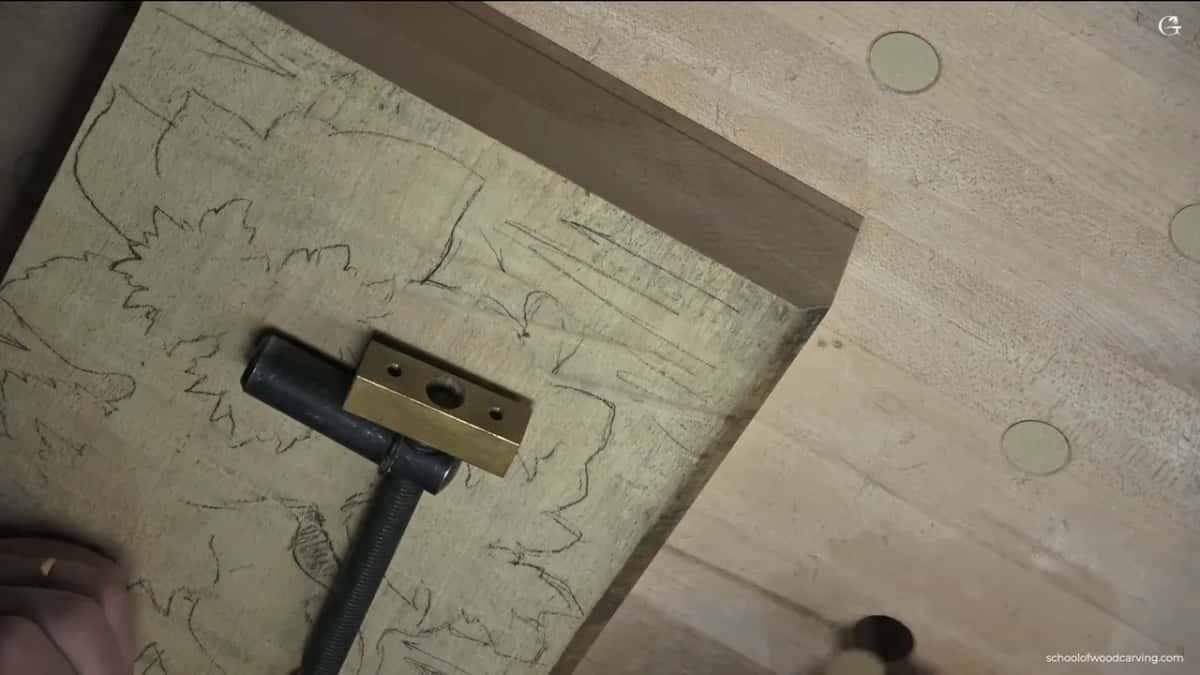
Relief carving tips for the heavy stage and the one after it
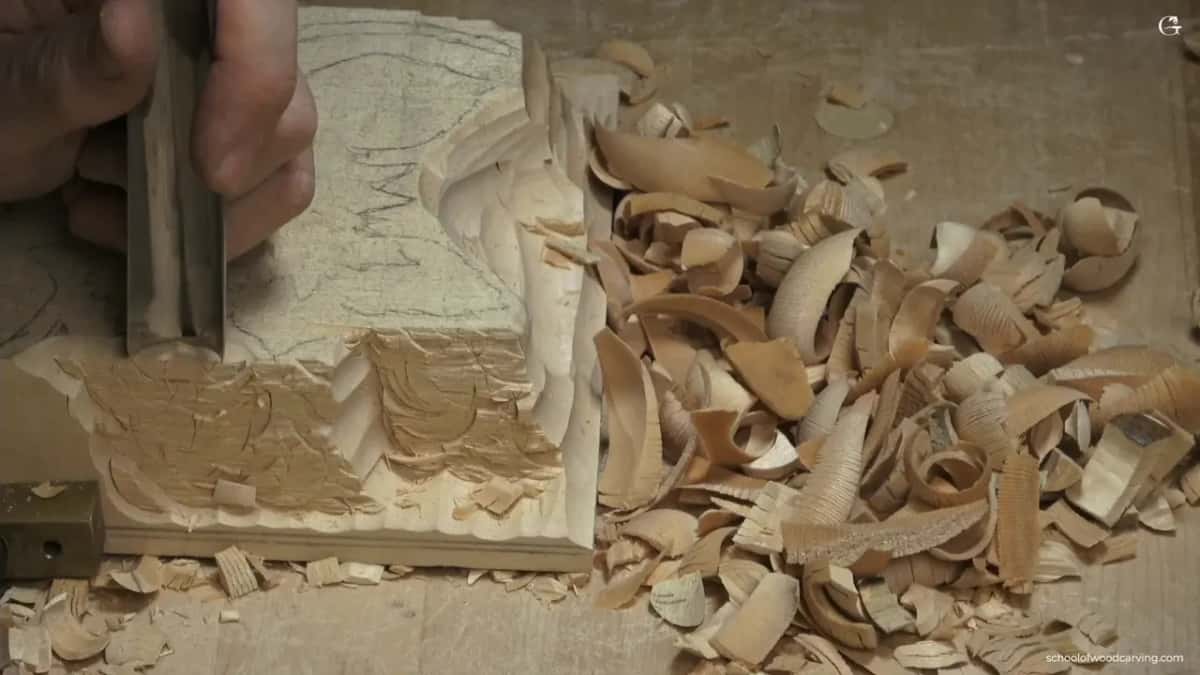
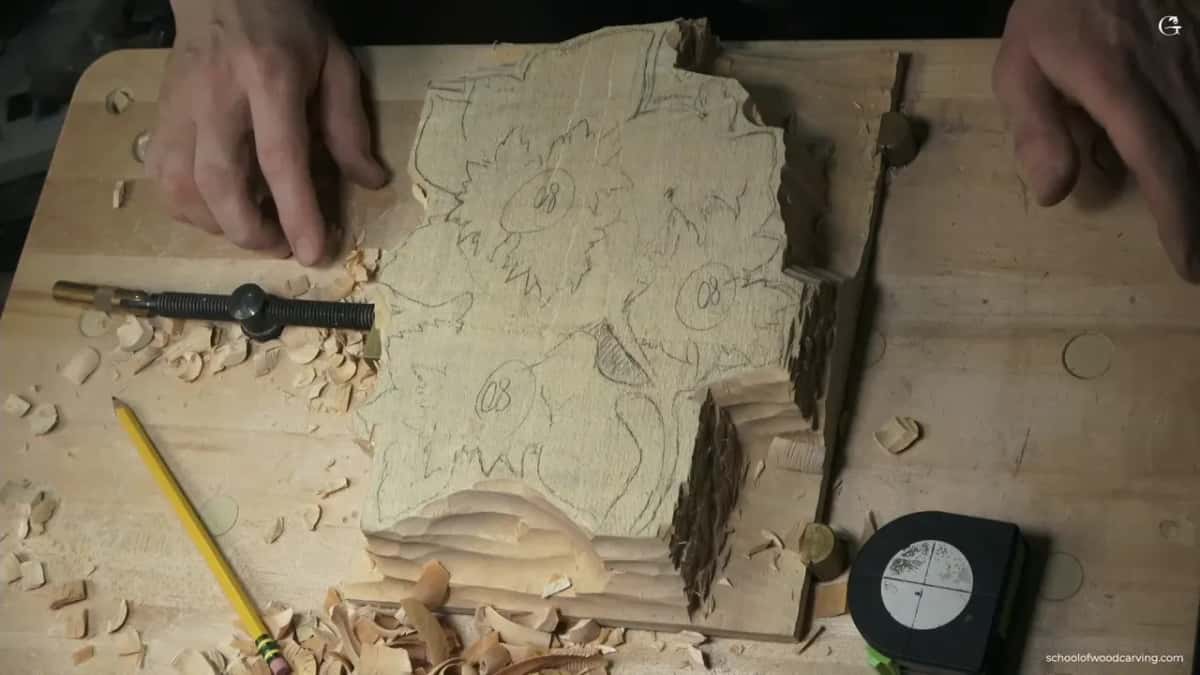
The heavy stage is the bulk of the waste, and once it was done I called it probably the hardest stage, although it didn't take too much time. The video runs about two and a half minutes with no talk before that, just the gouge going. Before I started, I said to stay about 3/16 of an inch (5 mm) away from the final line, just to make sure you don't hit it when the whole chunk comes out. A few minutes in, I said it twice in a row: I am staying away from my final design, and that is really important. While it came off I stayed away a quarter of an inch (6 mm) in some spots, an eighth (3 mm) or 3/16 (5 mm) in others.
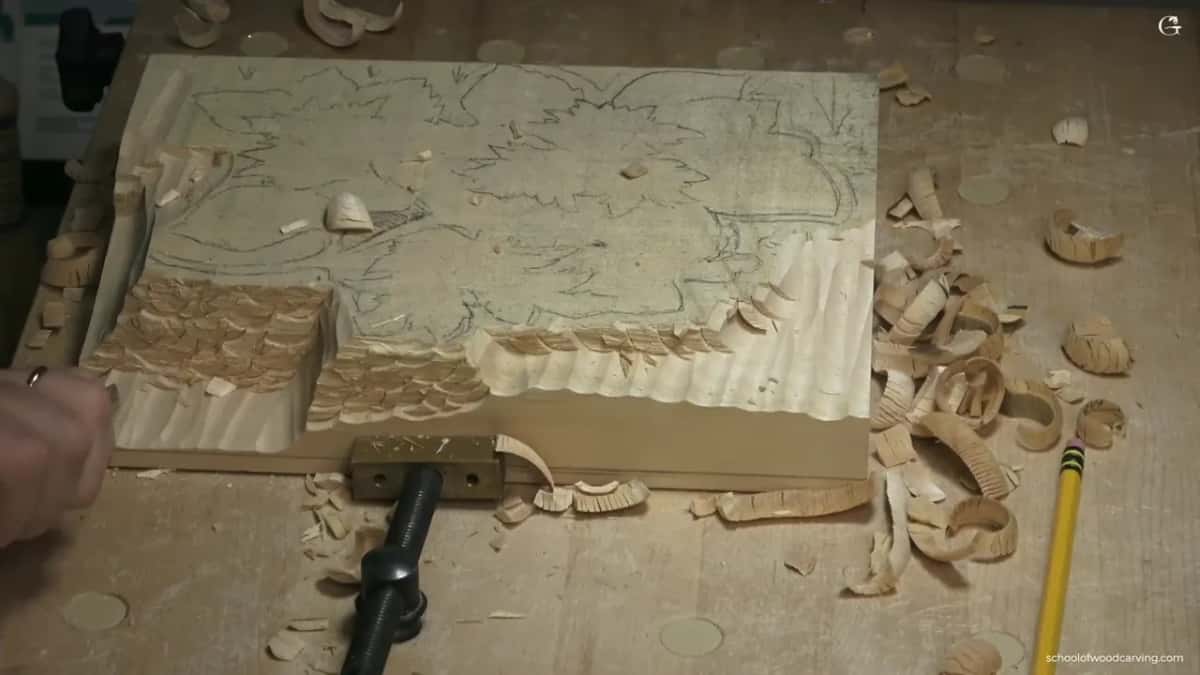
The stage after it comes down from above, almost on the line, about a sixteenth of an inch (1.5 mm) shy of it, I said, with the wall at 90 degrees and no undercut. Sloping it outward is actually better, because you can always take material out later. That second stage can wait. I said you don't really need to do it at this point if you got tired already, and that little by little you'll be able to excavate it. By then the main chunk was taken.
What tells me I'm getting tired?
My own sign is the number of tools lying on the bench. In lesson 5 of the floral and molding panel I put a number on it: two or three tools out is fine, but more than that means I am tired, and it's time to walk away for a few minutes, at least for me. Watch the bench.
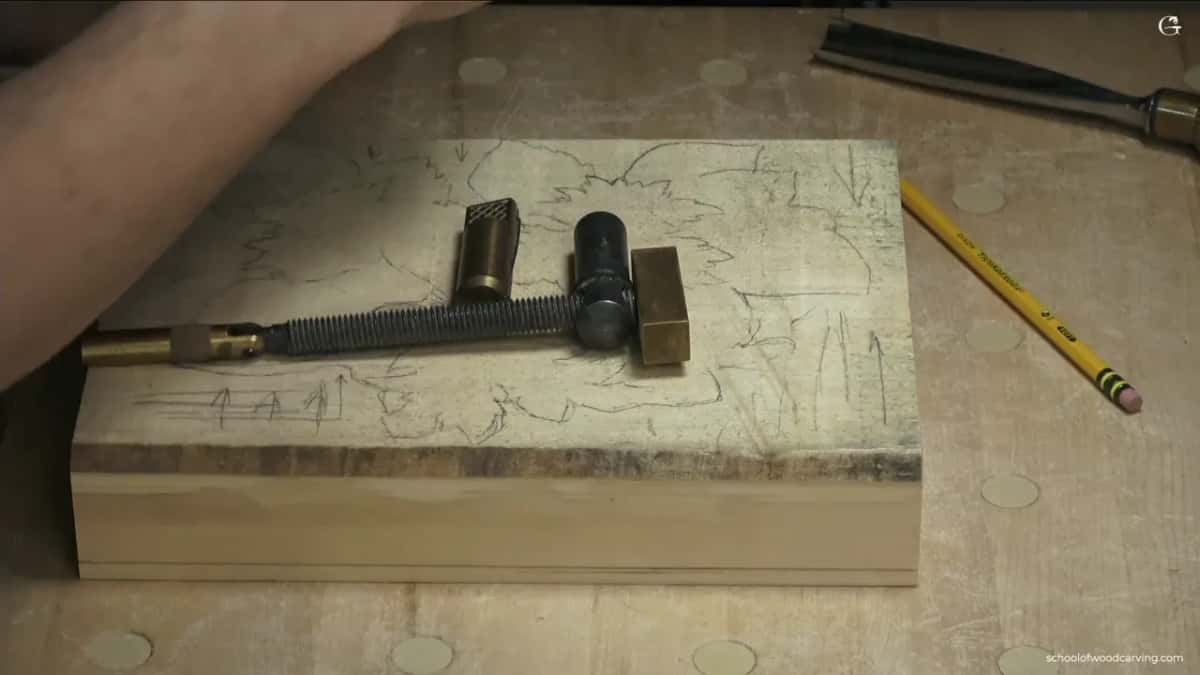
The same pile showed up in workshop 56 of the Venice Room, where my tools had stacked up, and I said it only happens when I'm getting tired, and quicker when I'm filming, because I have to talk and explain. In workshop 83 of that room I said that sometimes I say one thing and then another, and I knew why, maybe I was getting tired too.
Why not just push through when you're tired?
Tired is when the mistakes come. Lesson 19 of the furniture panel is where I took a precaution and said why: if I get tired, I make the mistake, and I don't want to make mistakes.
The first lesson of the Tray of Blessing has it in a few short lines: I don't push the tool at all, I don't want to get tired, I feel how the tool does, or else you get tired and you get frustrated. In the Big tools vs small lesson I called it one of the biggest mistakes I see, even in people who carve for years: a small tool, zig and zig and zig, and they get frustrated. On the hazelnut panel I said the bigger the tool you can use at that stage, the better, and the 20 mm number 9 did the heavy day.
What do I do when it happens?
I walk away, I move to a different spot, or I change tools. In lesson 29 of the furniture panel I called it good practice: when you're getting tired, and I'm not sure about you, but I do, jump to another area and do something there.
The lily box, in its eighth lesson, gave the other side of it: on a larger project I can jump, but on a small one like that there's no reason, and if I can take care of a spot right away, I'll do it. Then in lesson 25 of the Hashemi flowers I said you can get tired of the same tool when you use it every day, and want to come at the wood with a different one, which happens with me at least.
How high should a wood carving bench be?
My own bench sits where my elbow just touches it when I'm standing, as I said in lesson 2 of the lily box, where a regular table is kind of low for carving and your back gets tired really quickly over a day.
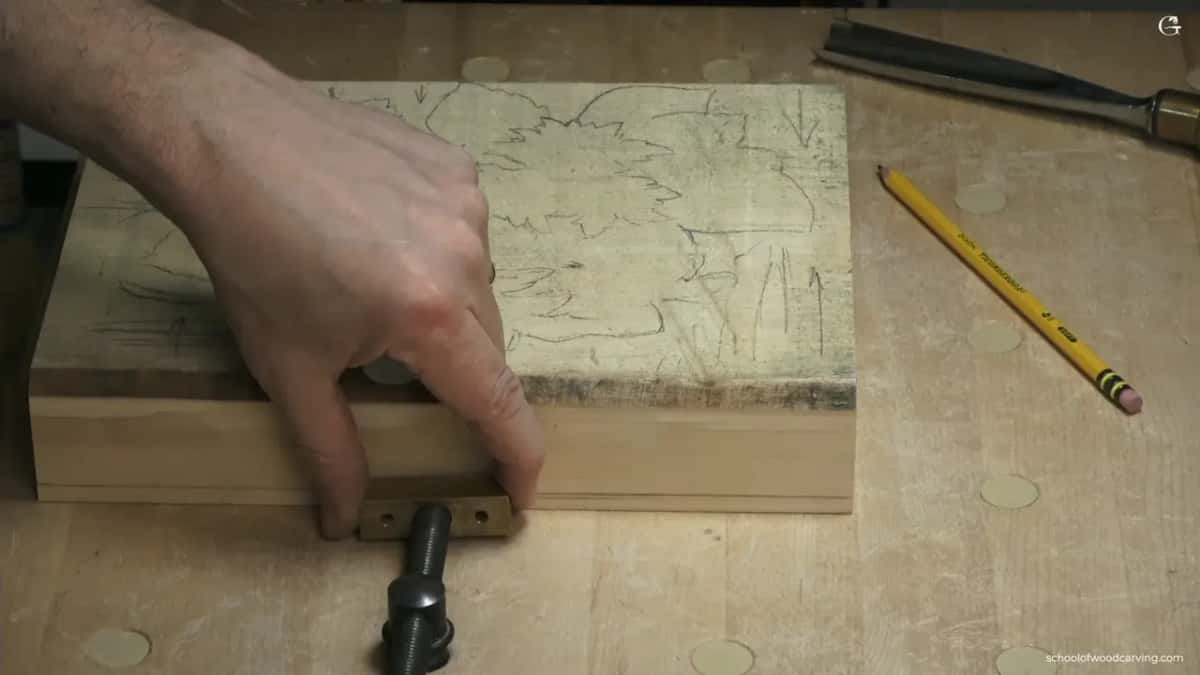
The tool's grind plays into it too. At the sharpening class in Maine I said that for softer woods a low bevel lets your knuckles almost touch the wood, and then you don't get tired in your shoulder and elbow, so you can carve all day long. The lesson on what bevel to use for hardwood says it the other way round: raise the tool too high every day and your elbow and shoulder go up with it, and over many hours you get some pain, and you get tired. The hazelnut panel itself is American basswood.
Where each line comes from, lesson by lesson
The pictures on this page are all from that first hazelnut lesson.
Lesson | What I said | Topic |
|---|---|---|
Hazelnuts, lesson 1 | placing the whole tool at once just tires you | slicing instead of forcing |
Grinling Gibbons, Maine | just pushing uses too much force of your body | force from the body |
Floral and molding 5 | a pile of tools on the bench means I'm tired | a crowded bench |
Venice Room 56 | tools pile up only when I am getting tired | talking while I carve |
Venice Room 83 | sometimes what I say goes one way, then another | words that drift apart |
Furniture panel 19 | getting tired is when I make mistakes | mistakes once you're tired |
Furniture panel 29 | jump on another area when you are getting tired | moving around the piece |
Lily box 8 | jumping fits a larger project, not a small one | size of the piece |
Hashemi flowers 25 | you can get tired of using the same tool | changing tools now and then |
Lily box 2 | a low table makes your back tired really quickly | height of the bench |
Sharpening, Maine class | with a low bevel, no tired shoulder or elbow | the length of bevel |
Bevel for hardwood | a raised tool lifts your elbow and shoulder all day | pain over long hours |
Tray of Blessing 1 | I don't push the tool at all | tired and frustrated |
Big tools vs small | people zig with a small tool and get frustrated | starting too small |
Where does the panel go after this first lesson?
On into the hazelnuts themselves, which the later lessons of the course carve. In this first one, the clean up near the line could wait for another sitting, little by little, the way I said.
If you want to watch the waste come off at my pace, pauses and all, Access opens the whole hazelnut course and the rest of the school.
How it's done
- Set the grain and pick a side. Turn the panel so the long grain points away from you, then come at it from the side. Being right-handed, I said I'd work from the right, then turn it round and go again.
- Slice instead of shoving. Begin with the edge on the left and finish on the right, the way I do. Keep it shallow, no deeper than about 3 mm.
- Watch the pile of tools. Once tools start piling up past two or three, walk away for a few minutes.
- Move to another area. Jump somewhere else on a large piece when one spot wears on you. A small one I'd sooner finish right there.
- Leave the clean up for later. If you are already worn out once the main chunk is gone, leave the wall work for another day.
Frequently asked questions
What are some tips for carving wood without wearing yourself out?
Let each pass start on one corner of the gouge and end on the other, and keep every pass shallow, about one-eighth inch. Count what is lying on your bench as well. When loose tools start to pile up, I stop for a while.
How do you know you need a break from carving?
Mistakes are what I guard against, since on a furniture panel I said that getting tired leads me into the mistake. Words give me away too. Saying one thing and then another on camera, I once put it down to maybe being tired.
How high should a carving bench be?
Mine reaches the point where my elbow just touches the top while I stand. A regular table is low for this work, and a whole day at one wears your back out fast. A low bevel on the gouge spares the shoulder and elbow, too.
What to carve next