
Alexander Grabovetskiy, woodcarver, School of Woodcarving · Published 2022
How exact does a wood carving layout need to be?
Quick answer: Wood carving layout is the set of lines scratched into the board before any chip comes off. On a plate, only a few of them must be exact, and those are the center, each ring taken from it, and the depth your board allows. The diameter and most spacing may drift a millimeter without hurting anything.
Laying out a carved plate is forgiving work in most places and strict in a few. The middle point has to be a real point, every ring has to come off that one point, and the dish can only go as deep as the board allows. Miss anything else by a millimeter and the plate carries on.
Did your tape come up a hair short of ten inches? Has a caliper point ever dug in deeper than you meant and left a double line? Both happened to me on this plate while it was still a square board. Neither one worried me.
Lesson one of the butterfly plate is mostly layout, and it is the step past the curly bird cutting board that some of you carved with me. You need a square of basswood ten inches across, 254 mm, and about 3/4 of an inch thick, 19 or 20 mm, dry and ideally air dried. The tools are a tape measure, calipers and a pencil. By the end of the third video the circle is sawn out and the shape of the dish is settled, and what I want you to walk away with is which of those first lines you may relax about and which ones you may not.
The lines that hold, and the ones that may wander
- Find the middle of the board and take every ring from it before a saw or a gouge comes anywhere near.
- Sharp caliper points bite a groove you can follow later.
- Scratch the outline a millimeter inside the rim, in case your center is off.
- Depth is the one number I never let slide on a 3/4 inch board.
- My tape read a 64th short, one ring came out a little off, and a scratch went too deep. I let all three go.
- Late in the course, a finger against the plate's rim places the new lines.
Which lines on a carved plate must be exact?
The center, and every ring you take from it. Those are the lines I slow down for, since everything else on the plate grows out of them.
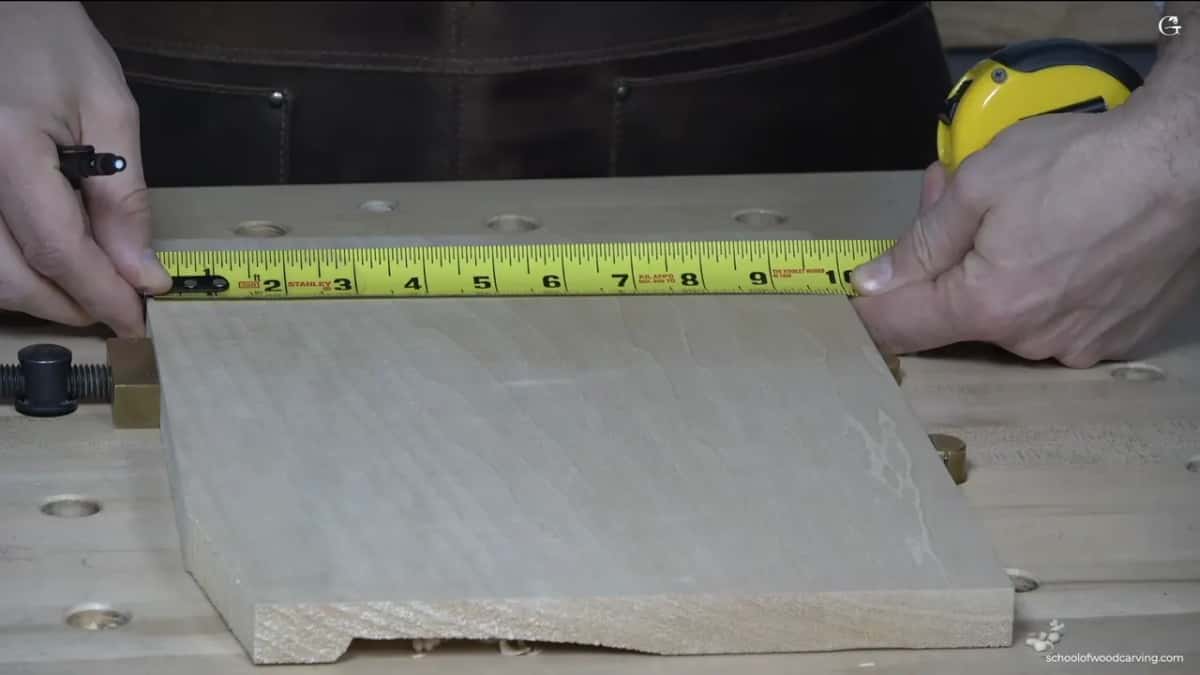
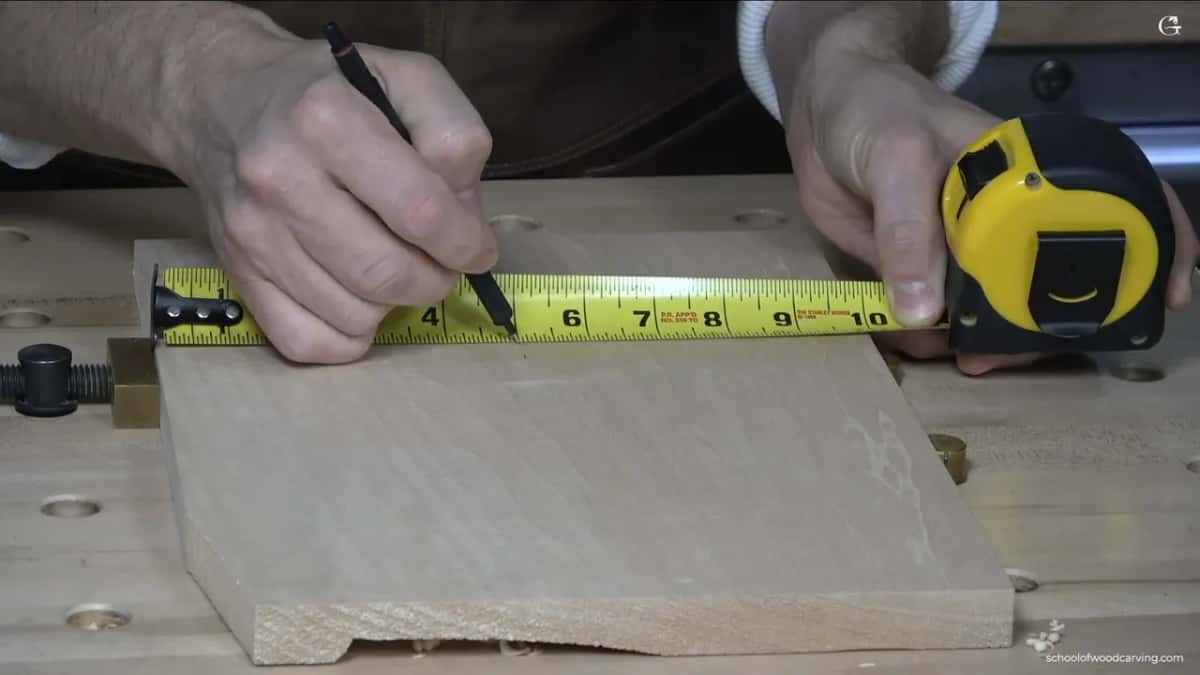
I ran a tape measure across the board first. Ten inches, I said, and then corrected myself, maybe a 64th of an inch less, which is under half a millimeter. I found about the center, five inches from this side and five inches from that one, 127 mm each way, and told myself I should be okay.
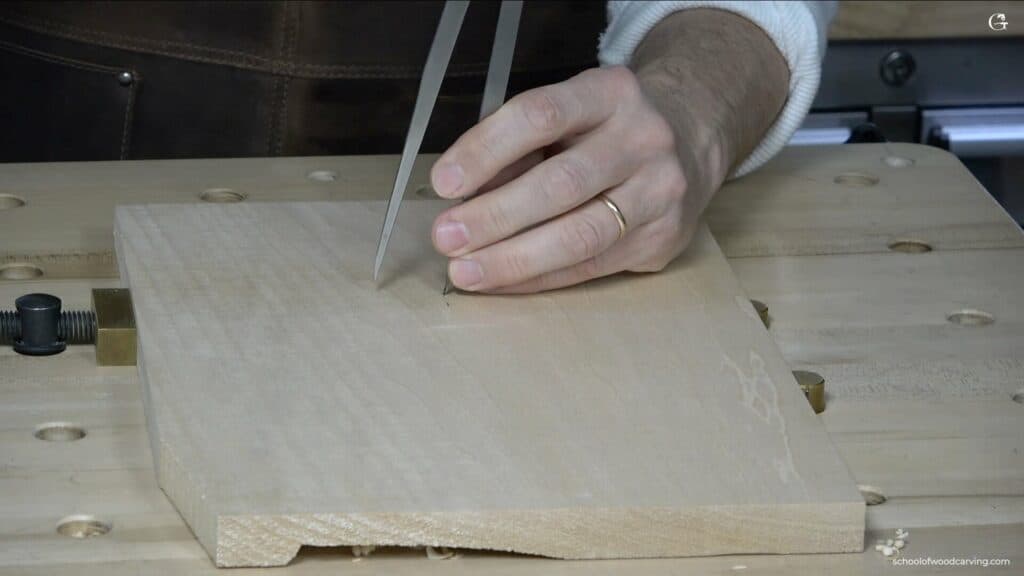
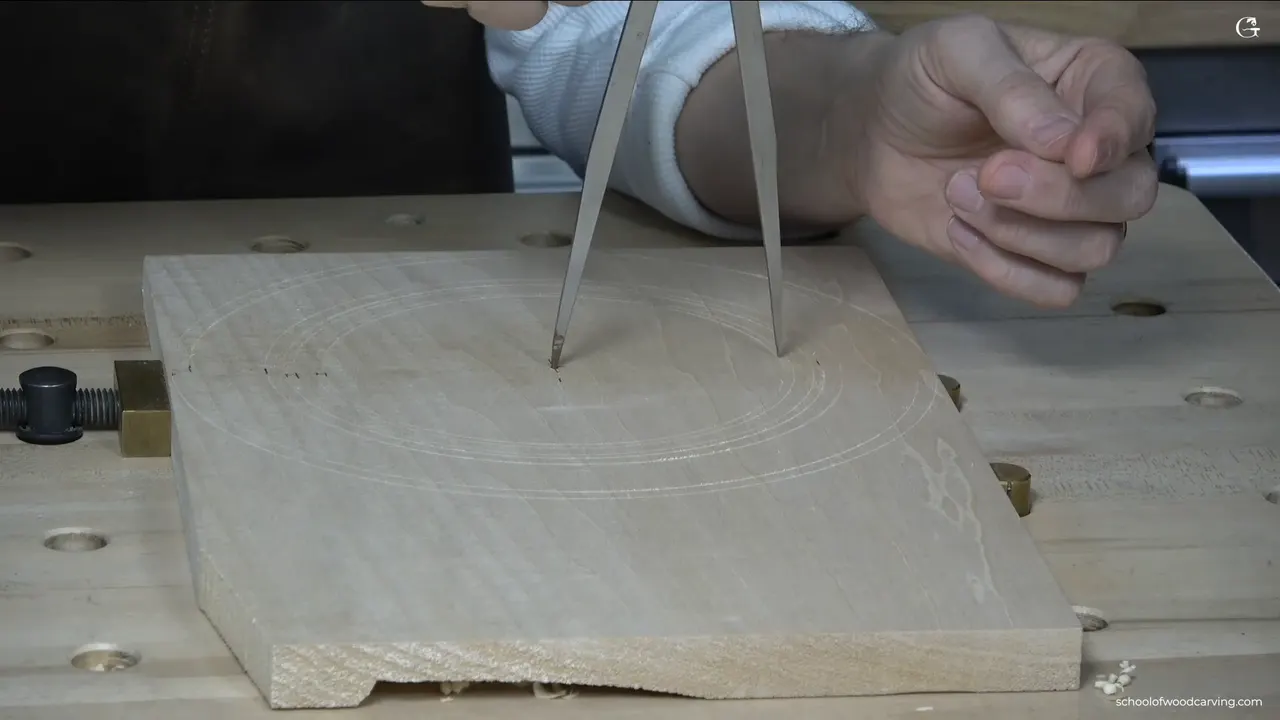
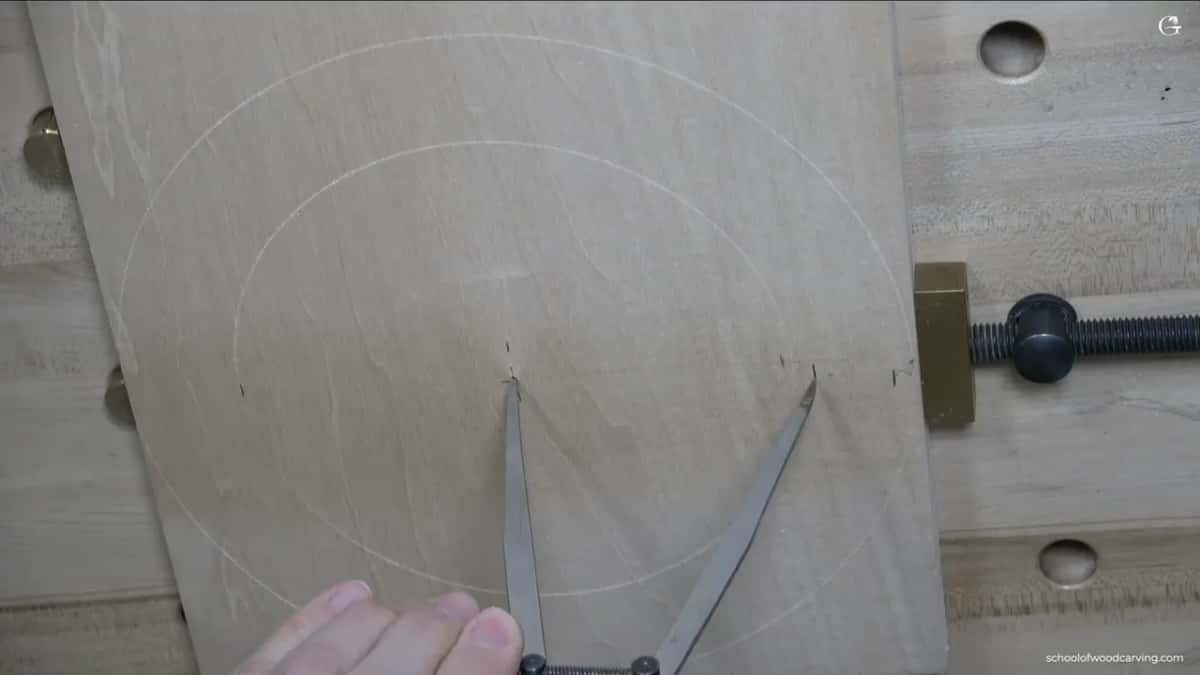
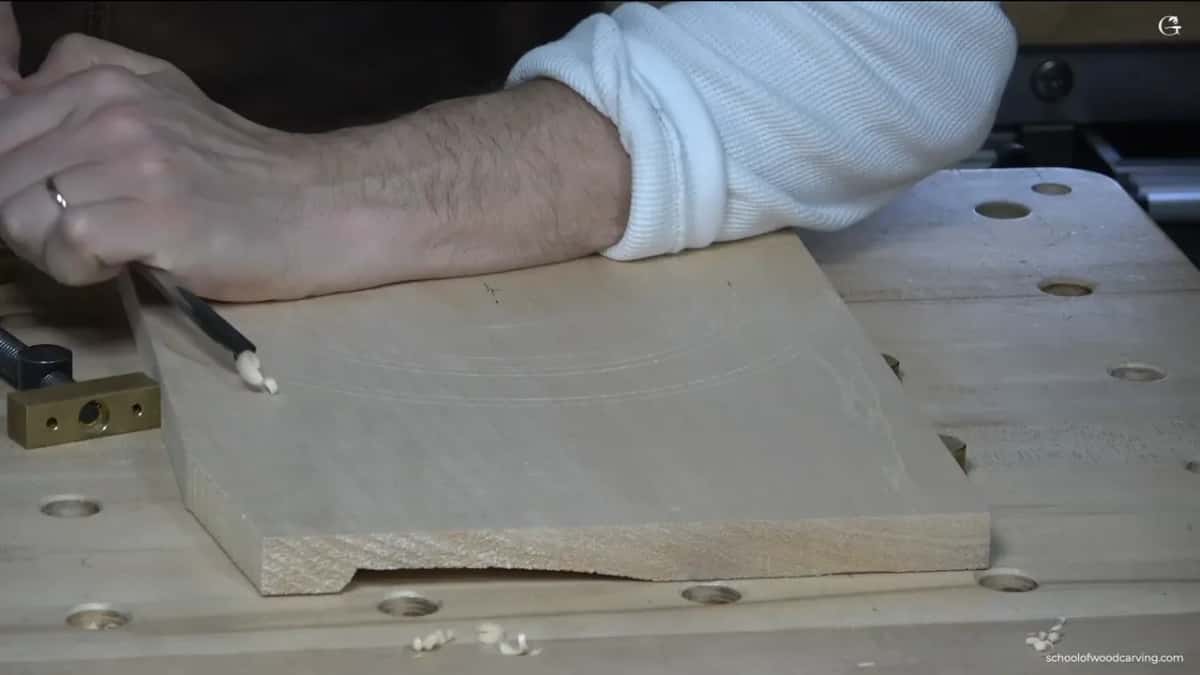
Then the calipers, just normal calipers, sitting on that middle for the outline. Every ring after it came off the same point. The border rings came next, and their widths are on the course page, so I won't repeat them.
More than any single width, the rings have to share one middle, the thing geometry calls concentric. Scratch one ring from a slightly different point and the gap between it and its neighbor grows on one side and shrinks on the other. On a band only 3 mm wide, an eighth of an inch, your eye will find it.
Why scratch every ring before the saw comes out?
Later on it is really hard to find the middle again, and I said so on camera while scratching the inner rings. Think about what comes next. The saw goes around the outside, then a number 7 goes into the middle and hollows out the dish, right through the little hole where the caliper point sat.
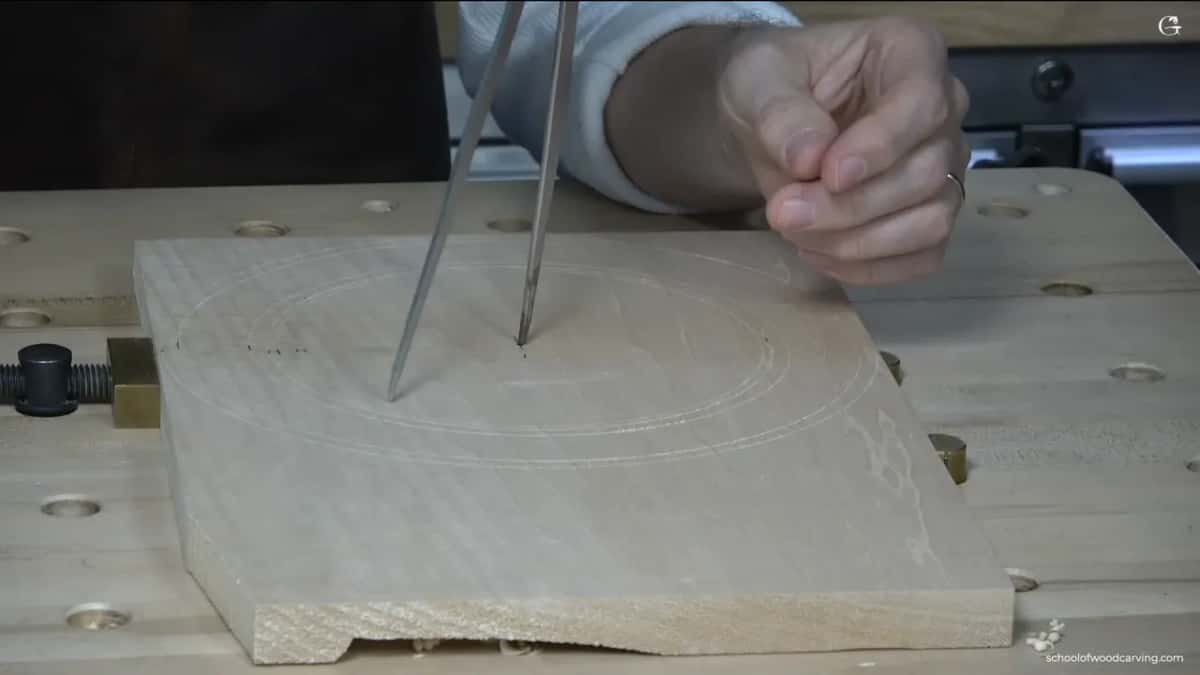
Once that hole is carved away, the calipers have nothing to pivot on. So every ring goes on at the start, while the point is still there. That step is really important, I said, step number one.
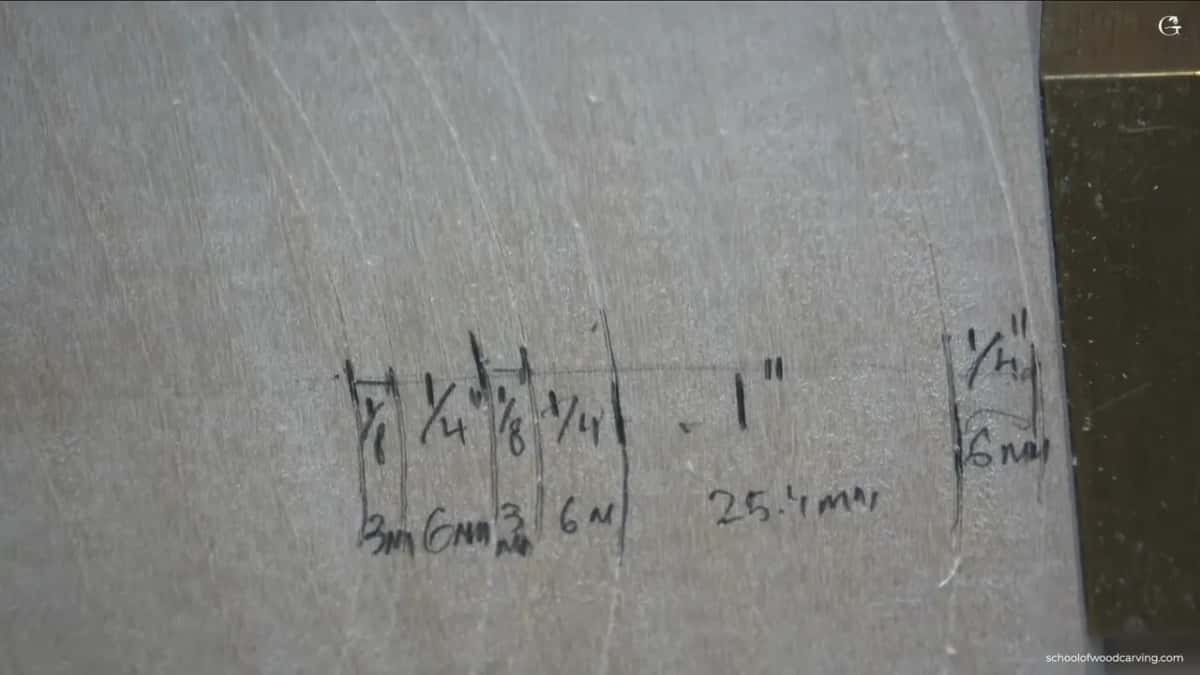
I even wrote the widths on the board, and read them out once more in millimeters, so you would not have to carry them in your head. Then I went over the main line once more, darker, because that one is the main movement of the whole border.
It paid off ten lessons later. Back on the rim in lesson 11, I carve right on a mark from a circle.
The rim fills most of lessons 11, 12 and 13, and it starts from lines you scratched on day one. Anyone who wants to carve that rim with me can, since the whole course is open to students.
Why do the caliper points need to be sharp?
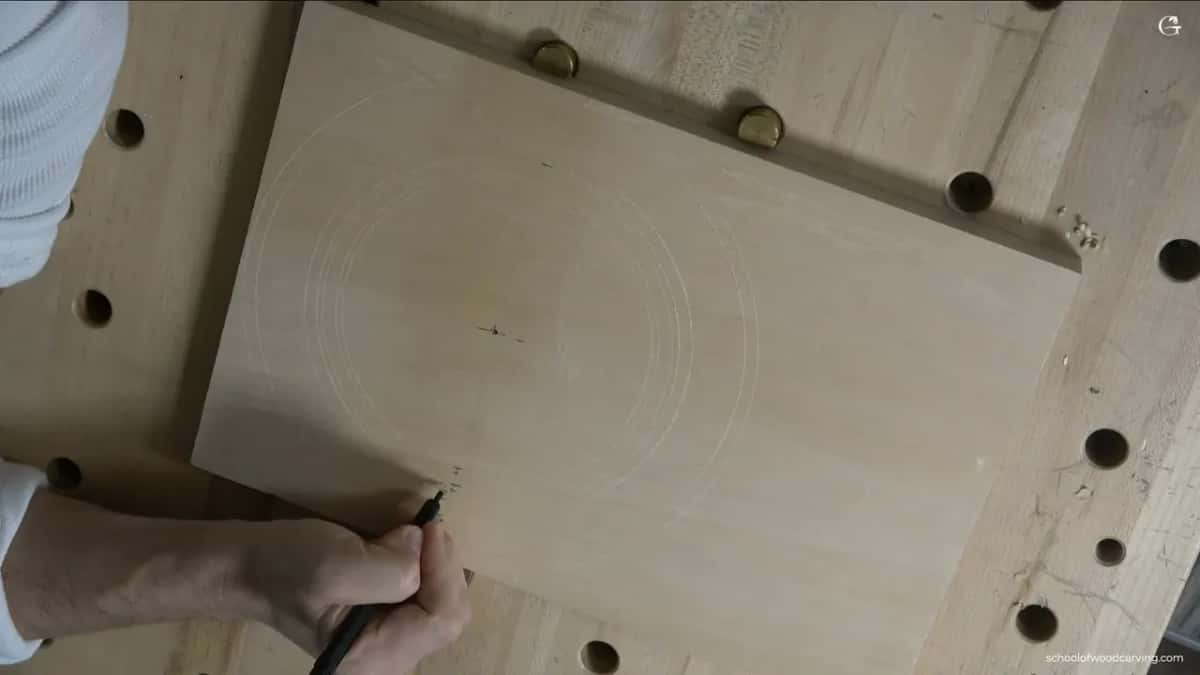
A point that bites leaves a pre-cut groove, and that groove is how you keep the true diameter when the saw goes around. On camera I call sharp points really important, and I say it before I ever pick up the tape.
Pencil in a compass will do the job too, and I would not stop you. What you give up is the groove. A pencil line sits on the surface with nothing carved into it to keep the saw honest, so the circle stays true only as long as your hand does. For a line more accurate still, scratch it with the grain, going downhill, the way I show on the board in the second video.
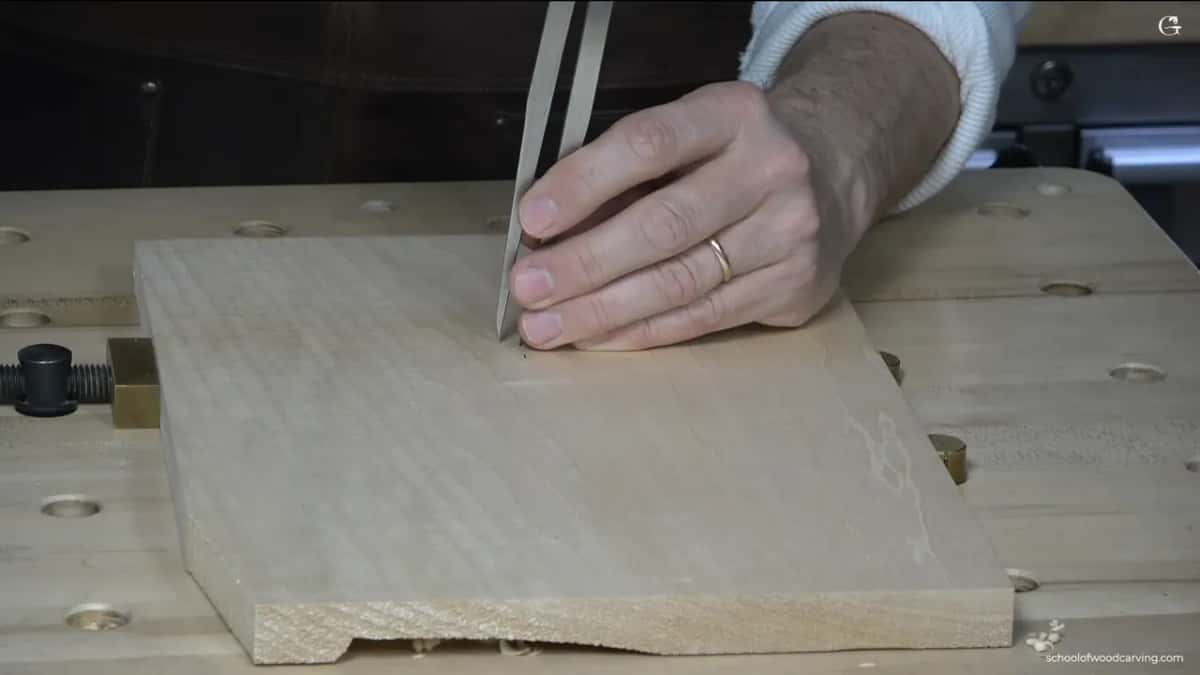
My own quick-release calipers, a pair I really like, do not have really sharp points. I used them anyway for this plate and figured it would be okay. If you own a second pair, shape the tips into a small knife point facing the right way, and they will carve the line instead of scratching it. I don't really worry about that myself.
When the saw comes, keep that groove where you can see it. Band saw, scroll saw, coping saw or fret saw, any of them goes through basswood, and in the third video I lower the wood beside the line with a number 9 before sawing. Pretty close to the line, but not so close you lose it. You want to see what is going on.
What if your middle is not a true middle?
Leave yourself about a millimeter, a little more than a thirty-second of an inch, and check before you commit. That is what I did. Before scratching the outline I set the calipers roughly a millimeter in from the edge of the board, just in case I was not perfectly in the center. Then I went around and checked all the sides.
And I was not in a true center.
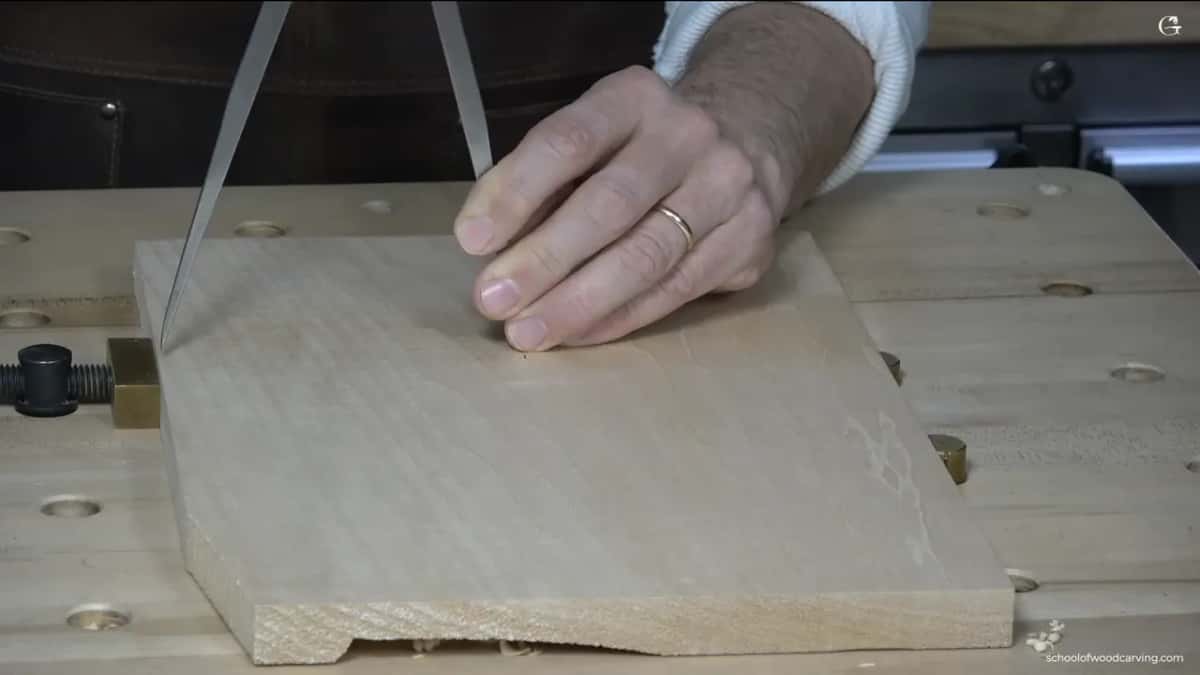
That millimeter is my insurance. With it the circle stays on wood all the way round even when the middle is off, the diameter shrinks by a hair, and I have no problem with a plate that ends up a little smaller. Your ten inches can come out short, and I said so in the first video.
Machine shops write a tolerance next to every number on a drawing, the amount a part may be off and still fit. My tolerance on this plate lived right at the rim, and it was about one millimeter wide.
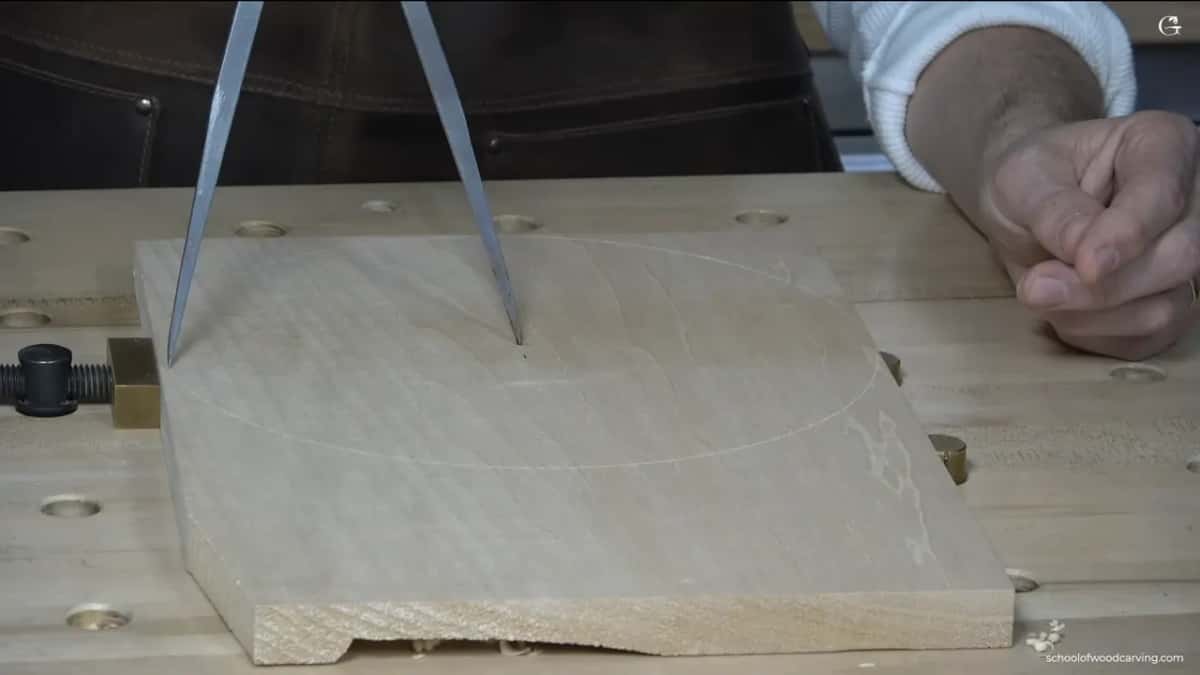
How deep can a 3/4 inch plate go?
About a quarter inch, 6 mm, on the first pass into the dish, and that is the one number on this plate I never let float. You have only 19 mm of basswood under the gouge, and some of it has to stay behind as the plate.
How deep you go is up to you, I tell you in the video, and in the same breath, remember we have only 19 millimeters. If the dish needs more later, you can always go a little deeper. Nobody has found a way to put wood back. The hollowing itself is the next lesson, and once the design is carved inside, the dish will still look deeper than it is.
That habit runs all through the course. On the rim, from lesson 11 on, I eyeball where a line goes, and I still name a depth almost every time I carve one. No more than maybe one millimeter. About a millimeter or a millimeter and a half. And then, flatly, no deeper than one millimeter, that's it. The cuts in lesson 13 need no more depth than a sixteenth of an inch, about 1.5 mm, or even less.
What can drift on a carved plate, and how far?
Most positions on this plate may drift a millimeter or two, and a scratch that goes wrong did not worry me. My border width came from the Fibonacci numbers I like so much, an inch and a half, 38 mm, and in the next breath I told you it doesn't have to be an inch and a half. On the second ring I was slightly off, said it twice, slightly off, slightly off, and then said that was all right.
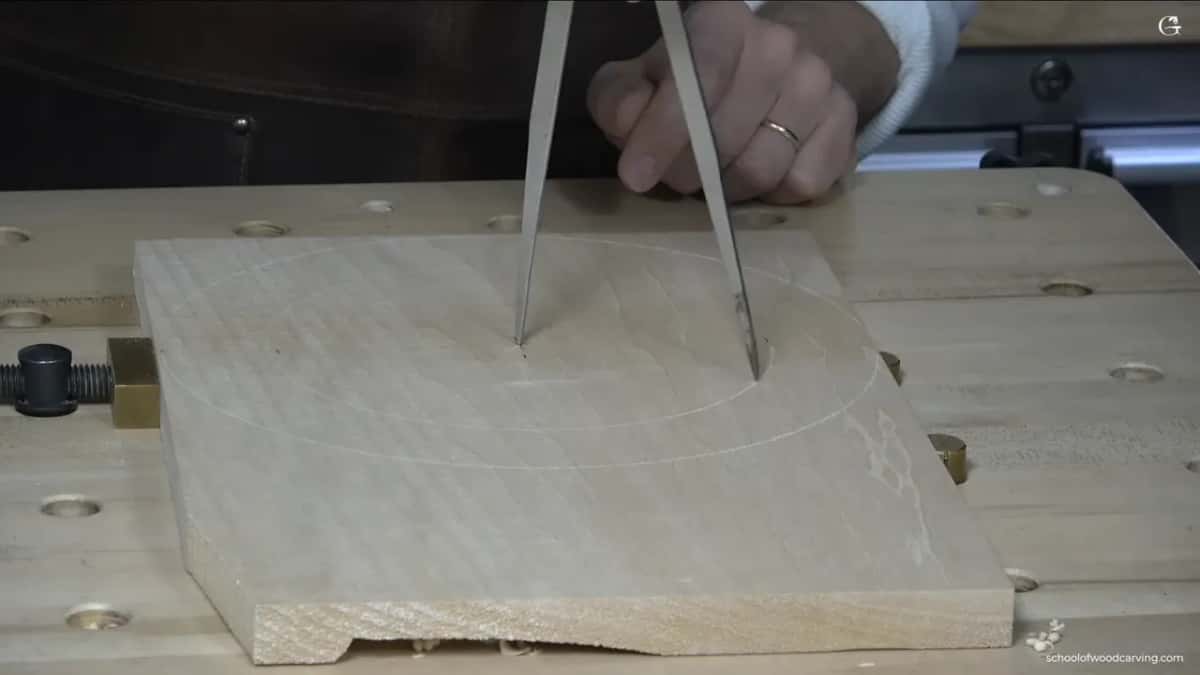
A little later a scratch went in too deep. Oops, I don't know what happened, is exactly what I said, and then that it was going to work out, no problem, and I kept going to the next ring.
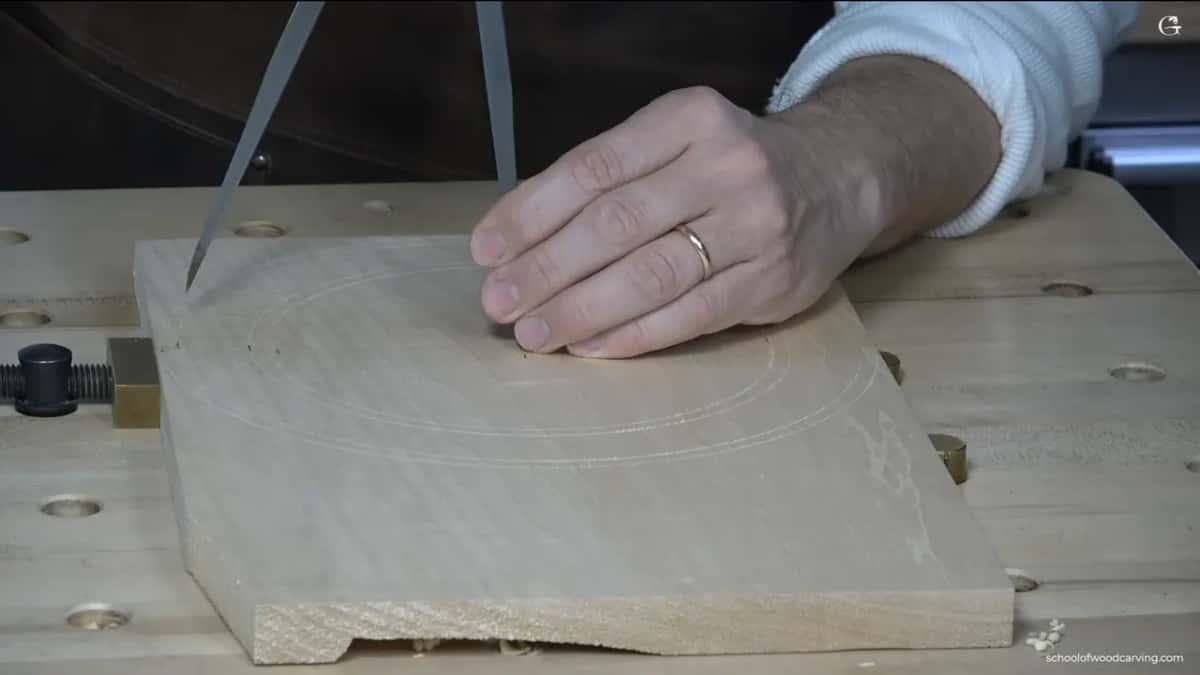
Lesson 11 gives you a number, 2 mm, then 5/64 of an inch for anyone on inches, and then tells you not to worry about calculating and just stay a little bit away. Just before that I tell you to pay attention, that it is really important not to mess up, and both are true. Staying off the line matters. The exact two millimeters does not. Right after, I add that I doubt the carvers of ninth and tenth century northern Europe knew much about the golden ratio, especially the ones in the countryside, and that they did whatever felt natural.
In lesson 12, stepping the rim into six parts with the calipers, I say twice that perfect is not required, and the calipers land almost right on my mark anyway. The small details in that border are not repeated exactly either. Each one keeps the idea, and I still want variations, since it does not have to look like a machine made it.
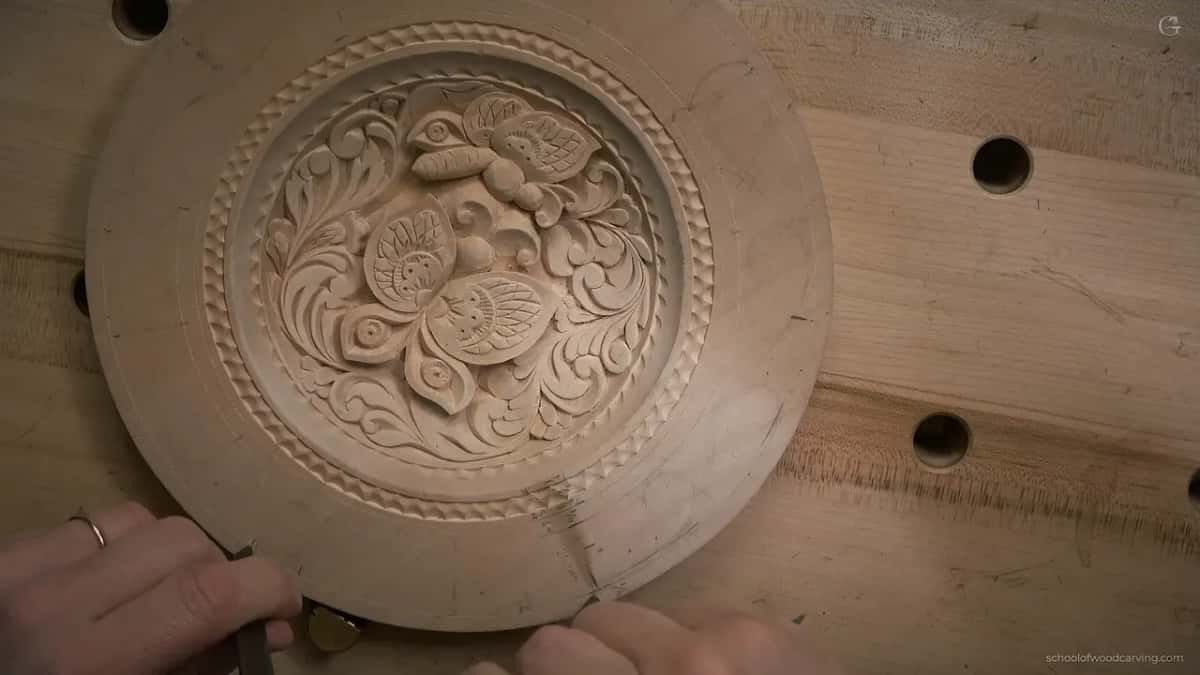
On my bench the marks sort into two piles, the strict ones and the loose ones, and this is where each one lands.
| What goes on the wood | How close | What a miss costs you |
|---|---|---|
| The center point | one real point, measured from two sides with a tape | all the rings share that one point |
| Every border ring | scratched at the start | later the middle is hard to find |
| Outline circle | a millimeter inside the board's edge | room for a center that is off |
| First dish pass | 6 mm at most, a quarter inch | a 19 mm board has little to spare |
| Overall size of the plate | a 64th short is fine | nothing much |
| A scratch that went deep | leave it | I said it would work out |
| New lines near the rim | by eye, or a finger on the edge | not much, close enough will do |
Three of the strict rows are done while the board is still square, and the loose ones can afford to be loose only because those three went on first.
How do you mark a new line once the middle is gone?
Let the rim of the plate be your fence. Lesson 11 shows it. The next line there gets carved with no pencil line at all, just by eye, and for anyone who does not feel comfortable eyeballing, I show the other way. Put your finger against the edge of the plate, get to about where the line should be, and follow the rim around.
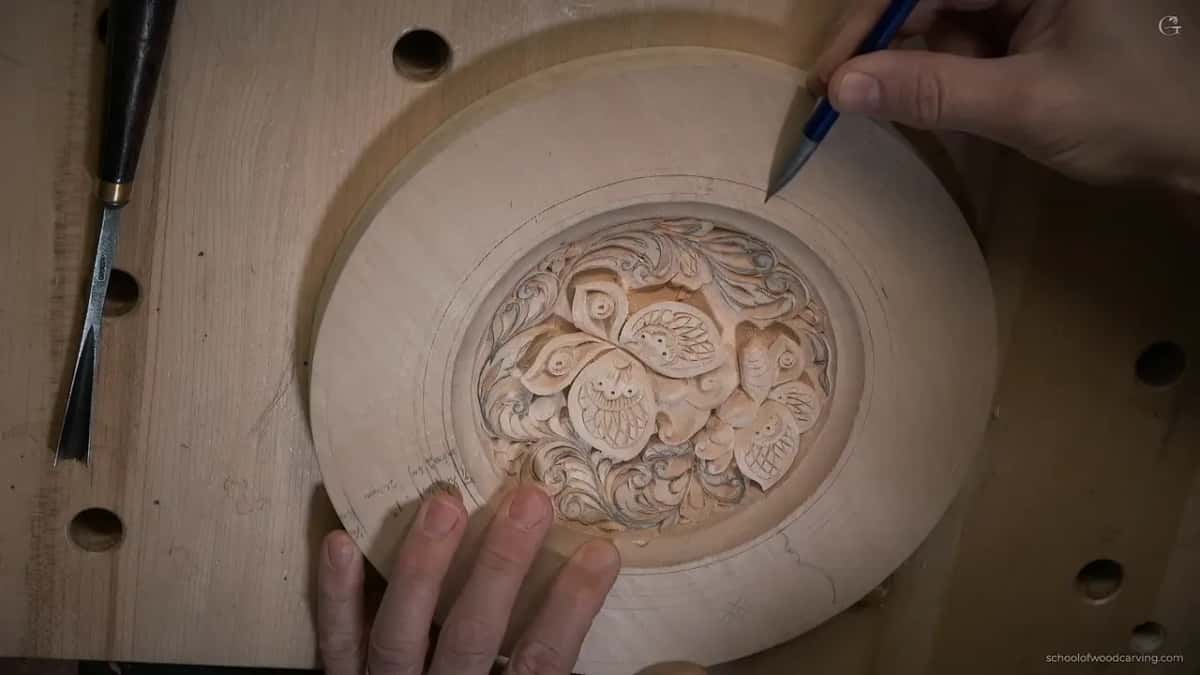
In the next part the pencil does the same job, held at the edge, about 3 mm in, an eighth of an inch. I did not bother with it, and told you I could just eyeball it or freehand those three millimeters. It is the same idea as a marking gauge, and your hand is the gauge.
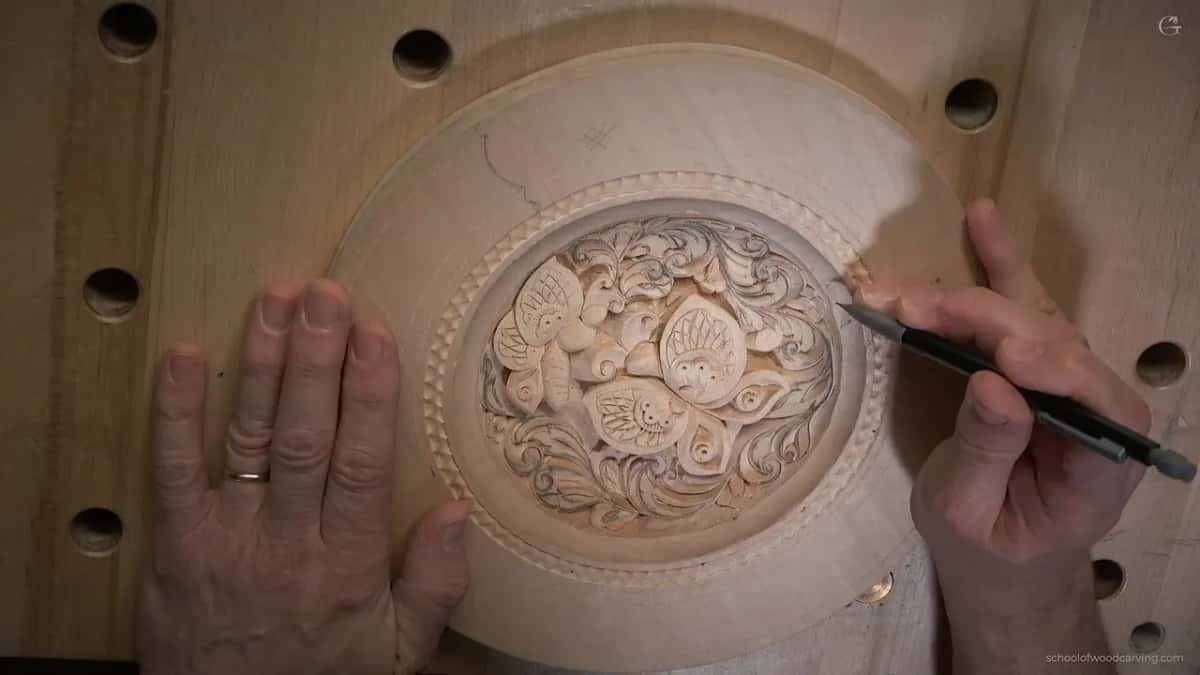
At the very end, in the final assessment, the back of the plate gets a ring of its own. I put dots about half an inch in from the rim on opposite sides and a couple more spots, then say half an inch is not a rule, it could be a quarter inch, it could be anything. Roughly in the middle, approximately, not exactly, the calipers make a few scratches. The middle of the little space inside them is the real center, and that is where the calipers go.
What stays exact once the knife is in the wood?
The line you scratched, and the angle you carve it at. Holding one angle pass after pass is its own lesson, and you will find it in lesson 3.
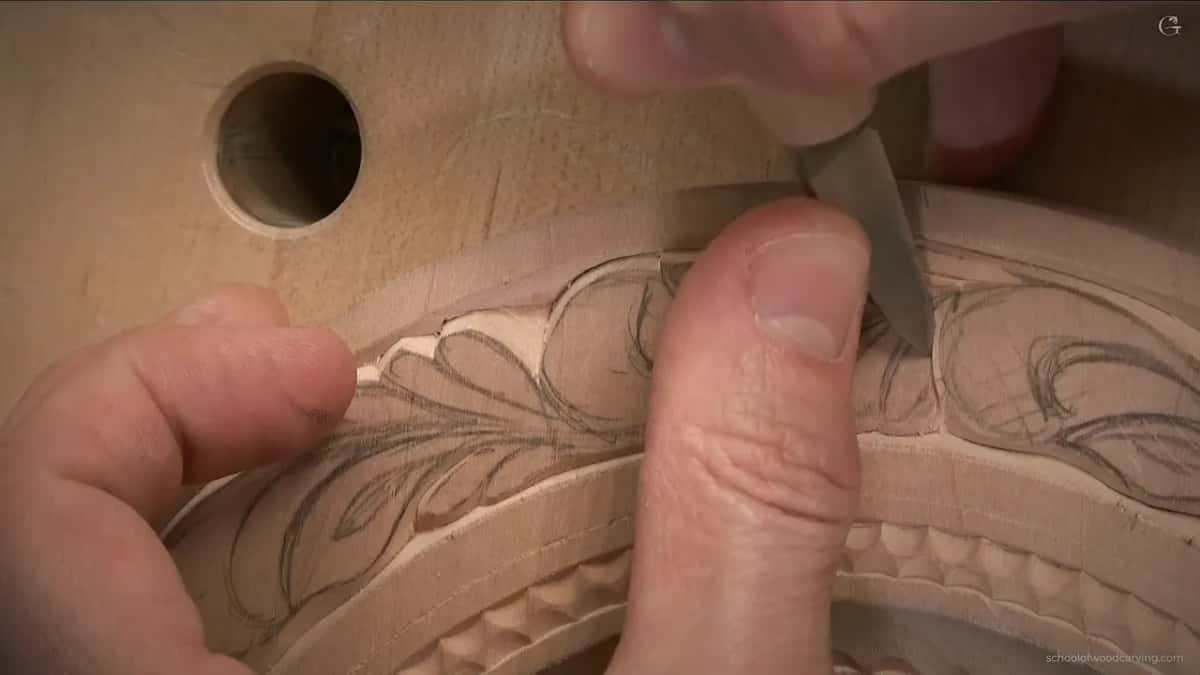
The line itself you follow as closely as you can. Carving the rim, I take my time and try to be as accurate as possible to my scoring line, and I warn you that this is the stage where you really have to be careful. So the looseness lives in where a line goes, and once the line is in the wood, you carve to it.
Is there a square of basswood on your bench? A tape, and a pair of calipers with points that bite? Then mark the center today and scratch every ring from it before anything else happens.
How it's done
- Measure the square and find its middle. Tape it from two sides. Five inches, 127 mm, in from each edge on a ten inch board.
- Put an edge on the caliper points. Sharp enough to bite.
- Scratch the outline with a margin. Stay roughly 1 mm inside the board, a little over 1/32 in, then go round and look at every side, since mine turned out not to be a true center.
- Put all the rings on at once. All of them now, while the caliper point still has its hole. Write the widths on the board too.
- Relieve the line, then saw. A number 9 lowers the waste next to the groove, and you stop before the groove disappears. After that any saw you own will do.
- Hold the first pass in the dish to 6 mm. A quarter inch out of 3/4. Deeper can always come later.
Frequently asked questions
Do I need calipers to lay out a carved plate?
A compass carrying a pencil gets you a circle too. Calipers with sharp points do one thing better, since they leave a groove in the basswood for the saw to follow. My quick-release pair has points that are not very sharp, and I used it anyway.
What should I do if my circle is off center?
Set the calipers about 1 mm short of the board's edge before scratching, then walk around the board and look at every side. Mine was not in a true center either, and a small margin like that covers it. A tape comes first, with a mark at 127 mm, five inches, off two sides, so the error starts small.
Can I fix a layout scratch that went too deep?
Leave it. Mine went deeper than I meant on one of the 6 mm rings and left a double line, and I told the camera it was okay, it would work out, and went on to the next ring. Being careful still counts, and I said that too.
What to carve next