

Alexander Grabovetskiy, woodcarver, School of Woodcarving · Published 2021
What does a router leave for you to carve by hand?
Quick answer: What a router left for hand carving on my oval rosette was a high part of the rim its bit could not reach, and the line of the molding. Gouges kept that line, chopped it straight down, shaved the lip off, marked it again with calipers and a finger, and sank the ground to one inch.
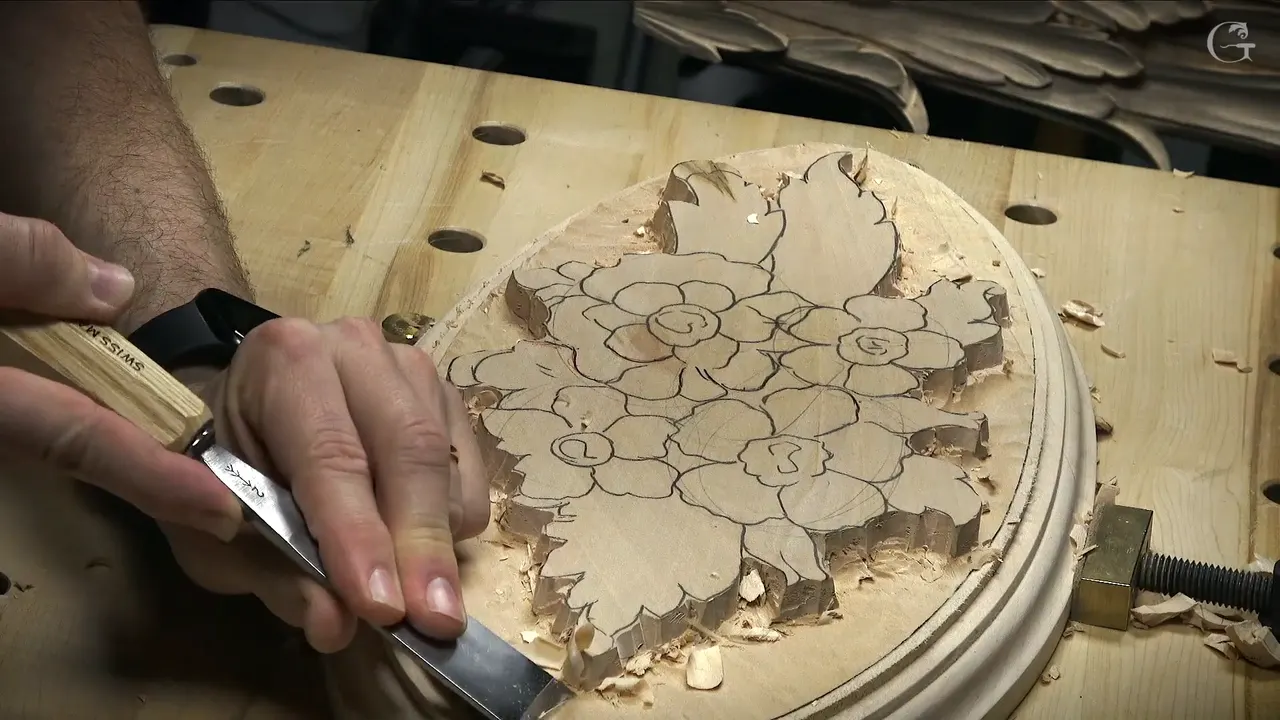
On my oval rosette, the router left a raised part on the rim that its bit couldn't get to, and the line where the molding stops, for my gouges. The router gave me a plain Roman ogee on the outside edge. Everything after it was hand work. I kept the molding line, chopped it straight down, took off the lip the bit had left, marked the line again with calipers and one finger, and sank the ground beside the design until it sat one inch (25 mm) below the high spot.
Router wood carving, on this panel, meant one tool on one edge and a row of gouges for everything past its reach. This is lesson 1 of Venetian Flowers Rosette, filmed in November 2021, one of two ovals for my Venice Room.
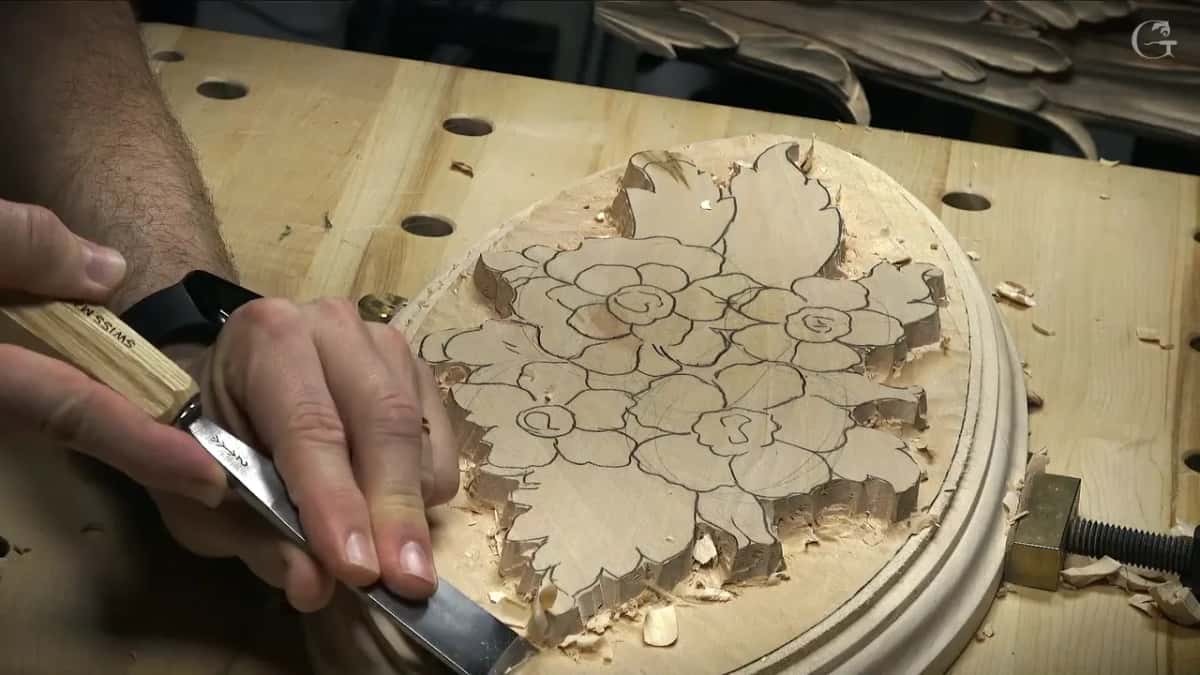
I used a router once here, and I said it on camera. I cheated a little bit, because I needed to finish this project. So what did the machine leave me? The part it couldn't reach, plus a line I had to keep. Below are the gouges I took to them, with their sizes, in about the order I picked them up.
Six things the router left for my gouges
My bit only went so far, so the rim kept a high spot for the gouges.
The first groove came from a 12 mm number 11.
Chopping the final line took a 16 mm (5/8 in) number 2, while a wide number 7 took over where the grain went against me.
Calipers kept the measurement, and a finger on the ridge guided the new line.
The ground ended one inch below the high spot.
Rough walls stayed rough, since most of that wood is going anyway.
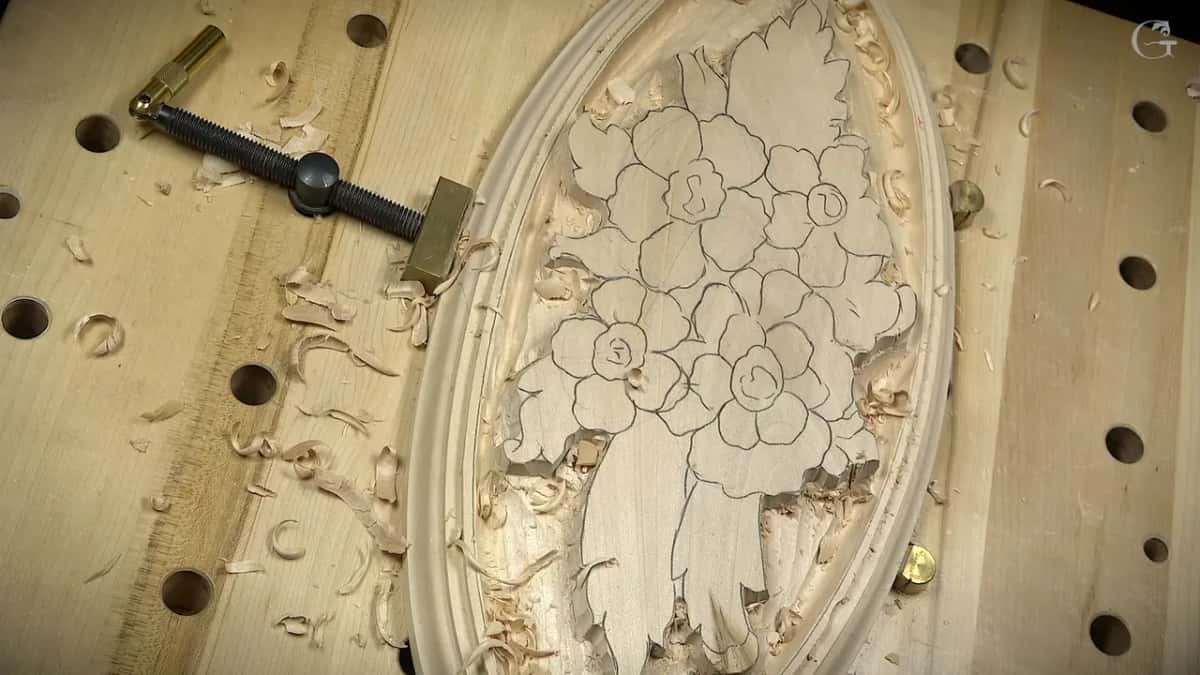
Where did router wood carving stop on this rosette?
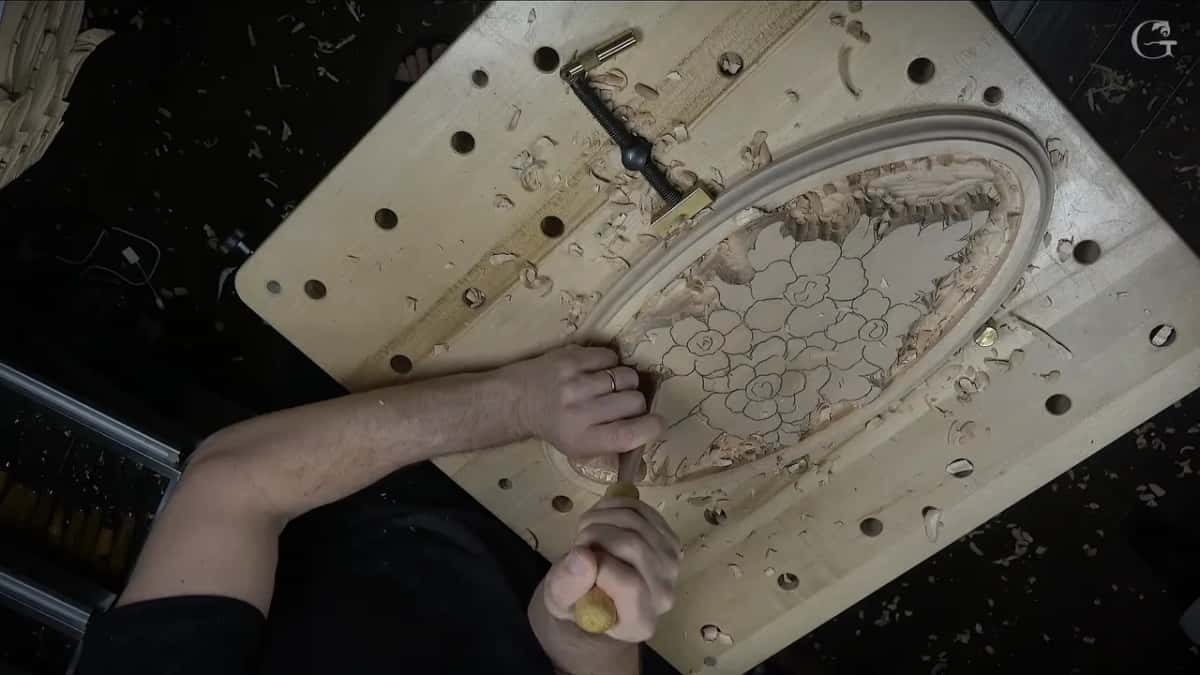
The bit stopped short of a raised piece of the rim, and that piece won't be part of my molding. I have to remove it. I left it there because of the limitation of my bit. That was as far as I could go with it. On the rough out I had already said the highest spot of this molding would be removed and go low.
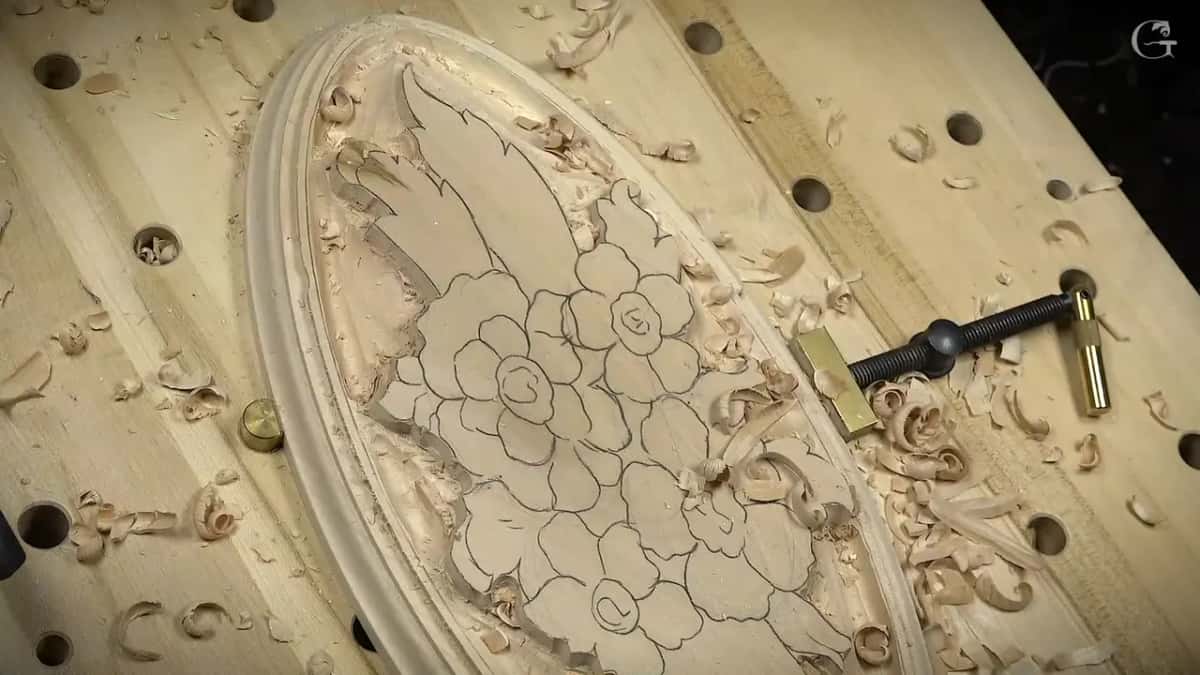
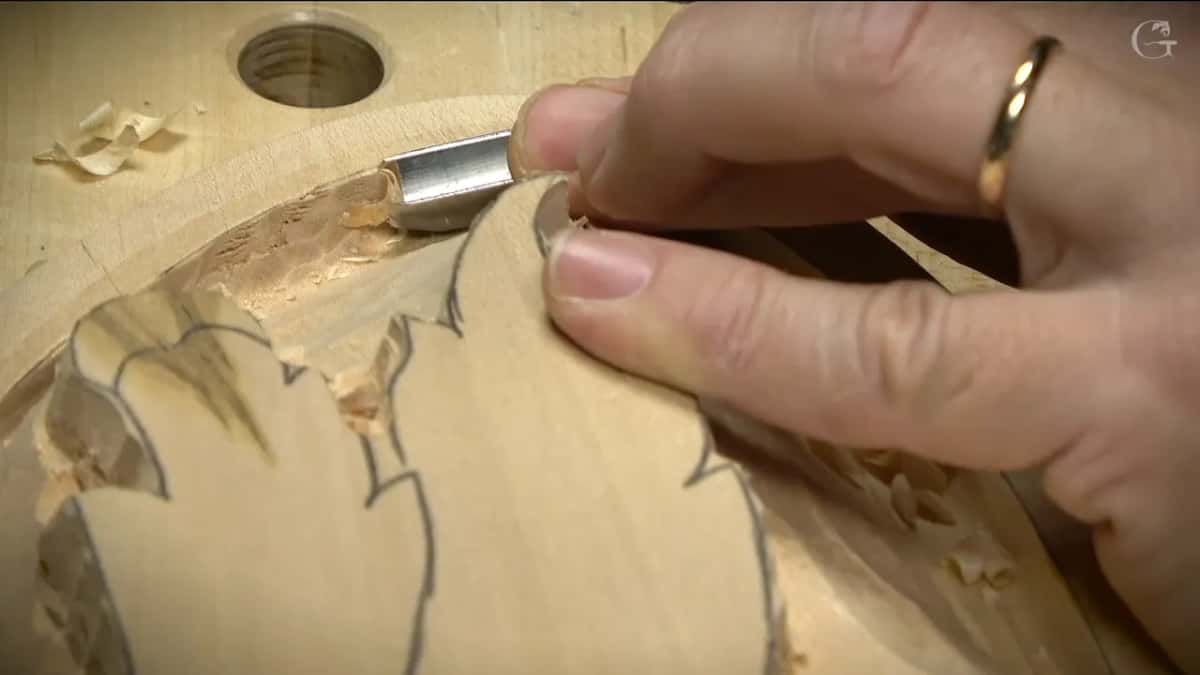
So my first move was cleaning, just to get closer to my final depth, or height, I should say. Any gouge works for that. I took a flat number 2, 30 mm (1 3/16 in) wide, and rode the ridges with it. Super clean wasn't the point. I went almost to the line and stopped, because that line will be the boundary of my molding.
Why not buy another bit for it?
Two carvings didn't call for one. I didn't want to buy an extra bit for just a couple of pieces of carving, I said, and there was no reason for me to.
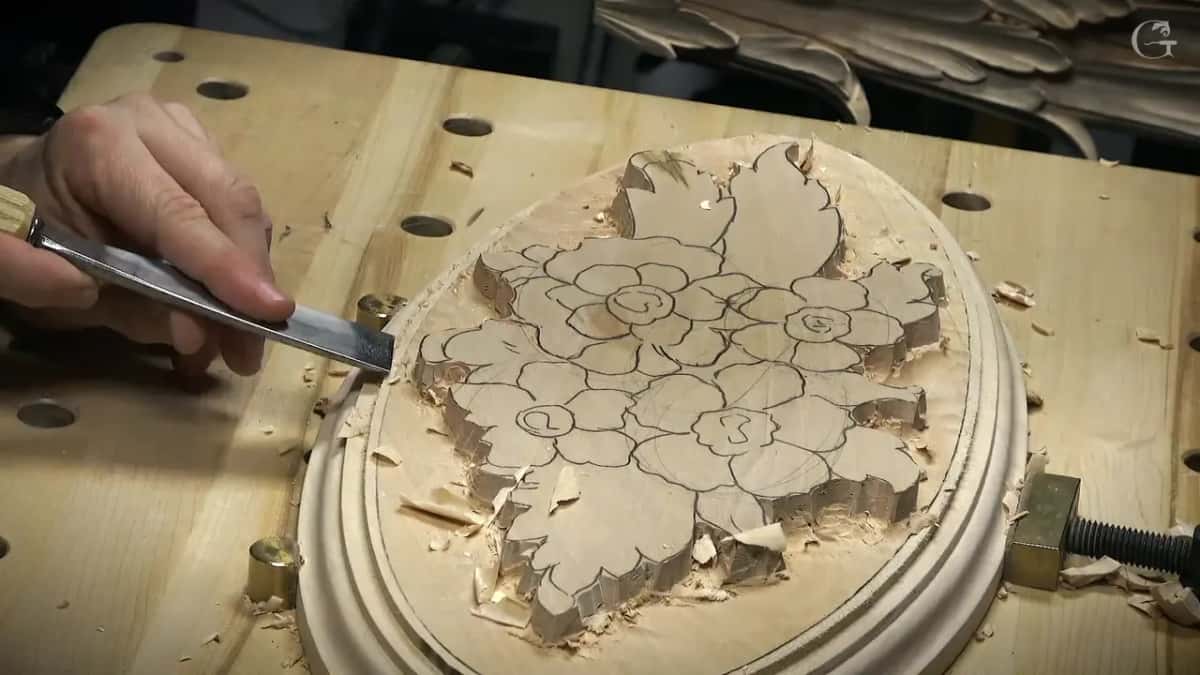
And a couple is what I had. Each one is an inlay for the room, and once the oval was drawn on paper, I said I'd cut it out and use it as a template for two boards, to prepare my material and start carving.
What digs the first groove round the rim?
A veiner did, a number 11, 12 mm (1/2 in) wide, and I took it all the way round. That groove is the deepest spot for now. It sets the overall shape and everything inside it.
My first pass went pretty close to half an inch deep, and I was pretty sure I'd have to go deeper later. I stayed about 1/8 inch (3 mm) off the line, maybe a little less. After that I crept closer, so the weak spot would sit on my right-hand side when I chopped. And I had to go all the way round with that same operation.
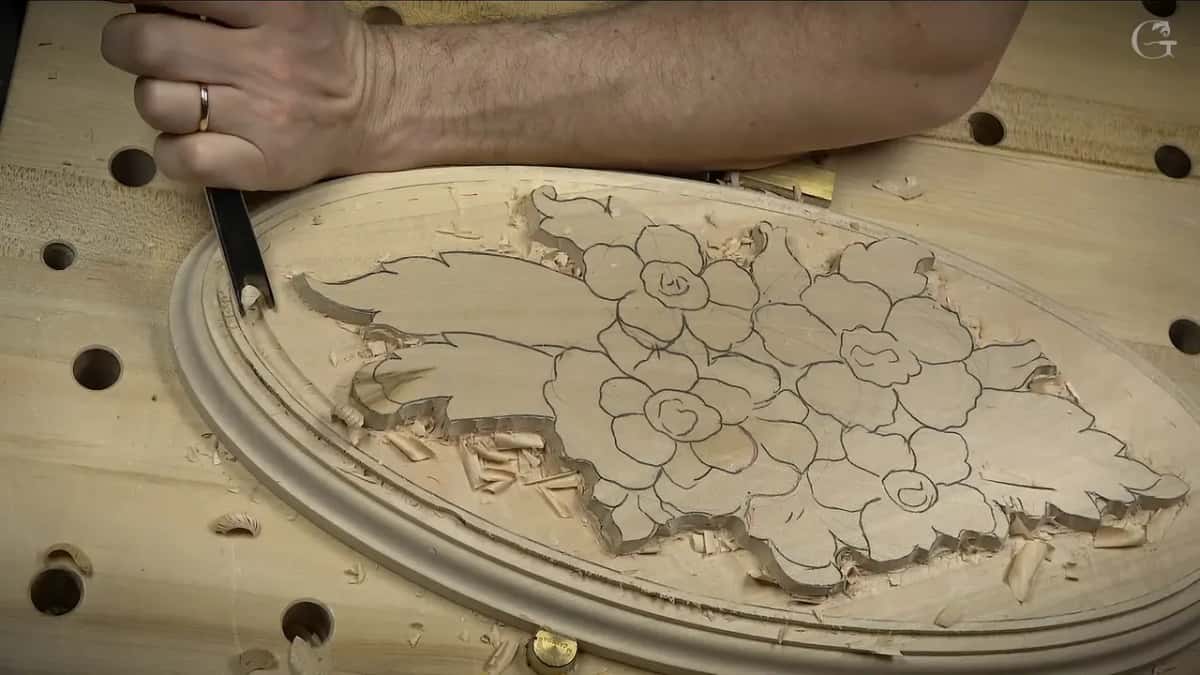
Along the way I leaned the tool to the left and shaved the sides a little, which let me ride a little deeper. On its side the tool becomes a number 3, let's say. That tool won't fit everywhere, though.
In the tight spots I went to a smaller number 11, 5 mm, about 3/16 inch, and even that was a little too big. I'd said 3 mm might work, but I went to a 2 mm (1/16 in) right away. A couple more spots followed, and I had to be careful on that section.
Where does the grain fight you on an oval?
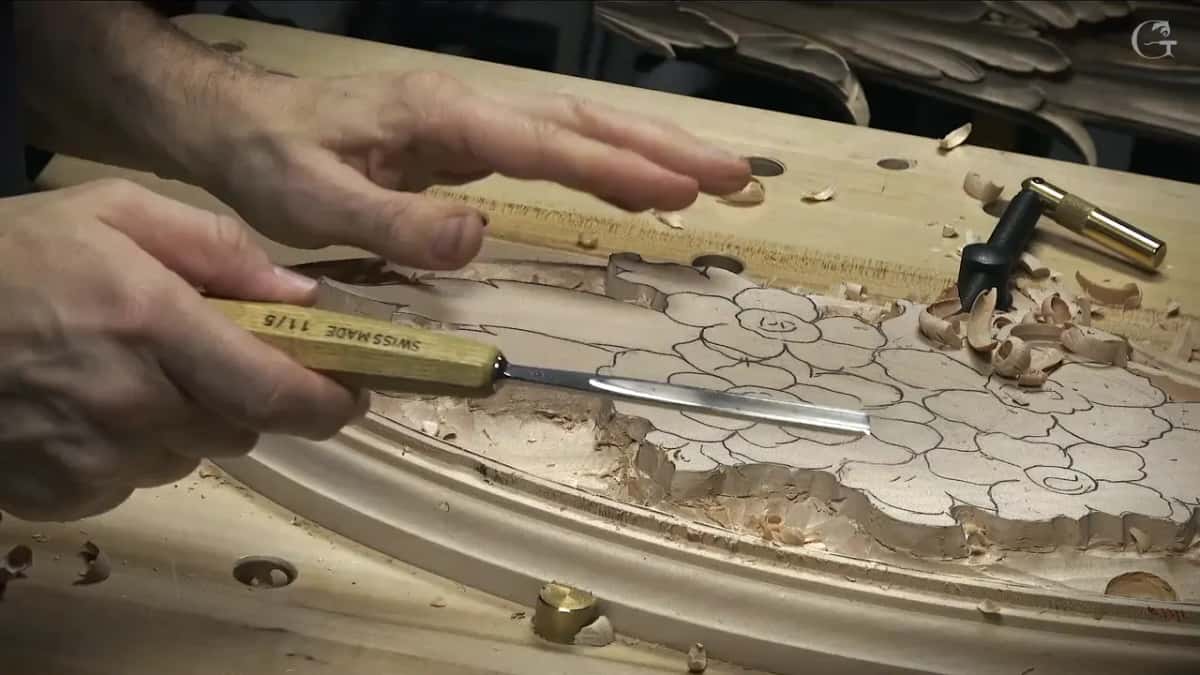
On mine it was where the groove ran along the grain. Right there the chips come off different, and they're kind of dangerous, I said. If I just force it, I'll break this piece, so I kept an eye on the grain and on how deep I went in one pass, and I called that stretch a danger zone. A few minutes on, I said it was probably wiser to attack from the opposite side. Later, chopping the final line, I warned that the grain went against me in one section where you don't see it.
Which tool chops the final line?
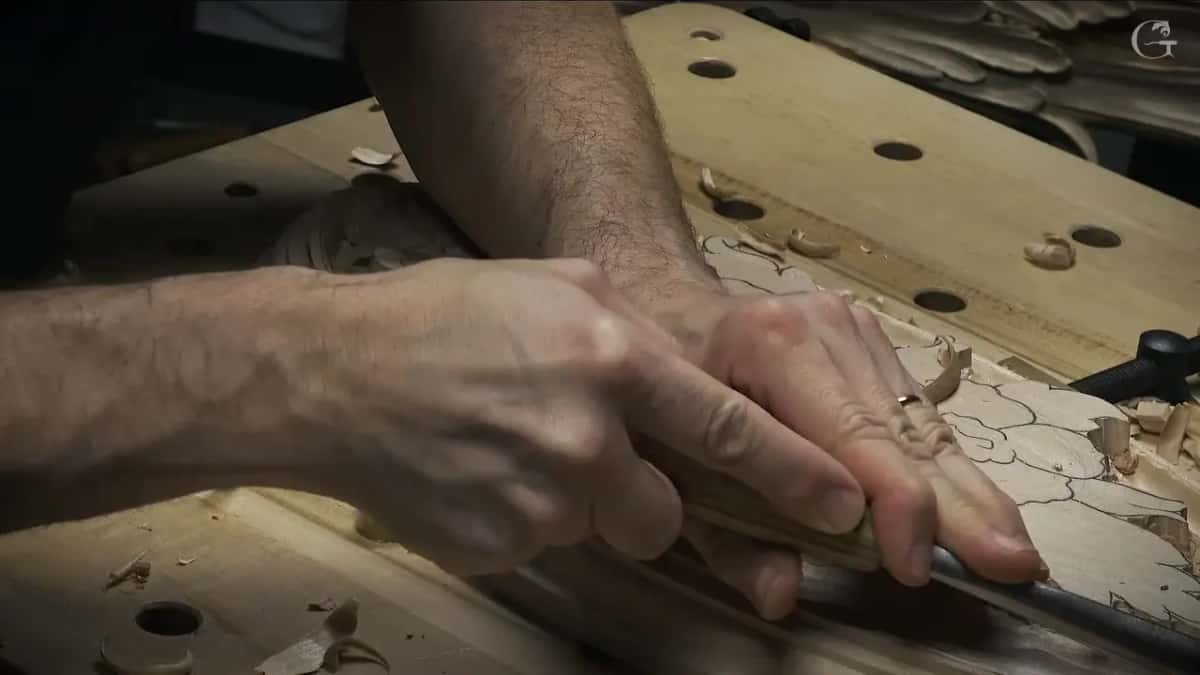
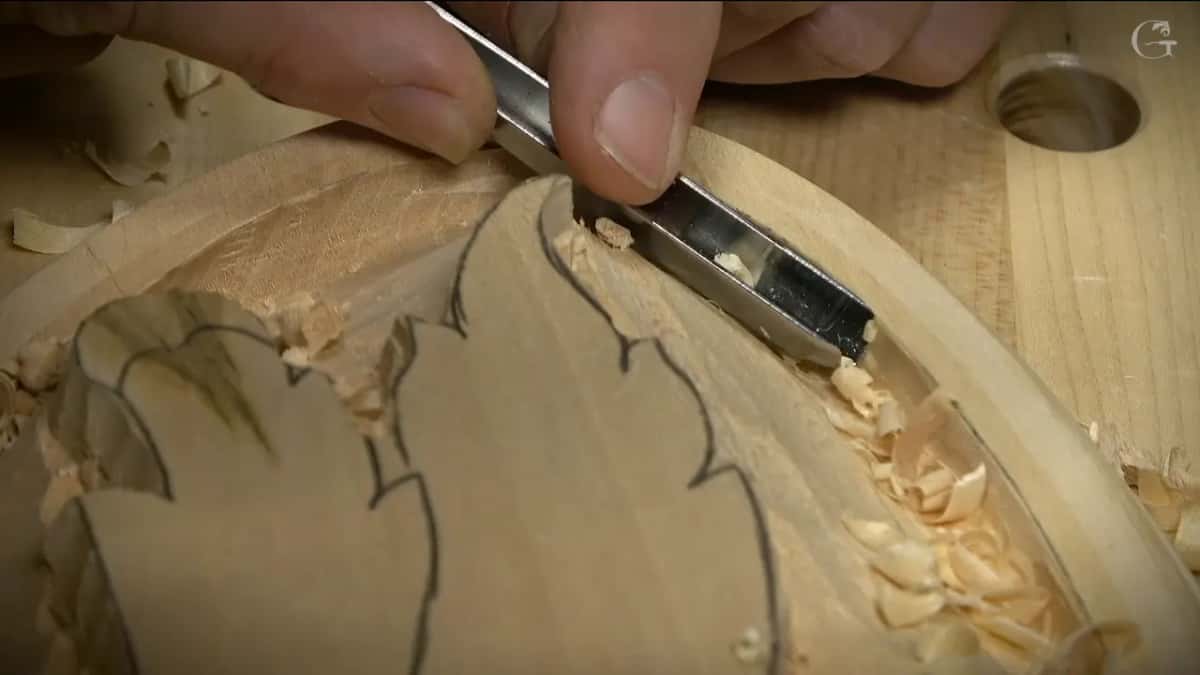
My number 2 did, 16 mm wide, about 5/8 inch, right on the line and straight down, 90 degrees, though a number 3 would work too. That sets the final line, and then whatever my bit left over can come off.
In one section the grain was going against me, so I shaved that side a little and changed the tool, the most logical thing to do. A number 7, 8 or 9 would do, I said. Mine was a big number 7, about one inch, around 25 mm wide, and for me it's important that it has a really big, long bevel, because then my 90 degree chop comes out more accurate.
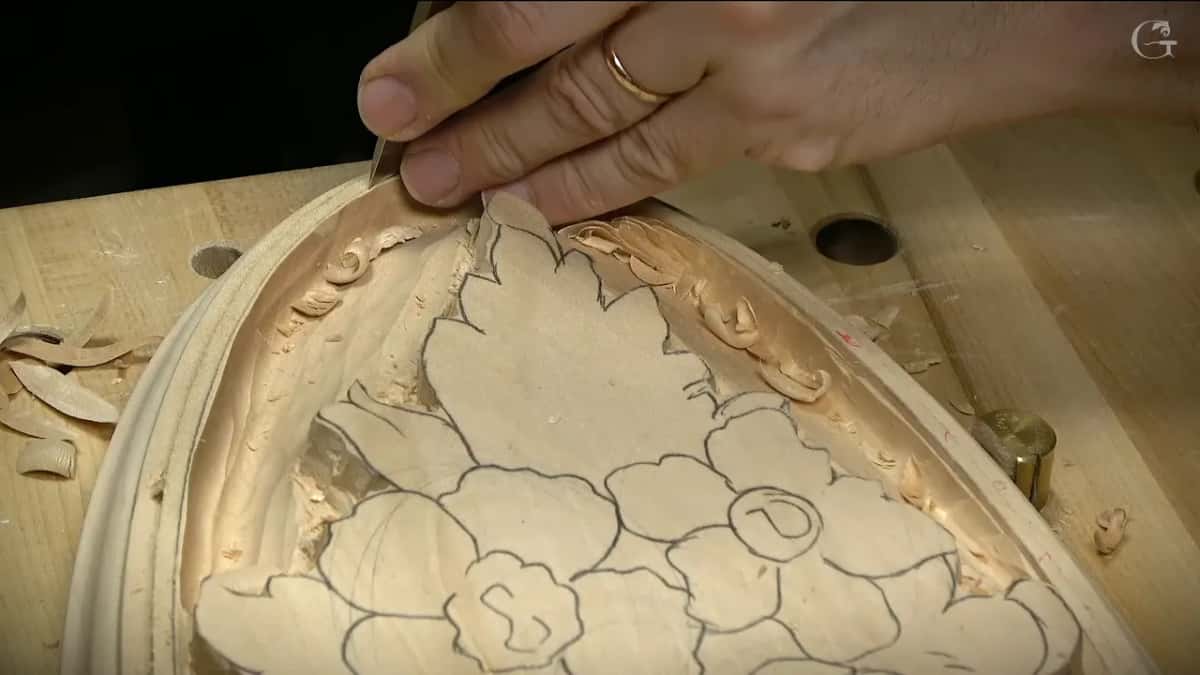
I followed the line with it. Since the tool was already in my hands, I went at the other side with exactly the same one. A little later I went back to the number 2, and its size doesn't have to be exact, I said. The grain again had a tendency to go in, and I didn't want to break it, so out came the number 7 once more. At one point my finger covered the view, and I said sorry to the camera, but I was going on the line.
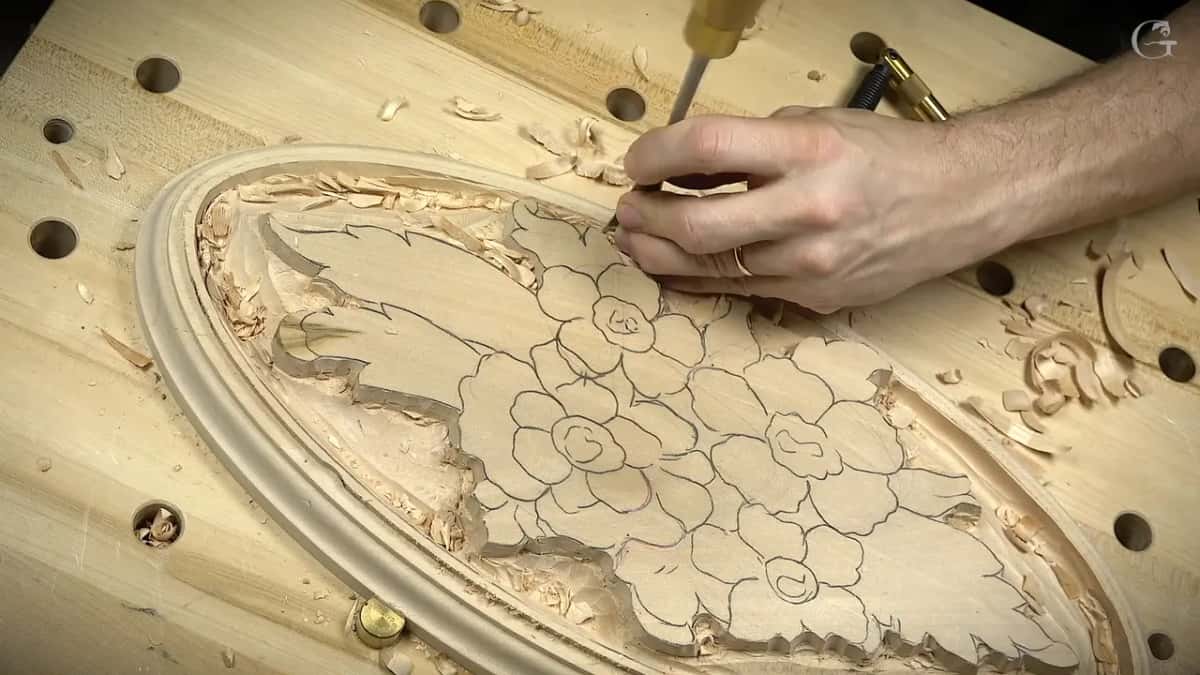
How does the lip come off without losing the line?
A flat gouge shaved it down to height, and calipers held the measurement so the line could go back quickly. By then the ground sat about 12 mm deep, near 14 in some spots, and the exact figure didn't matter yet, because I still had to go much deeper.
To go deeper I wanted that lip gone. I don't need it, and that part is going to become a curved molding with some kind of carving on it. Any tool will do, I said, so I took a flat one, a number 2, though a number 3 would work as well. I shaved it out, since I don't need that anymore.
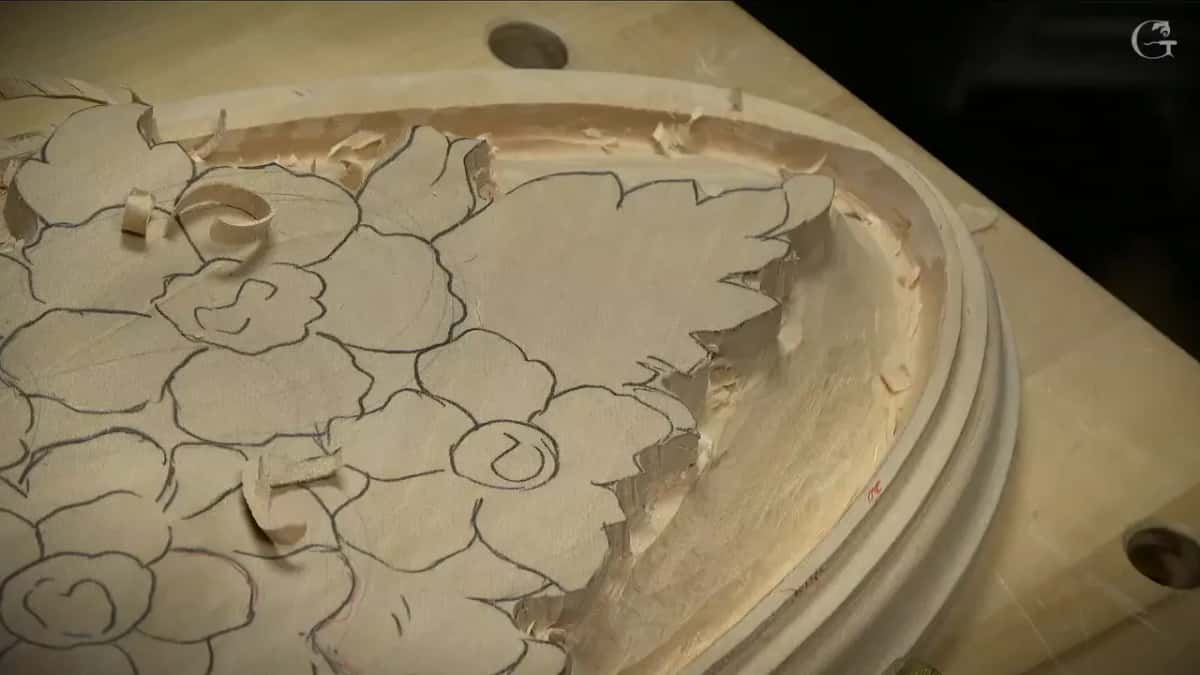
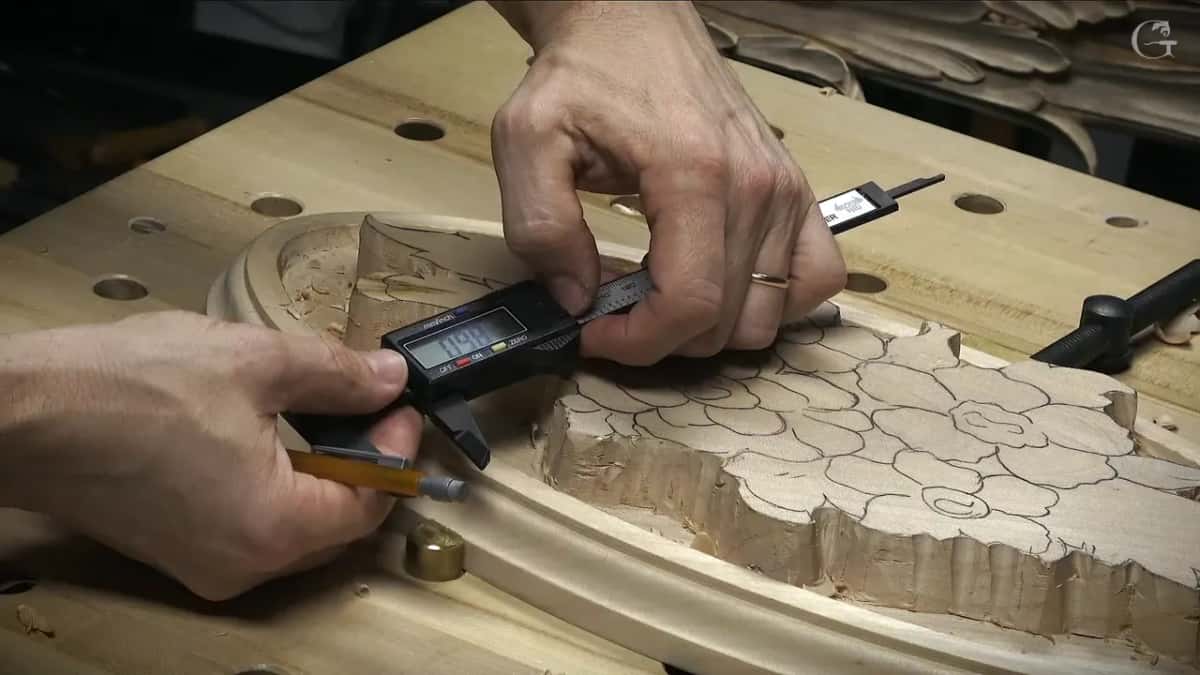
Then I said I should measure, because even when I try for a 90 degree chop, it's still probably not as accurate. I could still see my edge, so I measured it with the calipers and kept them at that setting. That way the line comes back quickly. Then I just shaved down to the height.
Once the lip was off, I put the line for the future molding back. It doesn't have to be perfect, and I was pretty close already. I marked a few spots, then placed my finger against the ridge and used it as a guide, which gives a pretty accurate line. I checked. In some spots I was right on the money, so I couldn't overdo it.
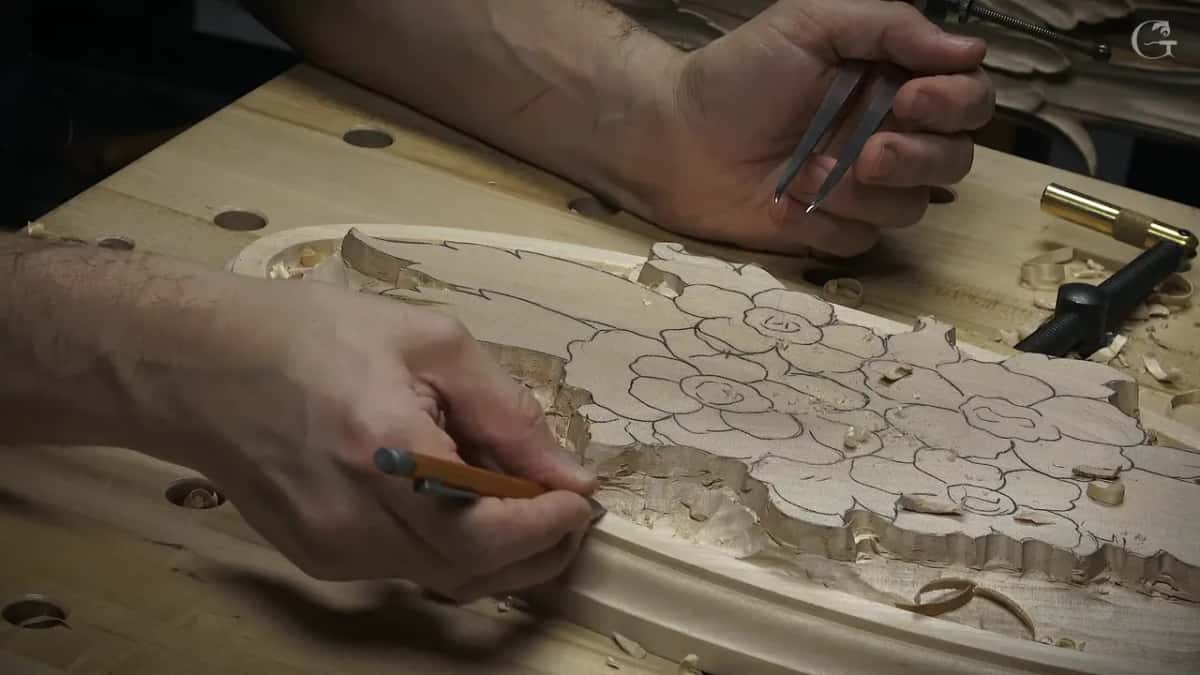
Then a 7 mm number 11, a little bigger than 1/4 inch, shaved the side to that line, a boundary I called only preliminary for now.
The gouges of lesson 1, by job
Most of the gouges I picked up for the rim sit in this table, each with its job and a few of my own words from the bench.
Job | Tool | Words |
|---|---|---|
Get near height | A flat number 2, 30 mm (1 3/16 in) | almost there |
Groove the inside | Veiner, number 11, 12 mm (1/2 in) | deepest spot |
Shave groove sides | The 12 mm veiner, leaned to the left | number 3 |
Tiny little spots | Smaller 11s, 5 mm, then 2 mm (1/16 in) | right away |
Chop the line | Number 2 at 16 mm (5/8 in) | 90 degrees |
Grain going against | Big number 7, about 1 in (25 mm) | long bevel |
Lift the lip | Any flat gouge, a number 2 here | shave it |
Sink the ground | Number 9, about 10 mm (3/8 in) | much deeper |
How deep did the ground go beside the flowers?
Exactly one inch from the high spot, and I checked it with calipers at the end. That number isn't a must, I said, but it ended up that way. The board is eight quarter stock, a little under one and seven-eighths of an inch (about 47 mm), so kind of big. It took a few rounds. With nothing more to do on the molding yet, I went for a much deeper chop on the line, straight down, since this one is going to be full 3D, and that's the goal. At that moment there was only about 1/2 inch (13 mm) down to the low spot near the design.
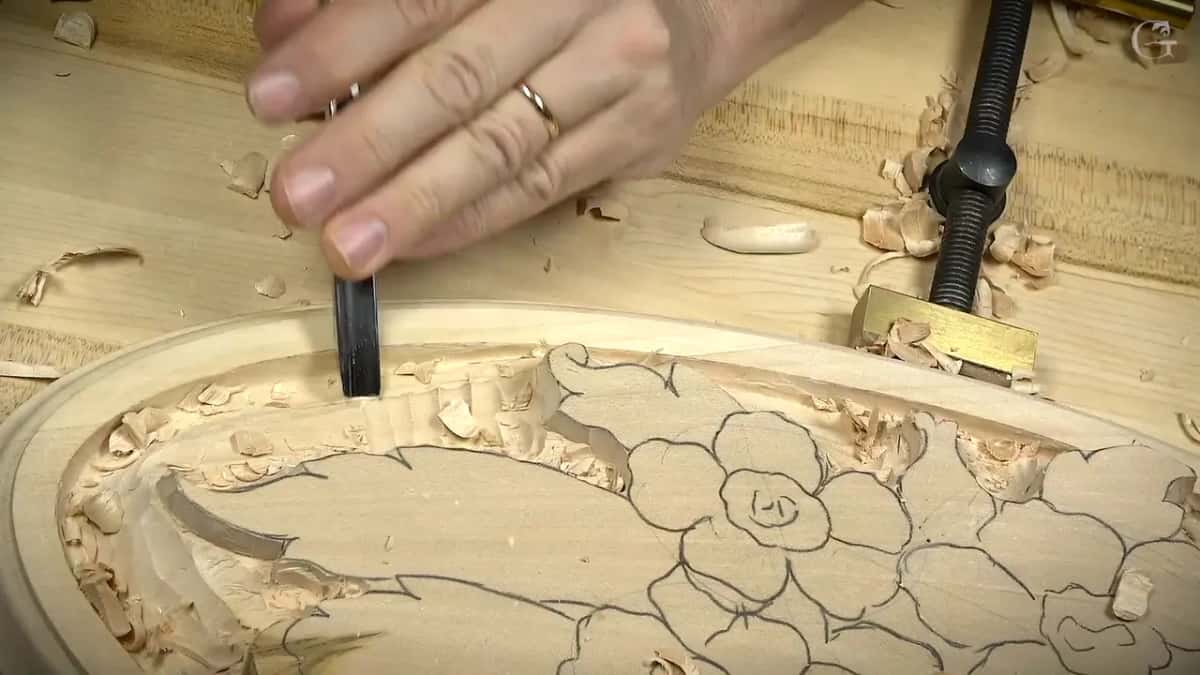
Next came a number 9, about 10 mm (3/8 in), really close to the line, and 10 mm should be sufficient, I said. I said there was another option too, taking some material off first, then going deeper and cleaning it, and I showed it right there. The depth came to about an inch then, maybe an inch and 1/8 (29 mm), or one inch, something like that.
Last came a chop straight down all round, from all the sides. That way I don't lose the overall picture, and I stay inside the same boundaries.
Is a rough wall a problem this early?
For me it wasn't. After those chops the side looked rough, not really nice, and I said so. It's up to you if you want a nicer look, but most of it is going to be gone anyway. Inside, I cleaned a little with flatter tools, a number 3 and a number 2, for a few nicer passes straight down. Nothing really exciting about it, I said. I finished that cleaning off camera, then turned the camera back on for the next step. It wasn't clean, clean, but it was clean enough for me.
Where does this rosette go when it's done?
Into one of two flat spots in my Venice Room, as an inlay. The room was almost done when I filmed this, with the columns finished. The lesson even opens on another piece of it, with a cutout I first called a descending angel, and then I corrected myself, ascending. I kept dropping things at the start, too, and said I didn't know why. That angel piece I probably wouldn't film in full, I said, since its inside details are the same ones I carved inside my corbels, and there's no reason to repeat them. I showed my printout, too, so you can see how big it is in real life.
Four other pieces for it were finished, and I chose not to film them, since they're the same idea I showed before. As far as the design goes, they're authentic to that Venetian style, I said. This one I wanted on camera, because it's kind of nice, with flowers and small details going on. I hope it helps you, I said.
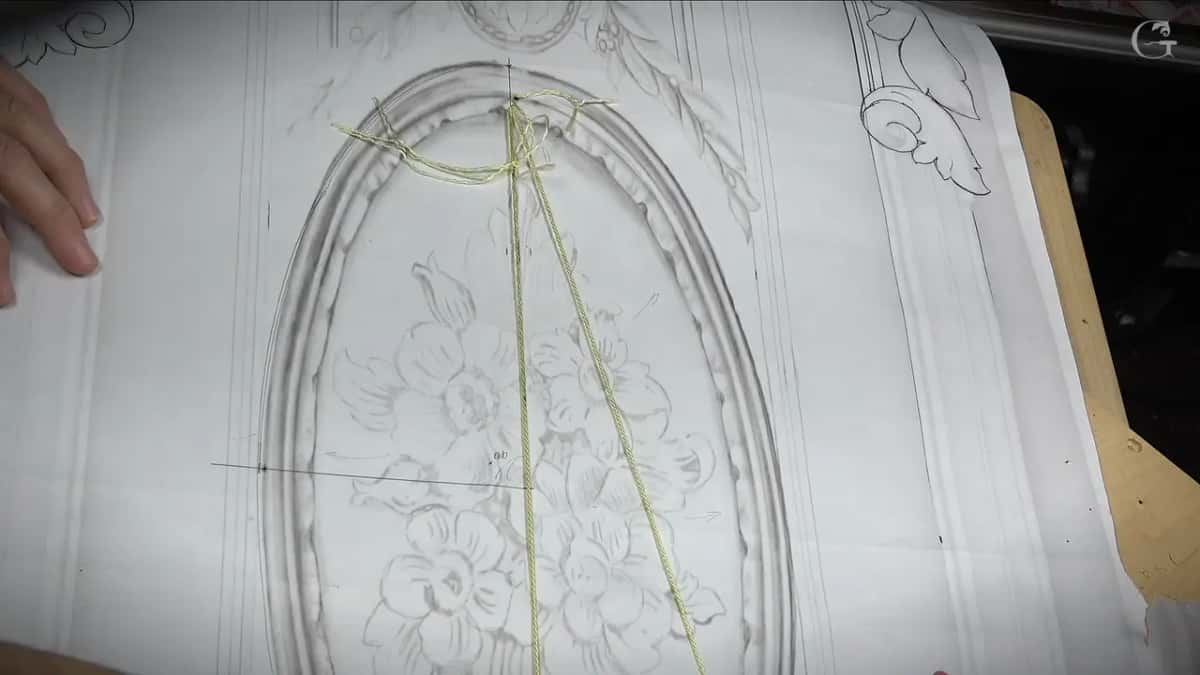
The oval came from twine, three tiny nails about 5/8 inch (16 mm) long and a strip of paper for the spacing, and the course page tells that story. Before I chose one solid board, I weighed doing the flowers on their own and setting them on a plywood or MDF background, with an applied molding round them, and both ways are legit, I said.
What comes after the molding line?
The molding gets its carving later, and the later lessons follow the rosette from there. The flowers were roughed out before all this, with big number 9 gouges. That rough out has its own page.
If a molding beside carving is your interest, Carving Floral and Molding for the Panel and Acanthus over Moldings sit close to this one. The tools course goes through the gouge numbers, and sharpening has a course of its own. Other rosettes wait too: the small Carving Flower Rosette, the Chamomile and Bow Rosette and the Carving Antique Style Rosette.
Whatever sits on your shelf, a router or only gouges, this lesson shows where one hands over to the other on a real piece. First Cuts for Beginners is there if gouges are new to you, and Tuition and Access are on one plan page.
How it's done
- Clean toward the final height. Ride the ridges with a flatter gouge, a number 2 that is 30 mm wide, and stop almost at the line. Keep the line, since it marks the edge of the molding.
- Groove round the inside. Run a veiner about 12 mm wide round the inside, roughly 1/8 inch (3 mm) off the line, and stop the first pass near 1/2 inch deep.
- Watch the grain. Go easy where the groove runs with the grain, don't force the tool, and watch how deep each pass goes. Coming at it from the other side can be wiser.
- Chop the final line. Go straight down on the line with a 16 mm number 2. If the grain wants to go in, change to a number 7 near one inch wide with a long bevel.
- Shave off the lip. Any flat gouge works here. Bring the leftover from the bit down to height.
- Mark the line again. Measure with calipers while you can still see the edge, and keep that setting. Mark a few spots, guide the line with a finger on the ridge, and check it.
- Sink the ground near the design. Use a 10 mm number 9 close to the line, clear some material first, then go straight down all round until you reach about an inch (25 mm).
Frequently asked questions
Can a router carve the whole rosette?
Mine did not. In this lesson the router's part was the Roman ogee along the outer edge, and its bit stopped short, so a raised part was left for me to take off. Everything I carved after that came off with gouges. The widest one I named here was a number 2 at 30 mm, and the smallest a number 11 of just 2 mm.
Why was part of the rim left standing?
My bit only reached so far, and I wasn't going to buy an extra one for a couple of carvings. So a raised part stayed above the final height of the molding, and a flat gouge took it away once the line was chopped.
What makes a straight down chop more accurate?
For me, a really big, long bevel on the gouge. In this lesson a one inch number 7 had one, and I picked it up wherever the grain tended to go in under the 16 mm number 2.
What to carve next