
Alexander Grabovetskiy, woodcarver, School of Woodcarving · Published 2018
Why is undercutting done last in wood carving?
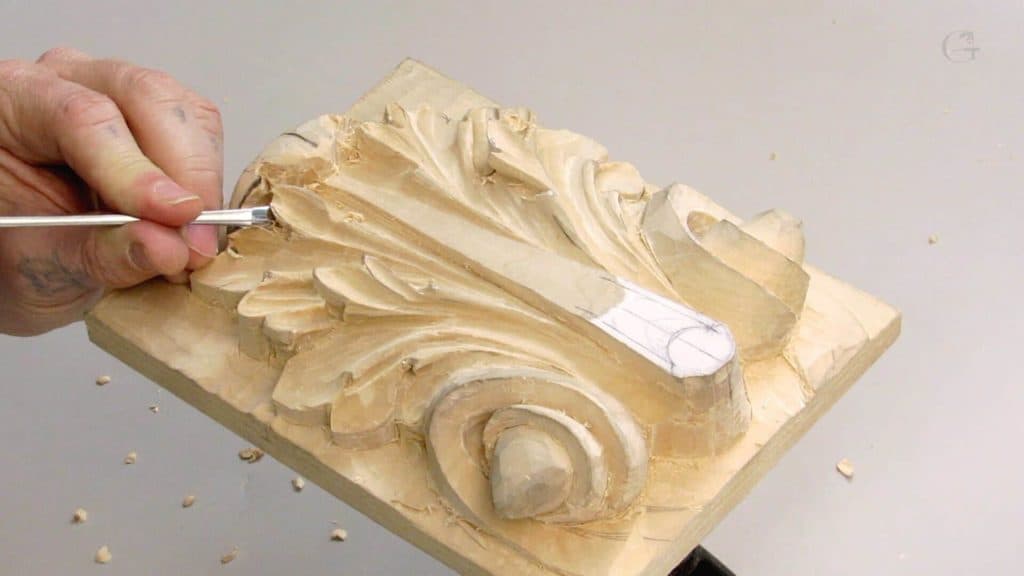
Quick answer: Undercutting is saved for late in a carving because an undercut edge has nothing beneath it. So long as the leaf still sits on solid ground you can knock a tool against its points and lose nothing. Hollow behind those points early and one slip removes them.
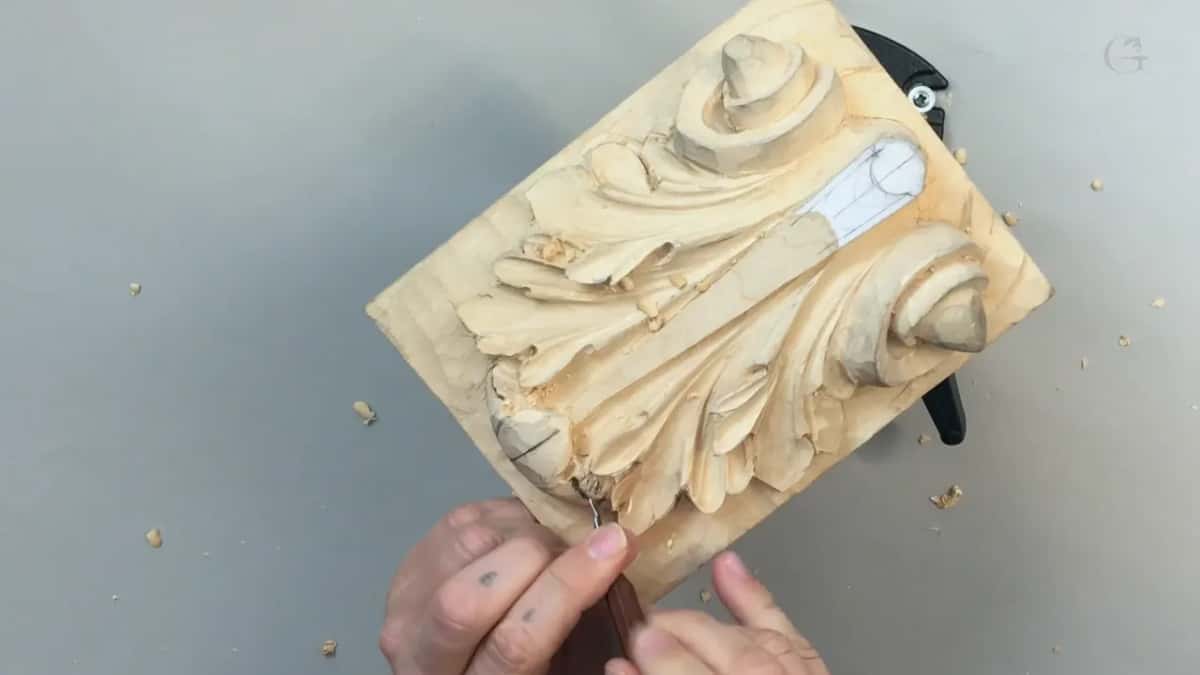
Undercutting is left until late in a carving because an undercut edge has nothing holding it up. While the leaf is still attached to the ground you can knock a tool against its points and nothing happens. Undercut those same points early and the first slip takes them off the panel.
Have you ever lost a leaf tip you spent an afternoon on, and only then worked out that you had hollowed the wood behind it the day before? Sat there holding two pieces that were one piece a moment ago? The upper part of this Roman leaf has to curl toward you, and getting it to do that means digging hard right next to material I have no intention of breaking. So the order matters, and I want to show you the order.
What keeps the leaf in one piece while you hollow it
- Heavy digging first, while the ground still supports every fragile point on the leaf.
- Six millimetres of sweep 9 barely fits this gap, so drop to 3 mm and work your way in slowly.
- Big tools near a thin edge do damage.
- Slicing means a small rotation of the handle through every pass, never a shove.
- Lay one wing of the V tool flat and start at the leaf centre, working outward.
- Deep hollows come out fine without a spoon gouge. They just take longer.
Why is undercutting done last in wood carving?
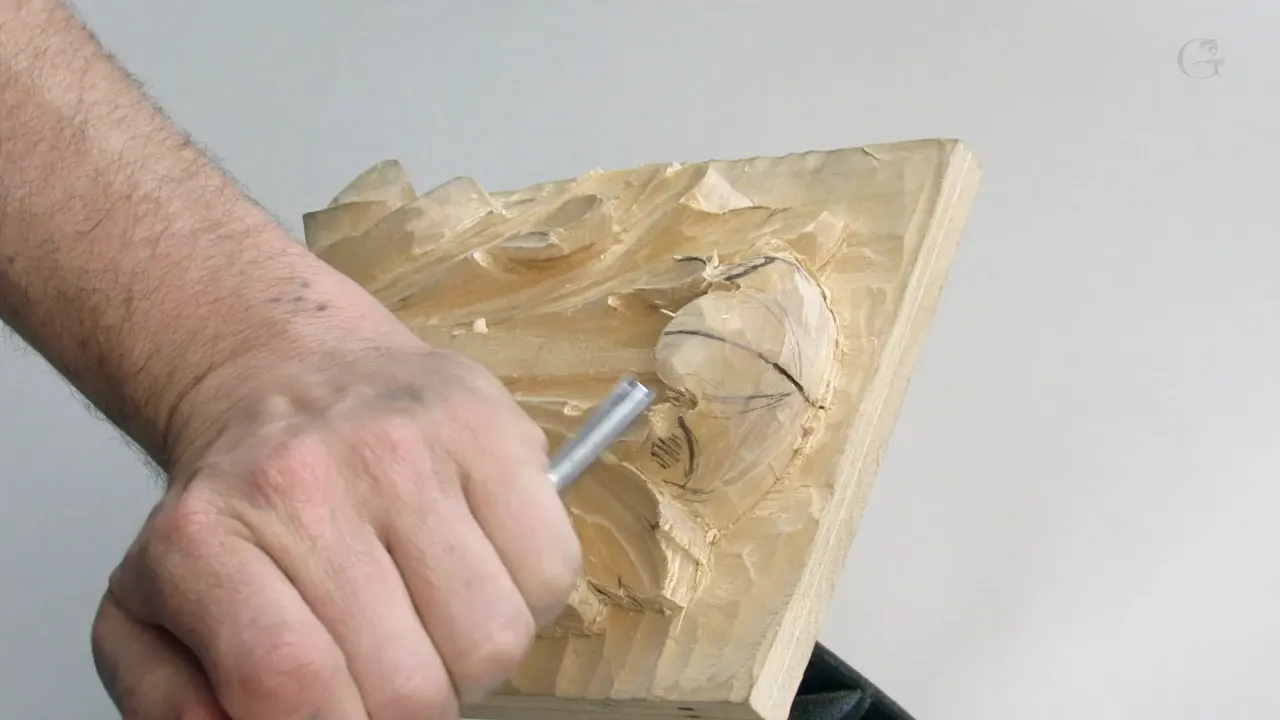
The ground behind a leaf is what protects it from you. Watch what happens as I dig into this curl. My gouge travels toward the tips of the leaves below, and every so often I catch one. With the wood still solid underneath, a knock does nothing. Take the support away first and that same knock snaps the point clean off the panel.
Weeks of carving can end in a tenth of a second, and the cause is nearly always the same: the undercutting ran ahead of the shaping.
Now, not a hard rule. Sometimes a shape cannot be reached without going under first, and then you undercut early and work around the weakness with your heart in your mouth. Judgement, not law. What I can tell you is that the default is late, and the exceptions should feel like exceptions.
Can a V tool break while you undercut?
Yes, and more easily than anybody expects. Undercutting with a V tool is the most dangerous thing I do to my tools, more dangerous than the wood ever is to them. The two wings meet at a point, and that point is thin steel with nothing supporting it from either side.
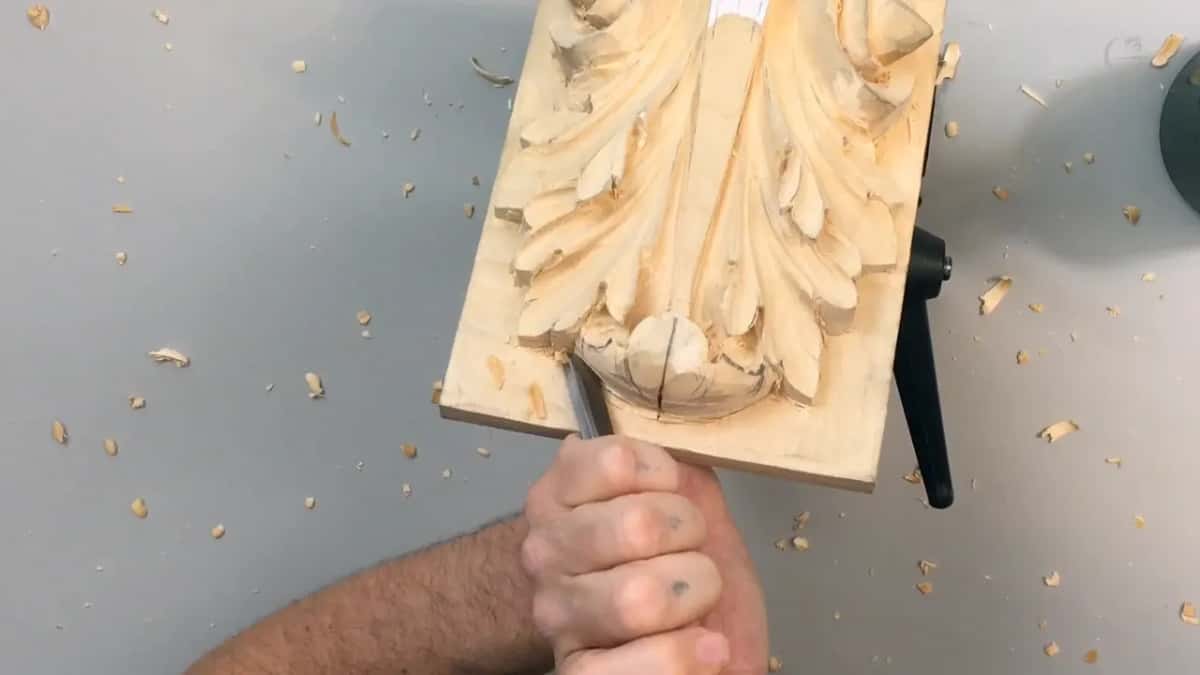
Bury it in a hollow, lever sideways to clear the waste, and you can snap the tip off a good tool. Done it myself. So has everybody who carves this way long enough. Lay one wing down against the wood, keep the pressure along the tool and not across it, and take smaller bites than feel efficient.
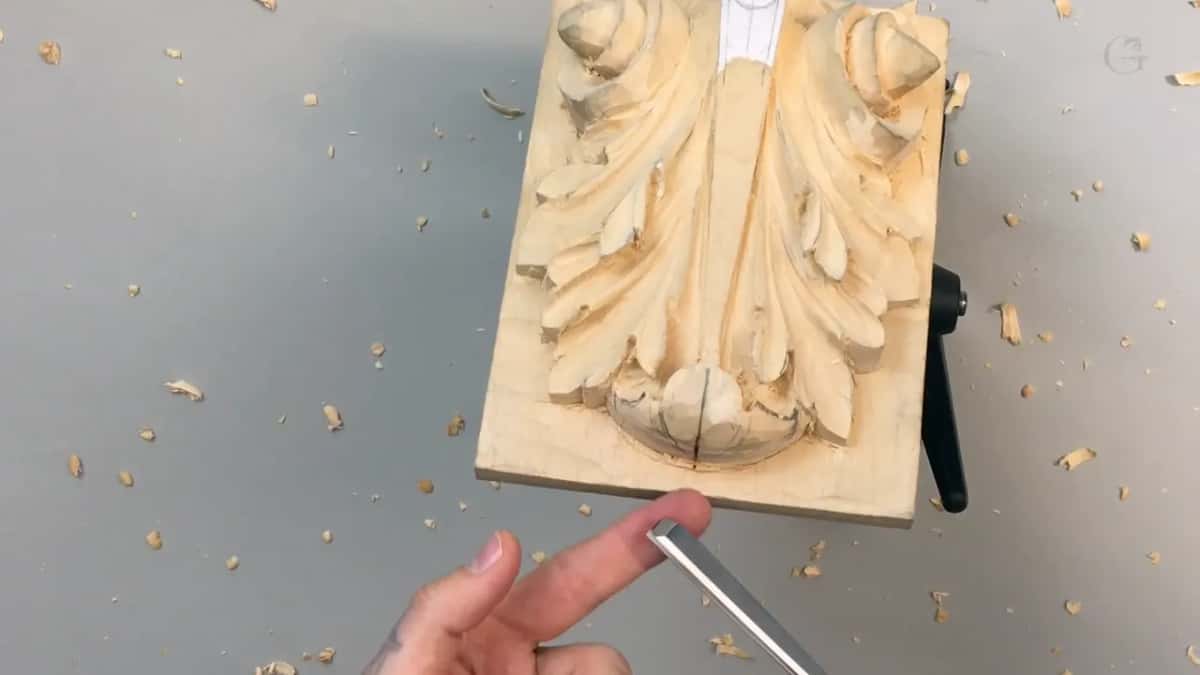
Mine here is a number 16 at 6 mm, ground to 45 degrees. Neither number is a requirement. Any V tool you own will make this preliminary undercut, and the reason I name mine is so you can see the size relative to the leaf, not so you go shopping.
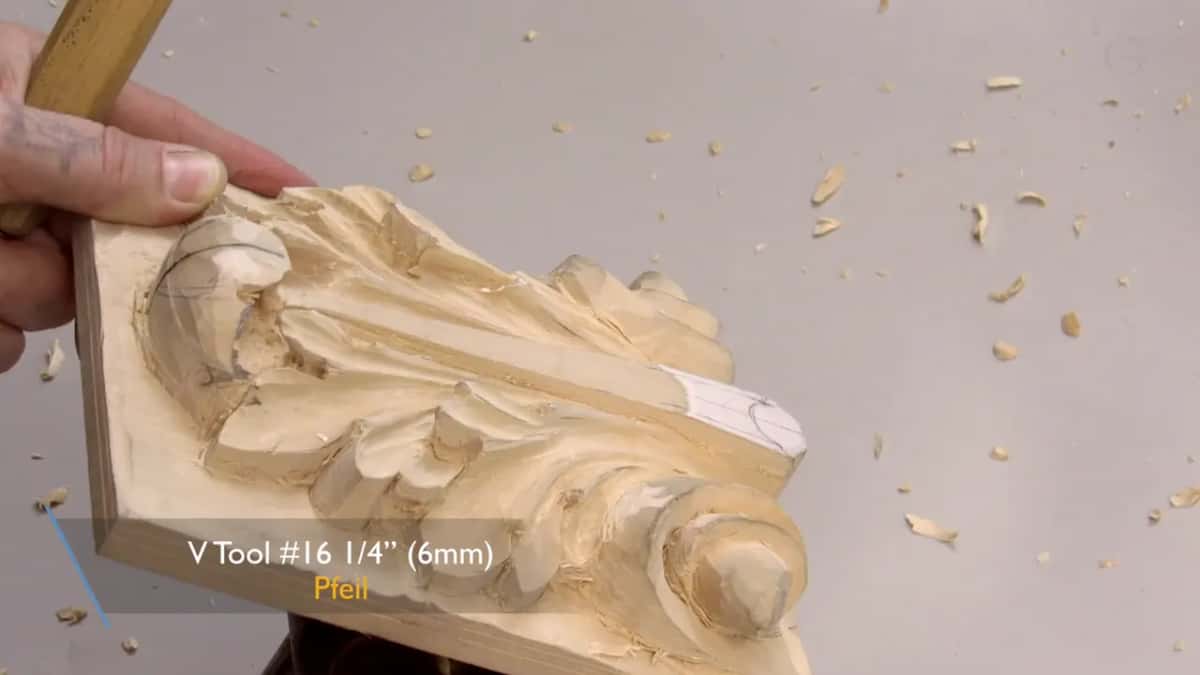
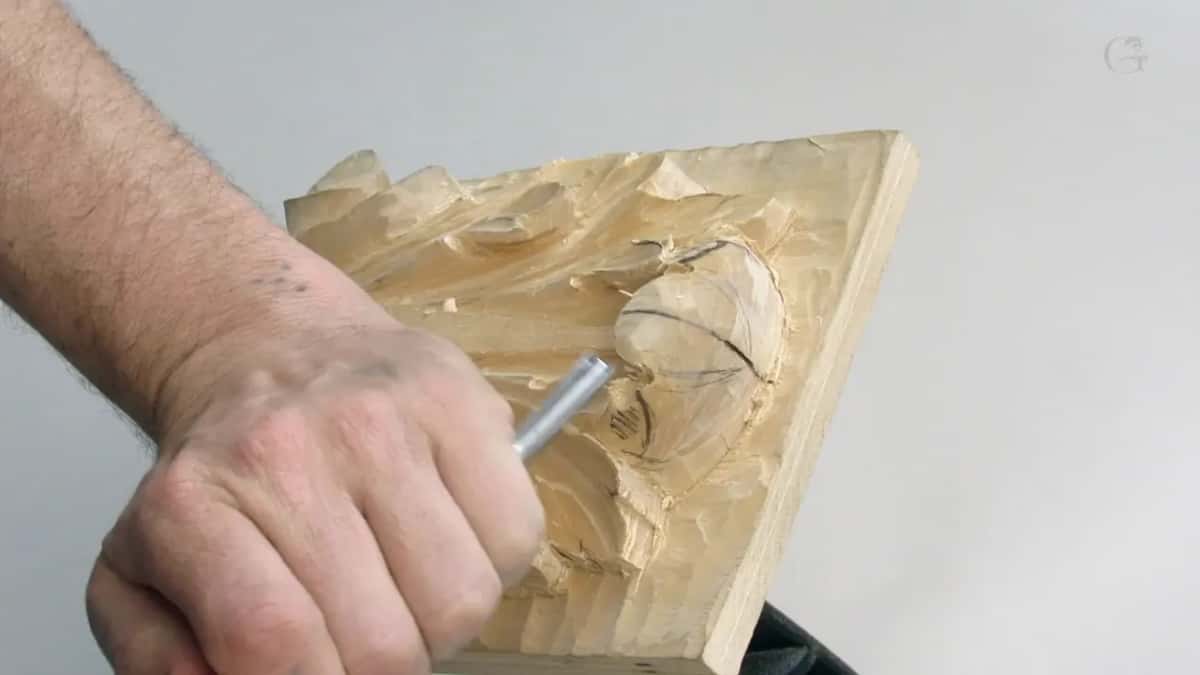
I started at the centre of the leaf and worked out toward one side, then returned to that centre and worked out the other way. Always outward from the centre. Reaching for a mallet first, then setting it down again, because hand pressure turned out to be plenty. When the mallet is not needed, do not use it.
How do you hollow a deep curl without a spoon gouge?
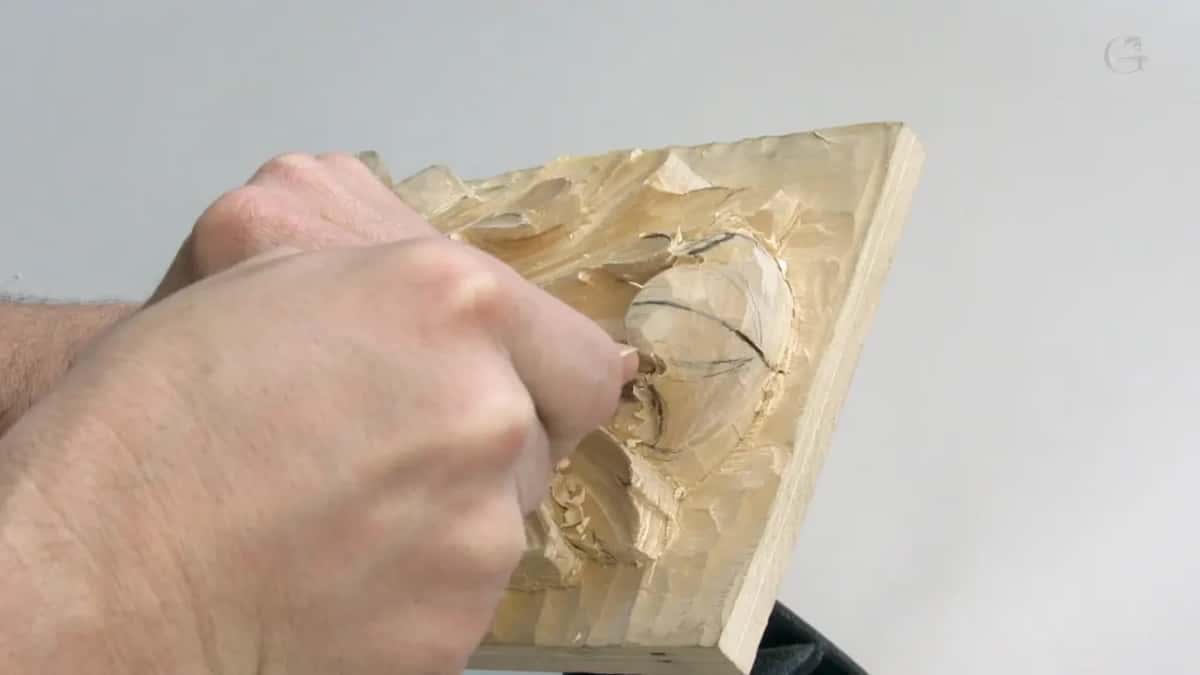
Slowly, with an ordinary straight 9, worked from either side and never taking much at once. A spoon gouge would be the sensible tool here. Mine is a number 9 at 5 mm and it lives in the rack for exactly this. I deliberately left it there for this workshop.
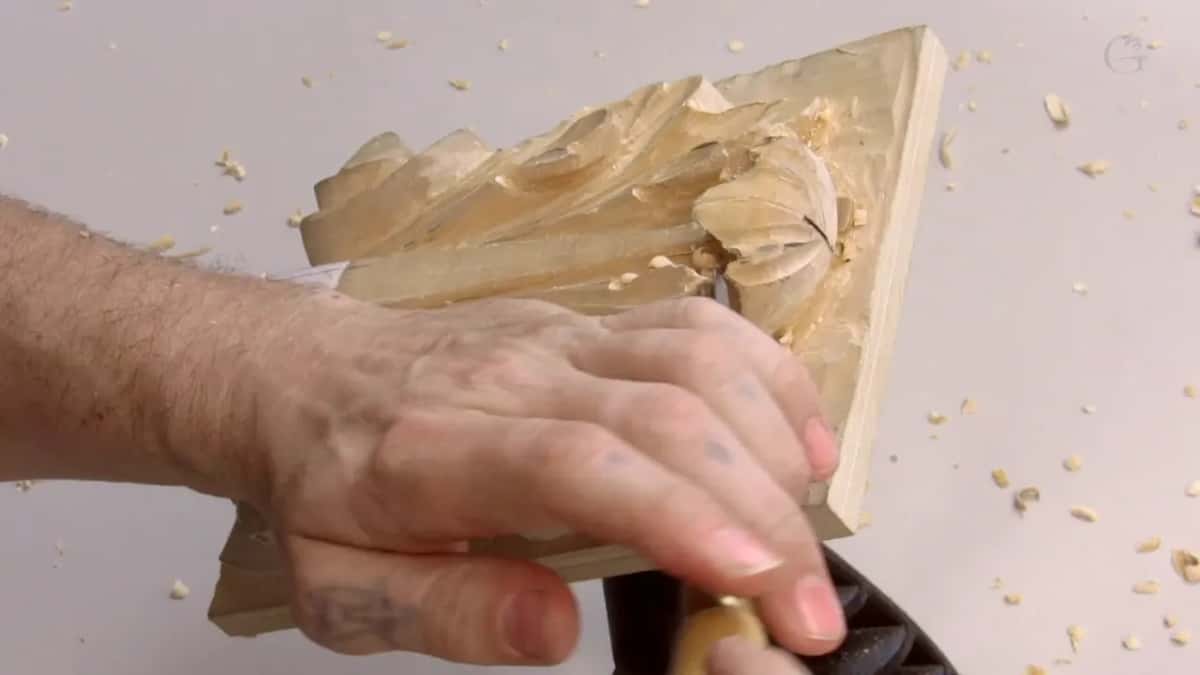
Plenty of you own a starter kit and nothing more. Basic tools, straight shanks, no spoons and no back bends, and you are watching a man reach into a rack of two hundred gouges and wondering whether this is even possible for you. It is. I went almost to the bottom of this excavation with a plain straight 9, and I want that on film.
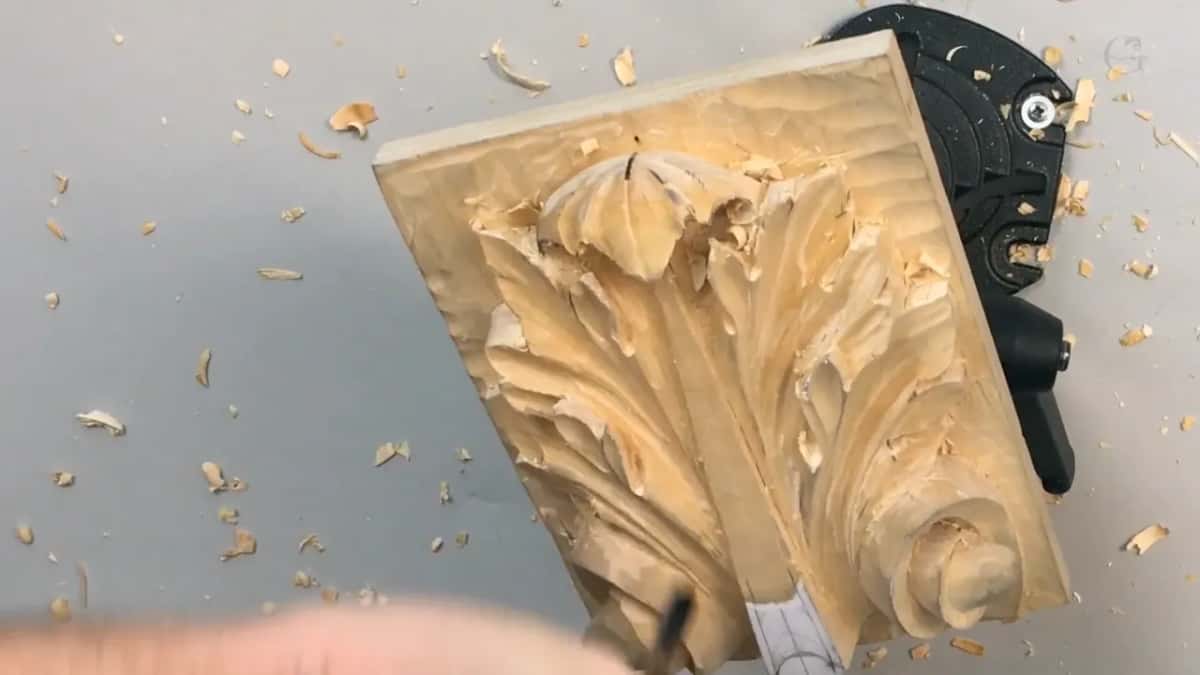
The cost is time and care. A straight tool has its whole length in the way, so every angle fights you, and you take a small bite and check, take a small bite and check. Go too greedy and the handle levers against the edge you are trying to save.
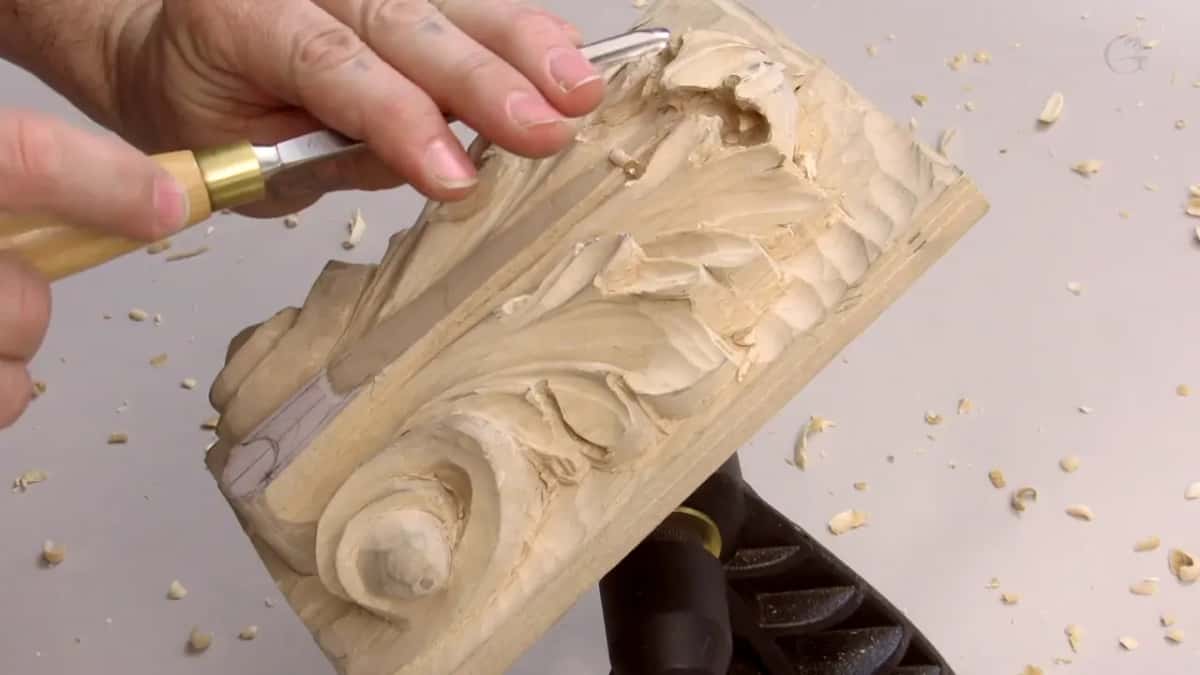
The curl up at the head of the leaf has to read as a curl from either face of the panel, and that only happens when the hollow behind it goes deep. Deeper than you think. The deeper I dig here, the further the section behind it recedes, and the more shade pools in there when the light comes across. People admire that three dimensional effect without ever knowing what produced it.
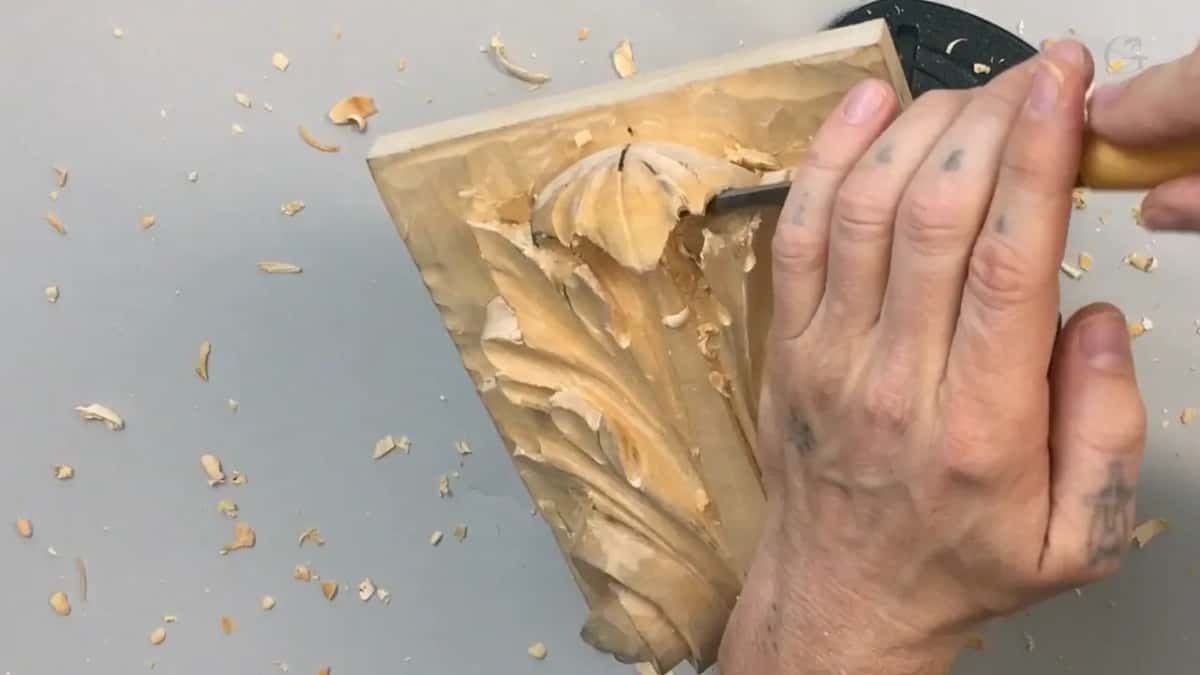
There is a limit, naturally. At some depth a straight tool simply cannot turn any further, and a spoon becomes the only answer. Certain carvings you will never manage without one. Not this leaf, though.
How careful is too careful?
Careful, yes. Not afraid. There is a point in every panel where the wood gets thin enough that a beginner freezes up and stops taking real passes, and the carving stalls there for weeks.
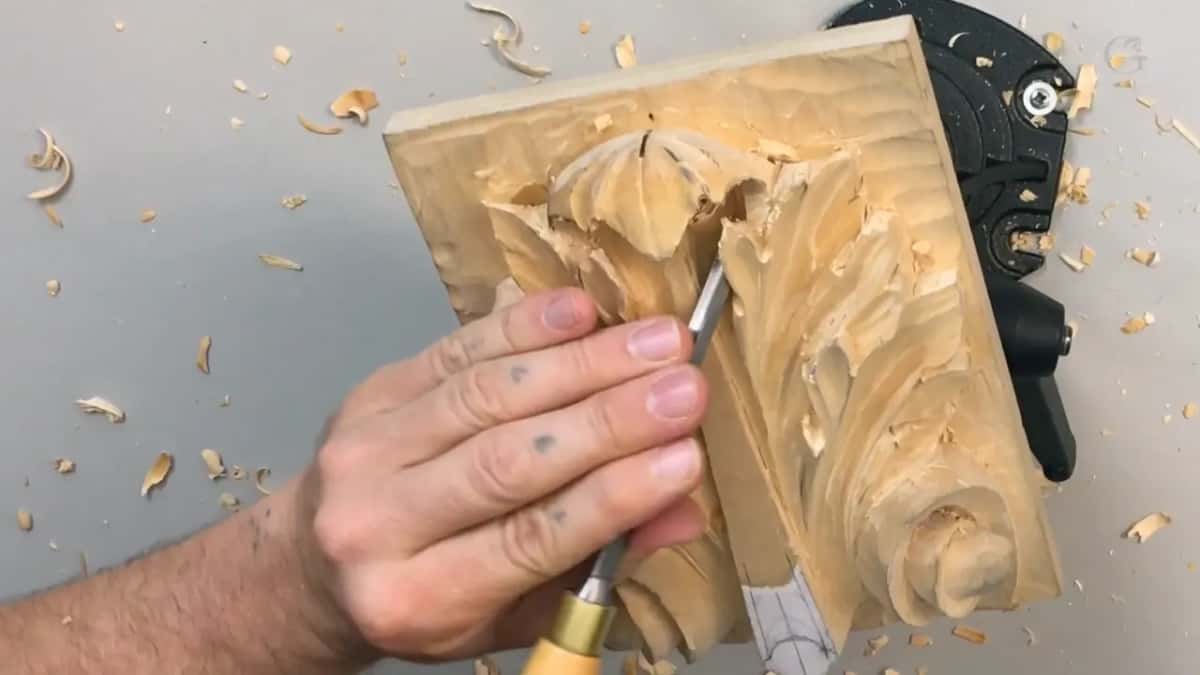
I am careful at this stage and I am not frightened, and the difference is that I know what is still repairable. A high point knocked slightly low can be brought back by lowering everything around it. A tip snapped clean off cannot. So I keep a running sense of which mistakes I can walk back from, and I take my passes accordingly.
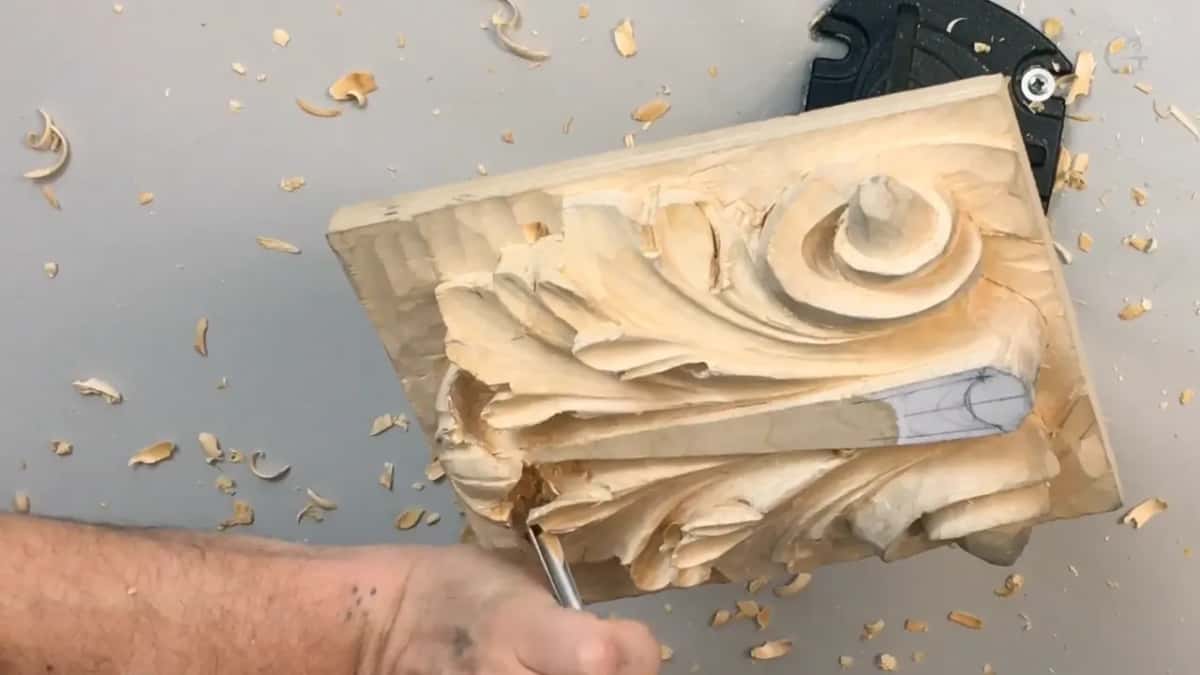
Do not misread me as casual about it. Taking your time is the whole method, and I say so more than once in every workshop. Careful and unafraid, at once, and that balance is the thing experience actually buys you in this craft.
What does slicing mean when you cannot push?
Rotating the handle a few degrees while the edge travels, so the steel shears sideways through the fibre instead of driving into it. I say micro rotation because the movement is small, maybe a tenth of a turn, and it changes everything about the surface you get.
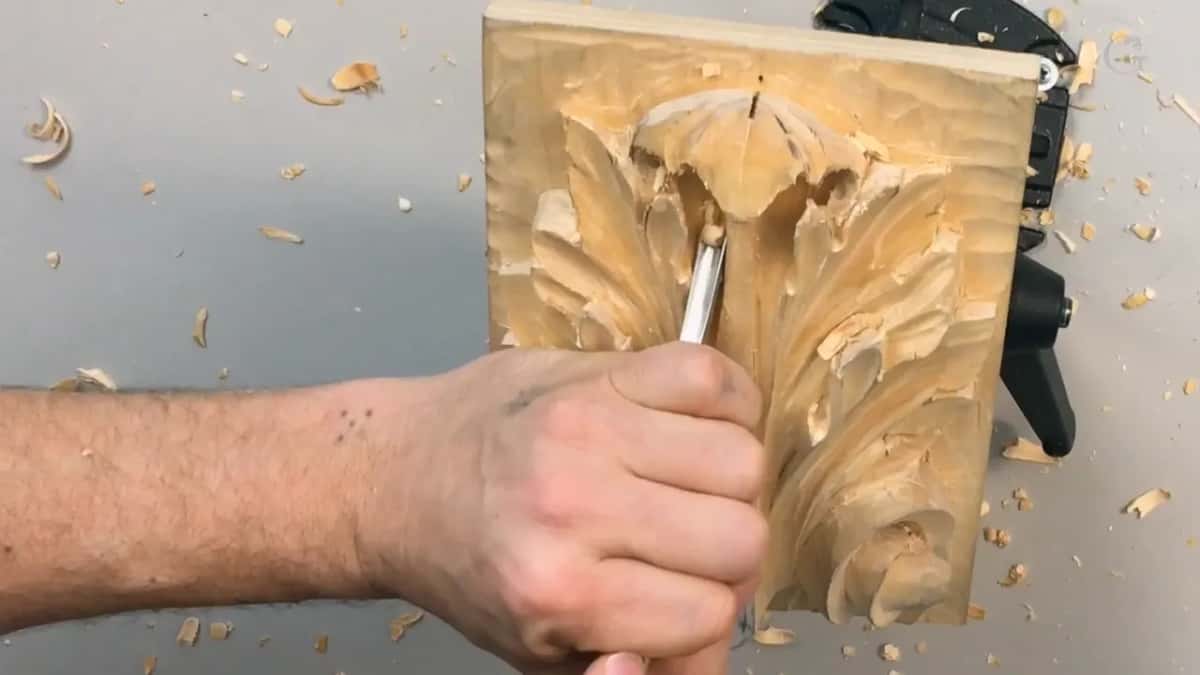
Push a gouge straight ahead and you are splitting wood in front of the bevel. Slice and you are severing fibres cleanly. In basswood the difference shows as a shiny surface against a torn one, and in a fragile undercut the difference is whether the piece survives.
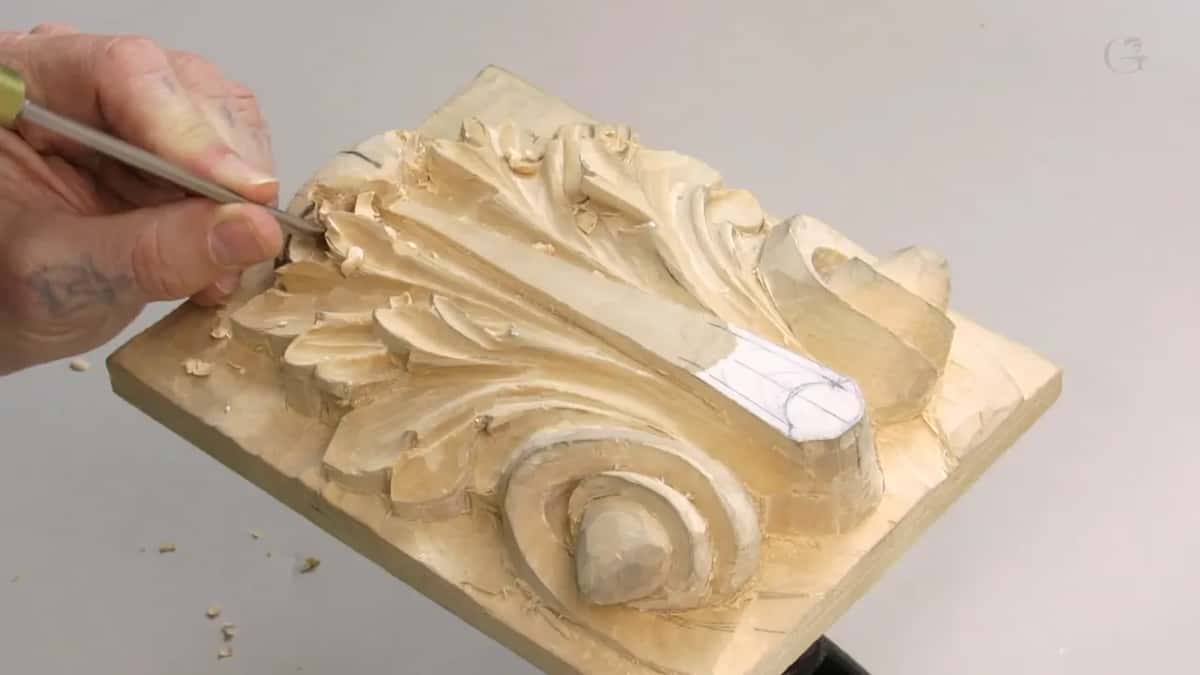
The same goes for the grain. I carve across it in this hollow rather than along it, which is uncomfortable at first and correct here. When the fibre starts lifting I rotate the panel and approach the same line from the far side, and my edge has to be genuinely sharp for any of it to work.
Do you need a carver's vise?
Hardly, for a leaf this size, though it changes how you work. Mine is made by Veritas, and I mention the brand only because people write and ask. Other makers build good ones. What matters is the two movements it gives you: it rotates, and it tilts toward you and away.
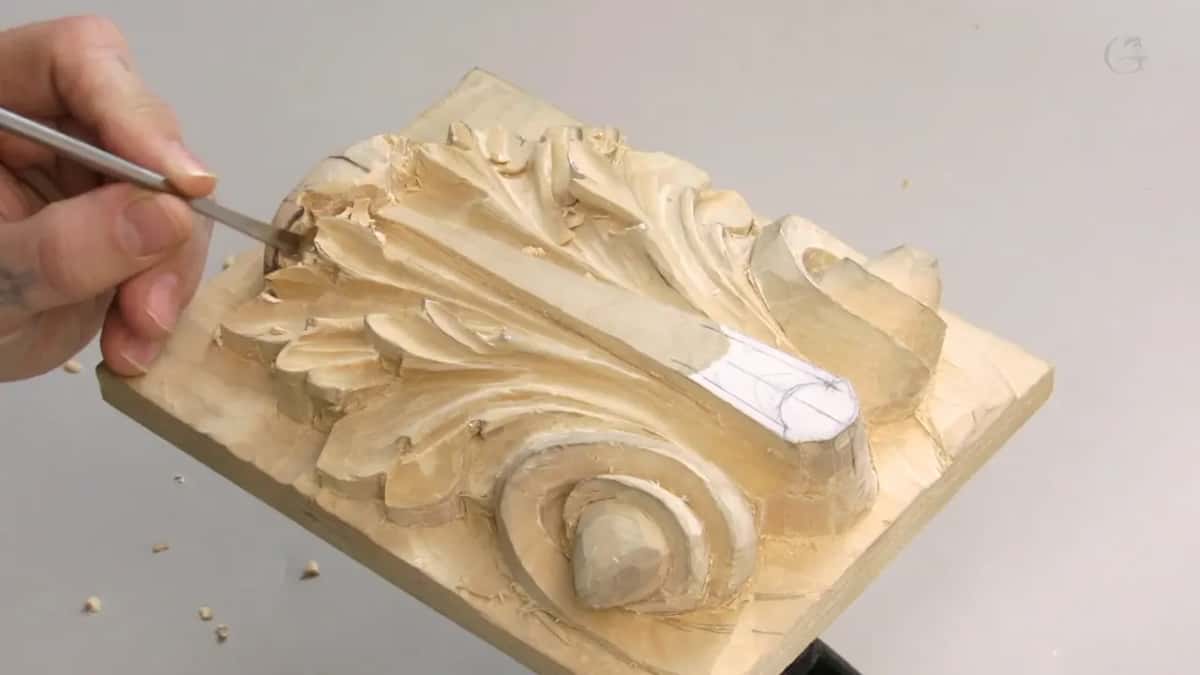
Carve on a dining table with a clamp and you will manage this panel perfectly well. Then you meet the limitation. You want the piece at a different angle, so you unclamp, turn it, clamp it again, and check nothing is crushed. Once is nothing. Forty times in an afternoon on a large piece becomes real trouble, and you start avoiding angles rather than face the fuss.
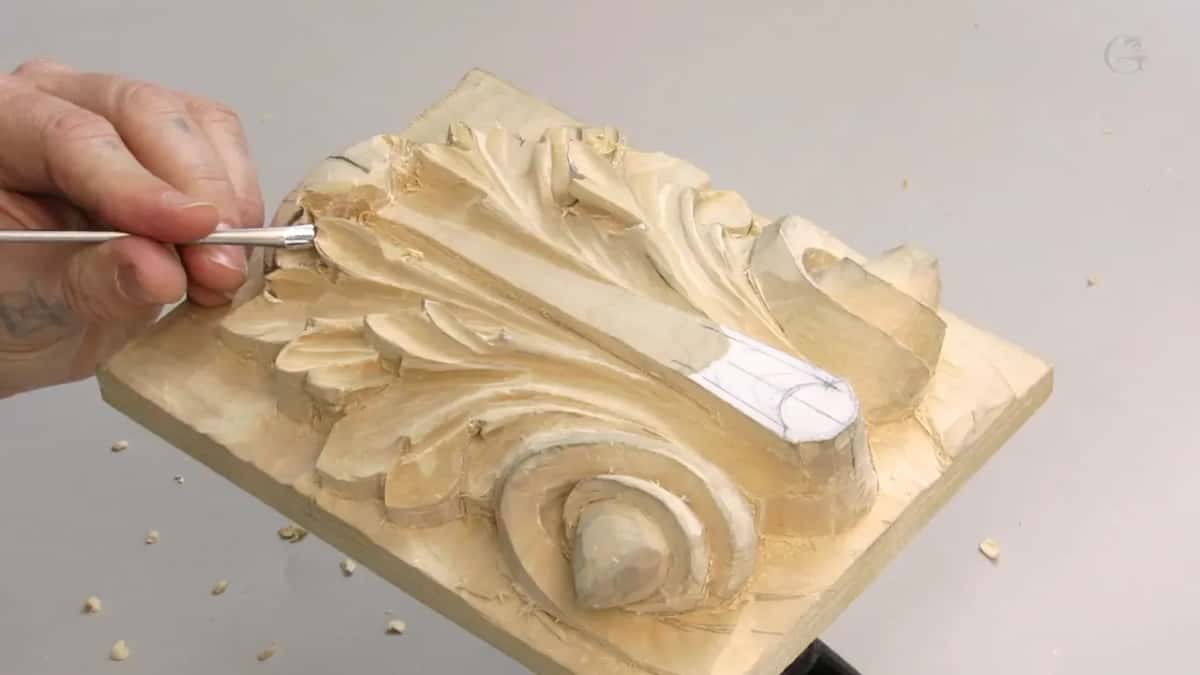
That avoidance is the hidden cost. A carver who cannot easily turn the work carves the easy side well and the awkward side badly, every single time, and never notices they are doing it.
How long should a carving take?
Longer than you want, and the famous ones took longer still. I know some of you would like to carve like Speedy Gonzales and have a finished panel by supper. Forget it. Every great carving I can name in the Baroque tradition took months or years, and there is no version of this craft where speed and quality shake hands.
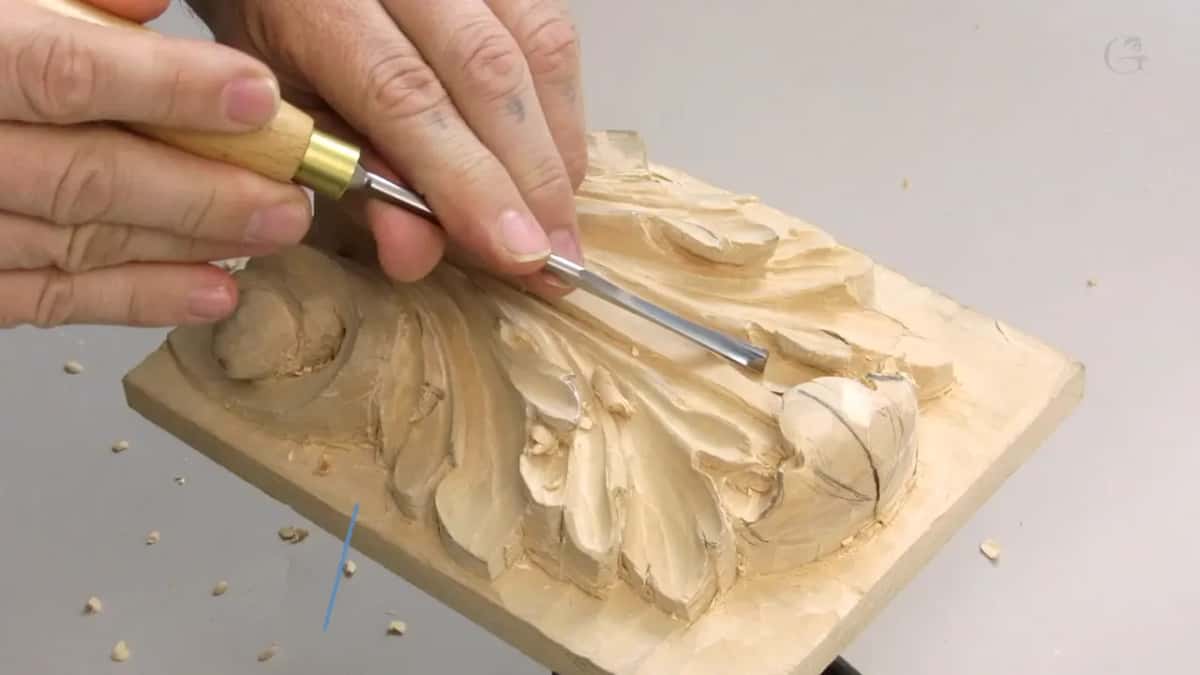
Some of my own pieces took a year. A few took more than a year. Those are the ones that win prizes, and they are the ones people telephone me about, wanting to buy them. All the time. Nonstop.
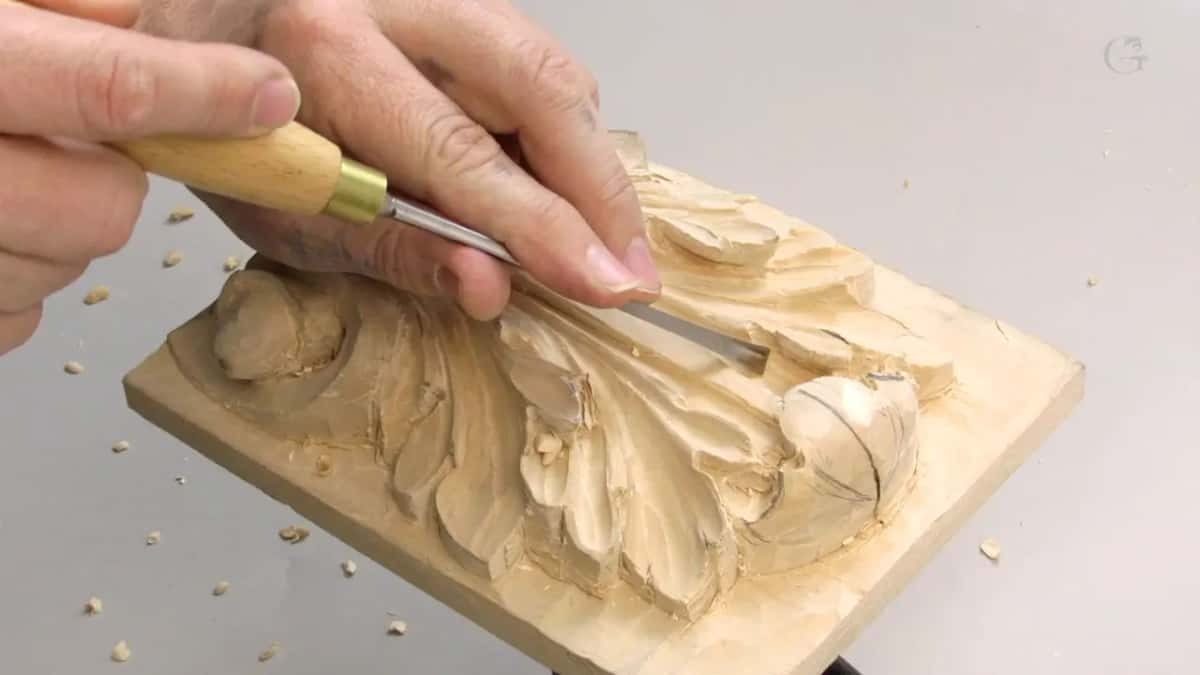
Production work is different and I should say so. When I am carving the same ornament for the twentieth time and nobody is filming, I move a great deal faster, because the thinking is already done. What takes the year is the first one.
How do you price hand carved work?
I estimate the hours honestly, add 10 to 15 percent for the things nobody can foresee, and multiply by my rate. That is the whole formula. No mystery in it and no negotiation built into it.
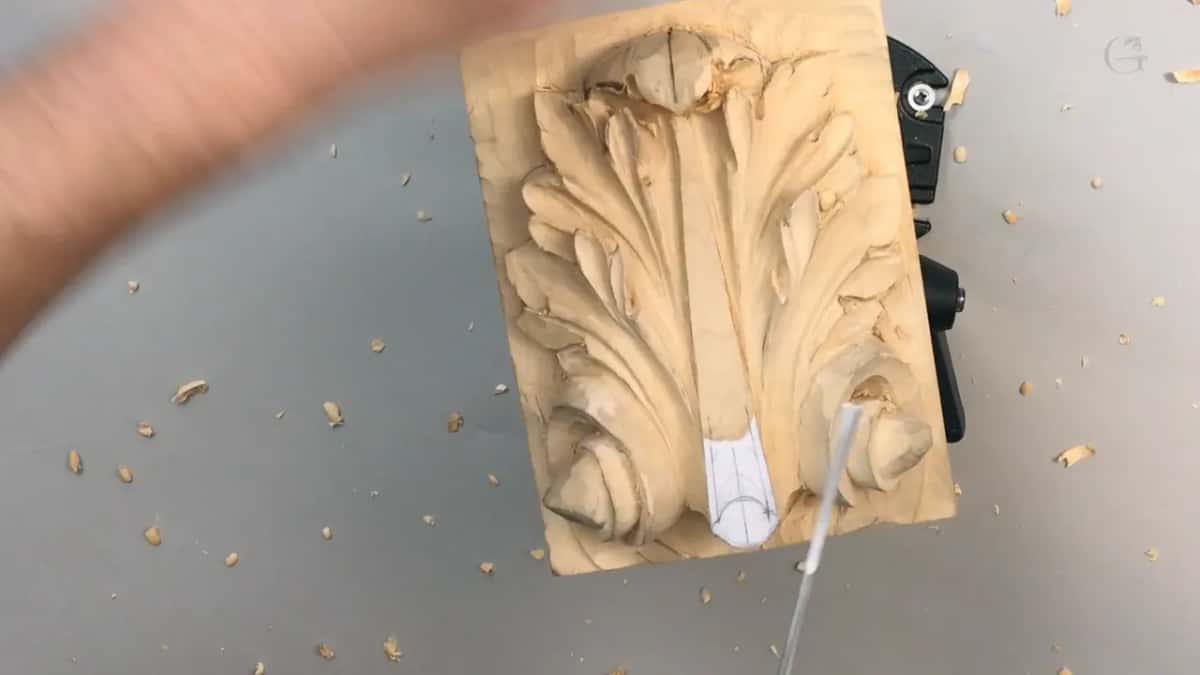
Here is how those conversations usually go. A customer rings about a piece. I tell him how many hours it will take and what I charge for an hour of my work. He says his budget is a certain figure, considerably below that, and asks whether I can still do it for the price.
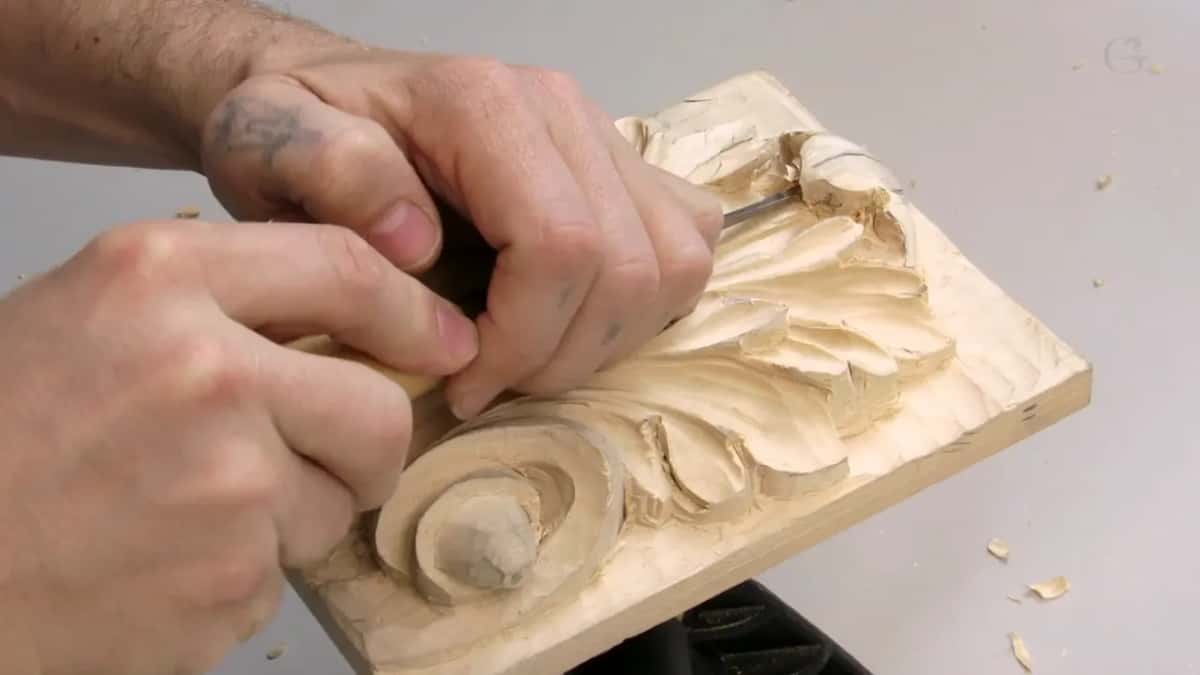
My answer is that I can make it a couple of inches smaller, no problem at all. Carving the same design for less is the thing I cannot do. That is not what it costs. Bills arrive here like everywhere else, and I will not take work simply because I am able to.
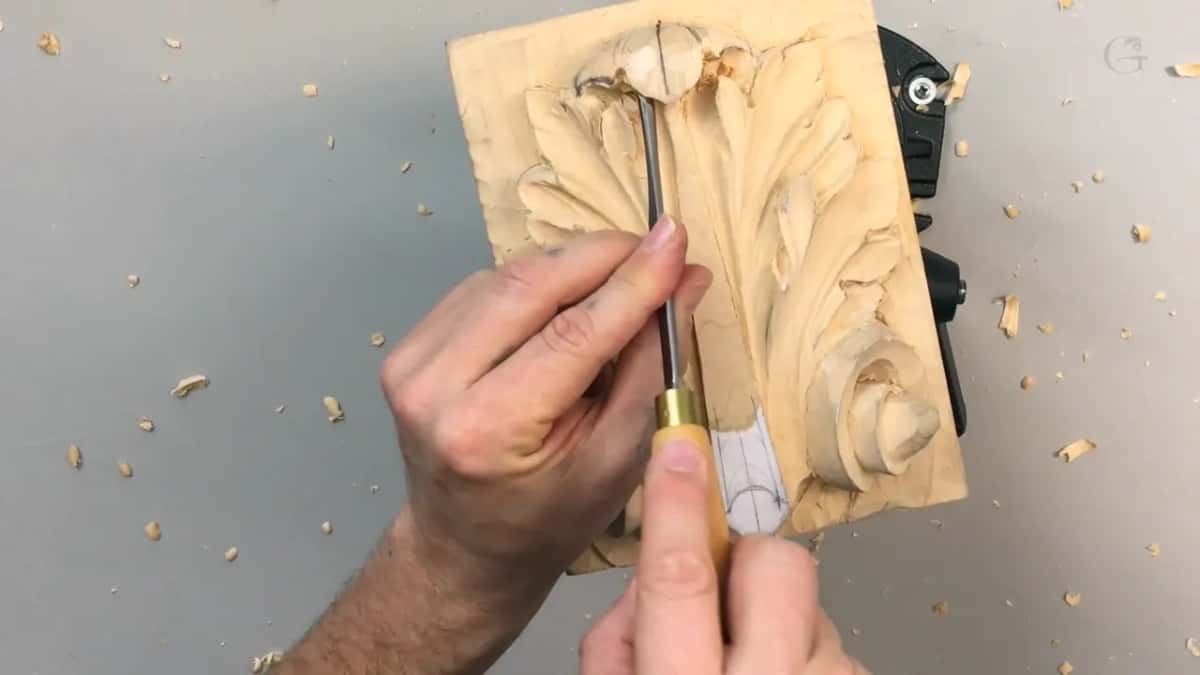
Every profession deserves to be paid properly, according to the skill it took to learn and the hours it takes to perform. Price the work below that and you will not last, and then somebody will tell you the old crafts are dying. They are not dying. The pay is dying.
So if you are carving toward a commission one day, learn the arithmetic alongside the gouges. Hours, plus a margin for surprises, times a rate you can live on. Would you like somebody to show you both halves of that? Shall we carve?
Should the pipes sit higher than the leaf centre?
They should appear higher, which is a different thing. I looked at this leaf, decided the central section was sitting too proud, and took it down with a 12 mm (1/2 in) number 3 until the two pipes read as the high points.
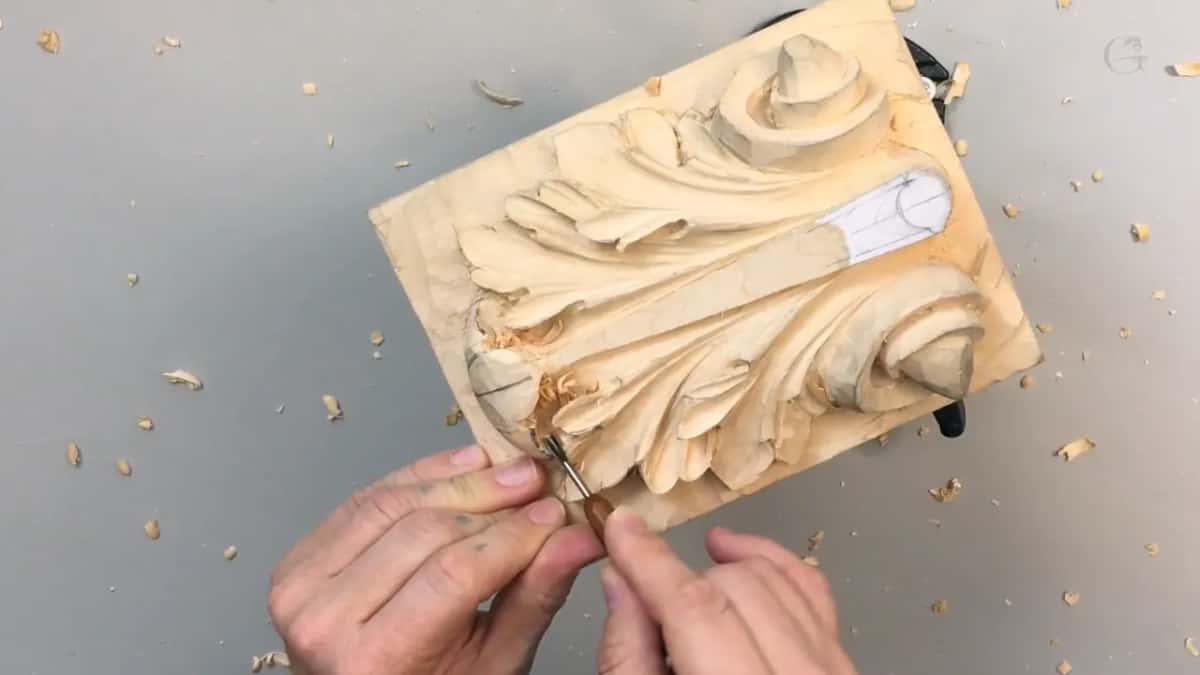
Measure them and the pipes are barely above the middle at all. The eye does not measure. It reads the shadow at the base of each tube and concludes the tube is standing up, and once I lowered the centre a touch the whole leaf looked right to me.
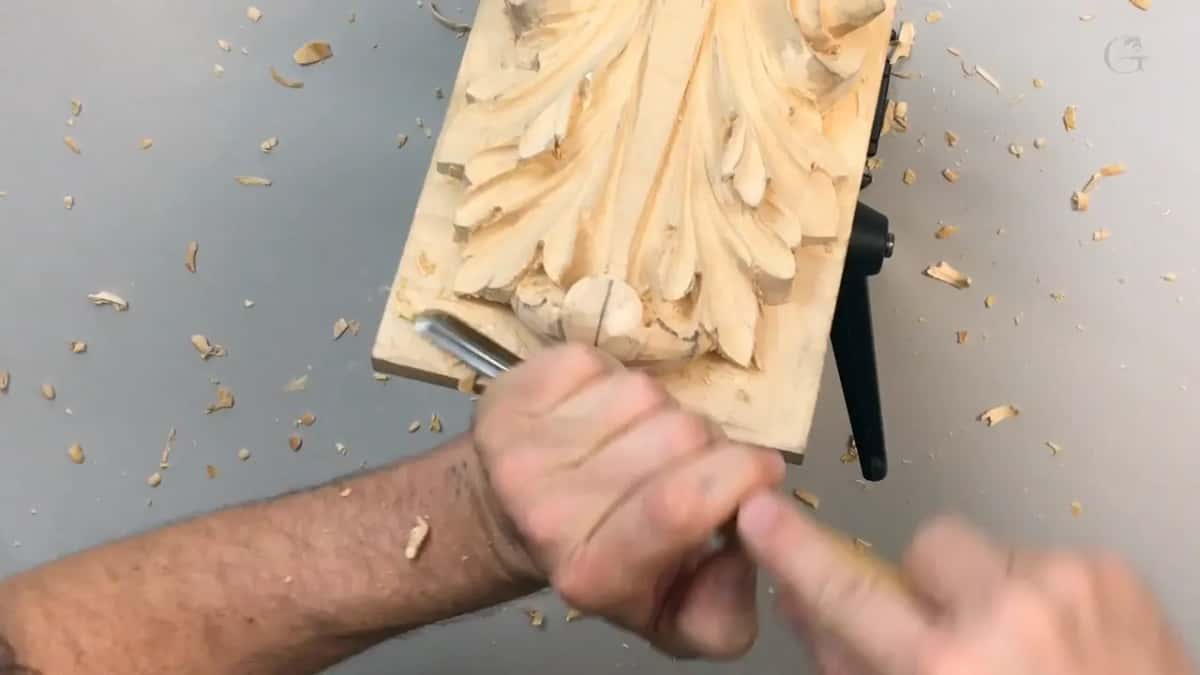
Trust that reaction. When something looks wrong and you cannot say why, it is wrong, and the fix is usually a millimetre somewhere. I went back and forth on this one before I was satisfied, and saying out loud that I was not happy is part of how I teach.
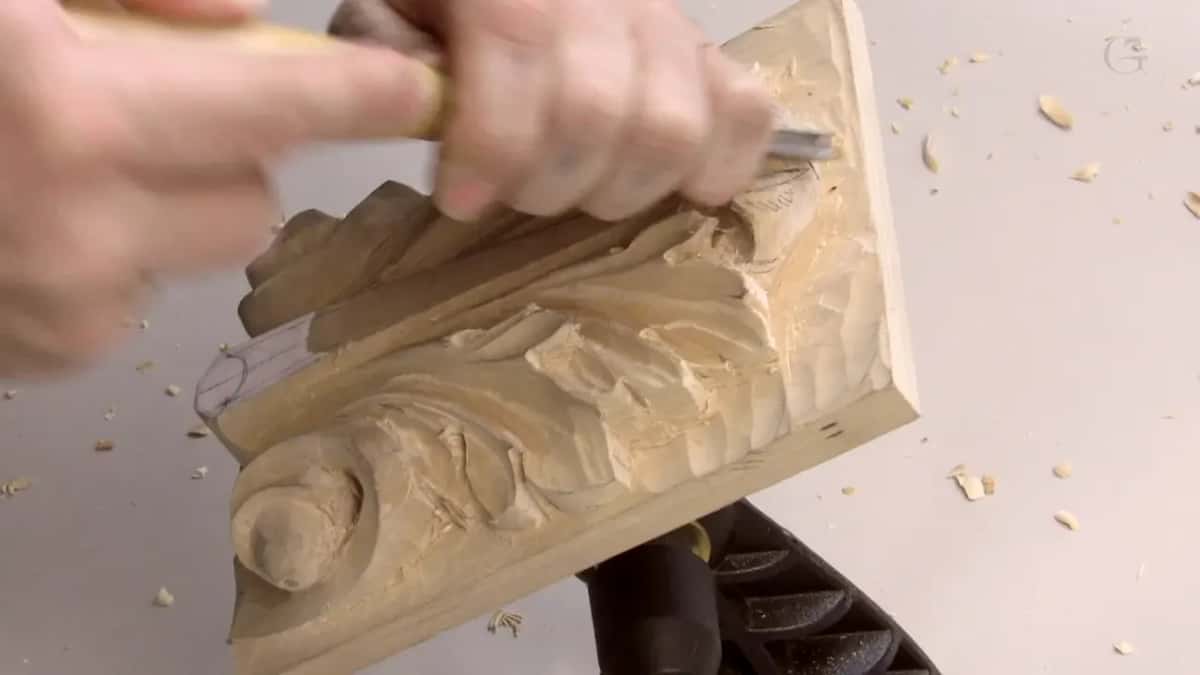
A 90 degree V tool runs down the middle afterwards to open the movement inside the curl. Sixty degrees would look just as good. Then a 6 mm number 5 softens the ribs the V tool left standing, and the acanthus starts behaving like foliage rather than like carpentry.
| Stage | What is in my hand | The movement | What goes wrong in a hurry |
|---|---|---|---|
| Opening the narrow gap between two tubes | Number 9, three millimetres | Across the grain, small bites only, and check after each | Bruising |
| Preliminary undercut | V tool at six millimetres, one wing laid flat on the surface | Middle outward | The tip snaps off your tool |
| Hollow the curl | Straight 9 | Sweep and rotate, working both flanks, checking often | Levering against a thin edge |
| Lower the centre of the leaf | Number 3 | Long passes, twelve millimetres wide | Taking it lower than you can recover |
| Open the centre line | V tool ground at ninety degrees | One pass | The line wanders off the flow of the leaf |
| Round the ridges down | Number 5 | Along the movement, never across it | Flattening the shade |
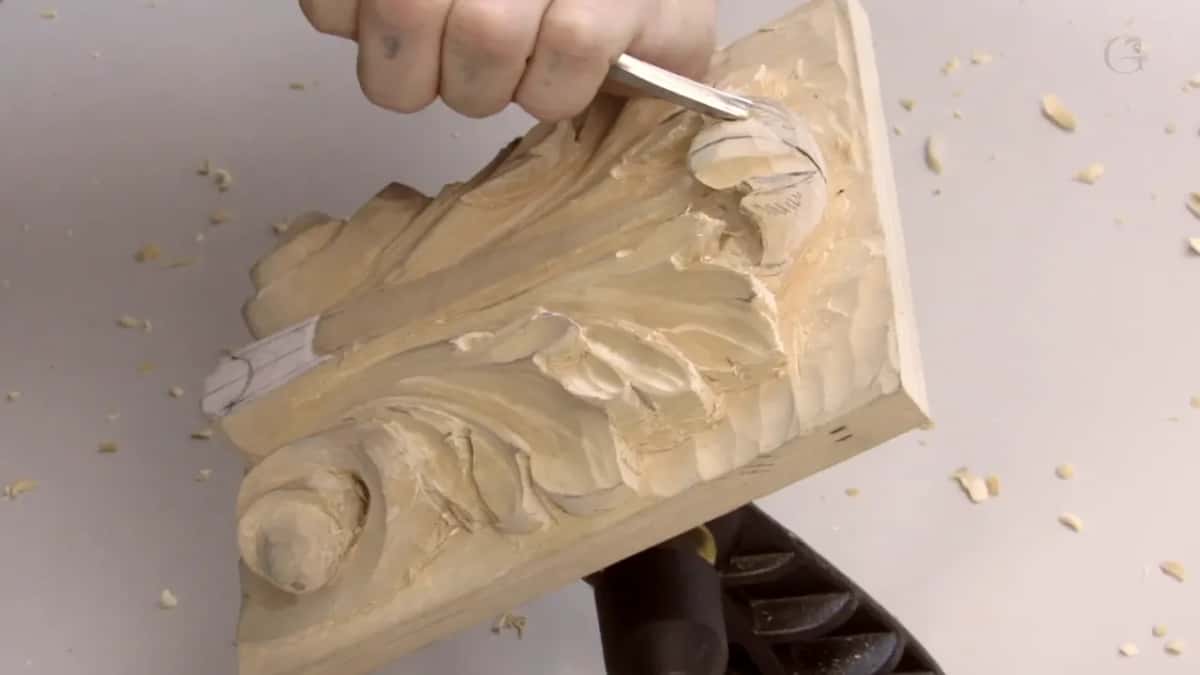
What makes a hollow read as organic?
One continuous movement from the outside of the leaf all the way into the middle, with no step where two passes meet. Blending, in other words. I work the same tool upside down along that path until nothing interrupts the line.
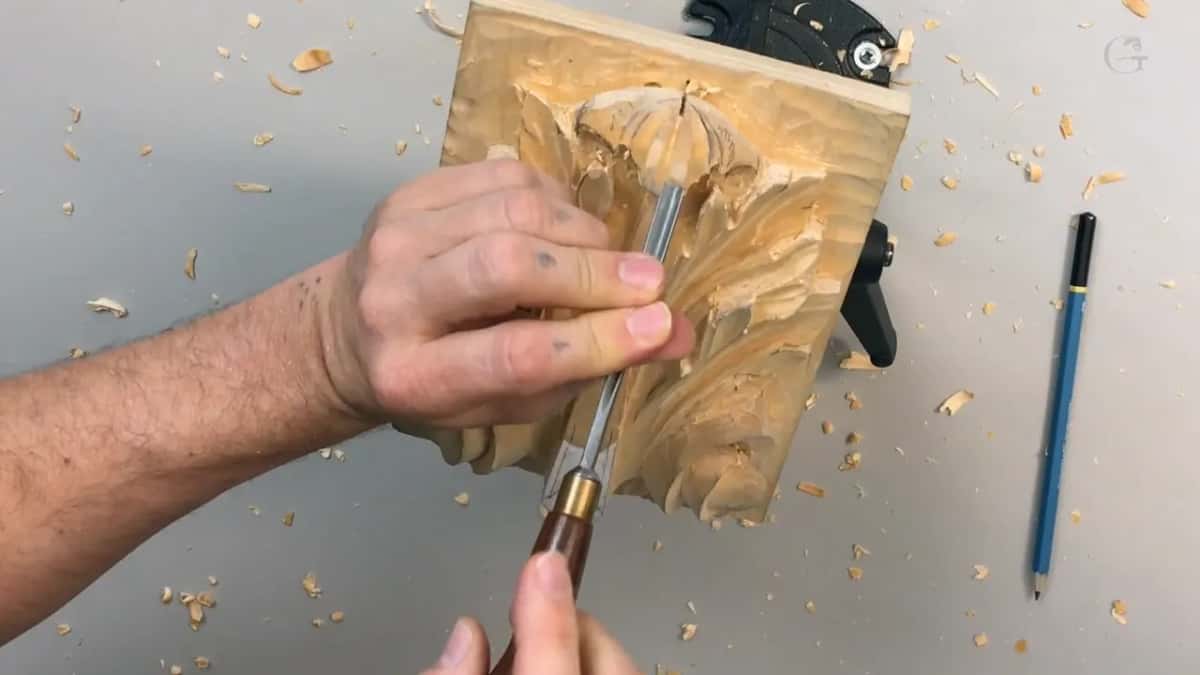
My sweeping pass runs counterclockwise here. Starting on the right and rotating to the left, one smooth arc, and the hollow ends up looking grown rather than assembled. Break that path into four short passes and the eye finds every join.
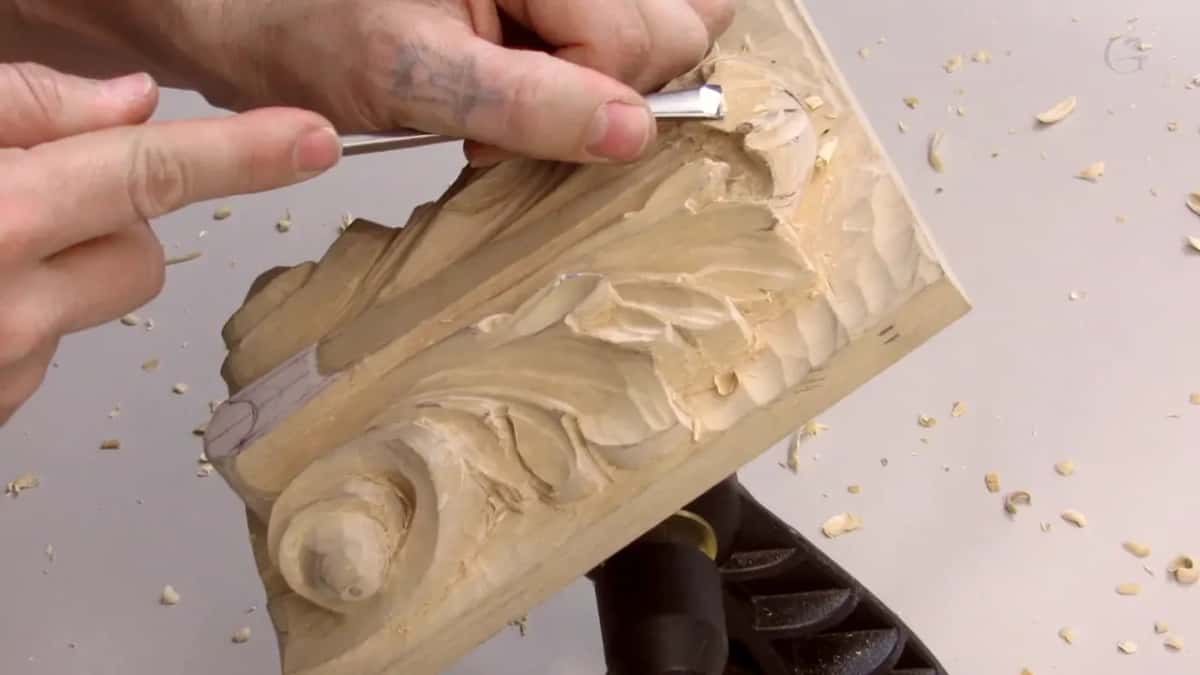
Both sides then have to match in depth, and I check that repeatedly rather than at the end. A leaf whose two hollows differ looks subtly broken and nobody can tell you why. Symmetry was the first thing we drew in this series and it stays the discipline right through to the final tool you pick up.
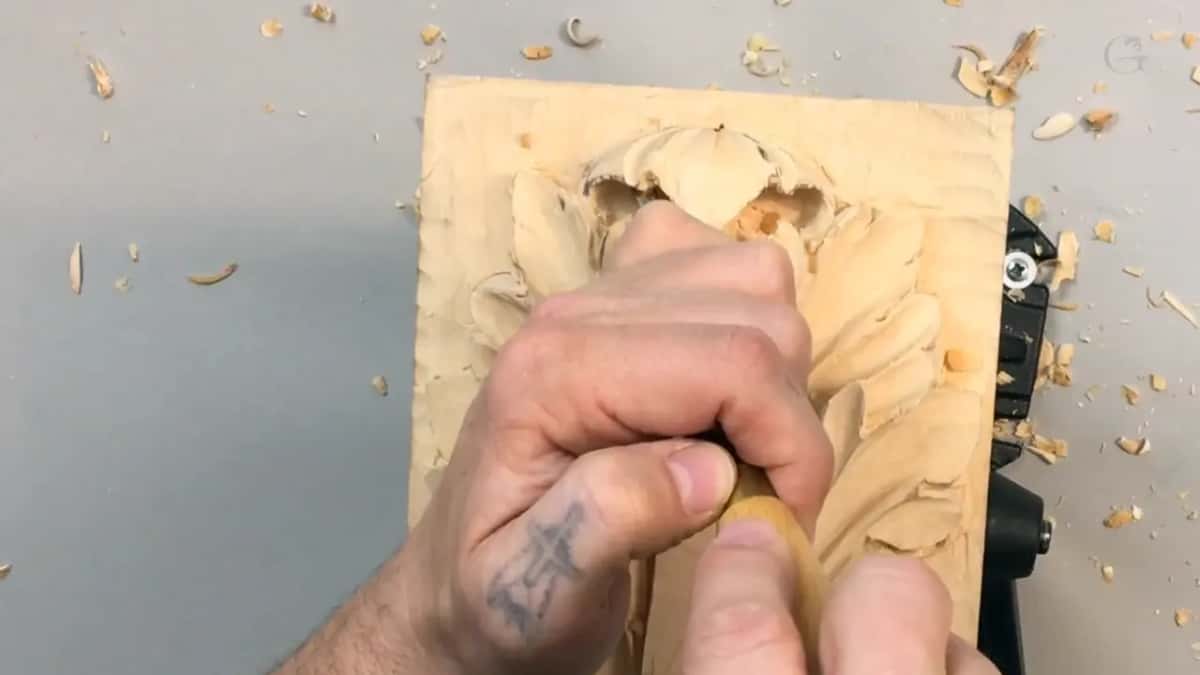
Everything here belongs to the Roman acanthus series, and tuition opens the whole library alongside it. If a bench next to mine suits you better, we teach in person as well, and this is where a beginner starts.
How it's done
- Clear the narrow gap first. Sweep 9 at three millimetres works across the grain in small bites. Anything wider bruises the leaf standing above the space you are clearing.
- Take the preliminary undercut with a V tool. Begin where the leaf's centre line runs and travel outward, then come back and travel the other way. One wing of the tool rides against the wood the whole time.
- Leave the mallet on the bench. Hand pressure clears this waste on its own. Driving a V tool into a hollow is how the point snaps, and a broken tool costs more than the minutes it saved.
- Hollow the curl from both sides. Sweep and rotate with a straight number 9, checking after every bite. The deeper the excavation goes, the further the section behind it recedes into shade.
- Lower the centre until the tubes read high. Sweep 3 at 12 mm takes the middle down by a millimetre or so. Measured, the tubes barely rise at all. Seen from the side, they stand well clear of it.
- Cut the centre line of the curl. A 90 degree V tool runs once down the middle. Sixty degrees looks every bit as good, so reach for whichever one sits in your rack.
- Blend both hollows to one depth. Take down the ribs the V tool left standing, then compare the two sides repeatedly rather than once at the end. A difference you can see looks broken without anyone knowing why.
Frequently asked questions
Can you break a V tool while undercutting?
Easily. The two wings meet at a thin unsupported point, and burying that point in a hollow then levering sideways to clear waste snaps the tip clean off a perfectly good tool.
Is a spoon gouge needed to hollow a deep curl?
A spoon makes the job sensible rather than possible. Working from both sides with a plain straight number 9, taking small bites and checking often, reaches almost the full depth. Time and patience replace the shape of the tool.
What does slicing mean in wood carving?
Rotating the handle a few degrees while the edge travels forward. The steel shears sideways through the fibre rather than driving into it. Pushing splits wood ahead of the bevel. Slicing severs it cleanly.
What to carve next