
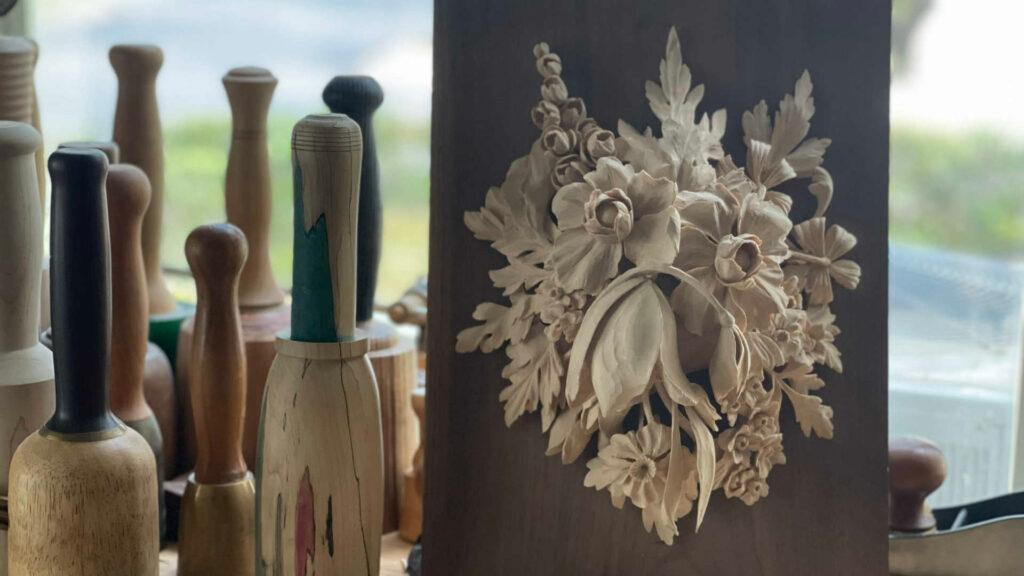
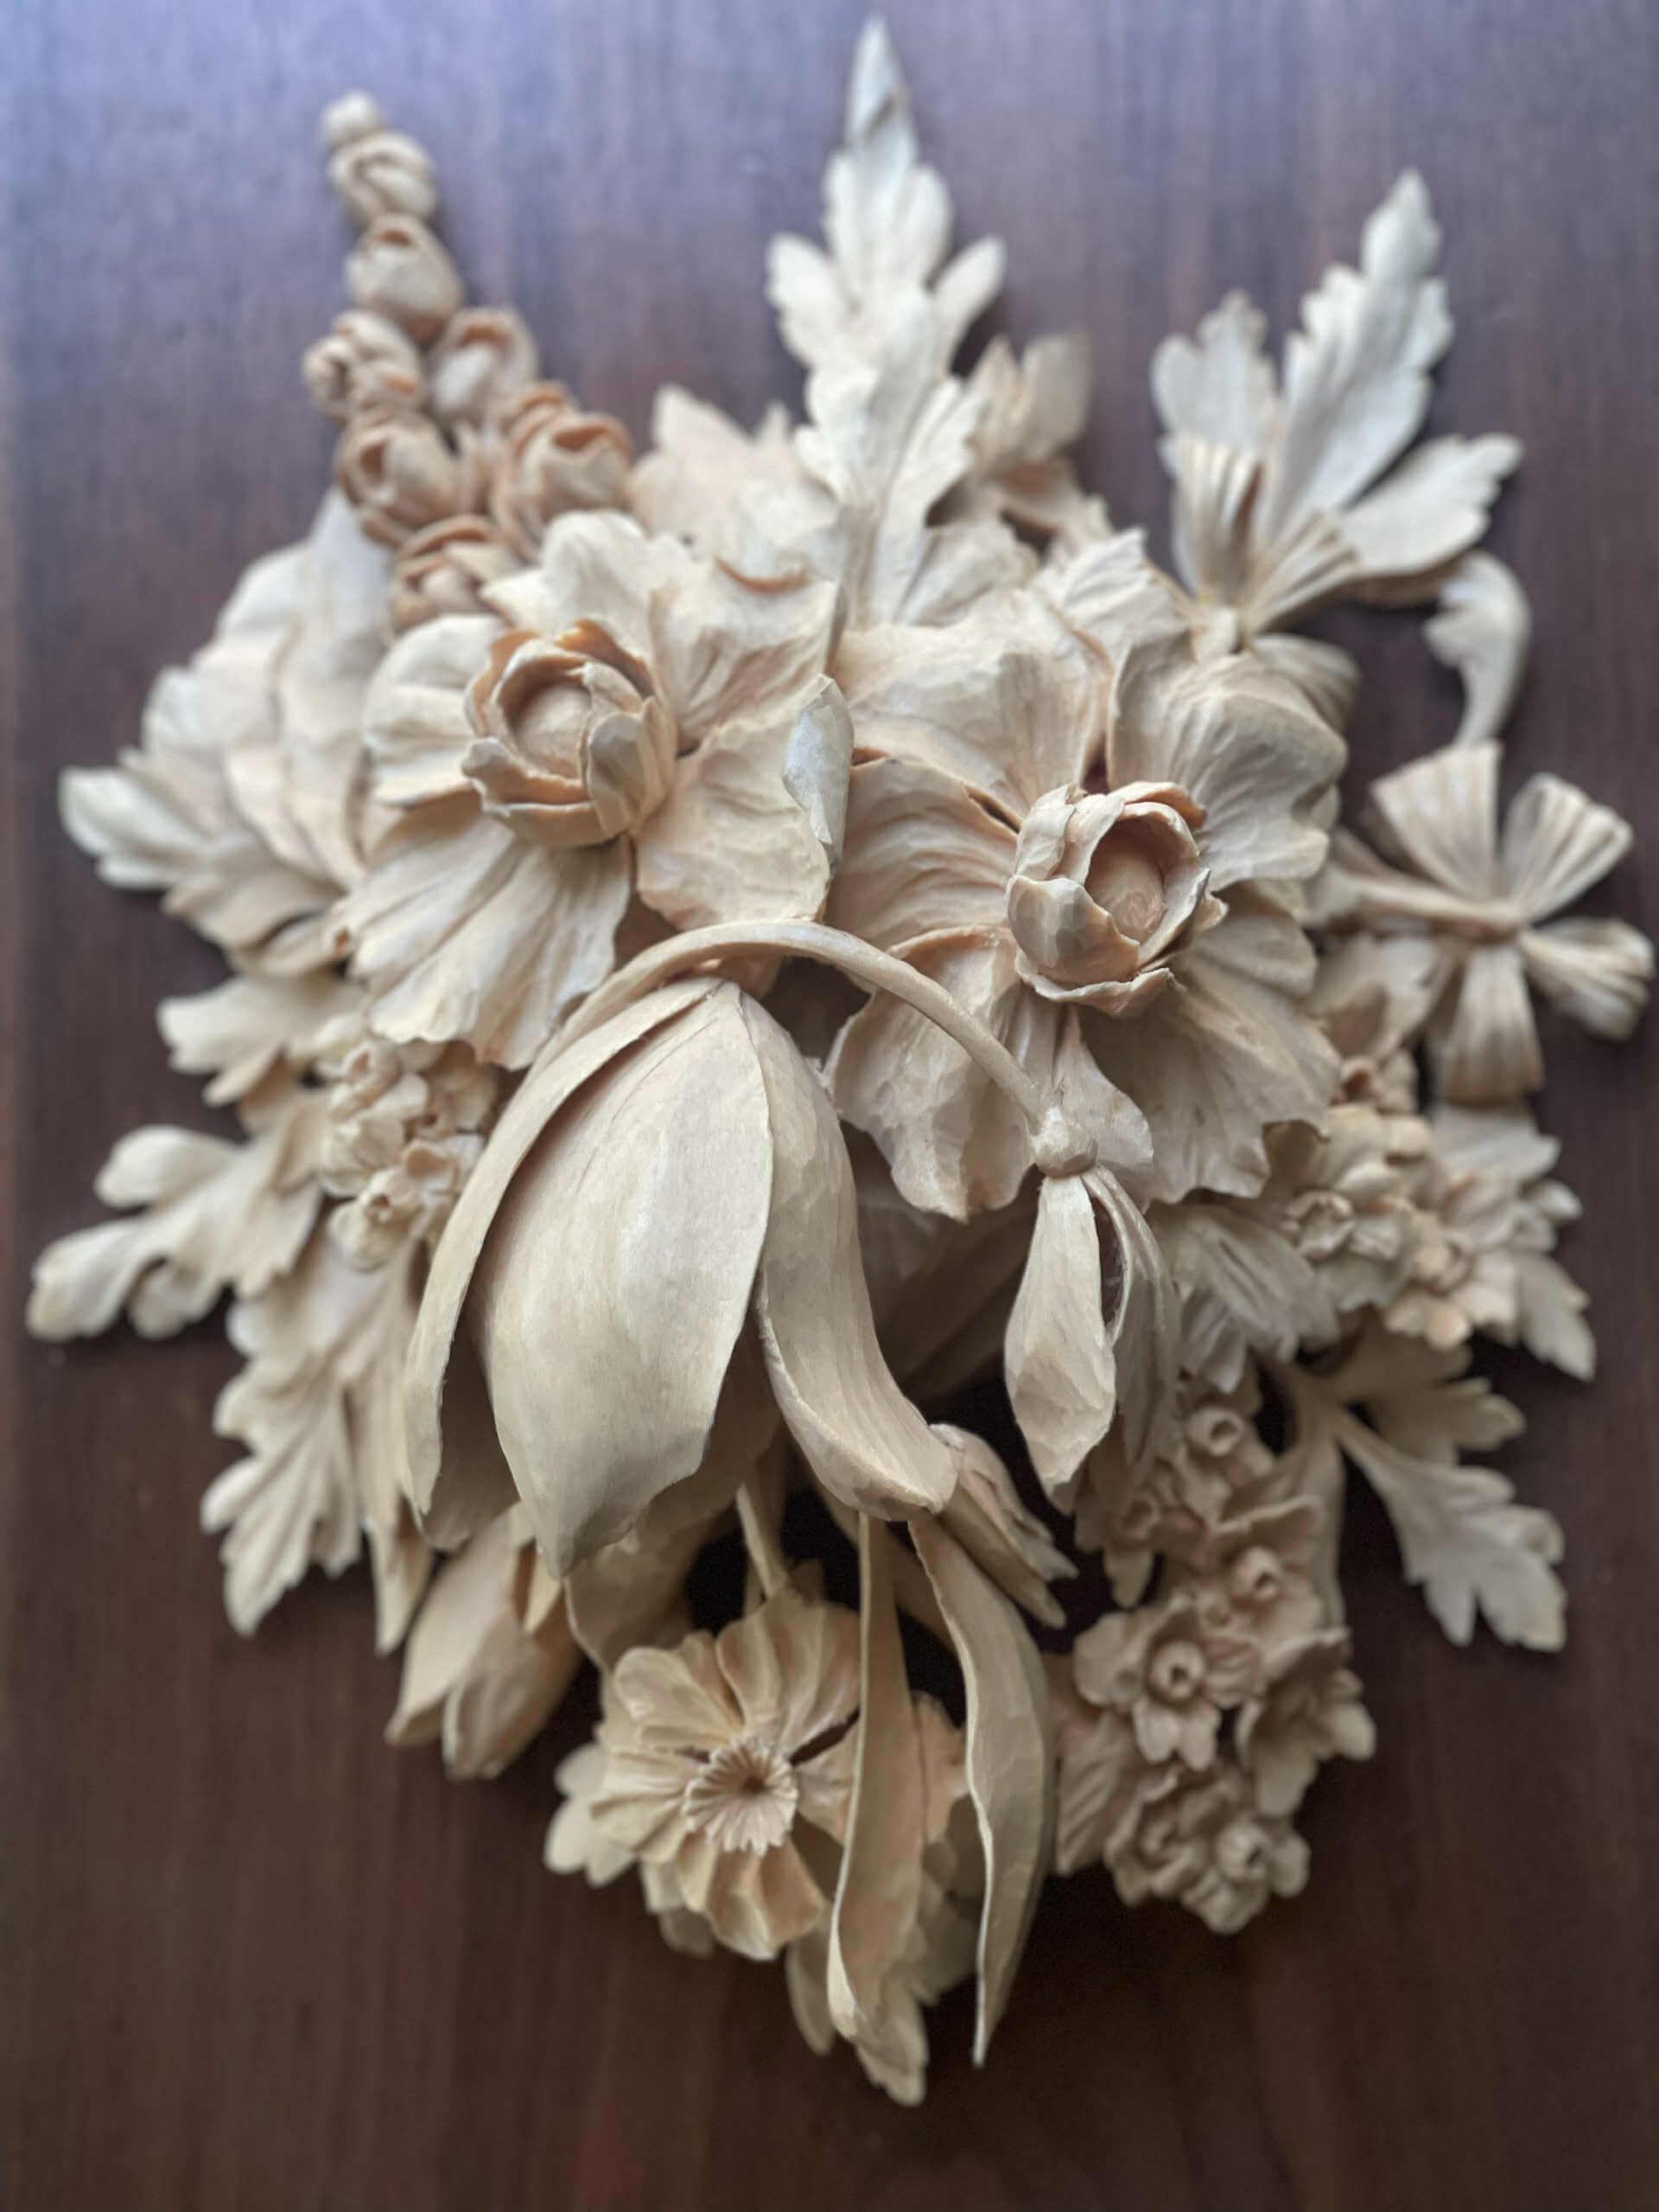
Alexander Grabovetskiy, woodcarver, School of Woodcarving · Published 2022
How do you carve in the style of Grinling Gibbons?
Quick answer: Carving in the style of Grinling Gibbons is layered high relief, worked from two 50 mm boards of basswood that fold into each other rather than stacking flat. One board swells where they meet, the other is hollowed behind to match, and after that most of the work is shadow.
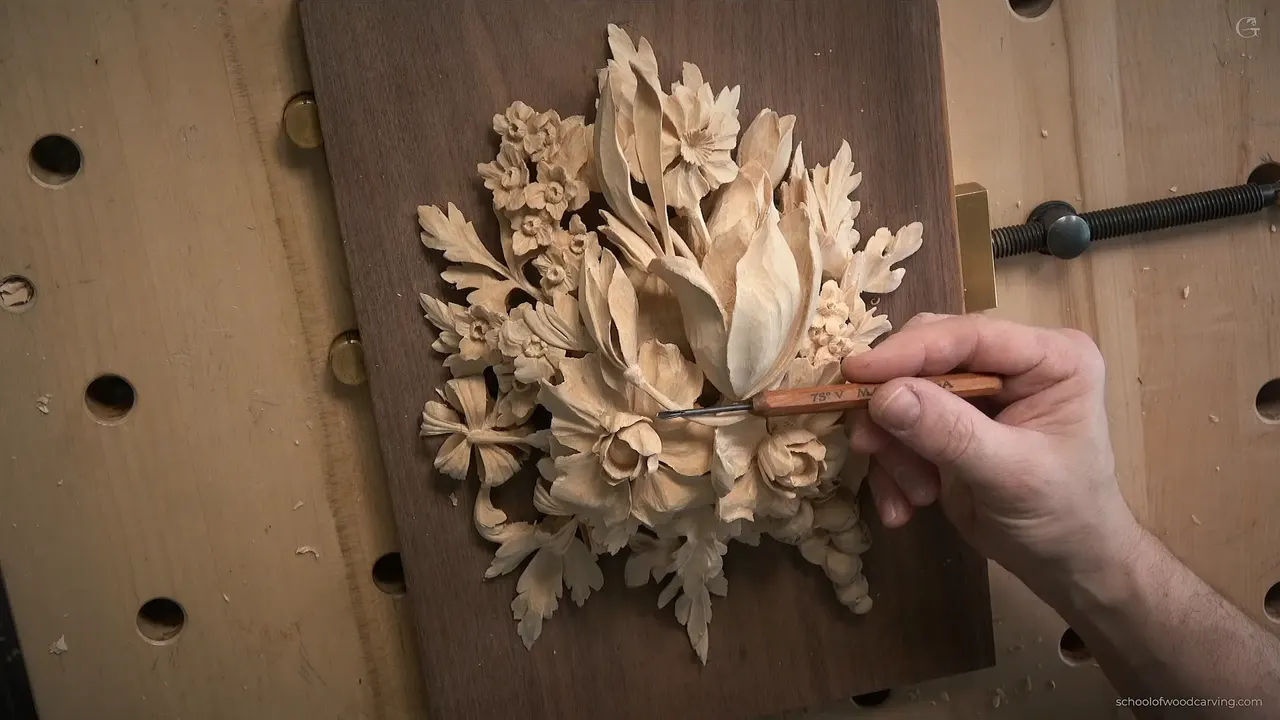
A Gibbons style carving is layered high relief, taken from two slabs of 50 mm basswood that wrap into one another instead of stacking flat. You dome the lower layer convex where the two meet, then hollow the back of the upper one so it settles down over that dome. After that, most of the work is chasing shadow.
Ever look at a Gibbons panel in a photograph and wonder how the flowers float that far off the board? Or tried to copy one and ended up with a nice flat carving that looks glued together? The gap between those two things is one move, and it happens in the first two hours, before any petal exists.
Each layer gets shaped to the other one. That is the whole secret, and I said so out loud in the first class. It surprised the room. The assumption had been that a Gibbons piece gets carved flat and then stuck on top of another one.
Eighteen classes, recorded live in Maine with real students asking real questions, working an original Gibbons design. You hear the questions. Somewhere in there I break a tool handle. At one point the landscapers turned up to trim my trees mid recording, and that is on the tape too.
What I settle before the first pass
- Two slabs of 2 inch stock, 50.8 mm, for both carved layers. Background is a separate 1 inch board.
- Finished carving measures 8 5/8 by 10 7/8 inches, which is 219 by 275 mm. Background runs 9 3/4 by 13 1/4, or 248 by 337 mm.
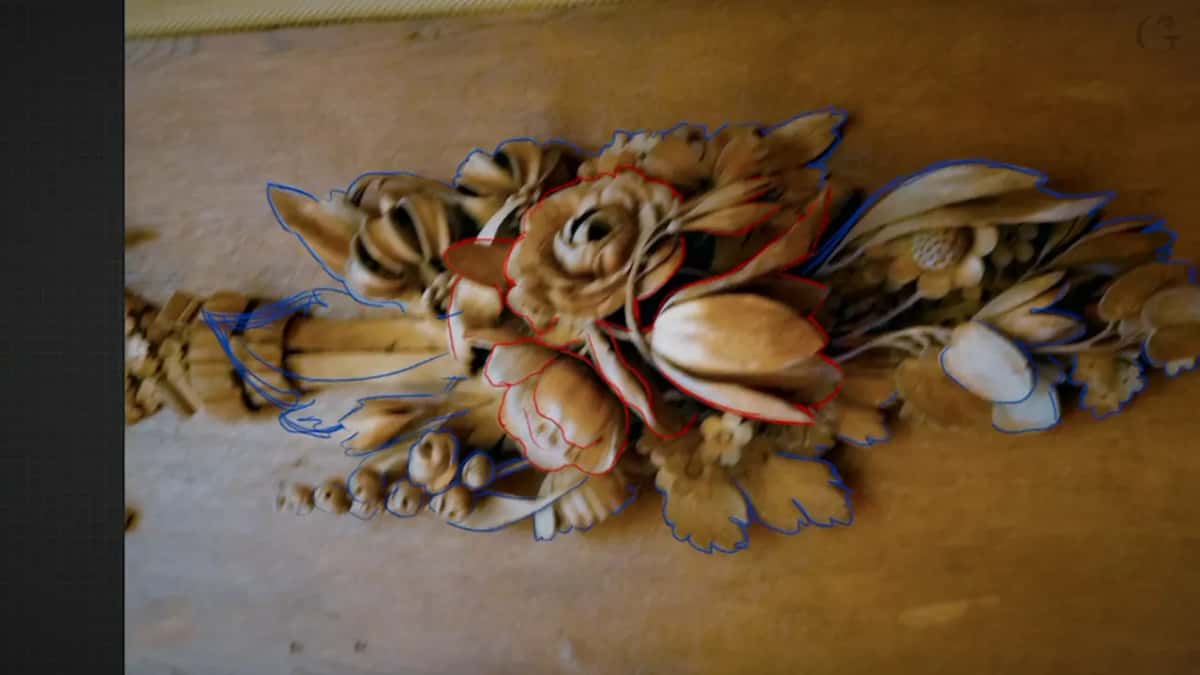
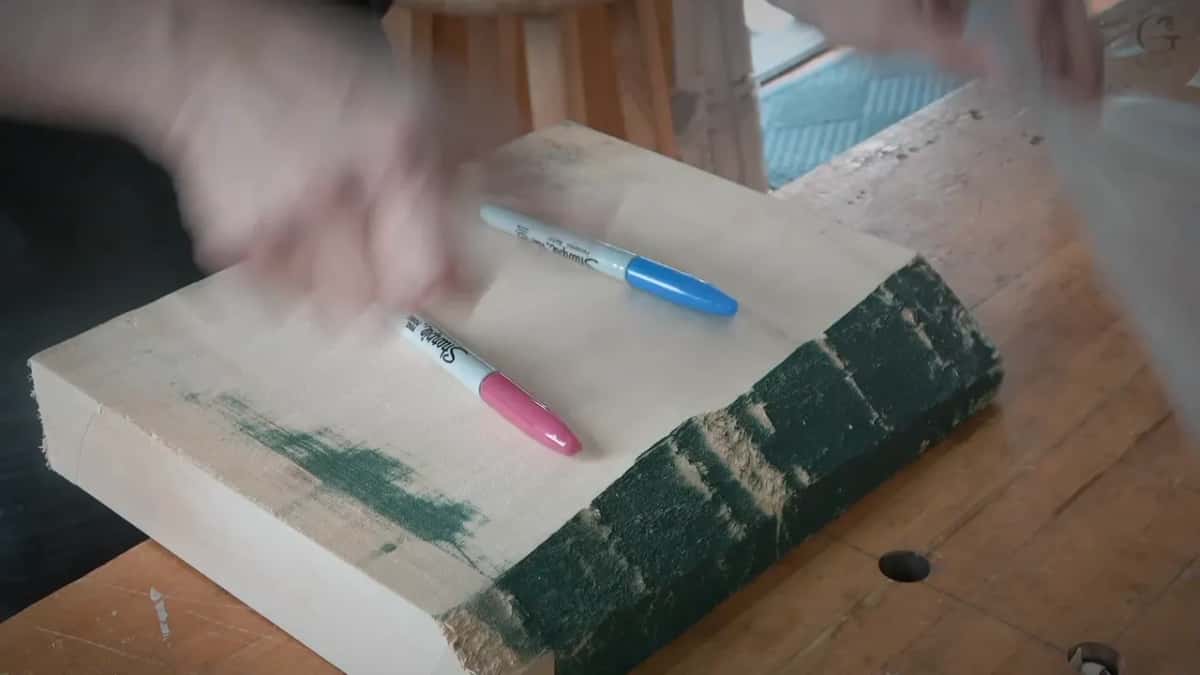
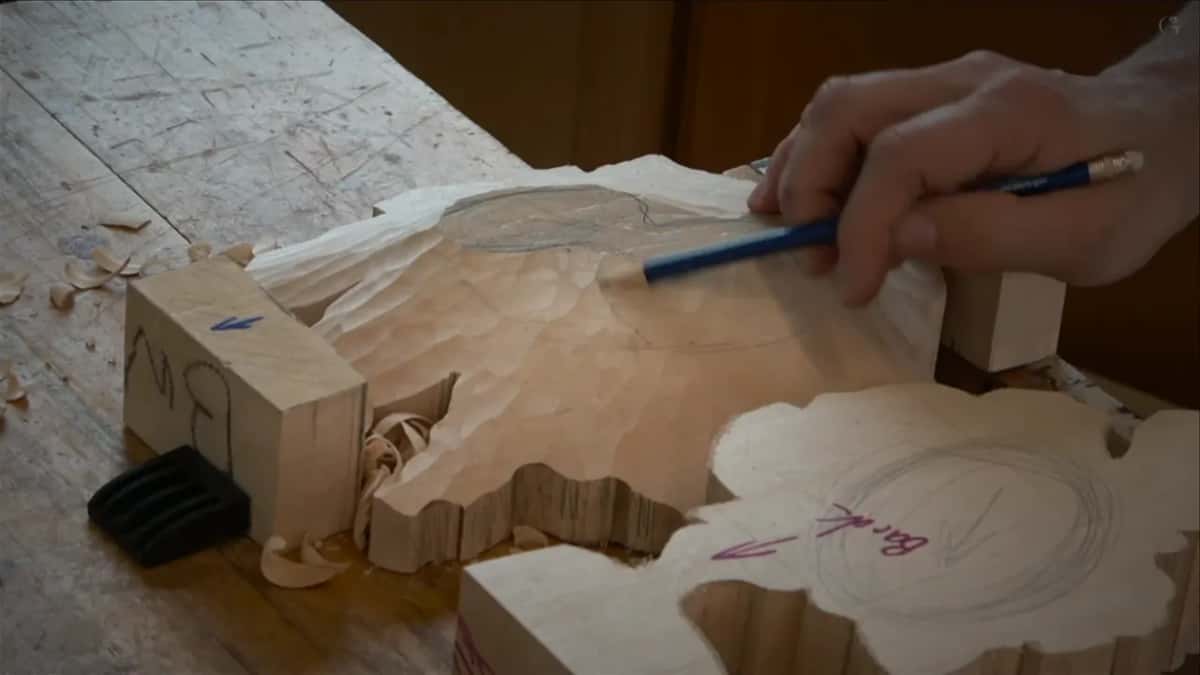
- Design goes on clear plastic sheet, in two Sharpie colours. Blue means lower. Red means upper.
- One element is the main one. Everything else on the board is there to hold it up.
- The legs and the handle stay untouched until the very end, because they are what you clamp to when you flip the piece over.
What splits a Gibbons design into layers?
Trace it twice on clear plastic sheet, once for each layer. Plastic, not paper, and there is a good reason. When a design has a mirrored half, you flip the sheet over and trace the other side straight off the same drawing, and the two halves match without you drawing anything twice.
Then two Sharpie colours. Blue for everything sitting on the lower layer, red for everything on the upper. Study the original and mark each flower, each leaf, each scroll into one camp or the other. Gibbons worked in two layers here, and the majority of the carving lives on the first.
Write the words on the sheets as well. Upper on one, lower on the other, in letters you can read across the bench. It looks like something you would never need until the morning somebody traces a sheet face down and carves a whole layer backwards. It has happened.
Some parts of the original get simplified, and I want to be straight about why. His parsley leaves and a couple of the tulips go finer than the tools most of us own, so we take the shape and lose a little of the fuss. The design underneath is still his. When somebody in class said a passage looked odd, my answer was that Gibbons drew it, so take it up with him.
What makes a carving read as Grinling Gibbons?
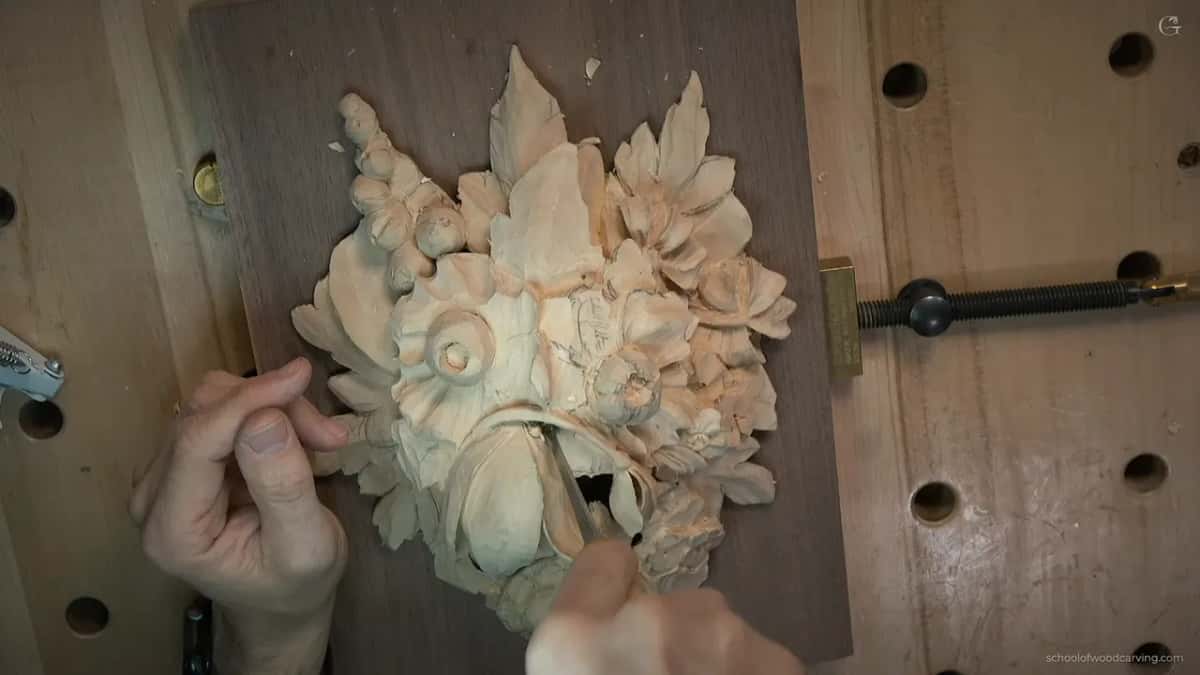
Depth you cannot see the bottom of. Look at any of his panels and the eye keeps falling into black holes between the petals. Those holes are not painted on. They are carved all the way through the wood, and the light never reaches the back of them.
So chasing shadow is the whole job. When I open a hole under a petal I am not removing wood for its own sake, I am buying one more dark spot. A stem that floats free in the air throws a shadow that a stem lying on the ground never will. Fragile, yes. Worth every bit of the risk, always.
He also mixed his flowers. Tulips, parsley leaves, whatever took his interest, all in one panel and no two treated the same way. If you want to see how that thinking shows up in a smaller piece, the Hashemi flowers and the Venetian flowers rosette both use it. The Victoria and Albert Museum holds several of his panels, and photographs of them are worth an hour of anybody's time, and the Carved Room at Petworth House is the one everybody should see once.
Where should the eye land first?
One element carries the panel and everything else works for it. Mine was a tulip. Pick yours before you touch the wood, because that choice decides every height on the board: your main element stays the highest thing there, a secondary element sits below it, and the rest falls away.
Measure where it sits, too. Draw the line through the piece and on a good composition it lands near the sixty forty mark, which is close enough to the golden ratio to be the same idea. Placement like that is why a panel feels settled rather than busy.
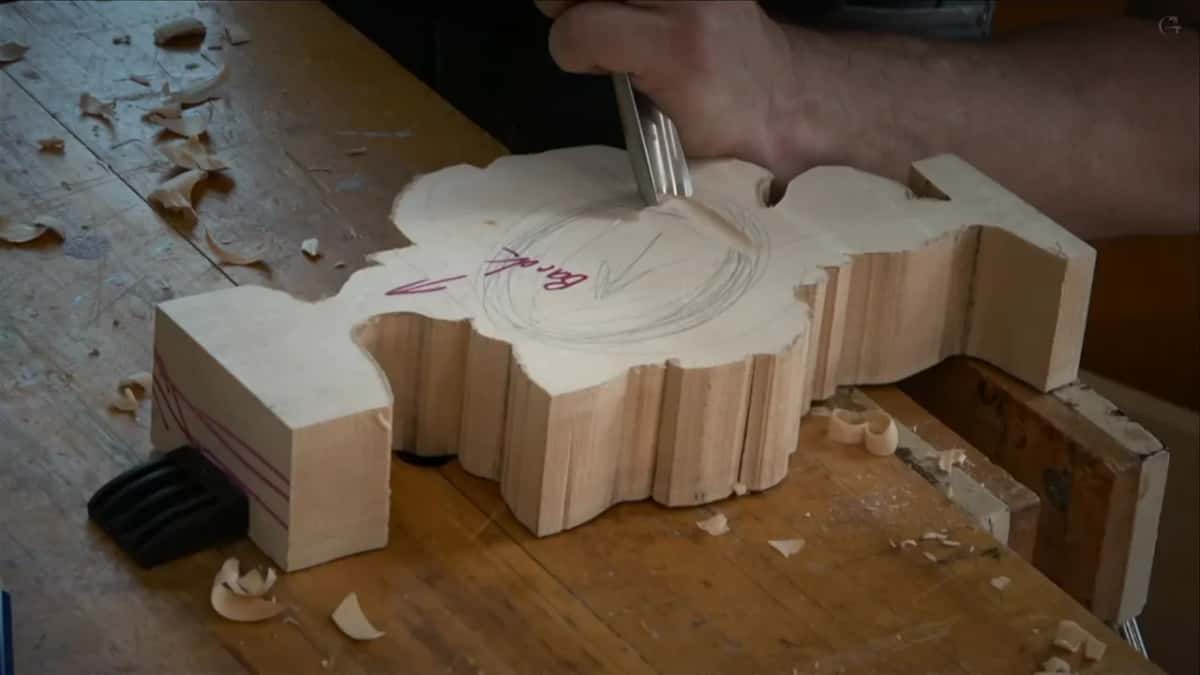
While the ground comes down, leave roughly an inch untouched all around the main element on the front, and about half an inch on the back. You will want that wood later. Every bit of depth you carve into a flower has to come from somewhere, and cutting it away early is a decision you cannot reverse.
Two more things about your hands, because this is where accuracy actually comes from. One hand always rests solidly on the board, never both floating in the air. And every pass is a rotation, a slice, not a shove. Raise the gouge high and drive it forward and the tool dives, and on 50 mm stock it dives a long way.
How do two layers become one carving?
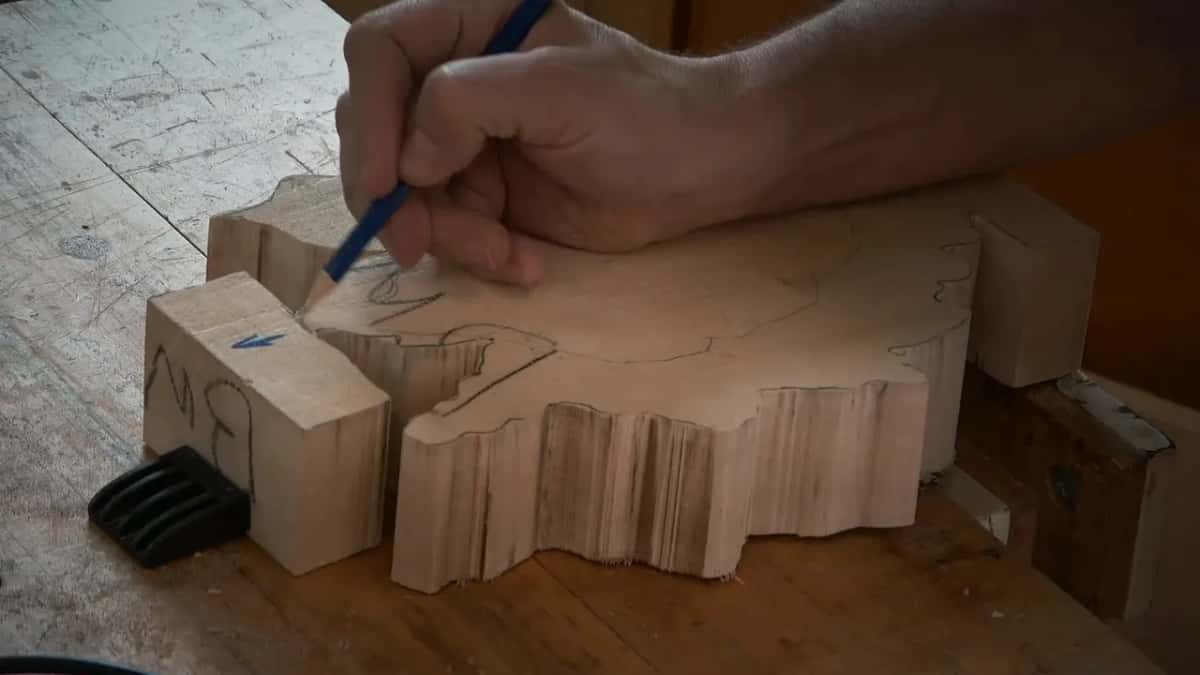
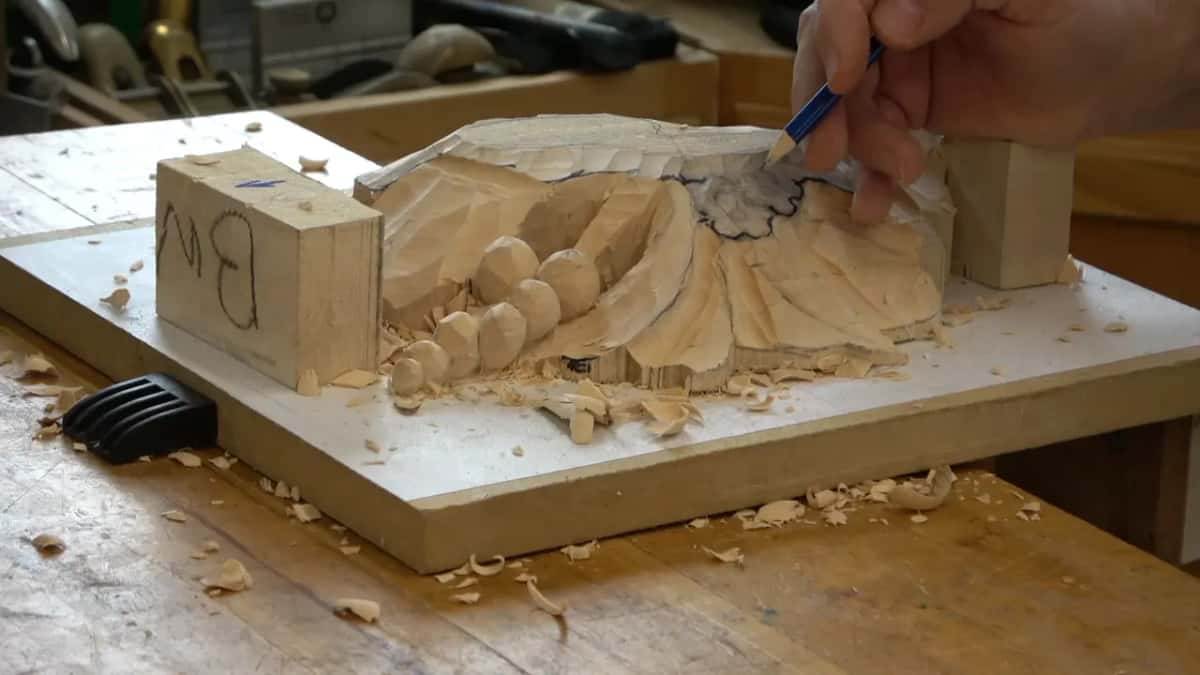
Convex on the lower layer, hollow on the back of the upper. Lay the two boards side by side, eyeball where they will overlap, and pencil that patch. Flip the upper board face down and excavate that patch from behind, no deeper than about half an inch. The lower board gets the same patch domed outward instead.
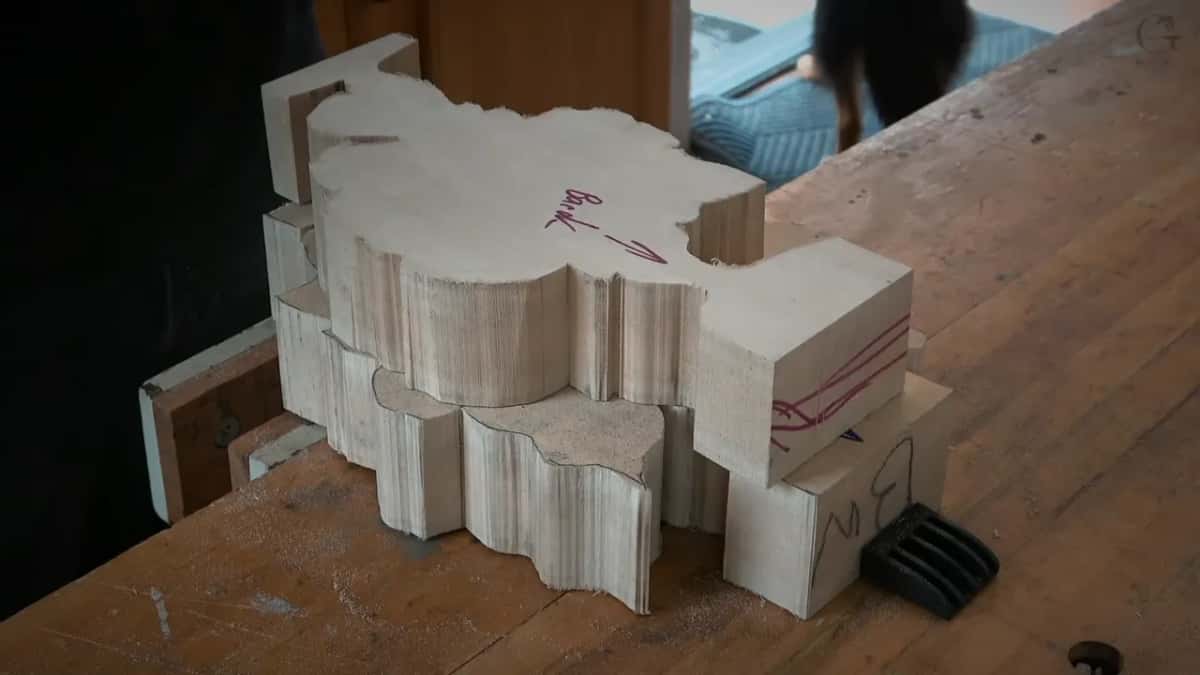
Then the upper piece drops down over the lower one and the two read as a single carving from the side. Glue that upper layer on flat instead and from the side it looks like exactly what it is, two boards stacked.
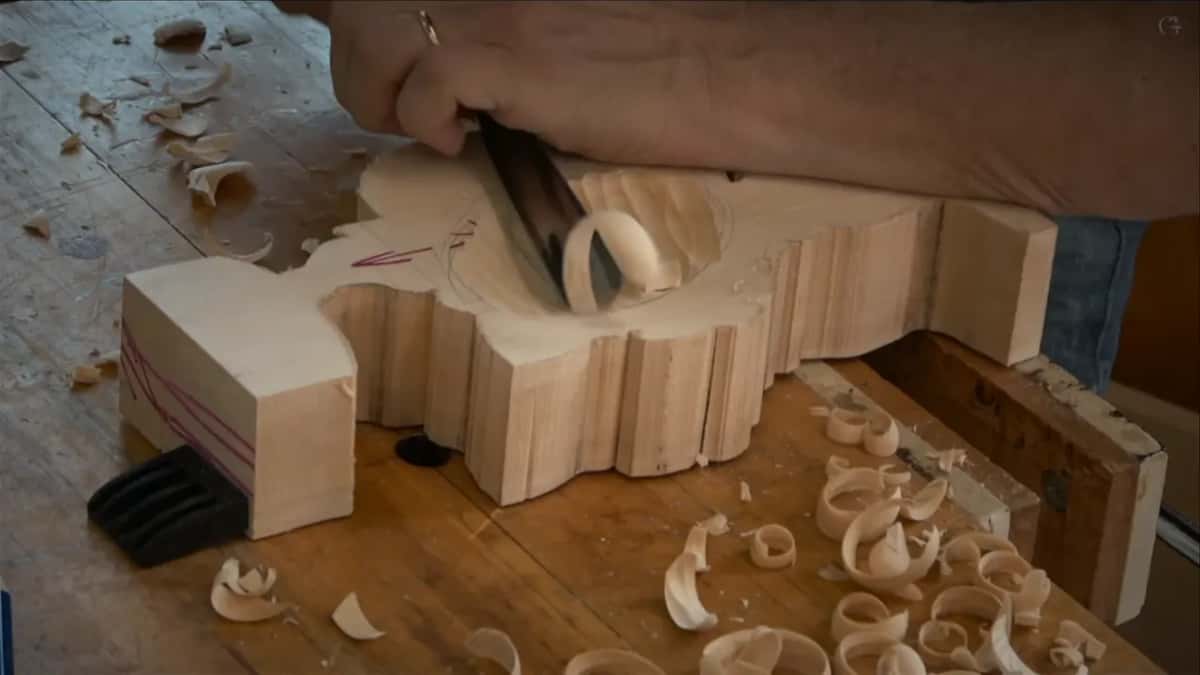
One warning on that hollow, and I repeated it all week. Do not spoon it. Hold the gouge too high, drive it in, and you dig a deep round pit with a sharp lip around it. What you want is a gradual valley with a soft transition into it. Keep the tool low. Take small bites. Come at it from the direction that lifts the shaving instead of burying the edge.
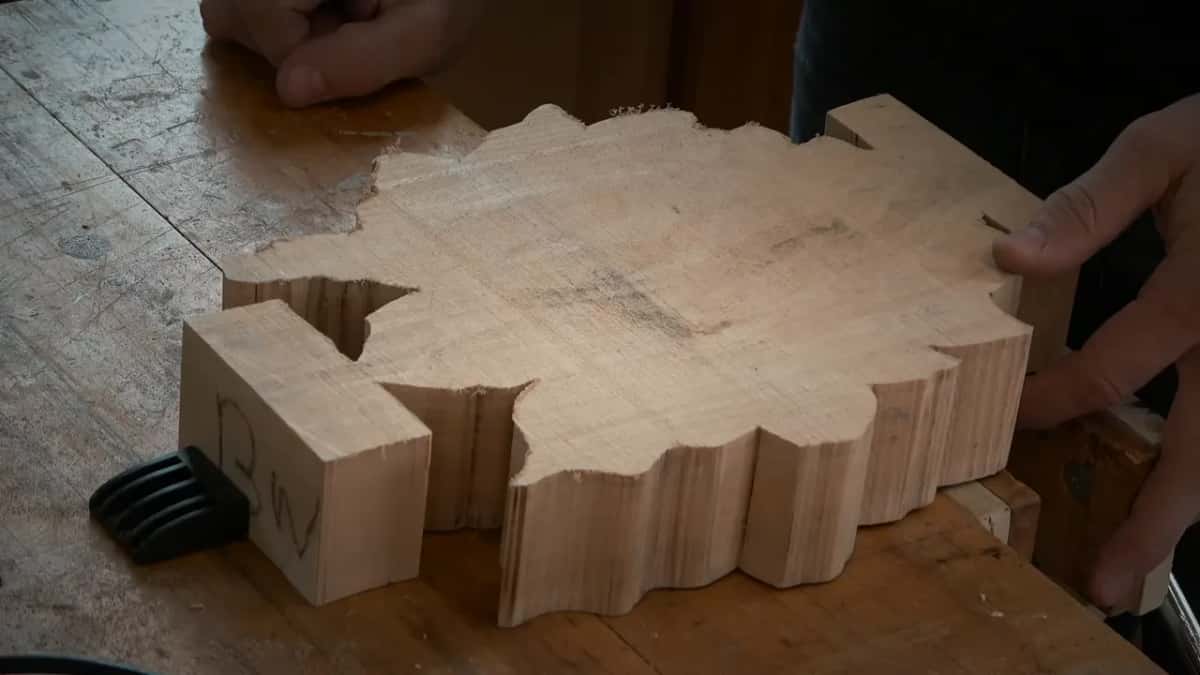
Why leave the legs untouched?
Legs and the handle are what hold the piece when you turn it over. They look like scrap hanging off the blank, which is exactly why they get carved away by somebody who then cannot undercut a thing.
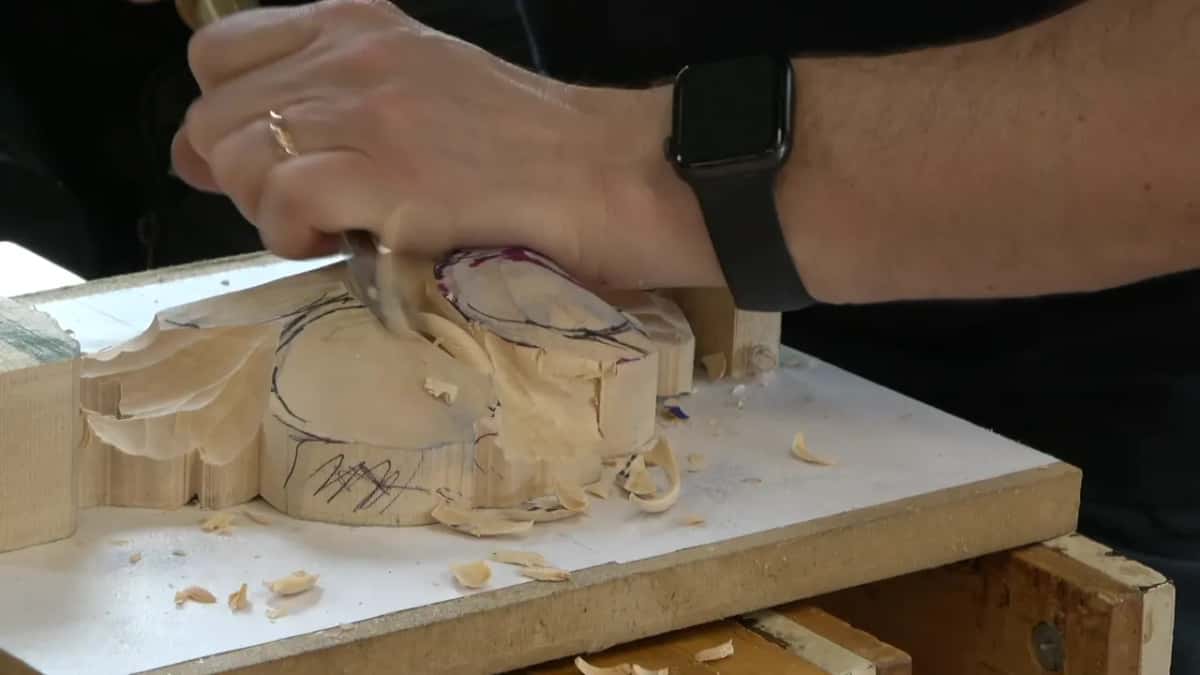
Here is the sequence. You carve the front. Then, when the shapes are settled and it is time to go under every petal, you flip the whole thing and clamp it by those legs. Now the back is facing you and the relief can be hollowed out from behind. Write the word untouchable on them if it helps. I told the class to do exactly that, out loud, twice.
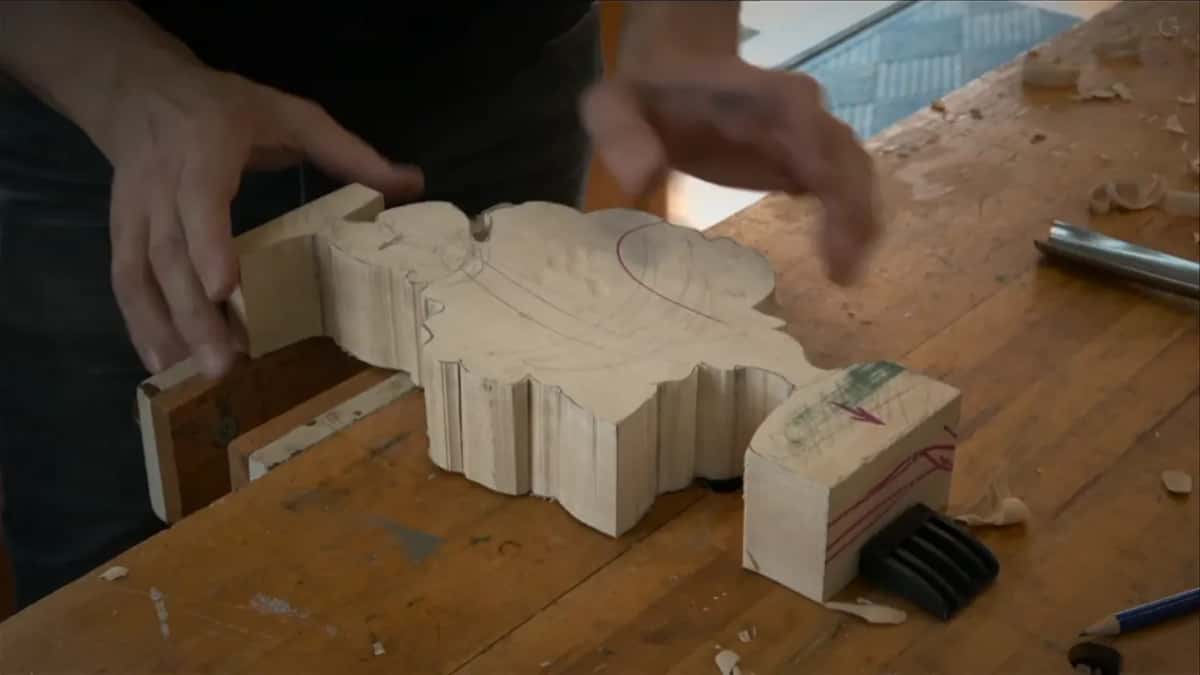
Same rule on the vice. Enough pressure to stop it walking, no more. Squeeze a two inch blank hard between the wood jaws of a vice and you will hear a leg let go, and there is nothing clever to do after that.
How thick is the stock for this?
Two inches, 50.8 mm, for both carved layers, and the background is a separate one inch board underneath. Compared with an onlay that is a lot of basswood, and it is the reason a Gibbons piece can hold a flower standing well clear of everything around it.
The finished carving runs 8 5/8 by 10 7/8 inches, 219 by 275 mm. Background is 9 3/4 by 13 1/4, so 248 by 337 mm. Limewood is what Europe calls it, Tilia on the botanical label, and it is the same tree either way. The outline comes off a band saw or a scroll saw, and there is no shortcut worth taking there.
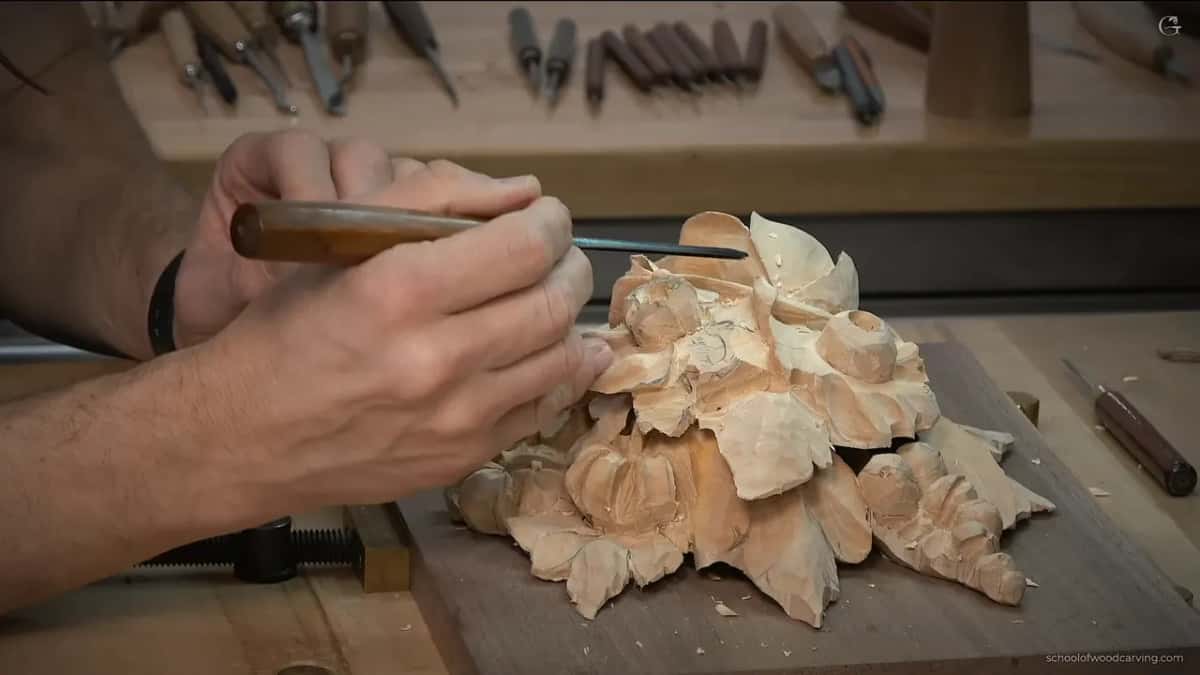
Which tools does this actually need?
| Where you are | What I have got in my hand | Its size | What it is doing right then |
|---|---|---|---|
| Chopping the waste | Number nine gouge, and go bigger still | 20 mm | Takes the blank down really fast |
| Hollowing the back | Same nine, laid low and kept gradual | 20 mm | Carves the valley without spooning it |
| Piercing for shadow | Number nine again, rotated like a drill | 6 mm | Pops a plug straight through it |
| Shaping small petals | Number three, an Ashley Iles detailing tool | 3 mm | Outlines and undercuts a single edge |
| Freeing a stem | Number eleven, taking crumbs and nothing more | 2 mm | Separates it without snapping it off |
| The final darkness | Number eight micro gouge, held upside down | 1 mm | Digs in under each petal edge |
Brands, since people always ask. My number nine is an Auriou, French made. The detailing tools are Ashley Iles, the Peter Benson collection, and they are not micro tools, they are one step above. Genuinely tiny ones come from Dockyard, including a V tool small enough to work between two petals. My smallest mallet was made for me by the woodturner Tim Yoder.
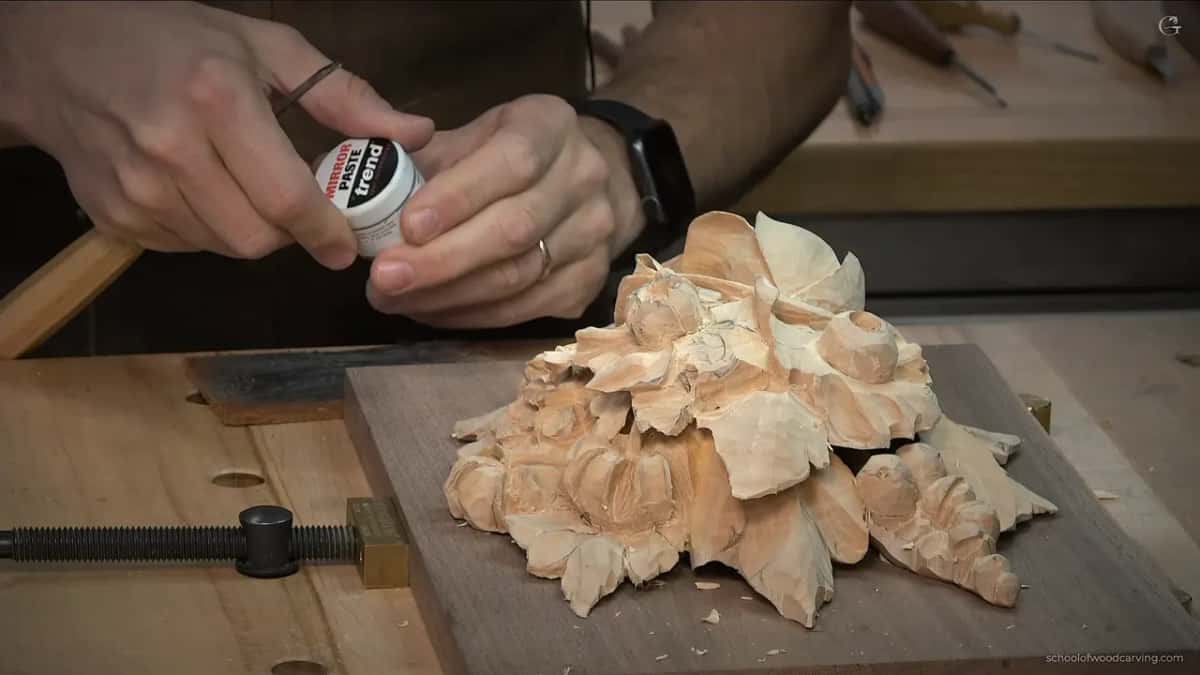
Early on, do not reach for tiny tools. The bigger tool is better every time while you are still removing mass. From the detail stage onward you will live in the small ones, and there is no way around owning some. There is a whole course about tools if your bench is still filling up, and a separate one on sharpening.
Sharpening deserves one line here. I strop on a plain piece of leather, no jig at all, using Mirror paste by Trend, and I strop the inside as well as the outside. Green paste and blue paste both work. When you are carving details and you have decided not to touch the piece with any abrasive afterwards, the edge is the only thing standing between you and a torn petal.
Where does the shadow come from?
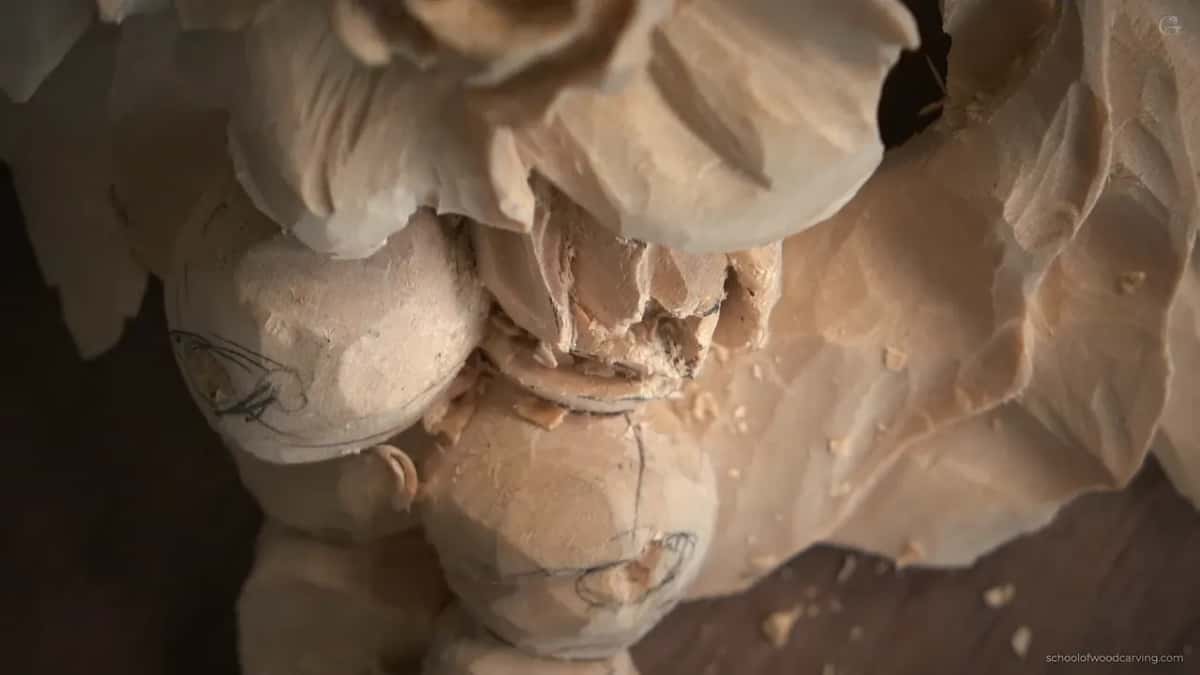
Openings that go all the way through. My go to move is a plug: stand a 6 mm number nine upright, rotate it like a drill, and a little core pops out. Push it through and suddenly the petal above has a black hole under it and the whole area gains depth.
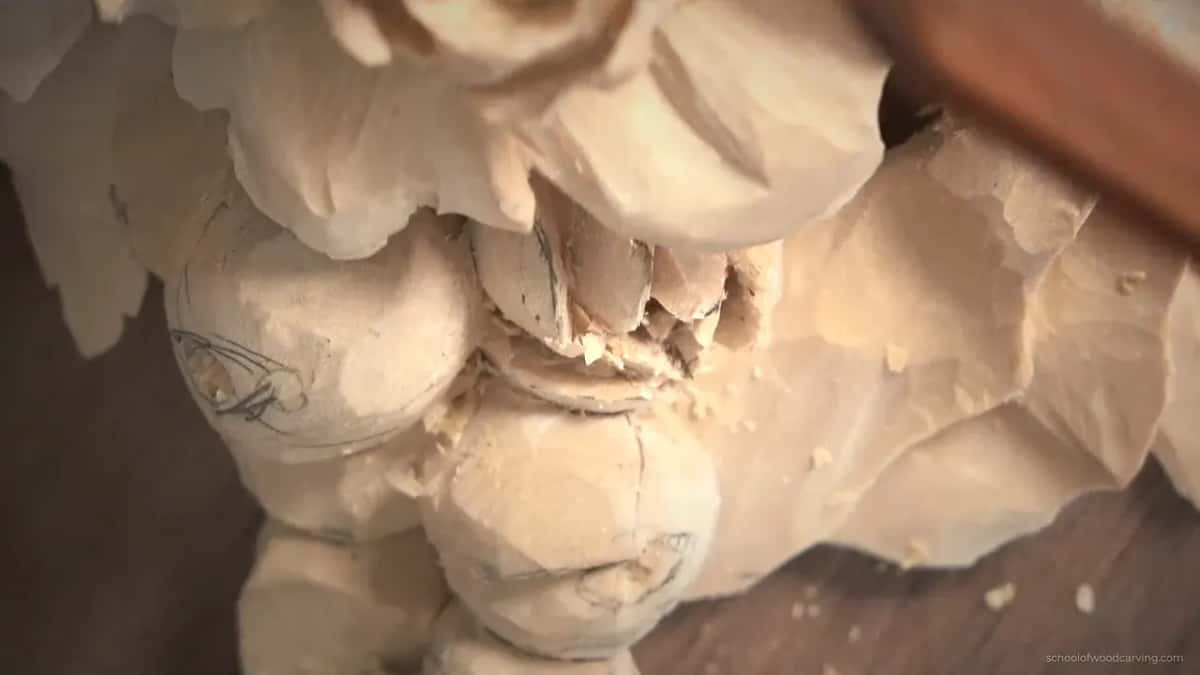
After that comes waviness. Straight lines kill a flower faster than anything. Every edge should ripple a little, and the surface of a petal should bulge in the middle with a shallow hollow either side of the bulge. Two hollows and one rise, and on a petal this small you have to look sideways to even see it.
If any of that is making sense, the way in is the tuition page. All eighteen classes are inside, along with the acanthus work and everything else.
What finish goes on a piece like this?
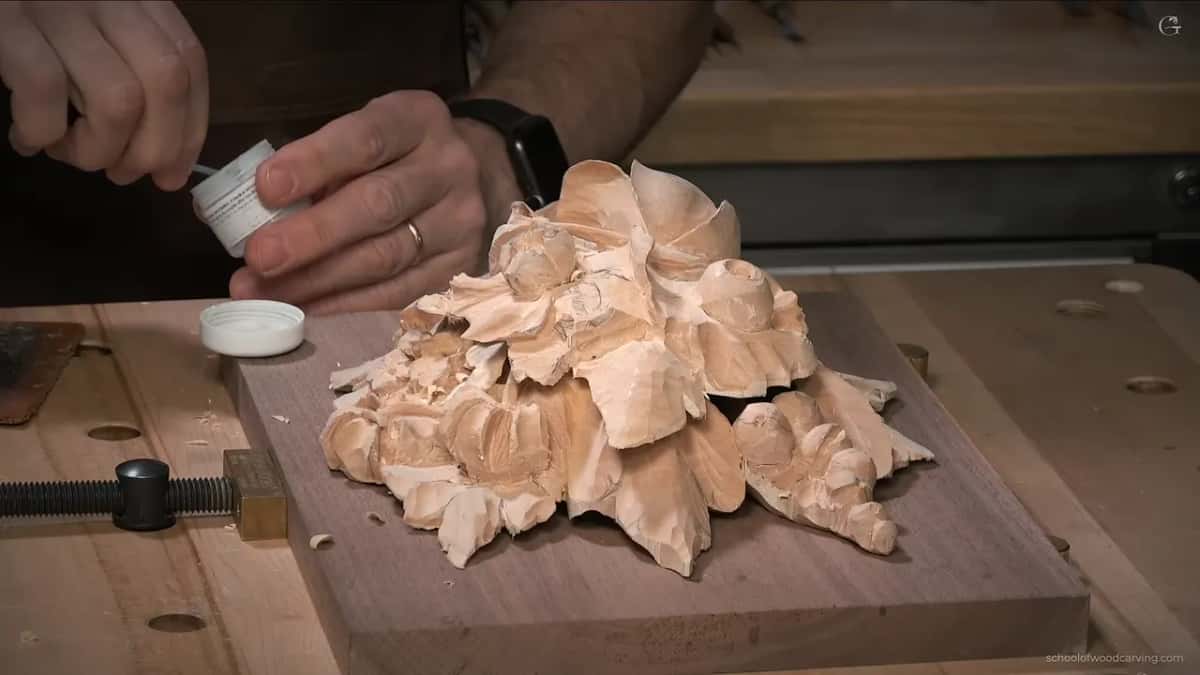
Lacquer, shellac or a liquid wax. Nothing heavy, nothing that pools in the undercuts, and nothing that fills the dark spots you spent eighteen classes carving. I left mine with the facets still showing. You can chase every facet off if you want to, and plenty of people will.
Sanding is a judgement call, not a rule. Gibbons himself sanded, with reed rush, which comes out around 400 grit. Old carvers who skipped it mostly skipped it because sandpaper had not been invented. I make that argument properly in the floral and molding course.
Is this course right for a beginner?
Probably not, and I say so on the last video. This is an advanced piece and it is not for everyone. You need to be comfortable with a gouge before two inch stock and airborne stems will do anything but frustrate you. Start with first cuts for beginners, then design principles, and this will still be here. The map of where to begin lays the whole order out.
One last thing, and I mean it kindly. You will break something. A stem. Maybe a petal edge, or a leaf that went one shaving too thin. I broke mine and I was fine with it. Wood carved that thin lives right at the edge of breaking, which is the price of the depth a Gibbons panel is made of.
Students send their finished panels in for the assessment. Run the photograph through something like TinyPNG before you upload it, because thousands of people are doing the same thing and the database only grows one way.
How it's done
- Trace both layers on plastic. Set a clear sheet over the design and go round it twice. Blue marker for everything sitting low on the panel, red for everything that rides high above it. Label each sheet in words too, so nobody works one face down.
- Saw the blanks, keep the tabs. Cut both outlines out of 50 mm boards on a saw of your choosing. Those square tabs at either end stay. They look like offcuts and they are your only grip once the work turns over.
- Mark where they overlap. Put the two pieces beside each other, judge by eye how one will sit across the other, and pencil that area. Everything after this aims at exactly that area.
- Scoop out behind the top piece. Turn it over and take a shallow valley out of the marked area, 12 mm deep at the very most. Ride the tool low. Lift it high and you leave a pit with a hard rim, and nothing later removes that.
- Swell the piece underneath. Bring the same area on the other board outward until it stands proud. Offer the two up together. The top piece wants to drop over that swell and stay put instead of rocking.
- Choose your high points. One flower carries the whole panel and it stays tallest, with 25 mm of spare wood round it. A second one sits a little under. Past those two, every other shape falls away toward the ground behind.
Frequently asked questions
What wood is used for a layered Gibbons carving?
Basswood, called limewood or linden across Europe. Each carved slab here started at 50 mm, with a thinner board behind for the ground. Depth is what buys the effect, and thin material cannot give it to you however well you carve.
Why hollow behind the top layer?
Hollowing lets it drop over the piece underneath rather than perch on it. Swell the board below where the two meet, take a matching valley out of the top one, and a viewer standing to one side reads a single carving instead of two boards.
What are the tabs on the blank for?
Clamping, once the work gets turned over. Front first, then the whole thing goes upside down and those square tabs take the pressure while you hollow out behind each flower. Trim them away early and there is nothing left to hold.
What to carve next