
Looking for Virtual wood carving apprenticeship?
How to carve large-scale Ancient Greek Acanthus features, taught online
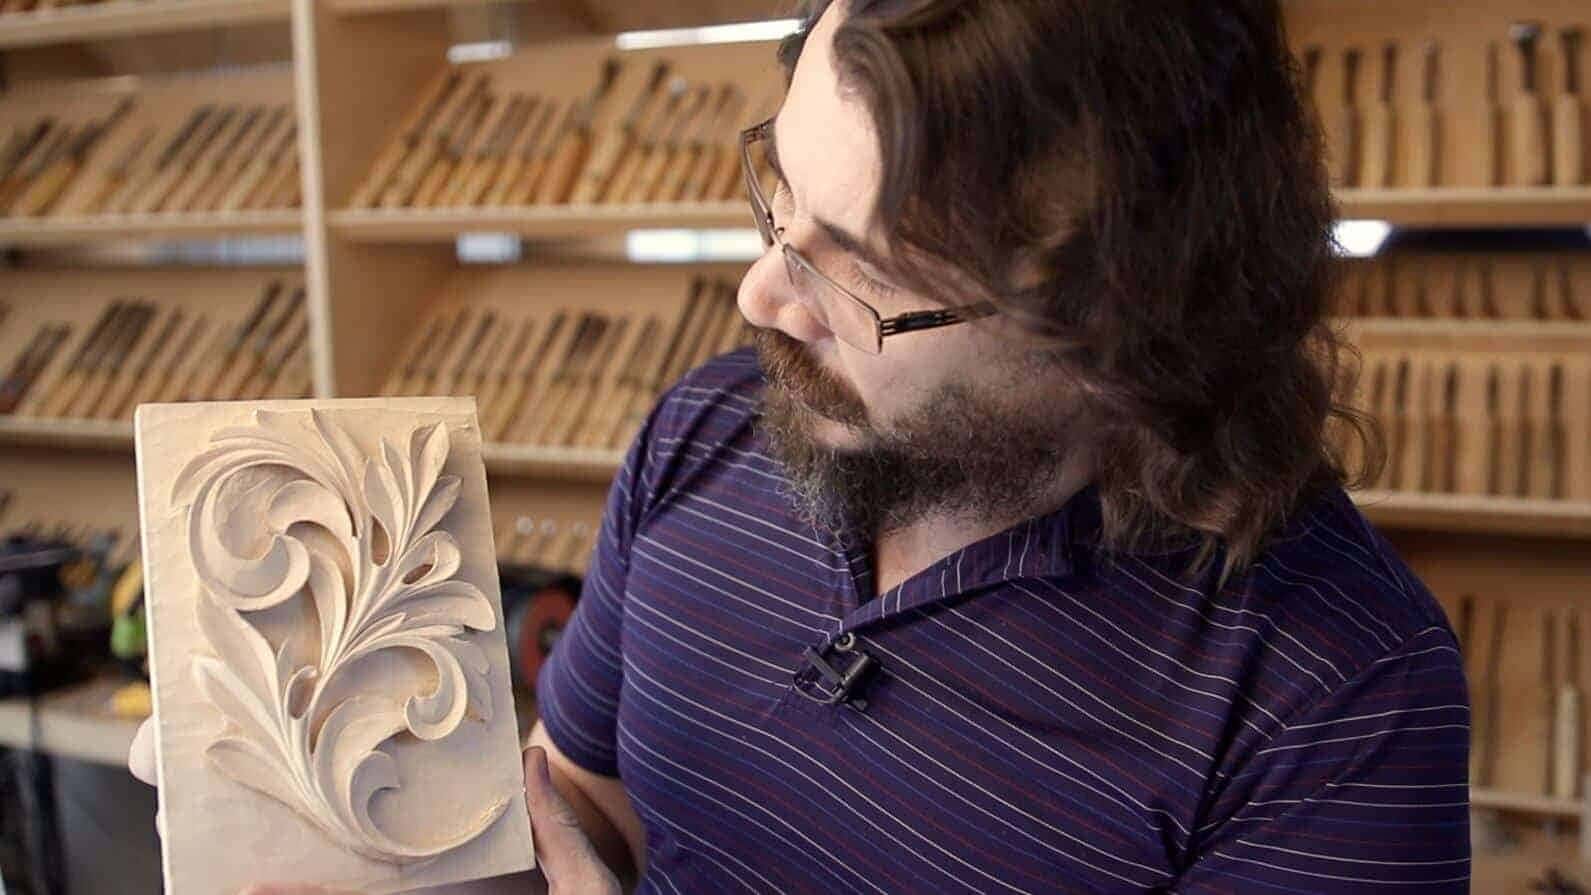
How to carve large-scale Ancient Greek Acanthus features is mostly drawing. You set the leaf out full size in pencil, cut around the edge, sink the background, then model the lobes from the highest one down. The Greek leaf sits shallow and it holds a stiff, formal shape, so the layout decides the carving long before the mallet does.
This leaf has been on my bench for years, and the opening hour still looks the same. A pencil and a board. No steel yet.
A lot of you land here after typing Virtual wood carving apprenticeship into a search box. Right. Before you compare anybody, here is the leaf and the order the tools come out.
How to carve large-scale Ancient Greek Acanthus features starts with a pencil
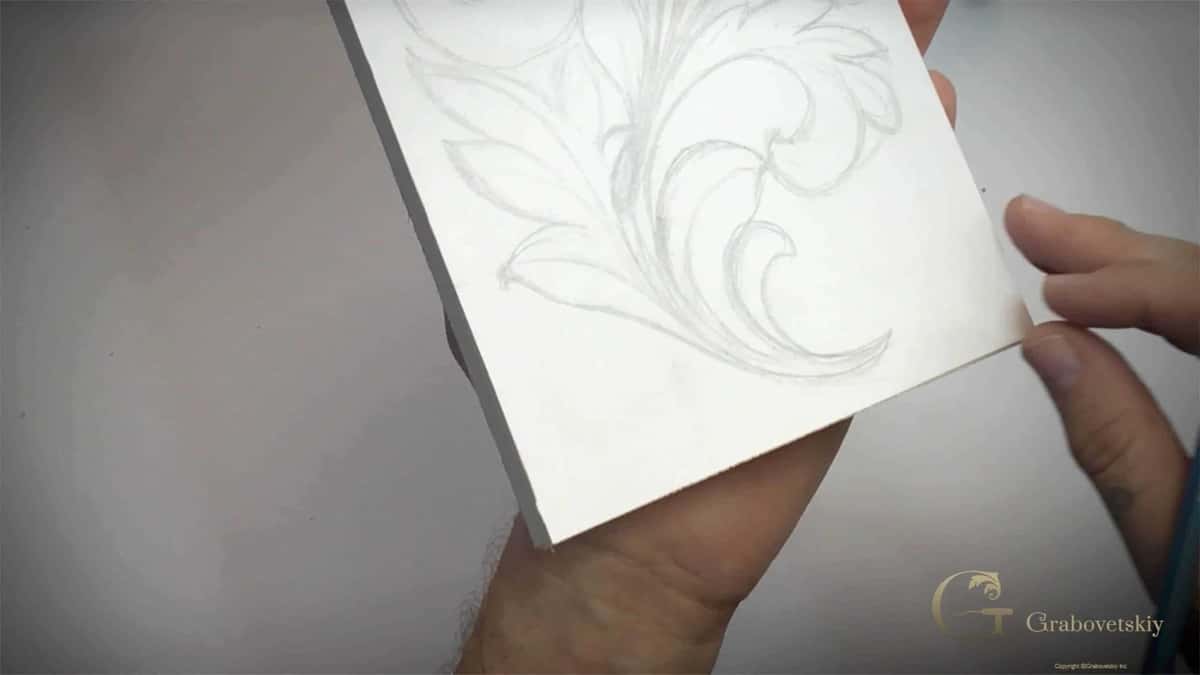
Get the leaf onto the wood at finished size. A pencil, a board, and about twenty minutes before any steel comes out of the rack.
Once you have drawn it, your hand already knows where it is going. Trace somebody else's line and your hand learns nothing, so the first lobe that fights the grain will stop you cold.
The box comes first. A rectangle, a line down the middle, two arcs. Build the leaf on top of that.

Why draw it full size when Virtual wood carving apprenticeship can hand you a pattern?
Use the pattern, by all means. Then draw that leaf cold, over and over, until you no longer need it.
I was sixteen when I started my apprenticeship with a fine art master in Russia, and the thing he beat into me was not how to hold a chisel. Paper is not design. Space is. Rhythm and repetition are. So is knowing your tool. He taught me to think like a tool. Somebody handed me that in a cold workshop and I never gave it back.
A pattern is a shape. A drawing is an argument. You want both, and most stop at the shape. A printed sheet is usually the very first thing Virtual wood carving apprenticeship will hand you.
Is the Greek acanthus the same leaf as the Roman one?
Same family, different animal. Greek is tight and pointed. Roman is open, rolled over, and much deeper.
A man came up to me after a class I was teaching at a woodworking school. He said he had never considered the leaf from that angle. For him, acanthus meant the thing he had seen a hundred times on Chippendale chairs, and that was the end of it.
The differences are small on paper and enormous under a gouge, so they get their own courses. Carving Greek Acanthus Leaf runs 16 lessons. Carving Roman Acanthus Leaf runs 17. There is a Corinthian one at 7 lessons, a Byzantine one, and one built from a design somebody drew in 1903.
You find it in strange places. I went down to St. Augustine in Florida, the oldest city in the country, and walked around the old fort, Castillo de San Marcos. Cannons. Cast iron, sitting outside for three hundred years. And there is the acanthus, right on the barrel.
A short answer to "How to carve large-scale Ancient Greek Acanthus features"
Six steps, and five of them are about depth. Get the order wrong and you will spend an evening chasing a lobe you already cut away.
- Draw the leaf full size, on the wood itself.
- Cut a stop line right on the outline with a V-tool. Leave the pencil line standing.
- Take the background down to one even depth. Flat everywhere first. No shaping yet.
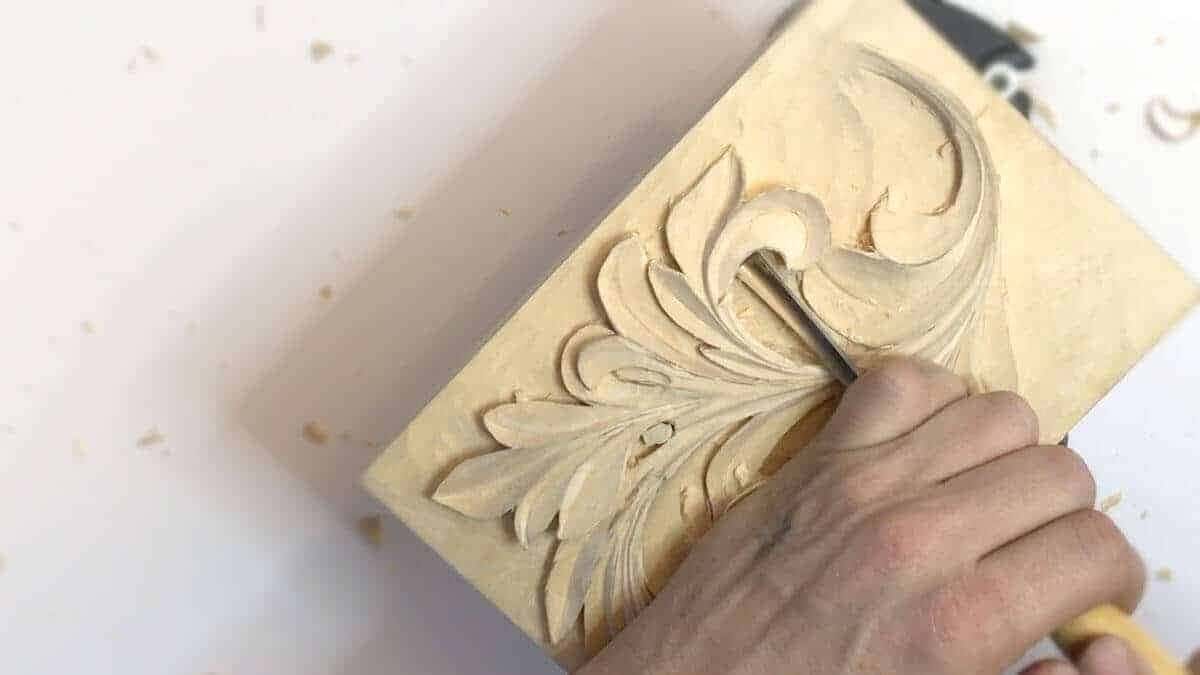
- Rough the big masses. The high lobe sets the level for the rest.
- Model the pipes and the eyes. Now it starts to look carved.
- Undercut the edges. Last. Undercut too soon and a lobe goes.
Most of the failures happen at steps two and three. They shape before the ground is flat, and then the ground can never be flattened without eating the shape they just made.
The honest answer to "How to carve large-scale Ancient Greek Acanthus features" is that list, repeated until your hand stops needing it.
How many gouges do you need before day one of Virtual wood carving apprenticeship?
Three tools. Shallow gouge, deep gouge, V-tool. A mallet too, once your wrist has had enough.
Sharp beats expensive, every time. I have watched a man with one honed chisel outwork a room full of people holding four hundred dollar sets, and it was not close. Sharpening is the skill that takes years. It is not what anyone wants, so I say it now, before you pay a cent to Virtual wood carving apprenticeship.
Put the money into wood. Basswood, lindenwood, limewood, whatever your part of the world calls it. Cut into construction lumber and you will blunt everything and quit. Carving wood is expensive. That is just true. You have to be real.
Still here? Shall we carve?
What the wood decides for you
Basswood is patient, oak is not, and a leaf of thin lobes means half your cuts go against the grain anyway.
Nobody picks it for looks. The fibers are short and even, so a lobe that runs the wrong way still slices instead of tearing out. In red oak the same cut lifts a splinter the length of your thumb.
Later, when your hand knows the leaf, move to walnut. Beautiful wood, and it punishes every lazy cut you make. By then you can afford the argument.
What should Virtual wood carving apprenticeship show you before you pay for it?
Ask to see the layout stage, not the finished leaf. The part nobody puts in the trailer.
Finished leaves look great and tell you nothing. Layout is where you find out whether somebody actually knows this. Put that test to Virtual wood carving apprenticeship, mine included.
Two more things worth checking. Does the course go all the way to the end, including the parts that go wrong? And can you see the tool in the cut, close, at the angle the carver sees it?
Ten minutes of anything you found under Virtual wood carving apprenticeship will tell you whether it can really answer "How to carve large-scale Ancient Greek Acanthus features".
The School of Woodcarving is a 501(c)(3) non-profit. Tuition is $25 a month and it opens all 48 courses and 621 lessons, six acanthus courses and 42 others. It renews automatically every month and you can stop it whenever you like. A share of it goes to orphans and widows. That matters more to me than the rest.
Frequently asked questions
Can a beginner carve the Greek acanthus?
Yes, and it is a better first ornament than most. The leaf is shallow, the shapes are large, and there is very little undercutting. Start with a panel about 6 by 8 inches.
Do I need the pattern, or can I draw my own?
The course comes with the full size pattern as a download, so you have it either way. Use it for the first leaf. Draw the second one yourself.
What wood should I use for a Greek acanthus leaf?
American basswood, or lindenwood and limewood if that is what your country sells. Avoid construction pine, and leave oak alone until the leaf is familiar.
How long does one leaf take?
Two or three evenings is normal for a first leaf. The drawing is often the longest part of it.
Where is the school?
Online. You watch and carve at your own bench, at whatever hour suits you, so there is nothing to drive to. Alexander also teaches in person at woodworking schools through the year.
What is the short version of "How to carve large-scale Ancient Greek Acanthus features"?
Draw it full size, cut a stop line on the outline, drop the background to one even depth, then shape the lobes tallest first and undercut them last.
Who teaches these lessons?
Alexander Grabovetskiy, a master carver and International Woodcarver of the Year, who has been carving for over forty years.