
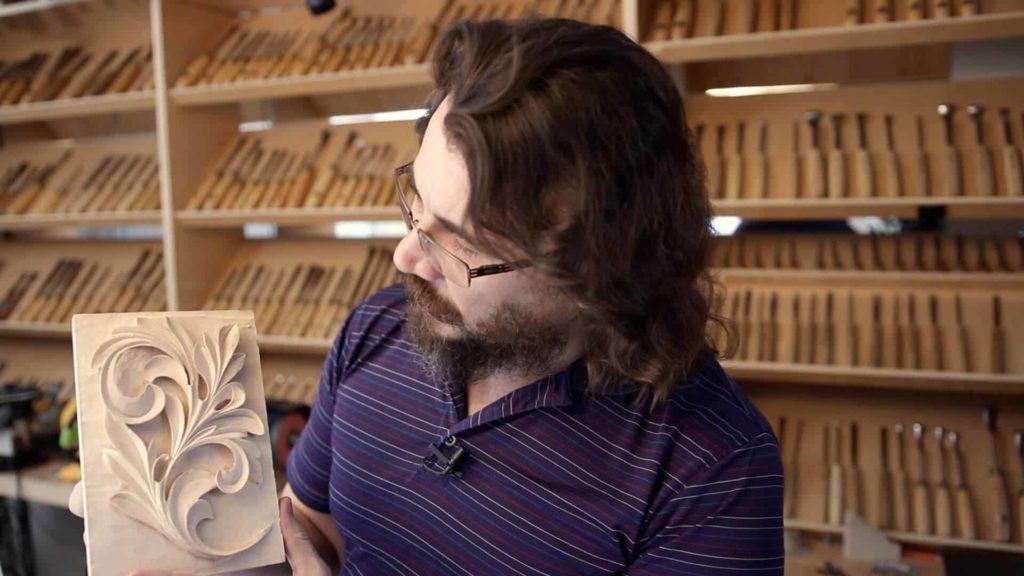
Alexander Grabovetskiy, woodcarver, School of Woodcarving · Published 2018
How do you carve a Greek acanthus leaf?
Quick answer: Carving the Greek acanthus is relief work done in stages. Draw it on paper and glue it to a lime block about 1 1/8 inches (29 mm) thick. Set in the outline with the knife and take the background down 5/8 inch. Open the eyes and pipes, run the V cuts, undercut, and clean the ground last.
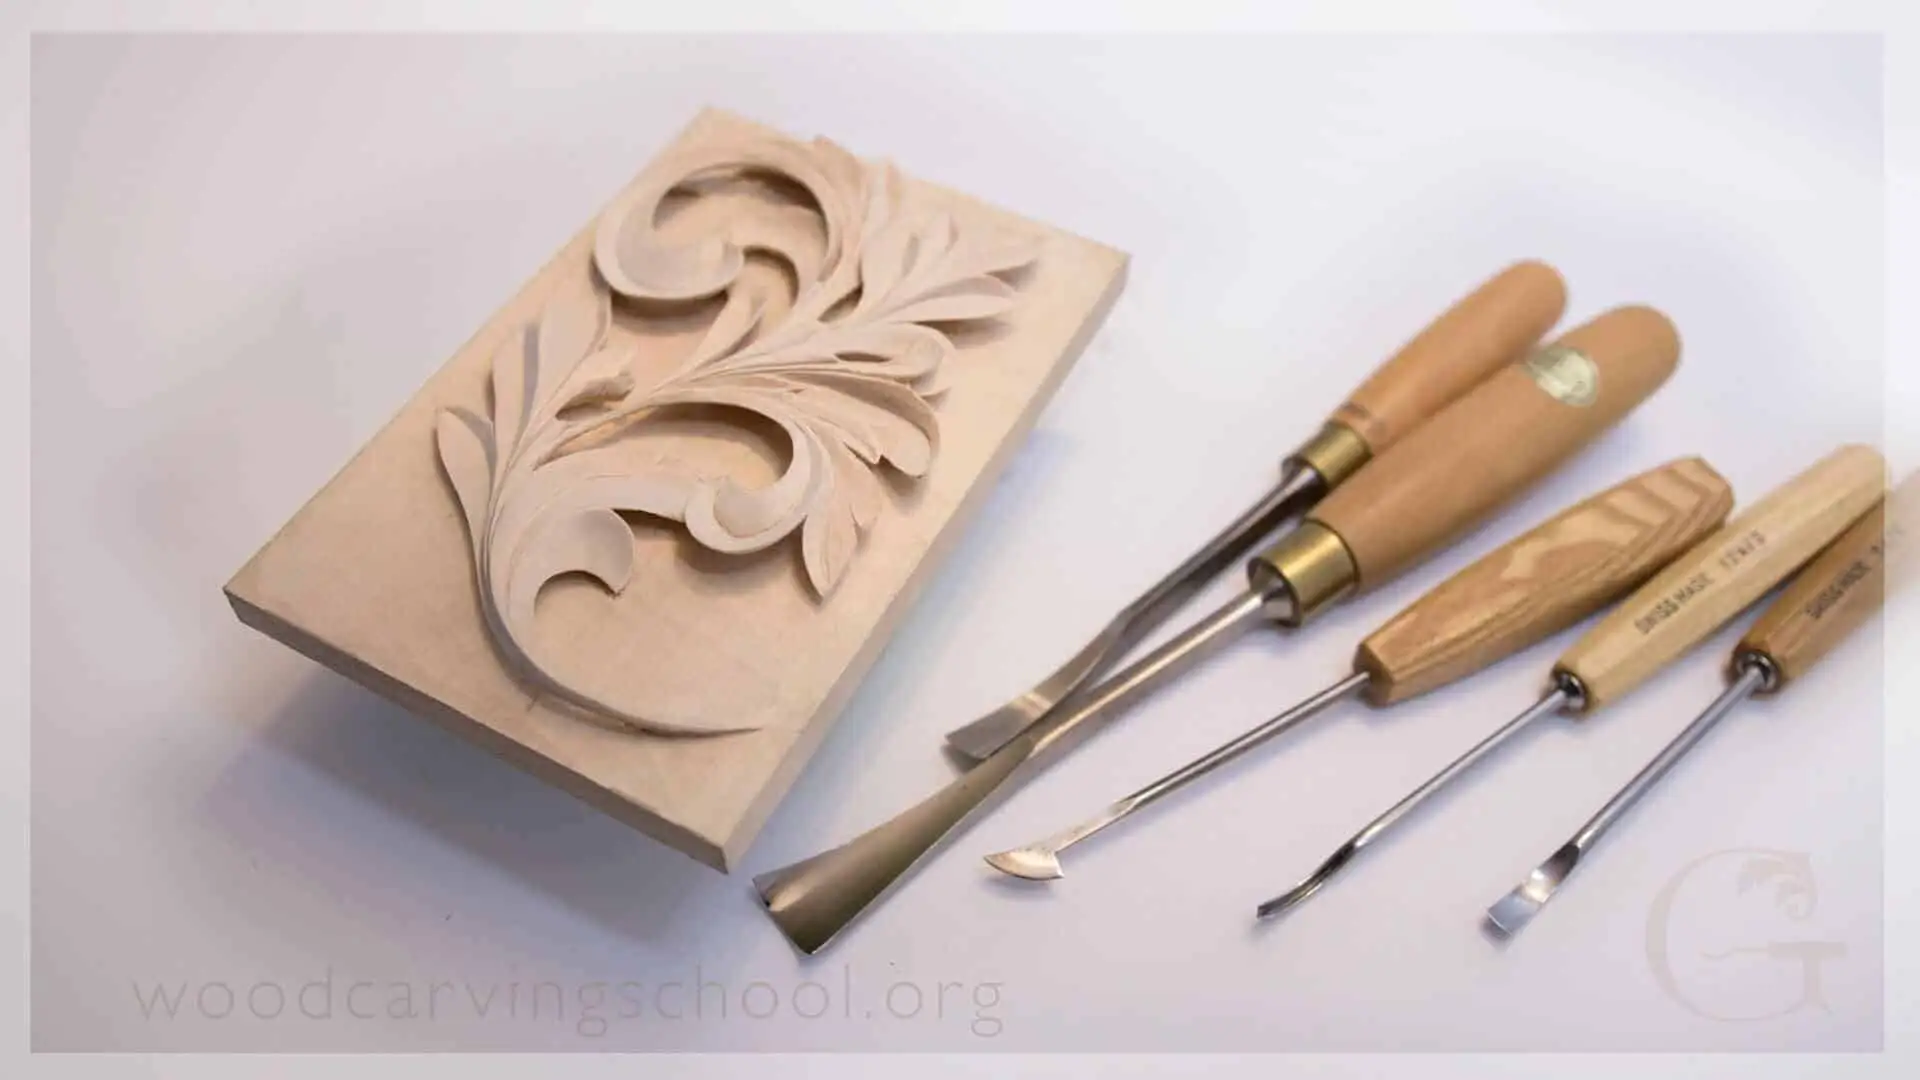
A Greek acanthus leaf is the Corinthian leaf with curls brought into it, the way I teach it. It keeps the three main movements and the five subdivisions, but now a volute movement runs through the acanthus, and that's the biggest difference. On this panel we carve one in relief, in lime wood, from a plain sheet of paper.
Have you seen an acanthus leaf carved on an old piece of furniture? Did you stop and wonder how that curl got carved? Then clear the bench, because we start with paper and a pencil.
I'm going to be honest with you. This leaf is still somewhat simple. Later in the series we work on really complicated acanthus leaves, and then you will understand why I'm saying it's a simple one yet.
What you carve in these fifteen lessons
- A drawing on paper the size of the block, built on one volute movement.
- A block about 1 1/8 inches (29 mm) thick, with the background going 5/8 inch (16 mm) deep.
- Setting in with a knife, then walls at 90 degrees.
- Overlaps, eyes, pipes and a V inside each leaf.
- Undercutting and hooking, and in a few spots the design goes right through the board.
- Clean edges from a knife and Dutch reed, with the background last.
After lesson 15 comes an assessment, and the drawing is a download inside lesson 1.
What makes the Greek leaf different from the Corinthian one?
Curls. In a Corinthian leaf we would have just a straight three divisions, and everything would be just straight. The Greek style brings curly movements into the same leaf, which the Corinthian didn't have.
Otherwise it stays plain. You don't see too many divisions. In ancient Greece they would keep it somewhat simplistic, and it is simplistic. Micro pipes and eyes came in later, as acanthus leaves developed, and I leave them out, because they wouldn't be authentic to the true Greek acanthus.
To me the Corinthian is probably one of the most ancient forms of acanthus leaf, and the next development happened actually in Greece. For two styles side by side there's a short article on the blog, Greek vs Roman acanthus.
How is the leaf drawn before any carving?
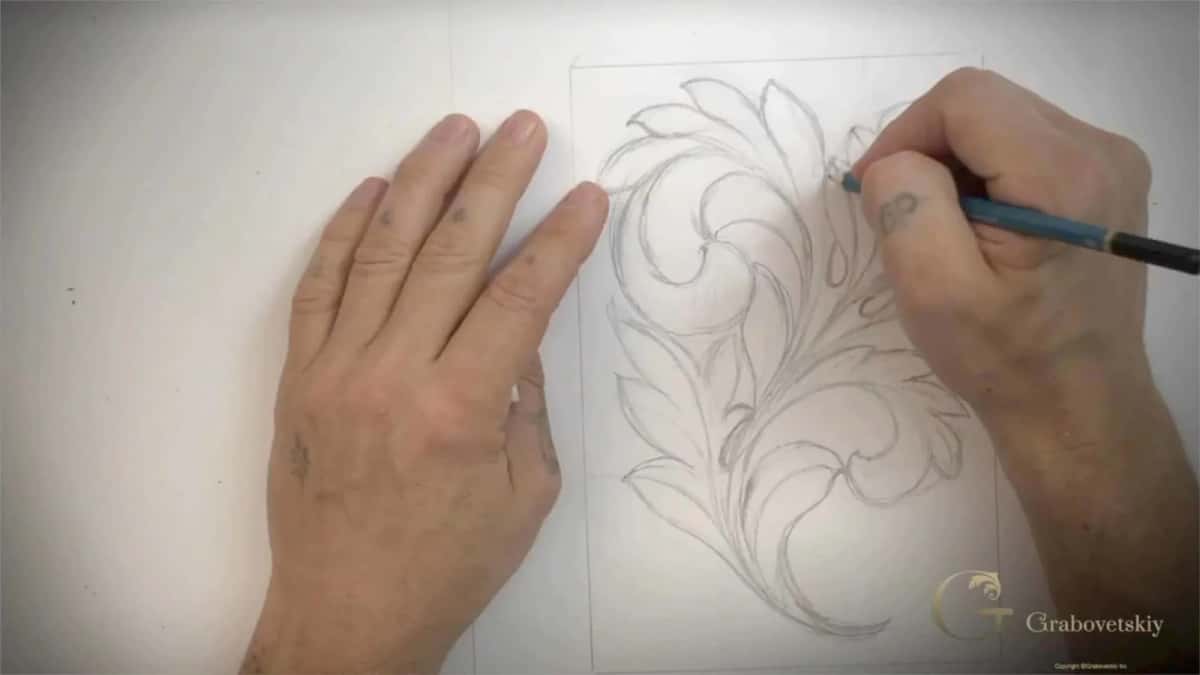
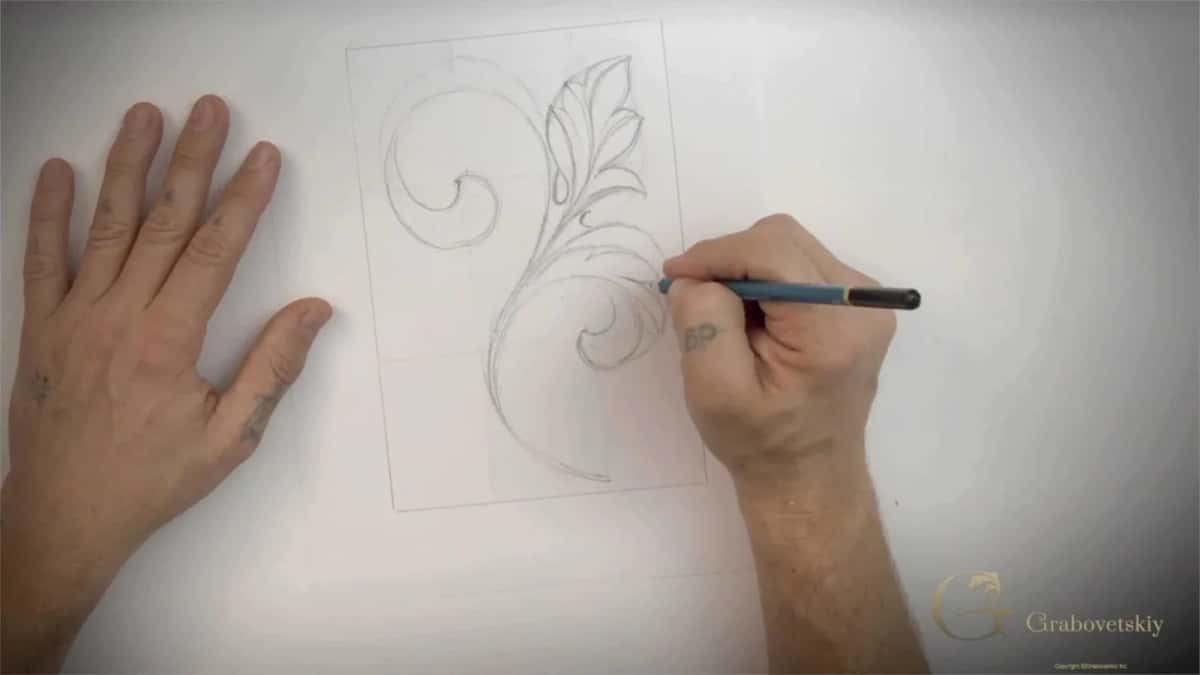
On paper, at the size of the block. I could draw right on the wood, and that would probably be sufficient, but I go the old way and trace my block on a piece of paper.
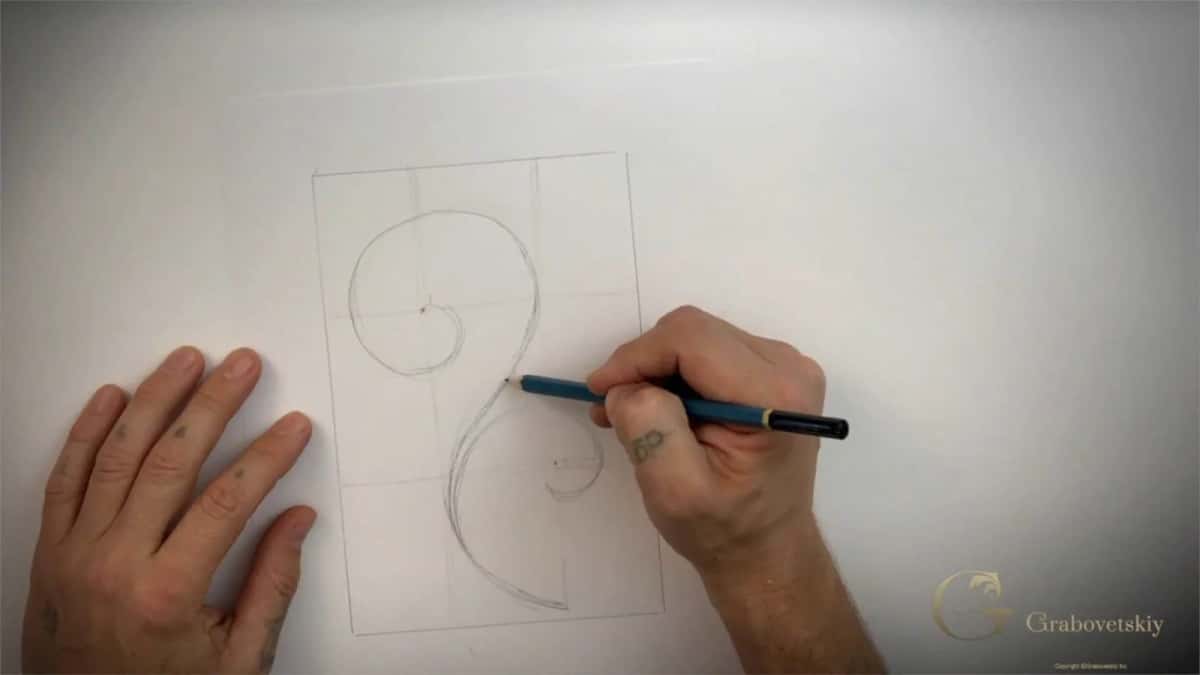
Then the paper gets divided in three parts. It's not the true golden ratio, but it's a real simple way to find two main points, one of them where my eye will look. The first line is not really a curl. The better way to describe it is the volute movement, and that becomes the main flow.
Every leaf and every section goes toward the center line of that flow. Before the main divisions come the outside borders. It looks like a boat somewhat, or a big leaf, and I don't subdivide past that boundary.
Each new leaf repeats the movement of the one it grows from. A line that isn't flowing nicely gets fixed right there on the paper. Ancient forms mostly show five subdivisions, though it's not necessarily the true rule, and the pipes must go to the main flow line.
What size block, and how deep is the relief?
I take the same size block as the Corinthian leaf. That block, in the Corinthian course, is about 5.5 inches by 8 (about 14 by 20 cm). It's about one inch and an eighth thick (29 mm), and this time we go deeper, about five-eighths of an inch (16 mm), like halfway.
I'm just eyeballing that line, but I'm really accurate, with my finger riding against the block as a guide. A second line goes about one-eighth of an inch above it (3 mm). Two to three millimeters is safe, and in the boasting stage I will not pass that second line. The final line is my clean line, for when I'm almost at the end of the carving.
Not comfortable with the finger? Then a marking gauge will do it. Lesson 15 shows mine set with the knife in it, still leaving about 1/32 of an inch (under 1 mm) for cleaning.
The wood is lime. Some people call it a queen of the woods, and I really love it. They call it soft, but it's not really soft, and you'd be surprised how nicely it keeps the detail if people don't damage it.
Photo mount glue holds the paper, from any craft store. By lesson 4 the Scotch one was my favorite, because it leaves no residue on the tools.
Why set in the outline with a knife?
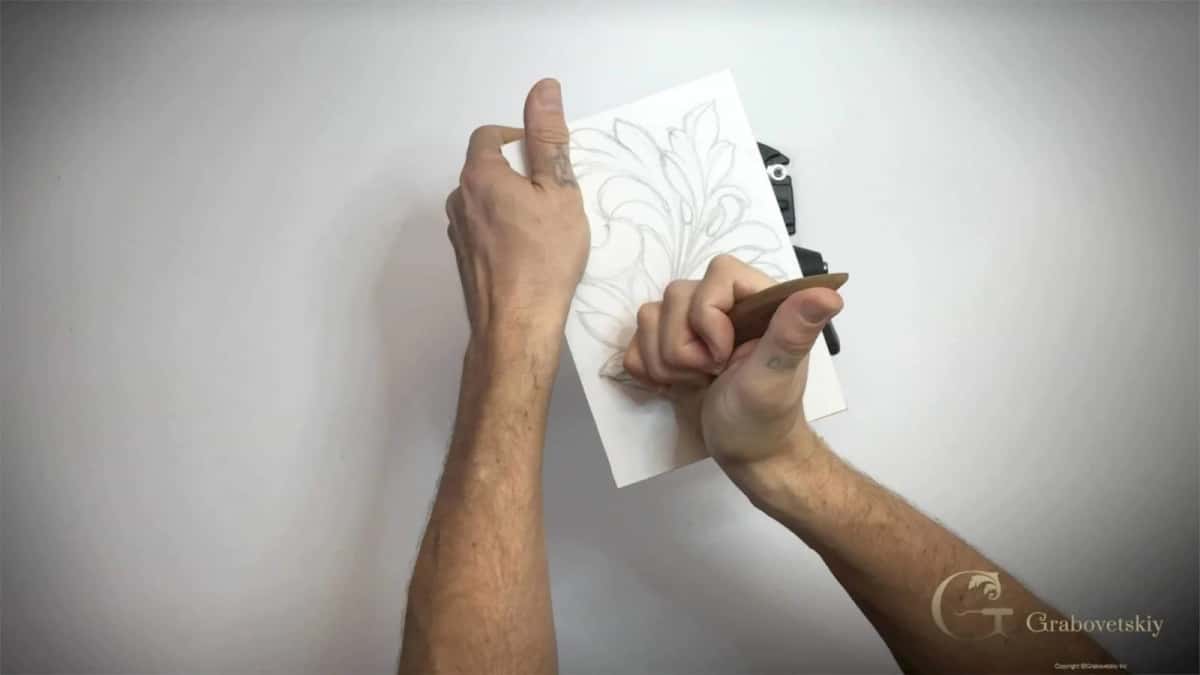
On lime it's sometimes the quickest way. I could start with a V tool, setting in, or take a big number 7 and take big chunks out. Lesson 2 goes with my number 12 knife instead, an angled, beveled cut the way I do on chip carving, worked toward myself and really close to the line.
That is actually an ancient way of carving, to use as much as possible just the knife. In England, some wood carvers would not even call you a wood carver if you hold one. I don't understand why. You're still carving.
Not comfortable that close to the true line? Leave about an eighth of an inch (3 mm), up to 3/16 (5 mm), and nothing wrong about that. Later that bevel gets cleaned and undercut. First comes the cut with the wall, straight down, exactly 90 degrees toward the background.
Can you rough out the background without tearing the grain?
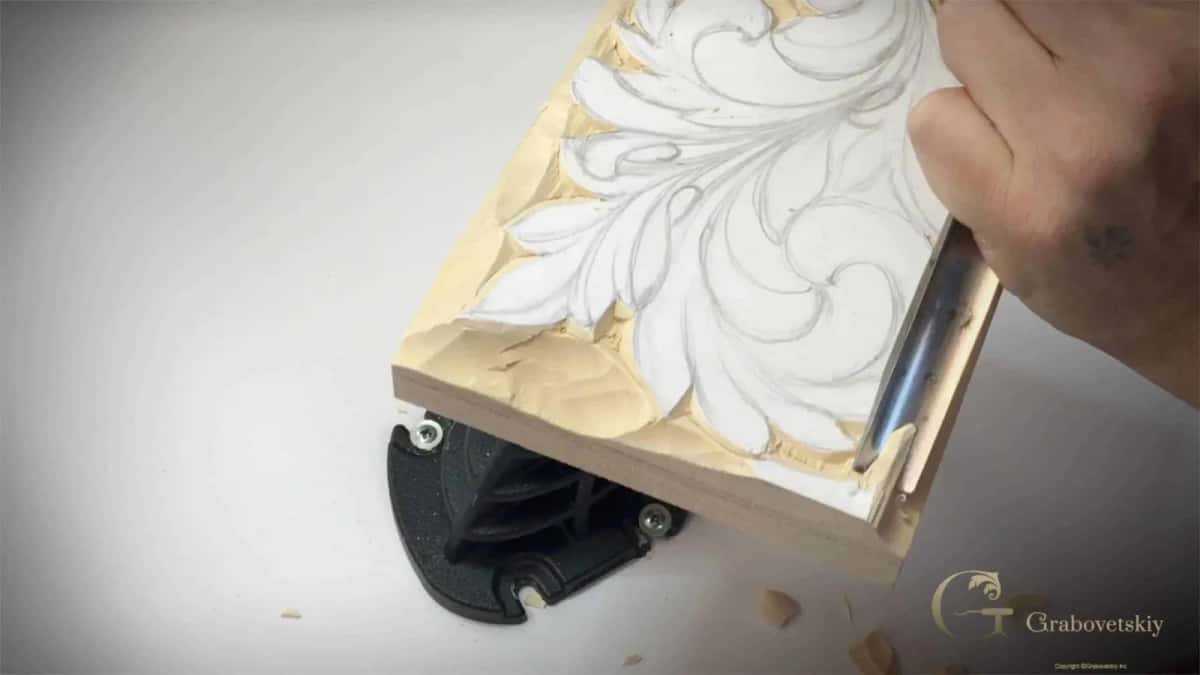
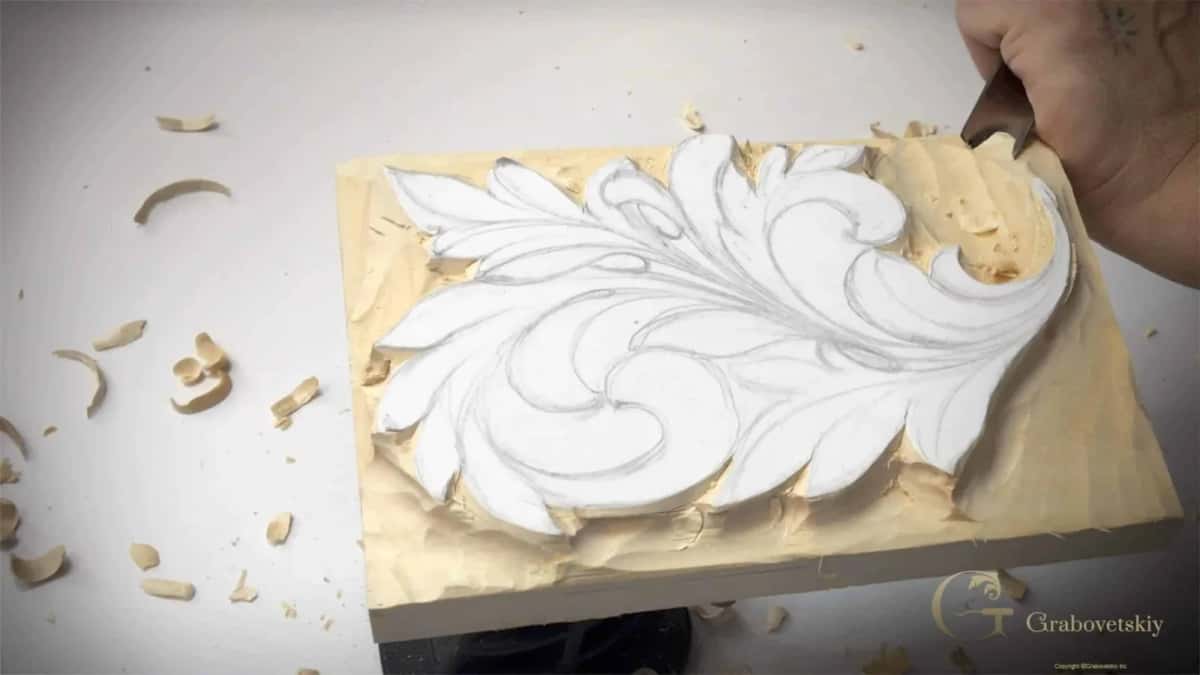
A gouge does it, little by little. Any gouge pretty much will do. I really like the number 7, 14 mm (about 9/16 in), taking one corner of it closer and closer to the outline, and only down to the second line.
The heavy waste went with a number 8, about 16 mm or 5/8 of an inch, and a rubber mallet. Every pass goes with rotation. Some people call that sweeping move a carver's cut, which is appropriate.
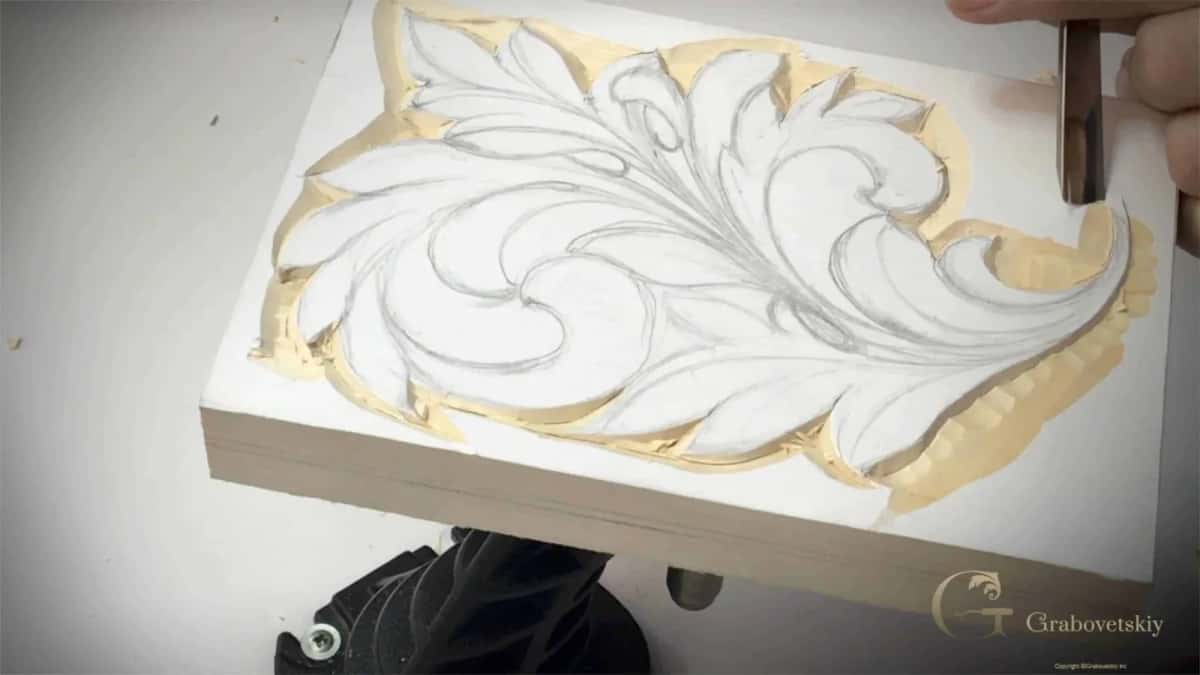
There's a law, of course. You work with the grain, not against it. I have a habit to break that law, because on complicated pieces you can't always follow it. With the grain you also have a tendency to push too hard, so a section can chip and fly out on you.
For roughing I go across the grain. It won't look as clean, but who cares? We undercut anyway later on.
Keep your hand on the wood, not in the air. Mine sits really solid on the block, and the push comes from the muscles inside my palm.
Where do the eyes and pipes go on a Greek leaf?
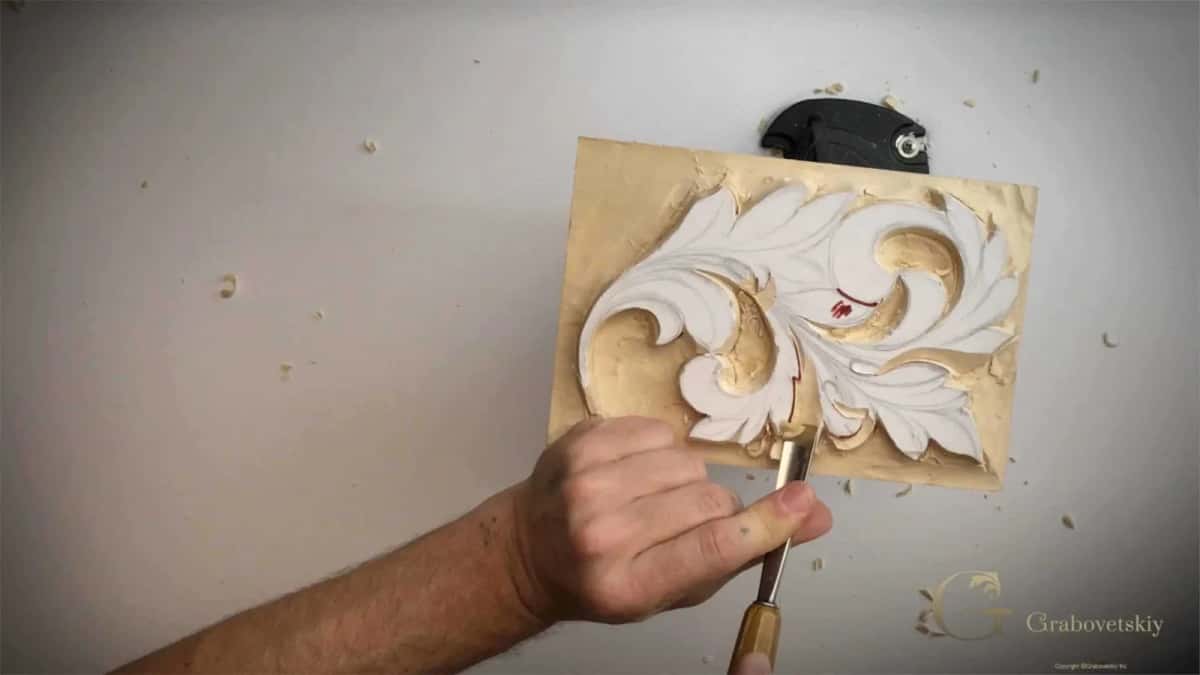
The eye is that element of the acanthus leaf, and the pipe goes from that eye toward the center line. It's all about pipes and eyes, and the eyes really have to go down to the background.
The safest way is a small gouge, a number 11 at 3 mm (1/8 in) or a number nine, dug in little by little. A knife is quicker, although you still clean with the gouge after. And the number 11 is not even a gouge. Gouges go up to number nine, the exact half round, and past that it's a veiner, more like a U shape.
With a veiner one side goes against the grain and one with it, so I keep the cleaner side on the pipe, and the pipe has to stay above. Overlaps in lesson 3 get a marker so you can see better, with my 90-degree wall against the overlapping piece.
If the eye and the pipe make sense to you now, the tuition page says how Access works for carving along with me.
Why is there a V inside each Greek leaf?
Most likely, I would say, the wood carvers in ancient times would have only knife, and that's why the most ancient forms of acanthus leaf have that V on the inside. That's how I put it in lesson 7, and a V is just much quicker and convenient than some other technique.
On the Corinthian we left a higher ridge inside. A lot of times the Greek leaf has absolutely no ridge, just a pure V cut, though a ridge would still be authentic, as lesson 5 says.
Any V tool will work. I like the 45, a number 15 at 6 mm (1/4 in), because it gets really to the tiniest spots without damaging the sides. Don't force it. Dig in on the line and escape before you hit the edge.
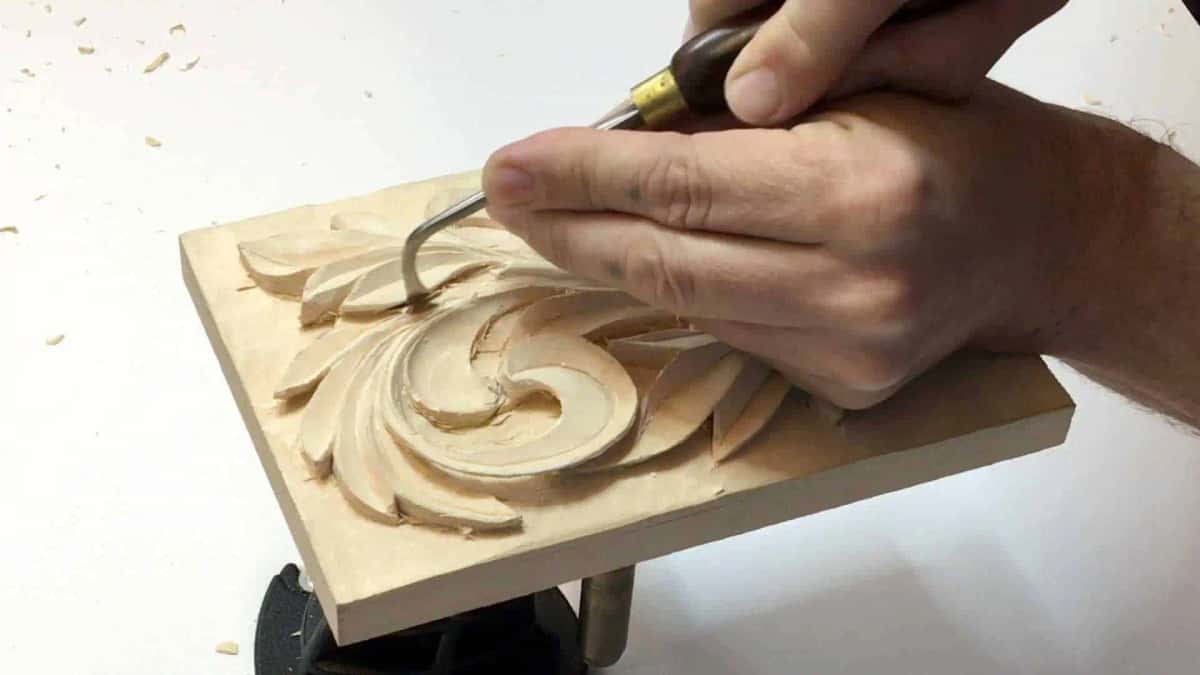
One part in lesson 9 gets just a concave inside, because sometimes the Greek leaf had that too. In later history they stopped doing the V cuts, though the Byzantine style still had some.
Why does the middle line sit off center?
On some leaves a line in the exact middle would not look good. On one leaf in lesson 6 I want my shadow on the right side, so the line moves slightly right, to the higher side. Further on in that lesson it's maybe 3/32 of an inch (about 2 mm) to the left, and in lesson 7 about an eighth (3 mm) to the right. On a really small part it's not that big of a deal, so the line goes right in the middle.
When does undercutting start, and how far does it go?
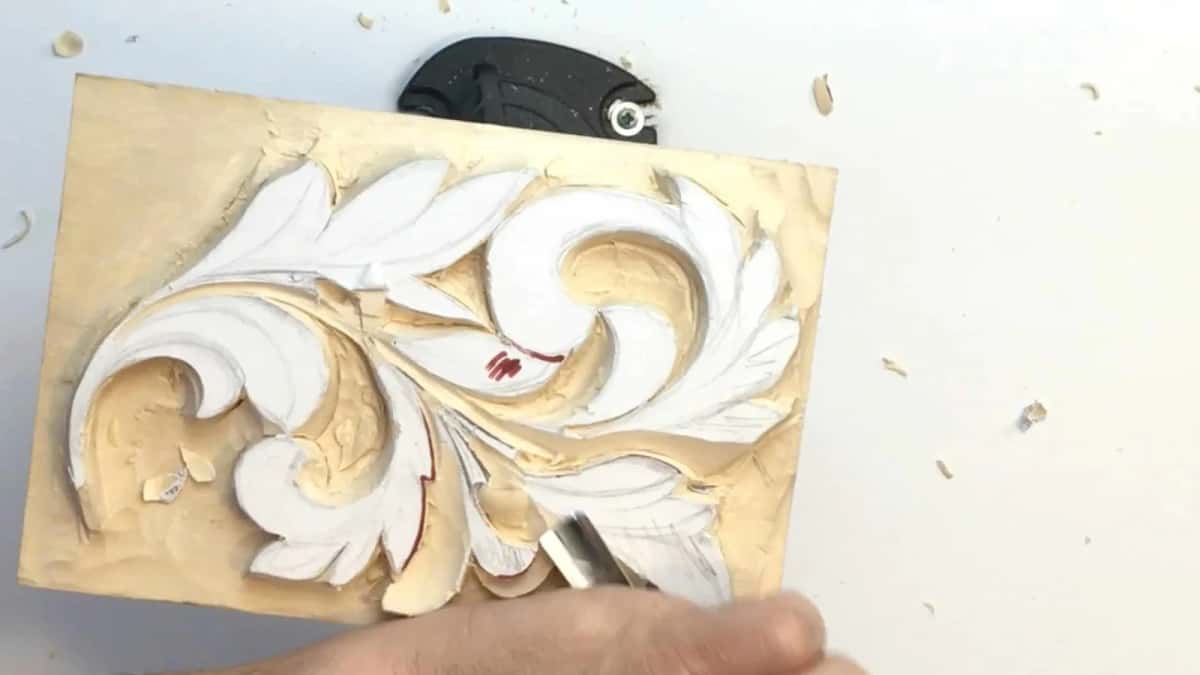
Undercutting is digging underneath a detail so it throws a shadow, and the big part of it waits until the walls are in. Some of it comes early, though. A Chris Pye undercutting tool by Ashley Iles is already in my hand in lesson 6.
Lesson 8 opens with me turning the panel, so the light hits from a different position and I can see much better where to clean. Later in it I lay a V tool on its left side, dig under one piece, and it already creates a beautiful shadow.
On a standalone relief carving made as art, I'm always undercutting.
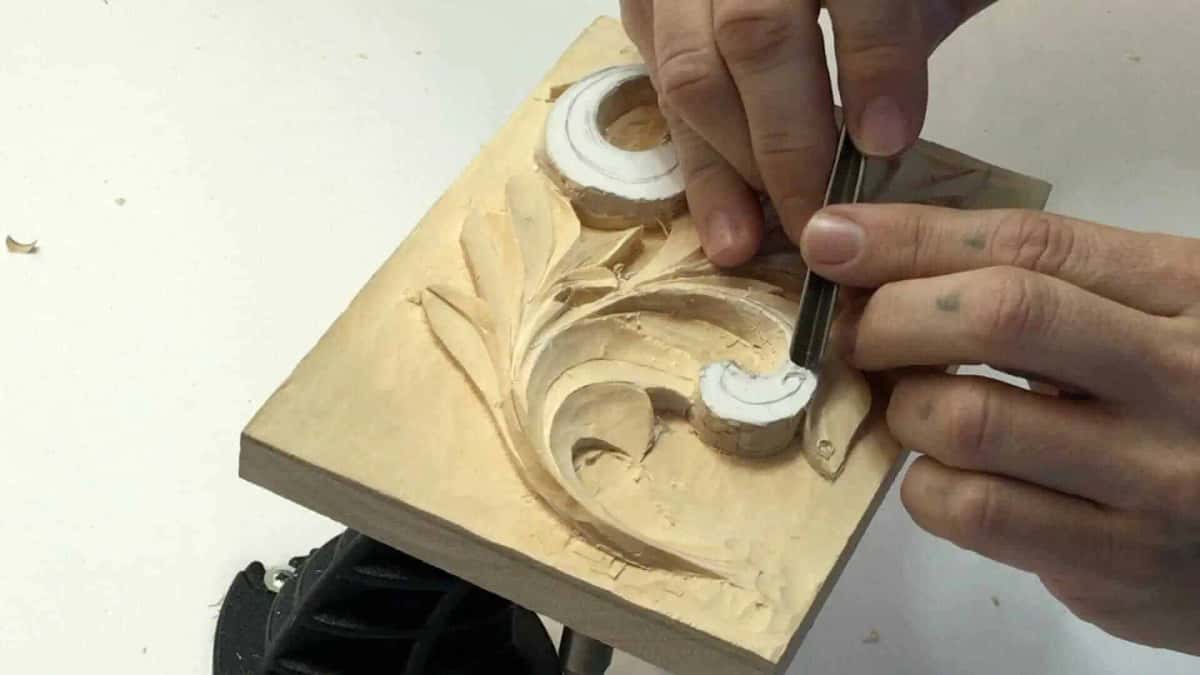
A straight gouge is kind of dangerous here, because it can hit the side and damage it. A bent or short bent tool is better, and so is a back bend like the number 25 at 13 mm (1/2 in). A small Ashley Iles back bend marked number 37 goes as deep as half an inch.
The waste comes out with micro moves. I hook it underneath until I can grab it and move it out, and that's hooking, the subject of lesson 10. A piece that's cut but still stuck gets recut, and then it just flies out.
Undercutting is not the easiest technique. Don't fool yourself. That's why a lot of wood carvers don't undercut.
Most people look straight at a carving and never underneath. So only one person who knows what is underneath would be just you.
Why carve some spots all the way through?
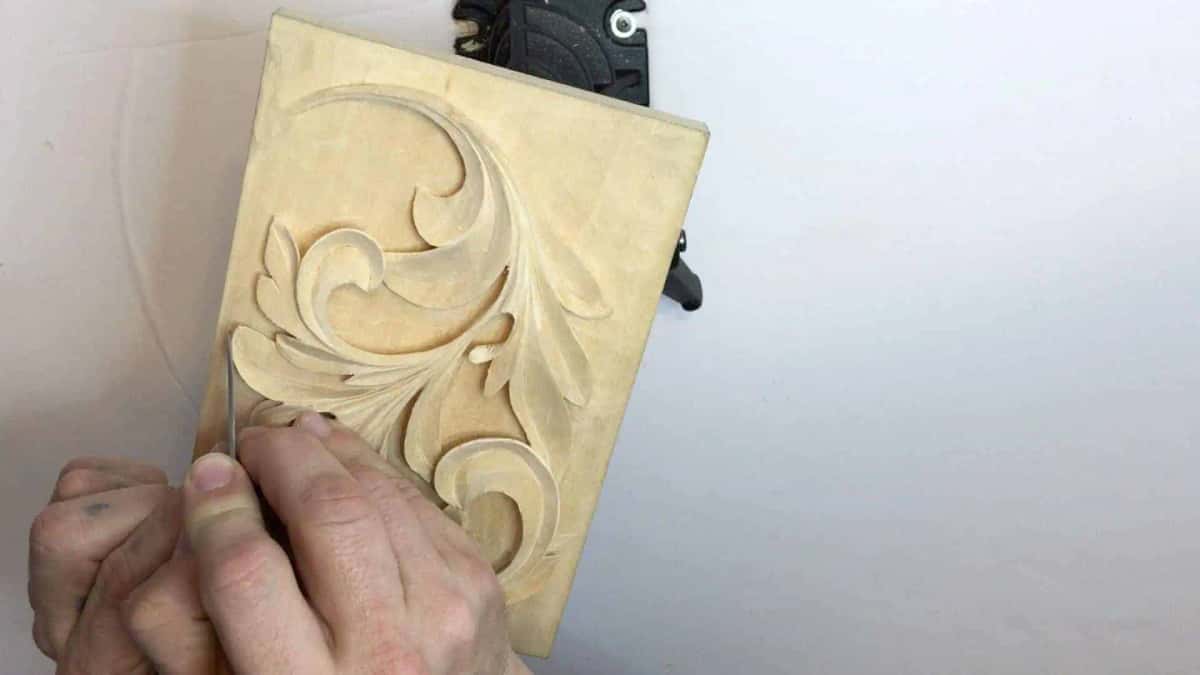
For the light. In multiple spots my design goes right through, on purpose, and depending on how the light shoots at the piece it gives me absolutely different shadow. In lesson 12 one section is pierced through, and it looks like it's growing right in the air.
Some of the wood carvers would not approve me. They say I'm making my carving too weak and easy to break, and that's true. Absolutely true. My question is, why would you break it? On furniture that people touch all the time it's too fragile, but framed and placed on the wall it's absolutely fine.
What happens when a piece breaks off?
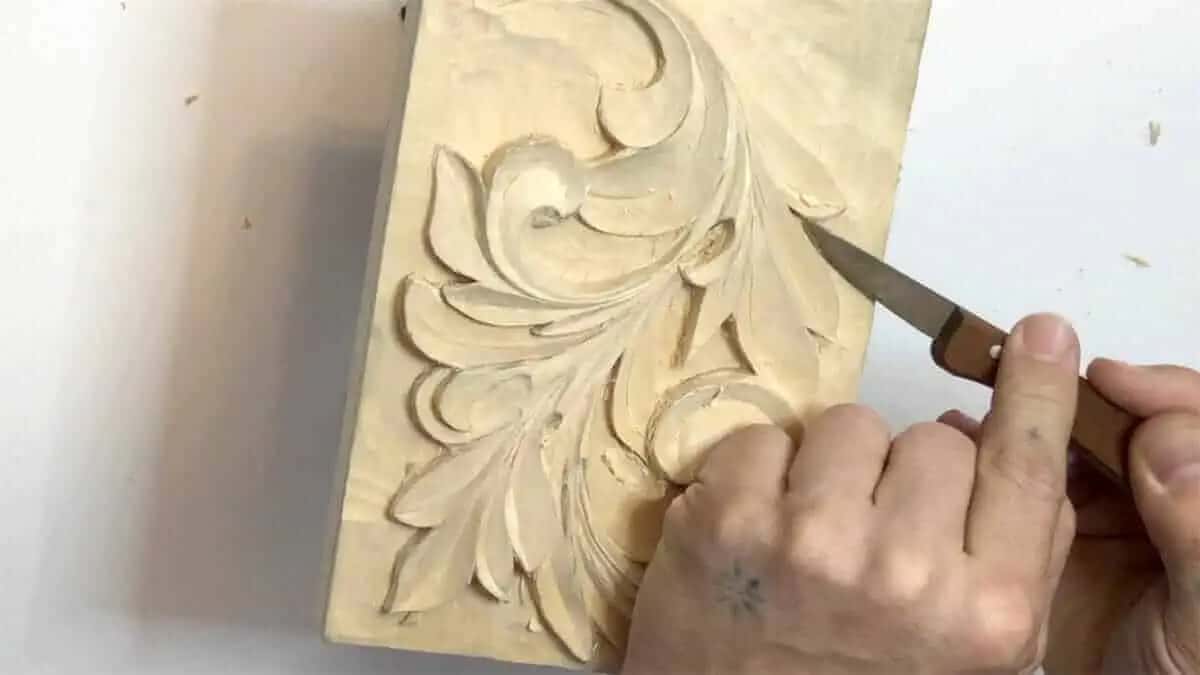
You glue it back. In lesson 13 I put some glue right there with a little extra support and leave it for overnight. I saw the glue lines. The most famous wood carvers still made those mistakes, and I saw that many times.
Two mistakes in one day, that was lesson 14. One broken piece let me reach a section I could not undercut before. The other I take all the way to the bottom, so the overall design is not going to change. If something broke, that means it meant to be.
Probably the biggest mistake some people make, as I say in lesson 11, is forcing it and trying to rush it. When you rush something in wood carving you make a lot more mistakes, and some become unfixable. Wood carving is an art of deduction. Once you deduct, you can't add that back.
Today society is based on speed, go, go, go, and that's not always good. Just the patience.
Can you finish the leaf without sandpaper?
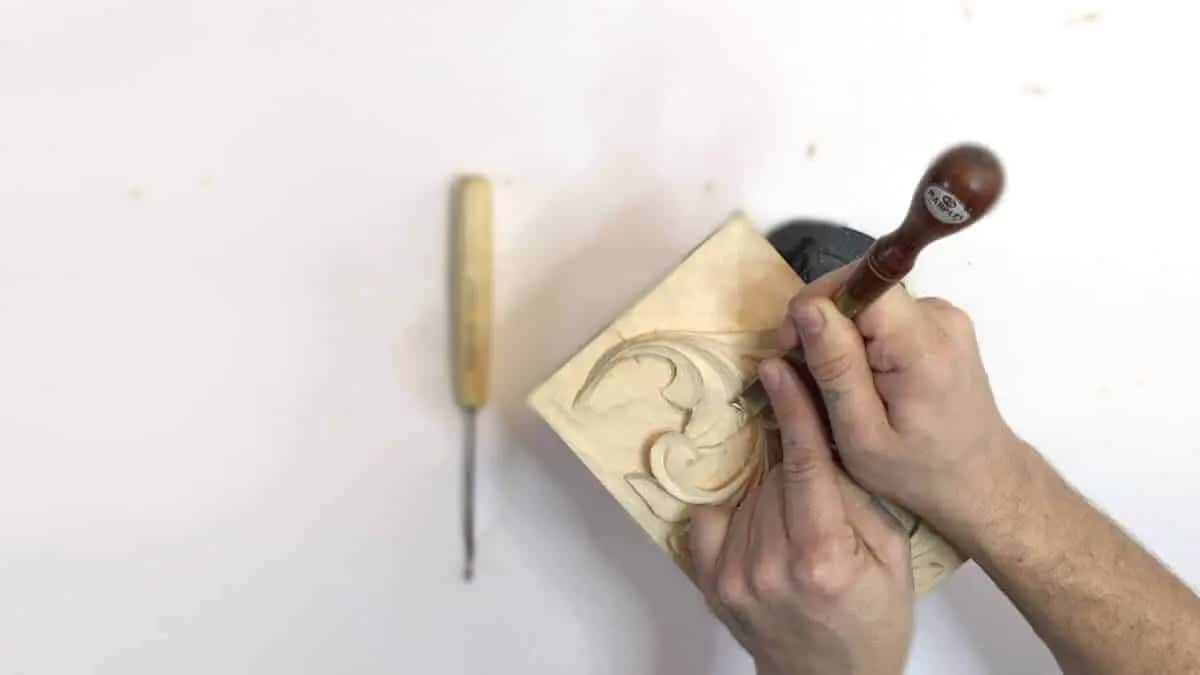
First the knife goes along every edge. Doesn't matter how sharp your tools are or how good a carver you are, some fuzz still happens, especially after extreme undercutting.
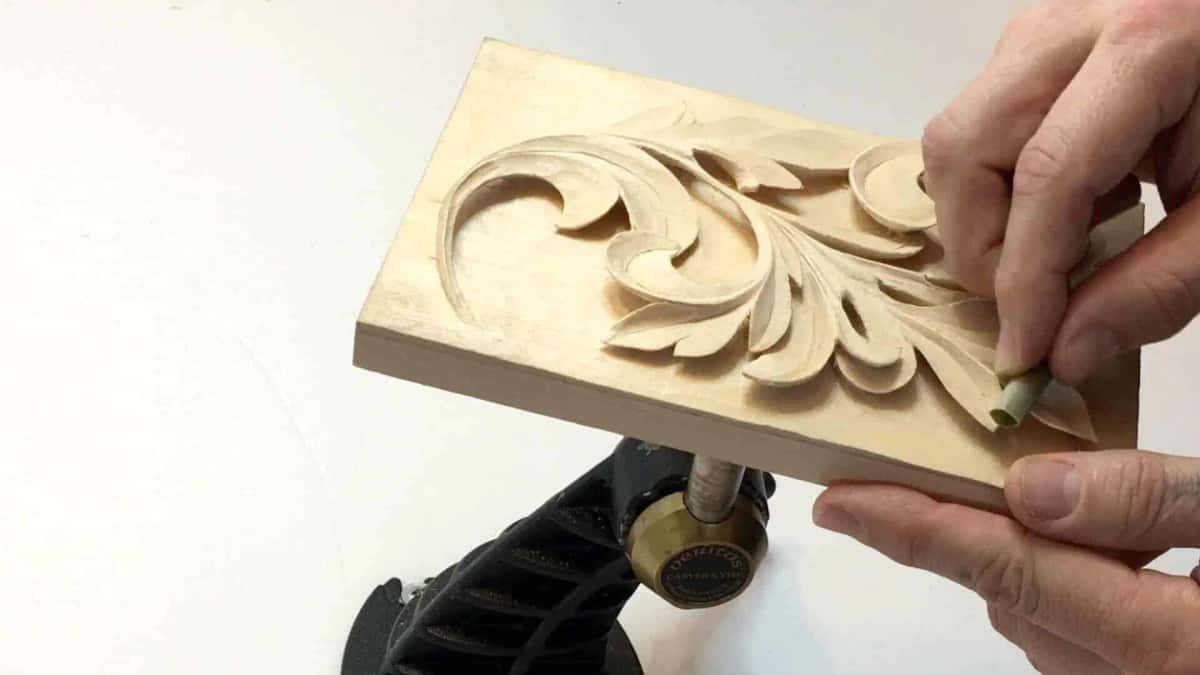
Grinling Gibbons, one of my favorite wood carvers in history, would use Dutch reed rush about 300 years ago. I keep small dry sections of it, about an inch and a half long (4 cm). Rubbed on the edges and the pipes, it gives a clean edge equal to about 300 to 400 grit, and you still see all the chisel marks, which I like. I would not recommend sandpaper.
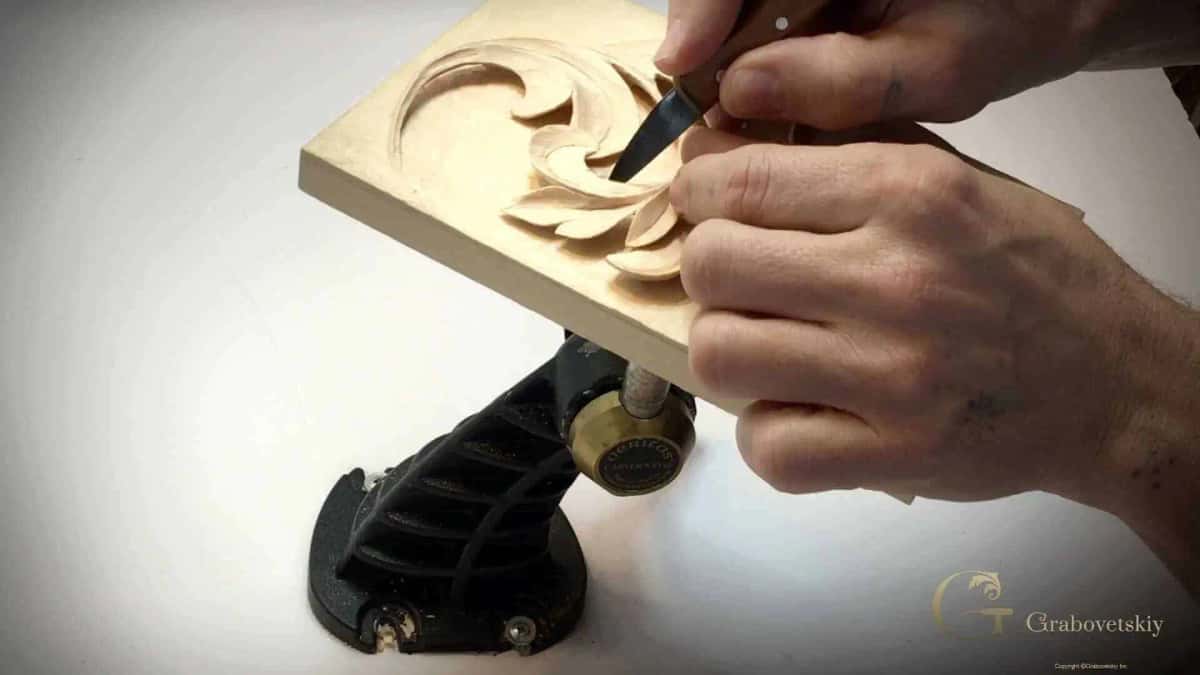
Then a toothpick, pressed a little into the centers of the leaves. It's not that visible, but believe me, it does create a big difference. The background comes last, in lesson 15, where Ashley Iles grounding tools, almost flat, take the ridges off really nicely, though a normal number 3 still gives really good results. At some point you have to stop, because you always can find imperfections.
Which carving tools does this course use?
A short list. Most of you don't have that big collection, and I do understand that, so on camera I'm using whatever minimum tools I have on my workbench. My teacher would say, if I complained about wood, "There's no such a thing as a bad wood. It's just dull tools." Sharp edges come first, and carving tool sharpening is where to start on them.
Where does this leaf sit among the acanthus courses?
Right after the Corinthian, and lesson 1 opens with that finished panel in my hands. This one is only one variation of many, based on an ancient Greek leaf. Over in the Roman acanthus course I say the Roman leaf is exactly the same like the Greek, just more beautified.
So. Have you got a pencil and a sheet of paper? Could you trace around a block? Then you can start this leaf today, because the first lesson is all drawing. The start page asks where you want to begin.
Let me present to you the acanthus leaf in a Greek style.
| The job | The tool | Size |
|---|---|---|
| Setting the outline | Knife number 12, any brand will do | no size given |
| Roughing the background | Number 7 gouge, the one I like | 14 mm, about 9/16 in |
| Heavy waste first | A number 8 with a rubber mallet | about 5/8 in (16 mm) |
| Opening the eyes | Veiner number 11, not a gouge at all | 3 mm (1/8 in) |
| Inside each leaf | V tool number 15 at 45 degrees | a quarter inch, 6 mm |
| Tight separation lines | Smaller V tool, number 16, for separations | 1 mm (1/32 in) |
| Reaching under edges | Back bend number 25 for the undercuts | half an inch, 13 mm |
| Farthest spots underneath | Chris Pye undercutting tool by Ashley Iles | right, left, straight |
| Grounding the background | Ashley Iles grounding tool with a slight bend | about 1/8 in (3 mm) |
| Final background pass | Plain number 3, or wider grounding tools | whatever you have |
Tools I name aloud on this panel, sizes in both systems.
How it's done
- Trace the block and draw. Lay the block on paper and trace around it. Split the sheet in three to find two main points, draw the volute movement first, then the outside border, then the subdivisions, the eyes and the pipes.
- Glue on the paper, mark two lines. Photo mount glue holds the drawing. Mark the final depth 16 mm (5/8 in) down, then a second line about 3 mm (1/8 in) above it.
- Knife around the outline. Number 12 knife, angled as on chip carving, worked toward you, right at the line or an eighth of an inch away.
- Rough to the second line. A number 7 gouge, rotating through each pass and going across the grain. The ground may look rough for now.
- Stand the walls up. Straight down at 90 degrees toward the background, before any undercutting.
- Open eyes, raise pipes. Take a number 11 at 3 mm, or a number nine, until each eye reaches the background. Keep each pipe above what lies beside it.
- Run the V cuts. A 45 or 60 degree V tool. Dig in on the line and escape before the edge, and shift the line off center where a leaf calls for it.
- Undercut, then finish. Back bends and short bent gouges hook waste from under the edges. A knife and Dutch reed clean the edges, a toothpick presses the leaf centers, and the background comes last.
Frequently asked questions
Do I need to carve the Corinthian leaf first?
In this course the Greek leaf comes right after the Corinthian one. I open lesson 1 holding the finished Corinthian panel, and I take the same size block for the Greek leaf. I still call the Greek leaf somewhat simple, because later in the series the leaves get really complicated.
How many gouges do I need for this leaf?
Fewer than a full set. Any gouge pretty much will do for the roughing, and any V tool will work for the V, whether 60 or 45 degrees. On camera I keep to whatever minimum tools I have on my workbench, because most of you don't have a big collection, and you have to use what you have.
Do I have to undercut as deep as you do?
No, you don't really have to go that deep. I like extreme undercutting, and this panel is a decorative piece that nobody is going to destroy. For furniture people touch all the time it gets too fragile. Models I once made for a plaster company could not be undercut at all, because they would cast them later.
What to carve next
More on this: Acanthus in ornament, The Corinthian order