Unveiling Simple Wood Carving Techniques for Beginners- Unveiling Simple Wood Carving Techniques for Beginners-Wood Carving Essentials: A Beginner's Reference Guide
Woodcarving is a hobby that can be fun, rewarding, and relaxing. Before you begin, it's best to learn some basics.

Since wood carving involves many factors like tools, origin, material, depth of relief, and more, a single piece can mix different types, methods, styles, and techniques, making it hard to classify strictly.
Typically, we categorize wood carving techniques for beginners into two classes: easy and complicated (yet achievable). The first category includes the following types of wood carving:
- Spoon Carving
- Whittling
If you have woodworking experience or trust your skills, you can start with more detailed woodcarving techniques:
- Carving in the Round
- Relief Carving
- Chip Carving
Let's dive into each carving technique and highlight its unique features.
Spoon Carving
The first ancient wooden spoons popped up long ago, showing off their special colors and designs. Carving spoons is one of the few woodcrafts that lets you connect with age-old traditions. Plus, it’s a great way to improve your beginner carving skills.
A whittling knife, spoon carving knife, chisel or gouge, and sharpeners are essential for carving a wooden spoon. Save time and money by getting a complete carving set.
In addition to cooking, wooden spoons today are valued as hand-made gifts, original souvenirs, and collectibles when beautifully carved.
Whittling
One of the oldest woodworking methods is whittling, and it's the simplest type of wood carving for beginners. This method requires a minimal set of tools, even one good whittling knife, and involves shaping and creating figures by shaving off wood slivers. By using the whittling technique, you can create a beautiful wooden art object with complex designs; the knife leaves sharp, textured marks, enhancing the wood's natural color and pattern.
Whittling can be your go-to hobby if you enjoy creating DIY wood projects and expressing yourself. For beginners, a basic whittling kit is ideal, as it usually includes essential knives and carving supplies.

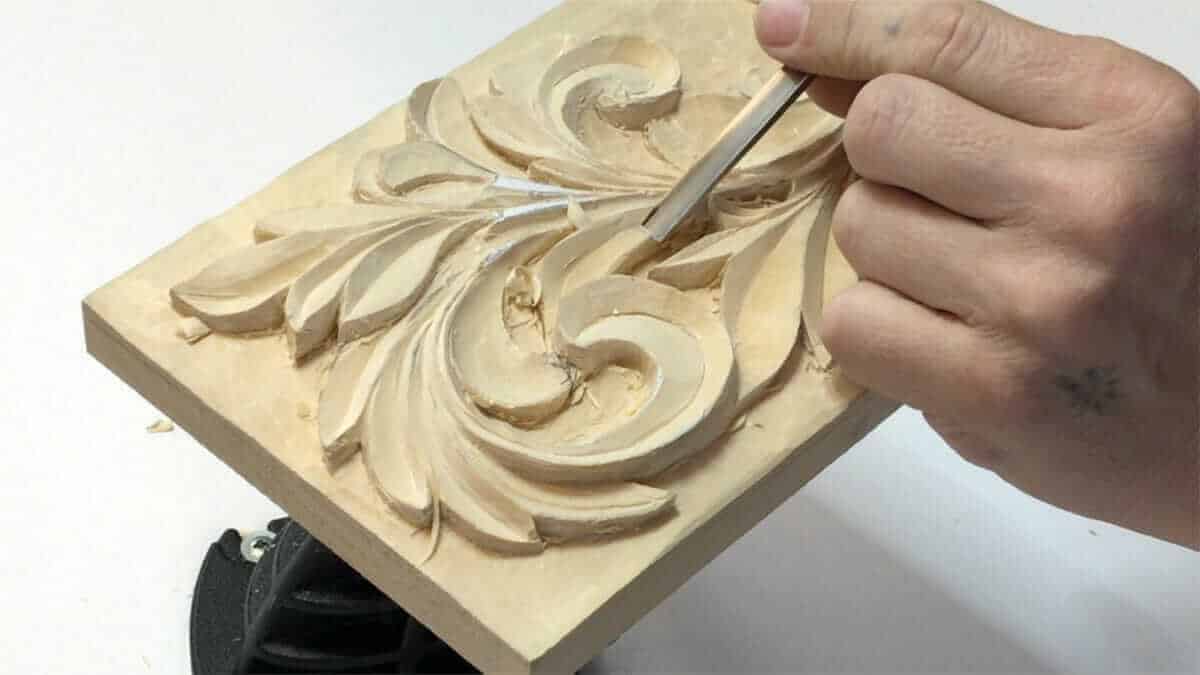
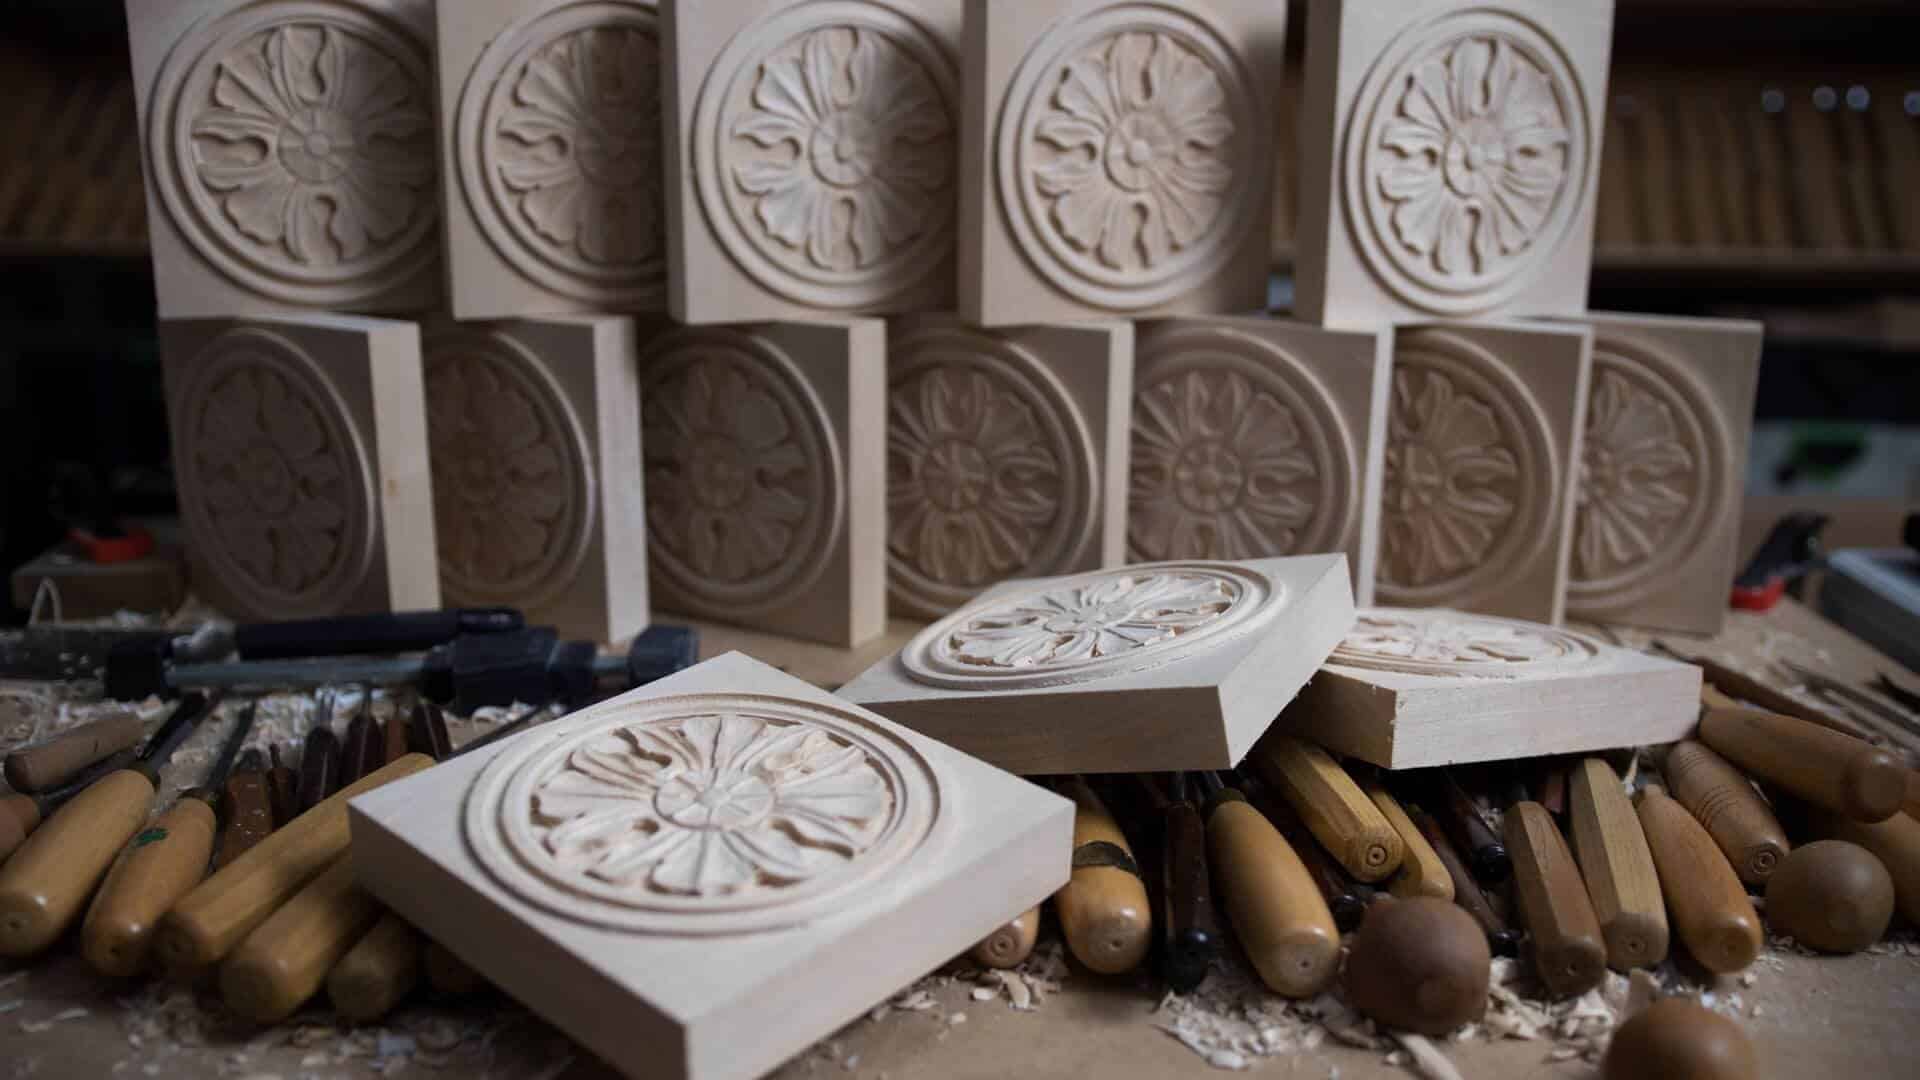
Relief Carving
Relief carving is one of the most expressive and complex wood carving techniques. It stands out due to its three-dimensional nature and lack of flat surfaces. Different heights in the relief bring the ornament's forms to life.
This carving technique includes many decorative elements, expressiveness, and rich compositions, from abstract and floral decorations to bird and animal patterns.
Relief carving is challenging because keeping the different levels even is tough. It requires beginners to be accurate and precise.
Mastering basic relief carving skills requires the right tools and wood. Essential tools include chisels and gouges of various shapes (u-shaped, v-shaped), along with chip carving and spoon carving knives.

Carving in the Round
Thousands of years ago, people started carving figures from wood. This art remains as popular today as it was at the start of human history.
By carving in the round, you can create three-dimensional wooden figures, making beautiful sculptures and figurines for home decoration.
Various wood types can be used for making sculptural miniatures. Basswood is the best option as it has a uniform color and texture and is soft and easy to carve.
Carving in the round requires more tools, such as drawknives, whittling and wood carving knives, chisels, gouges, and abrasives like sandpaper for a smooth and beautiful wood surface.
There are many styles and techniques of woodcarving. As a beginner, you should start with the simplest one and learn it well. As your skills and experience grow, you can move on to more complicated techniques that need more tools and knowledge.
It doesn’t matter what type of woodcarving you do. The main goal is to achieve mastery. For instance, you could focus solely on spoon carving and still achieve stunning results.

Chip Carving
Chip carving is a unique art form that can become an exciting hobby for beginners. This ancient method was used to decorate wooden houses, furniture, utensils, and even ships.
Chip carving involves removing small wood chips and making narrow grooves to create patterns of geometric shapes such as triangles, squares, and circles. The grooves vary in size, depth, and angle geometry. Each shape in chip carving carries its own meaning and symbolism.
To learn chip carving in wood, practice cutting simple designs before moving on to more complex patterns and combinations of straight and smooth lines. You'll need basic tools such as chip carving knives with different blade shapes, and some carvers may also use chisels and gouges.

Are there wood carving techniques that are more advanced?
What some people call advanced, we call more passionate. Getting more advanced with carving means wanting to do more than you started with. It involves expanding your vision, trying new things and tools, and being curious about what others share with you. That’s what we call advanced.
This usually involves learning about techniques you haven't heard of before. Take, for example, Japanese wood carving techniques. They are distinct and utilize unique methods to create beautiful results, something you might find fascinating.
Japanese techniques are primarily used for relief or 3-dimensional carving of various decor elements. If you enjoy these types of carvings, you should definitely watch tutorials to get inspired and try something new. The key to Japanese carving lies in the tools—they offer a much greater variety and use many different instruments in a single piece to achieve impressive results.
If you like making unusual kitchenware utensils such as spoons, bowls, and cups, check out Swedish wood carving techniques. Wille Sundqvist has a very detailed and intricate book on this topic that's definitely worth it. You can find many tutorials on both Swedish and Japanese styles on YouTube—make sure to watch them! And don't forget to check our spoon carving knives.
Greatness in wood carving is not a destination but a continuous journey of learning.

Basic Relief Wood Carving Techniques
With relief carving, a challenge is maintaining distinct levels to prevent wasting time in the end.
There exists a “rule of thumb” in relief carving that the lowest part should be no lower than half the height of the wood. For a 2-inch high block, the deepest level would be 1 inch. The levels should be divided by the same measurement. For 6 levels on a 2-inch block: 1 inch (deepest), 1.2, 1.4, 1.6, 1.8, and 2 inches.
A cool trick for relief carving (or other carving types) is cutting diagonally; one side of the v-tool’s bevel cuts with the grain and the other against it. Keeping a neat outline is important because you will carve around it, and sharp, defined lines will enhance the neatness of your relief carving.
Be careful and don’t rush; relief carving requires careful attention and is a thorough whittling style that demands high accuracy.
These tips cover basic wood carving, including beginner techniques, advanced styles, and advice on relief carving. I hope you find this information helpful and current for making your newest carvings better!

Wood carving is like a journey to greatness. Each stroke shapes your path.
FAQ on Basic Wood Carving Techniques
What equipment is necessary for basic wood carving techniques?
Basic wood carving techniques require a few essential tools such as carving knives, gouges, chisels, and a mallet. Additionally, you may need sandpaper, a sharpening stone, and a clamp to hold the wood securely.
How do I pick the right wood for a carving project?
It's essential to choose the right wood for carving to ensure your project's success. Opt for woods that are dense, straight-grained, and knot-free, such as basswood, butternut, or cherry. Avoid softwoods like pine, which are challenging to carve and prone to splitting.
What beginner techniques are essential for wood carving?
For beginners, some basic wood carving techniques include carving with the grain, making push and pull cuts, using a V-gouge to create lines, and carving in the round. It is essential to start with simple projects and gradually work your way up to more complex designs.
What are the steps to properly maintain wood carving tools?
To keep your wood carving tools in good condition, proper maintenance is essential. After each use, clean the blades with a cloth and apply a coat of oil to prevent rusting. Sharpen the blades regularly with a sharpening stone or honing compound and store them safely to prevent damage.


I’m a woodworker who loves carving. I make fancy carvings for a high end client worldwide. I also teach wood carving. I started the School of Wood Carving, a non-profit to help people learn.
The school’s website has over 3,000 how-to videos. Great for beginners and pros! I’m from Russia but have lived in the USA a long time. Like wood? Join us at the School of Wood Carving. We’d love to have you!