
Alexander Grabovetskiy, woodcarver, School of Woodcarving · Published 2020
How do you carve a panel that will be painted or gilded?
Quick answer: Carving for paint or gilding is carving every hollow with a round bottom. A deep number 11 veiner leaves a soft transition where a tool tipped on its side leaves a crease, and gold will not stick there. Tips stay rounded, and each pocket goes only as deep as a brush can follow.
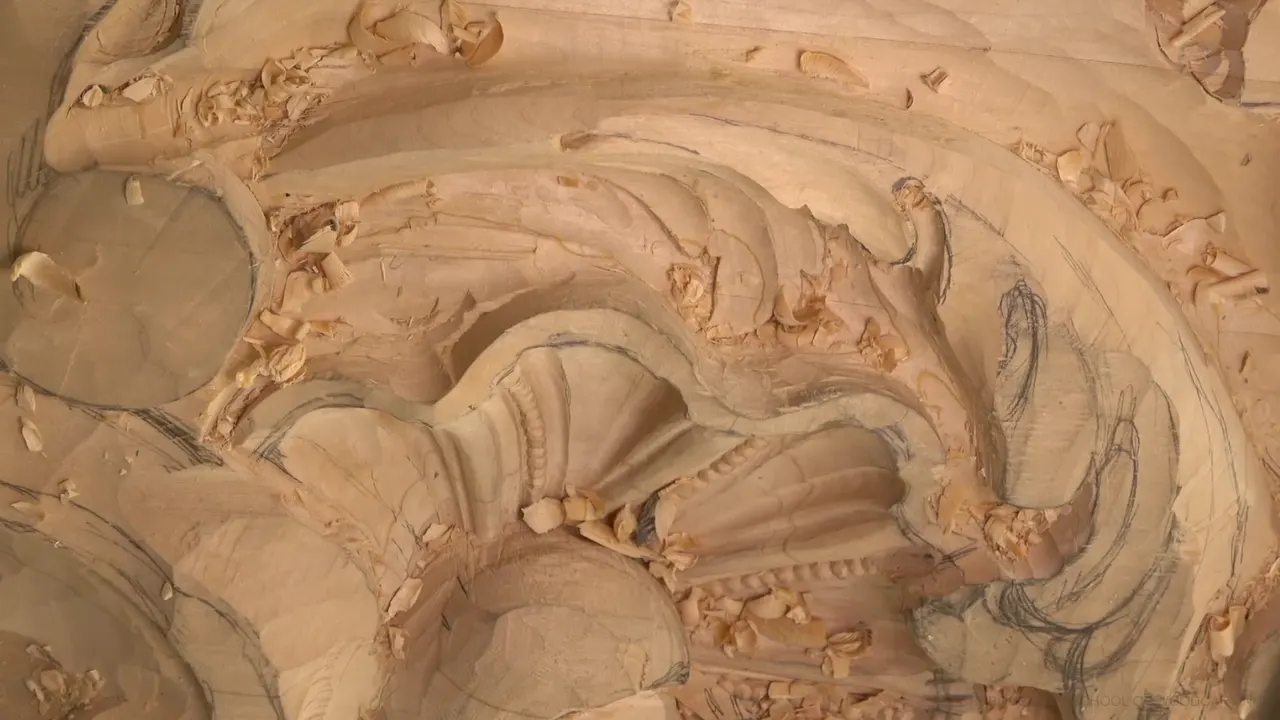
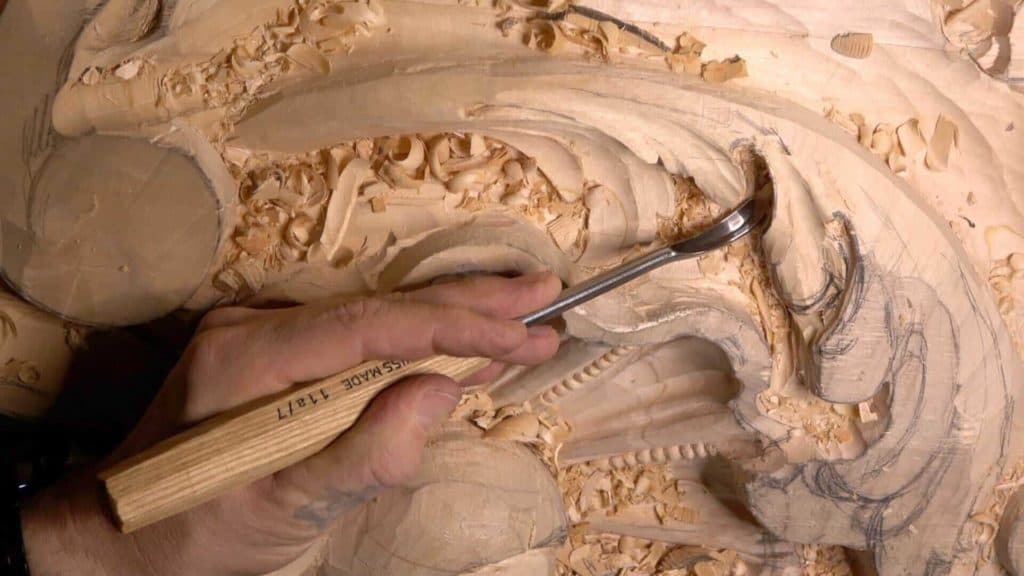
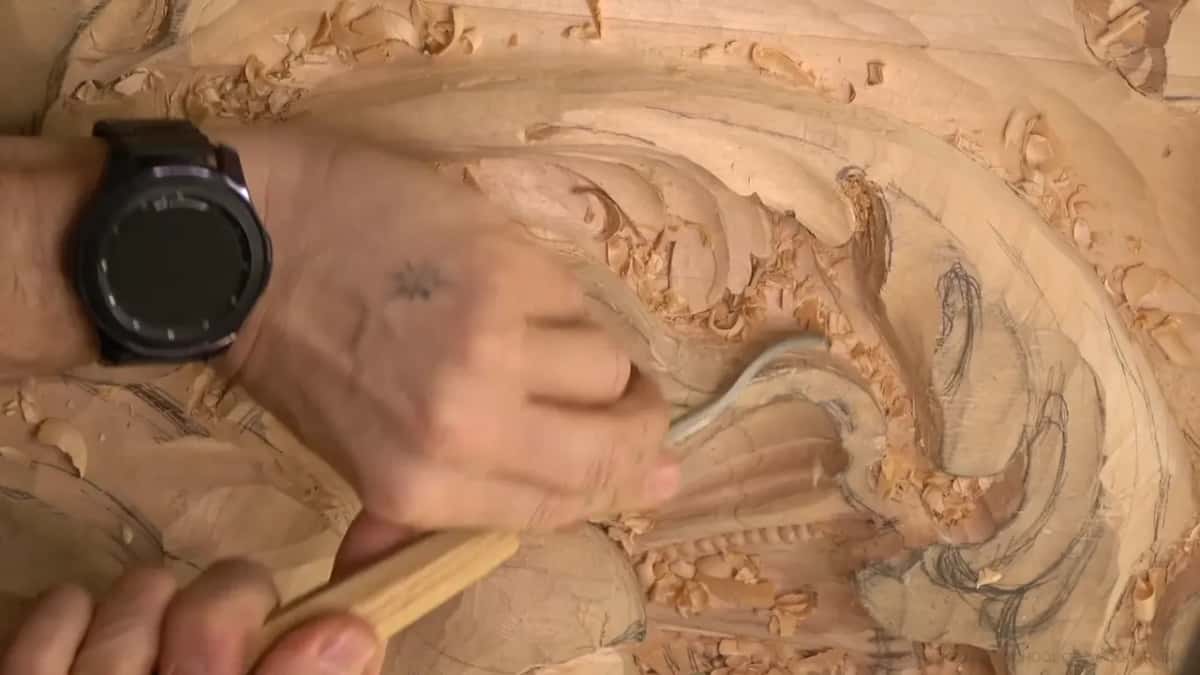
Carving for paint or gold leaf means you carve with the finish already in mind, so every hollow ends in a soft, round bottom and no sharp crease hides inside it. On this Venice room panel I clean those hollows with a deep veiner, a number 11. Tip a tool on its side instead and it leaves a hard line in there, and gold is not going to stick to it.
Do you like the look of an old painted panel, with the color lying soft inside every leaf? Would you like to see how a carver gets the wood ready for that, one pocket at a time? Workshop 8 is that work, eleven videos at my bench, with my mistakes left in.
I'm going to be honest with you. For most of this workshop the relief panel looks rough. Chips everywhere, lines that move, a weak little piece that has to be glued. What you are really watching is a man carving for a finish that goes on much later, and making small choices today that the paint will show later.
How painting changes the way I carve this room
The whole room gets painted, with a chalk-based paint of the kind Europe used for a long time and still uses in many places.
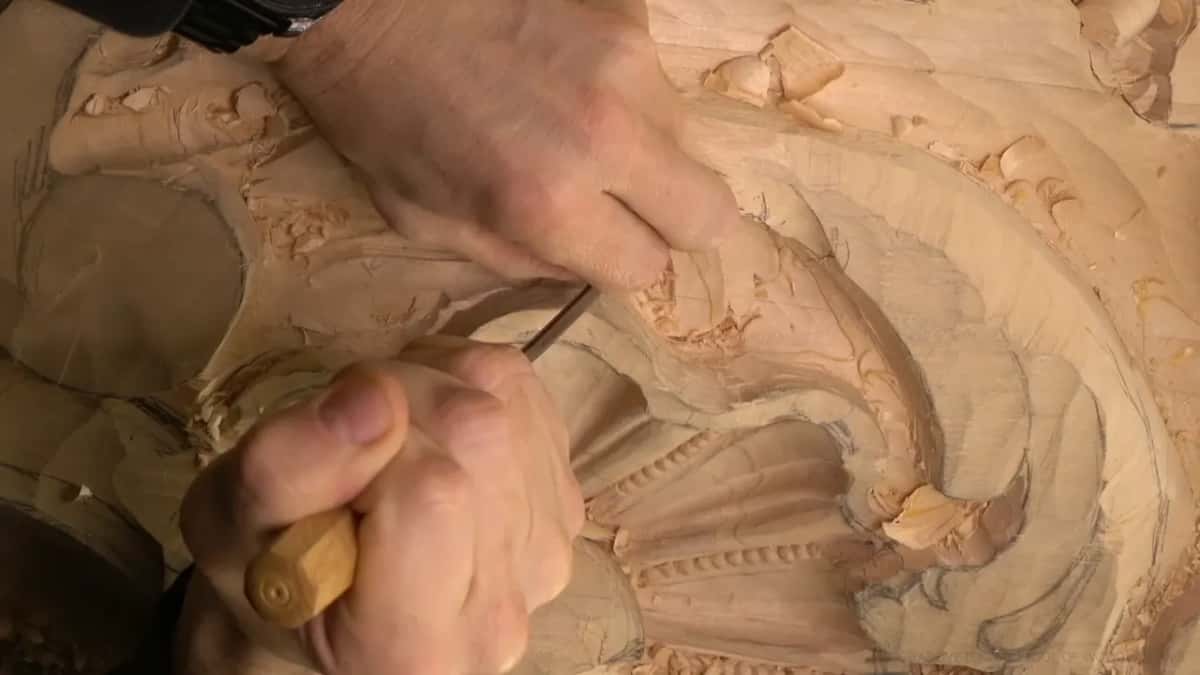
Hollows get a round bottom from the deep veiner, never a crease from a tool tipped over and slid underneath.
A crease gives the brush trouble, and gold leaf even more.
Acanthus tips stay round, the way the old work had them.
How deep I dig inside a pocket depends on whether I can still paint and clean it afterwards.
Why can a painted hollow not have a sharp line inside?
A sharp line at the bottom of a hollow is hard for paint, and gold leaf will not hold there. That comes up in the very first video of this workshop. I had a pocket to clean under a leaf, and there were a couple of ways to do it.
The quick way is to angle the tool and just go underneath. But then the bottom of the pocket turns into a really sharp point inside, and that is going to be hard for paint.
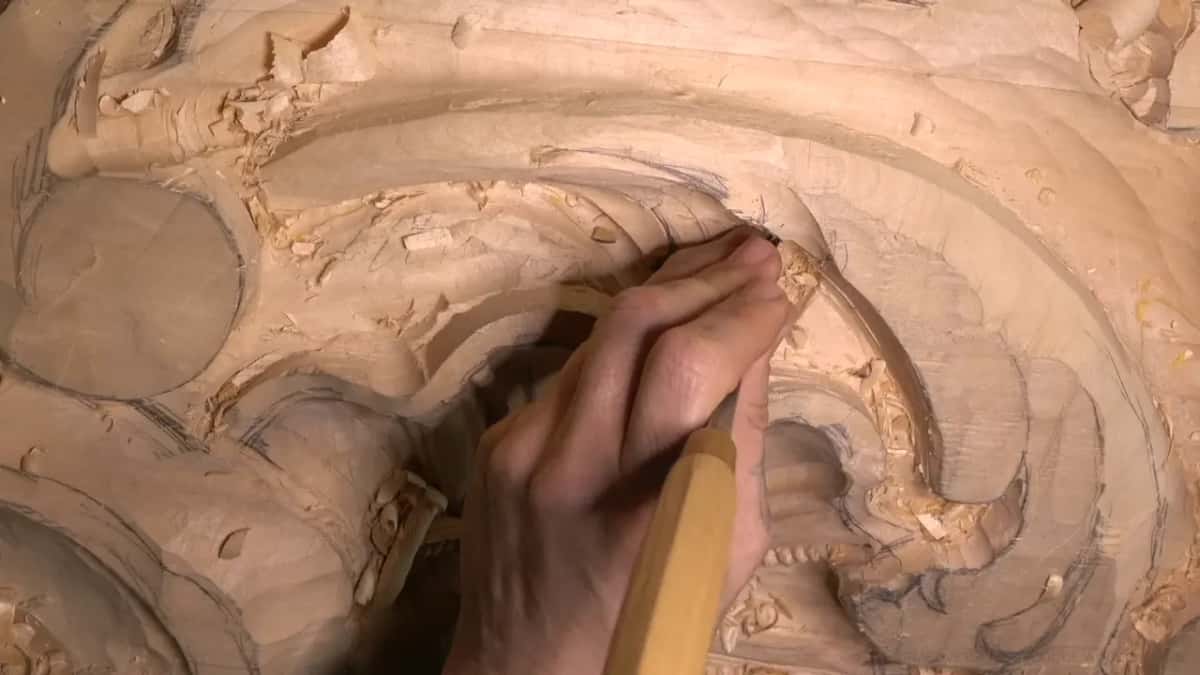
So I did not push deep right then. I cleaned it with the 11 instead, which is the deep U shaped veiner, and I told you why on camera. You need a really nice transition on the inside. For that, the 11 is the best choice, I would say.
Think about gilding for a second. Lay gold on a carving one day, and every crease you left behind is a spot where the gold will not stay. You really want to avoid those sharp lines.
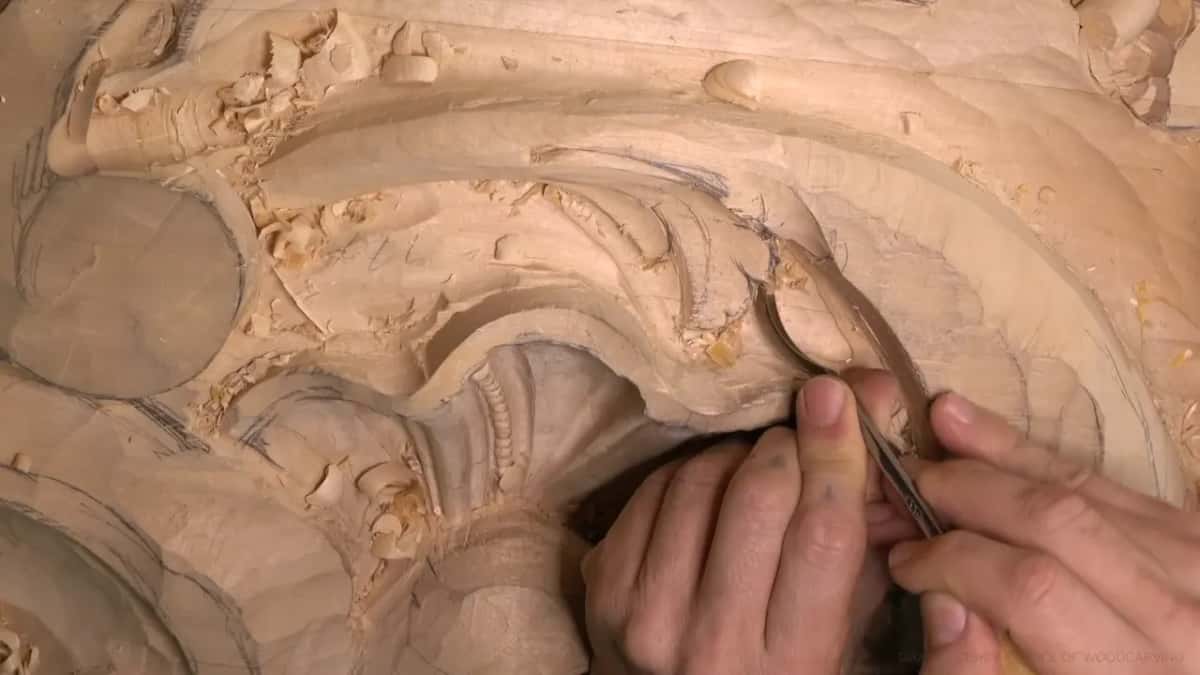
Later in the same workshop the veiner comes back again and again. In one part I use it on its side, a 3 mm (1/8 in) number 11, just the side of it, to make a line fade out gradually instead of stopping short. In another I clear loose waste under a leaf with a 5 mm (3/16 in) one, and it comes out easily.
What kind of paint goes on this Venice room?
Chalk-based paint is what this room gets, the original kind. Right at the start of the workshop I stop carving just to say it out loud, because I have to keep it in mind. All of this gets painted.
That kind of paint is how it used to be done in Europe. Even now, in a lot of parts of Europe, you can see those paints. The room itself follows mid 1400s Venice, the time of Venetian Gothic buildings like the Ca d Oro, and I want it authentic, never rustic.
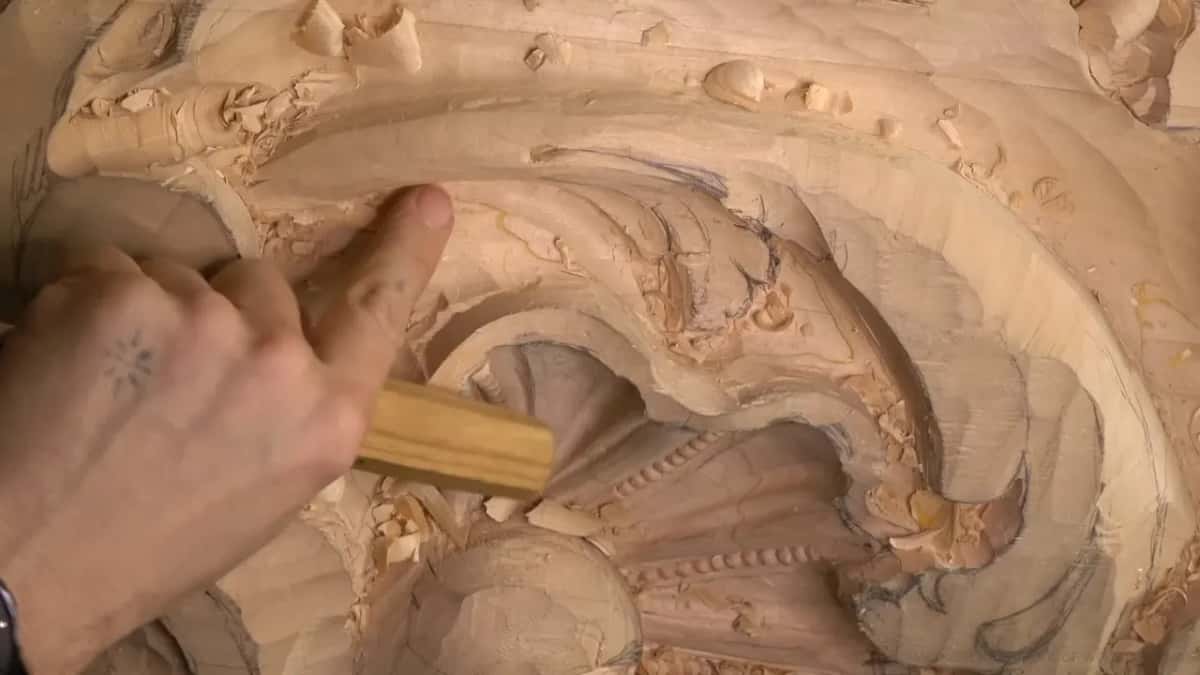
Whether to paint a carving at all, and in what color, is a different question. I answer it in a lesson on painting a carving from another course. Here there is nothing to decide. This room gets painted, so my job is to carve for the paint.
One more thing I had to keep in mind when I designed this project. People will see the room mostly at night. So the light at night was on my mind, and how it will affect the shadows.
And even on a surface that gets painted, I still chase shadow. One spot in part 3 just bugs me, because it is not organic. Not enough shadows there, so it does not give me that airy feel I really like to see. I carve an extra long line around it with the veiner, and the shadow comes.
Should the tips of an acanthus leaf be sharp or round?
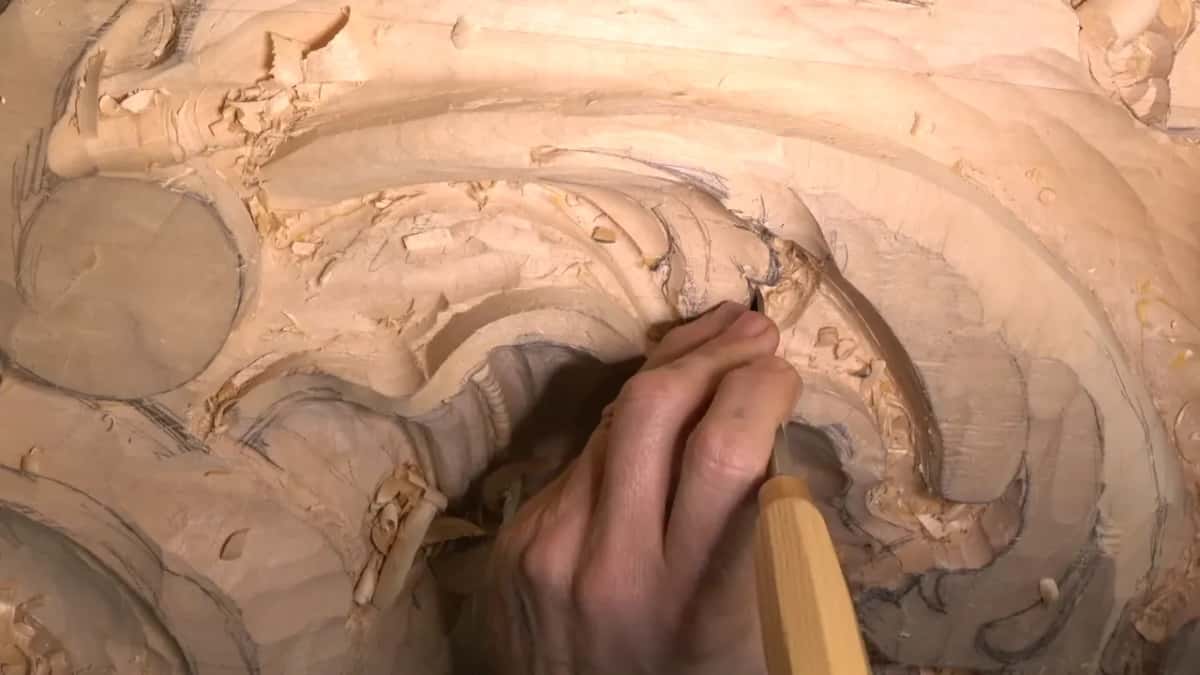
Round, on this panel. I keep them round on purpose. When you look at the old work, those acanthus points never had sharp tips. They had more like a roundy shape.
Part 3 is where I put it plainly: not every acanthus design has a sharp point. If you want to be really close to the original design, that is one of the details you have to pay attention to.
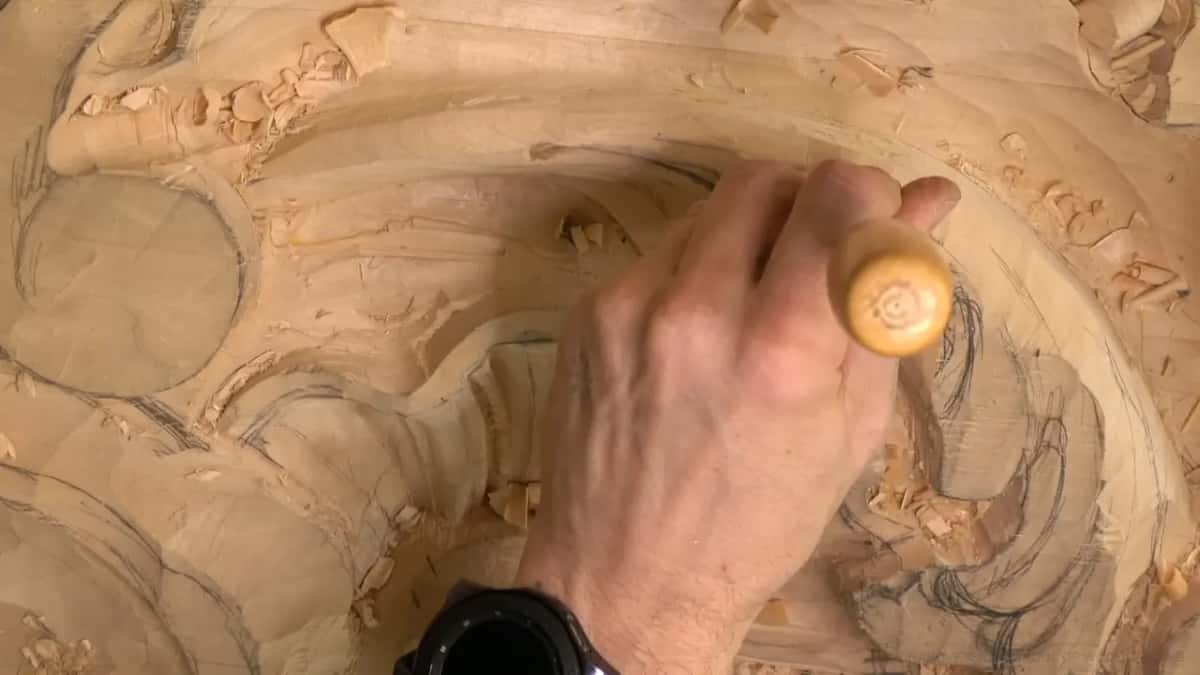
Keeping a tip round is not one move. It keeps coming back through the whole workshop. Part 5 has a point that comes out too sharp, and I tell you I will knock it down a little, but later. Two videos later I excavate around a notch so no sharp point is left. By part 8 I am fixing a notch so it looks better and make it more round, and I repeat myself: at least on this design, I don't want to see sharp points.
Other styles of the leaf follow their own rules, and it helps to see them side by side. The Corinthian acanthus and the Roman acanthus leaf each have a course of their own.
How deep do you dig inside a hollow that gets painted?
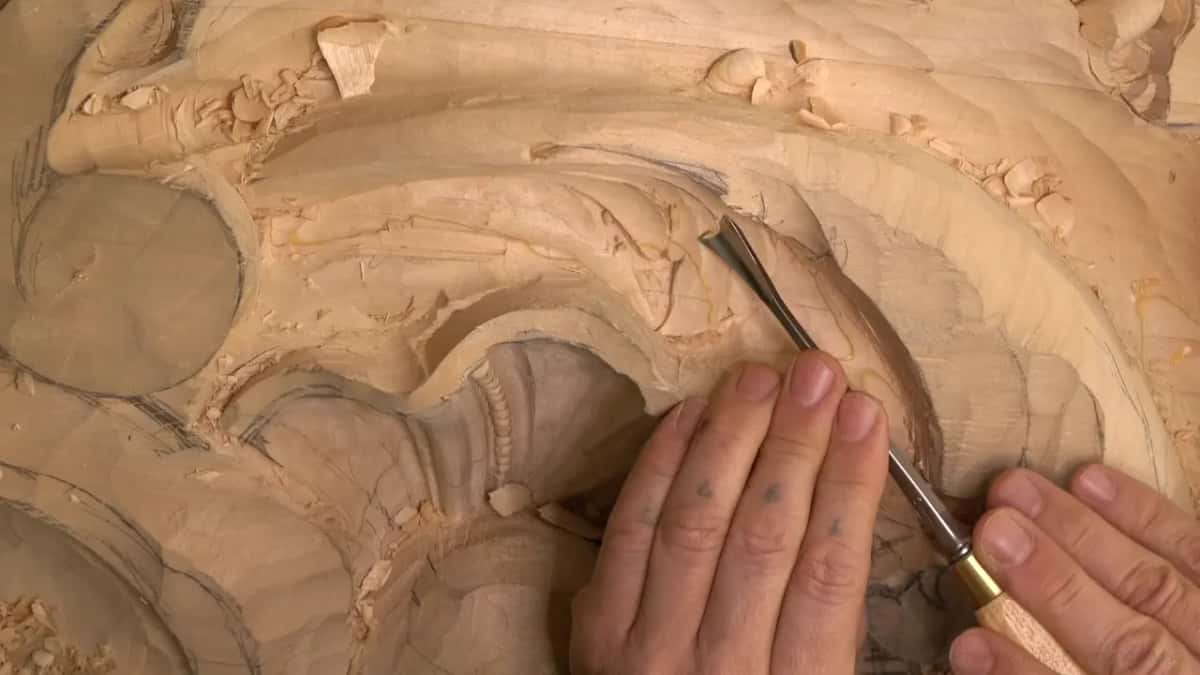
Only as deep as you can still paint and clean, even when the wood would let you go further. Halfway through the seventh video I stop in a pocket and think out loud. At some point I have to stop excavating, because I need to decide how deep it should be.
I still have to think about how I am going to paint the inside. Of course I can go all the way through if I wish. But do I need to? That is the question.
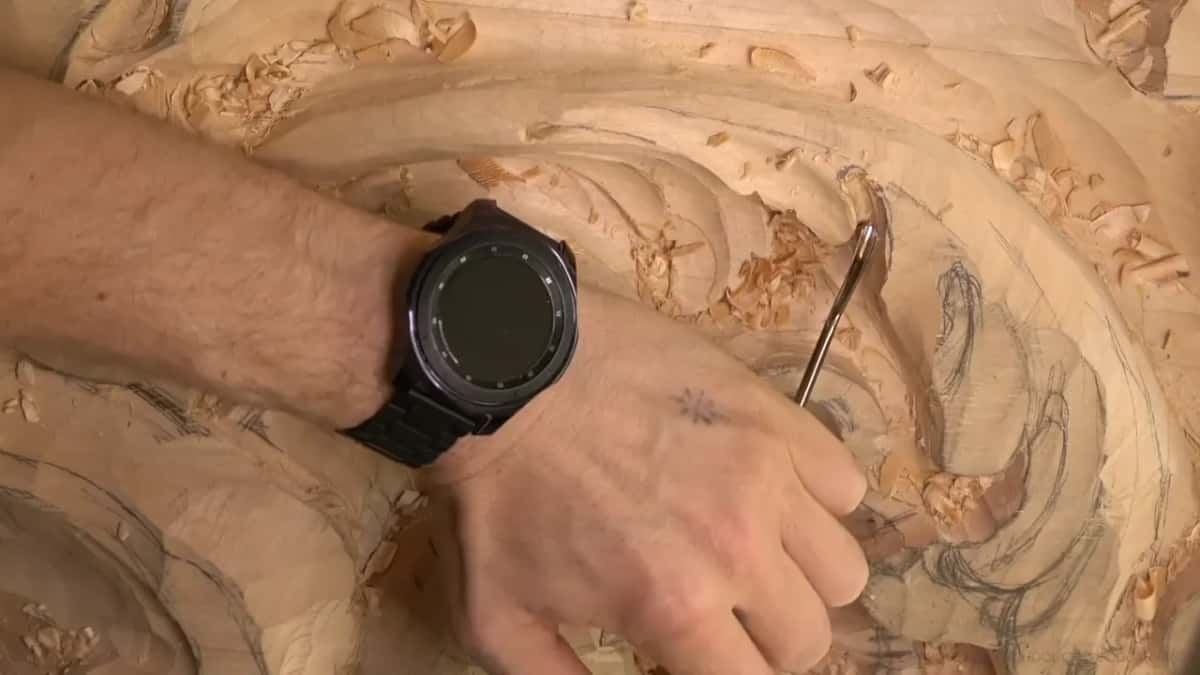
Right after that I outline the edges of that pocket with a number 6, three quarters of an inch (19 mm) wide, and again I hold back. Deeper would be much harder to clean.
That does not mean shallow everywhere. Later in that video one whole section had to be completely gone, a void, because I wanted a deep shadow there. I tried a quarter inch (6 mm) number 9 first, and it was a little too big, so I took it out little by little using a number 9, one eighth of an inch (3 mm) wide.
Under another leaf I stopped short for a different reason. Go too deep inside and it gets too fragile, and I must still work around it. Too fragile means easy to break, and I would rather not break it.
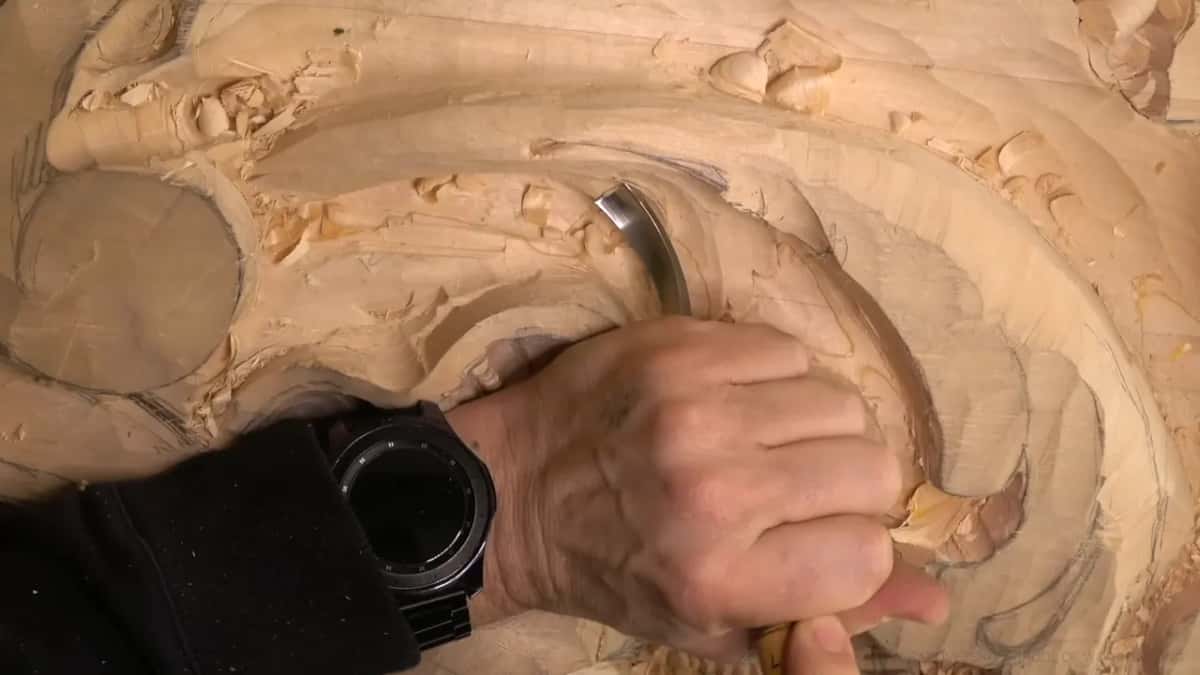
How much undercutting a panel really needs is its own subject, and I go through it in a later block of this same room. In workshop 8 the rule is smaller, and you dig only to the depth the finish can live with, not one pass more.
Which tools leave a hollow that is ready for paint?
Deep veiners and small spoon gouges do most of it on this panel, with a back bend where nothing else can reach. Here is what each one did for me.
| Tool | Mark | Stage | Note |
|---|---|---|---|
| Number 11 veiner | Leaves a soft round transition inside hollows | Final cleaning | My best choice for paint, gold |
| Small spoon gouges | Gets into the hard to reach corners | Undercutting, cleaning | Two and four millimeter sizes here |
| A back bend | Undercuts really deep, with nothing in the way | Deep undercutting | Keep the leaf strong while digging |
| A skew chisel | Takes a light cleaning pass where needed | Light cleanup | Sometimes tried before reaching for spoons |
| Wide number six | Outlines pocket edges without going too deep | Edge outlining | Deeper would be much harder to clean |
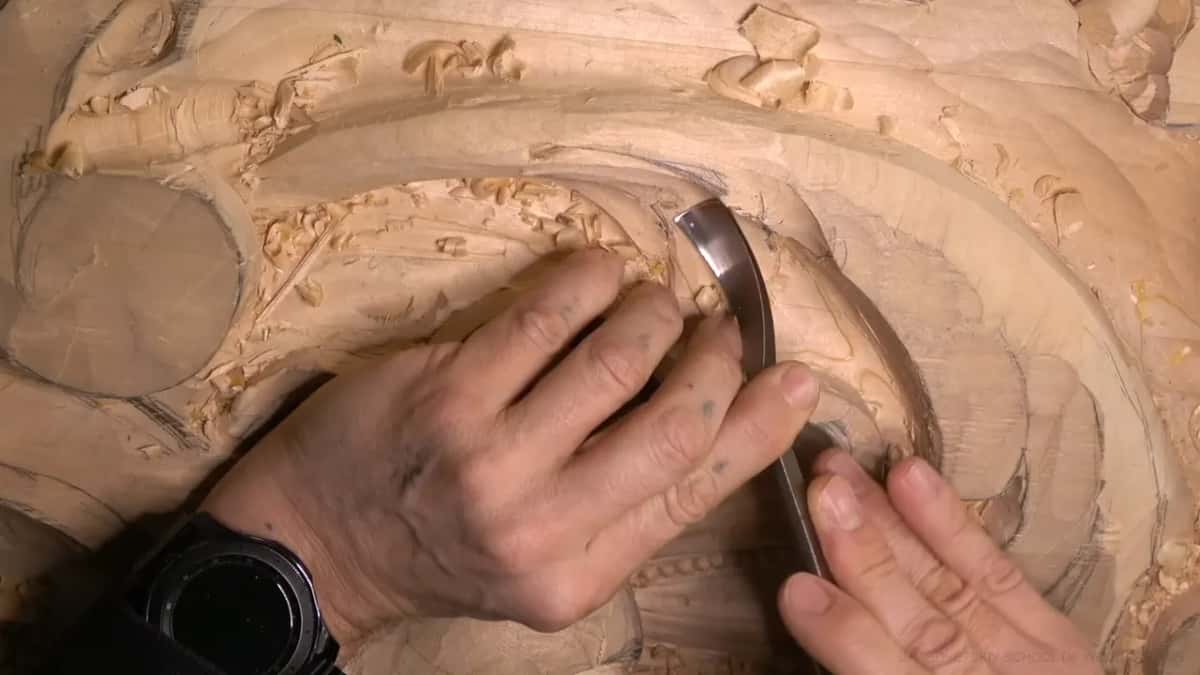
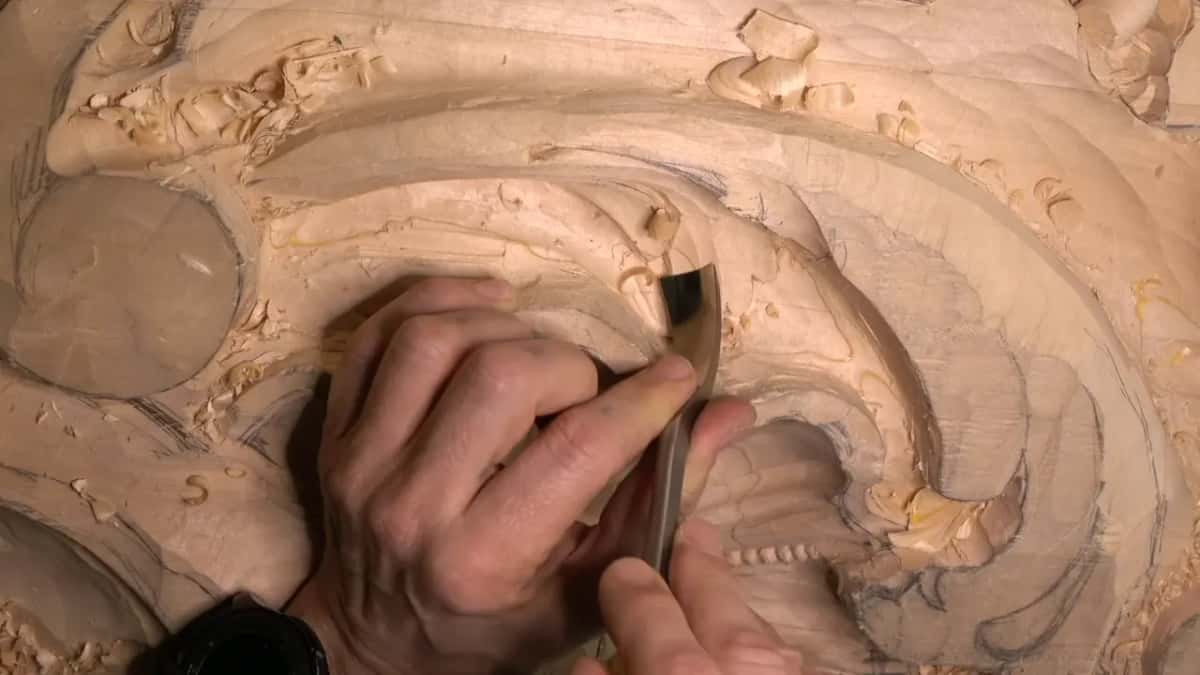
The spoon sizes are small. A 2 mm (1/16 in) spoon was a little too small under one leaf, so I went to 4 mm (5/32 in). At the next spot I started at 4 mm and put a mallet behind it, to see how it would behave.
A back bend was the right call for the deepest undercutting. With a back bend I can go really deep and nothing is in my way. But I still have to keep the leaf strong, because I can go to the extreme and make it too weak.
What can you settle early so the finish is easier?
Anything that would mean hard digging later, if you can see it coming. If I can eliminate a problem at the beginning, why should I create it? I say that in the sixth video, while I tip a detail a little downhill with a flatter gouge.
That way there is not a lot of digging for me to do underneath it. It is still big, but controllable. Of course I am able to dig it out. I would just rather not.
Back in the second video I pause to double check what I am doing, because I don't want to make a mistake. So I stop removing material, to avoid inconsistency later on. And in the tenth I keep one edge high, since the overall form should still read unified.
How do you clean inside a hollow before painting?
Slowly, with a spoon gouge, trying a size and changing it when it does not fit. The last video of the workshop has me cleaning inside a deep pocket, and I tell you why. I have to paint, so I have to plan the transition inside. And I want to see it nice and smooth.
For that pocket I reached for a spoon gouge, but first I tried a skew chisel. Then a number 11 spoon, 7 mm (about 1/4 in), with the plan to switch to a smaller one if it was too big. So far it was okay. It went good.
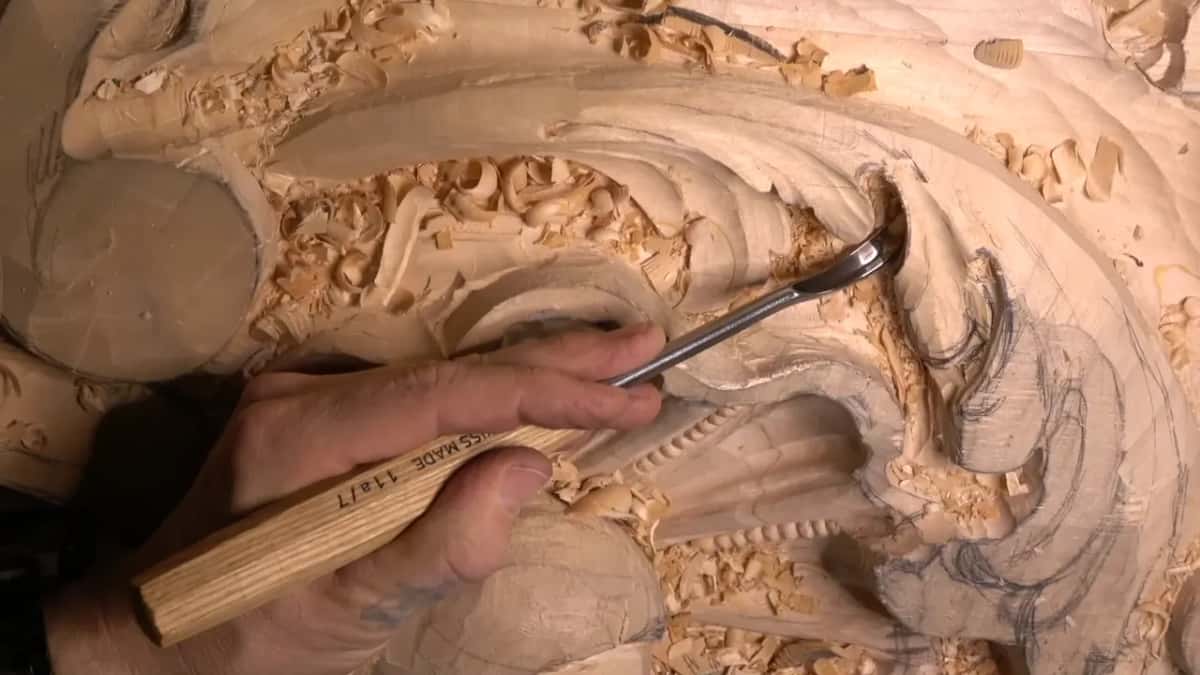
Earlier, in the seventh video, I followed a pass with an 11 veiner and a spoon gouge to clean it even better, and to get that shadow casting on the inside. Carefully, from both sides. When the tool got too big, I switched to a smaller one and kept excavating.
And yes, I have a spoon in the fourth video too. I admit on camera I should probably have used a spoon on number 11 and 1 mm (0.04 in), and I did not. It was okay.
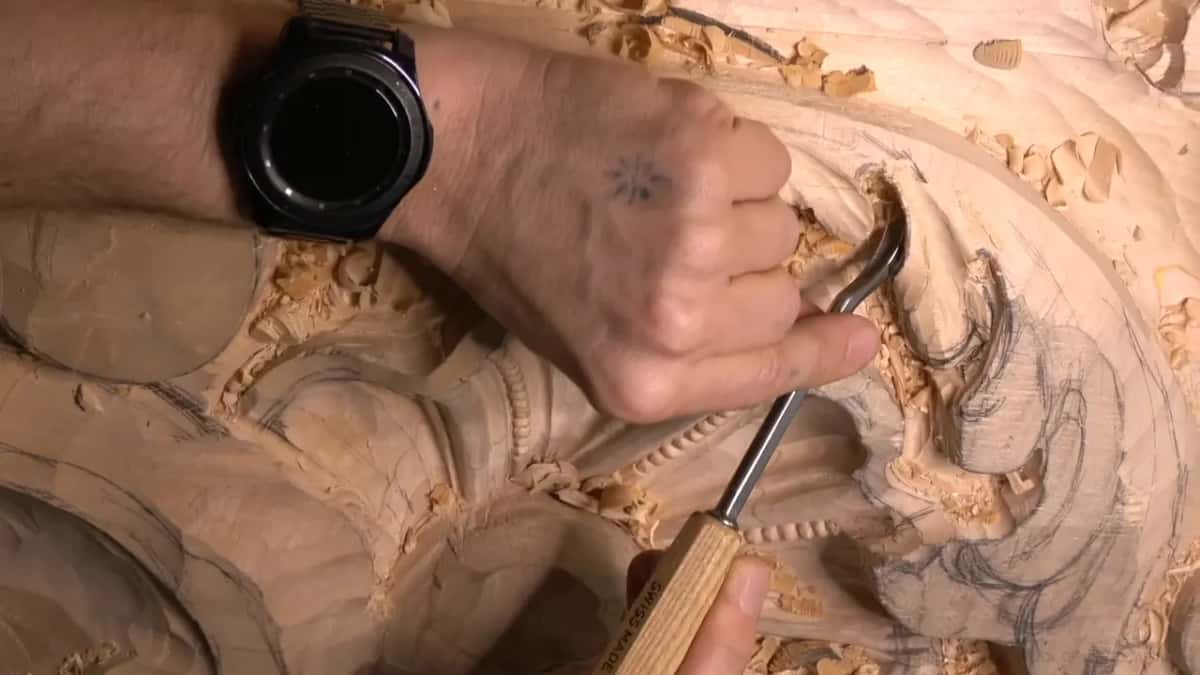
What happens when a piece breaks before painting?
Glue it, and let the gouges clean the squeeze-out off later. During part 8 I attacked too deep right away and almost broke a piece. A mistake, and I say so. I guess it is not the first mistake I made. Later a small part got too weak while I cleaned under it, and it needed glue.
At first I kept working and planned to glue it for the night. Then I stopped avoiding it. Put the glue inside, and don't save on the glue, because you can always clean up that mess.
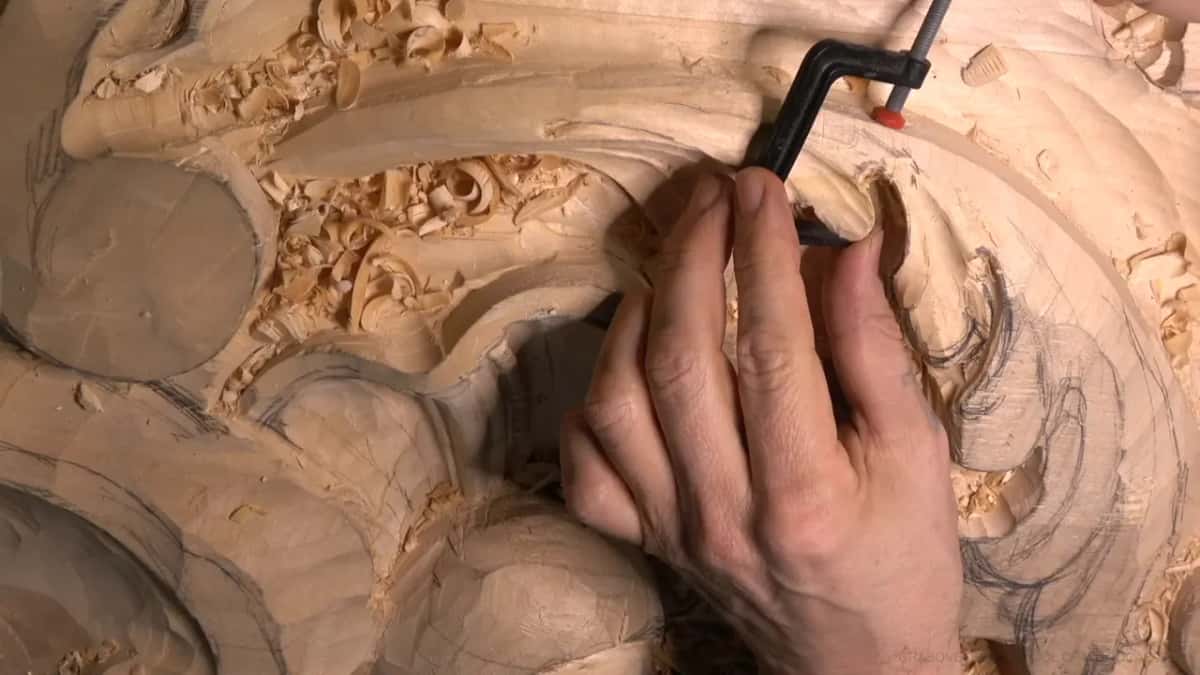
Wipe off the excess. Close it with a small clamp, not too tight. A little squeeze-out tells you there is enough. Then leave it overnight. Somebody asked me what you do if something breaks. You just glue it back. Nothing special.
Mistakes like that come when you are doing it all day long and spending too much time in one spot, you have a tendency to make a mistake. Well, I shouldn't say you. I should say I have a tendency to make mistakes, even though this one was not deal breaking at all.
Why does a panel look so rough long before the paint?
A lot of what you see is still waste, and every finished surface is ahead. I know it doesn't look good yet. It will. Just believe me.
Video five is where I say it straight: don't worry about the background yet. Don't judge. Do not judge. Those words are one of the verses in the Bible people like a lot, and I say it about a background that is not finished.
I also leave material on purpose. Early in the workshop I am not going to remove too much, because who knows? I will look at it from far, and maybe I want to add something. Maybe yes, maybe no.
And I take my time. Yes, I am taking my time, because I am creating something, and I want to be proud of what I am doing. If that is slow for you, skip forward. No hard feelings.
Want to watch all eleven videos? They are inside the tuition, together with workshop 7 before this one and workshop 9 and workshop 10 after it. The acanthus head comes next, in workshops 13 to 25. If you would rather learn the thinking than copy the panel, that is Principles of Design.
Never held a gouge? Pick a first project and come back to this room later. The number 11 will be waiting, and so will the paint.
How it's done
- Know the finish first. Before the first chop, decide whether the piece gets paint, gold leaf, or neither. It changes the inside of every hollow.
- Clean hollows with a veiner. Use a number 11 for the bottom of each pocket so the transition inside stays round, instead of angling a tool underneath and leaving a crease that gold will refuse.
- Round the tips. Knock sharp acanthus points down to a soft, roundy end if the old style you follow had them that way.
- Let the brush set the depth. Stop excavating once a deeper pocket would be hard to clean or paint. Dig right through only where a real void and a deep shadow are wanted.
- Finish the inside smooth. Try a spoon gouge, change the size when it does not fit, and leave the inside nice and smooth for the paint.
Frequently asked questions
Can you gild a carving with sharp creases inside the hollows?
Gold leaf will not stick to a sharp line, so every crease becomes a bare spot. On my Venice panel I clean pockets using the U shaped 11 instead of tipping a tool underneath. What I want inside is a really nice transition, and the veiner gives me that.
What paint was used on old European carvings?
Chalk-based paint was common in Europe, and in many parts of Europe you can still see it today. My Venice room gets it too. Everything I carve in workshop 8 is carved knowing a brush has to reach it later.
Why are the acanthus tips rounded on this Venice panel?
Points on the old acanthus work were never sharp. They came out more roundy, and staying close to that detail is part of carving an authentic room. Not every acanthus design works like this, so check the style you are copying before you carve a sharp point.
What to carve next