
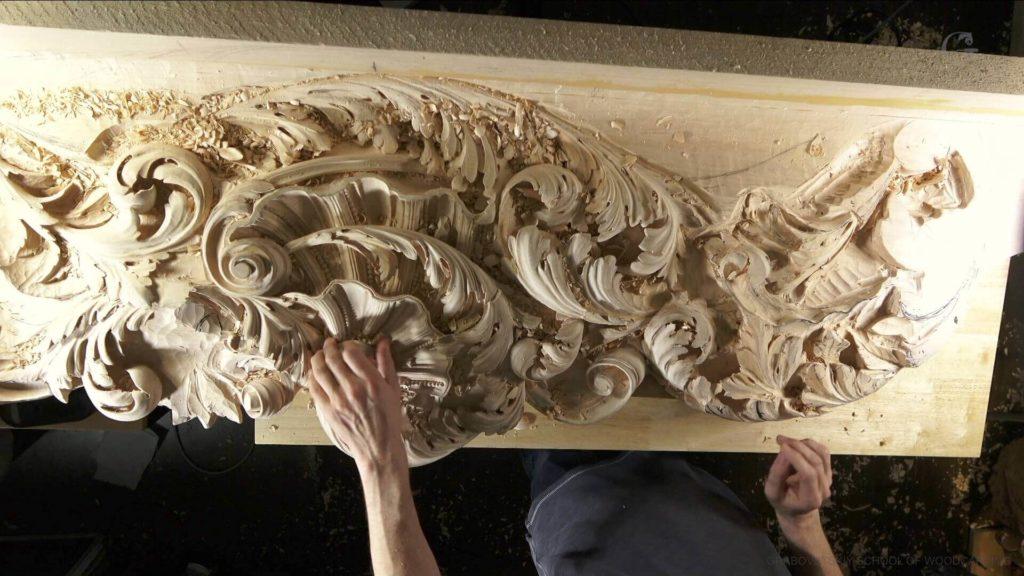
Alexander Grabovetskiy, woodcarver, School of Woodcarving · Published 2023
How do you start carving a large architectural panel?
Quick answer: A large architectural carving panel is started by sawing the outline of each two inch layer through a full size paper pattern, stacking the layers toward the finished depth, then roughing the whole third dimension in with a huge gouge. Details are drawn afterwards, once the form is already right.
A large architectural carving panel is started by sawing the outline of each two inch layer through a full size paper pattern, stacking the layers toward the finished depth, then roughing the whole third dimension in with a huge gouge. Details are drawn afterwards, once the form is already right, and never before.
Would you like to see what a paid commission actually looks like before the pretty part starts? Do you want to know how deep a blank has to be glued before you can carve a shell into it? Does it interest you where a power tool honestly belongs in hand work? Workshops 1 through 12 open the Venetian room, and they open it at the ugly end.
I had not shown my production work before this. Two reasons. I did not know whether anybody wanted to watch it, and not every client wants the world seeing what they are paying for. This one agreed, so here it is: a whole room, mid 1400s Venice, and my own bench with the chips still on it.
What the first twelve workshops actually cover
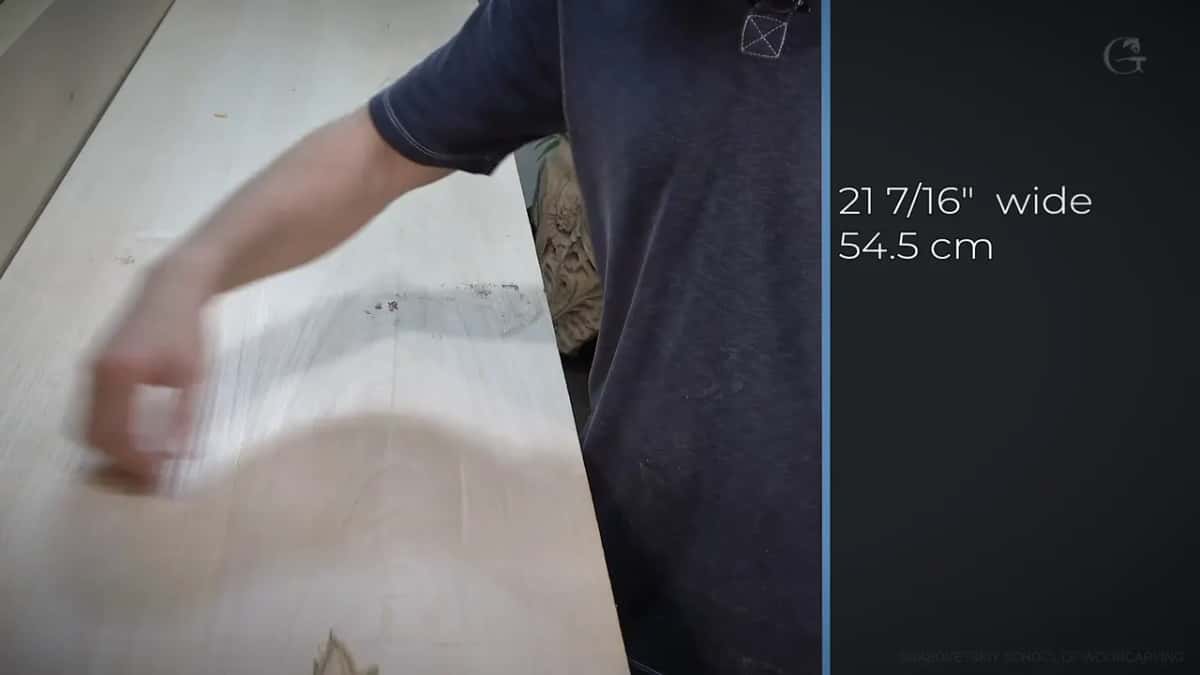
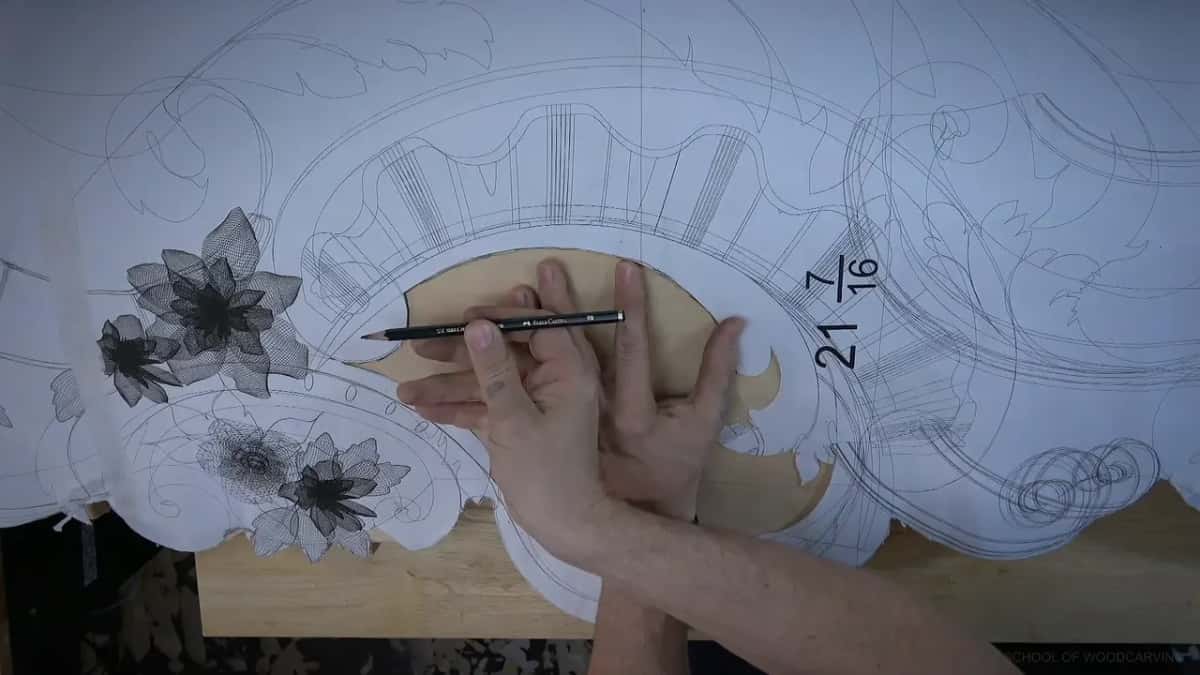
- One board, ten feet of it. About 300 cm long, and the caption on my own video says 21 and 7/16 inches wide, 54.5 cm.
- Layers glued to six inches, heading for nine. The middle of the panel needs every bit of that depth for its shell.
- Pattern printed at full size, pinned down, sawn round.
- Then one of my big gouges, and no detail drawing at all until the form is settled.
- I cannot be a millimetre out. The framing in that room is waiting on my board, and nobody builds it until I am done.
Why can a carving be Venetian but not Italian?
Venice was a town, and in the 1400s a carver lived in his town and stayed there. Saying Italian design is not accurate. Neither is saying German or French. Every town had its own men, and those men worked out their own approaches, not just to the workmanship but to the design itself. Wisemen, I call them. They travelled, they looked, they brought ideas home, and then they did it their own way.
Here is proof you can go and touch. Look at furniture made by the first European carvers in Pennsylvania, then look at Boston work of the same period. Both carved the same shell. Put the two shells side by side and they are not the same shell. Even the shading differs, even which side got shaded. And that is only about 300 years ago, inside one country. Now think about Venice in the 1400s.
My client asked specifically for research. Not a nice carving in a general old style, but the details those particular men used, in that city, in the middle of that century. So I researched, drew, designed and built a 3D model until we all agreed it looked authentic. And when I say we, I mean high ranking designers and architects, people at PhD level in historical ornament, checking and rechecking. Which is why I keep saying authentic instead of old-looking, and why I want it authentic but never rustic.
How thick does a blank get glued for work like this?
Layers, and more layers than you would guess. My first layer is about two inches thick and runs the full length. Then a second, then a third, off camera because it is the same operation three times. By the time I pick a gouge up, the board is six inches thick, and where it meets the ceiling it will reach nine.
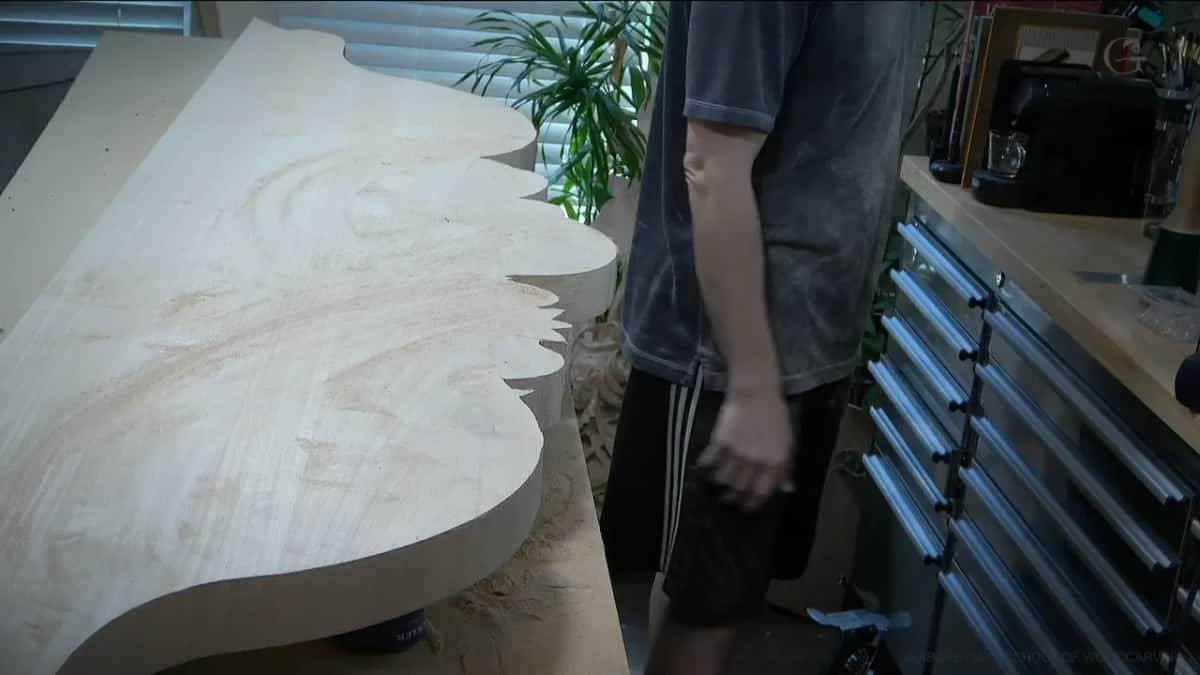
If you want to know why I glued so much on at the start, look at the centre of the panel. A big shell sits there, and a shell needs somewhere to go. The whole board also has to rise gradually from the wall to the ceiling, so most of that thickness gets carved away rather than kept. Thickness is not waste. It is what lets me excavate as deep as the design wants.
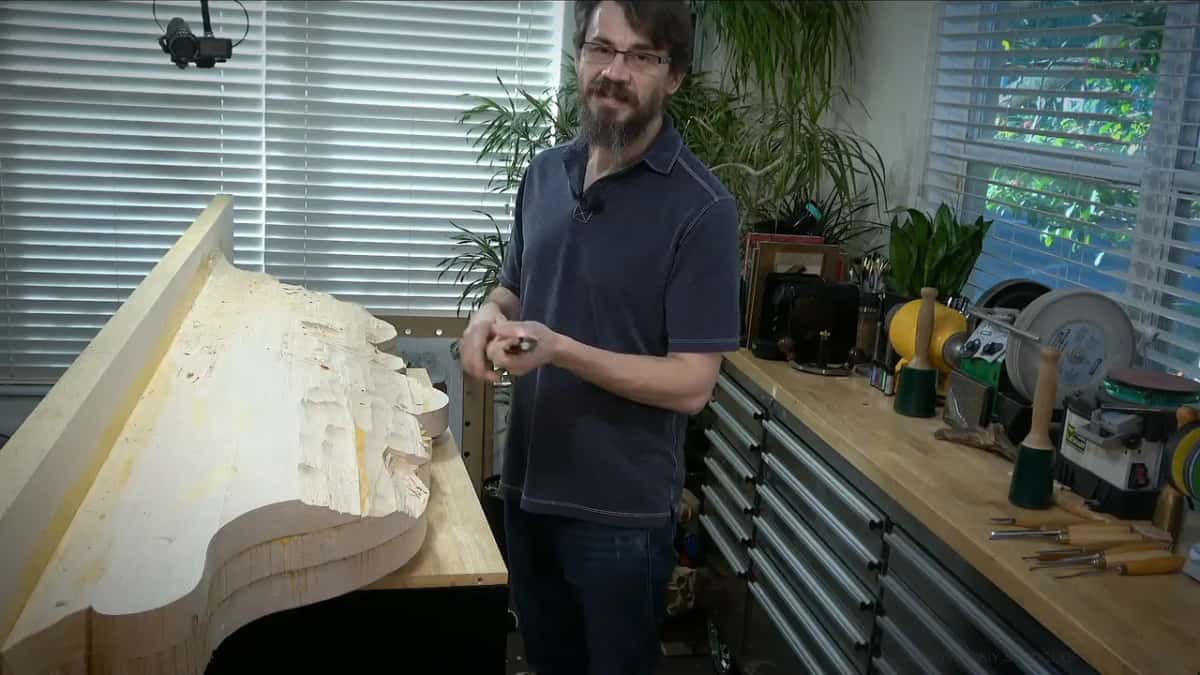
Even at the setting in stage I am an inch down, 25 mm, at the deepest spot. And I still leave meat. That word keeps coming up in these twelve workshops: leave some meat, because you do not yet know the final look.
How do you get a full size pattern onto a board this long?
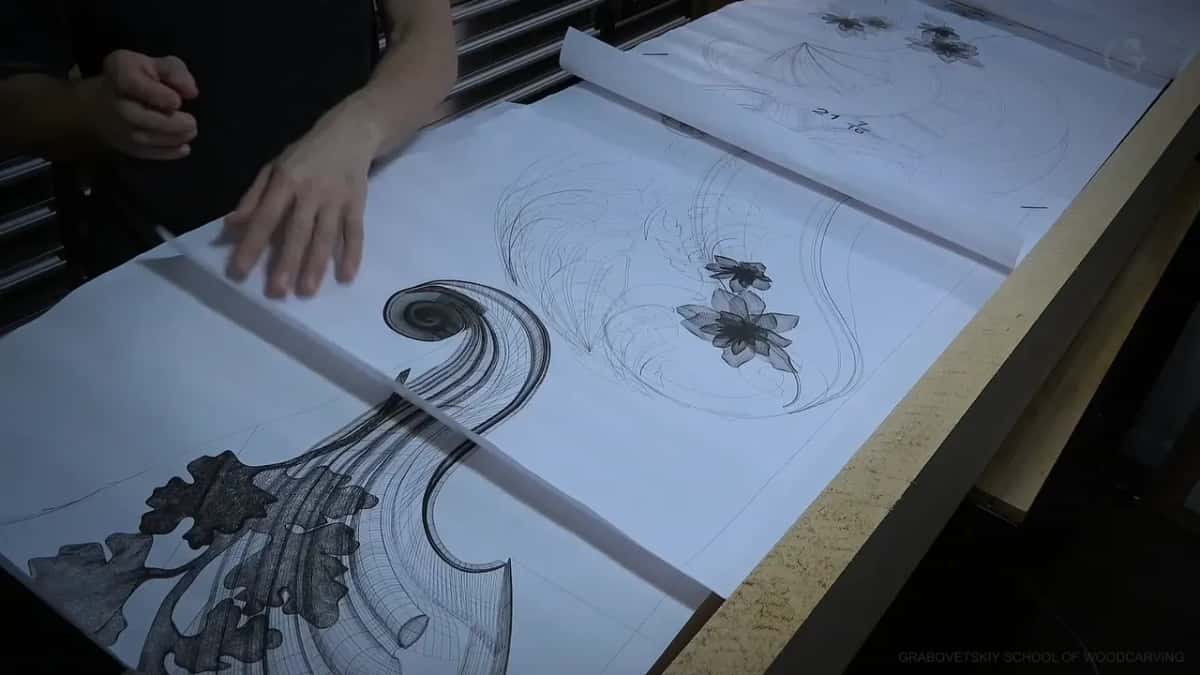
A printer at the local FedEx office. I have thought about buying a plotter and I still see no advantage worth the floor space. The drawing itself came out of CAD, plus Rhino and Blender, the open source one, and I pulled it as a wireframe because wireframe gives me a perfect line. It also gives me a confusing tangle of extra lines, and I confuse myself with them on camera more than once.
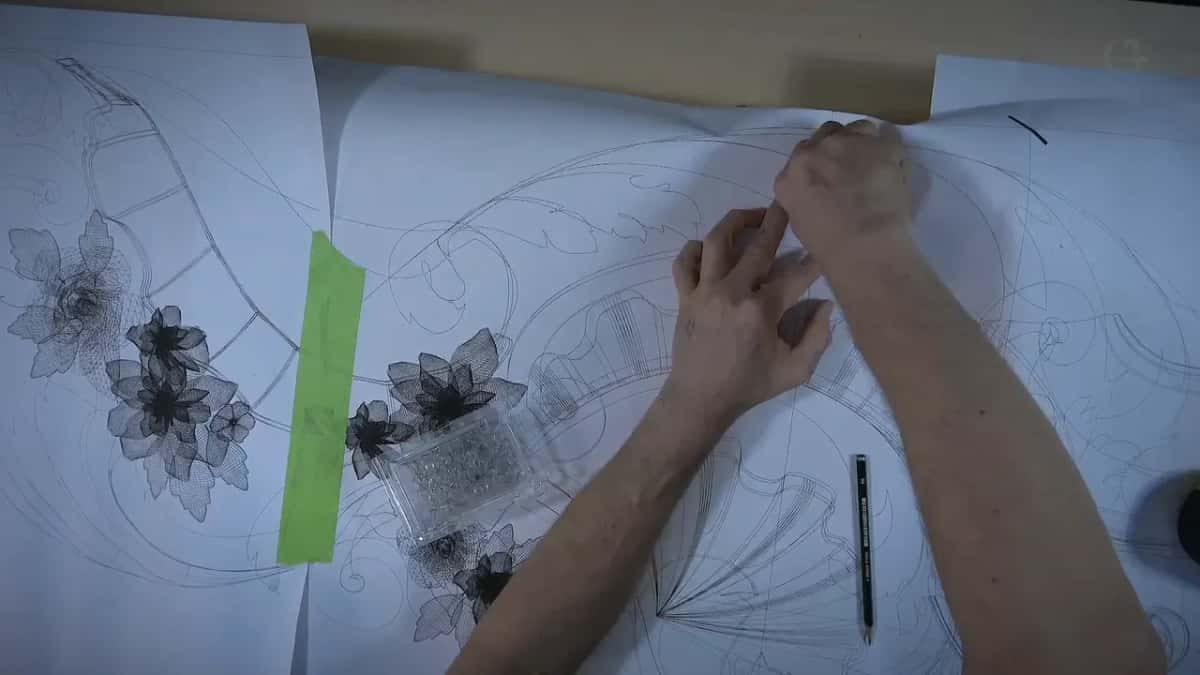
Paper goes down on push pins, not glue, so I can lift it and reuse it. My super glue was slow to grab, so I taped the sheets with green Scotch tape too, with a thin double sided tape as the other option. Then I outline with a knife and an 8B pencil. Very soft, so the line comes quick. Carbon paper would work and I avoid it, because carbon paper leaves black dirt everywhere.
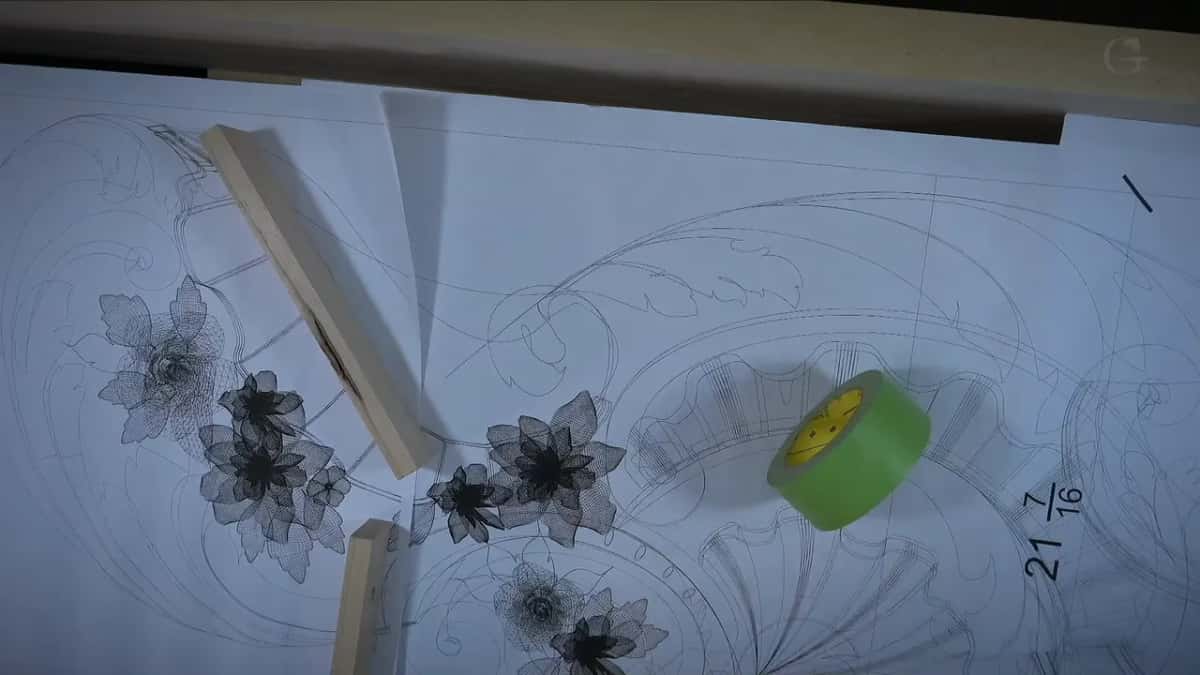
I keep the paper afterwards. Same drawing can be the pattern for the corbel later, and I measure off it with calipers. It does not ask me to feed it, so it stays.
Where does a machine honestly belong in hand carving?
On a job this huge, I do have some machines involved, of course. Those men in Venice would have used a bow saw, and being authentic to them is the whole brief, and I still reach for a jigsaw. This is production work and I have to be smart. The carving is all by hand. The outline is not carving. The boards already went through my big planer, too, which takes about 25 inches.
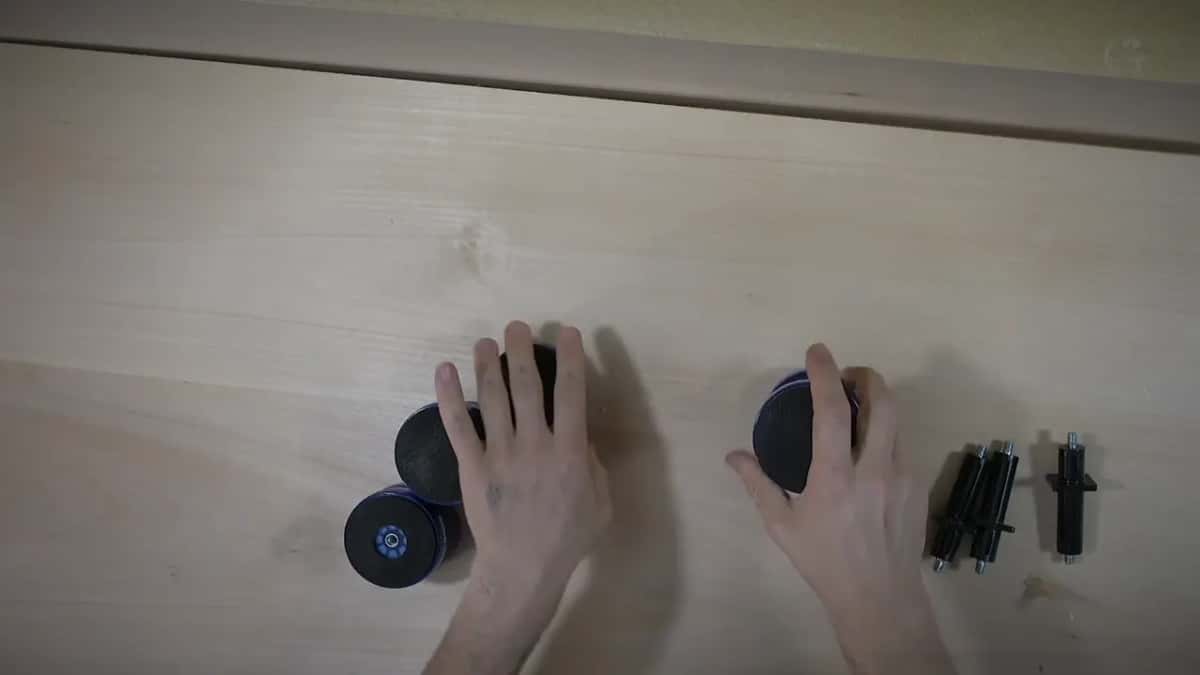
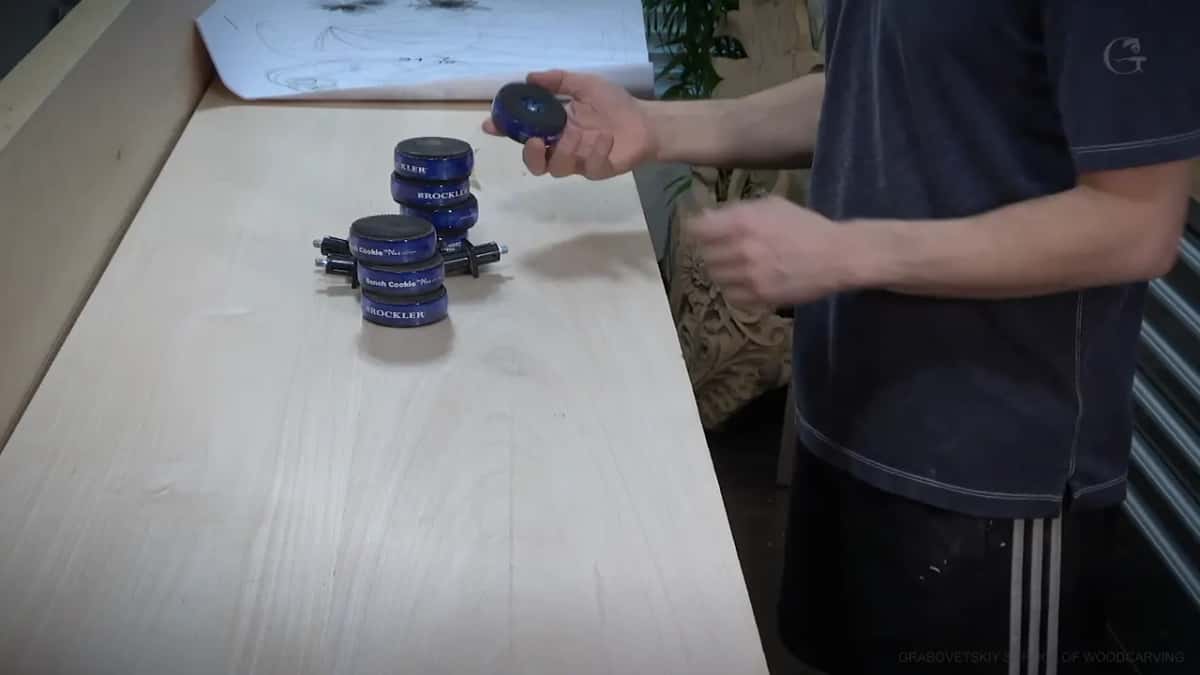
The board sits on four Rockler bench cookies, rubber both sides, which lift it just enough for the blade to travel underneath and stop it sliding while I saw. My bench that day is a tool chest with a wood top on wheels, so I can move it when I need to see better.
| Tool and size | What it does on a big blank | Its job | Why nothing else does it here |
|---|---|---|---|
| Number seven gouge | Takes off a good half inch each pass | Bulk removal | A plane would take a year |
| Reground number nine | Long bevel, enters with almost no force | Setting in | Straight down, holds the drawn line |
| Thirty ounce mallet | Heavy enough to drive, soft on handles | Driving force | Wood is loud, brass punishes handles |
| Small handmade hatchet | Removes waste about as fast as gouges | Fast roughing | Only where the wood is doomed |
| Jigsaw and pattern | Follows the paper line at ninety degrees | Outline only | Production work, not the bow saw |
| Number one chisel | Shaves the saw line off an edge | Edge cleanup | Quick, and the line is gone |
Three things about the saw matter more than the saw. First, the blade has to be dead square, so I check it before I go near the line, and if it is off I stay an eighth of an inch away and clean up later. Second, blades cut in a direction: mine is a fast progressive one that cuts upward and lifts the fibres, and a nicer blade would cut downward and press them in. I use the fast one anyway and pay for it with a rougher edge.
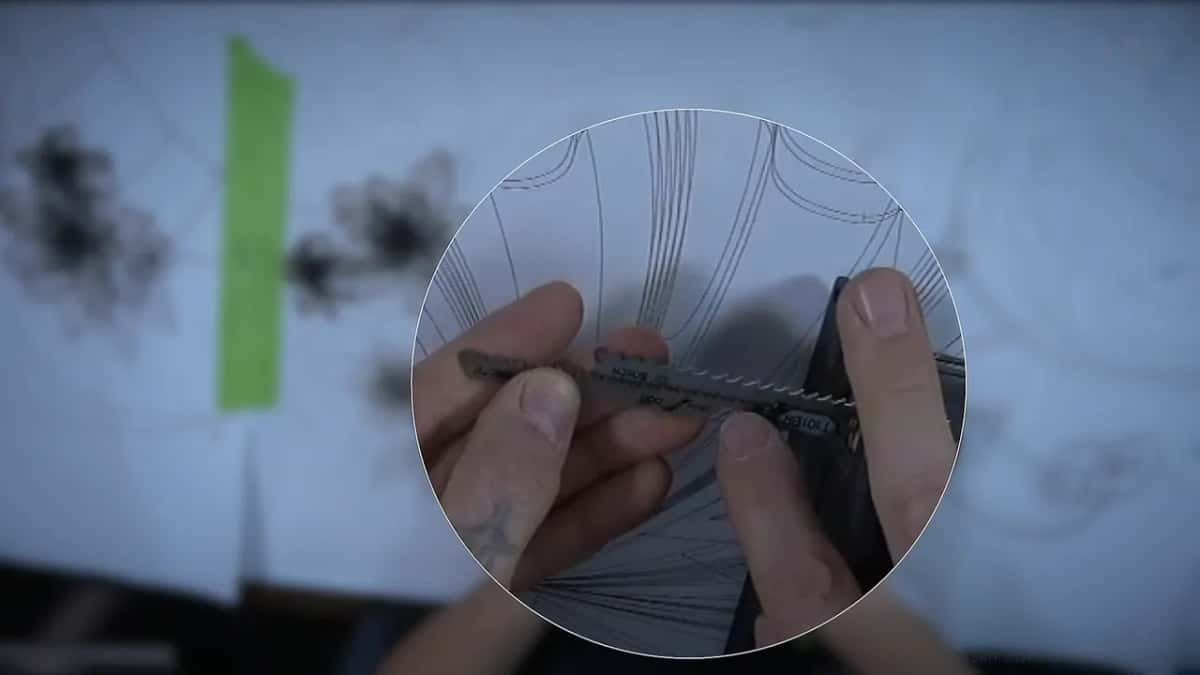
Third, the orbital action has four settings. Zero, one, two, three. Set it to three and the blade shakes hard, eats wood fast, and leaves a much rougher edge. Here I am on zero, and the cut comes out almost perfect. The clear shroud on the Festool is not a finger guard either, whatever it looks like. Hook it to the extractor and it becomes a dust hood.
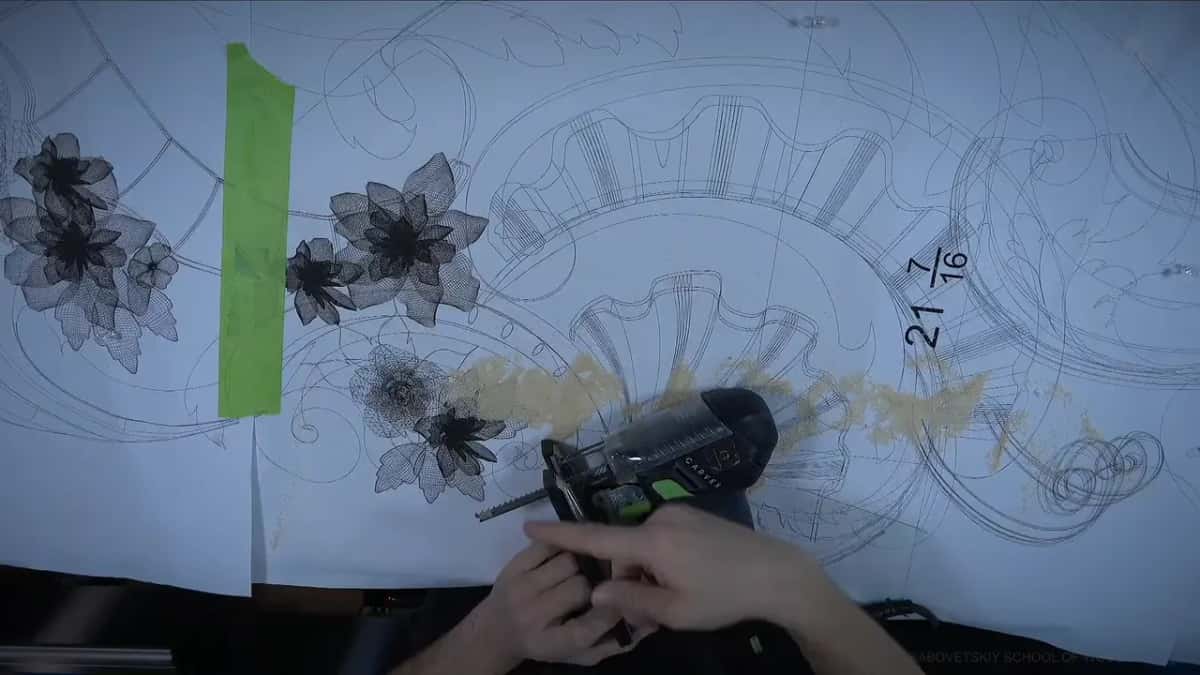
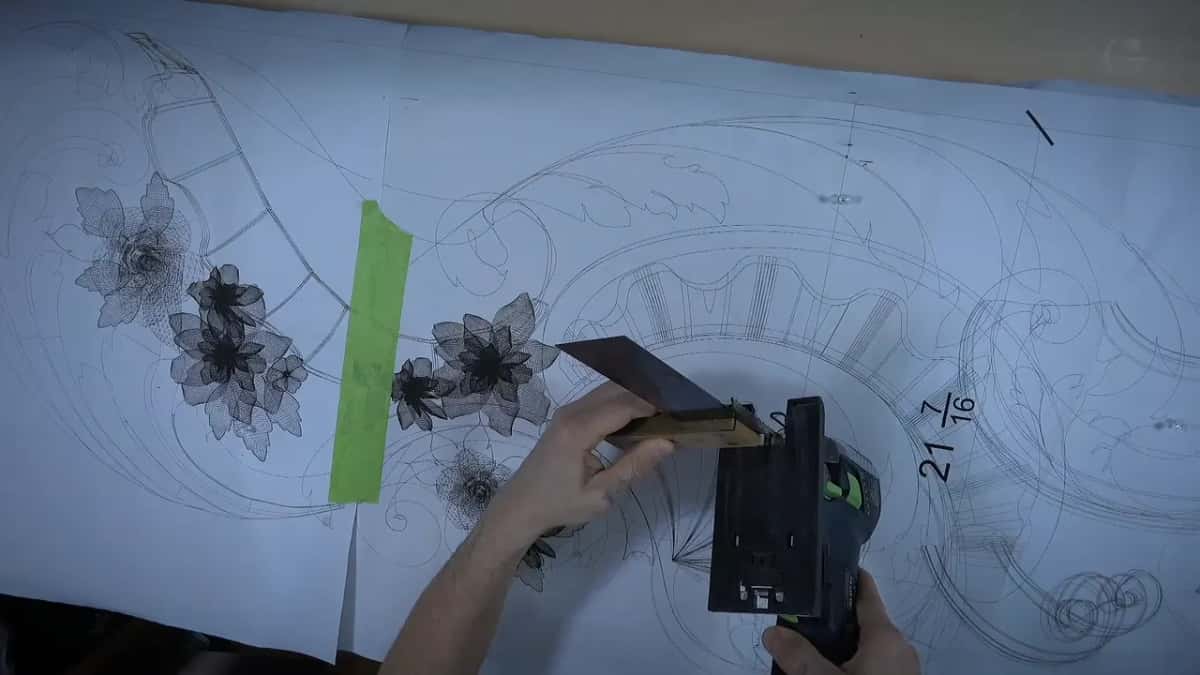
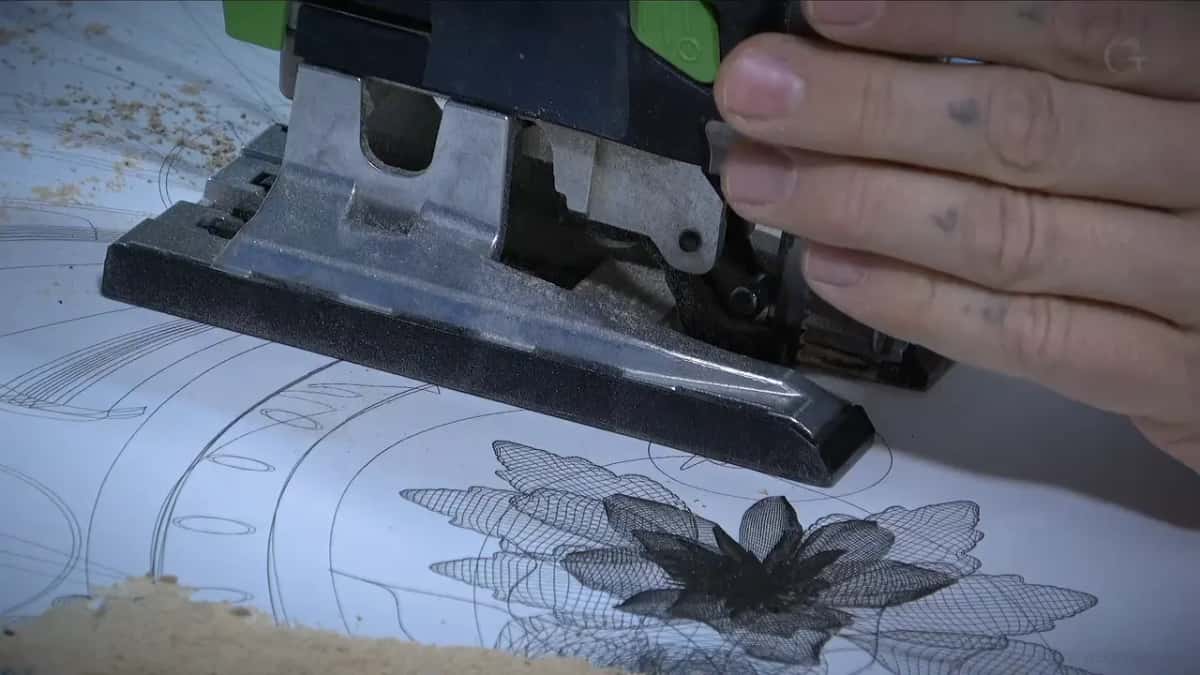
I killed a blade during the recording by twisting it in about two inches of lime. Wrong blade for that thickness, and I said so out loud.
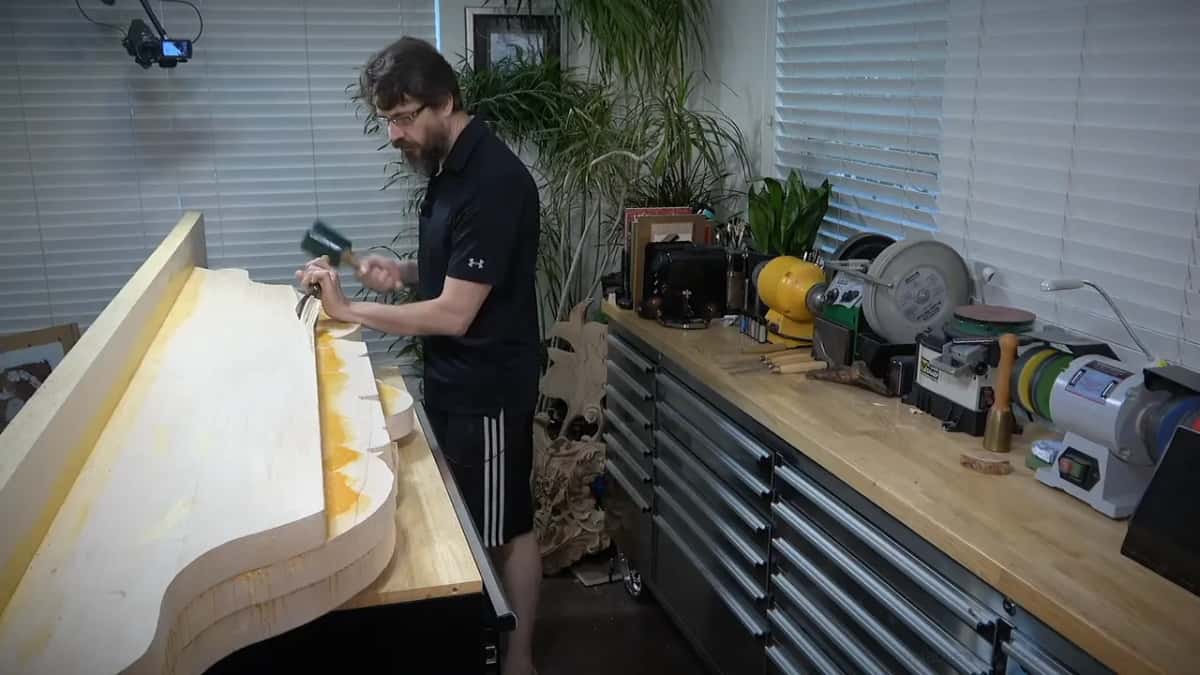
What the saw leaves me is about a thirty second of an inch of marriage line, as I call it. A number one chisel takes it off right away. You could go further, make a plywood template, saw 3/16 away and route to it, and it would be beautiful. Most of that edge is going to be carved off anyway, so I do not.
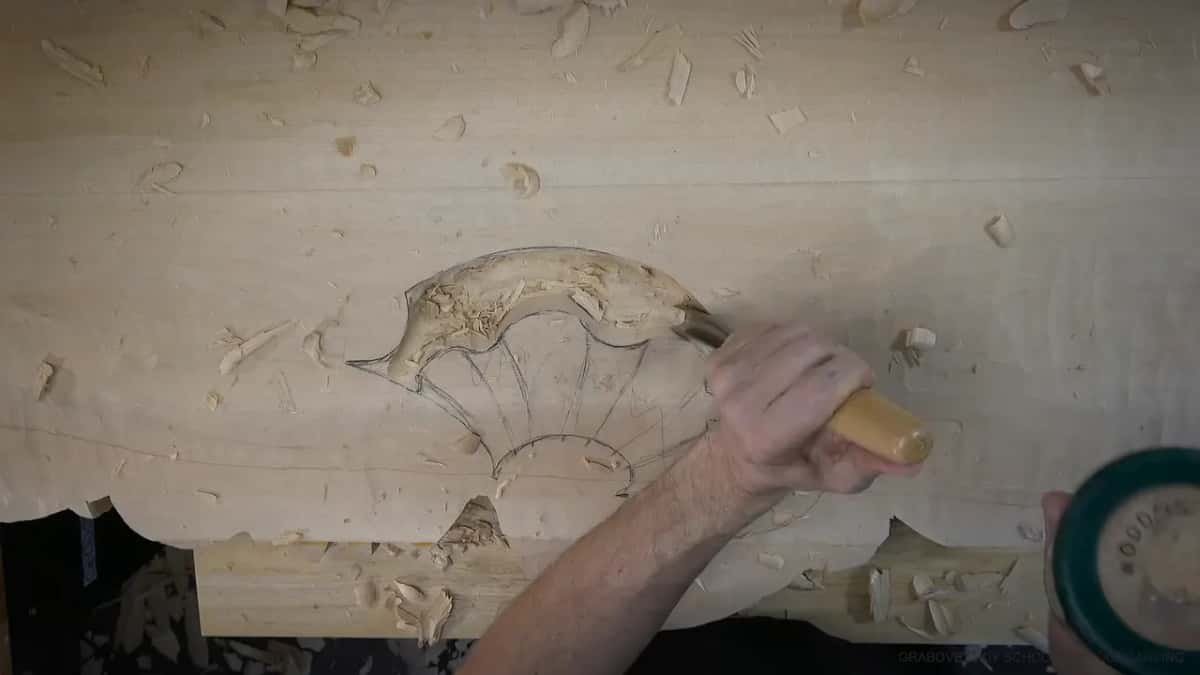
What does establishing the form actually mean?
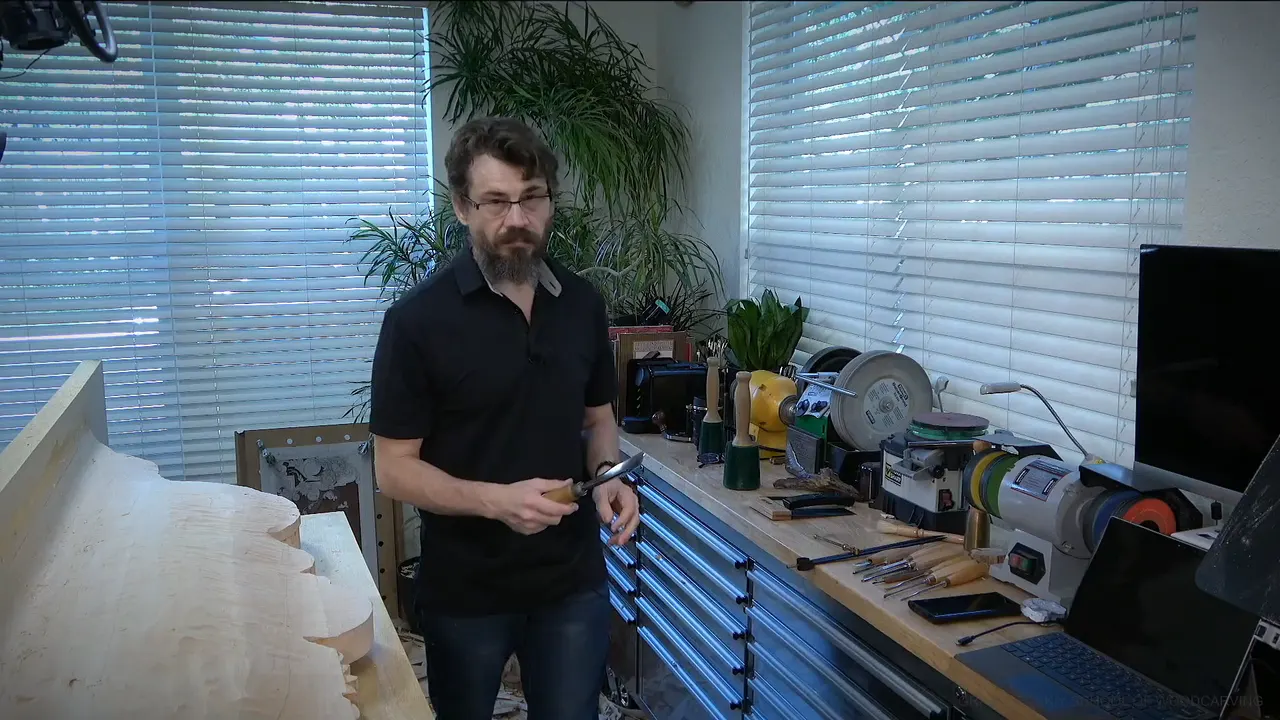
Establishing the form is step one, and it means the board is right in three dimensions before a single detail exists on it. I take one of my big gouges, a number seven, three and an eighth of an inch, 80 mm across, and a rubberised mallet weighing 30 ounces, and I remove a great deal of wood.
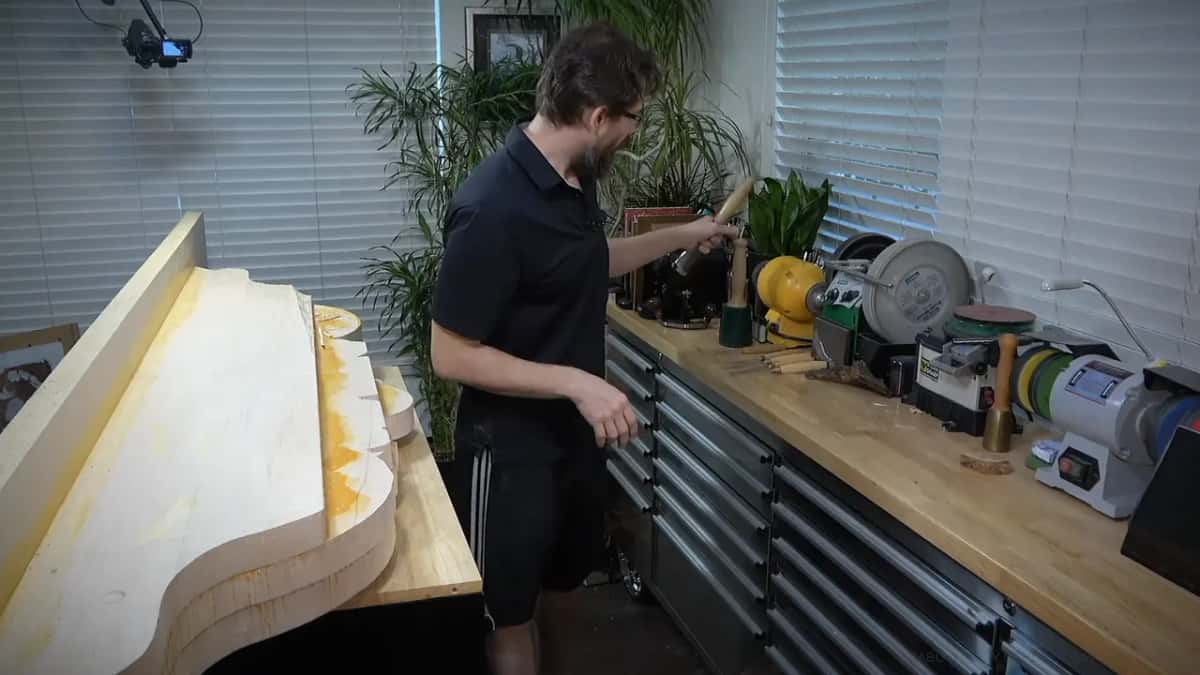
The mallet is rubber for one reason. Wood is noisy and brass beats the tool ends up when you are hogging material, and I want these gouges to stay in the same condition for many years.
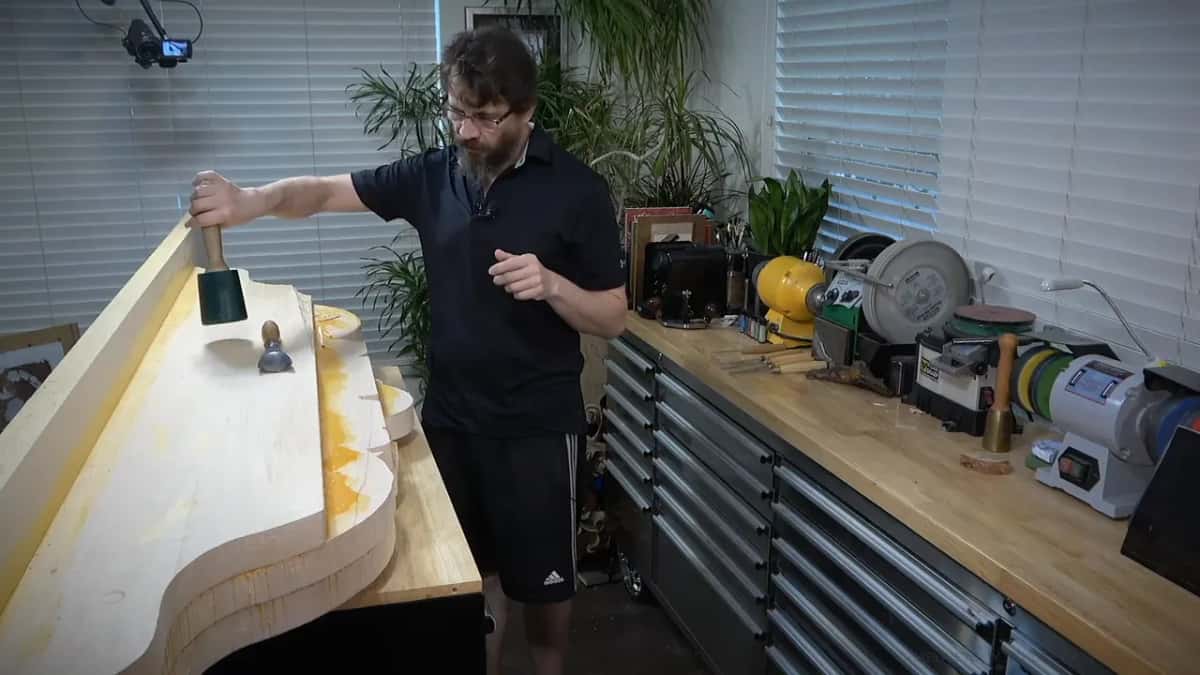
A Russian viewer on Instagram asked why I did not just plane it flat. If I planed this I would still be planing next year. One pass with that 80 mm gouge takes half an inch off. I also carve along the grain here, which I do not normally like and would not tell you to copy, and in this case the whole surface has to slope away so it does not matter.
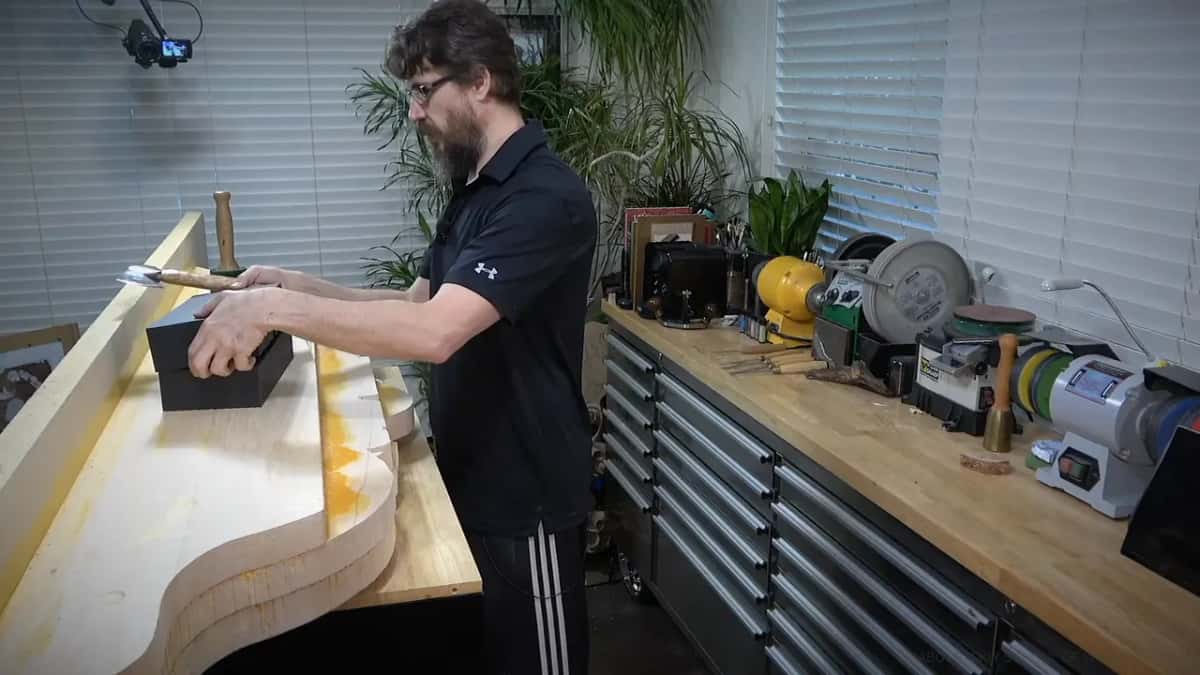
A small hatchet does much the same job, and I own a beautiful handmade one. Either way the point holds: get the shape, ignore the mess, and do not clean anything yet.
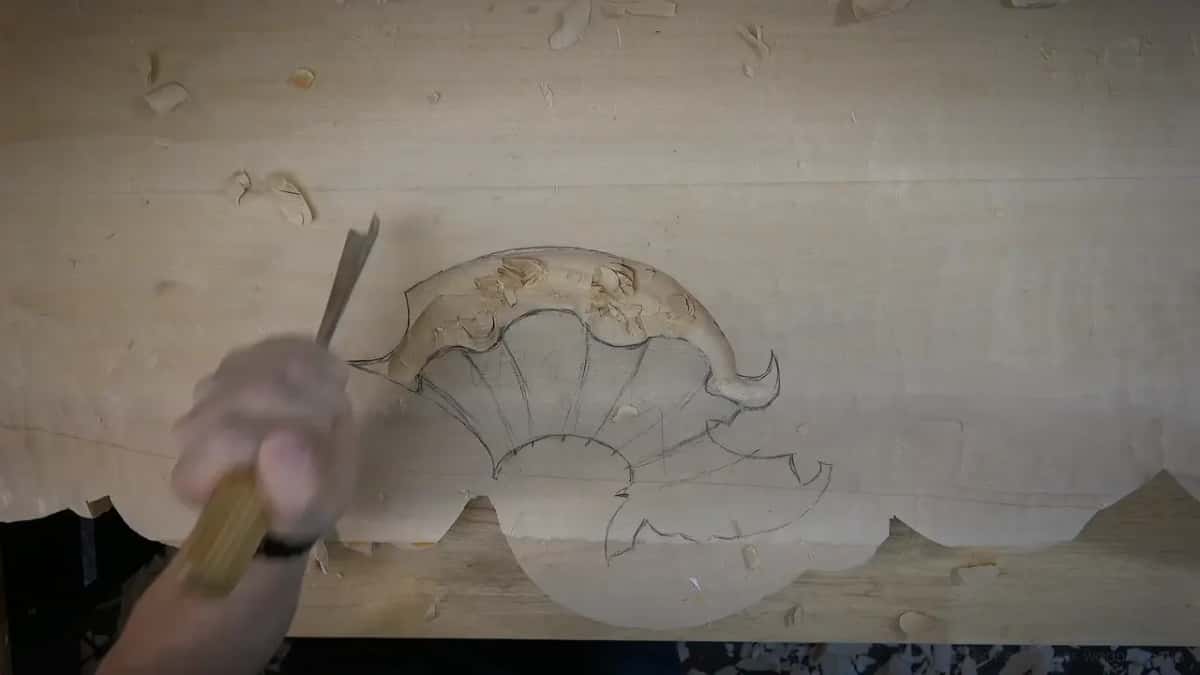
After that comes what some carvers call setting in and others call roughing in. My number nine, 20 mm, reground years ago with a long bevel, drops into lime with almost no push behind it. Straight down cuts, on the line, deep, and no undercutting whatsoever. Undercut this early and the detail you were protecting is the thing you lose.
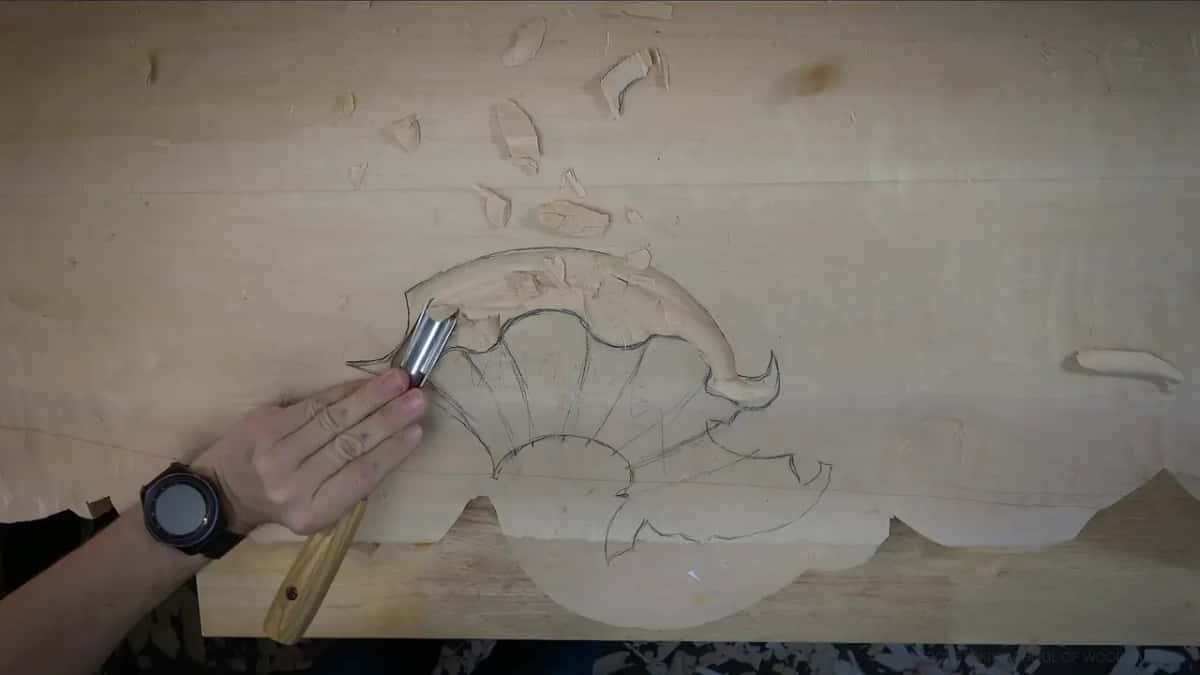
Being authentic in this room also decides my tool rack. Mostly gouges and veiners, and I try to keep the V tool out of it altogether, because that is how the work was done. And when the wood starts chipping I stop and come at it from the other side. Going on into a marriage line from the same side splits it and damages the shape. Not a big deal at this stage. Later, once a piece gets really fragile, most of those mistakes cannot be fixed.
Which measurement can you not afford to get wrong?
Everything hangs on the first one. My line has to sit exactly one and seven eighths of an inch in from the edge, on both ends of a ten foot board, and if I am one millimetre out here, it all adds up later on. A harder reason sits underneath that one, though. The framing inside that room is being built to my design, and the builders are not framing it until my board is finished. My millimetre is their wall.
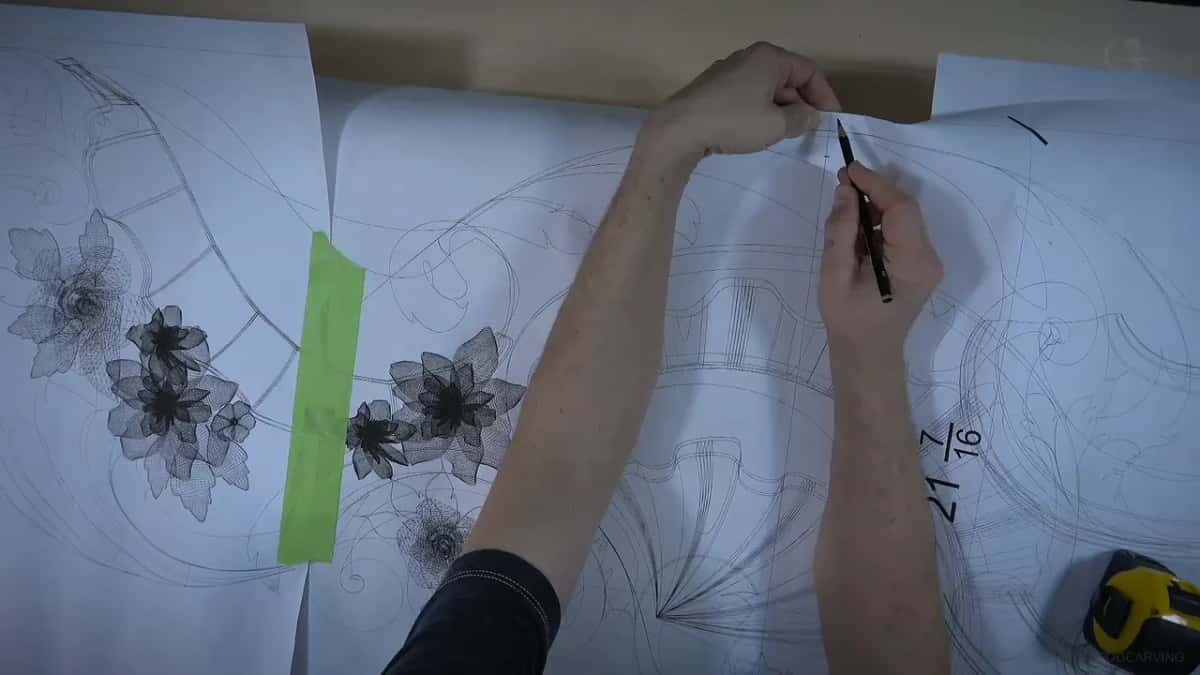
So I measure, remeasure, check, double check, triple check. My grandpa said it a hundred times and he was right. Measure seven times, cut once.
And I do not draw the fine detail at this stage at all. Those flowers are more or less free form and can move. If it were architectural acanthus, where the movements have to be exact, outlining before the form existed would be the real error. The three dimensional world comes first and the drawing follows it, not the other way about.
What did your teacher say about bad wood?
My teacher gave me one line that has outlasted everything else he told me, and I had earned it. I was complaining about the stock. Complaining about the wood, the grain, all of it, exactly the way students complain to me now. So you are in good company there.
He told me there is no such thing as bad wood. There are only dull tools.
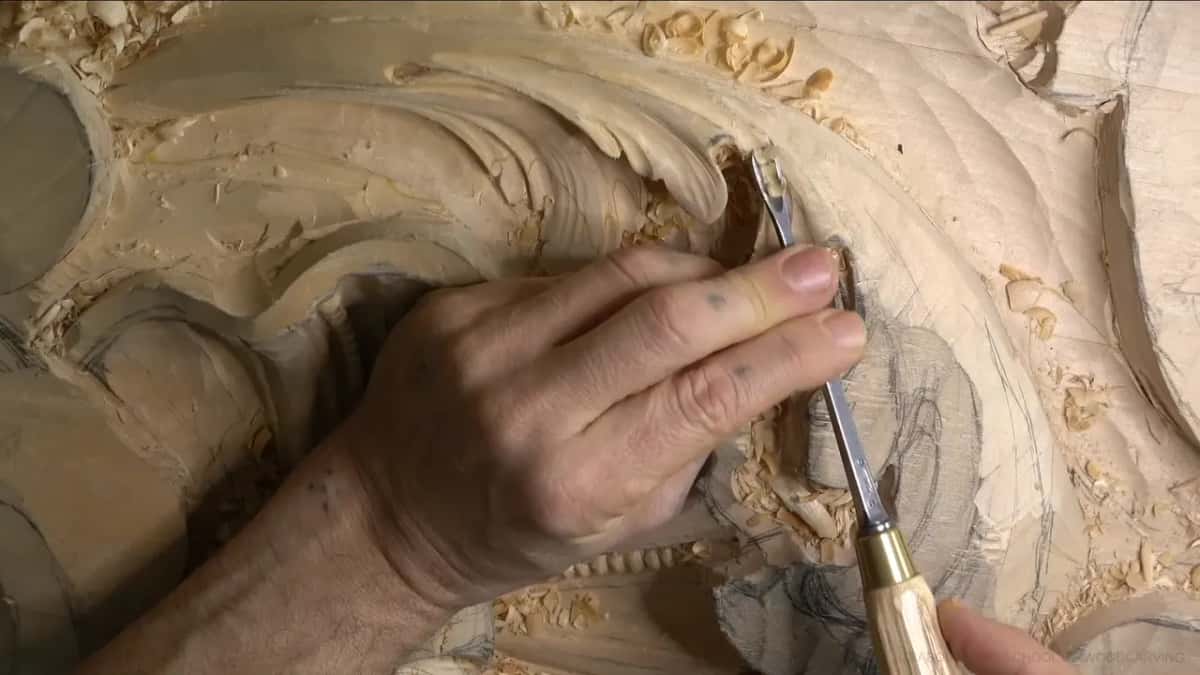
Which is why buffing happens on camera in the middle of a workshop. Outside bevel on the Koch paper wheels with blue paste, inside bevel on the Tormek with green, and I do not love the green because it makes a mess. One new gouge still needs reshaping on camera, and the reshaped ones give a much better result because the bevel is bigger. Everything about that lives in the sharpening course.
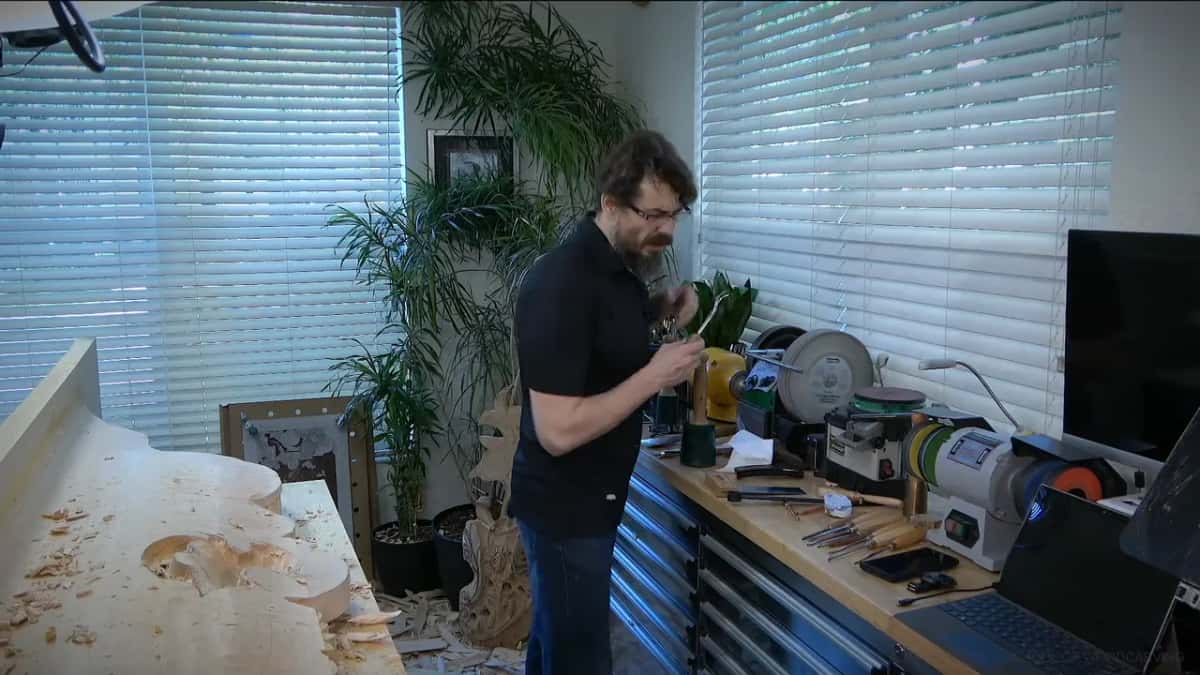
My favourite tools, after all these years and for no reason I can fully defend, are Ashley Iles. I keep coming back to them. There is also a number nine in that drawer marked 14 mm which measures nearer 16, five eighths, and I have no idea why the maker stamped it that way. Close enough. And a knife on the bench from BeaverCraft, who then surprised me with a leather tool roll, straight from Ukraine. Prettiest roll I have ever owned. I hardly use it. It comes out when I teach somewhere in person.
One more habit that took me years to admit to. I would rather not swap hands. My gouge feels right in my left hand, so instead of reversing my grip I walk round the bench, or roll the bench, until the cut comes at me the right way. Swapping is okay, and I do swap when I have to. It is still not comfortable for me.
Twelve workshops in, the form is right, the shell has its depth, and the claws sit where they belong. Some leaves are already undercut, and a lot is still ahead. Workshops 13 through 25 keep working the head, and the block after that carries on from there.
If you want the thinking rather than the copying, that is Principles of Design, and the panel design course walks the same road on a piece you can actually finish at home. Never held a gouge? Start with first cuts or the cutting board, then come back here. Everything above is inside the tuition, and the tools course and the questions I get asked most sit beside it.
Fifteenth century carving never has perfect lines. Never. Go and look at the Ca d Oro and the relief work of that period and you will see it: exaggerated, uneven, extra lines everywhere, and beautiful. I researched and designed this work myself to match their details, and it starts with a six inch stack of lime and a very large gouge. Pick something to carve. Shall we carve?
How it's done
- Pin the period down first. Research the town, not the country. The same shell carved in two different towns comes out as two different shells.
- Draw it at full size. Model the design, pull it as a wireframe for clean lines, and have the sheets printed life size at a copy shop.
- Build the depth in two inch layers. Each layer gets sawn to the pattern on its own, until the deepest element has somewhere to live. Six inches at the middle of my board, and nine by the time it meets the ceiling.
- Pin the paper on, do not glue it. Push pins let you lift the sheets off and reuse them later for the next component.
- Take the layout line to the millimetre. Measure from the edge at both ends and agree with yourself before the saw runs. Seven checks, one cut.
- Saw the outline square. Prove the blade sits at ninety degrees, drop the orbital action to zero, and follow the printed line.
- Rough the form in. Reach for a big gouge and remove a great deal of wood. Ignore the mess entirely at this point.
- Set the design in, and stop. Chop straight down on the drawn line, deep, with no undercutting whatsoever. Undercut now and the detail goes.
Frequently asked questions
How thick should a blank be for deep relief carving?
Depth of the deepest element decides it, never the other way round. My Venice board runs six inches through its centre and reaches nine at the end, because a shell has to go somewhere. I glue on plenty and carve the surplus away.
Is it cheating to use a jigsaw on a hand carved panel?
Cutting an outline and carving are two different jobs. Venetian shops used a bow saw, and every leaf on my board still comes off a gouge. A saw that follows a printed line is just smart in production work, and most of the sawn edge is gone later anyway.
What size gouge do you rough out a big panel with?
A big one. Mine measures three and an eighth inches, 80 mm, and lifts a good half inch of lime on one pass. Hand planing a surface this size would run into next year, which somebody on Instagram did suggest.
What to carve next