
Alexander Grabovetskiy, woodcarver, School of Woodcarving · Published 2020
Can you use a rasp on a wood carving?
Quick answer: Rasping a carving is smoothing its surface with a toothed file that leaves no abrasive behind, so a gouge can recut the same spot and stay sharp. On my paint grade Venice panel I rasped edges and pipes, followed with reed rush, and would even allow sandpaper there, since the base coat gets sanded anyway.
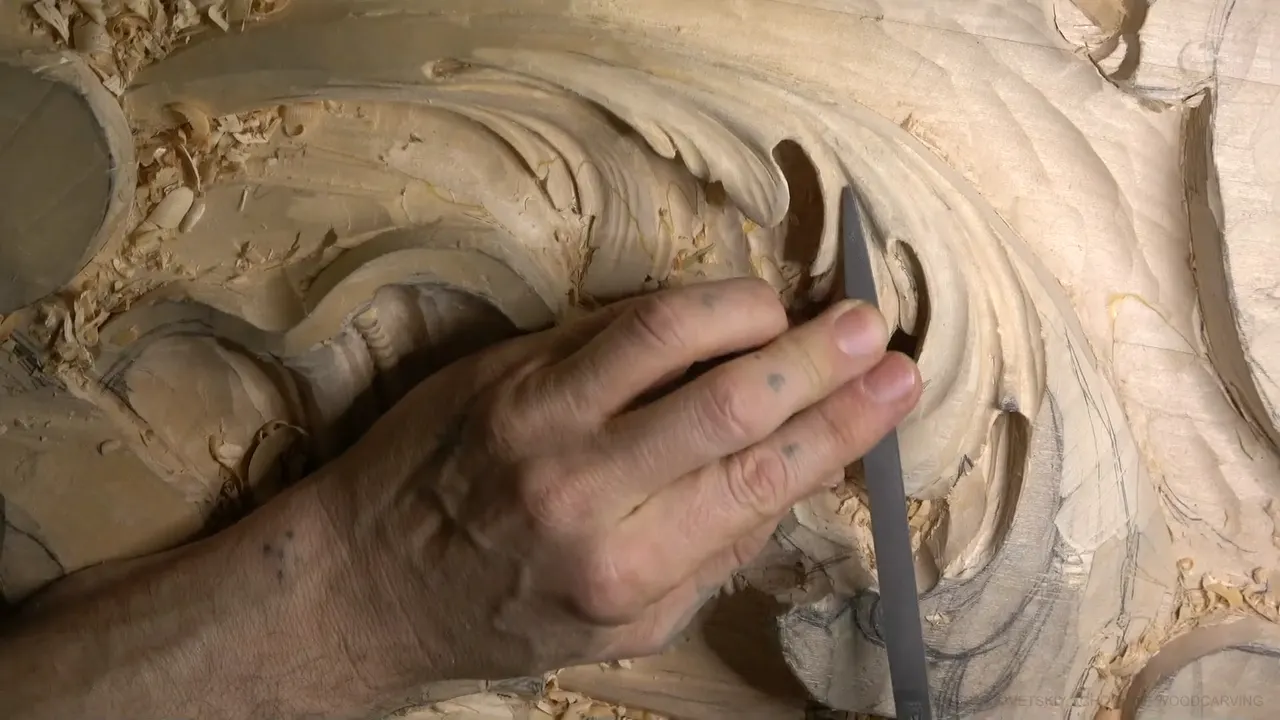
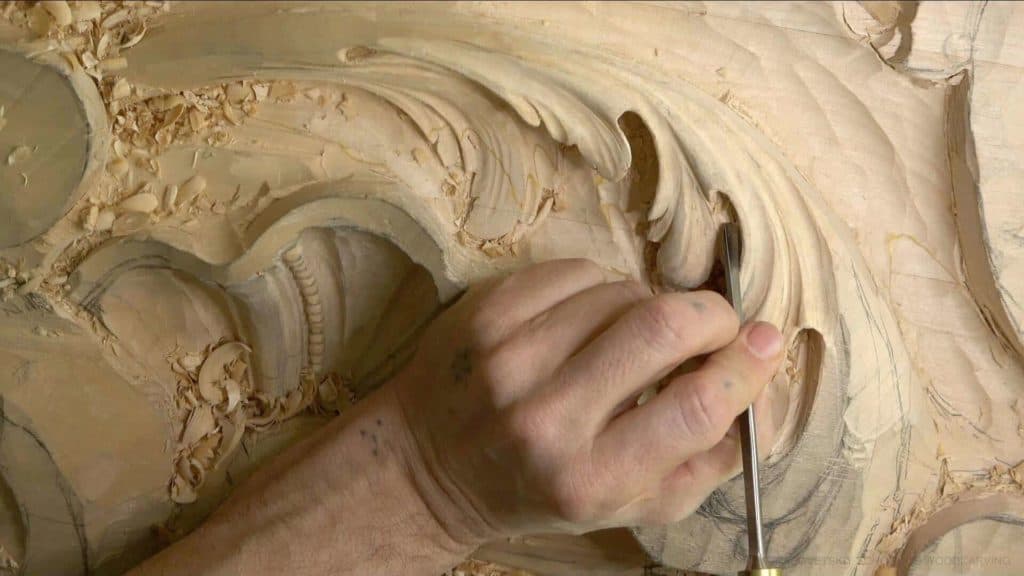
A rasp on a wood carving is a small toothed file that smooths the surface and leaves no abrasive behind in the wood. That last part is why I kept one close in workshop 10 of this Venice room commission. After the rasp, my gouge can go right back over that spot and cut it again, and the edge stays sharp.
Do you have a spot on a carving that still looks rough after the gouge? Would you like to smooth it and still be free to recut it later? Then watch a rasp work on a Venetian acanthus leaf, right beside a big shell, on a panel that will be painted.
I'm going to be honest with you. I didn't expect to like it. I picked the rasp up to hit one edge, and it gave me such good results that I said on camera I'd probably use it for all my sanding on this project. You'll see where it went, what followed it, and the one condition that makes it right on this job: the panel is paint grade.
What the rasp did on this Venice panel
It smoothed the lobe edges, a pipe and some shallow hollows on the acanthus leaf beside the shell.
Nothing gritty stays in the wood, so a gouge can come back later and still keep its edge.
Reed rush came after it, since on its own the rush wasn't enough.
Tiny lines showed up behind it, and I kept them.
Sandpaper would be fine here only because paint goes on top and that first coat gets sanded too.
On bare wood, or on crisp work that lives on its shadows, I give a different answer.
Why reach for a rasp instead of sandpaper?
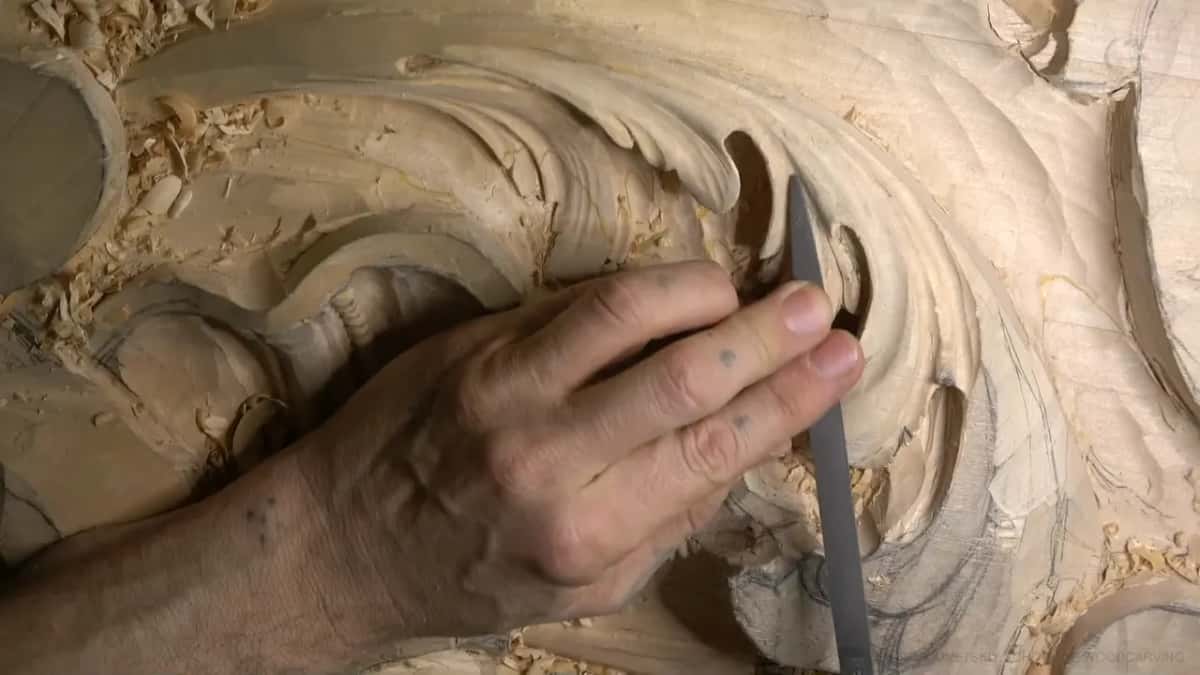
The beautiful thing about this rasp is easy to say, and I said it twice on camera. It doesn't leave any abrasive inside the wood. So I can always go back in with a tool, and I know that tool won't get dull.
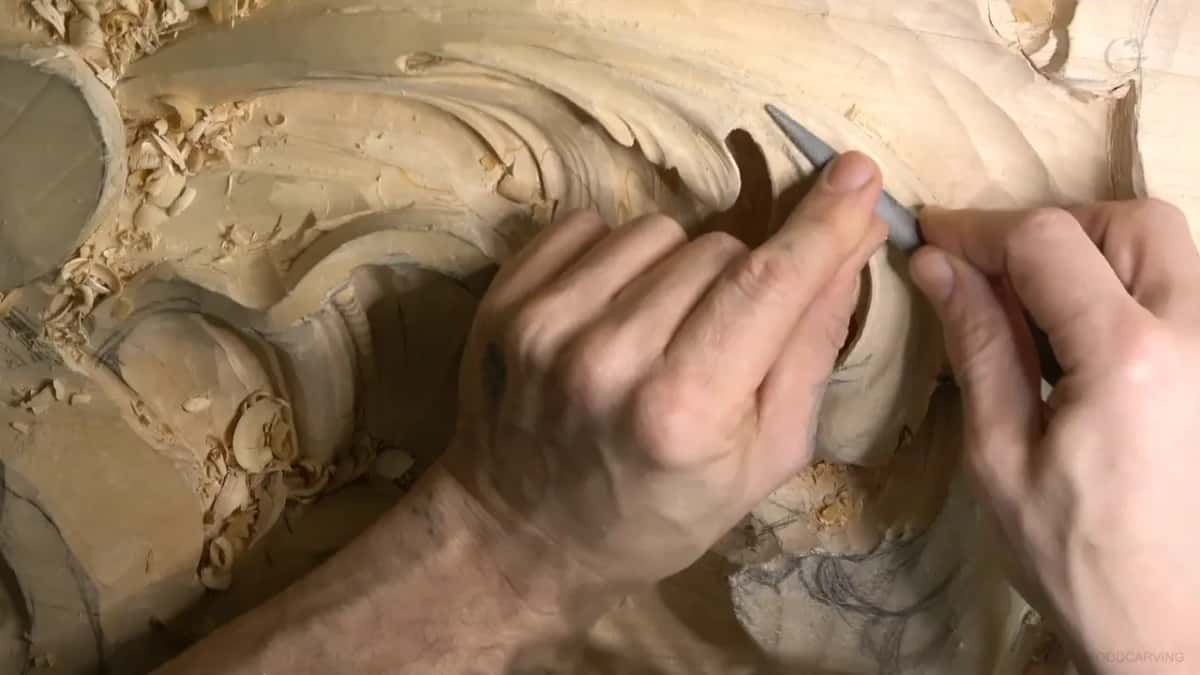
You can see it in part 6. I rasped a pipe on the leaf and then didn't like what the pipe was doing. So I picked up a #9 gouge, shaved the roughness out, and recreated the cut. It was beautiful again in a minute. That kind of back and forth only works when the surface you are cutting holds nothing that fights your steel.
A sheet of sandpaper works the other way around. It works by abrasive, and I'd rather not push a freshly honed gouge through whatever it leaves in the fibers.
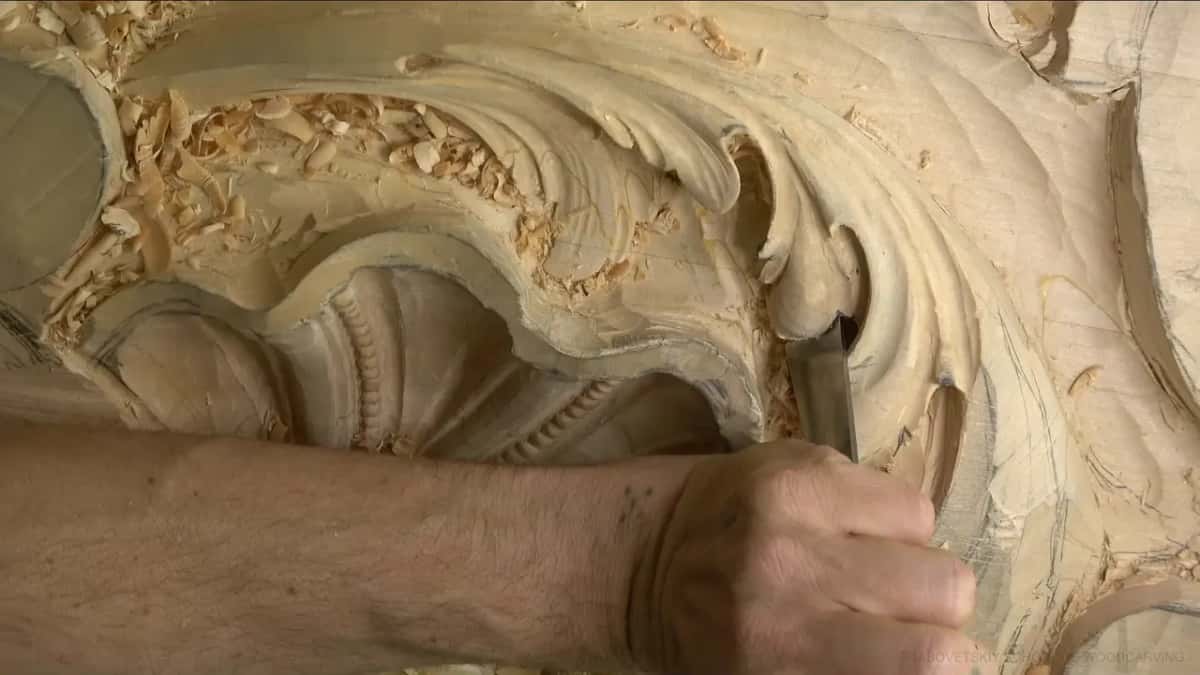
It also shows you the form. After a gouge, small ridges catch the eye and hide the movement of the lobe, and a quick rasp takes that noise away. One convex in part 5 didn't please me, so I cleaned it with the rasp and said, and I can see much better now. With the rough marks gone, the form was easier to read.
Does this mean you should sand your wood carvings?
Not as a rule, and I want to be very clear, because on other pages I've told you the opposite and meant every word of it. Each of those was a different job with a different finish.
I said sanding would ruin the curly cutting board, because the marks the blade leaves are the surface you're building. A Byzantine acanthus leaf got a flat refusal. Abrasive blunts every sharp junction, and a blunted junction throws no shadow. On the grape onlay I gave the grapes a light pass with 240 or 220 and left the leaves alone. And when facets really have to go, a shaped scraper is often the better tool.
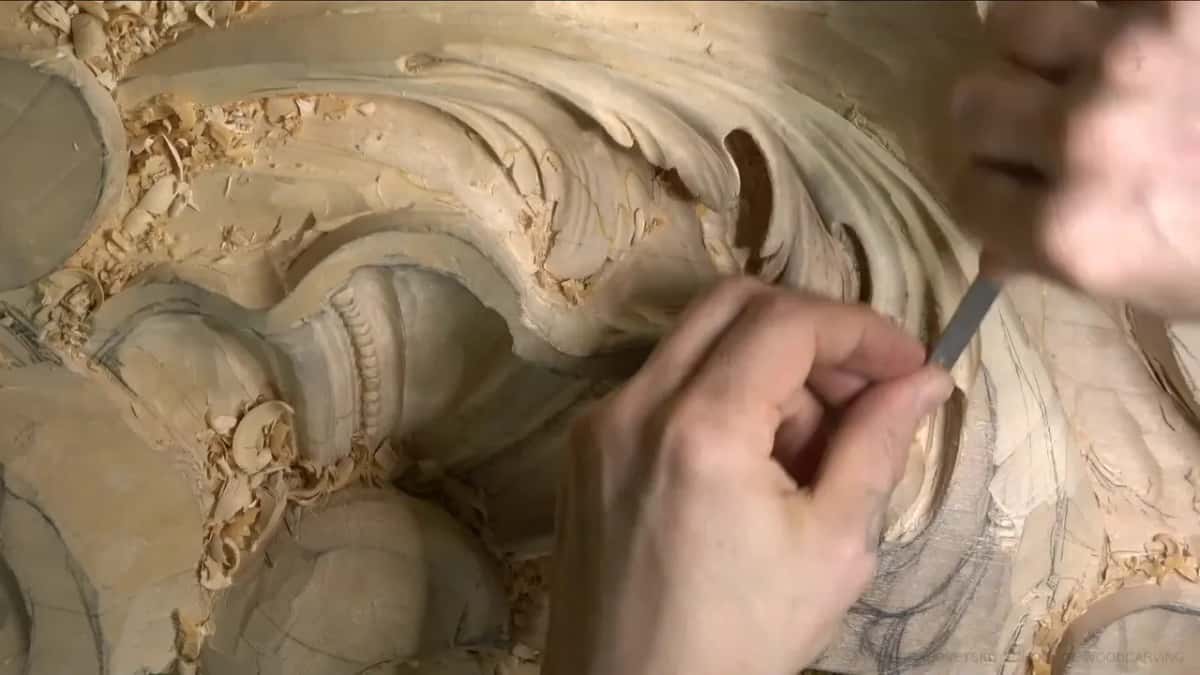
This Venice panel is paint grade. It gets a base coat, a first coat that I have to sand anyway. That's why I said on camera I could use plain sandpaper here, and it would be fine. How painting changes the carving itself is a bigger subject, and workshop 8 is the place for it.
There's one more reason, and it's about the old work. I have to be authentic to the originals, and the carvers behind them really liked sanding. So a rubbed surface fits this style.
So the finish decides. If the wood stays bare and the tool marks are the beauty, keep abrasive away. If paint is coming and you'll be sanding the base coat, a rasp is a fair tool, and I still pick it before paper.
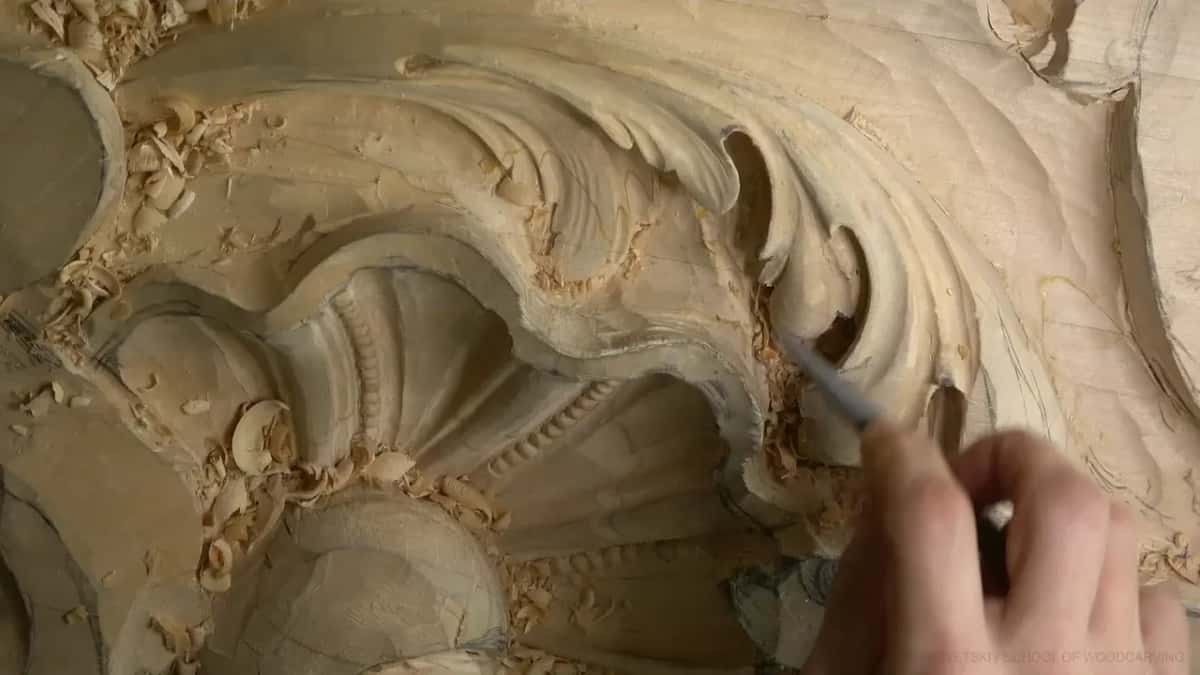
What does reed rush add after the rasp?
Reed rush is a dried stem of the plant carvers also call Dutch rush, Equisetum hyemale. There's silica in its skin, so it works as a very mild abrasive, and on another course I used it as the whole cleanup with a knife.
On this panel it came second. In part 2 I tried the rush first on the inside of a leaf, looked, and said I don't think it's enough. I need to use a rasp first. So the rasp went in, and the rush followed it. On camera it looks like I'm just rubbing a stick on the wood, and that's pretty much what it is.
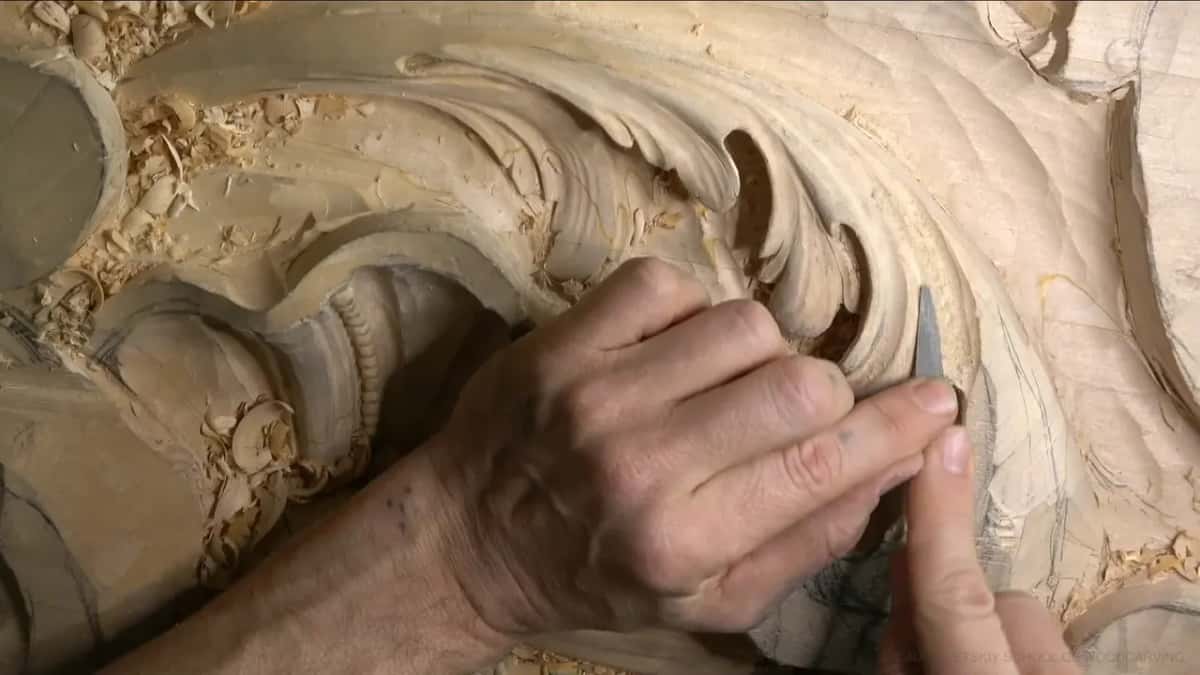
After that the order stayed the same all day. Rasp to take the roughness off. Next, a little reed rush over the same area for what I called original sanding, the soft look those old surfaces have. Later, in part 4, I even ran the rush in a new direction to put in a few extra lines, almost invisible, but still there.
Where does a rasp go on a carved acanthus leaf?
Mostly on edges, pipes and shallow hollows, the places where gouge ridges still show. I started on the edge of a lobe in part 1. Actually really good, I said, I didn't think I was going to like it like that.
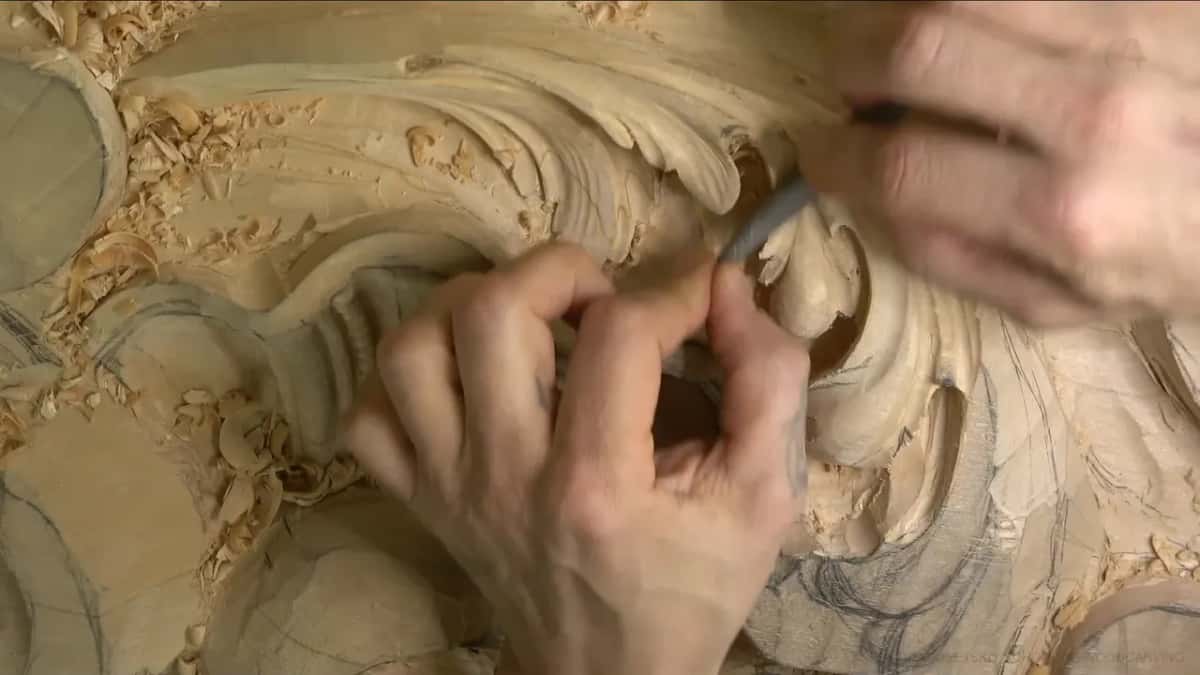
Part 2 took it into a pipe and the concave next to it. I looked and said it was almost perfect, and then caught myself, because I shouldn't say that. The rasp leaves little lines on the wood, and I kind of like them, actually. They look almost like pencil marks.
A spot in part 3 still bothered me, so I went back with the rasp and made that shape a little smaller. Some very small lines stayed right on the edge. You almost can't see them on camera, and I thought they were pretty cool.
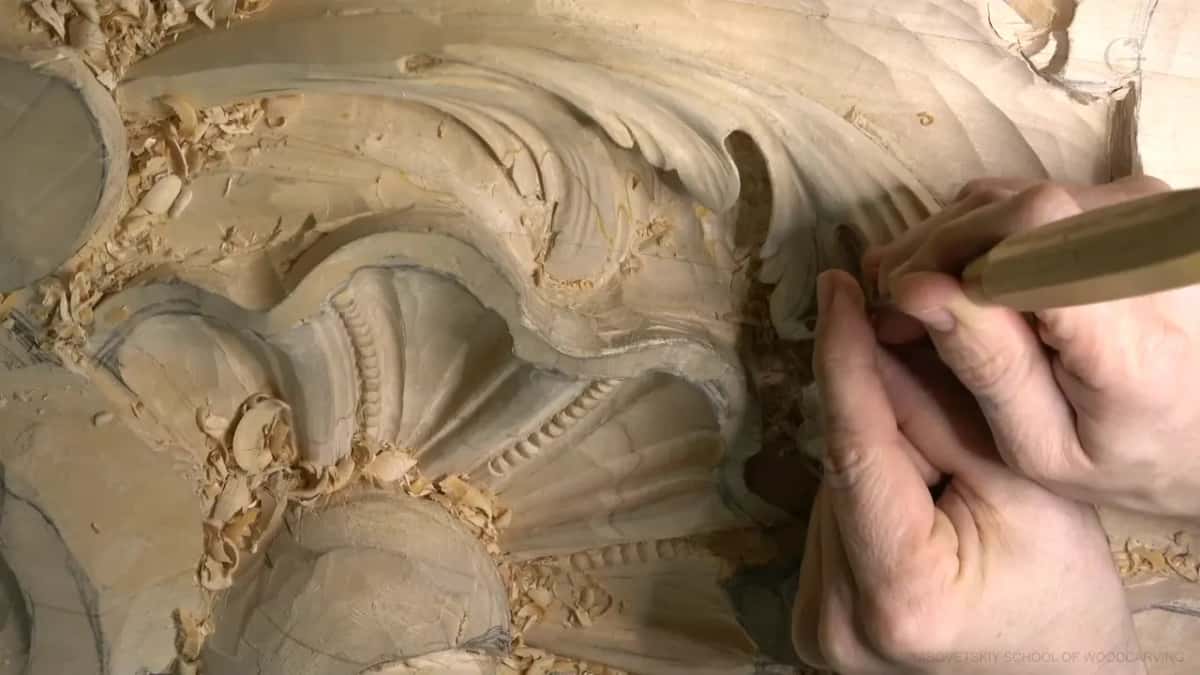
I used it again in part 4 to smooth out the movements, moving the lamp first so I could see better before I judged anything. Part 6 ran it over the middle of the leaf to pull the whole movement together, then over the pipe, then over one more rough patch. Not ideal, I said about that last one, but not that bad at all.
The job isn't done by the rasp alone, either. After rasping in part 6 I gave the surface a couple of strokes with a really shallow gouge, maybe a #5, to put more movement back into it. Rasp, look, cut a little, look again.
Some things it can't touch at all. There's an eye on that leaf that bugged me in part 3, and it still bugged me in part 4. Something about it was off. I left it, because that kind of fix belongs near the end of a project, when I recheck everything at once and change what I still don't like.
And there's a stopping point. You always find something you don't like, so at some moment you put the rasp down and move on. I told you that in part 4, and I meant it. Check, recheck, and recheck again, I said in part 7. So far I'm happy, I would say. Well, happy, but I'm always finding something else to do.
Which tools did the finishing work in workshop 10?
| Tool | Job | Where |
|---|---|---|
| The rasp itself | Smoothed edges, a pipe and the concaves | Most visible surfaces |
| Dried reed rush | Added a little original sanding after rasping | Over rasped areas |
| Veiner, #11 1mm | Cut notches and faked a separation's shadow | Where nothing fits |
| London #2 skew | Made the micro notches near each end | Near lobe ends |
| Back bent #5 | Smoothed the inside that nobody will see | Under the leaf |
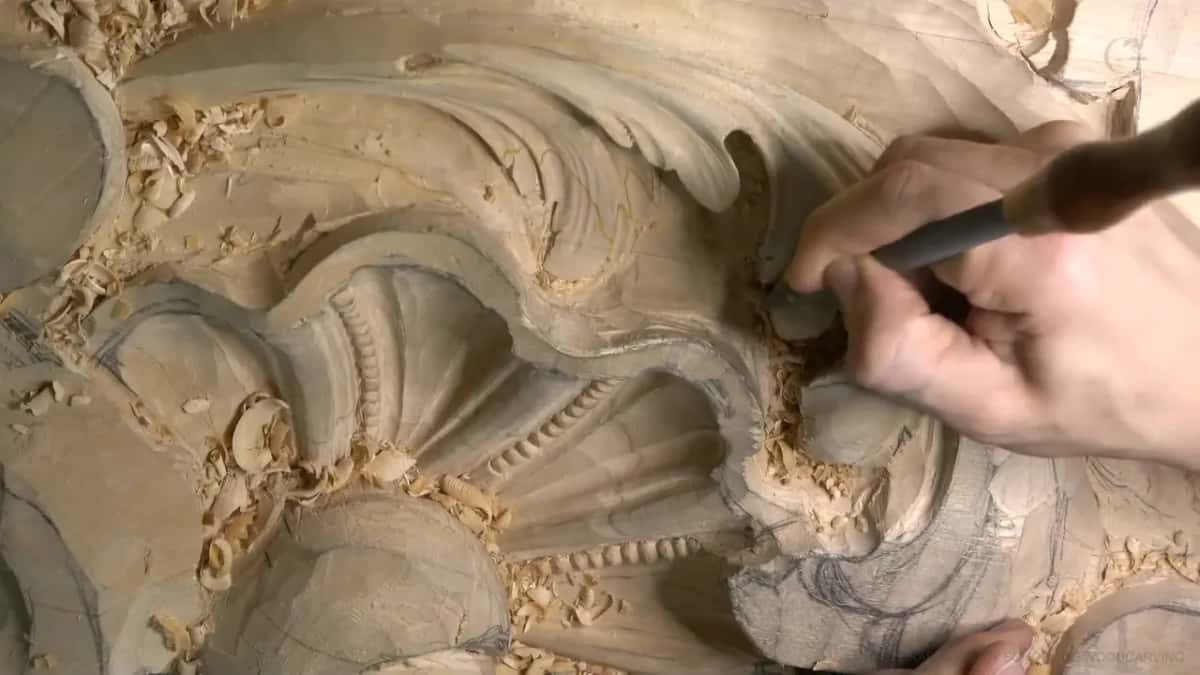
How do you smooth the inside where a rasp can't reach?
It starts before the rasp ever comes out. In part 1 I had to attack underneath the leaf with a skew back bent, then a #6 angled slightly, and a #11 spoon gouge to clean. I didn't want to go too deep, because that would be the same mistake I had made before.
You carve it smooth from the start. Think about it for a second. If you had to sand the inside of that leaf, how would you even get in there? Making a really smooth cut from the beginning is the better plan.
My first cuts inside, in part 2, went in with a #9, one eighth of an inch (3 mm), and a mallet, carefully, not too deep. A #5 came next, a quarter inch (6 mm), wiggling a little because I had left one detail too weak. I pushed against that edge and hurt it. That's why it's sometimes better to wait with your edges until the main operation is done.
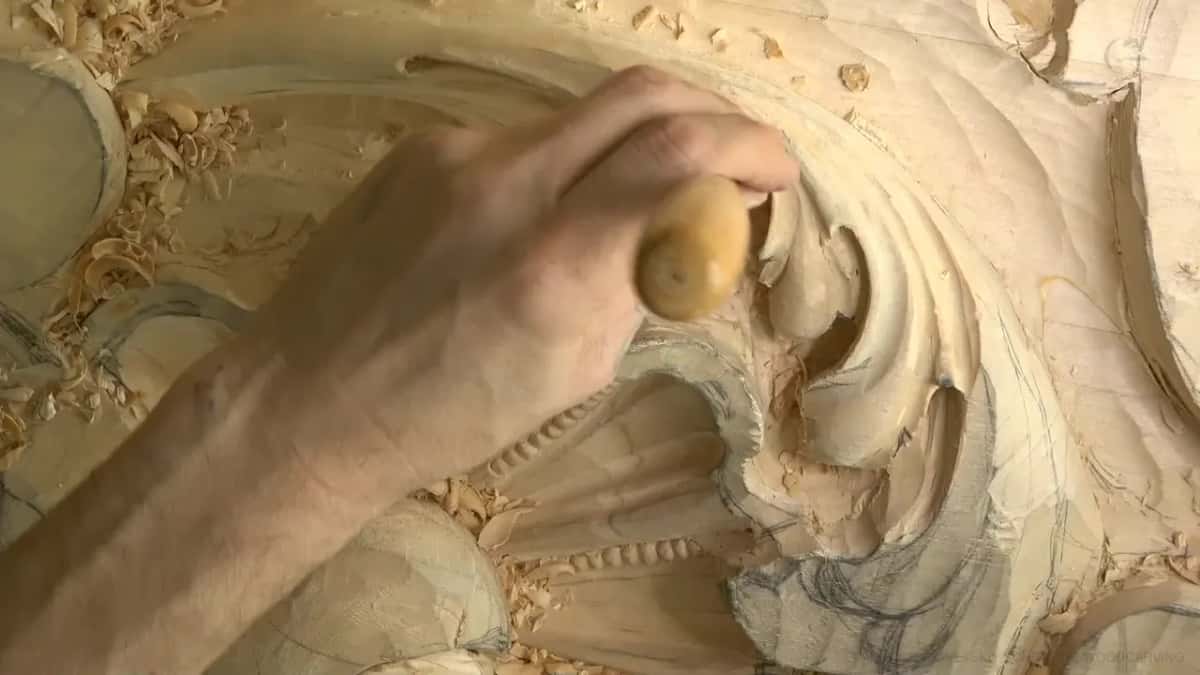
Then a #11 from the bottom up. A #9 or a #8 would do that job too. What I wanted inside was a smooth transition, almost like the bowl of a spoon. And I called the chips lots of waste, then corrected myself on camera, because I'm not wasting material at all. That wood simply isn't needed.
Last came a back bent, about a #5 sweep, for surfaces nobody will see. I cleaned them anyway, just in case somebody sticks their nose inside. I know it's invisible. It's okay.
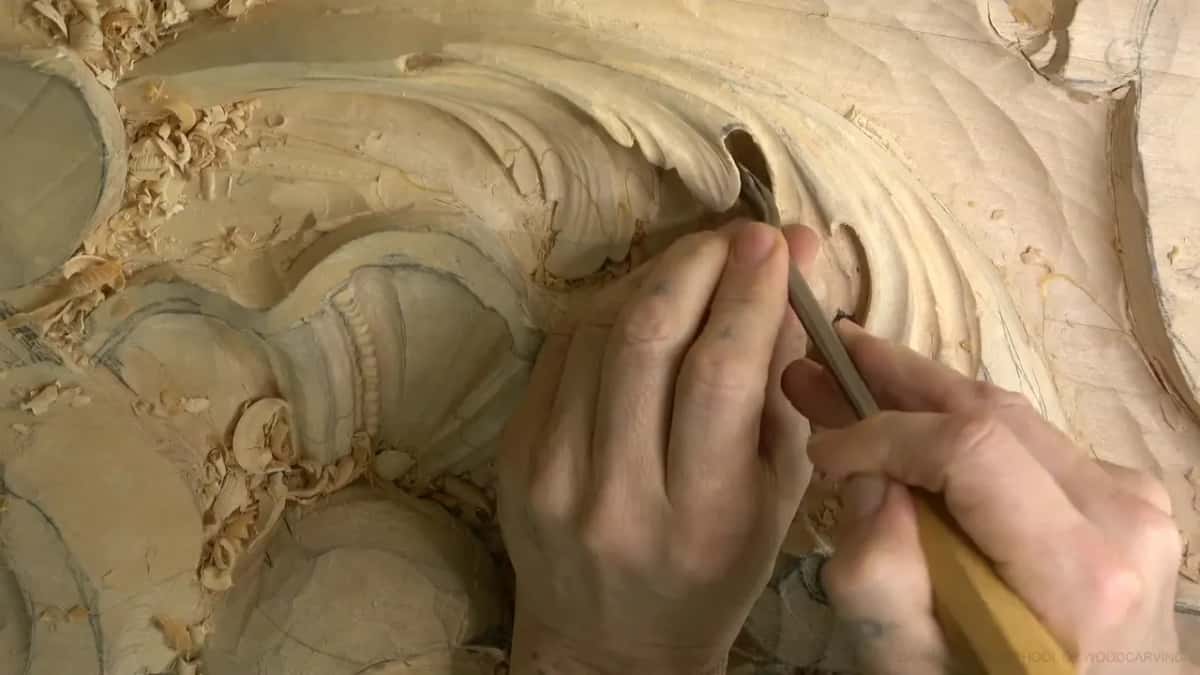
Should the notches on an acanthus be sharp triangles?
No sharp triangles, and I say that because I looked at the original work of those masters. On all of those acanthuses they never had really sharp triangles in the separations. Some of them were almost like an eye, just more round.
So when I cut a notch with a #5, a quarter inch (6 mm), I break the edge a little. There should not be any sharp points, just a bit of curliness. And a single cut with a 1 mm (about 3/64 in) #11 makes a big difference. There was one spot in part 3 where absolutely no tool could fit, so I only indicated the separation with that tiny veiner. The shadow it throws makes you believe the separation is there.
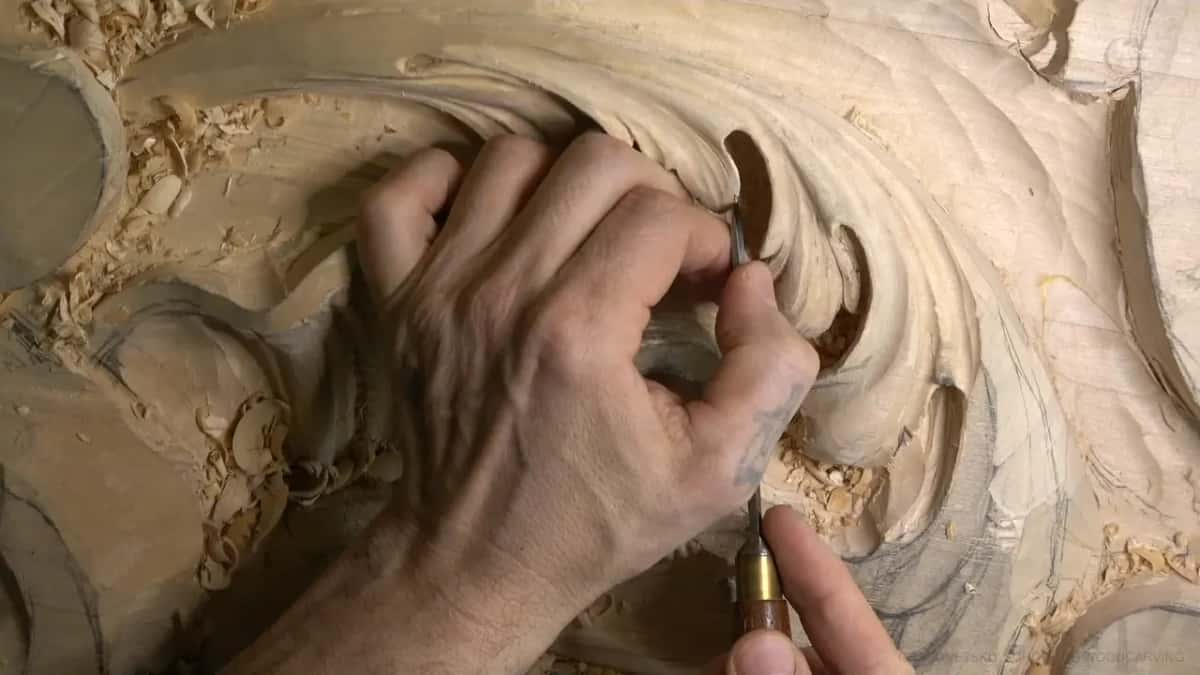
A notch or a hollow should come out of almost nothing and get deeper slowly. See, almost nothing, I said in part 5, and yet that small cut gave me extra depth right where I wanted it. Then the 1 mm tool followed it in.
For the micro notches near the end of a lobe I used a skew chisel, which would be number 2 in London pattern. A European maker marks it absolutely differently. Two small ones, exaggerated just slightly, then I made the notches look more unified. The originals had a lot of notches like that. Workshop 9 goes deeper into the small stuff.
Can a pipe on an acanthus be carved as a hollow?
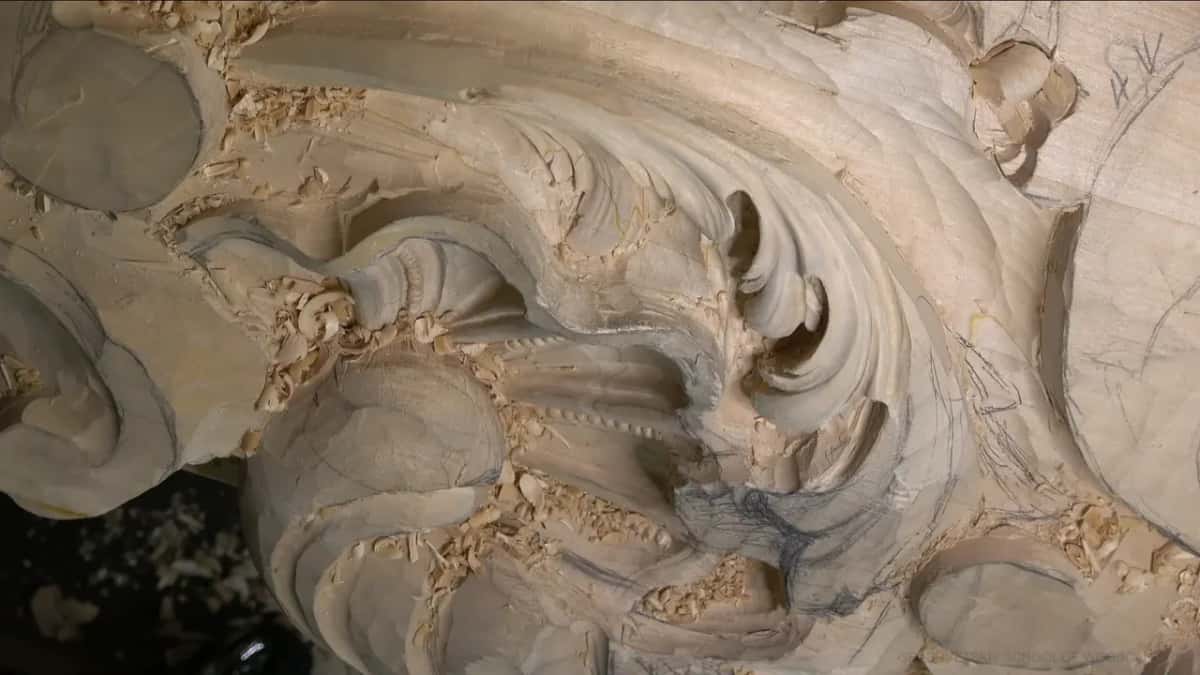
Yes, and it's an old trick I like to use on work like this. A pipe is normally a raised part. But when you look at the original work, the pipe is not always convex. I'm not joking, you can check it yourself. Sometimes those pipes don't make sense, and for some reason they look really good that way.
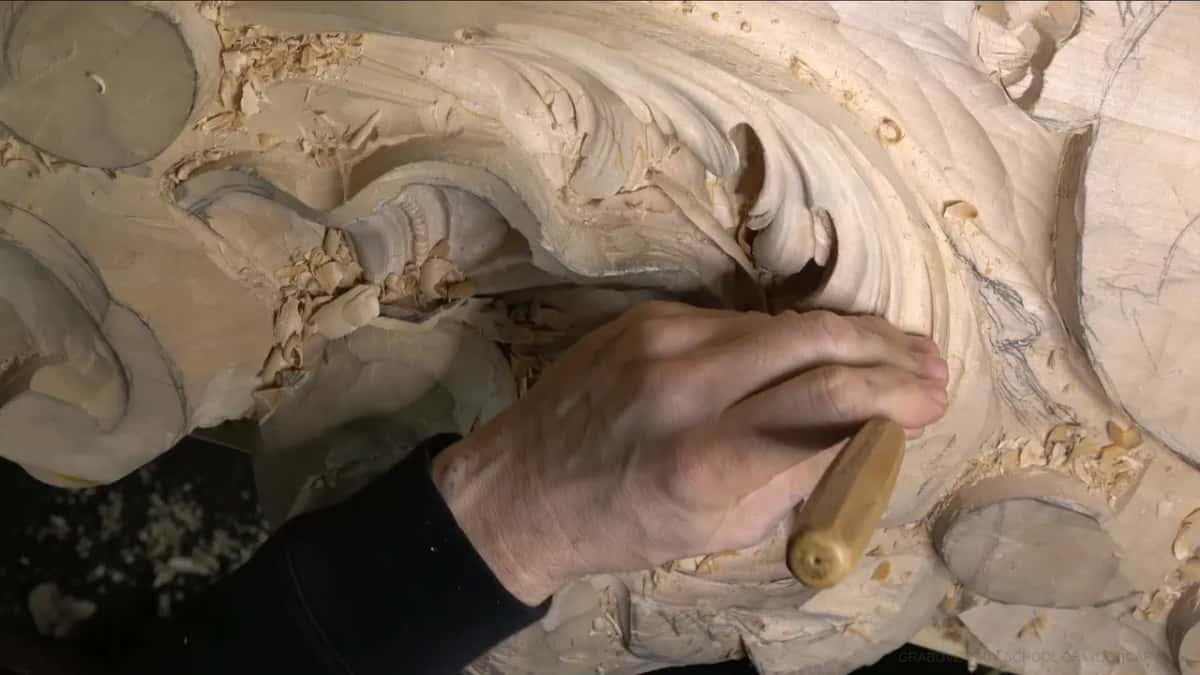
So in part 11 I carved one the opposite direction, like a concave, and dug a little deeper inside. That revealed the lower part of the leaf a lot more. Somewhere in the middle of that I apologized for my granddaughter in the background. If you're following along, you know the sound. Workshop 11 carries that leaf on, including a part I wanted to flip, and I stopped to think first, because some cuts can't be fixed.
Try a rasp on your own carving
If you've never held a gouge, pick a first project and come back here once a basic leaf feels easy. If you already carve, take one finished piece that will be painted, rasp a single edge, and then recut it with the gouge. You'll feel the difference right away. The acanthus on this Venetian panel came out of that habit, and the carving goes on in part 2 of the Venice room.
Every workshop of this room, and the shell beside it, is inside the tuition. The tools are plain ones: a gouge or two, a rasp, a stem of rush. Watch the grain as you go, keep the steel sharp, and let the relief tell you when to stop.
How it's done
- Finish the main cuts first. Leave thin edges alone until the main excavation is done, since a weak edge worked early is easy to damage.
- Rasp the rough spots. Run the rasp over any ridges a gouge left until the movement reads, then move your lamp and look again.
- Recut what looks wrong. Go back in with a gouge anywhere the rasped surface still bothers you. Nothing gritty is left behind to take the edge off.
- Follow with reed rush. Rub a dried stem over the rasped areas for a soft, old surface.
- Let the finish decide about paper. Use sandpaper only on a piece headed for paint, where you sand the first coat anyway, as on this panel. On bare wood, keep the tool marks.
Frequently asked questions
Will a rasp dull my carving tools?
A rasp puts nothing into the wood, and for me that is the whole appeal on this panel. I can rasp a pipe, decide I don't like what it does, and clean it with a #9 straight away, and the gouge keeps its edge.
Is reed rush the same plant as Dutch rush?
Same plant, two names. Botanists call it Equisetum hyemale. I rubbed a dried stem over the Venice panel after rasping, because by itself the rush was not enough to take the roughness down, so the rasp always went first and the rush gave a little of that old style sanding afterward.
Can you sand a carving meant for paint?
On this panel, yes. The work is paint grade, and I have to sand my first coat, the base coat, in any case. Even so, I picked the rasp before paper. A carving that stays bare is another story, and my other lessons keep the tool marks on those.
What to carve next