
Alexander Grabovetskiy, woodcarver, School of Woodcarving · Published 2023
What is a skew chisel used for in wood carving?
Quick answer: A skew chisel is a woodcarving tool whose edge sits at an angle to the shank rather than at ninety degrees. Because of that angle the tool shears the wood as it travels forward, which leaves a clean surface and lets the corner of the edge work into places a square end blocks.
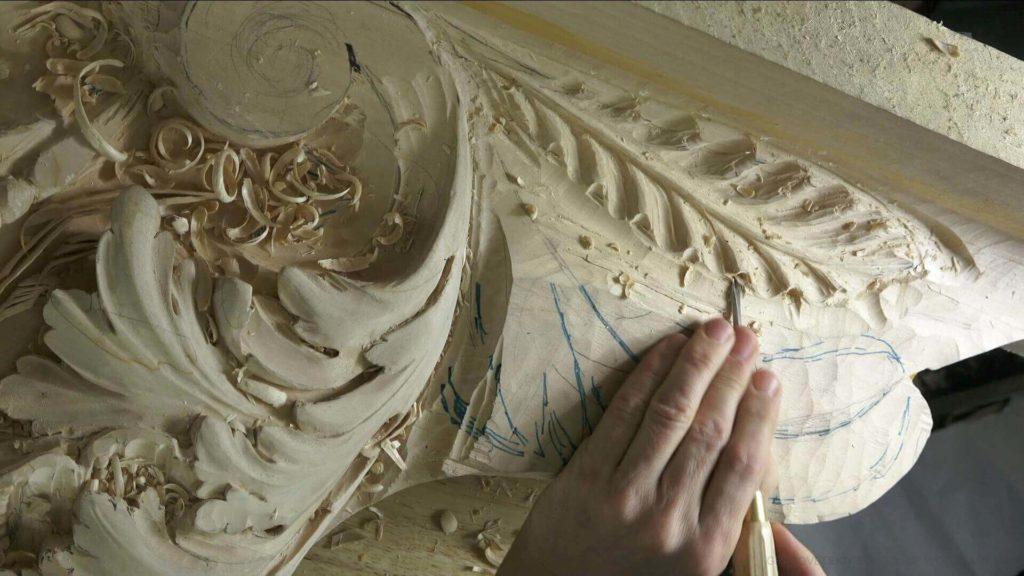
A skew is a carving tool with its edge ground on a slant instead of square across the blade. The slant makes it slice while you push, so the fibers part rather than crush. On a relief panel it also gets an edge into a corner that a square end cannot enter at all.
Have you ever pushed a gouge and felt it crush the wood ahead of the edge instead of parting it? Does your own relief look busy up close and flat from the doorway? Workshops 50 through 61 are the stretch where I go after darkness.
I love skews. A few of the ones on my bench were never sold to me that way, either. One of mine is a skewed gouge near enough a number 7, and I modified it with a really long bevel.
What decides whether a panel reads from across the room
- Shadow decides it. A rim with air behind it goes black, and the human eye reads that black.
- Grind an edge over on a slant and a push becomes a slice.
- You can grind one yourself out of a number 7, and a student of mine did exactly that after watching these workshops.
- German carvers used skew gouges in the 15th century. English church carvers did not.
- Some of what I carve in this stretch nobody will ever see, because it lives inside a hole.
- My work lamp hides shadow, and with it off the same undercut would read really deep.
What does a skew do that a square edge cannot?
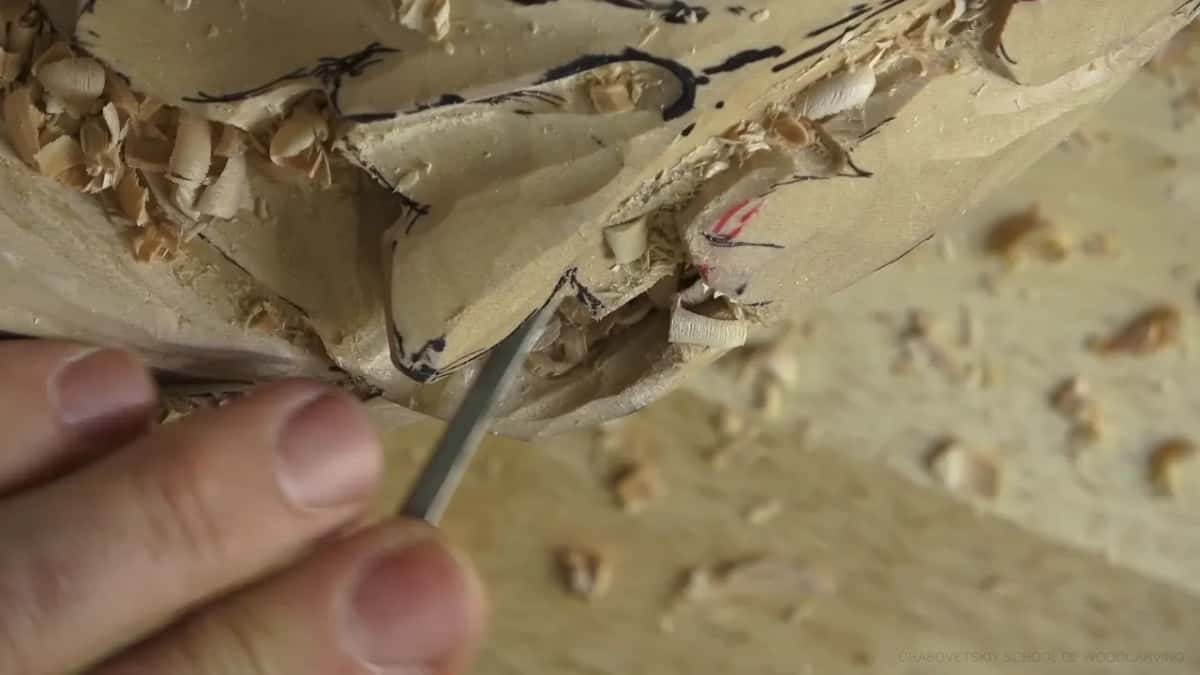
Slice while you push straight ahead. Watch a sharp tool go through basswood and you will see you are not chopping anything. You are making slices. One after another, and the surface a slice leaves behind comes out so clean that I do not need any sandpaper on these leaves at all.
A square end makes you work the slice yourself. On the skew the cut already sits at an angle, so a plain forward push does the work for you. Small change to a tool, large change to the day.
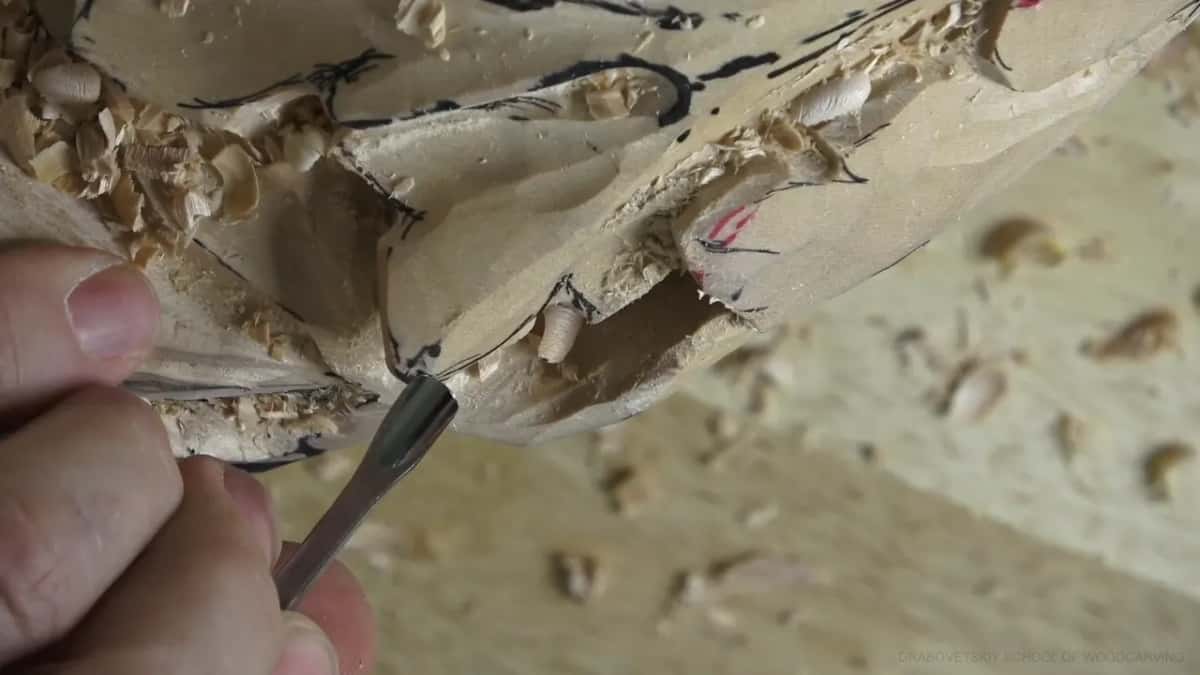
That skewed 7 is a Henry Taylor, and I really love their tools. I say in workshop 61 that one line of theirs is super light, with really thin walls. On soft wood, lime wood or basswood, thin walls are a gift. Put a thin tool like that into harder wood and you can break it easily, so know which is on your bench.
Where do you get a skew gouge if nobody sells one?
Gary ground his own out of a number 7. He teaches design at a university, he had been following these workshops, and he watched me reach for a skew often enough that he decided to make one. Easy to do, and I mean that. All you are doing is taking an edge off square on a stone. I have even done it to a back bend or two. Odd looking thing to have in a rack, right up until the afternoon you need one.
If sharpening is the part that worries you, that is the honest place to start, and there is a whole course here on the edge itself. Grinding a skew is a sharpening job before it is a carving job.
Why did German carvers use skews when the English did not?
Look at the English work of the 1600s, the century of Grinling Gibbons, and you will not find these tools. You can find maybe a skew chisel, but not a skew gouge. Then go to German work from the 15th century, the world Riemenschneider came out of, and they used those skews all over.
Blame Gothic ornament. In that work two skews, one skewed each way, make it really easy to connect one pass to the next.
What is a skew veiner?
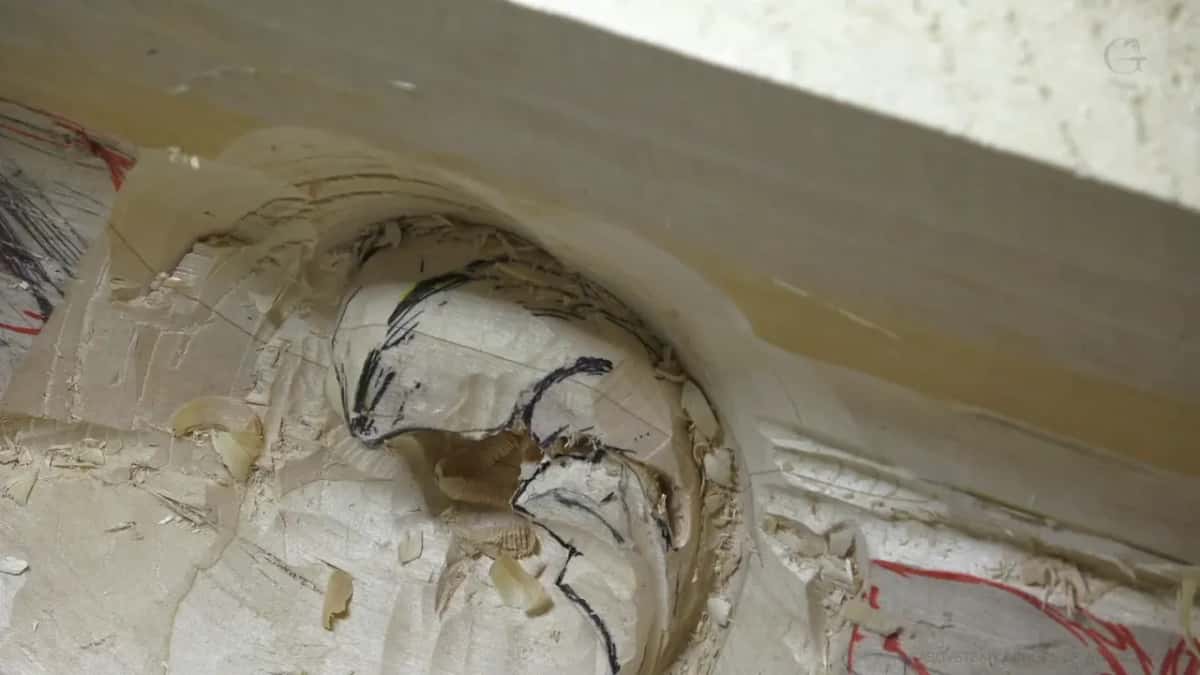
A number 11 with the same slant ground onto it. I catch myself calling the thing a skew gouge, then a skew chisel, and it is neither of those. Here I use it to scoop out whatever I need to scoop, and it leaves a beautiful transition on the inside. The name veiner, by the way, comes from the veins it puts on your project.
Why does a carving need so much shadow?
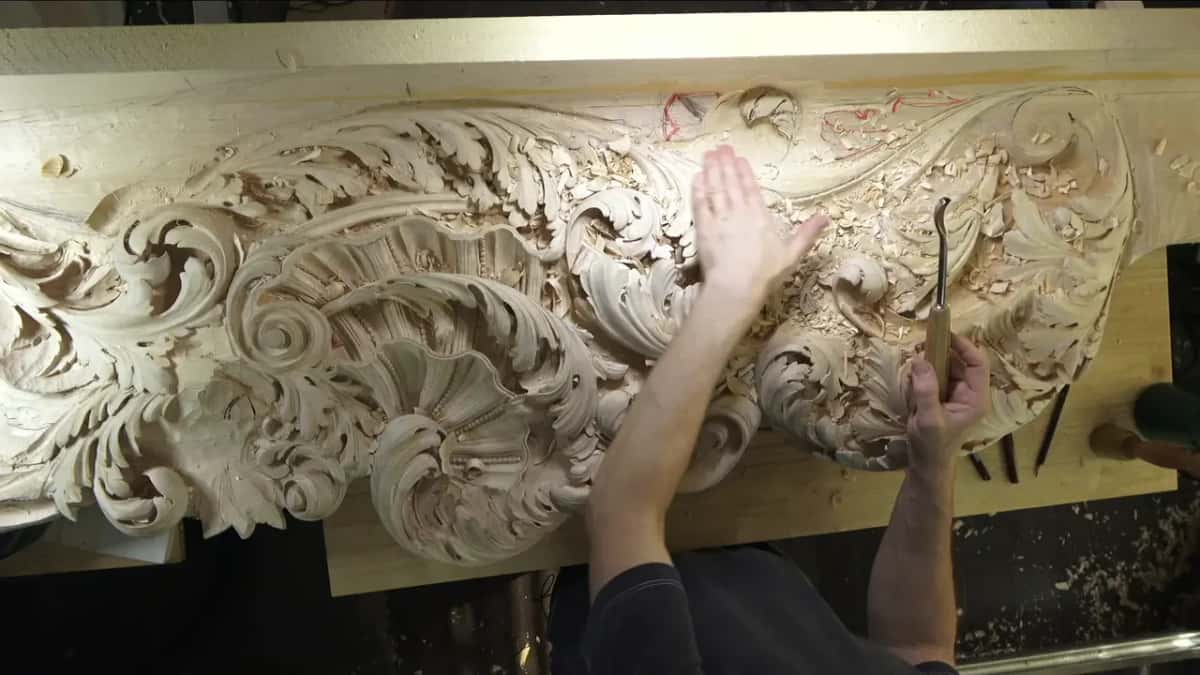
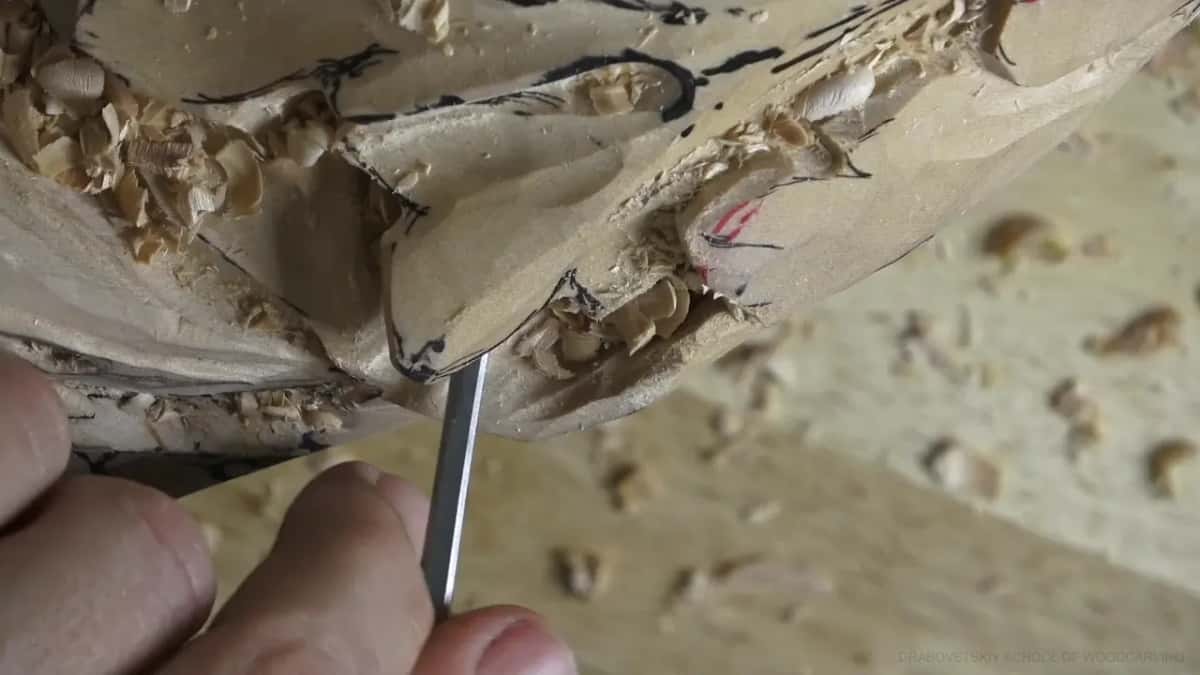
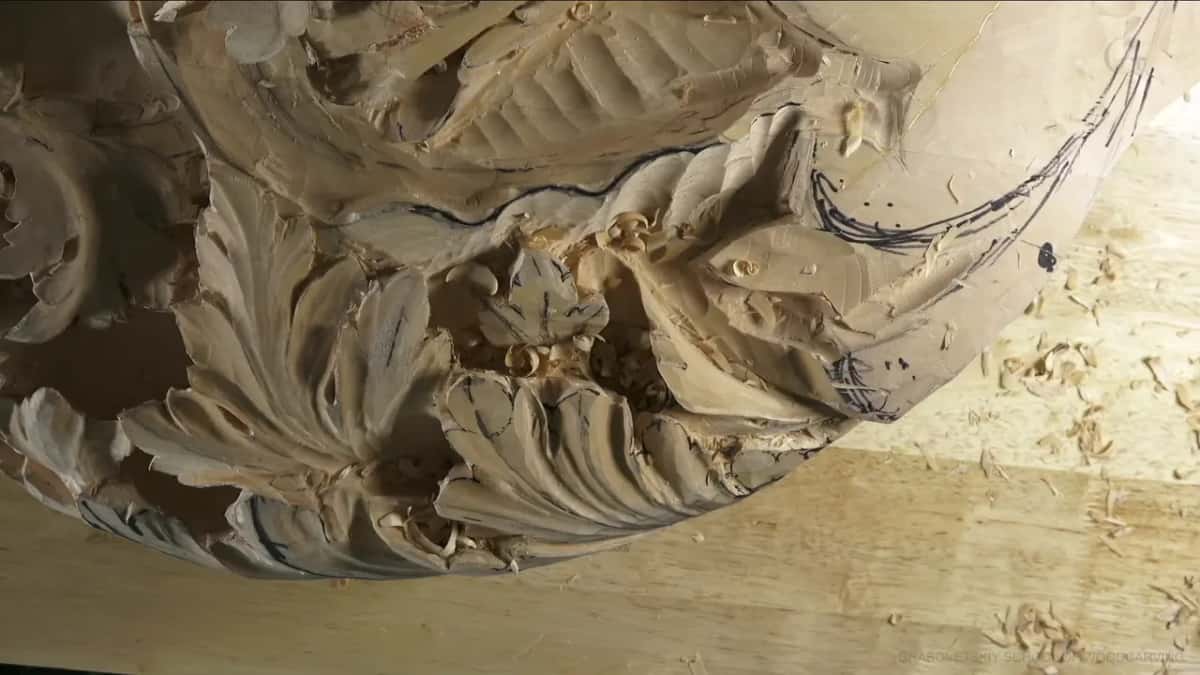
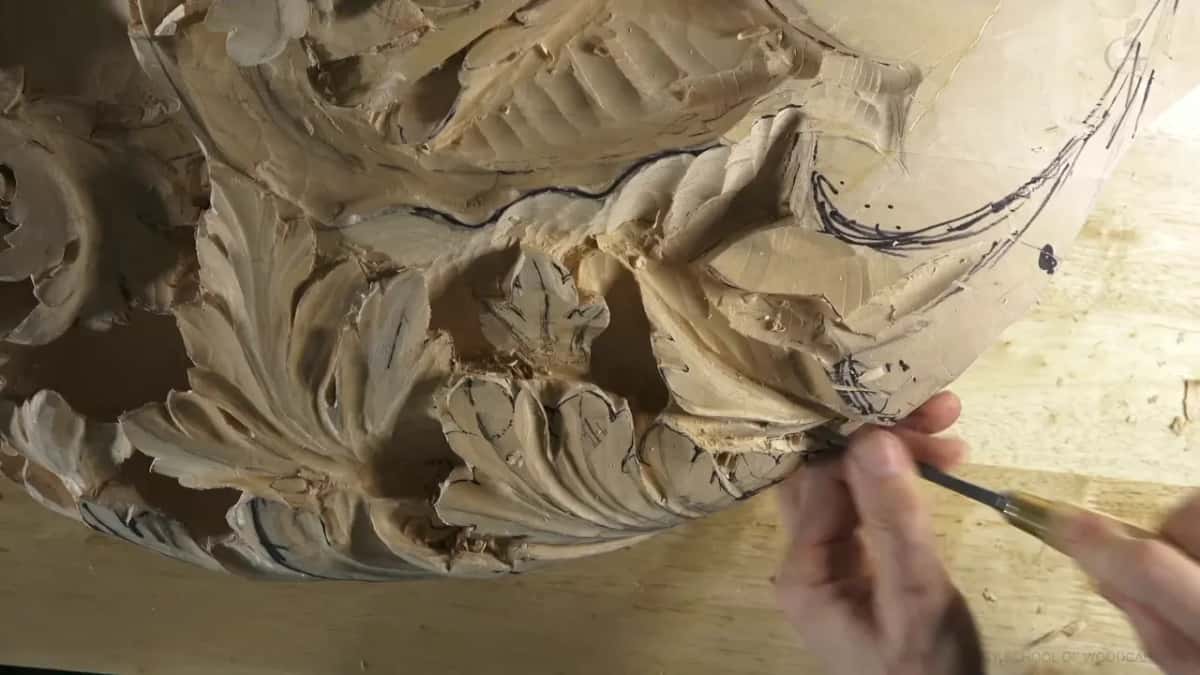
Shadow is the frame. Think about a piece of fine art and the frame around it. On a carved panel the deep excavation does that same job. That darkness goes right around the big idea. Take it away from a composition this size and the whole thing would look bad. It would not look good.
Wood carving is pretty much all about shadows and lights. Painters have a word for that, chiaroscuro, and they were working on it centuries before anybody filmed a workshop. We get to do it with steel and a mallet instead of a brush, and the light in the room does half the work for free.
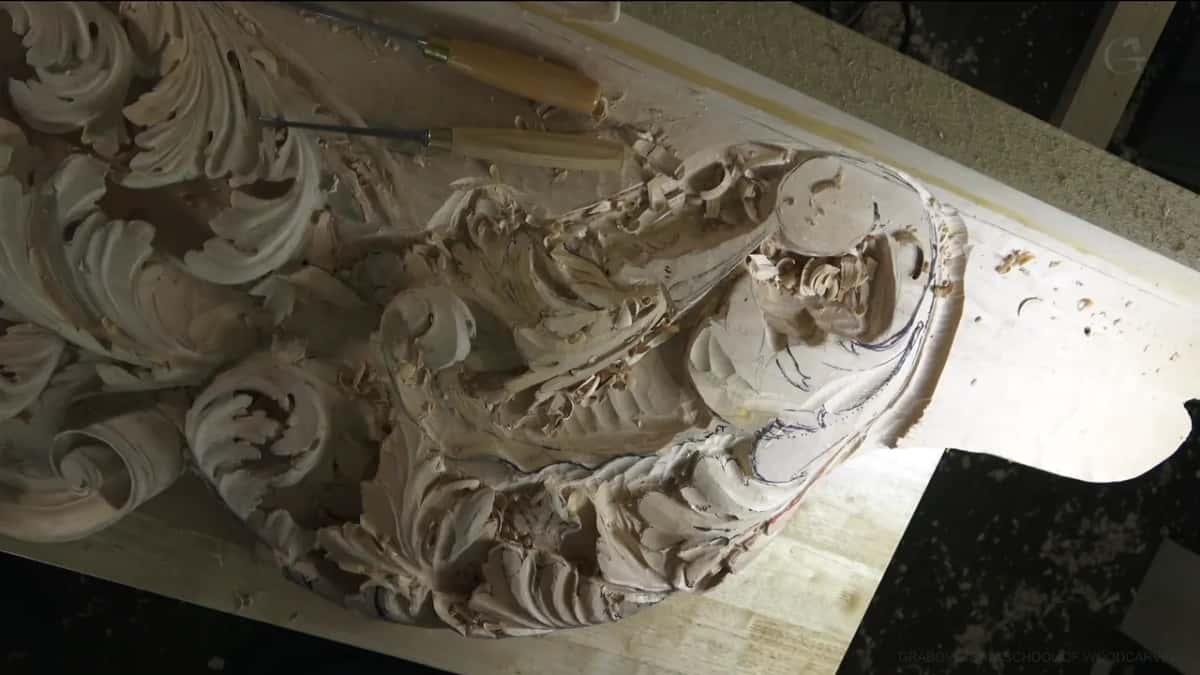
This is Venetian work, 15th and 16th century in style, and the earlier workshops on this room spend a long time on the head of the acanthus.
How deep do you go when nobody will ever look inside?
Deeper than seems reasonable, and I will defend it. Every side cut runs into the same hole, and once the panel is on a ceiling that hole is invisible to the human eye. Nobody is going to lie on the floor and peer into a slot that narrow. The slot is what throws the shadow though, and the shadow is what a person standing below actually sees.
Not without a limit, though. In one spot I keep about 5 mm (3/16 in) of thickness, because I do not want too fragile a carving. Dig deep where deep buys you darkness. Leave the wood where it does not.
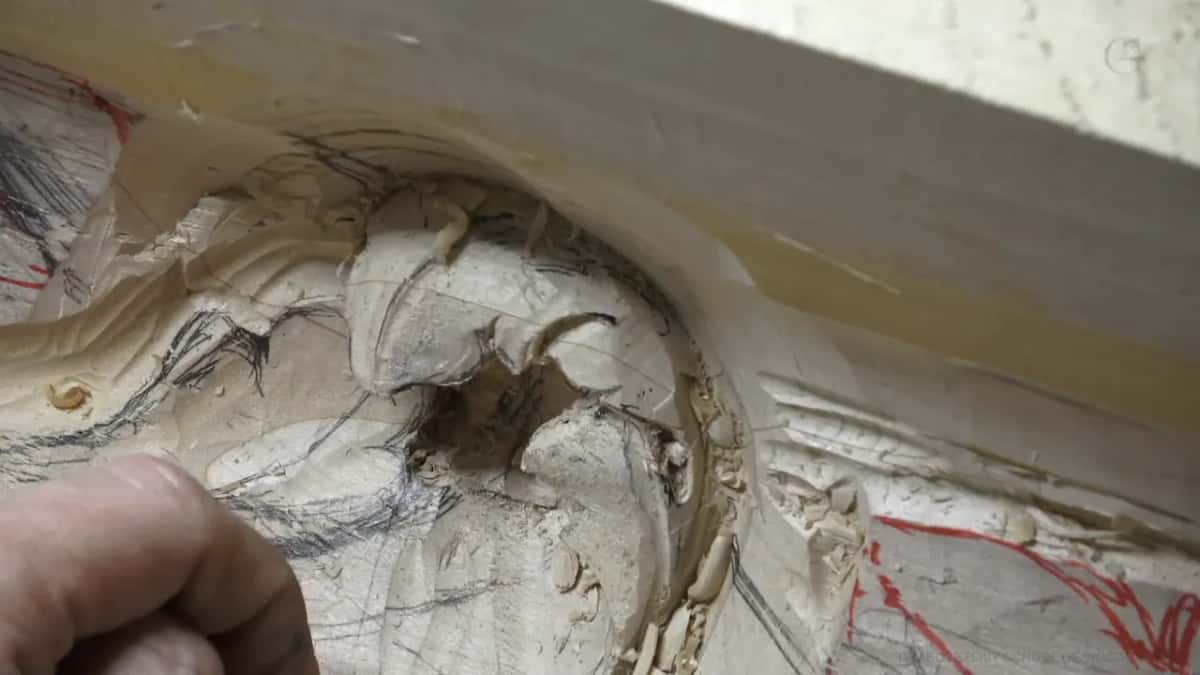
Sometimes the digging runs down into the glue line from the original blank, and then I have to excavate really nicely around that glue. The way the board was glued up in Part 1 comes back to visit me in Part 5, which is the sort of thing you only learn by staying on one panel long enough.
Which tool digs which kind of shadow?
Here are four of my tools from these workshops, and each one earns its place for a different reason. The number 9 bores holes. Rolling and outlining fall to the number 11, a skew blends and cleans, and the fishtail carries a wide edge on a neck narrow enough to turn a full circle inside a pocket without ever touching them.
| Tool in hand | What it does that others will not | Its maker | Where it goes on this panel |
|---|---|---|---|
| Number 9 gouge | Rotates fully in place and lifts a plug out | Ashley Iles | The deepest holes, driven with a mallet |
| Skewed number 7 | Slices cleanly on a straight push | Henry Taylor | Opening space between two close pipes |
| The fishtail number 7 | Carries a wide edge on an unusually narrow neck | Auriou, 14 mm | Cleaning a deep pocket deeper and nicer |
| Number 11 veiner | Two tools in one, straight or leaned over | Pfeil, Swiss made | Every outline and the acanthus eye |
The Ashley Iles number 9 in 10 mm (3/8 in) is the one I put a mallet behind. Any number 8 or number 9 will do that job, so do not go shopping on my account. One of my Auriou tools is a number 7 fishtail. It is 14 mm, about half an inch. Another fishtail on the rack has been sharpened so many times it is shorter than the day it arrived, and I use that one a lot. If you want the full rack and what each shape is for, that lives in its own course.
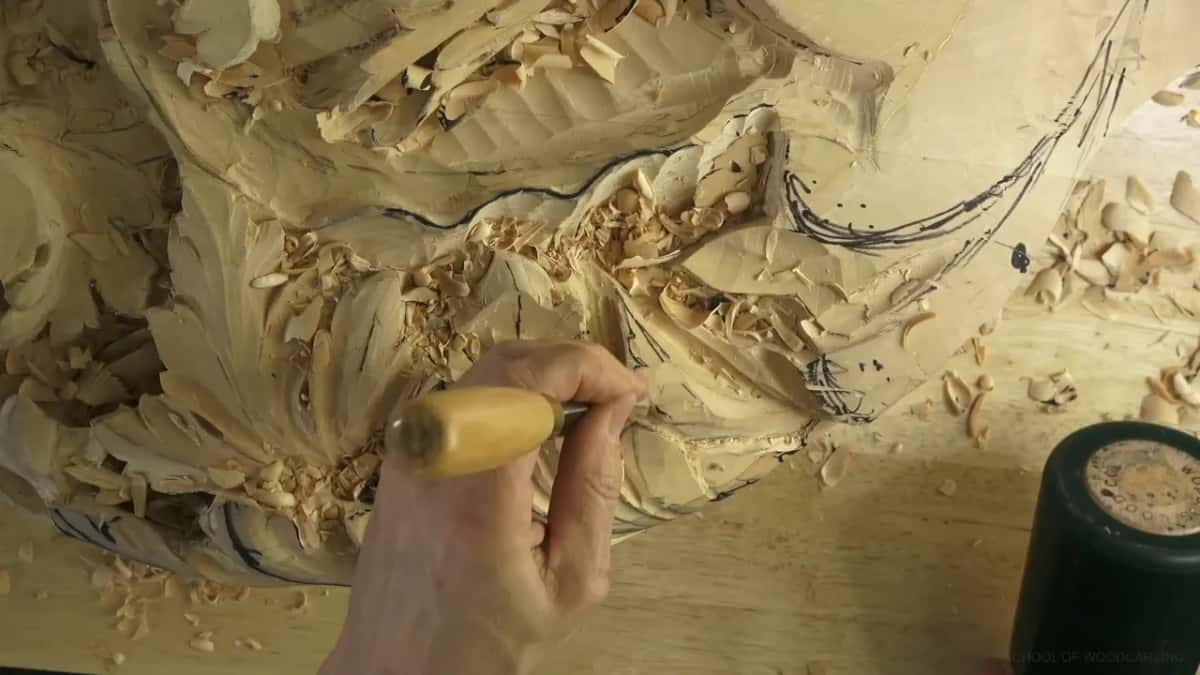
How does a plug cut make a black hole in a leaf?
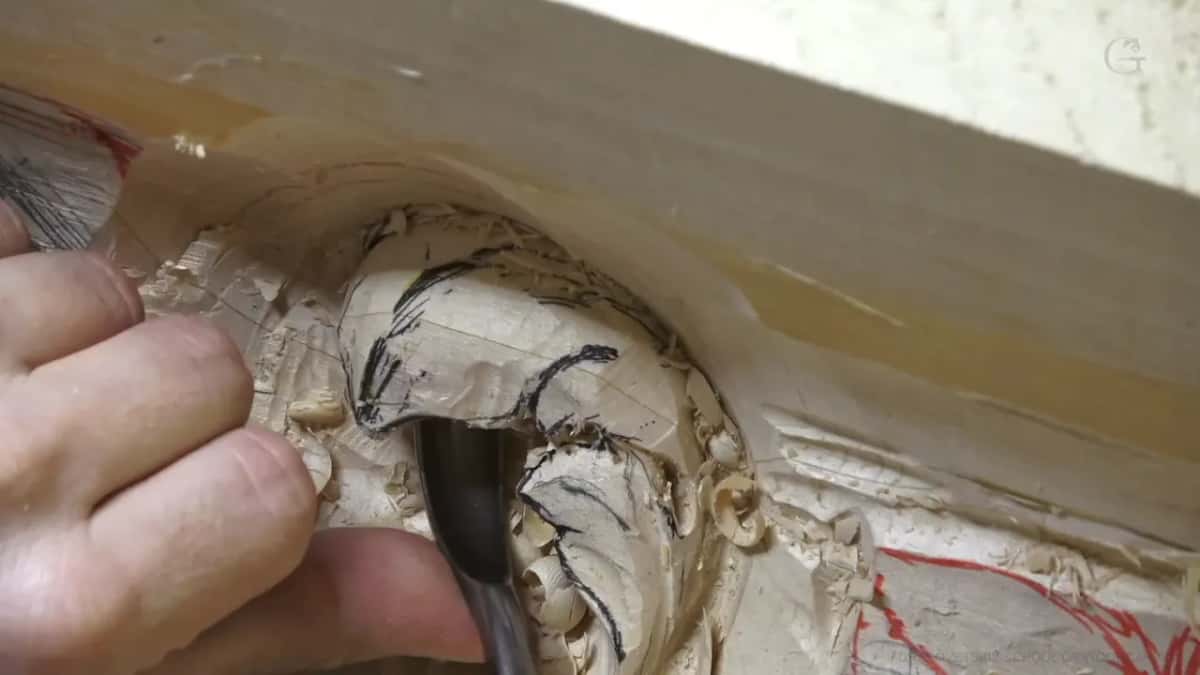
Set the gouge down pointing downhill, then turn it. That rotation lifts a plug of wood out whole, and a row of plug cuts straight down opens a deep slot. About an eighth of an inch, 3 mm, comes away at a bite. Step down to a 6 mm (1/4 in) number 9, then to a 3 mm one, and a 1 mm tool exists for the last of it when a spot is mean enough to need it.
A veiner will not do this. Its walls run too near parallel before they turn, so it channels beautifully and refuses to rotate. Whole difference between the two families, in one sentence, and it took me years to say it that plainly.
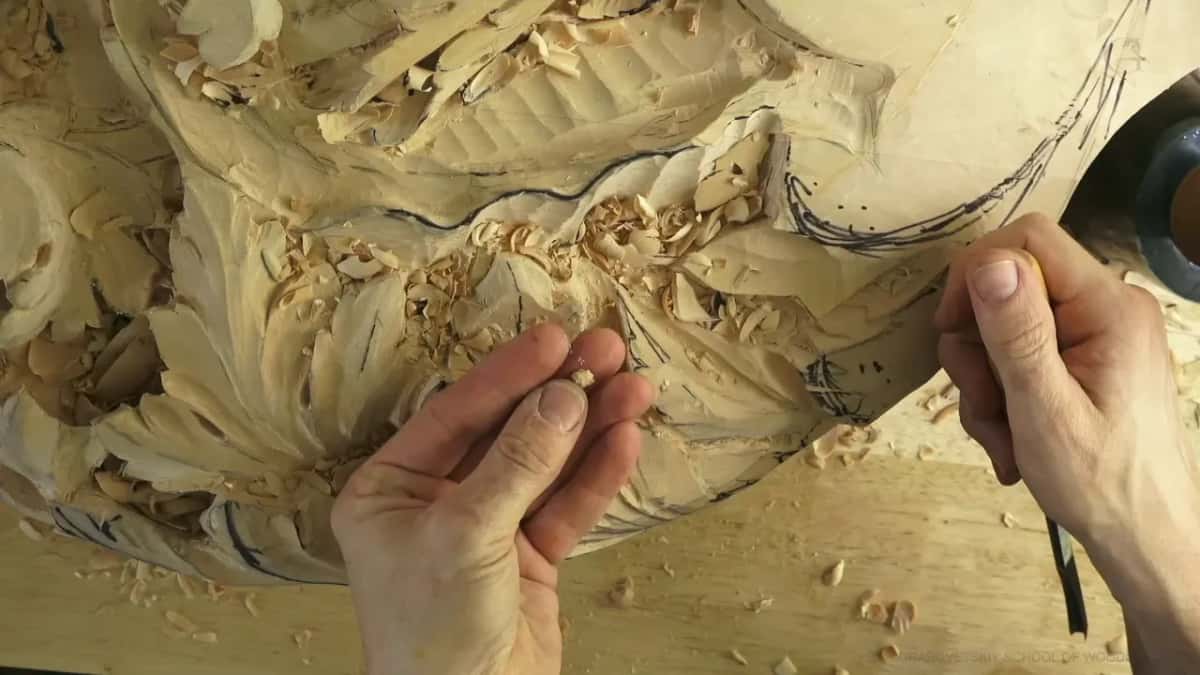
What happens when the shadow comes out wrong?
It happens, and I do not always know why. In workshop 59 I had a curved cut casting a straight shadow, and that looks wrong to my eye. I went at it with a 14 mm (about half an inch) number 7 to pull a stronger arc through the hollow. Better, I think. Then I said it was probably just my light, the way I cast it, and I moved on to the next division.
I do not like a straight shadow, but it is what it is. You do not have to agree with me.
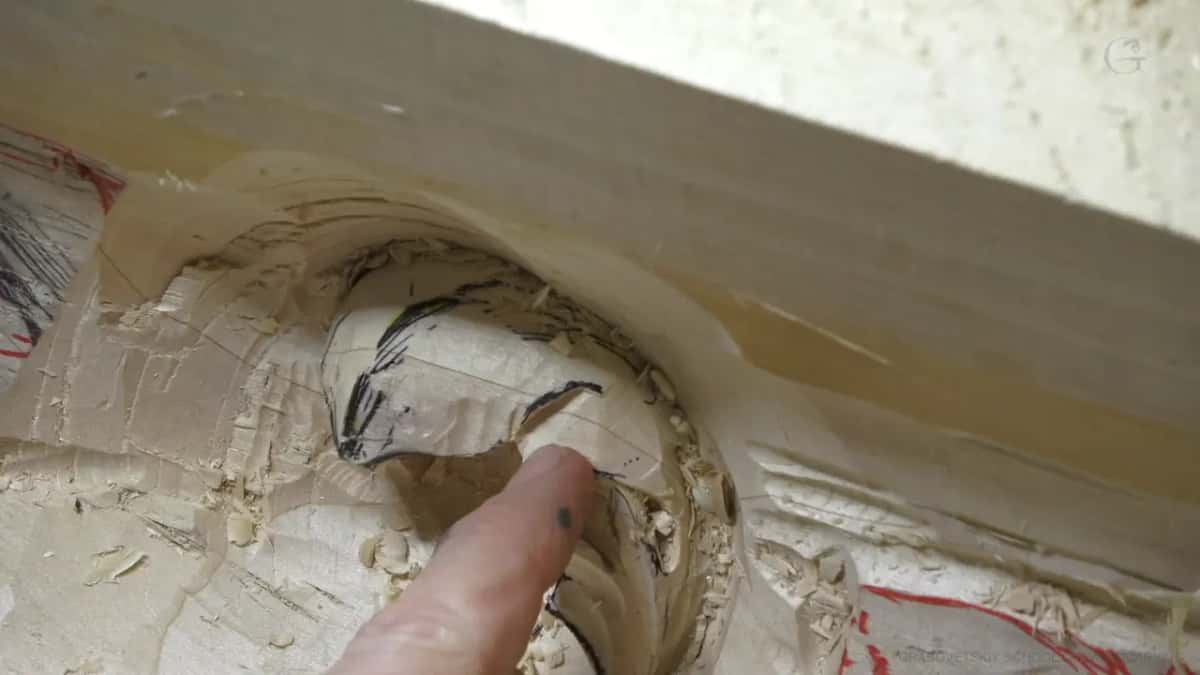
Does your work lamp tell you the truth about a shadow?
Mine does not. My lamp sits on my right and points in from that side, so an undercut I have just made does not throw a really deep shadow on the bench. Turn that light off and the same spot would throw a deep and nice one. In real life, there is going to be a good shadow.
A panel has to work in any environment. Not in the one pool of light it was carved under, but in whatever light the room turns out to have, at four in the afternoon in November as well as at noon in June.
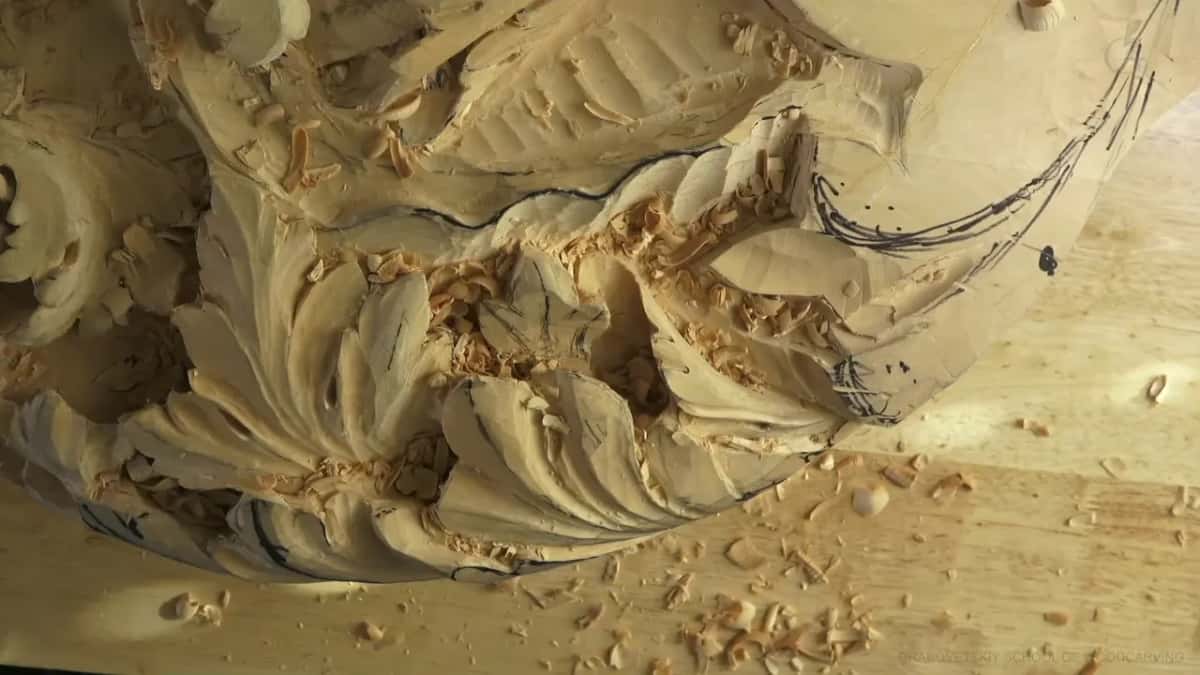
Do you have to carve with the grain on a relief panel?
Not always. This panel is too big to rotate, and walking around my bench costs too much time, so often there is one direction left to come from, and it runs against the grain. I go anyway. With a genuinely sharp edge I am fine going against it, and if the edge is not sharp then the grain was never the problem.
I also hold the gouge upside down in workshop 56, slicing one way and then flipping over to come back the other, and there are more tips in the techniques course.
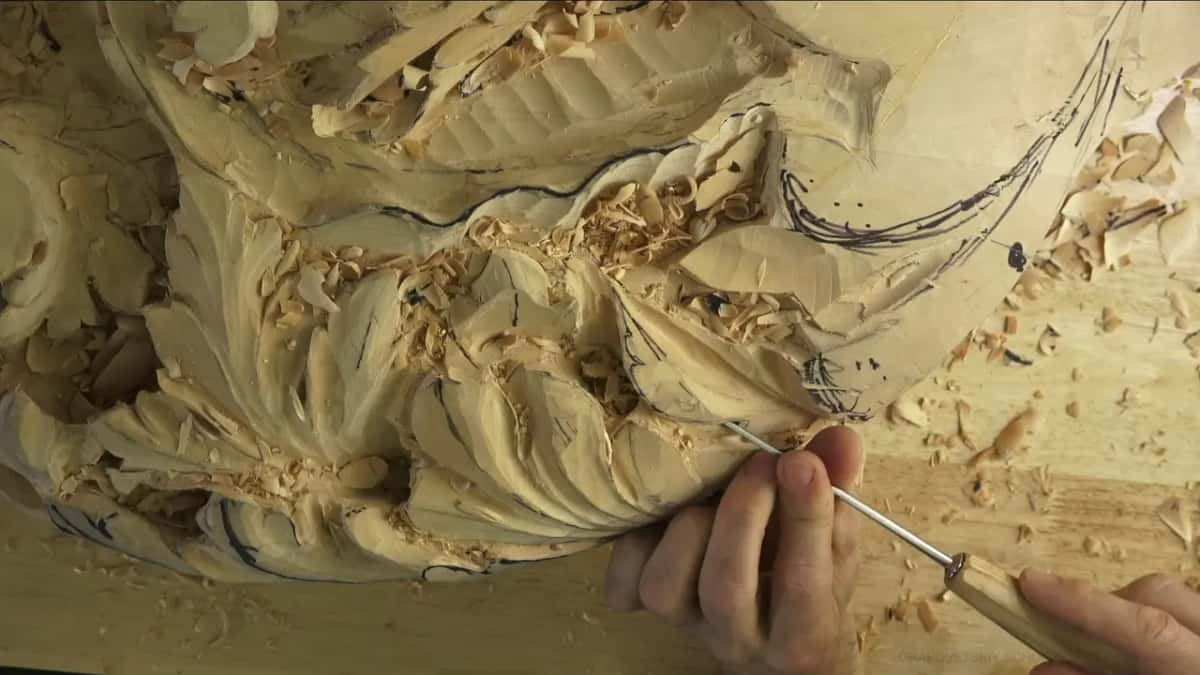
How do you carve something that has to look like it is flying?
You excavate completely underneath it, so it almost flies in the air, and you still keep your support somehow. A floating leaf needs material holding it somewhere. The support is real and the flight is a trick, and both things are true at once.
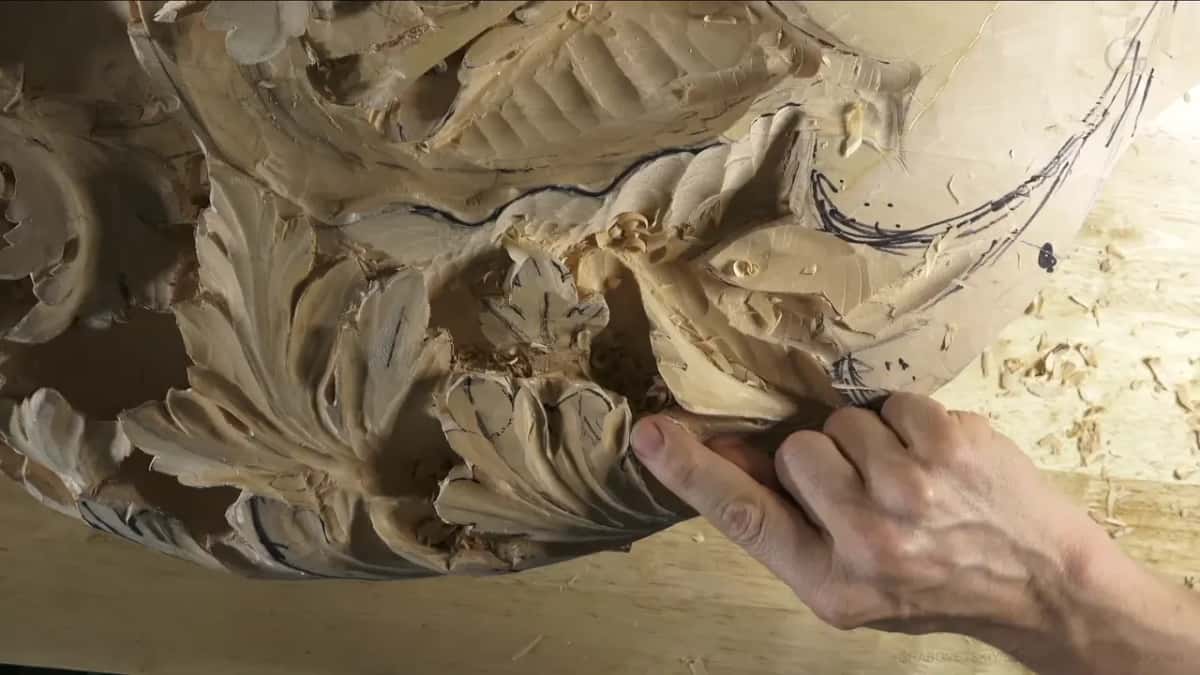
Rounding a form over into that kind of motion is what I call making it roundy. If curly can come from curl, then roundy can come from round, and I have said it on almost every project I have ever filmed.
What do workshops 50 through 61 actually cover?
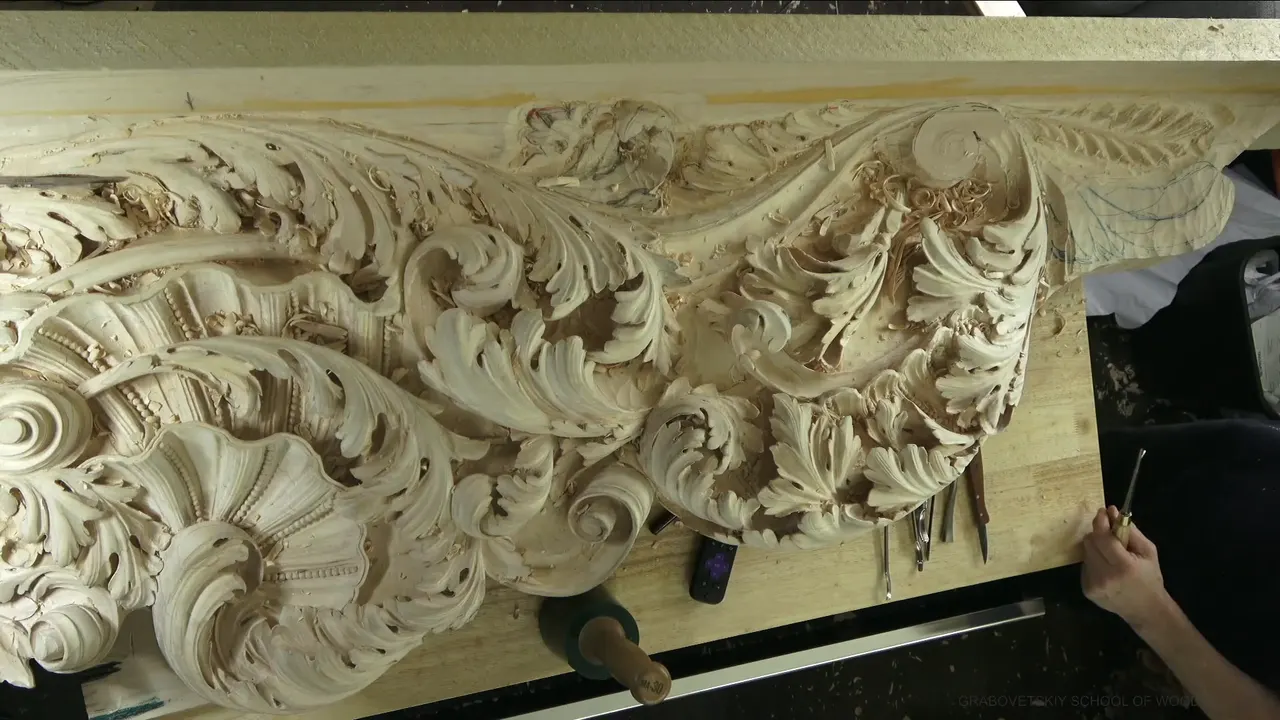
Twelve workshops and 142 filmed parts, on one panel headed for a ceiling. This stretch picks the board up where Part 4 left it and carries the acanthus on through another long run of leaves. Nothing here was made for the camera. Some work happens off camera, but my mistakes stay in, and when I blow the chips out with a hair dryer you see that too.
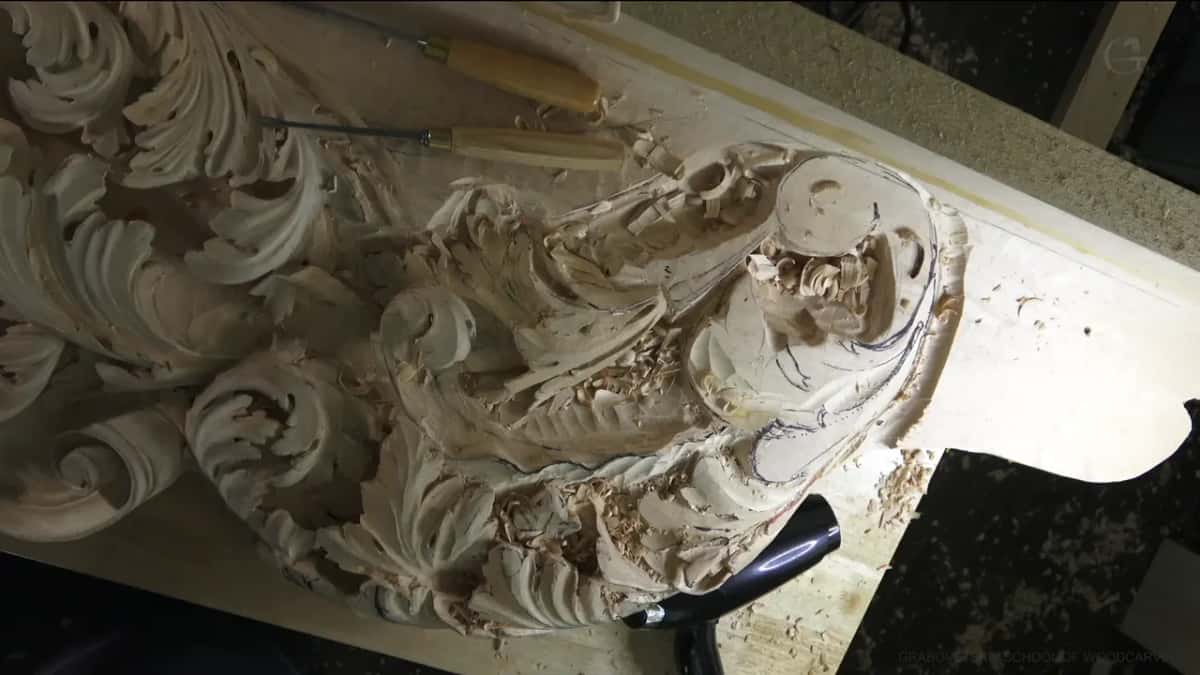
Some of my work I cannot film at all, because certain customers will not have the inside of their home shown. This panel I can film, with restrictions. I am not going to show you the whole picture with it installed, because it goes overseas to another country, and I will fly out and watch the installation. The name of the customer stays with me too. What I will tell you is that the house sits on a mountain, and land on that mountain is the most expensive in the whole world. That is the only clue you are getting.
By the end of workshop 61 more of that framework of shadow is in place. Leaves that were only shapes have become edges with air behind them, and several of the acanthus eyes are carved. Later it goes up on a ceiling, where all of this stops being theory.
Related ground, if you want the shorter road in first: the Greek acanthus leaf is a single leaf, and acanthus over moldings puts one over a molding. Both are smaller jobs than a ceiling.
Who is this stretch of the Venice Room for?
A carver who has already carved a leaf and is tired of it lying flat. You need to be comfortable with a gouge and a mallet, you need tools that hold an edge, and you need real limewood or basswood, the same wood I carve here.
I am going to be honest with you about the rest. This is slow work, and it is all about patience. Twelve workshops is not a weekend. Design has a course of its own, if you would rather start with drawing.
Does a leaf that genuinely lifts off its board interest you more than another finished ornament? Would you rather know why the old work looks like that? Then the whole school is one door, and this room is one of the courses behind it. Shall we carve?
If you would rather look around before deciding anything, the map of every lesson is open, the story of the school is on one page, and the in person classes in Maine are there for people who want a bench next to mine. Start here if you have never carved anything.
One more thing, and it is the smallest thing on this page. On the panel there is a hole I carved during a livestream, off to one side. It outlines the main movement, and visually it is just really nice.
How it's done
- Mark the line, then stay off it. Draw the division, then outline about an eighth of an inch, 3 mm, clear of the pencil. On one side I did not, and it was okay.
- Relieve the shape with a veiner. A 4 mm number 11 opens the outline and frees the waste beside it. I always start with the relief cuts, and they are really important.
- Drive the first plug straight down. Chop a 10 mm number 9 straight down with a mallet, working toward the future hole. Wood leaves as a plug, and the hole goes deep.
- Step the tools down toward one hole. Follow with 6 mm, then 3 mm, aiming every pass at the same opening. A 1 mm number 9 finishes a spot too mean for anything wider.
- Lean the veiner over to raise a ridge. Rolled onto its side, a 10 mm number 11 bites deep on one wall and shallow on the other. The high wall starts throwing its own shadow immediately.
- Reach the spot that blocks a full-size tool. Where an ordinary tool fouls, a short fishtail on a slim neck goes in and turns inside the pocket without breaking anything.
- Blow it clear, then judge the shadow. Chips fill a hollow and hide the work. A hair dryer empties it in a couple of seconds, and with the bench light off the shadow would read really deep.
Frequently asked questions
How does a skew chisel differ from a skew gouge?
Flat against curved. The two names get muddled constantly, even by me. Put a straight edge on an angle and you have the chisel. Grind that same angle across a hollow sweep and you have the gouge, and a number 11 treated that way becomes a skew veiner.
Can a carver regrind a normal gouge into a skew?
Yes, and it is easy to do. I have done it, even on a few back bends. Gary, who teaches design at a university, made his own from a number 7 after he saw me using mine.
Why is a number 11 called a veiner?
From the veins it leaves behind in the work. The tool is a deep letter U with near parallel walls, so one pass along a leaf reads as a vein. A number 9 is a true half circle, which is why it can rotate and a veiner cannot.
What to carve next