
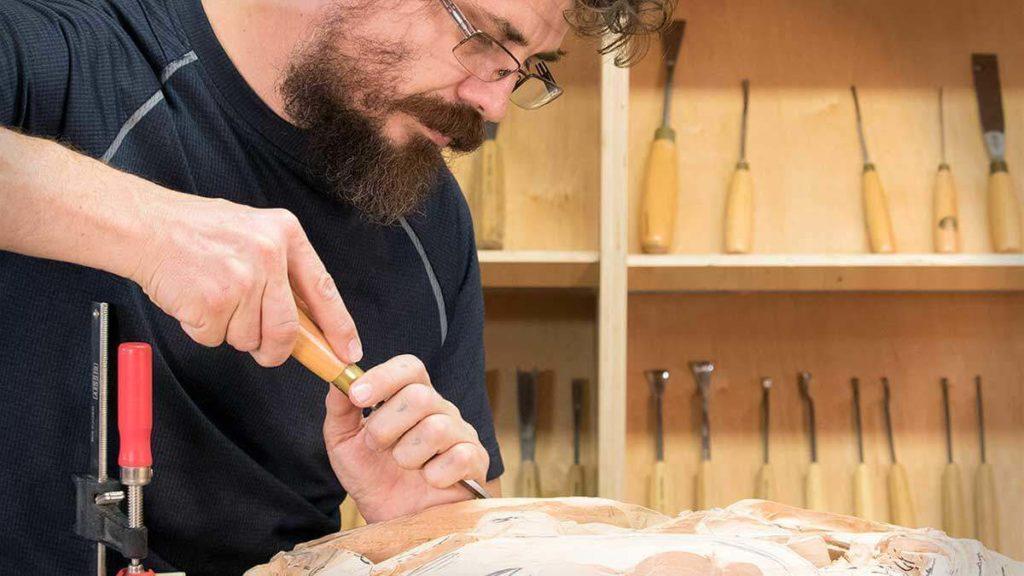
Alexander Grabovetskiy, woodcarver, School of Woodcarving · Published 2017
What wood carving techniques should you learn first?
Quick answer: Wood carving technique is the small set of habits that decide how clean the wood comes off your gouge. Read the grain, pick the widest tool that fits, slice instead of pushing, punch the ground where it needs to sit down, and keep every edge sharp enough that none of it fights you.
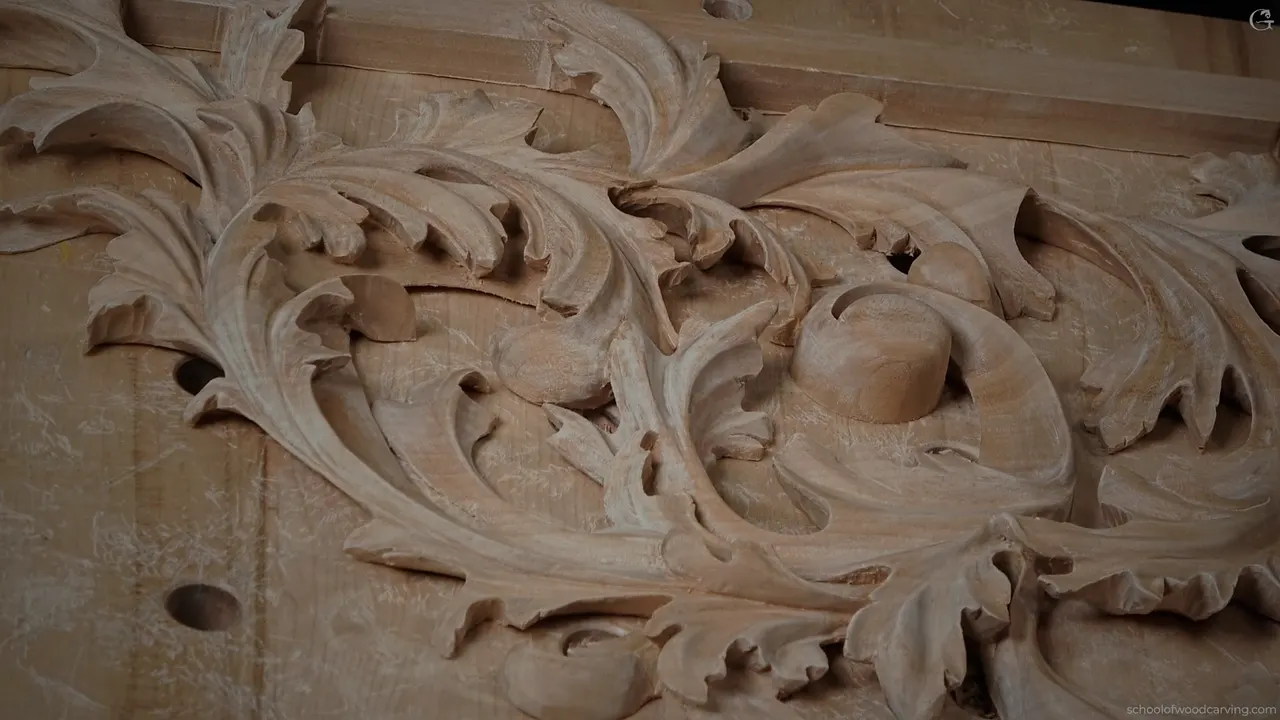
Wood carving technique is what happens in the two seconds before the gouge touches the wood. You look at the grain and decide which way to attack. You take the biggest tool the shape will hold. Then you slice instead of shoving, and when the wood tears anyway, you stop and sharpen.
Ever dig at one spot for an hour and get nowhere? A channel comes off glassy on one wall and shreds on the other, and you sit there wondering what you did wrong. Those two questions come up more than all the rest.
What decides whether the wood fights you
- Grab the widest gouge the shape allows, and go small only for the last details.
- Short grain to long grain works on an outside curve, and stops working inside a bowl.
- A sharp edge beats every grain trick ever written.
- Slice by rotating the tool through the pass instead of pushing it straight ahead.
- Sandpaper is fine under gold leaf or paint, and wrong under a tool finish.
- Punch a background with a ground down nail when a $45 punch set is not in the budget.
- Stabilize thin petals with thin super glue, then lay the piece on acoustic foam before you carve the back.
Which gouge should you pick up first?
Pick the biggest one the shape will hold. I watch carvers take a quarter inch tool to a whole panel and dig, and dig, and dig, and by lunch they are worn out and the block still looks like a block. My big gouge measures 80 mm across, three inches and one eighth, and it knocks the mass off a project in one day.
Here is how I put it in class. Flying from Florida to Maine took me five and a half hours. Driving would have run about thirty. The Appalachian Trail covers roughly 2,200 miles and takes months on foot, and people really walk it. All three get you there. A big gouge is the airplane, a 20 mm is the drive, and a small tool is the hike.
Big first, then medium, and the small ones only for details. That order has saved my students more hours than anything else I teach.
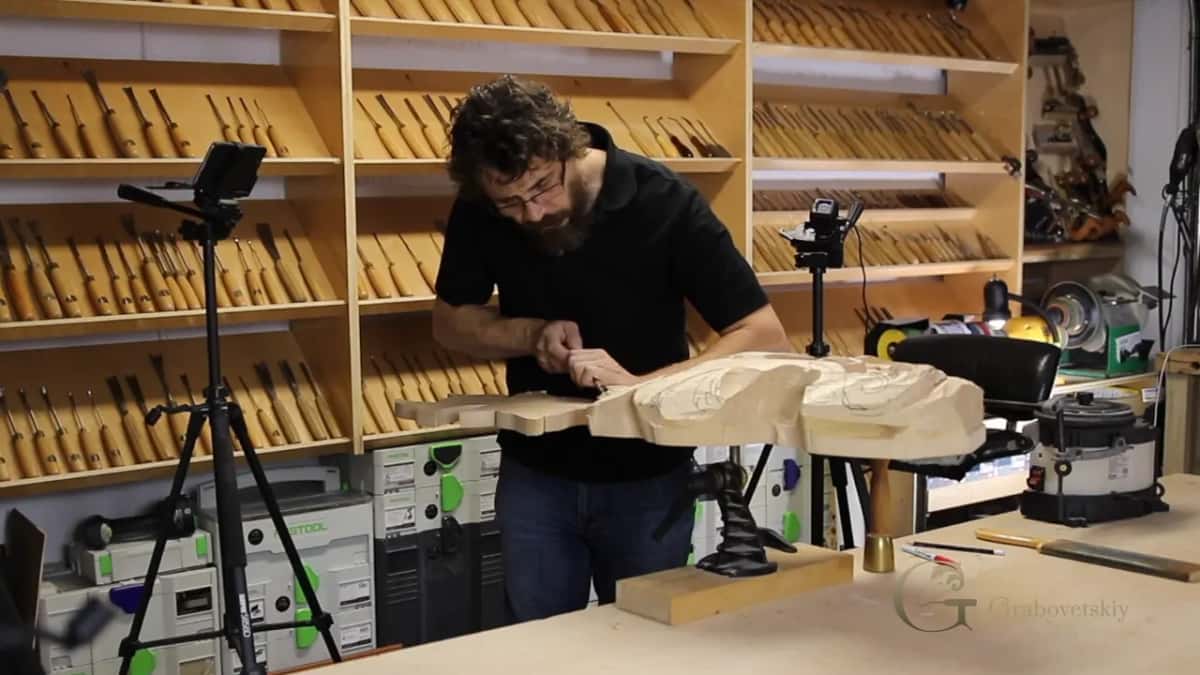
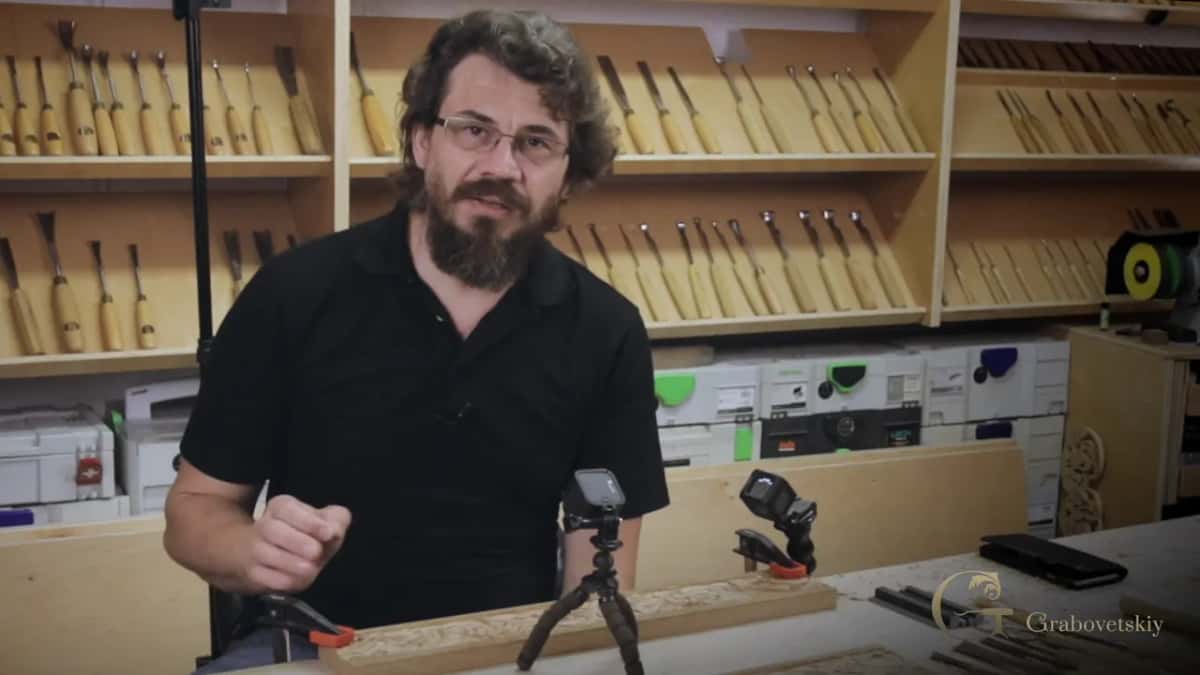
My own teacher put it as an army. Every gouge is a soldier with one job, and the bigger the army the bigger the ground you can take. Two tools will carve, but two tools will hold you to small work forever. I think of myself as the general and the shelves behind me as the ranks, which is why I keep buying them.
Why does one side of a channel shred?
Fibers on that side have nothing underneath holding them up. Draw a donut on a board. Short grain sits at the top and bottom of that ring, long grain runs along the sides, and you begin where the fibers are short and finish into the long ones.
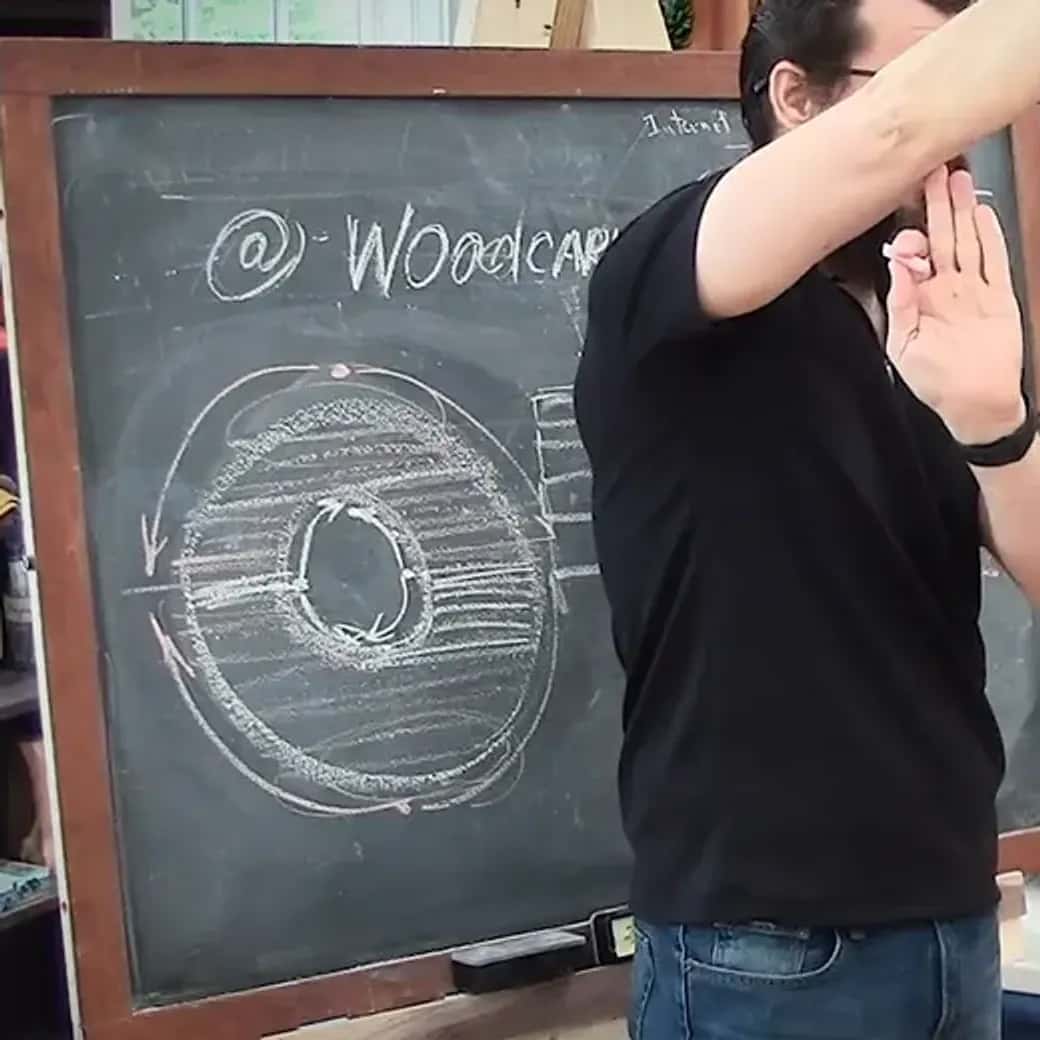
The other way to see it is support. Take a bundle of drinking straws and rub your hand along them. One direction lies flat and the other lifts every straw. Under the face of a board the longer fibers below hold up the shorter ones above, and a pass that runs against that support lifts the fibers and fights you.
Inside a bowl none of that helps. The grain turns as the wall curves, and somewhere there is a spot where the two directions meet. We call it the marriage line. Carve through it and the wood splits, so you work in from both sides and meet there.
Then comes the honest answer, the one my own teacher gave me. Carve in the Grinling Gibbons style and there is no such thing as carving with the grain. You come at the wood from angles nobody has a name for. Sharp tools. That is the whole solution, and it is why sharpening sits second in the three things I teach.
How should you hold the gouge?
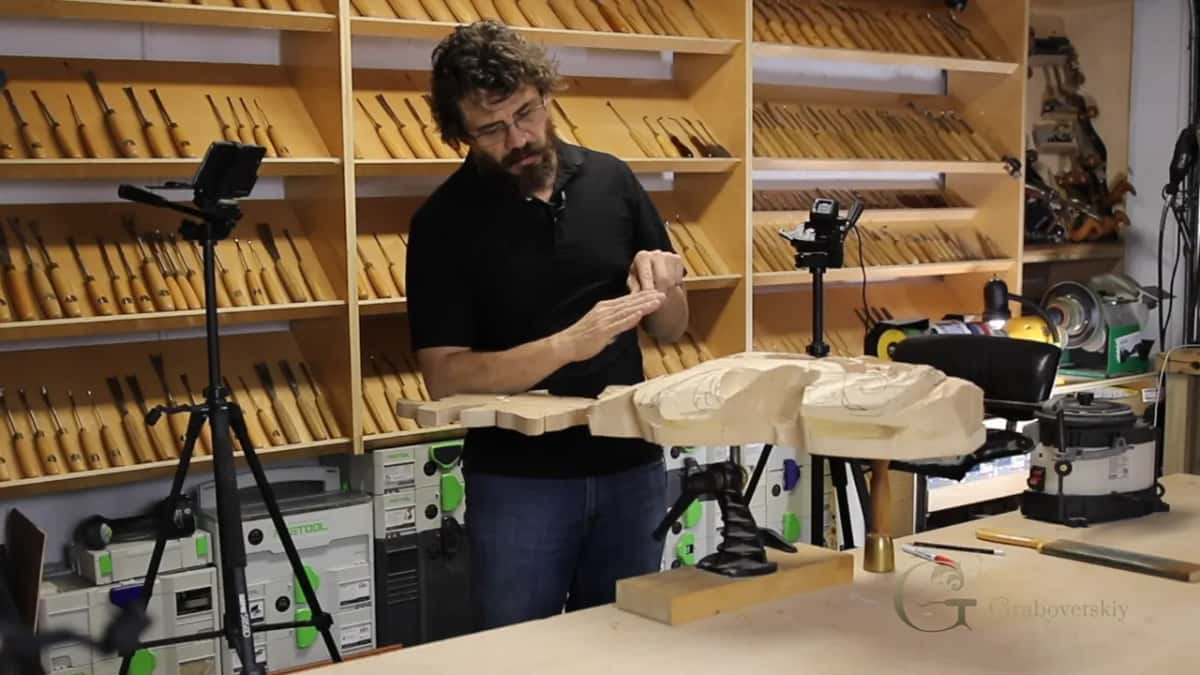
Two hands, and the back one decides how clean the pass comes off. You can swap hands when the carving turns a corner, and plenty of carvers do, myself included. There is another way that saves the swap. Keep the same hand on the handle and rotate the tool instead, which sounds like nothing until you try it on a tight curve. Whichever you pick, move your second hand closer to the blade. The nearer that hand sits to the edge, the more control you have, and the cleaner the surface it leaves.
What does a carver mean by a slicing pass?
Rotating the tool through the pass instead of shoving it forward. Watch my wrist on any finishing pass and it turns while the edge travels, so the edge is slicing fibers rather than crushing a path through them. On roughing work I will happily push a big gouge and take the chunk. At the finish it changes, because every surface you leave has to be clean straight off the tool, and true masters never reached for paper to fix it.
Do you need sandpaper on a carving?
Sandpaper depends on the finish, and nothing else. I am carving a shade for a pipe organ in New York City right now, mid German Baroque, pierced so about half the panel is holes. All of it goes under water gilded gold leaf. Gold needs a stabilized, shiny ground, so that one gets sanded.
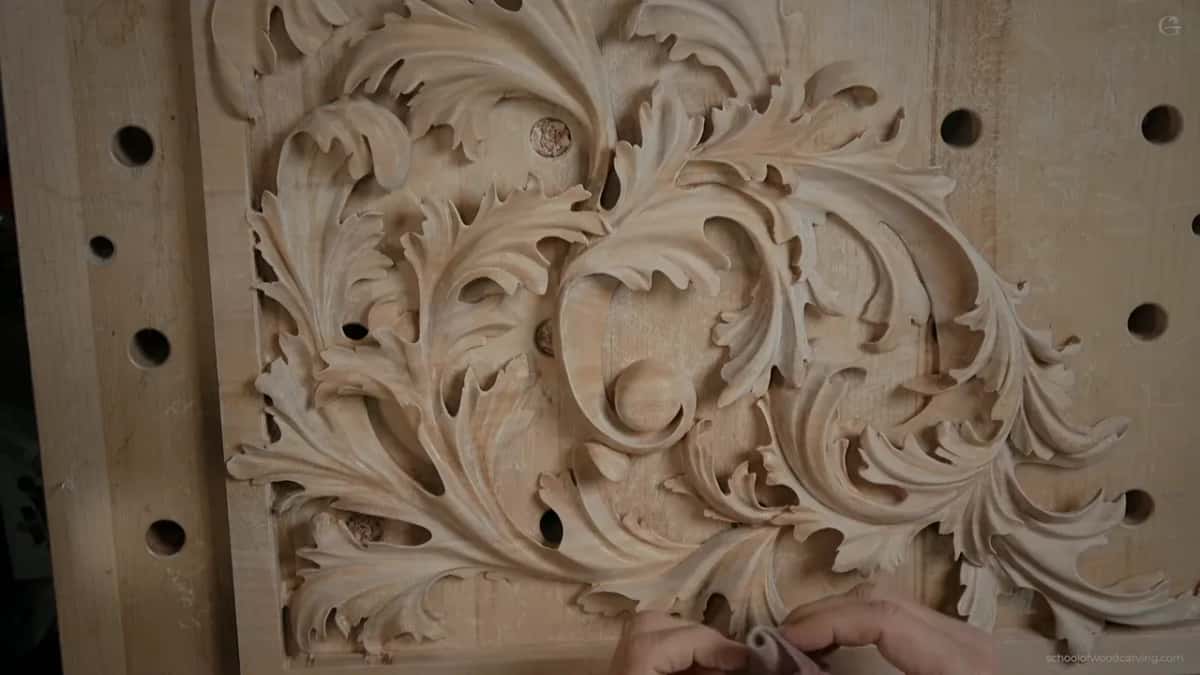
Old shops had none and still got there. In England they used reed rush, the same stuff sold in music shops for instrument reeds, and it works out to roughly 400 grit. Gibbons used it. Other carvers reached for shark skin. Fifteenth century men took a shard of glass and scraped.
Scraping still works, and I do it with a carving knife across the whole surface. After that you burnish with a chip of the same species, basswood on basswood, and it comes up shiny with no metal burnisher anywhere near it. For gold I finish with 4,000 grit Mirka mesh. The mesh lets dust fall through instead of pressing abrasive down into the wood.
Under a tool finish, leave the paper in the drawer. Every pass has to come off clean, which is the whole point of learning to use the tools properly.
What is the difference between a straight gouge, a fishtail and a longy?
All three carve the same sweep. The shank decides where you can put the edge, and that is really the whole story.
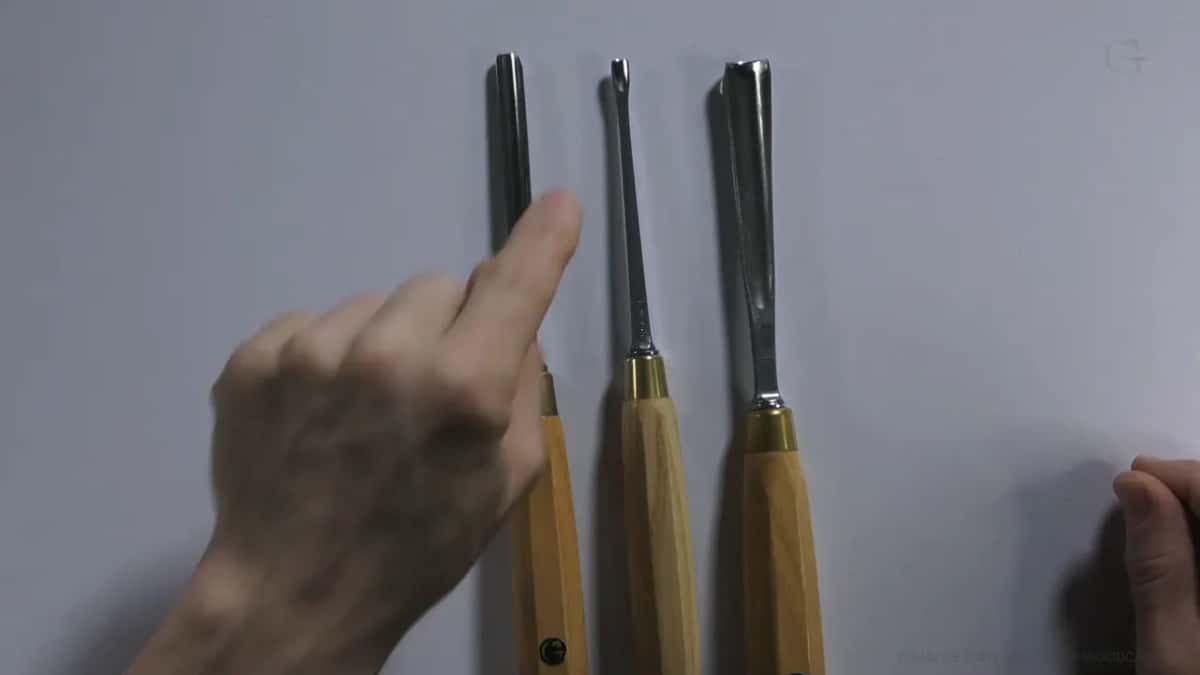
| Shape of shank | Where it earns its keep at work | Weak spot |
|---|---|---|
| Straight gouge with a long groove | Lasts a lifetime | Will not turn inside a bored hole |
| The fishtail | Drops in, rotates, carves all around | Hates mallet work |
| Longy with a shank that tapers back | Reaches deep | Cannot rotate in a tight pocket |
| Reshaped V tool | Wings ground back to clear an undercut | Rarely needed |
My deep excavation is nearly all fishtail. A number 9 at 6 mm drops into a hole, turns, and carves the whole inside wall, which no straight tool of mine will do. I also use just the corner of a fishtail to reach a spot the full edge cannot. A number 7 fishtail at 14 mm does the same job one size up.
How deep are you supposed to go?
Deep enough that the shape reads, and in my lessons I say the number out loud. Six millimetres, a quarter inch, and I give both because my students are in more countries than I have ever counted. Reading depth by eye is grown, not inherited. Think of learning cursive between two ruled lines, and how after a while you stopped needing the lines at all. Carving in three dimensions goes the same way. The more you dig the more you see, and one piece on my bench went about eight inches down before I reached the ground.
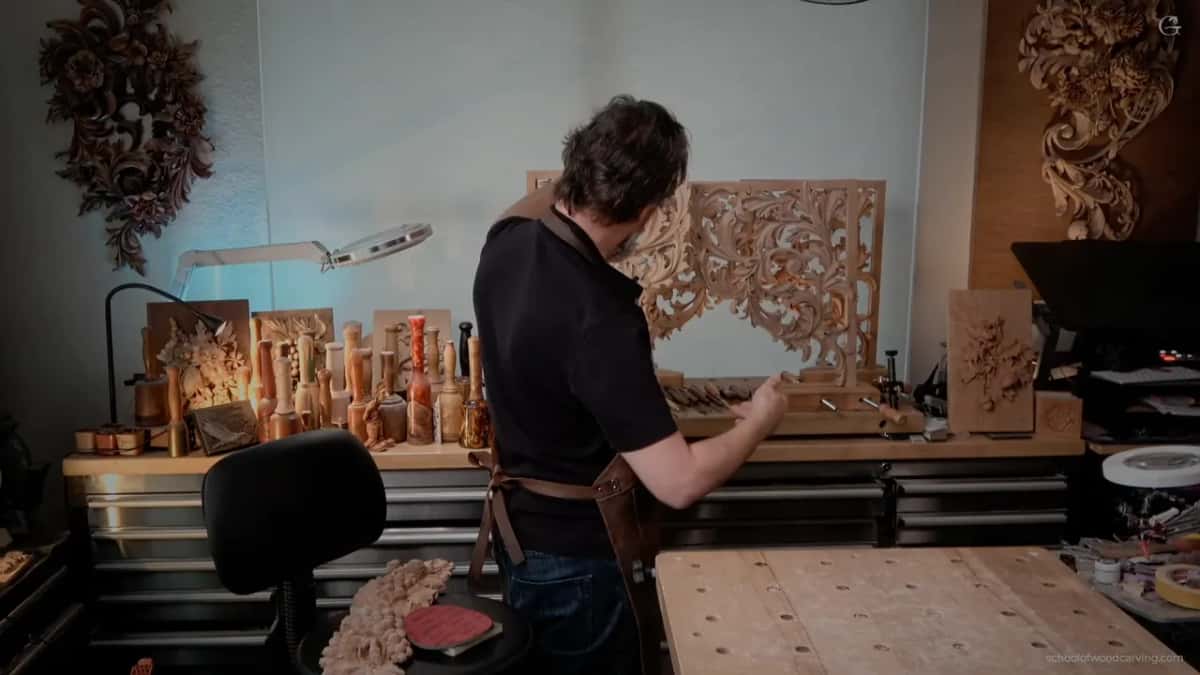
Can you punch a background without buying a punch set?
Grind a nail. A framing nail, the thickest you can find, flattened on the end and then filed with a triangle file until it carries a pattern. I have used that for years and nobody has ever spotted it in a finished piece.
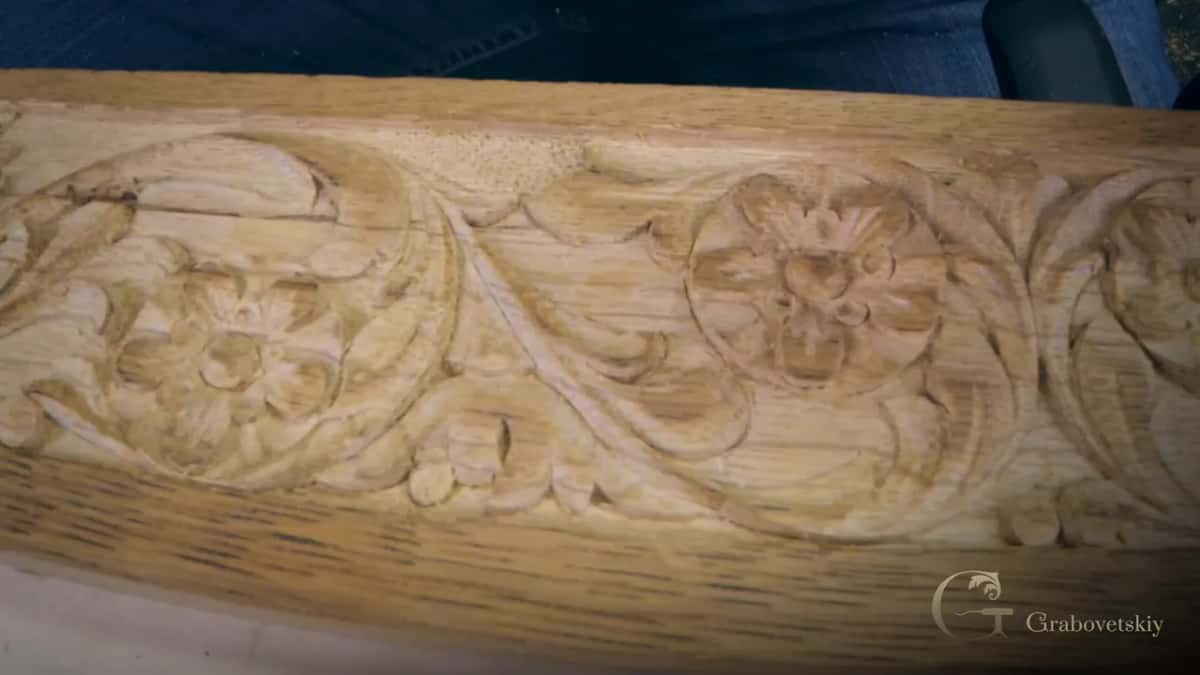
The bought sets are good as well. Woodcarvers Supply sells five that match antique furniture grounds, three round, one square, one rectangle, for about $40 to $45. My main one is 5 mm, so 3/16, and the little rectangle runs 3 by 10 mm. Henry Taylor makes punches in England that never reach the United States.
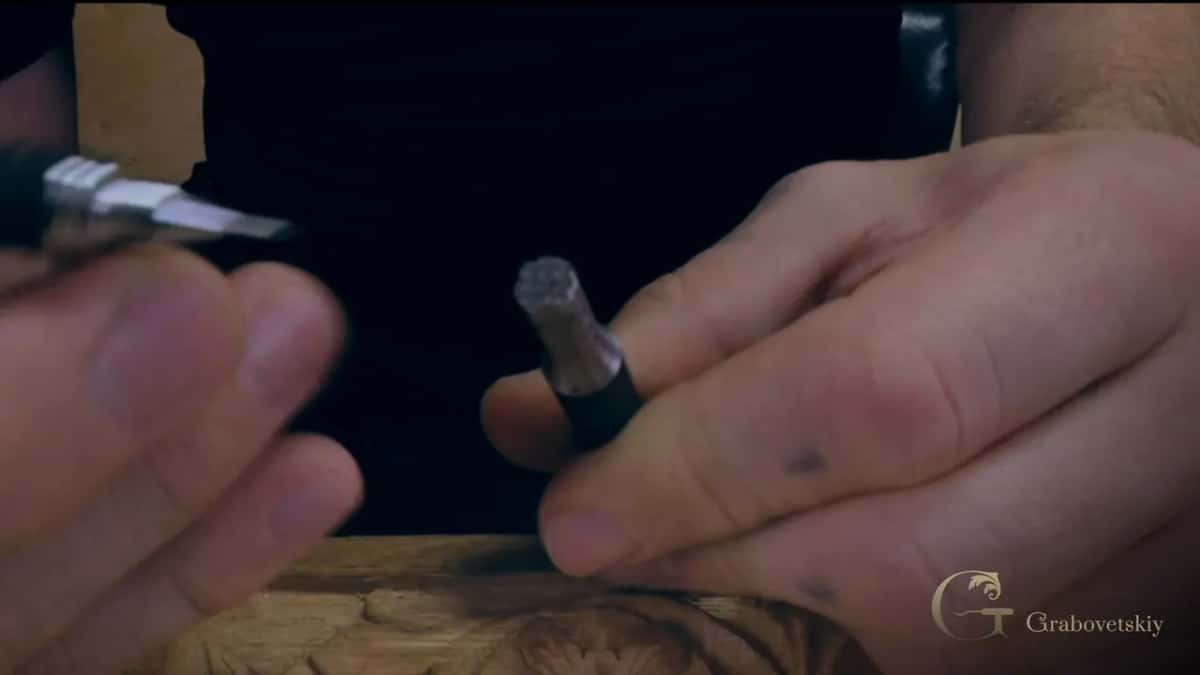
For the bubbly ground on those antique rosettes I use leather punches. Search for background punches for leather and you land on exactly the tool, in three sizes, matching the original carving. Google background tools for wood carving and you find nothing at all.
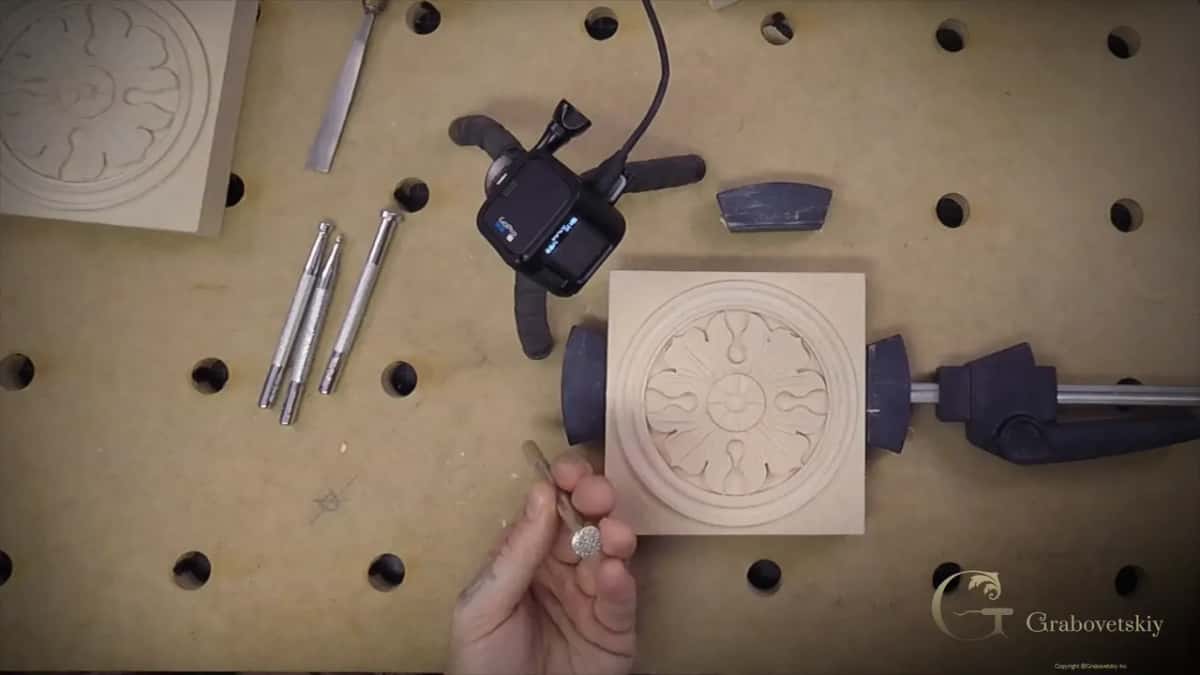
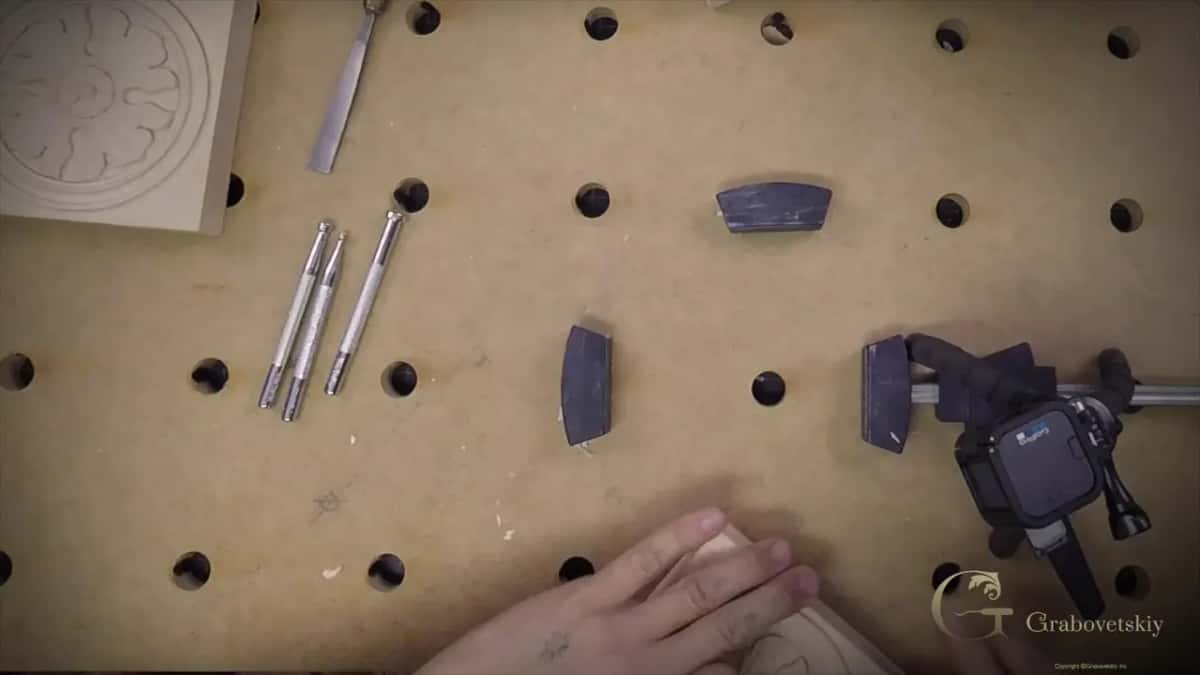
Fifteen minutes of punching separates a design from its ground. Stain then sits darker in the punched area, so a shallow furniture panel suddenly reads deep.
What keeps a thin petal from snapping while you carve behind it?
Glue in the fibers first, then something soft underneath. Undercutting is what casts the shadow, and carving really is all about light and shadow, so the back has to be reachable.
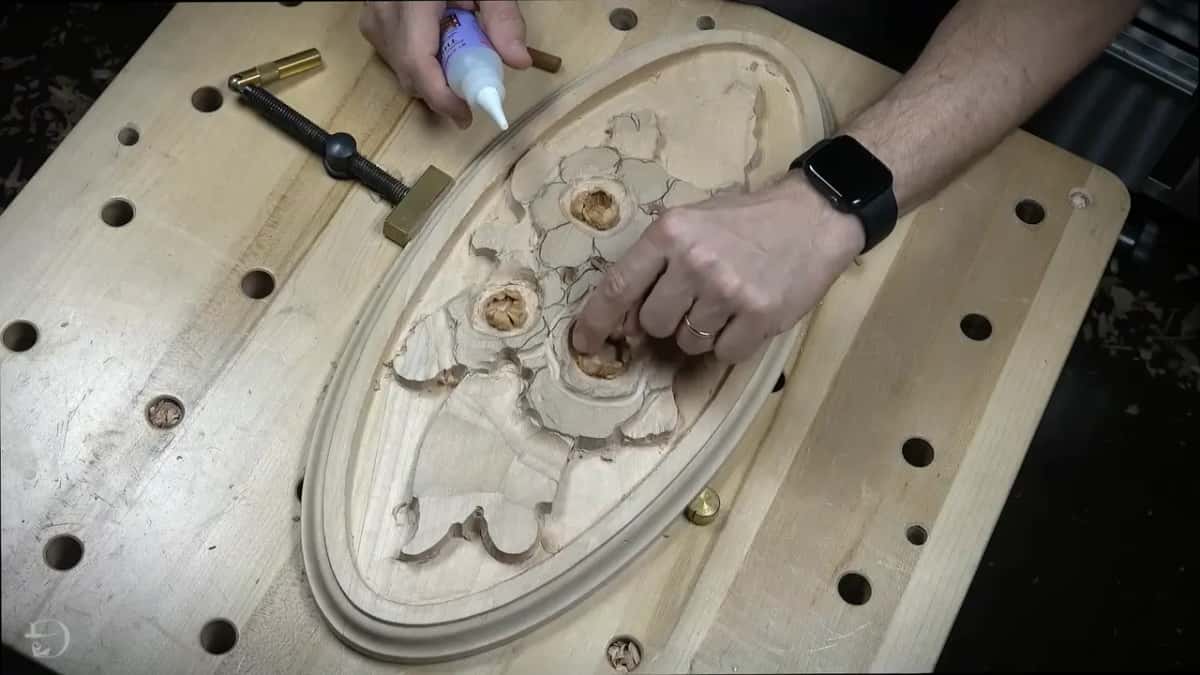
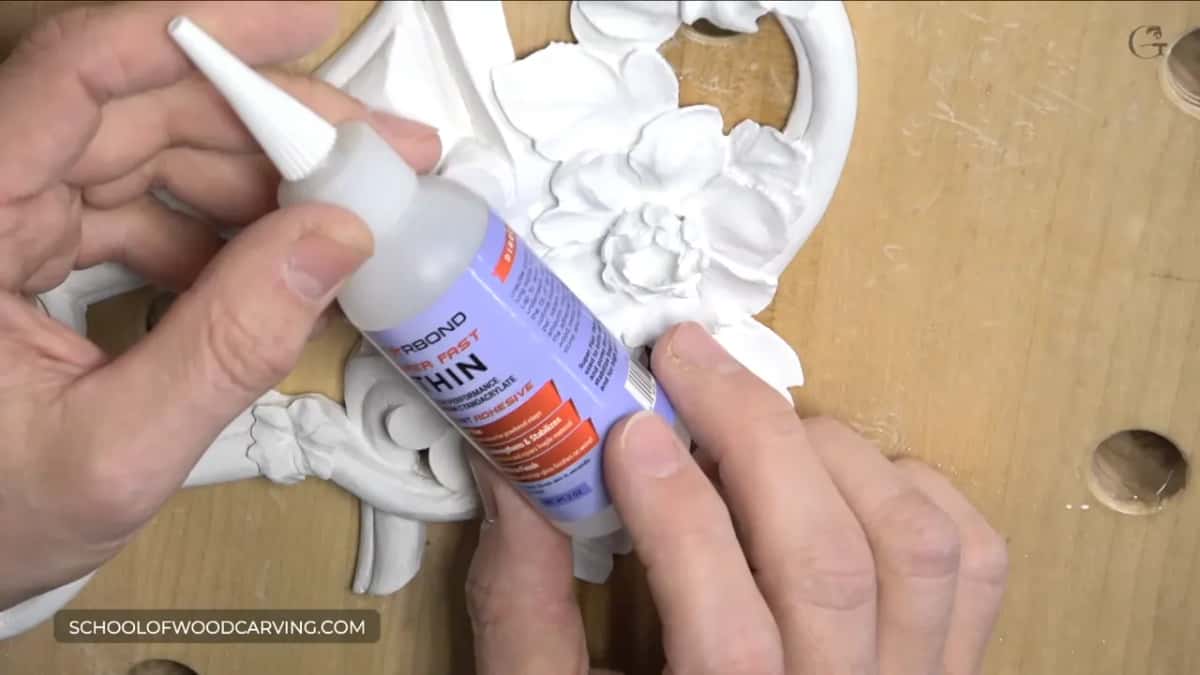
Three ways to stiffen the wood, and the finish picks which one. Wood glue thinned half and half with water soaks in and hardens the fibers, and it will ruin any stain you put on later. Thin super glue penetrates beautifully, though by my reckoning it holds for about five years. Wood hardener, the stuff sold for rotten exterior wood, takes two or three coats and still lets you stain.
Now the flip. Bench cookies will not save you, because you still press down and the petals go. I lay the piece on ribbed acoustic studio foam, the sort people hang on a wall to kill echo, and it takes the pressure without breaking anything. Small tools only from the back, a 5 mm Dockyard rather than something with real force behind it.
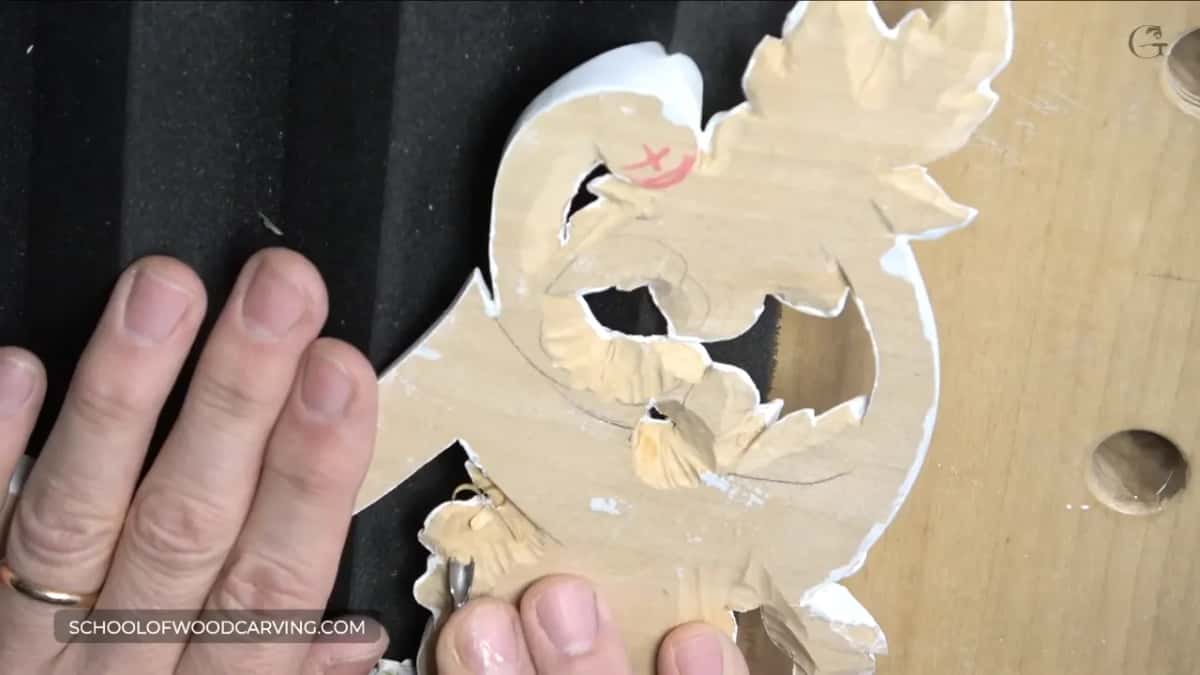
One panel of that Venetian room lost a petal anyway. Glue from the small bottle, hold it a minute, and back to work.
What holds the work while you carve it?
A clamp dropped into a bench hole, and often nothing more. My bench top is drilled on a grid, so a Festool clamp goes into a hole and locks in about a second, and I move round the piece as the carving moves. The pegs do a second job most people miss. Put two into the holes, push the piece up against them and carve with nothing clamped down at all. For a panel too thin to squeeze that is the difference between working and breaking it.
Does a traditional carver use an iPad?
Mine comes out most weeks. I draw the extra details a client asks for in Procreate, on a canvas set to real inches at 400 dpi, with the peppermint pencil.
Ten years back a client wanted an acanthus leaf moved higher on a ten foot headboard drawing. I took a razor to the paper, erased hours of work, and redrew the whole thing. He rang back and asked to shift it right. We call that the dancing stage, and on paper it eats weeks.
The drawing goes into SketchUp next, so I can scale it to the millimeter, which matters when a finished carving has to land on a wall. Then a PDF, then the print shop. One sheet 36 inches by 120 inches cost me $27, so I never did buy the plotter I kept thinking about.
Carbon paper moves it onto the board and the jigsaw takes the waste off. Design comes first of the three things I teach, and it is the part most carvers skip, which is why I built a whole course on design.
The one habit worth stealing from this course
Stop overcomplicating. My teacher said that to me before he said one word about tools. He told me not to spend money on stones until I had money to spend, and to lay sandpaper on a flat bench instead.
I still do it. There is 6,000 grit automotive paper in my kitchen drawer, and my wife has the sharpest knives on the street. In prison I carved furniture with a 10 mm knife I made myself and a small gouge ground out of a nail, and they paid me one boiled potato a day. One potato.
Thirty five years later I am grinding a nail into a background punch and telling students it is a good idea, which it is. If you want somebody to stand at your shoulder while you learn this, that is what we do inside the school.
How it's done
- Clear the ground before you punch it. Run a small V tool around the lowered ground and get every chip out. Anything left under a punch prints as a smear you cannot fix later.
- Start with the largest punch you have. Stand the biggest punch on the ground and hit it with a carpenter mallet that has a plastic face. Metal will chew the punch and a mallet made of wood will die.
- Set them down at random. Shift the punch a little and hit it again, with no pattern at all. An even grid reads as machine work the moment anyone looks closely.
- Work down through the smaller sizes. Swap to the 5 mm round, then the small rectangle, for the corners the big one will not enter. Ease off, because a small punch sinks deeper for the same blow.
- Grind one narrower if it still will not reach. Take a punch you can afford to lose and grind one side of it away. Five of mine cost about $45, so sacrificing one is cheap next to a spoiled ground.
Frequently asked questions
Where can you buy basswood for carving?
Woodcraft and Amazon both stock basswood, though shipping makes them dear. Search for a hardwood lumberyard and find the one that sells to furniture makers, because those yards can order it in. Mine wants a $500 minimum now, up from $300, and the truck comes with no freight charge.
What bevel angle works best on oak?
Between 18 and 22 degrees, and I never measure it. Put your hand under the handle and grab the tool, and your knuckle should nearly touch the wood as the edge begins to bite. Oak is hard, so a mallet comes into it, and the mallet weight shifts that angle.
Should a beginner copy another carver or design their own work?
Copy first. Nobody can replicate your tool marks, so the piece comes out yours whatever you started from. Copying teaches you the logic behind why a carver did what they did, and once you can read that logic your own designs start to work. I never copy, and I still say copy.
What to carve next