
Alexander Grabovetskiy, woodcarver, School of Woodcarving · Published 2017
Part of Carving Antique Style Rosette
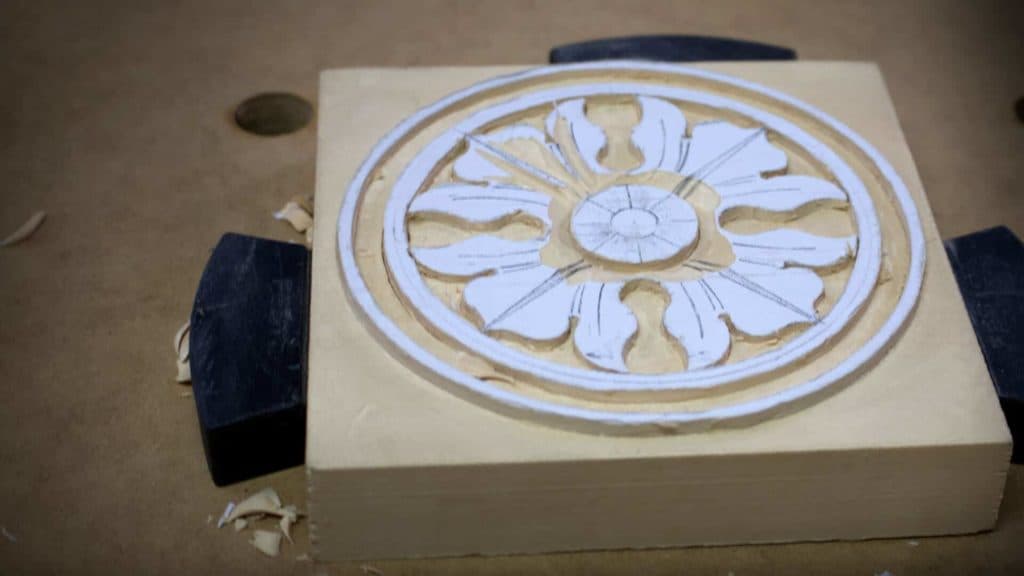
The full video lesson is inside the school.
Alexander Grabovetskiy, woodcarver, School of Woodcarving · Published 2017
Quick answer: Picking a gouge means holding it against the drawn curve and looking at the gap. A sweep that fits touches the line along its whole width. One that nearly fits touches in the middle and lifts at each end, and those two points leave a mark no later cut removes.
Choosing a gouge means holding it against the drawn curve and looking. The sweep either sits in the line or it does not, and the one that drops in without rocking is the tool for that cut. No chart decides this. Your eye and your rack do.
Stood over a drawing with forty gouges on the bench and no idea which one belongs in a curve? Forced a tool that nearly fitted and left a corner mark you cannot take out? Setting in petals is where a rack of tools stops being a collection and starts being a vocabulary.
By trying it, which sounds unsatisfying until you have done it a few hundred times. The petals of this rosette are drawn as a series of curves, and each one has a radius that some tool in the rack already matches.
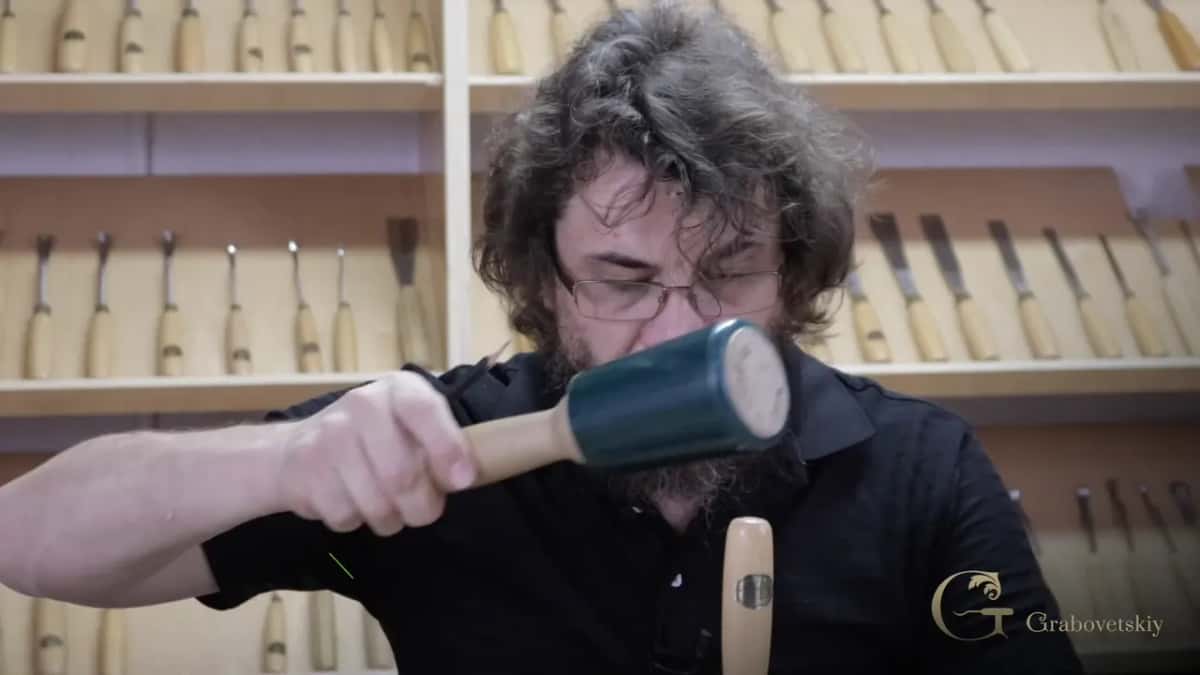
My hand went to a nine first and it sat straight into the line with no gap showing at either end. That is the whole test. A gouge that fits touches the drawn curve along its full width, and one that nearly fits meets it at the middle and lifts at both ends, which is where the mark you cannot remove comes from.
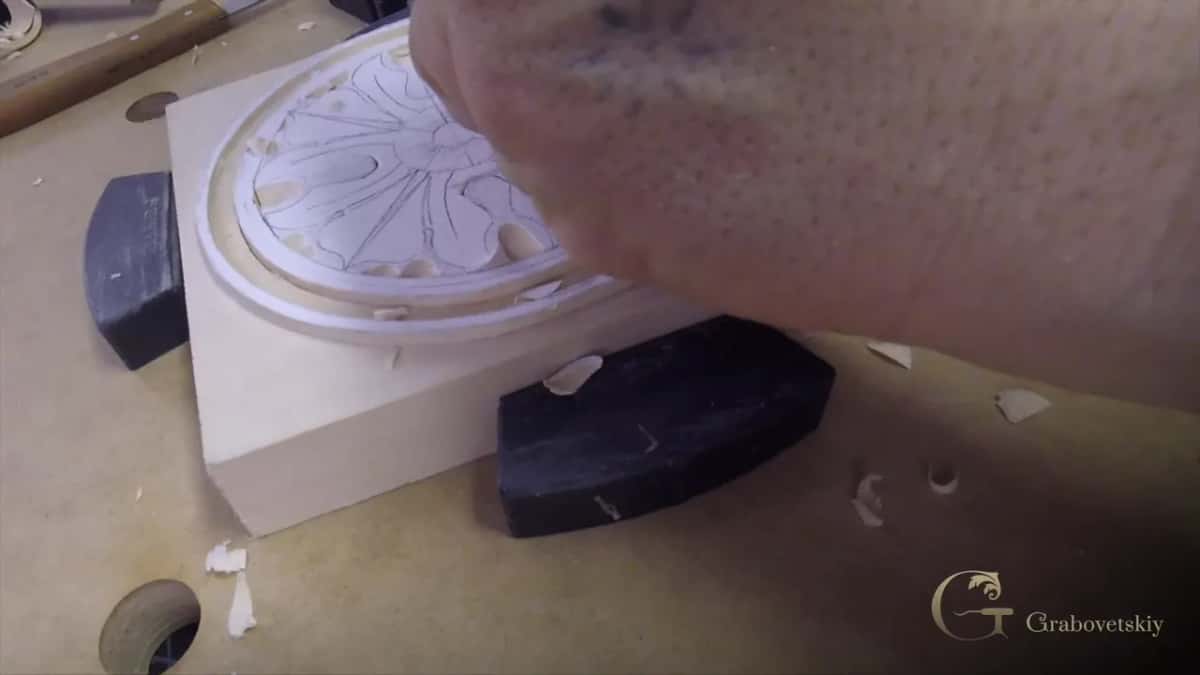
Then the mallet. Held dead vertical, tapped in instead of pushed, and the curve is set in one move instead of being carved out of several. The next spot along wanted a nine again, a ten millimetre this time, and the one after that a number seven at fourteen.
Owning a lot of tools is the quiet advantage here. With a broad enough rack you can nearly always find a profile that matches what you drew, and the cut becomes one confident stamp instead of a negotiation.

Sweep is simply how curved the steel runs across the edge, and once that word is in your head a rack of gouges stops looking like forty similar objects. A flat tool at one end of the scale, a half round near nine, and everything between them describing an arc that some curve on some drawing is going to want one day.
Width is the second number and people confuse the two constantly. A seven at four millimetres and a seven at twenty share the same curvature and cut wildly different things, so the pair of figures together is what actually tells you what is in your hand.
Wood has to go somewhere. Stand a gouge on solid timber and press, and the edge pushes fibres away on both sides at once, so they compress rather than part, and what looks like a clean cut is a band of crushed wood that lifts furry later.
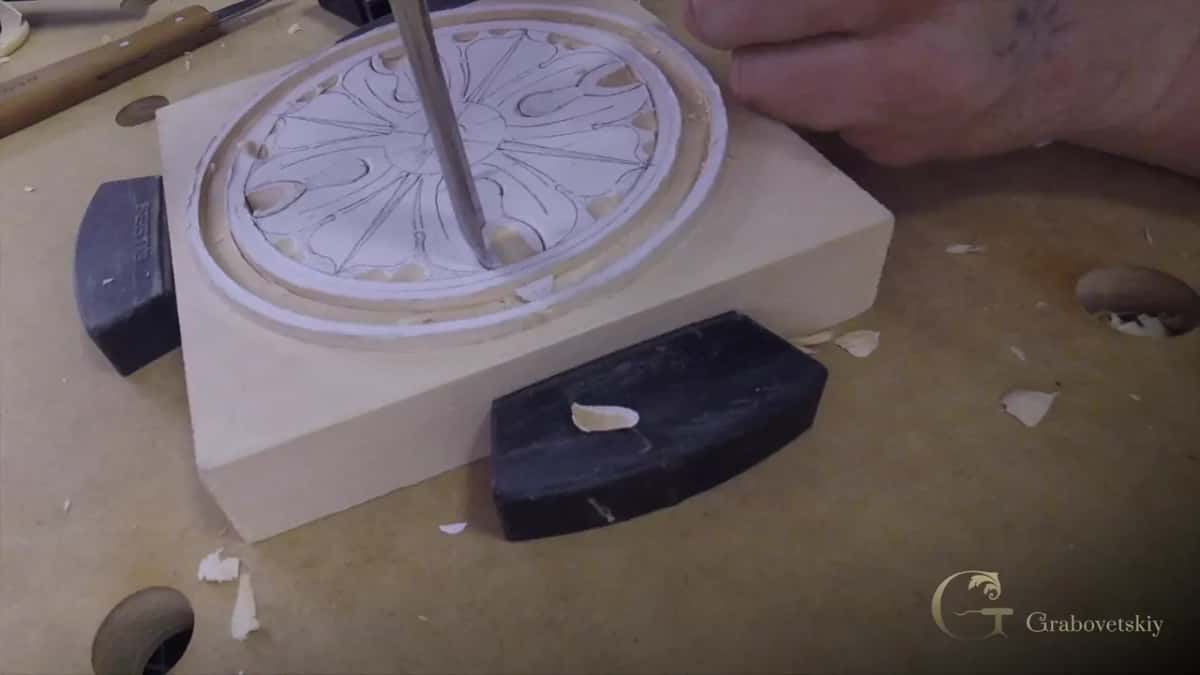
A relief cut opens one side. With space beside the line, the fibre travels into the gap instead of being squashed, and the fibres on the far side stay almost untouched, and it is the whole reason I went round the piece making cuts that appear to do nothing.
Those preparatory cuts want a careful hand of their own. The gouge works over the edge of the shape without quite touching it, because the edge is thin and end grain snaps at about the pressure it takes to open a letter.
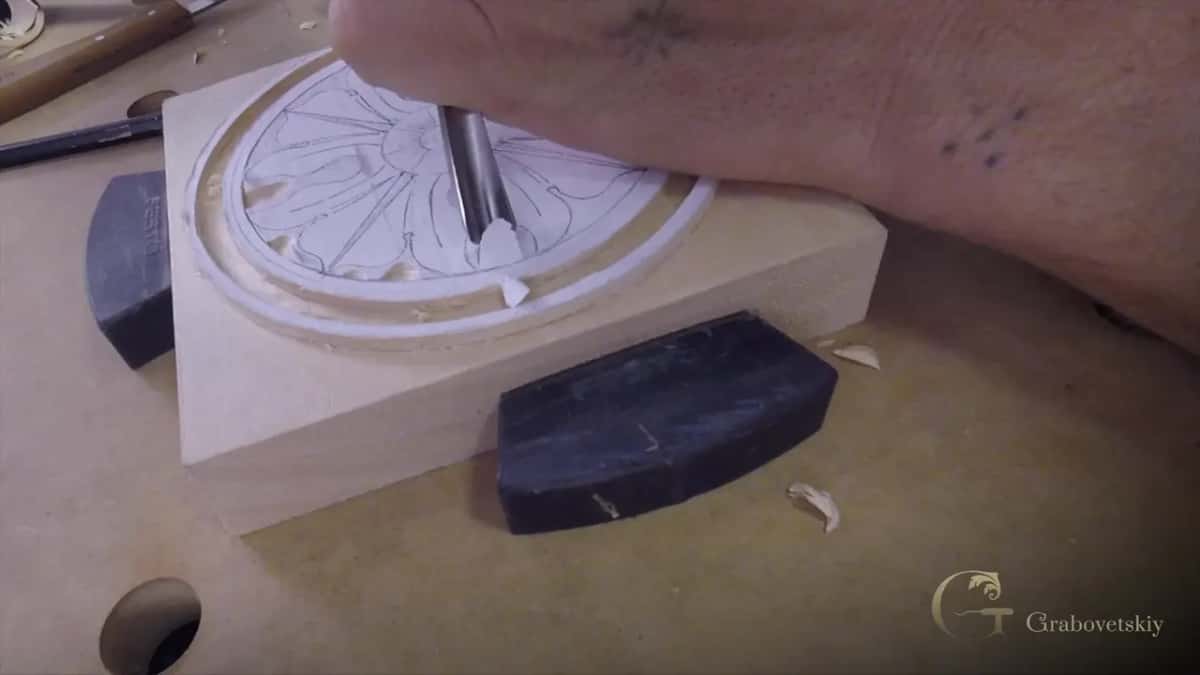
When in doubt, reach for the knife. One more knife cut costs fifteen seconds. Snapping a line you spent an hour establishing costs the blank, and on a run of fifteen it costs the spare you were saving for something else.
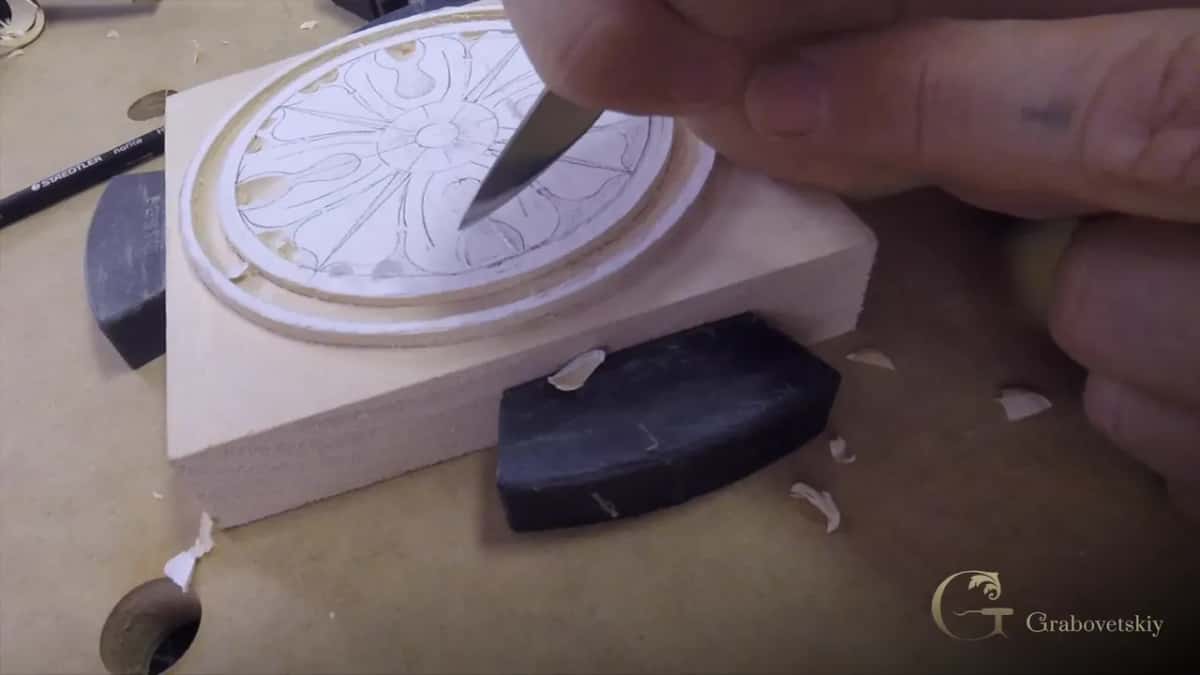
| The curve | What went into it on this rosette | How I chose | What a near miss leaves behind on the finished surface |
|---|---|---|---|
| Outer petal | Number nine, straight down | It sat right down in the drawn line with no gap | Corner marks at both ends where the sweep lifted off the drawn curve |
| Tighter turn | The nine again, ten millimetres this time | Same sweep, narrower, because the curve keeps its radius while the space for the tool runs out along the line | A flat spot |
| Long shallow section running toward the centre | Number seven | Fourteen millimetres wide | Two cuts where one belonged, and a join you can find with a fingernail |
| Awkward one | A different number seven, ten millimetres, three eighths | The first seven was a shade small | Nothing at all, once the right one turns up, and there is the argument for owning several |
| Ground | Nine for the mass, then the grounding tool | Speed first, surface second | Ripples |
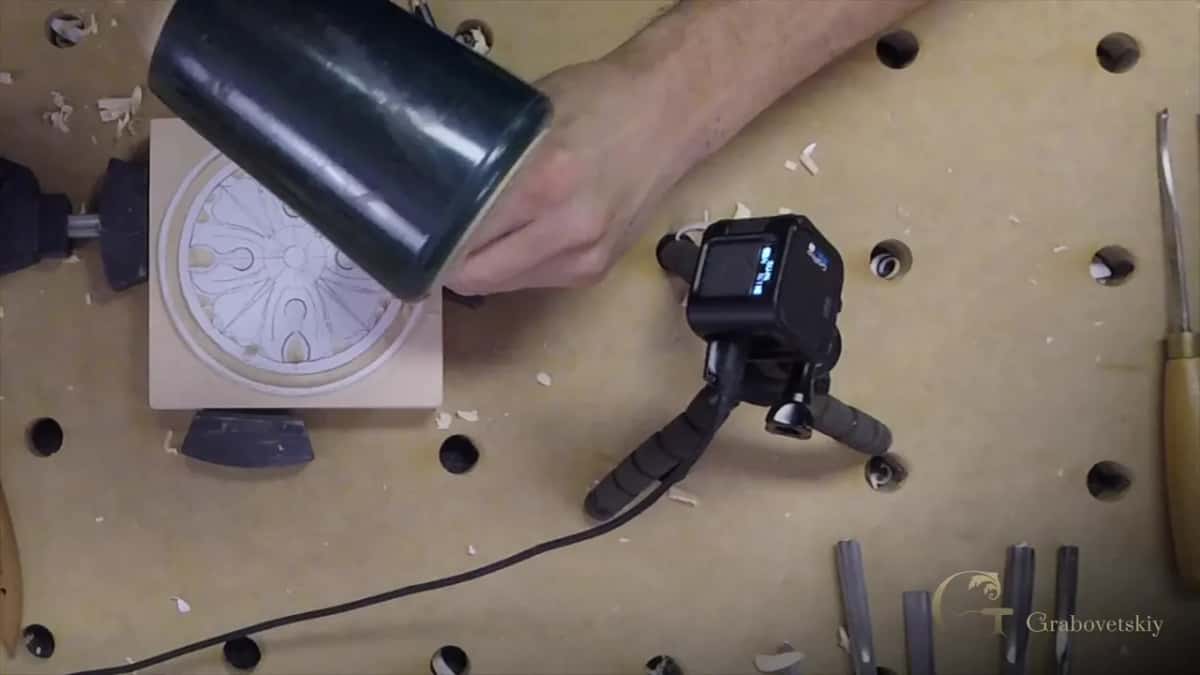
Try the next one, and the one after. I went through several looking for a particular spot on this rosette. One was a shade too big and left the line looking loose, the next came out too small, and a different number seven from Ashley Iles dropped straight in.
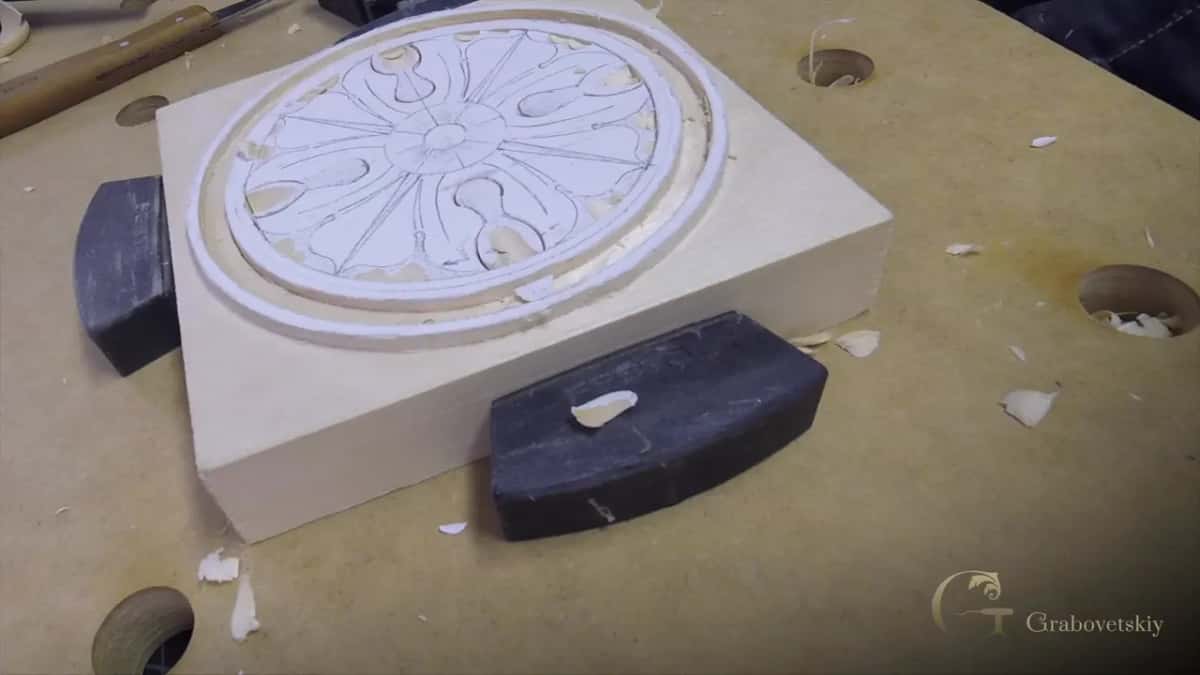
Same number, different tool, different result. Sweeps vary between makers and between batches, and the number stamped on a handle is a description rather than a specification, so the seven that works for me may not be the seven on your bench.
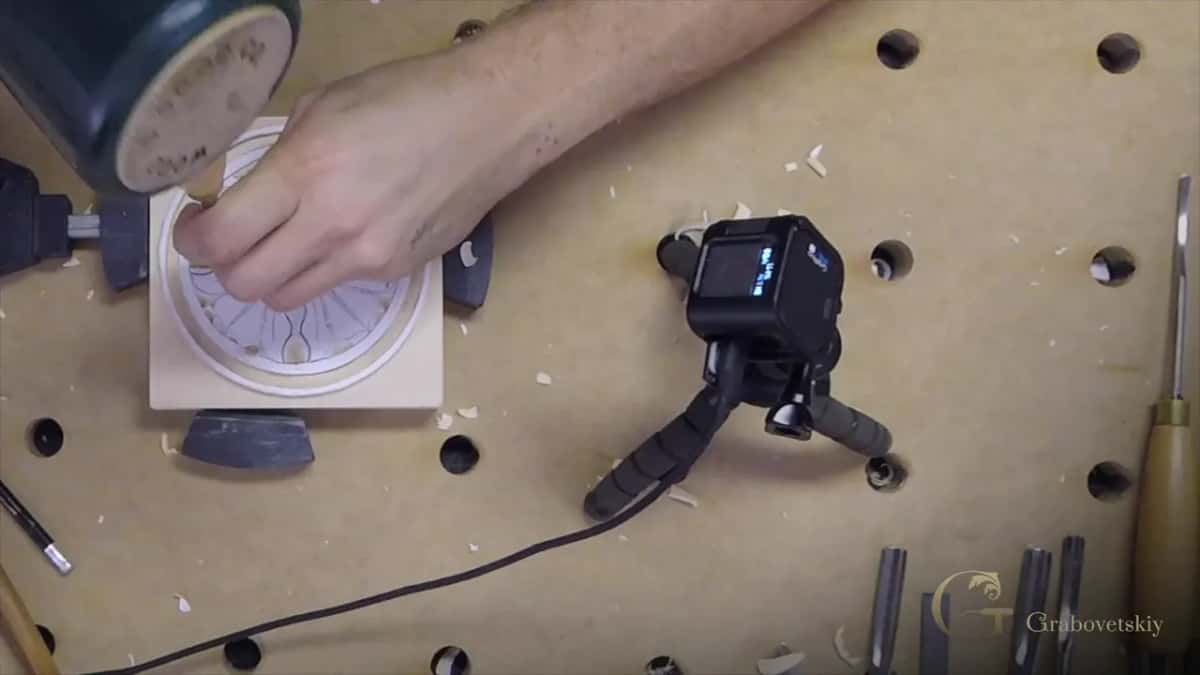
Yours will be a little different. No matter. Read the curve, hold tools against it, keep the one that sits. The lesson is the method, never the numbers I happen to call out on a recording.
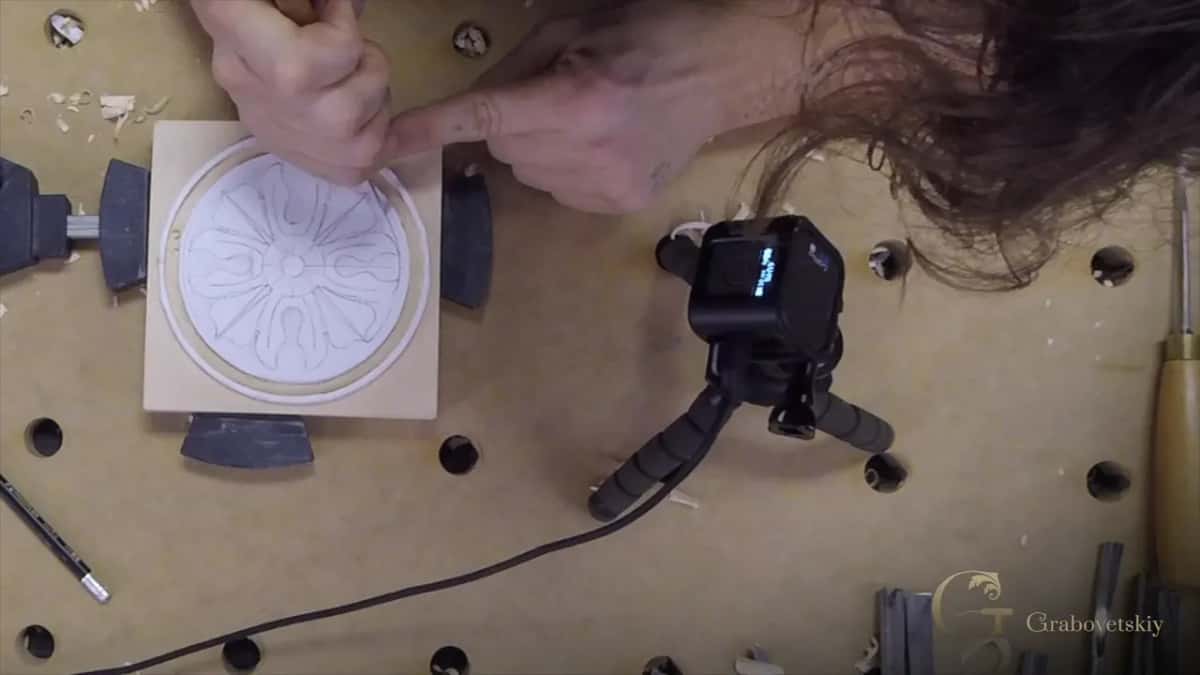
Hand work carries its own tolerance too. A slight imperfection along one of these lines is not a defect, because this was cut by a person and not a machine, and the finished rosette reads correctly whether or not every curve is mathematically true.
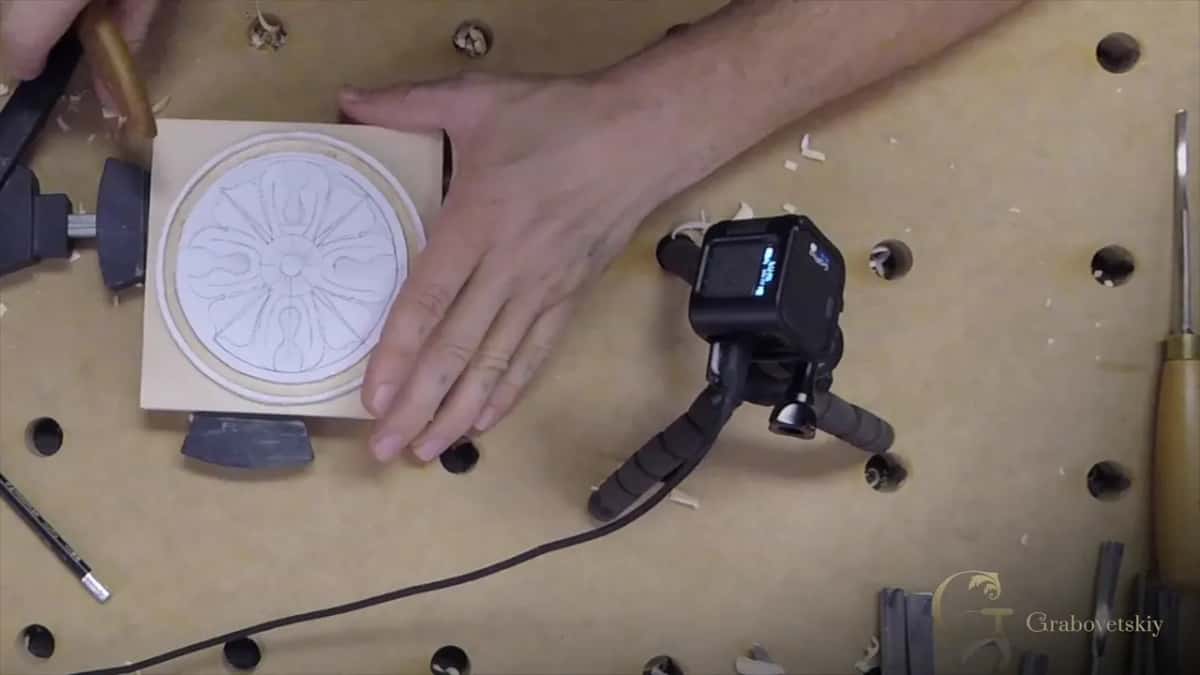
Order of attack follows the grain as much as the drawing. I look at where the fibres run before choosing which petal to set in first, because a shape approached from the wrong side lifts a chip out of the neighbour you have not carved yet, and that neighbour was the one holding your layout together.
Rotating the work solves most of it. The block turns on the bench so the cut always arrives from the safe direction, which is slower to describe than to do and becomes automatic within one rosette.
Fifteen of these had to match one another, which changes how you choose a tool. Pick the sweep that fits best on the first rosette. Then use that tool in that place on all fifteen. A curve set with a nine on one and a seven on the next reads as two different ornaments, however carefully each was cut. The final assessment has the same problem in a gentler form.
Bent, in almost every case I meet. The grounding tools I use most are Ashley Iles, and they carry a slight bend along the blade rather than running dead straight from handle to edge.
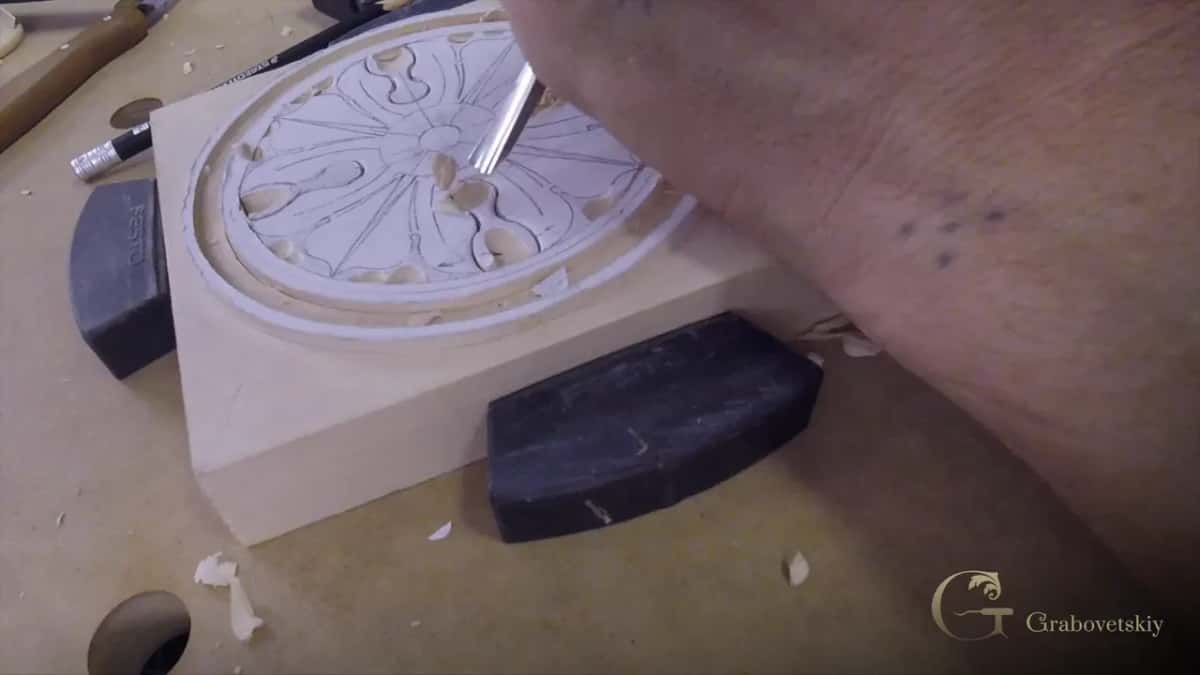
That bend lifts the handle. Your knuckles clear the work, the edge approaches the surface at a shallow angle instead of diving at it, and in a recess with walls on both sides that geometry is the difference between reaching the corner and giving up on it.
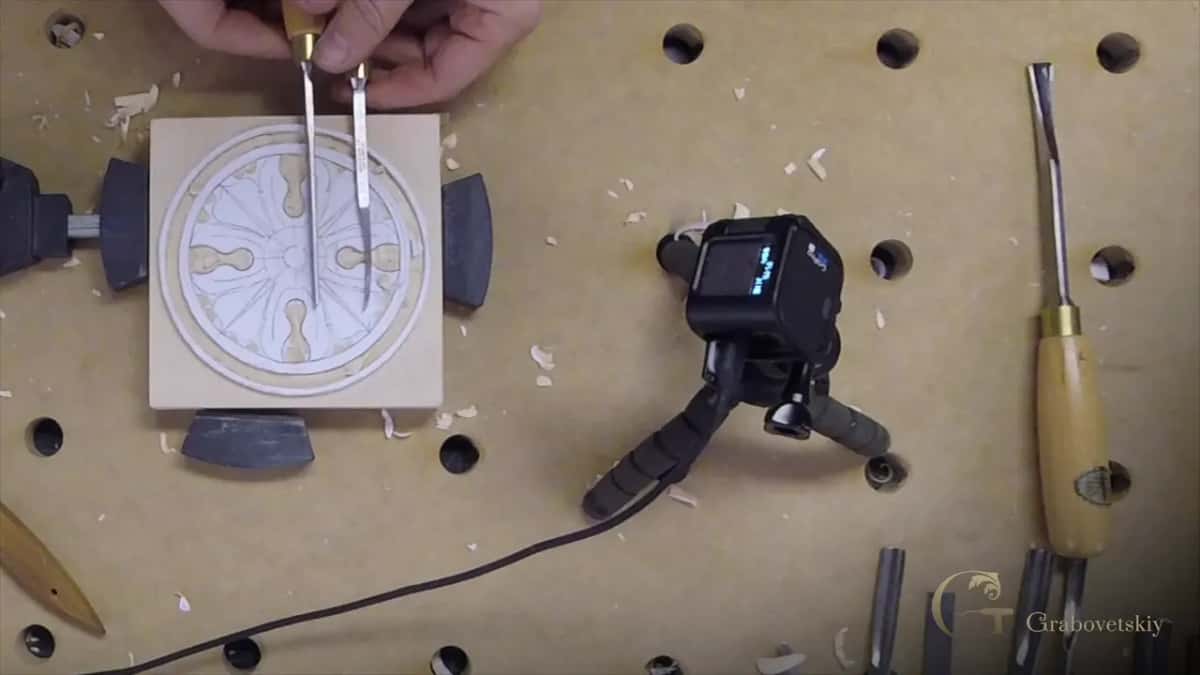
My Chris Pye tools are straight, and they are excellent. Two and a half sweep, beautifully made, and they sit in the rack more than they should simply because the bent ones get there first. Put the two side by side and the difference is obvious in a second.
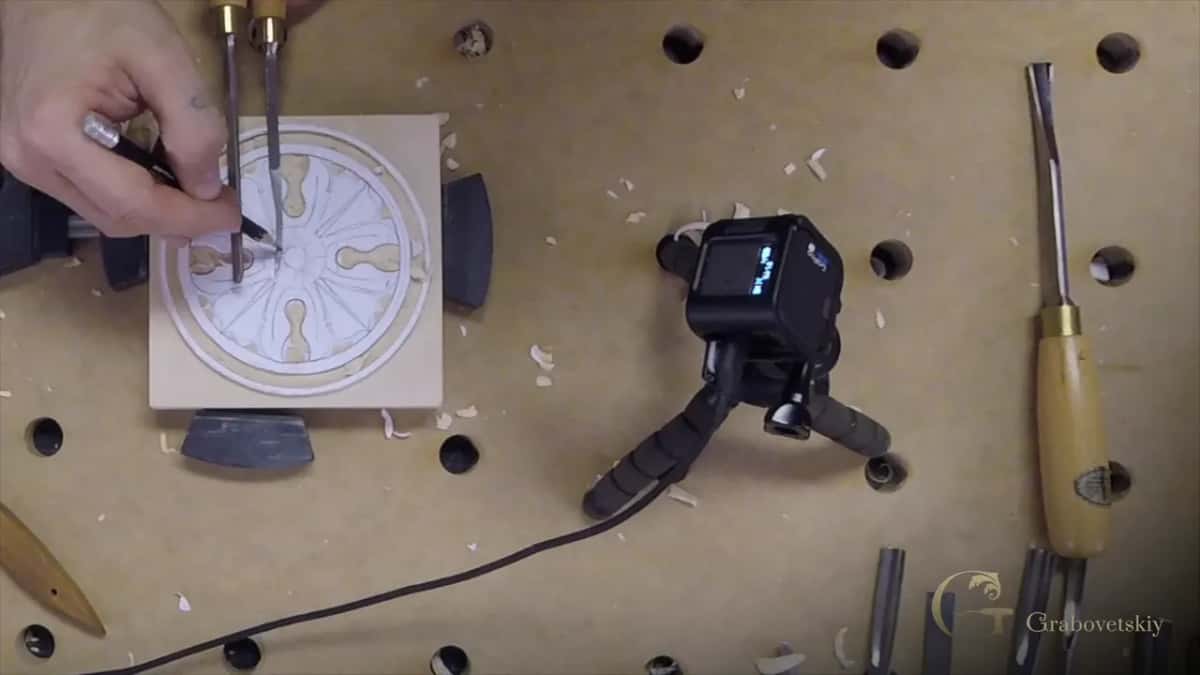
Numbering here is loose, by the way. A grounding tool sold as a number three is usually flatter than a three, closer to a two and a half, which nobody minds once they know.
An eighth, the same as everywhere else, and this time by eye. The router plane that flattened the outer ground cannot reach inside the petals, so the depth has to be held without it.
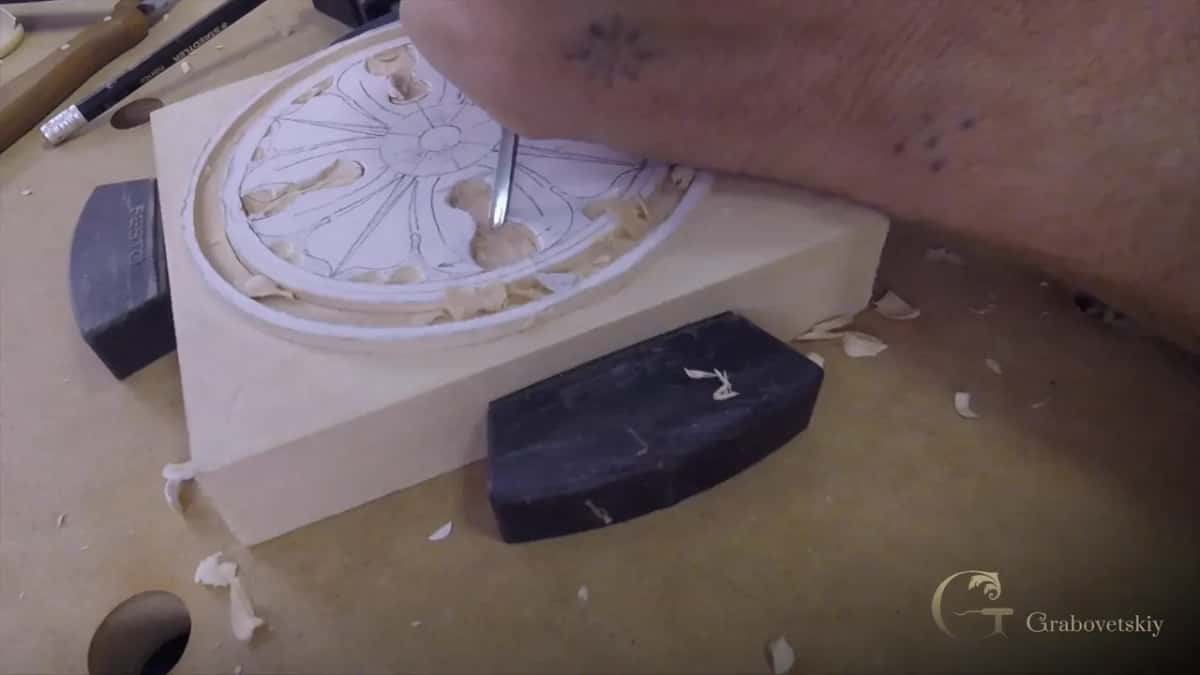
Three millimetres is the figure. I judge it against the ground I already cut, which is sitting right there at the correct depth, and after enough repetitions the eye gets very good at spotting a difference of half a millimetre between two surfaces that ought to match.
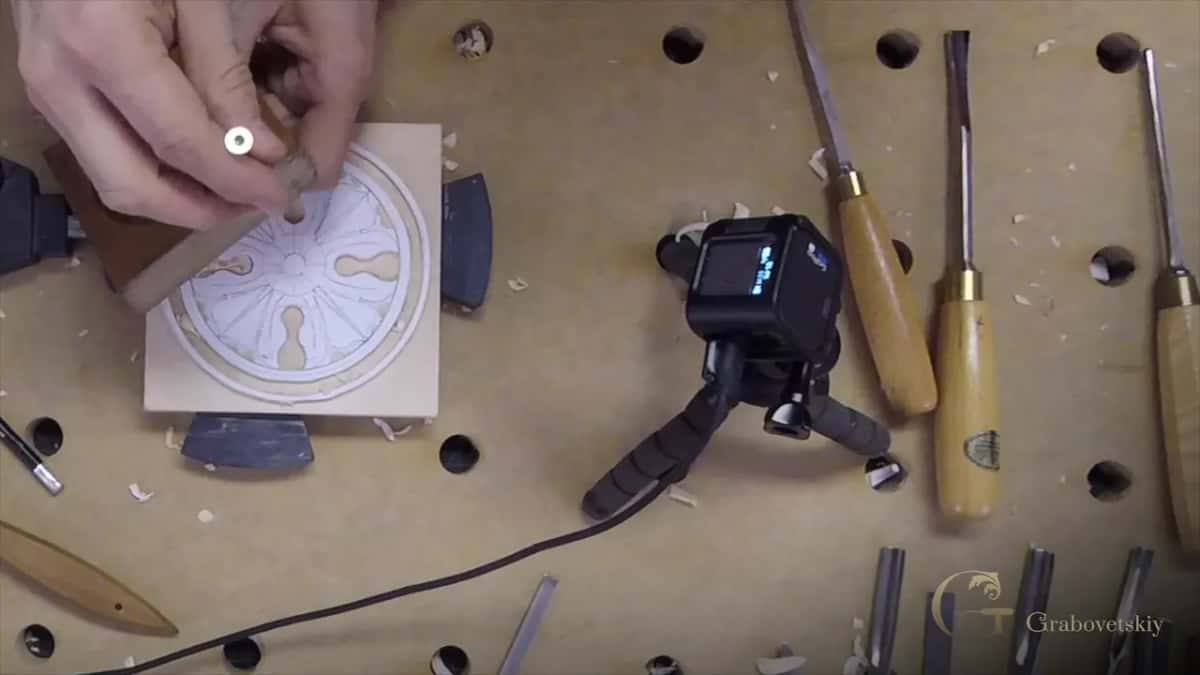
A gauge exists if you want one. Drive a screw through a scrap of wood until an eighth of an inch stands proud of the face, then drop it into the recess and see whether it touches. I do not bother, though it works perfectly well and costs nothing.
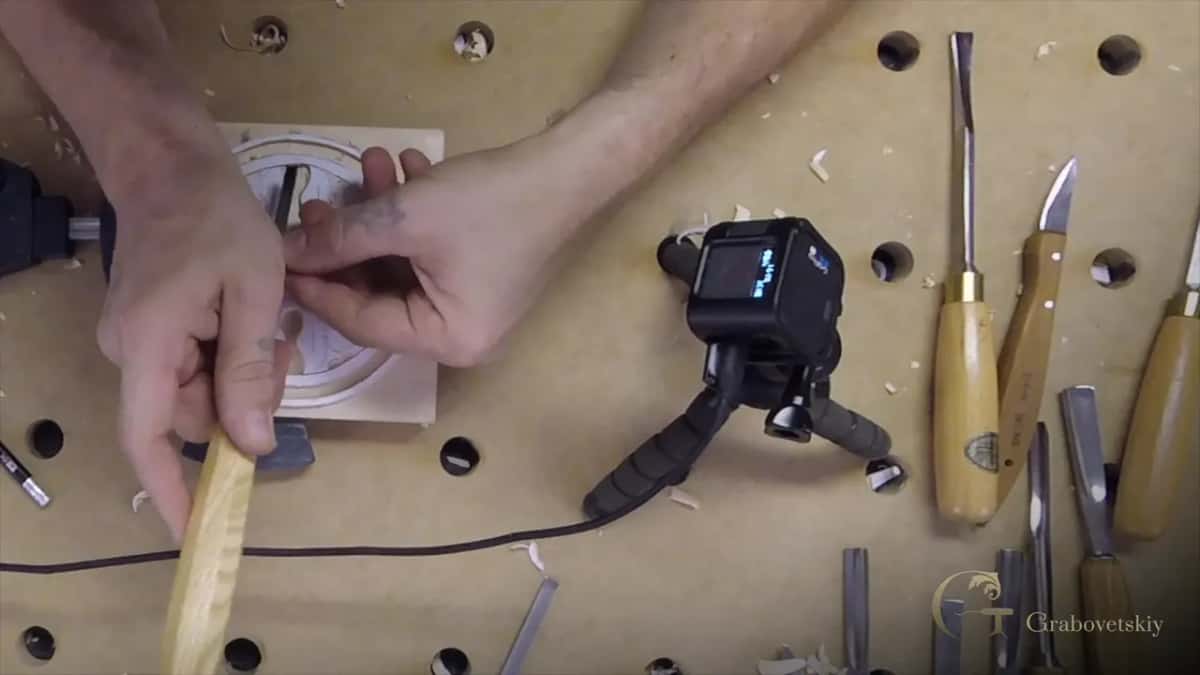
Grain decides the order of the cuts. I find the direction it runs, take the waste against it wherever the shape allows, and accept a more awkward hand position to get a safer cut. A nine removes the mass, then the grounding tool brings the surface home.
Depth discipline matters more here than anywhere. Every petal recess, every scrap of ground between two shapes and the wide ground outside the ring all have to arrive at the same depth, because the whole ornament is read as one plane with things standing on it.
Miss that by half a millimetre in one recess and the shadow there is a different weight from its neighbours. Nobody will name the fault. Everybody will feel that something about the rosette is slightly unsettled, and on a run of fifteen hung together the odd one out is obvious immediately.
Often you have no choice. This rosette came to me as one picture of an antique piece, with no original to measure and no drawing to scale from, and my task was to read what the photograph implied and put it back in wood.
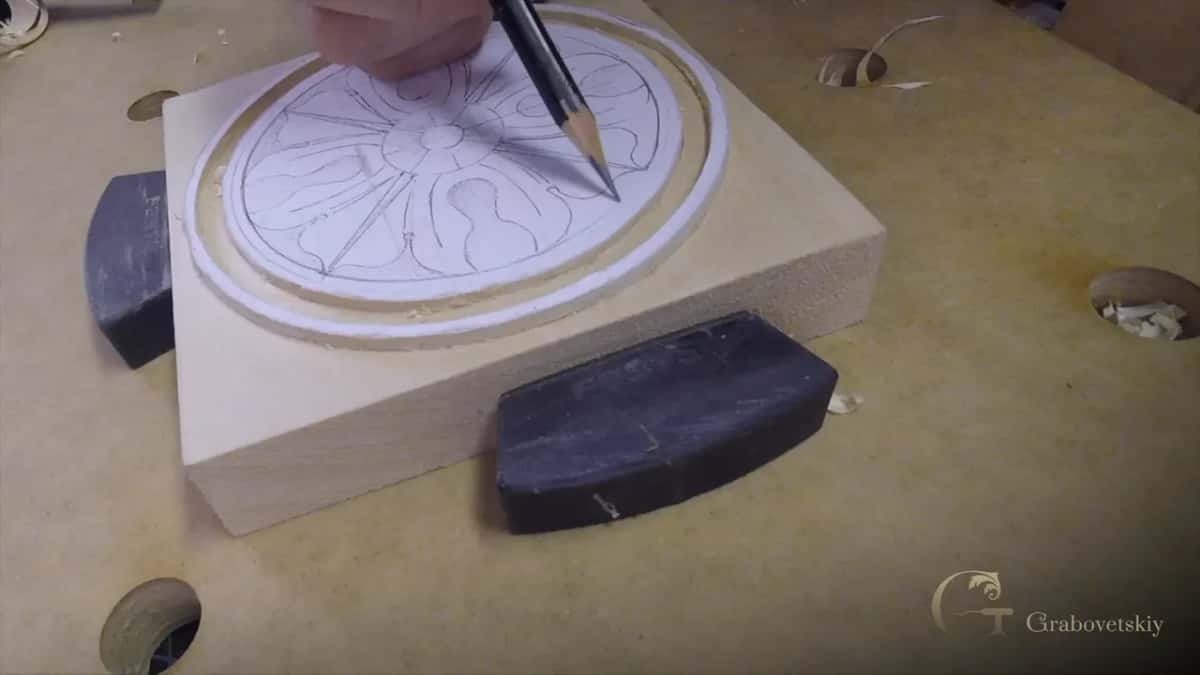
Working that way suits me more than it probably should. I have carved a great many pieces from nothing but a picture, and there is a particular satisfaction in getting a dead object to give up how it was made.
Designing my own is what I would rather do. That is my honest preference and my problem both, because this is a living rather than a hobby, and what the client wants is what the client gets.
The ornament itself is older than any of the tools cutting it. A flower shut inside a circle turns up on Egyptian walls, on Babylonian brickwork, in Greek and Roman relief, and then straight through every European century that followed without ever really changing shape. Whoever cut the original of this one faced the problem I have today, which is how to make a flat disc of basswood look as though something is growing out of it.
Method survives better than fashion in this trade. The gouge I am setting in, the relief cut ahead of it and the eighth of an inch underneath are all decisions a carver in 1650 would recognise without a word of explanation.
Pinched, close to the edge. Watch my hands on the last sections and the grip has changed completely from the mallet work at the start of the session.
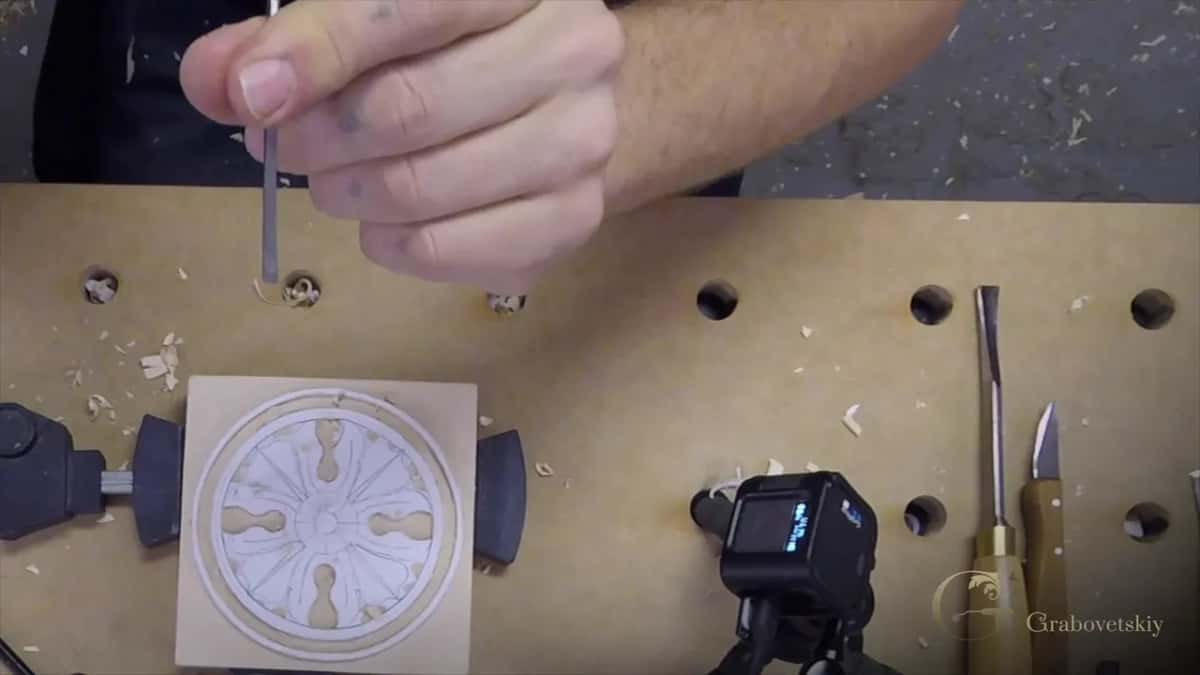
The handle rides between two fingers about an inch back from the edge, and the whole tool is steered from there rather than driven from behind. Power drops away to almost nothing. Control goes up enormously, and on detail this size control is the only thing you need.
You will find yourself doing it without deciding to. Every carver arrives at that pinch eventually, usually in the last hour of a piece when the cuts have become small and the consequences of a slip have become large.
Would you rather watch a rack of gouges get tried against one drawn curve until the right one drops in, at full speed with the camera over my shoulder? Shall we carve?
This is the third workshop in the antique rosette series, and tuition opens all six. Workshop one squares the blank and grounds it, workshop two cuts the ring without chipping it, and sharpening decides whether any sweep leaves a surface worth keeping. The tools course goes through sweeps and numbers properly, design principles explain why the curves sit where they do, and the flower rosette puts the same skill on a softer shape. Want me beside you? We teach in person, and a beginner starts here.
Curvature across the edge, running from flat at one end of the scale to a half circle near nine. Width in millimetres gets stamped beside it as a separate figure, and the two together describe the cut a tool makes.
Makers grind to their own idea of a sweep, and batches vary. A number seven from one workshop can sit in a curve that a seven from another rocks in, which is why carvers accumulate duplicates that look identical.
Stamping a shape's outline straight down with a gouge whose curve matches the drawing. Done well it fixes the whole outline in a few taps, and done with the wrong sweep it leaves corner marks along every curve.
Yes on anything delicate. Without one the tool presses fibres sideways into solid wood and crushes them, so the surface looks clean on the day and lifts furry within a week.
In a recess, usually. The bend raises the handle so knuckles clear the work and the edge meets the surface at a shallow angle. Straight ones are excellent in the open and awkward against a wall.
Compare it against ground you already cut correctly, which is the method most carvers end up trusting. For certainty, run a screw through scrap until an eighth stands proud, then use that as a go gauge.