
Alexander Grabovetskiy, woodcarver, School of Woodcarving · Published 2017
Part of Carving Antique Style Rosette

The full video lesson is inside the school.
Alexander Grabovetskiy, woodcarver, School of Woodcarving · Published 2017
Quick answer: Five questions settle it. Round circle, one depth of ground throughout, walls still vertical, every leaf edge standing proud of its hollow, and a punched texture falling irregularly rather than in rows.
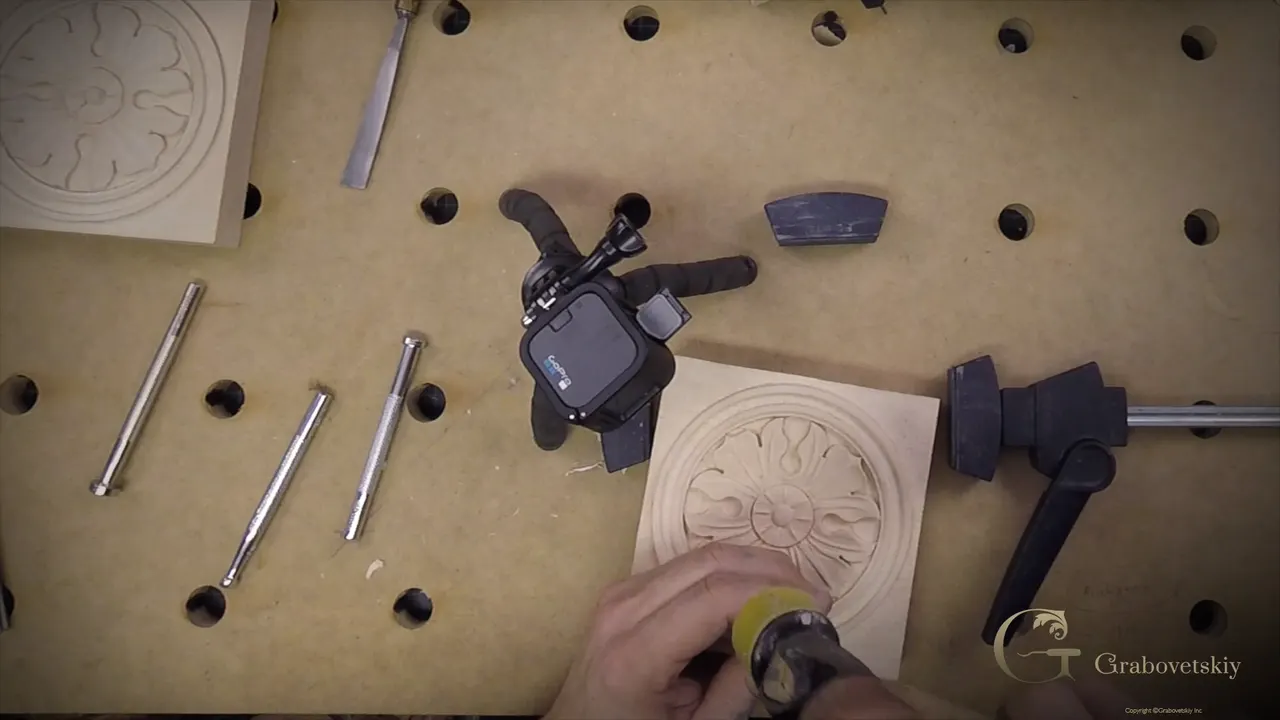
Five things decide a rosette: whether the circle came out round, whether the ground holds one depth everywhere, whether the walls stand square, whether each leaf keeps its rim high, and whether the punched texture looks random. Photograph it, upload once, and I read it myself.
Finished six workshops and cannot tell whether yours is good enough to send? Worried the faults you know about will count against you? Send it with the faults. Progress is what earns the certificate, and I broke my own work on camera in another course rather than edit it out.
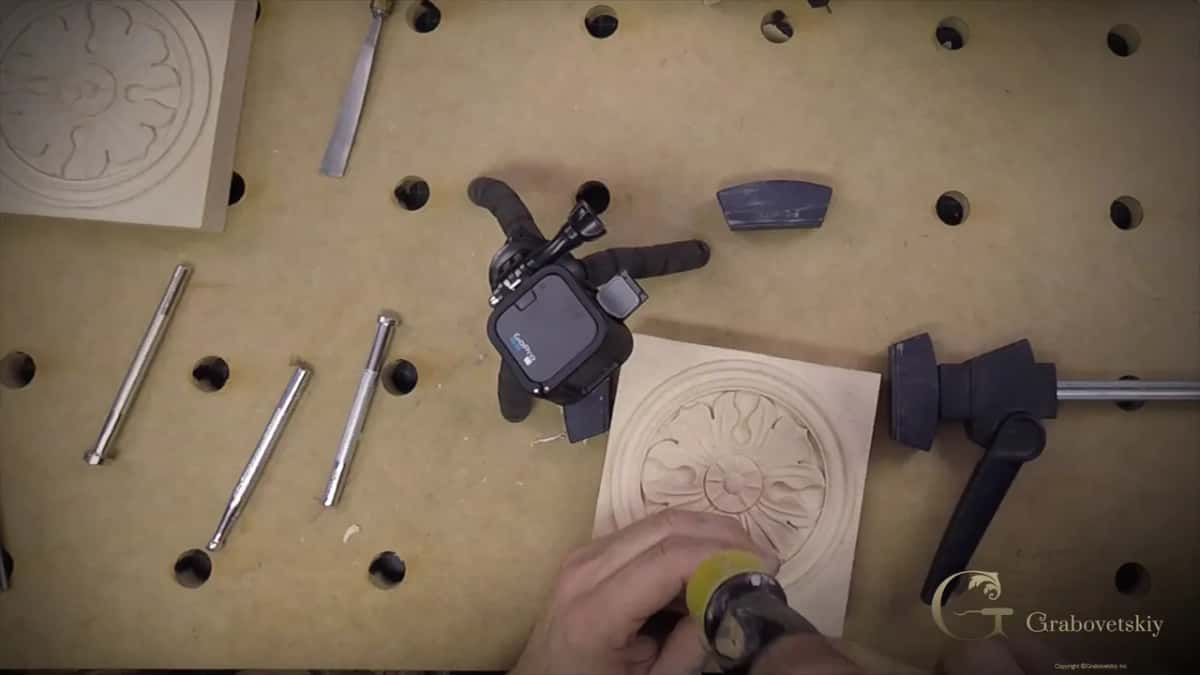
One photograph of your carved work, saved as JPG or PNG. Archives will not upload here and never have, so a zip gets you nowhere at all.
Shrink the file before you arrive. A picture straight off a modern phone is larger than this page wants, and a size reducer takes about ten seconds to run it through.
Have it ready in advance. The upload works once, the button disappears when you send the file and leave, so this is not a page to experiment on.
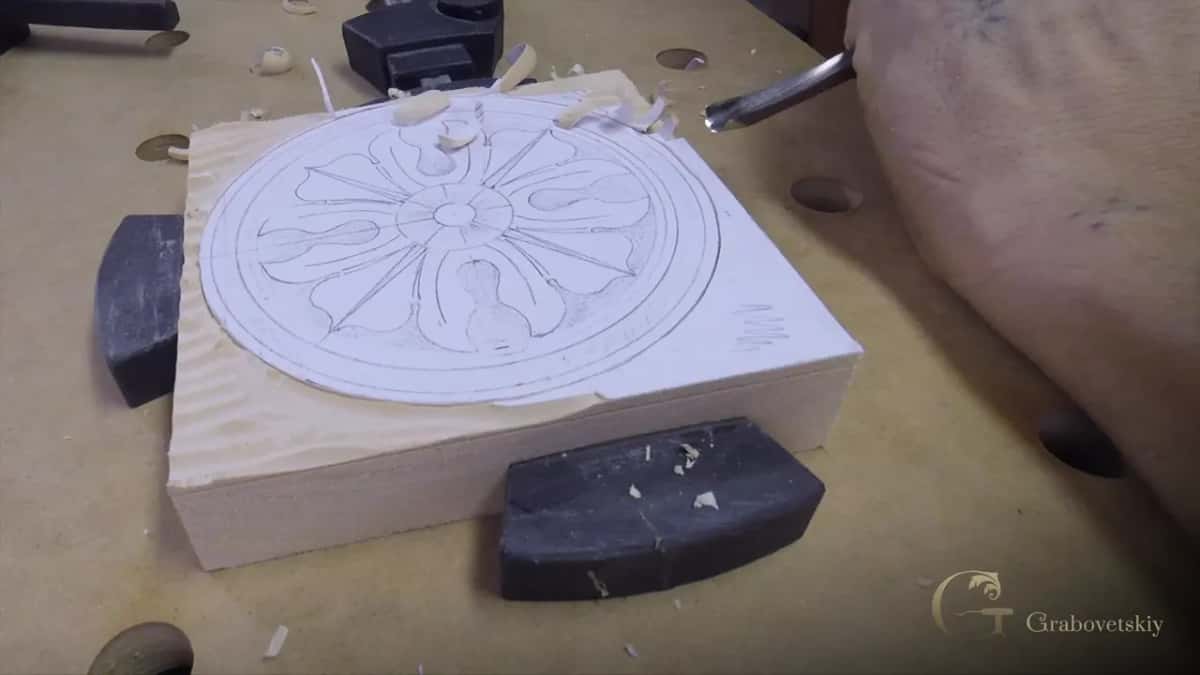
Then it comes to me. I open every one of them, and what earns the certificate is the progress your piece shows, instead of some fixed standard to clear.
Look at it square on and turn it. A rosette lives inside a circle, and the eye finds a flat spot on a curve faster than it finds almost anything else on a carving.
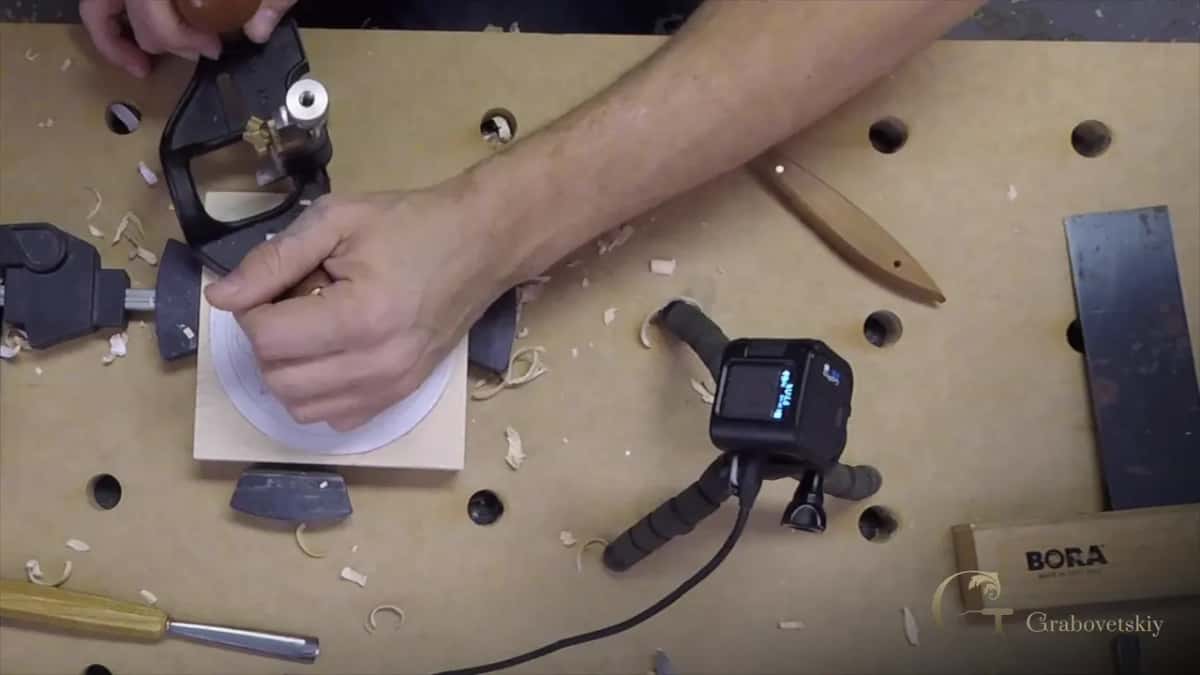
Rotation is what catches it. Drop a lamp low and spin the panel. A true curve carries that band of light round at a steady pace, and wherever the shape ran straight it lingers for a moment before moving on.
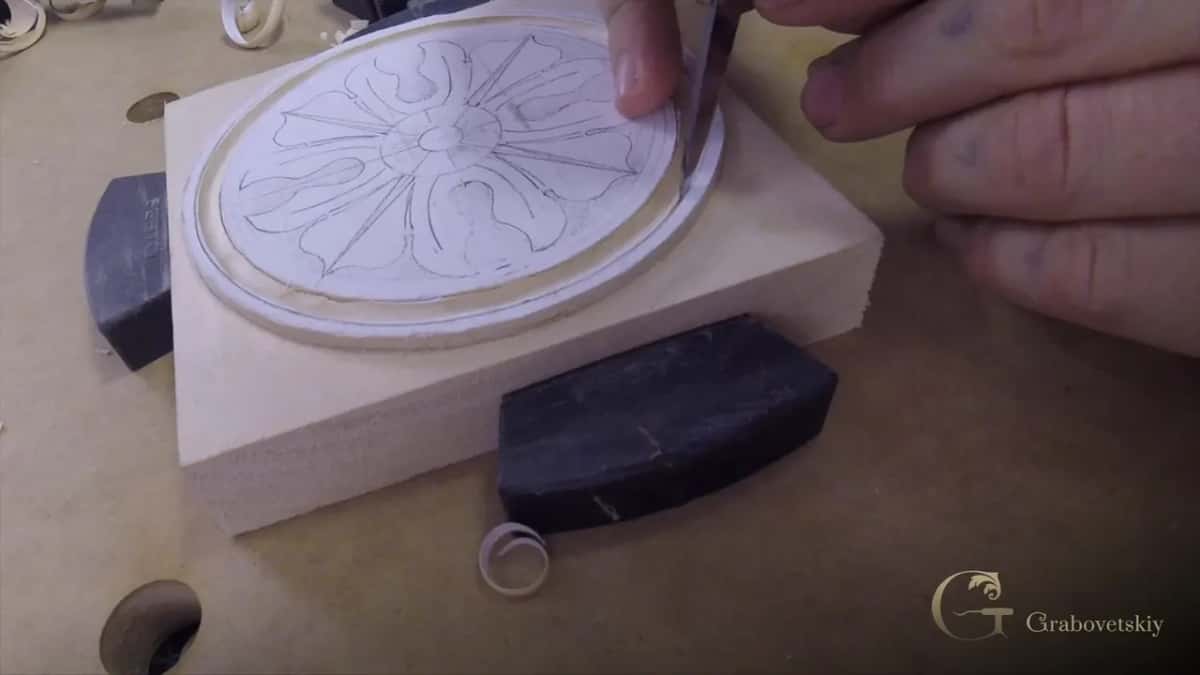
Flat spots come from one habit. Cutting more than a quarter of the circle without turning the block puts your wrist at the limit of its travel, and the last inch of every such run goes slightly straight.
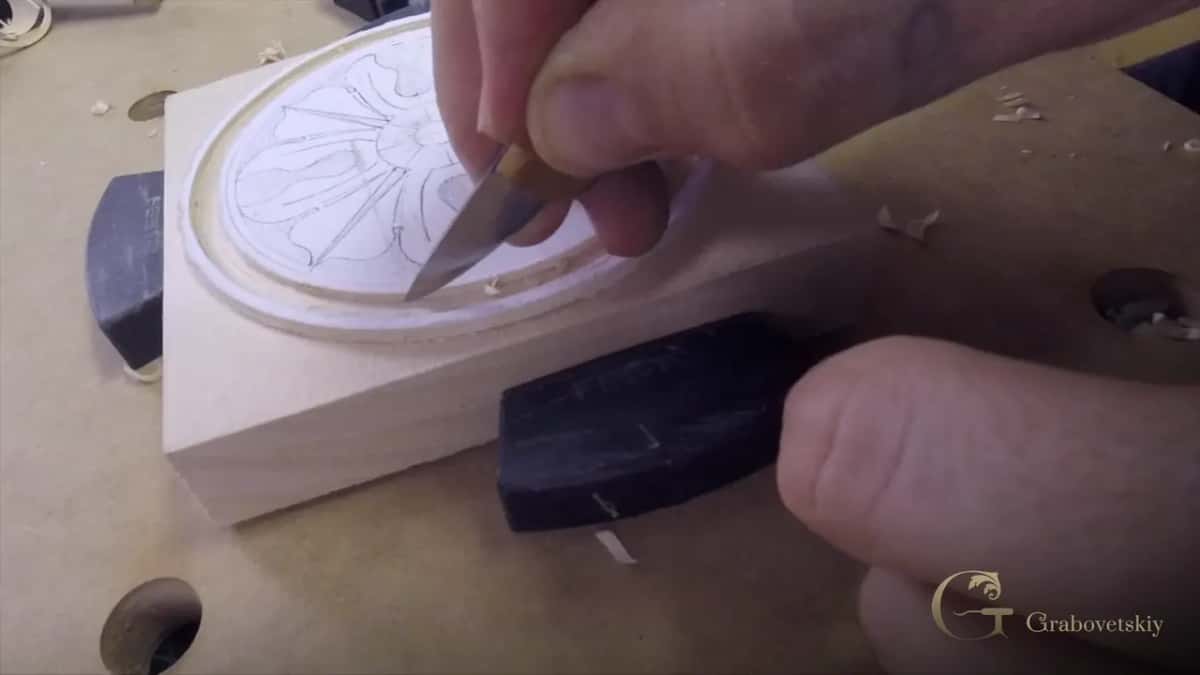
| The check | What a finished rosette should show you | How to look | What it tells you when the answer comes back wrong |
|---|---|---|---|
| The circle | Round, with no flat run anywhere in it | Spin it slowly | The block was not rotated often enough while the knife was going round |
| Ground depth | One eighth, in the open ground, inside the ring and in every pocket between the leaves | Edge on, almost flat to the eye | Shadows of different weights |
| The walls where leaf meets ground, which are the first thing a carver looks at | Square | Raking light | A leaning blade, or a chip taken out because the waste came after the wall instead of before it |
| Leaf rims | Standing higher than the hollow behind them | Thumb | Flat leaves |
| Punched ground | Even in depth, random in placement | From across the room | Rows, which read as machinery, or dimples of two different depths |
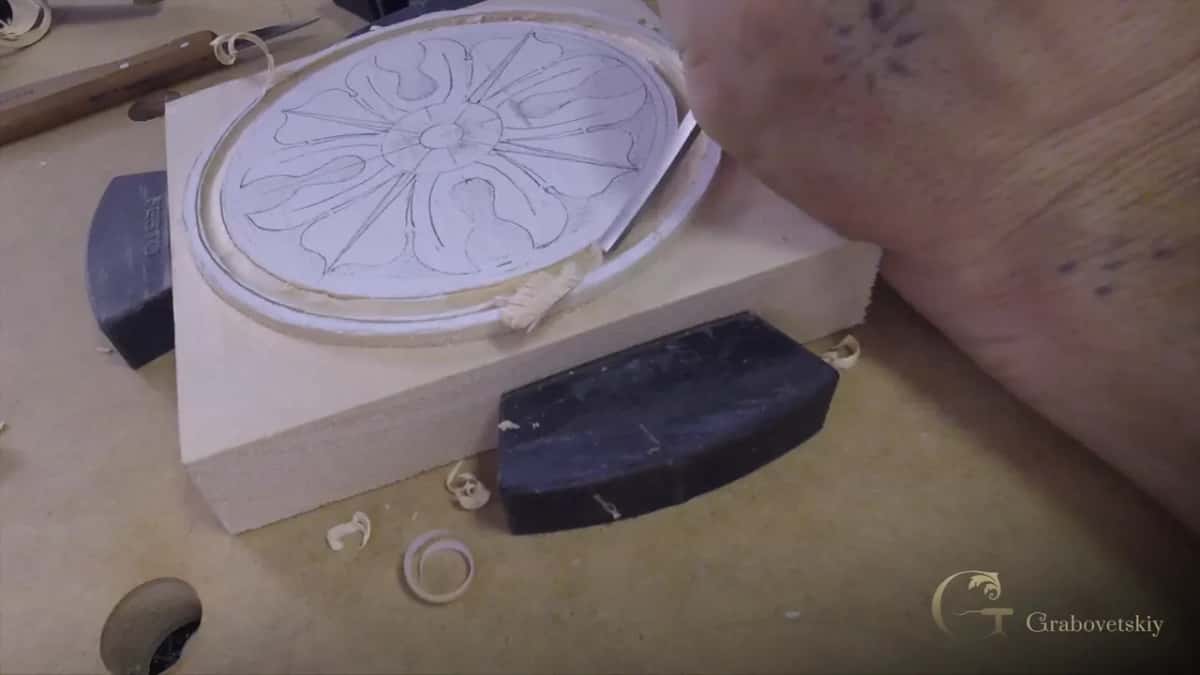
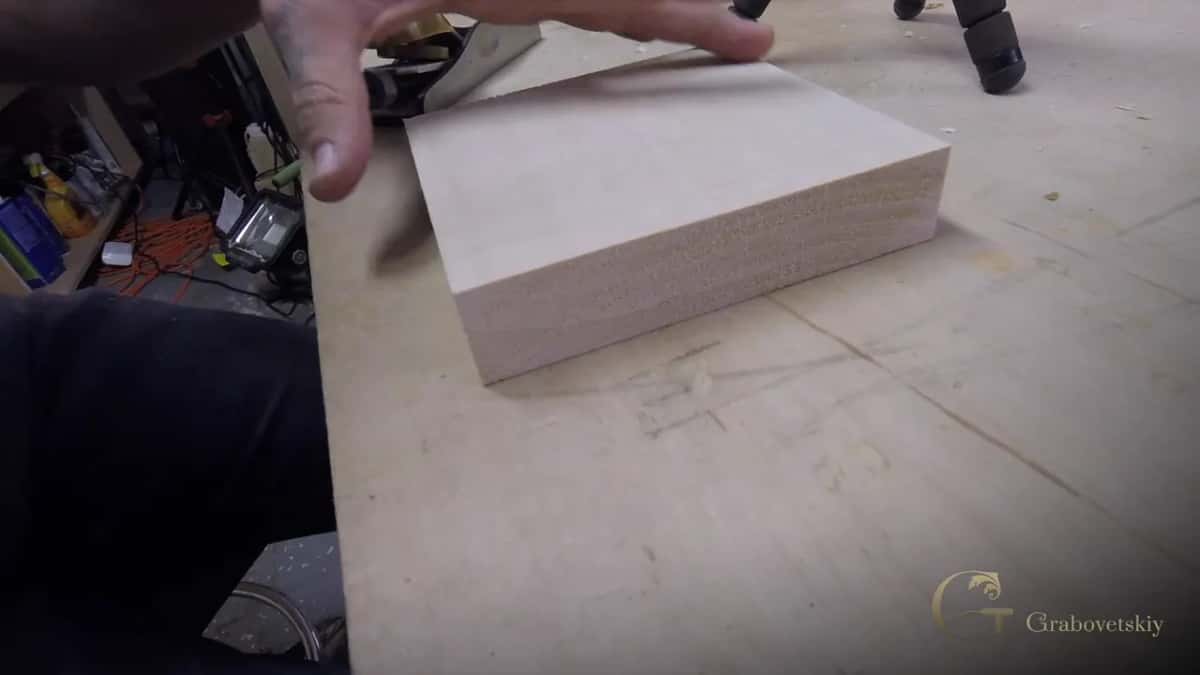
Squareness of the blank decides the circle before the knife arrives. Five and three eighths each way, cut properly square, because a block that is out by a hair puts the circle off centre and no amount of careful cutting afterwards recovers it. Worth measuring your own blank now, if you still have the offcut, just to know which end of the job any error came from.
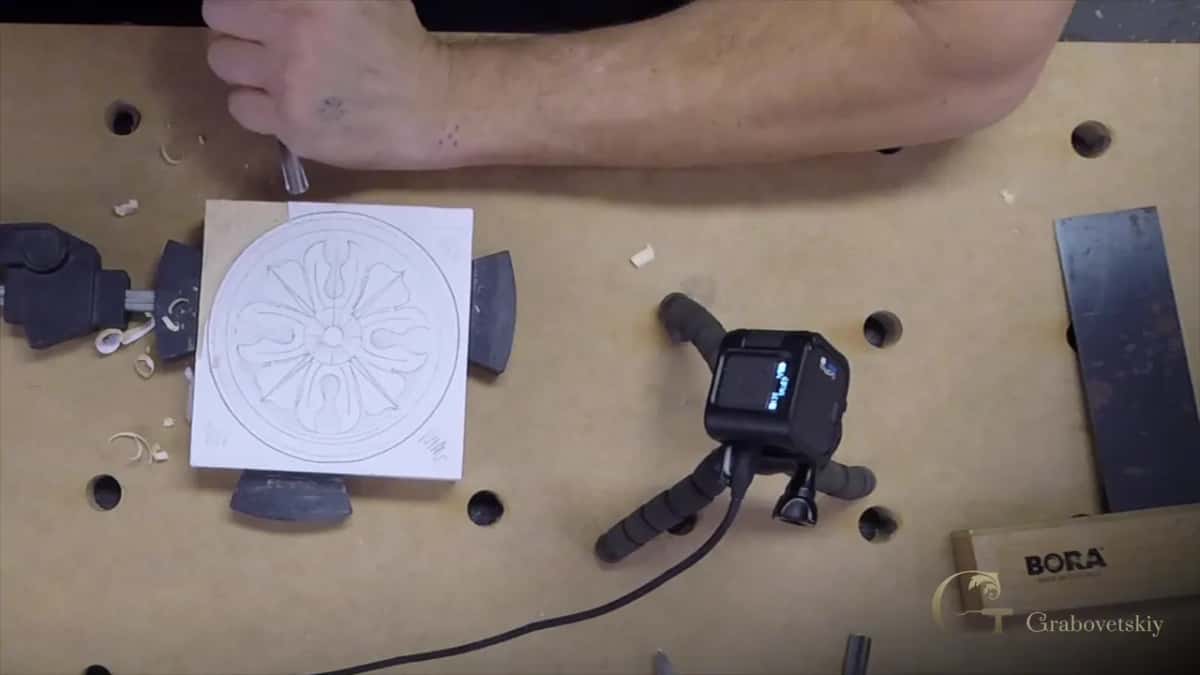
Paper helps you judge your own work too. Where the glued pattern survived right up to a line, that line was never cut into. Where it vanished early, the tool went past where you drew, and the finished shape is your tool's idea rather than yours.
Everywhere means everywhere. The wide ground outside the ring, the strip inside it, and every small pocket between two leaves all belong on the same plane, because the whole ornament is read as one surface with things standing on it. Getting that depth honest is the one measurement in the whole job, and a bench habit is how it was set in the first place.
Look along it rather than down at it. Hold the panel almost edge on with the ground running away from your eye, and any high spot throws a small shadow of its own that you would never notice looking straight at it.
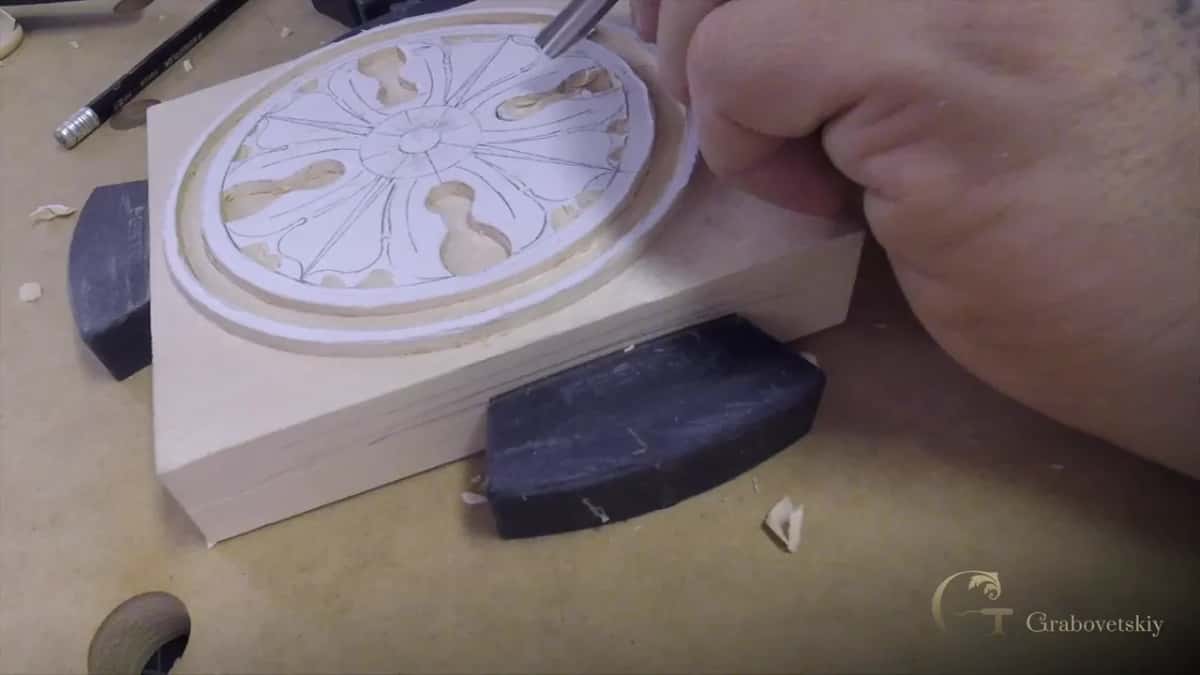
Small pockets are where it slips. Nothing measures them, no plane reaches in, so the eye judges each one against ground it already knows is correct, and tired eyes late in a session are generous.
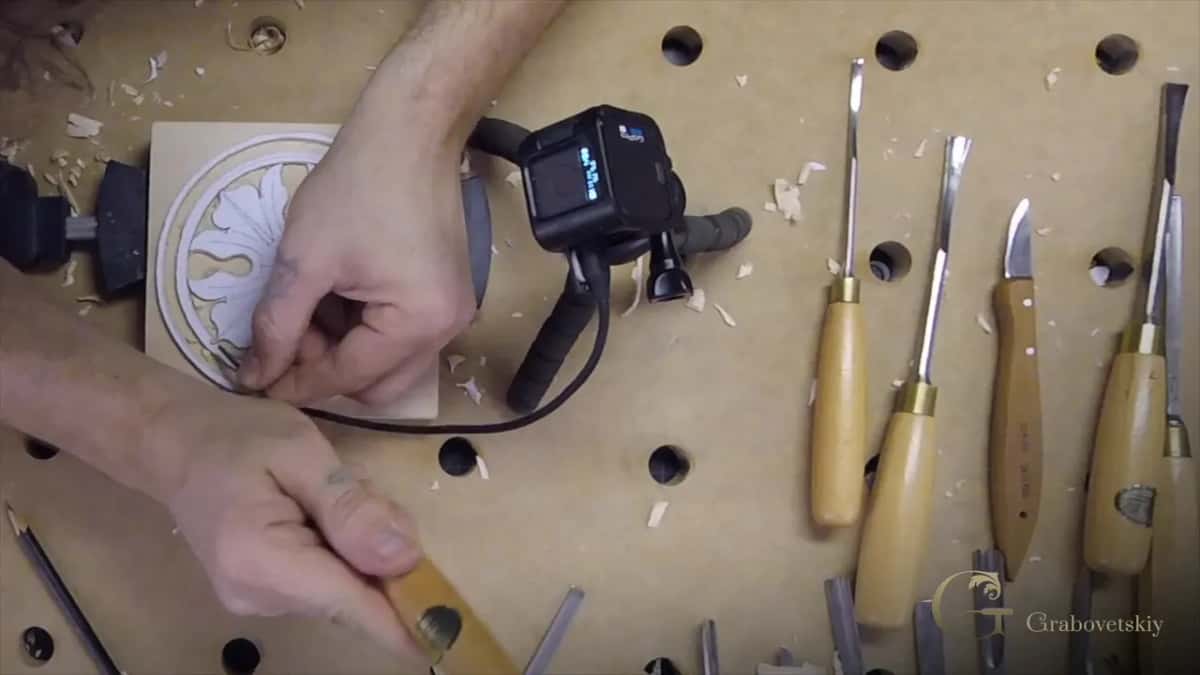
Corners deserve their own look. Waste left standing in an angle is invisible from directly above and obvious the moment light comes in low, which is exactly the angle a photograph tends to catch.
Depth was set with a gauge for a reason worth remembering. A ruler and a finger will find that mark perfectly well on one block, and on the fifth block in a batch the finger slips and nobody notices until the pieces are side by side. Scoring the line with a marking gauge makes every start identical.
Under the ground there has to be an inch of solid wood left. That is strength, not decoration: a rosette gets screwed to something eventually, and one carved too thin cracks at the fixing, which is a fault nobody finds until the piece is already on a wall.
Vertical, with no lean and no chipping. Every wall on this piece was cut with a knife held dead upright, and the moment a blade tips it leaves a bevel where a hard edge belongs.
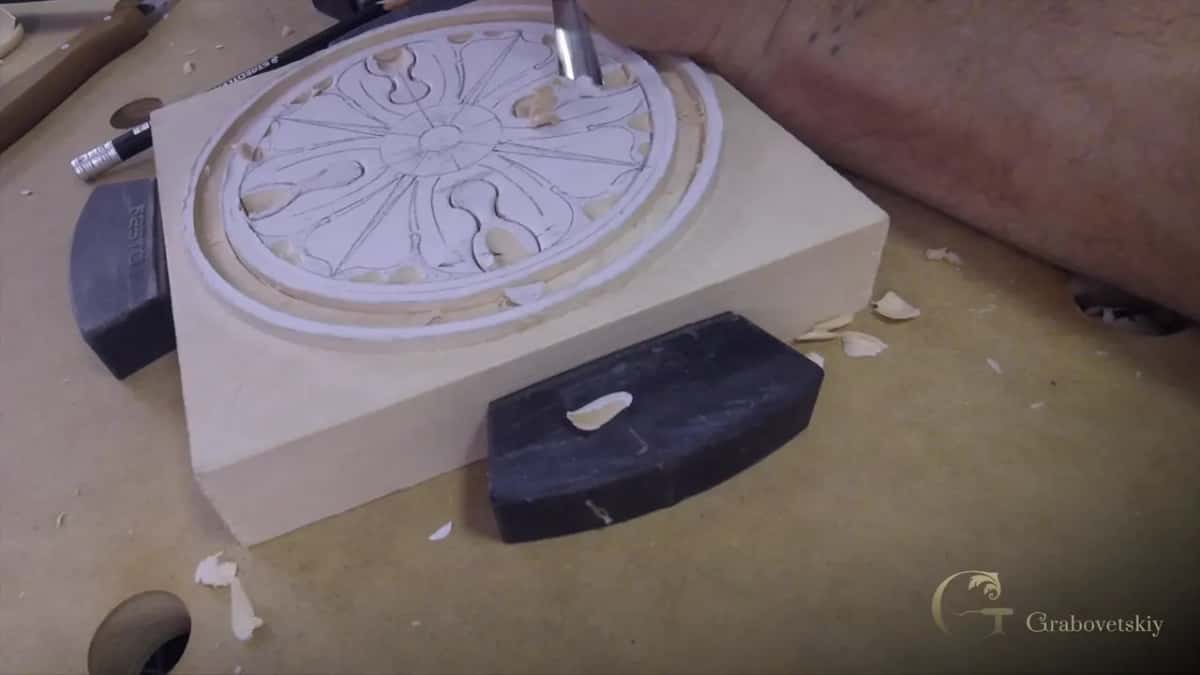
Lean a wall and the line turns soft and grey. The square one throws a hard black shadow, and that contrast is most of what makes an ornament carved an eighth of an inch deep look deeper than it is.
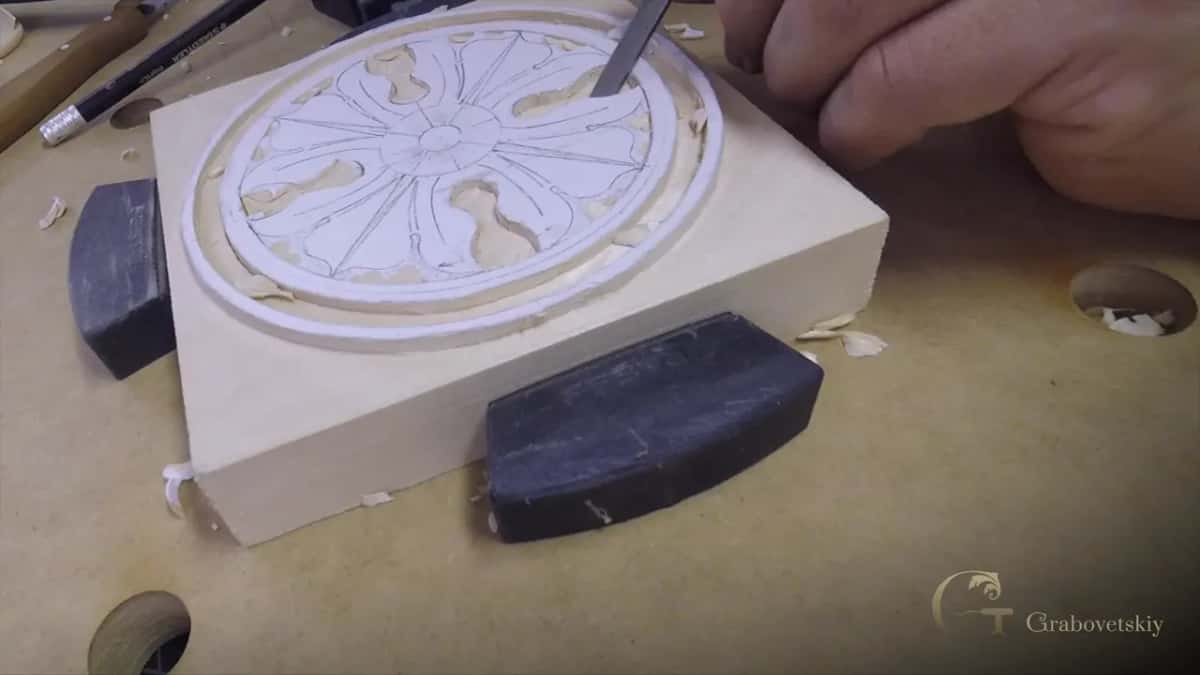
Chips tell a sequence. A ring that crumbled between its two walls means the second wall was cut before the waste beside it came out, which is the single most common way this design goes wrong.
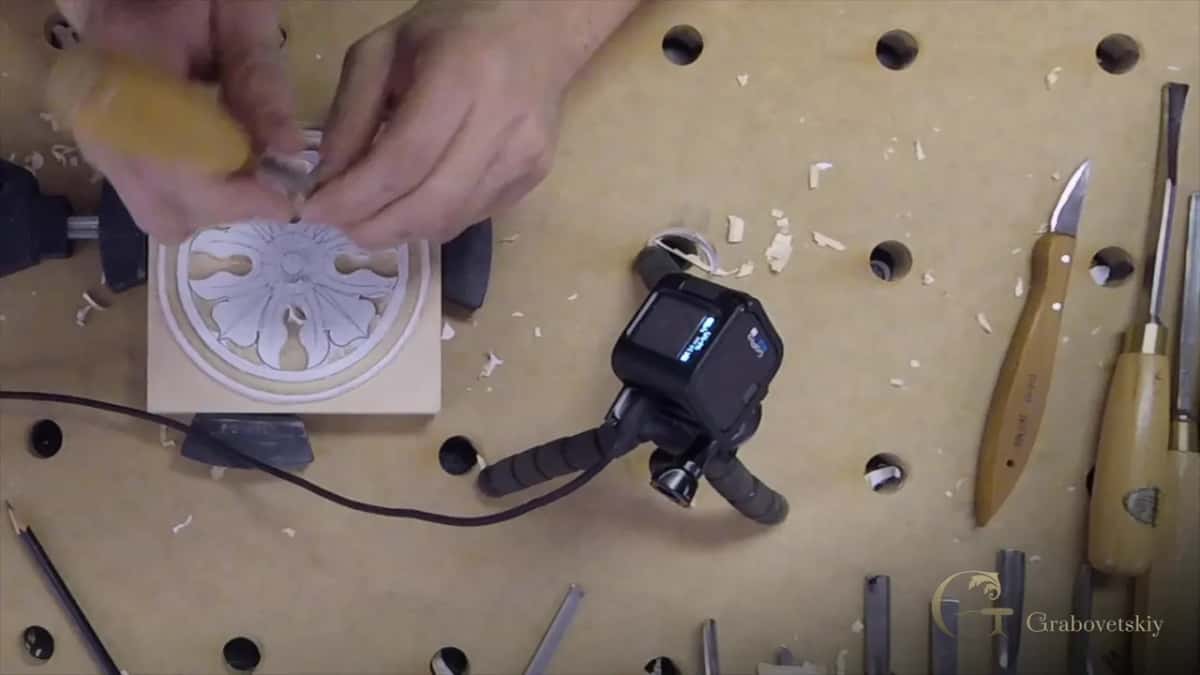
None of that disqualifies anything. Glue a broken piece, note what caused it, and send the picture. Understanding the cause is worth more here than a flawless panel carved timidly.
Sequence is what a chipped ring records. Cut one wall, lift the waste out of the middle with a small gouge, and only then bring the second wall down into the space you made. Reverse those and the blade is asked to split unequal timber in two directions at once, so the thin side gives way.
Look at where your own chips happened, not just that they happened. A chip on the inner wall points at that sequence. A chip at the end grain points at pressure instead, since a wall only three millimetres high needs very little persuasion to come away at the ends of the grain.
One habit is worth carrying out of this course whatever your rosette looks like. When a knife is cutting, the other hand stays behind the blade, never in front of it, because a slip travels along the line of the cut.
Run a thumb across one. Every leaf edge wants to stand proud of the hollow behind it, which is what makes a flat board read as something growing rather than something scratched.
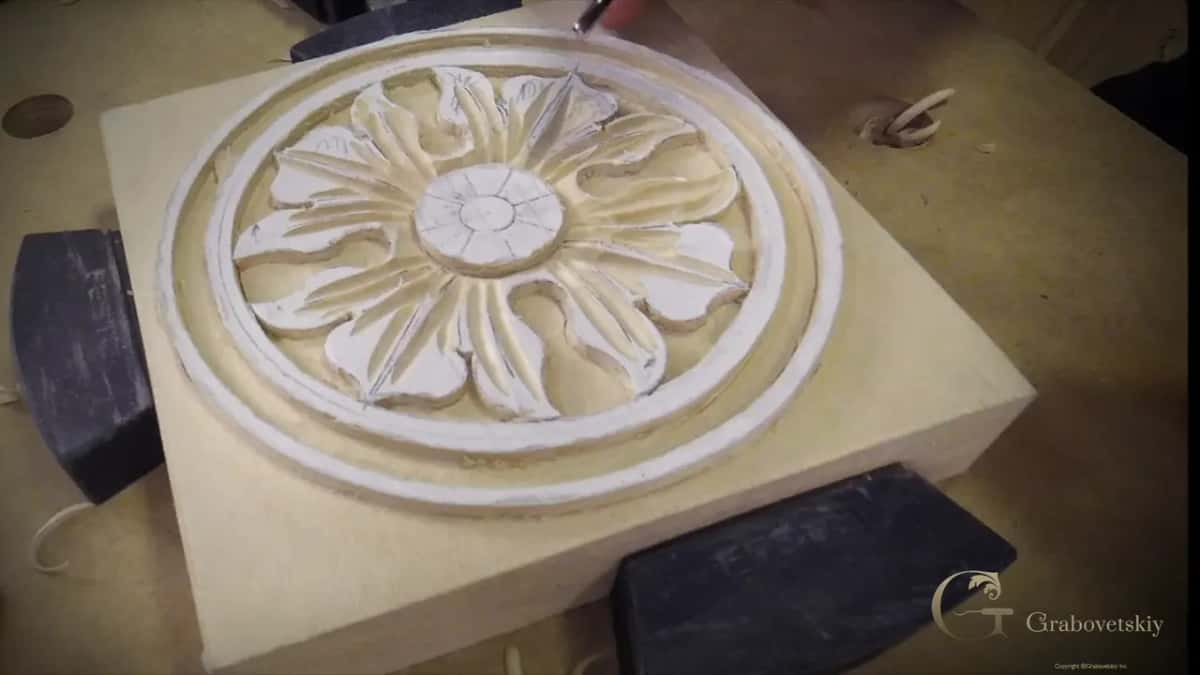
Romanesque carvers worked to that rule in stone as well as wood, leaving the leaf edge higher than the section behind it, and once you know it you will find it on every medieval capital you walk past.
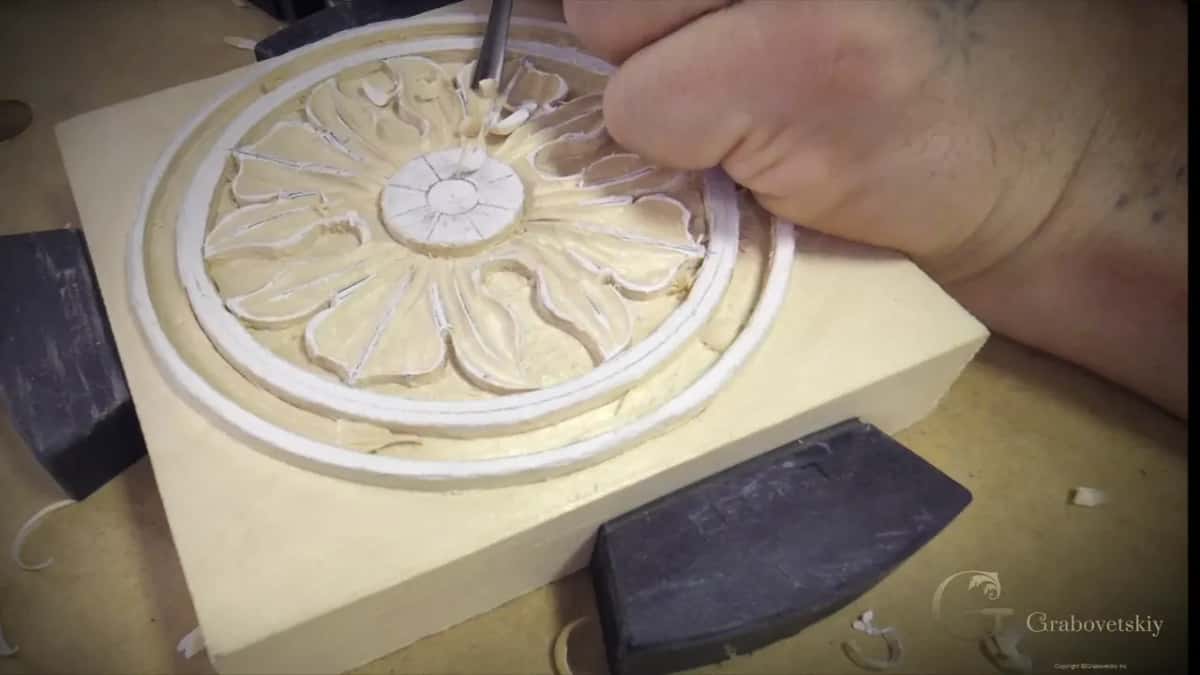
A lamp settles the argument in seconds. Light low and off to one side gives every rim a bright line and every hollow a dark one. Even lighting from overhead hides both, which is why a photograph taken under a ceiling light flatters nothing.
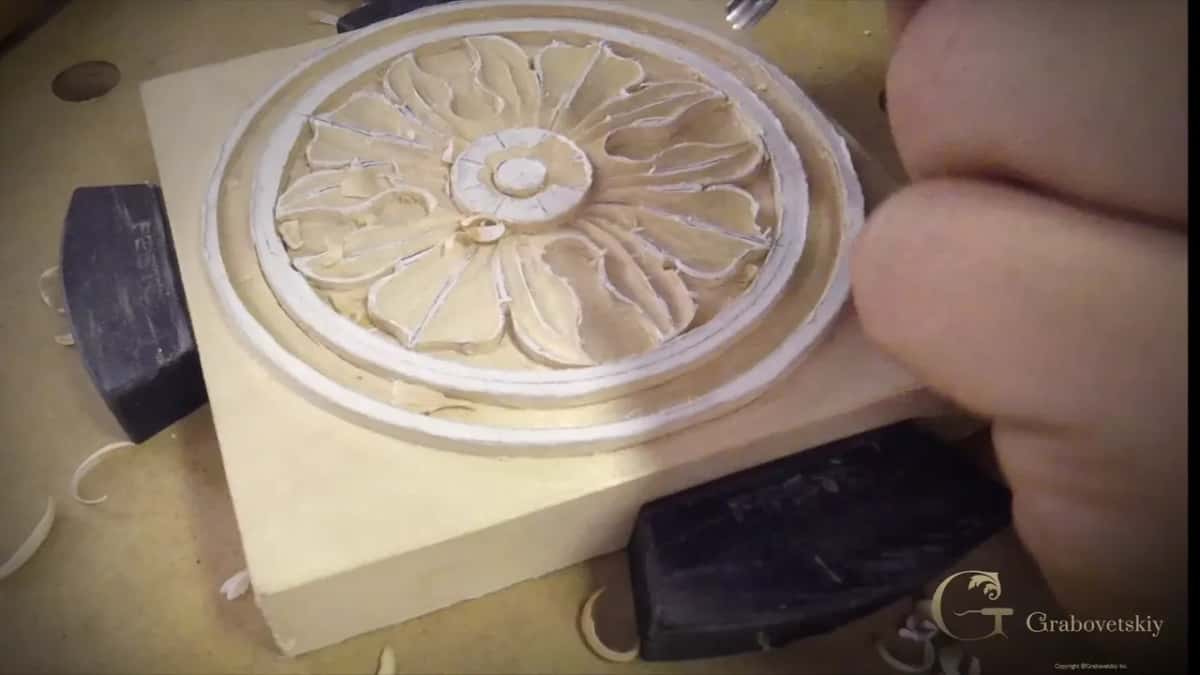
Pipes get the same treatment. Each raised strip wants to sit clearly above the surfaces beside it, with the ridge the veiner left already softened away, and no paper surviving anywhere along its length.
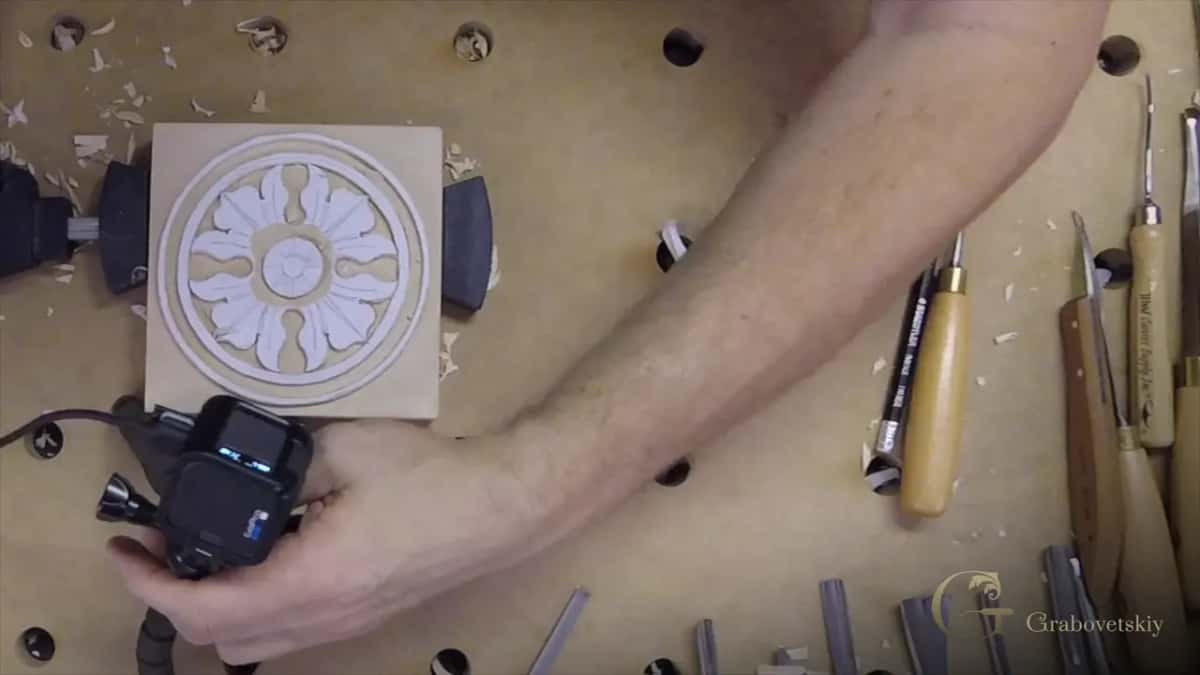
Tool marks inside a hollow are welcome, incidentally. Even facets where one pass met the next are the signature of hand work and should stay visible. What should not be there is furry grain, which means the fibres were crushed rather than severed, and which no oil or wax will rescue later.
Sharpness decides that more than technique does. A genuinely sharp gouge leaves a surface you can see a reflection in. Anything duller tears, and on limewood the difference shows immediately because the timber is pale and hides nothing.
Back off a few paces and let your eyes go soft. A punched background is convincing when the marks fall irregularly and lose all of it the moment they line up into rows.
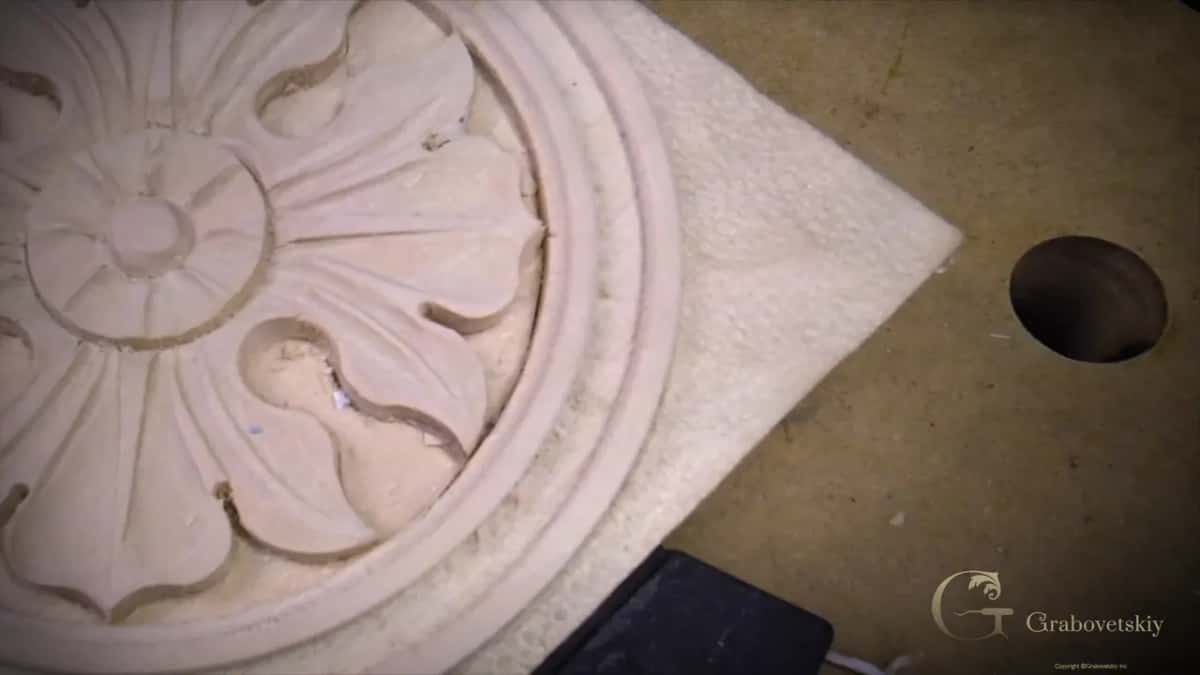
Depth wants to be even even though placement does not. A small punch concentrates the same blow onto less area and sinks further for identical effort, so the corners often end up deeper than the open ground without anybody meaning it.
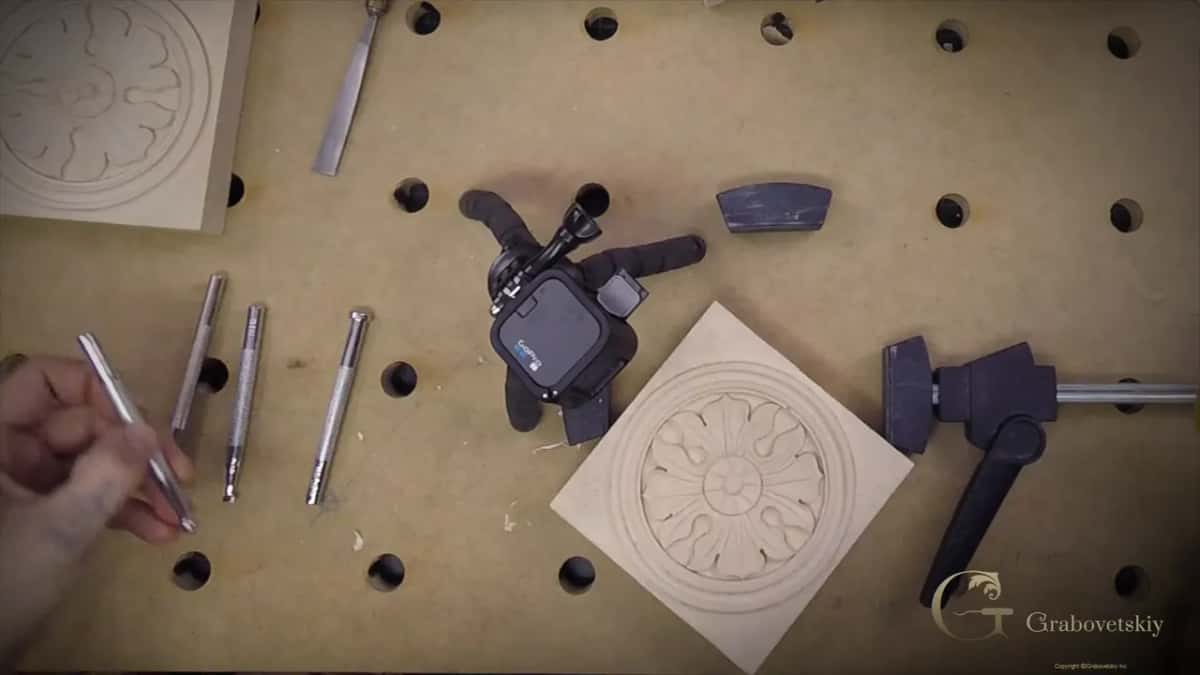
Gaps count as a fault. Unpunched patches hiding behind a leaf will take stain like the raised carving rather than like the ground, and they announce themselves the day colour goes on.
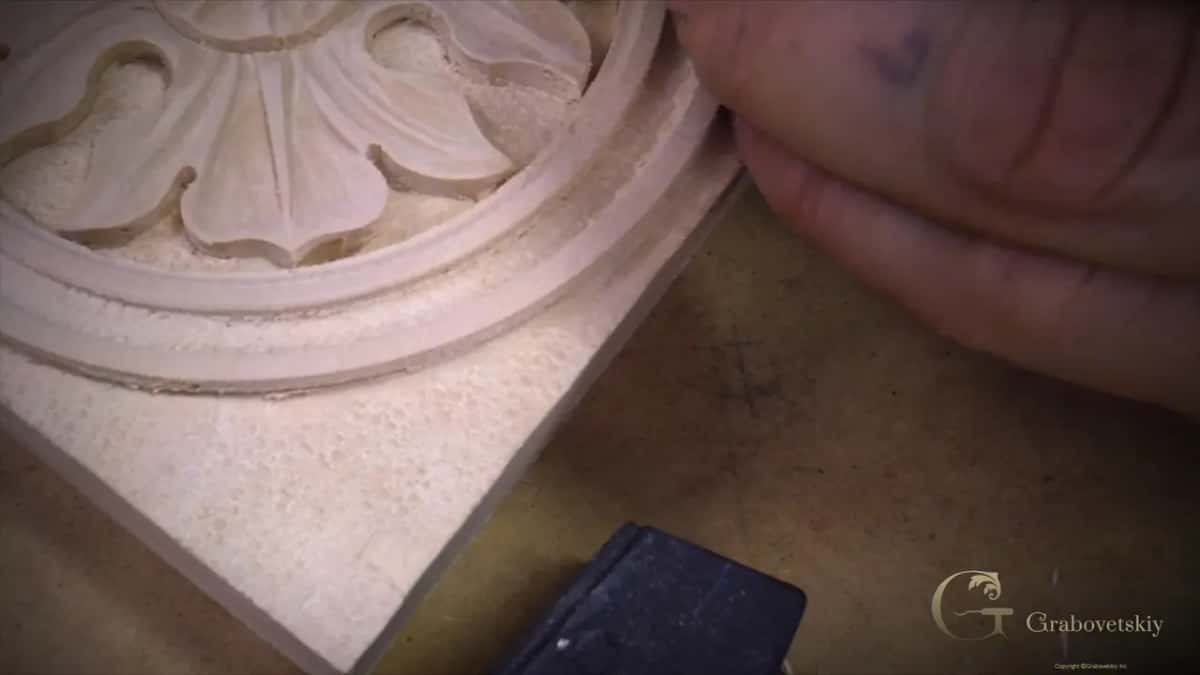
Sandpaper stays in the drawer here, and that is a choice, never a rule. Leaving work as it came off the chisel is how this was done for a very long time, the surface is better for it, and an abraded carving loses exactly the crispness these five checks are looking for.
So photograph it as it is. Raking light from one side, nothing overhead, and turn it until the shadows show what you actually cut. Shot flat under a ceiling lamp, a piece tells me almost nothing, and it does your work no favours either.
Photographs hide some of this and exaggerate other parts, which is worth knowing before you take one. A camera flattens depth badly, so a rosette that looks properly carved in your hands can come out looking shallow on screen, and the cure is light rather than more carving.
Two exposures are better than one careful attempt. Take a raking shot with the lamp low, then a second almost overhead for the layout, and send whichever one shows the piece honestly. I would rather see the work than see a photograph.
Background behind the piece matters more than people expect. Put it on something plain and dark, since a busy bench behind a pale carving makes every edge harder to read, and edges are most of what I am looking at.
I read it, and the first thing I notice is consistency. Work where one half sits heavier than the other usually traces back to the layout, which was decided in the first hour on paper, long before a tool arrived.
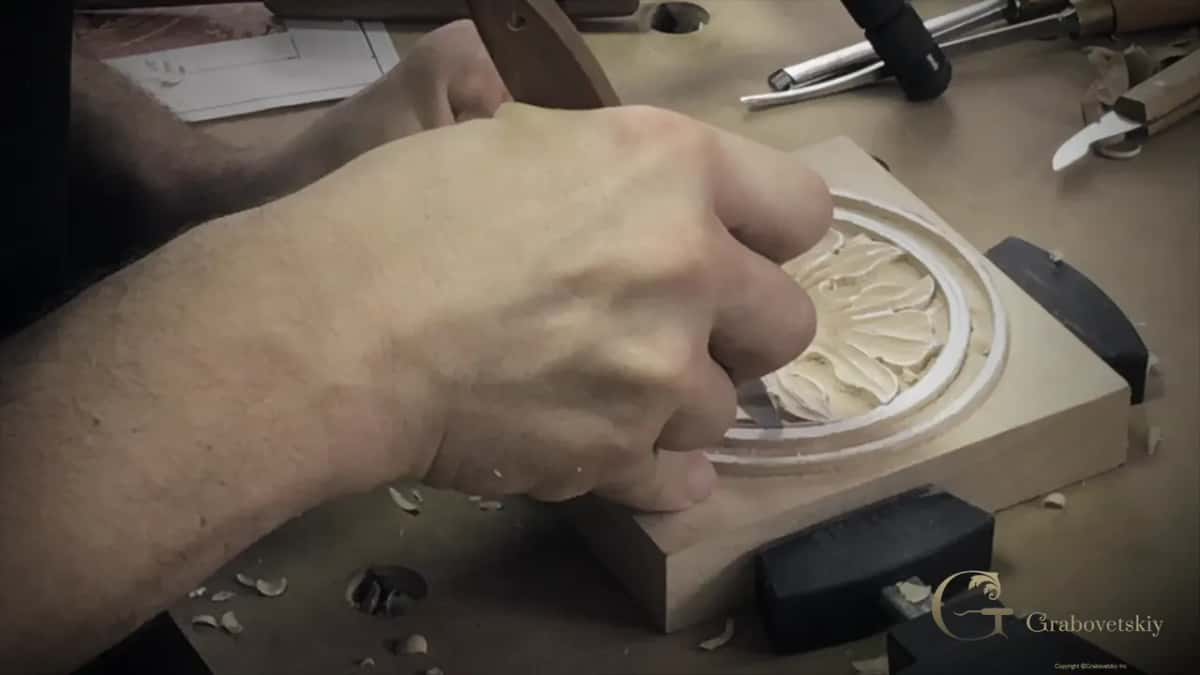
Depth comes next. Basswood is pale and has no colour to work with, so shade is the only tool the finished piece has, and a shallow carving reads flat whatever else is right about it.
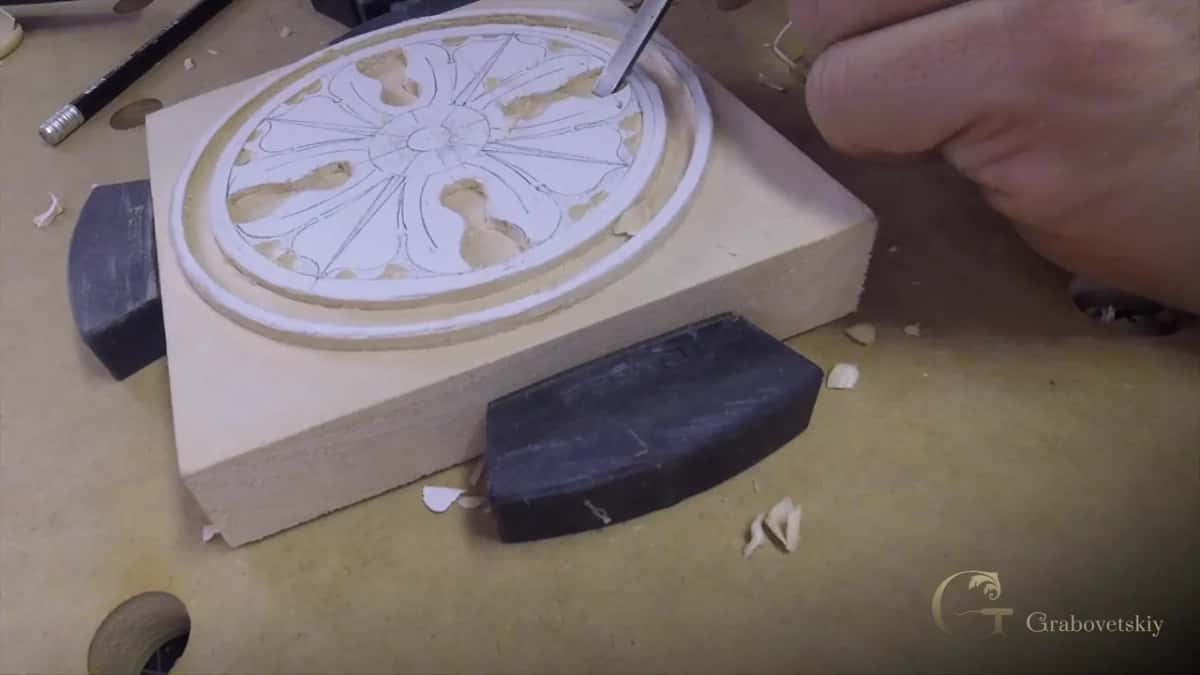
Then this stops being the point. A carver who finishes a rosette can read a Greek leaf, a Roman one and a Byzantine one, because the same five questions apply to every piece of relief ornament anybody has ever cut.
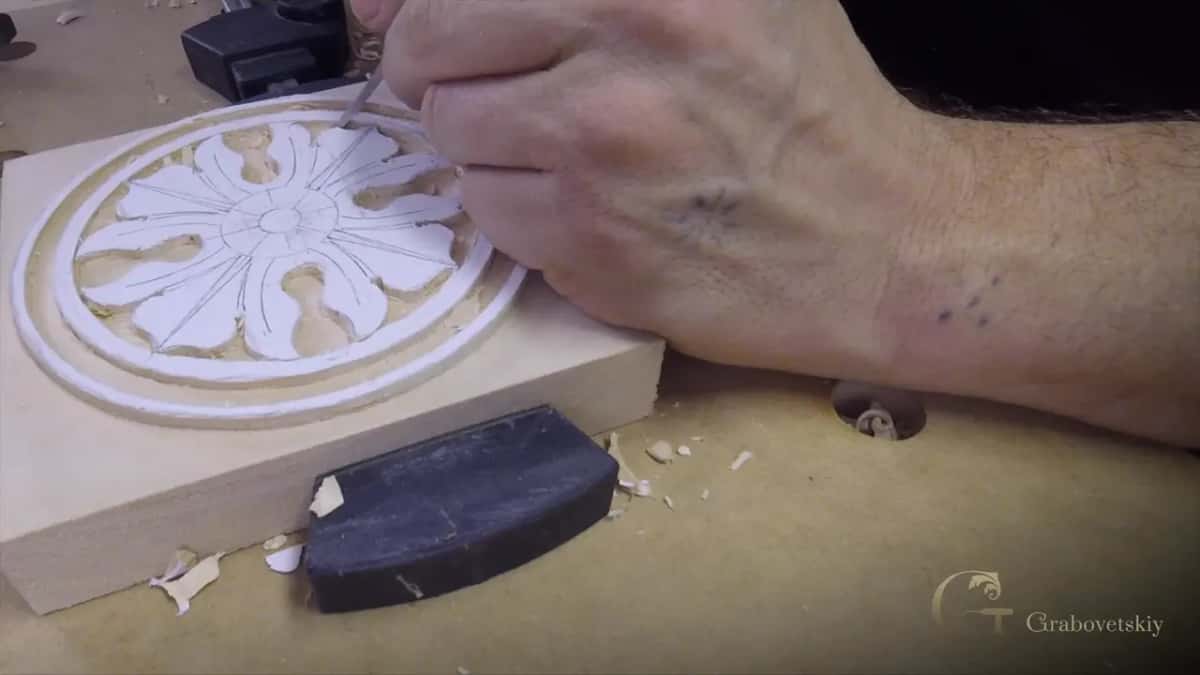
One last thing about the certificate itself, since people ask. It records that you carried a piece of architectural ornament through from a squared blank to a textured ground, which is a real sequence of skills rather than a single trick, and that sequence transfers directly to every leaf and every moulding you cut afterwards.
Nobody is being ranked against anybody else here. I look at your rosette beside the drawing it came from, not beside somebody else's rosette, and what interests me is what your hands learned between workshop one and now.
Would you rather carve the next one with somebody watching over your shoulder as you go? Shall we carve?
This closes the antique rosette series, and tuition keeps all six workshops open. Workshop one squared the blank and took its ground down, workshop two cut the ring without chipping it, workshop four set the eyes and freed the pipes, workshop five left every rim standing, and workshop six punched the background. Sharpening decides the surface under all of it, the flower rosette is the natural next carve, and the Greek leaf takes the same five questions somewhere larger. Want me beside you? We teach in person, and a beginner starts here.
Drop a lamp low and turn the piece slowly under it. Steady movement of the bright band round the rim means a true curve. Any hesitation marks a straight run, which normally traces back to cutting too far without turning the block.
The whole ornament is read as a single plane with shapes standing on it. Pockets cut deeper than the open ground throw heavier shadows, and the eye registers that difference long before it works out the cause.
Lean. A vertical wall throws a hard black shadow and gives you a crisp edge. Tip the blade even slightly and it leaves a bevel, which goes grey and soft and cannot be sharpened up afterwards.
Yes on this design. Leaving the outline standing while you hollow inward gives each leaf a bright edge and a shadowed centre. Romanesque carvers followed the same convention in wood and in stone.
Regular spacing reads as machine work and destroys the antique effect the texture exists to create. Overlap some strikes, leave gaps between others, and keep the depth consistent while the placing stays irregular.
What gets read here is how far you came. A rosette carried through all six workshops with honest faults in it counts for more than a cautious one that never attempted anything difficult.