
Alexander Grabovetskiy, woodcarver, School of Woodcarving · Published 2017
Part of Carving Antique Style Rosette
The full video lesson is inside the school.
Alexander Grabovetskiy, woodcarver, School of Woodcarving · Published 2017
Quick answer: That pebbled texture on old backgrounds comes from leather punches rather than carving tools. A stamping punch with a bubbled face, tapped down with a plastic mallet and placed at random, reproduces the surface antique pieces carry.
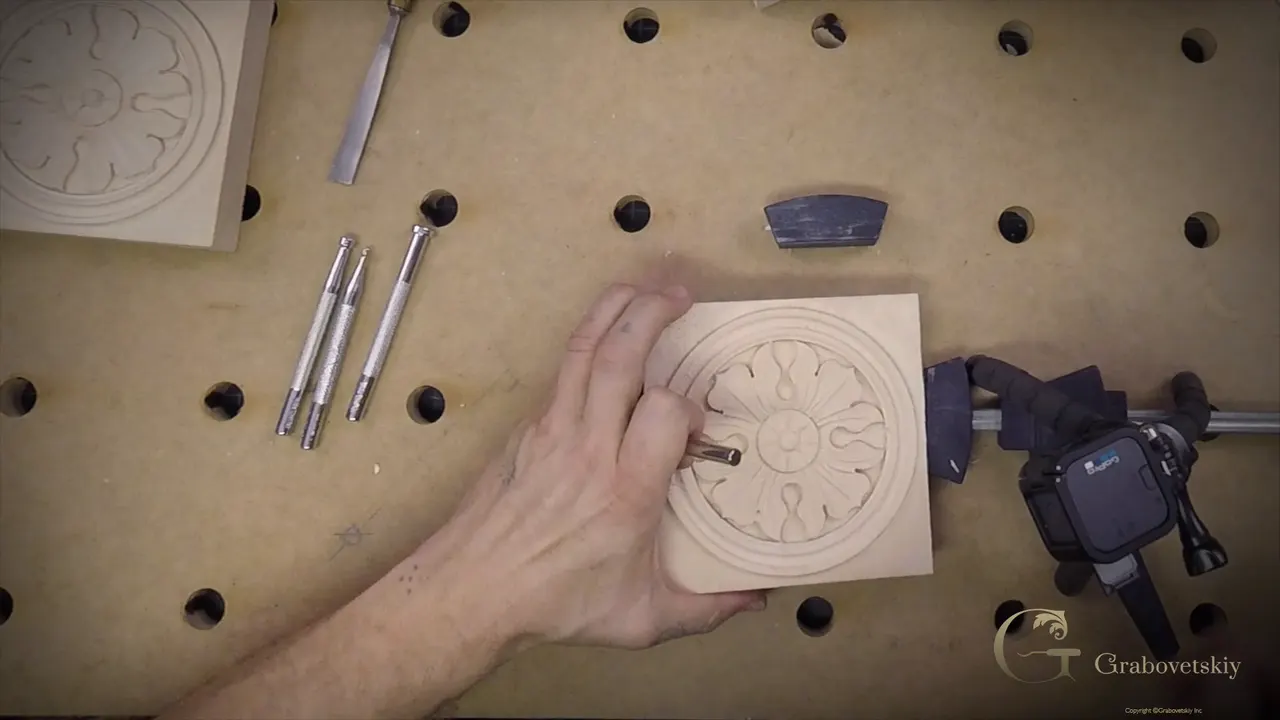
That pebbled texture on antique backgrounds is made with leather punches. Not carving tools, not anything sold for wood. A set of leather stamps, a plastic mallet, and a few minutes of tapping produce exactly the surface the old pieces carry.
Tried to copy an antique background and found nothing in any catalogue that makes that mark? Searched for wood carving background tools and come up with nothing at all? Everybody hits this wall, and the way past it is not in the woodworking aisle.
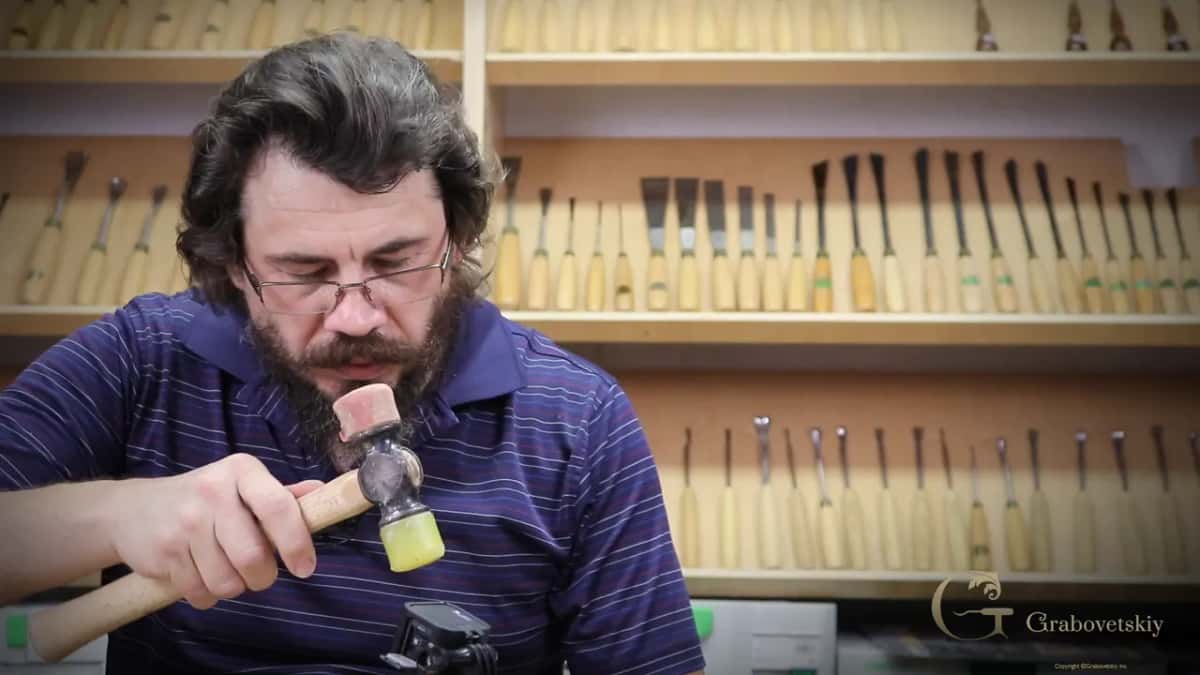
Punch it, once the carving is finished. My reference photograph showed small round dimples covering the whole ground of the rosette, the sort of texture that turns up constantly on old work and stops people cold.
The answer came from my leather bench. Leather workers use stamping punches with every pattern imaginable on the face, and among mine were several with a bubbled texture that looked right for this.
Scrap first, always. I tried one on an offcut before going near a finished rosette, it behaved perfectly well in basswood, and I have used leather punches on carving ever since.
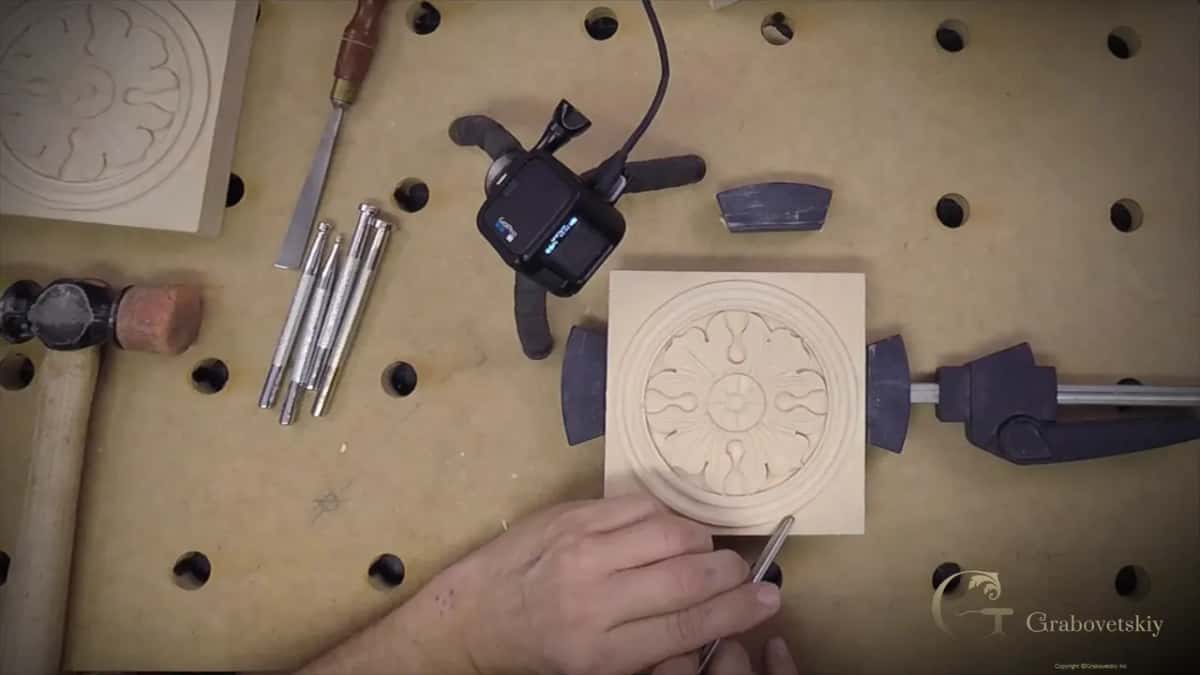
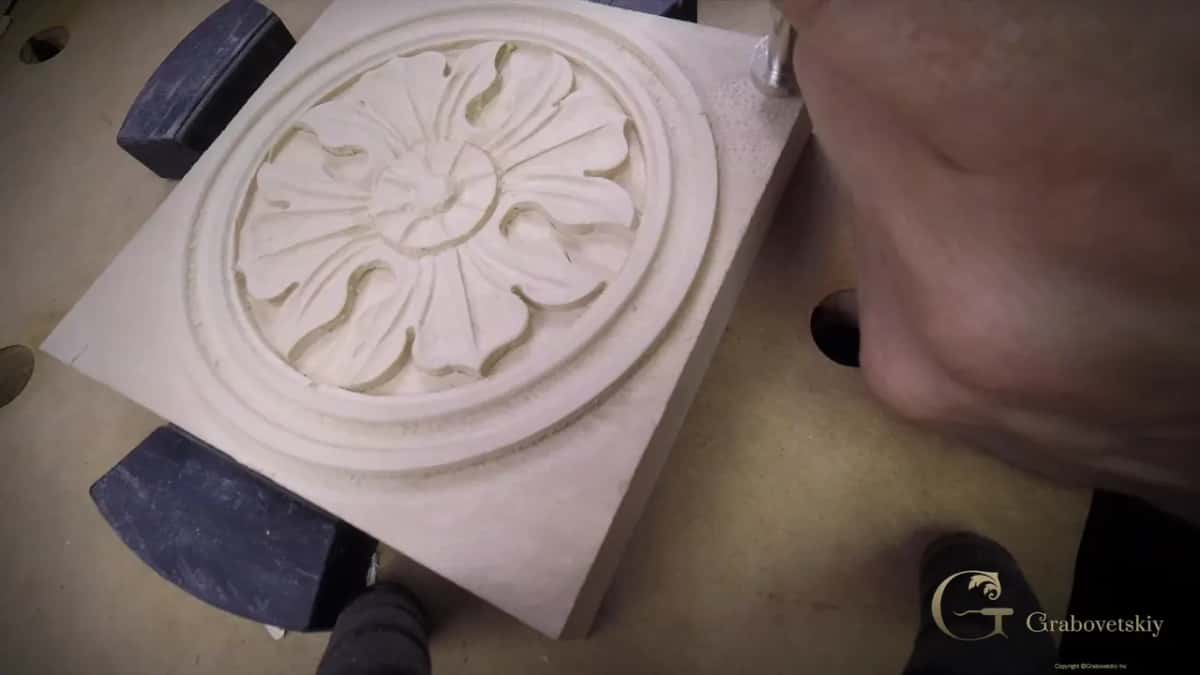
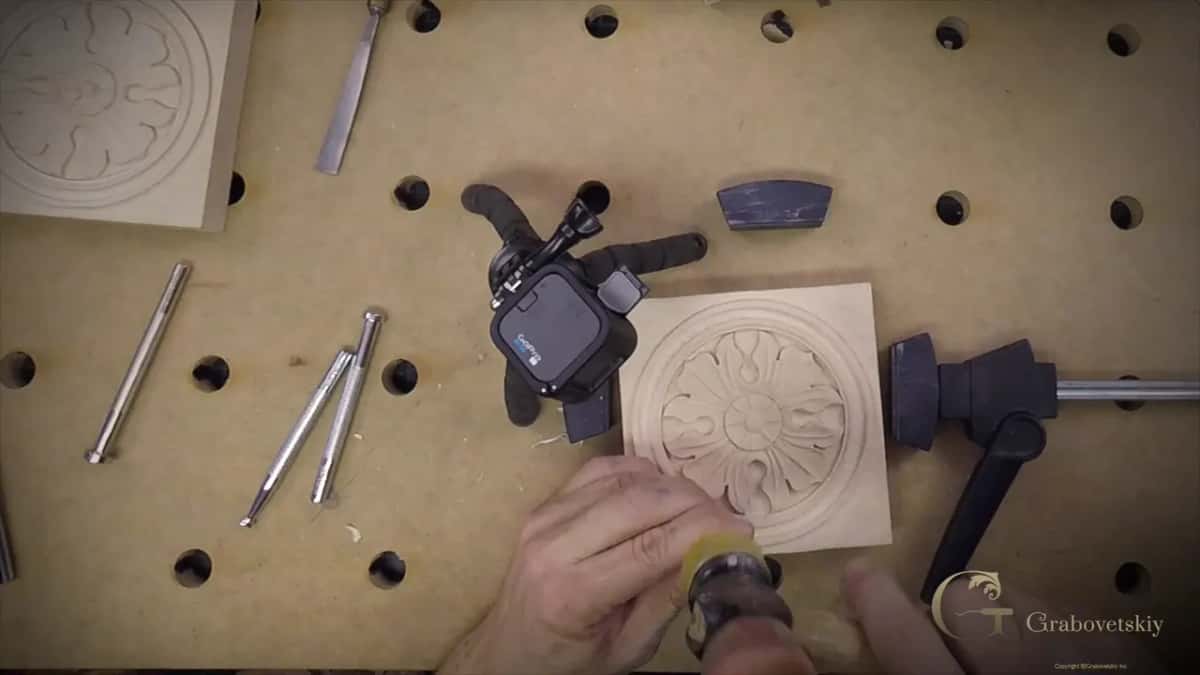
Then it is simply work. Biggest punch first, roughly half an inch across its face, tapped down onto the ground and moved along, and the texture appears at roughly the speed you can move your hands. A stamping face this size covers open ground faster than anything else on the bench.
Stumbling block is the right phrase for it. I have watched capable carvers finish a replica beautifully and then stop dead at the background, because everything else on the piece has an obvious answer and this one does not. Carving is a matter of tools and practice. The texture looks like something else entirely, something you were supposed to have been told.
No secret hides in it anywhere, and there never was one. One habit gets in the way, though. People assume the answer has to come from a carving supplier. That one idea is all that stands between most of them and a perfectly good background.
Search and you will find nothing. Type the obvious phrase into any search box and the results will be grounding tools, which flatten a surface rather than texture it, and that is the entire problem.
The old workshops were not precious about it. Tools on antique work were never restricted to things sold for wood, and whatever came to hand with the right face on it got used, which is how these textures came to exist at all.
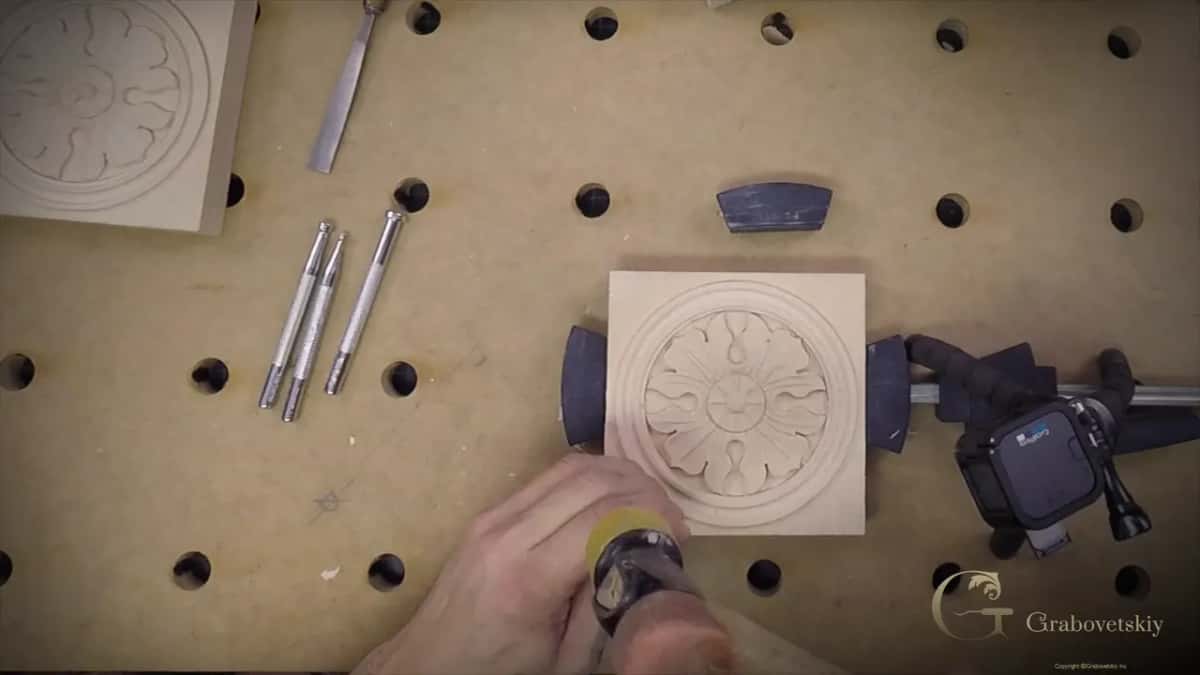
Buying them is easy enough now. Ask for leathercraft stamps rather than woodworking tools, and they turn up on the usual sites in America and across Europe, usually cheaper than a single carving gouge.
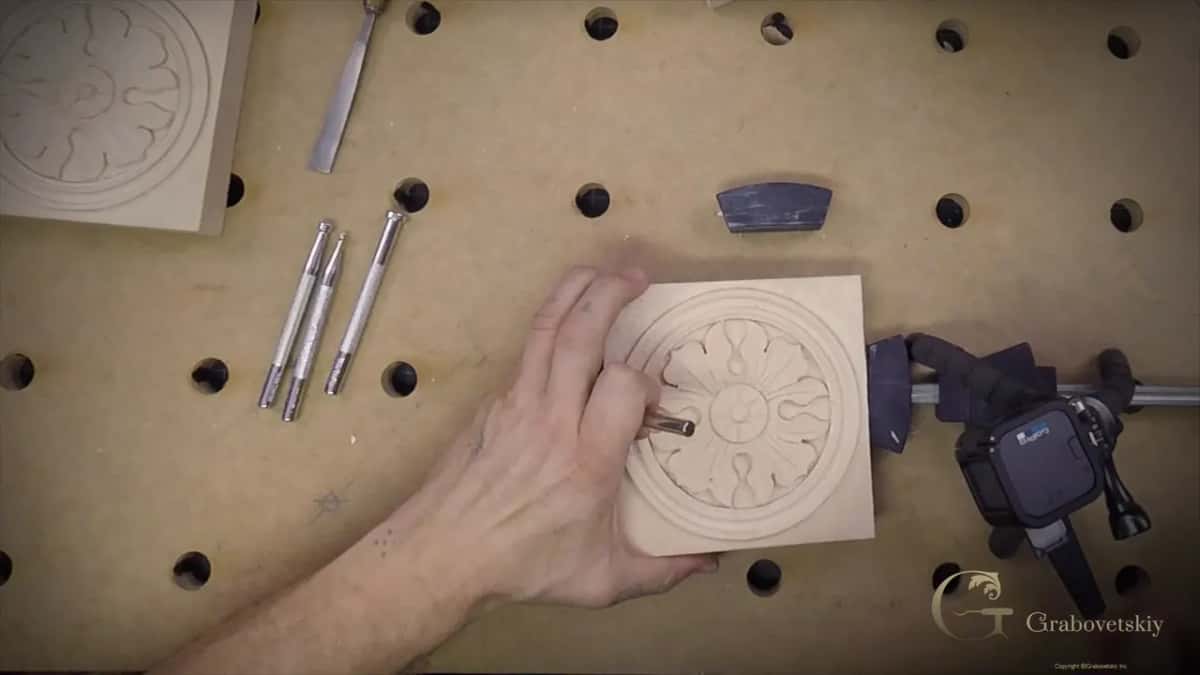
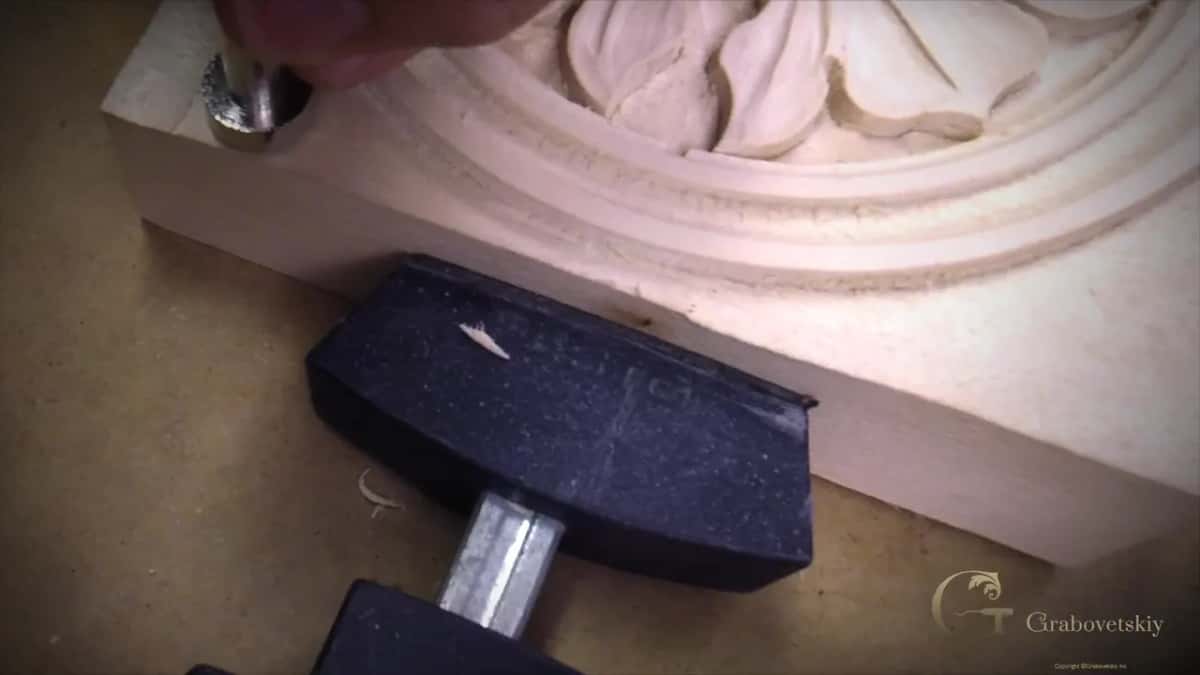
Randomness does the rest. I place each strike without thinking about it, overlapping some, leaving others apart, because the moment the marks fall into rows the whole thing reads as machinery rather than as a hand.
| The punch | What it handles on a rosette this size | Face | What goes wrong when you reach for the wrong one in a tight spot |
|---|---|---|---|
| The big face | Open ground out beyond the ring | Widest in the set | Nothing, provided there is room, and it covers ground faster than anything else |
| Middle size | Tighter ground between the leaves and the ring | Three eighths across, or a shade under it in most sets I have bought | Bruised edges |
| The small one, which wants a lighter tap than feels natural | Corners | Smaller again | It sinks deeper than the others and leaves the ground uneven where the eye happens to catch it |
| A punch taken to the grinder | Places no stock punch will enter at all | One side taken off | Nothing is lost by doing it |
| Steel hammer | It touches nothing on my bench | Irrelevant | Split punches, marked timber, and a repair on a piece that was finished |
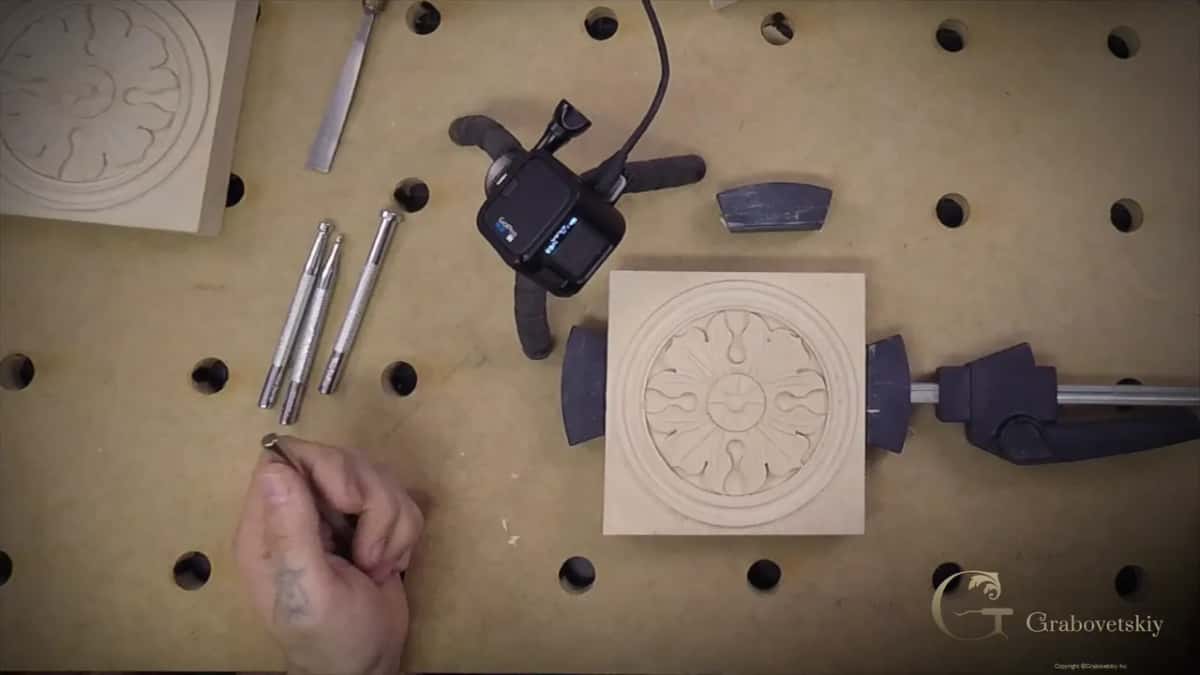
Check what is in a set first. These sets usually turn up carrying three or four different faces, and sometimes more than that. Diameter matters, not the pattern name they print on the packet. One question decides it: will the punch fit the narrowest ground on your design?
Faces vary enormously. Bubbles and pebbles are what antique carving most often wants, but the same racks carry stipples, baskets, crosshatching and geometric repeats, and every one of them is a background waiting for the right piece.
Keep them away from your gouges. A punch is struck rather than cut with, the face gradually mushrooms, and a tool in that condition living next to sharpened edges is how carving tools get chipped.
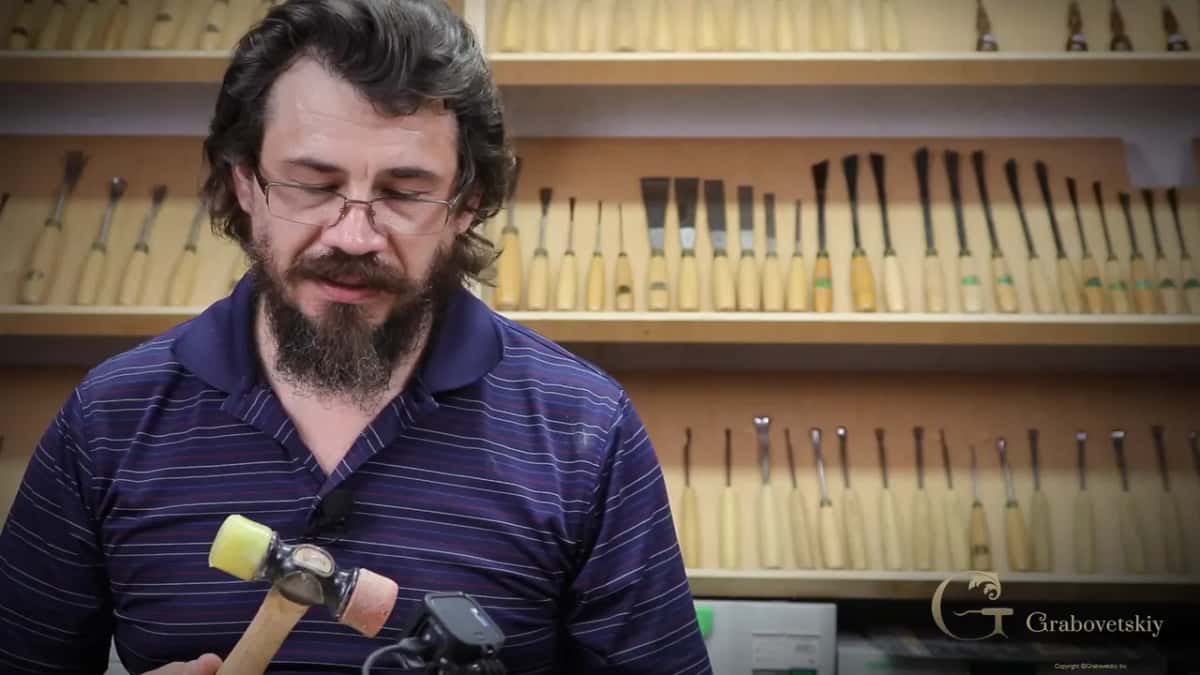
Lighter than instinct suggests. My mallet for this is an ordinary carpenter's one, plastic faced, and anything similar serves so long as it is not steel.
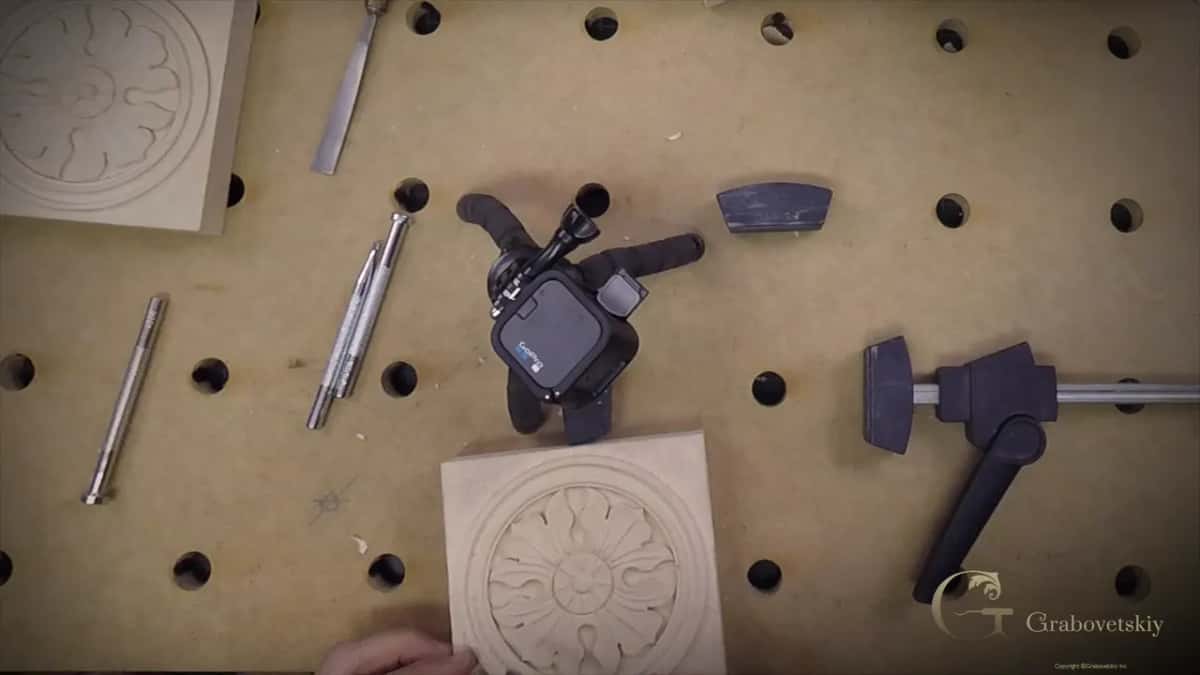
Feel is what governs it. There is no measurement I can give you, just a weight of blow that seats the pattern without driving the punch into the wood, and it takes about four strikes on scrap to find.
Small punches are the trap. A narrow face concentrates the same blow onto less area, so it sinks noticeably deeper than the big one for identical effort, and overdoing it there is the commonest way this goes wrong.
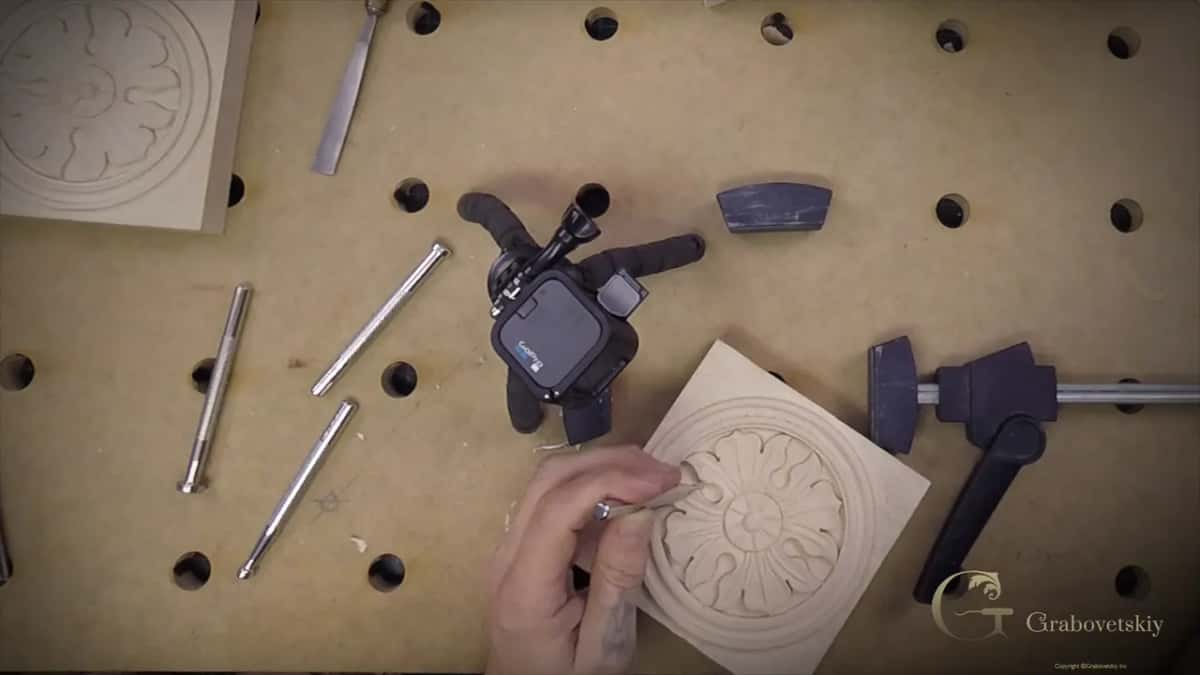
Clean the ground before you start. Chips and dust left in a recess get pressed into the surface by the punch, and digging them out afterwards means going back over ground you had already finished.
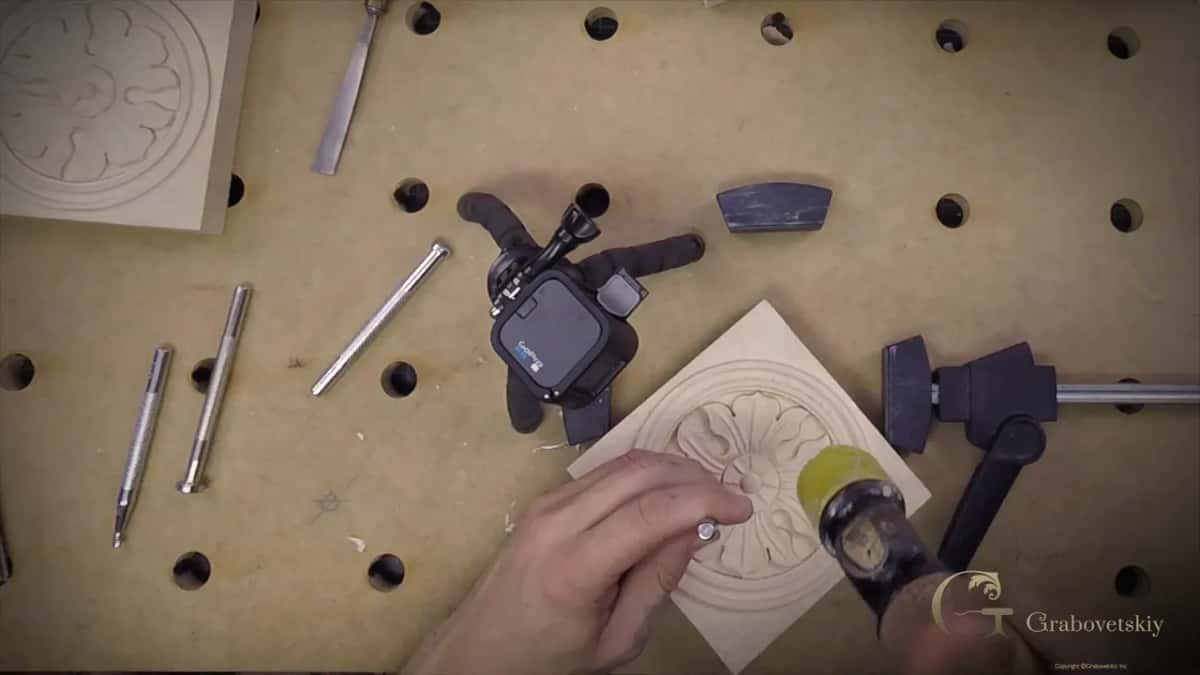
Working outward suits me best. I start on the open ground beyond the ring, where the big punch has room. Get the rhythm going first. Then move inward to the awkward pockets, where the tool is chosen for the space rather than for speed.
Overlap is worth watching as you go. Land two strikes squarely on top of each other and the wood there goes noticeably deeper than its neighbours, which shows under a raking light exactly the way an uneven ground does.
One more thing about the marks themselves, since it decides how convincing the result looks. Vary the pressure a little as you go, not just the placing. Ground where every dimple sits at identical depth fails the same way ground with the marks in rows does, only harder to name when you are looking at it.
Old backgrounds are uneven in exactly this way. Somebody stood at a bench for an hour with a punch and a mallet. Their arm tired. Attention wandered, and the surface records every bit of that. Copying the unevenness is copying the hand, and the hand is what you are really trying to reproduce.
Less than you would think. Anywhere a punched background is going, the surface is about to be beaten down into a texture, so the tool marks and small unevenness that would matter on a show face simply vanish.
That changes how I work a ground. Knowing the texture is coming, I stop chasing perfection on the flat parts and spend the time on the carving instead, which is where anybody looking at the finished piece is going to look.
It does not excuse depth errors. A ground that is too shallow stays too shallow whatever texture goes onto it, and the punch flattens nothing, so the eighth of an inch still has to be right before any of this begins.
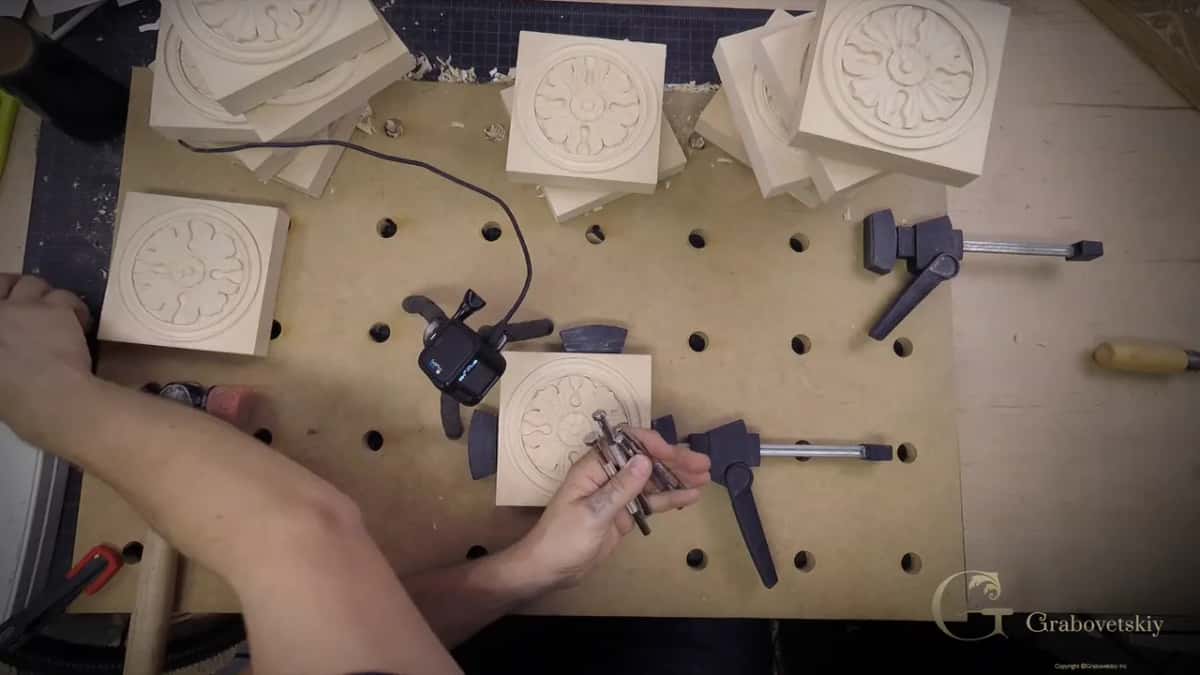
Fifteen pieces made this a production question as much as a craft one. Texturing one rosette is twenty minutes of pleasant tapping. Texturing fifteen is a different exercise. Each one needs the same density of marks so the set reads as a set, and that is where having the sizes sorted in advance earns its keep.
Consistency across a run matters more than perfection on any one piece. Nobody hangs a single rosette and studies it. They go up together round a room, and the eye compares them to each other long before it judges any of them on its own.
Nobody will ever ask how you did it, which is the odd part. A visitor looks at a finished rosette and sees an antique background, not a leather tool, and the whole difficulty that stopped a dozen carvers before you disappears into a surface that simply looks right. Most of these problems end exactly that way.
Grind it and stop worrying. One corner of this rosette refused every punch in the set, so I took the smallest one to the grinder and removed an entire side of the face.
Cost is what makes that easy. Punches cost very little. Replacements sit a few minutes away online. A tool reshaped for the job in front of you beats a whole set sitting in a drawer.
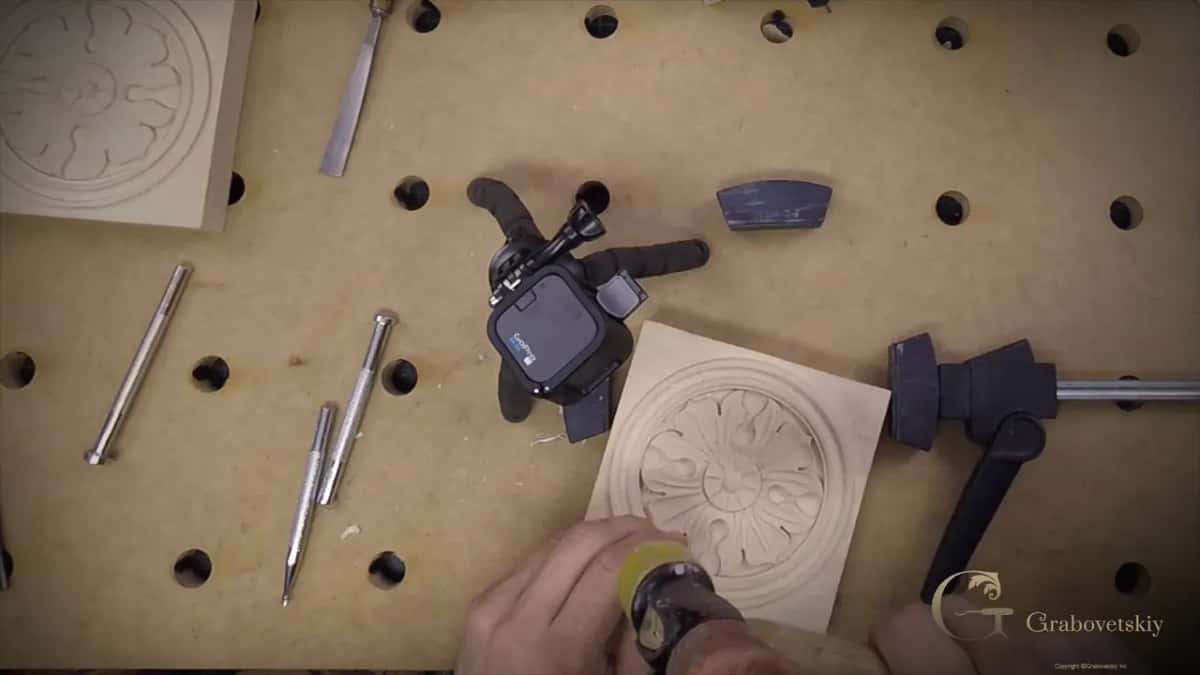
The same thinking runs through the trade. Carvers have always ground tools to suit work rather than the other way round, and every bench that has been in use for years carries a few things that no catalogue has ever sold.
It goes darker than the raised carving. All that broken surface holds stain where a smooth face sheds it, so the ground drops back visually and the relief lifts forward without a single extra cut.
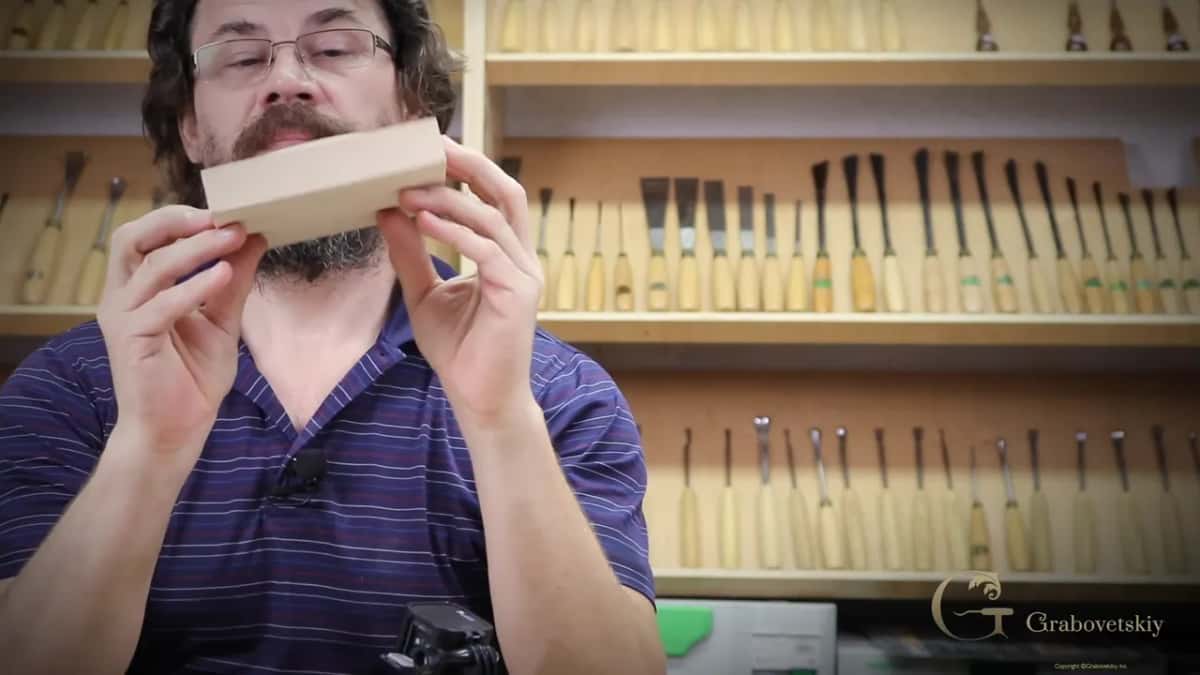
Bubbles are only one option. Punch sets carry all sorts of faces, from fine stipple to geometric patterns, and any of them will give a background its own character on a piece where the plain version looks thin.
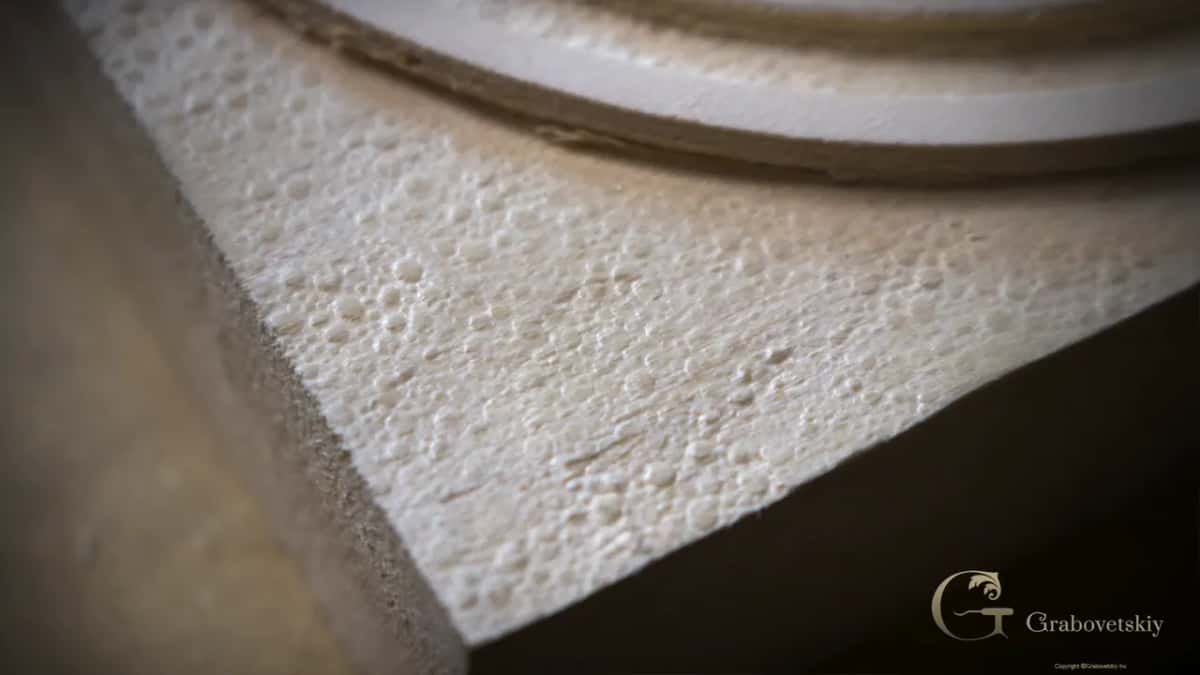
My client had worried about this detail more than any other. Matching the original mattered to him, the texture was the part he could not picture anybody reproducing, and it turned out to be the easiest thing in the whole commission.
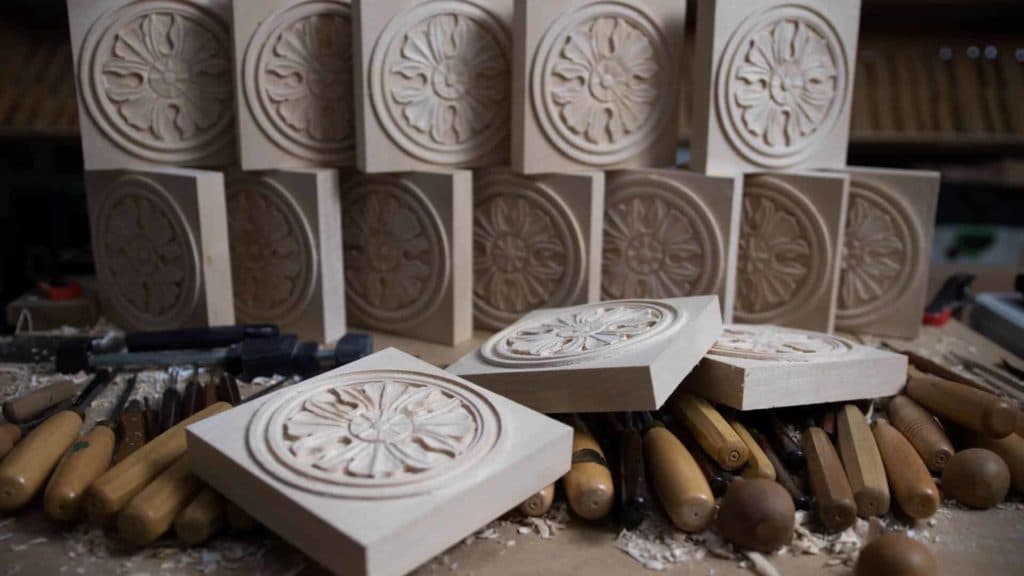
Fifteen rosettes, finished. Same design as the photograph, same texture on the ground, ready for whoever puts the finish on them, and I hope the man who ordered them is pleased.
Replication was the whole brief here. A client sent a photograph of an antique piece and asked for fifteen like it, which meant every decision I made had to answer to a picture rather than to my own taste, including this one.
Copying is a particular discipline, and it is worth practising. Designing your own ornament teaches invention. Copying something old teaches you to read, and reading a finished object well is how a carver works out what somebody three hundred years ago actually did at the bench.
Finishing is where the whole texture pays off, so it is worth saying what happens next. These fifteen went off to be stained, and the moment colour goes on, a punched ground and a smooth carved surface stop being the same piece of wood. One drinks, the other does not.
Depth of tone does the work that another quarter inch of carving would have done. A dark ground throws the leaves forward whether or not they were undercut deeply. That is the trick the original was using. It is why the photograph looked deeper than an eighth of an inch has any right to.
Try it on an offcut before committing a set. Punch half a scrap, leave the other half smooth, put your finish across both and look at them side by side under a lamp. Five minutes there will tell you more than any description of mine, and it costs a piece of wood nobody wanted.
Would you rather watch a leather punch land on a finished ground and an antique texture appear under it, at full speed with the camera over my shoulder? Shall we carve?
This closes the antique rosette series, and tuition keeps all six workshops open. Workshop one squares the blank and grounds it, workshop four cut the eyes and pipes, workshop five left every leaf with its edge standing high, and the final assessment is where your own rosette goes. Sharpening decides the surface under the texture, the tools course covers grounding tools properly, and the flower rosette is the natural next one to carve. Want me beside you? We teach in person, and a beginner starts here.
A leather stamping punch. Carving catalogues sell grounding tools, which flatten rather than texture, so the pebbled surfaces on antique work come from punches made for hide and used on timber.
Ask for leathercraft stamps rather than woodworking tools. They sell in sets of roughly three sizes, in America and across Europe, and usually cost less than a single carving gouge.
A carpenter's mallet, plastic faced. Anything non steel serves. A hammer damages the punch, marks the timber, and gives you no feel at all for how hard the blow has landed.
Place it at random. Overlap some marks, leave gaps between others. Once the dimples line up into rows the surface reads as machine made, which defeats the reason for texturing it.
Largely, yes. Tool marks disappear under punching, so a ground destined for texture needs less finishing. Depth is different: a background cut too shallow stays too shallow, since a punch flattens nothing.
Grind it freely. Taking a side off the smallest punch lets it reach corners no stock face will enter, and these tools cost little enough that reshaping one is never a decision worth agonising over.