
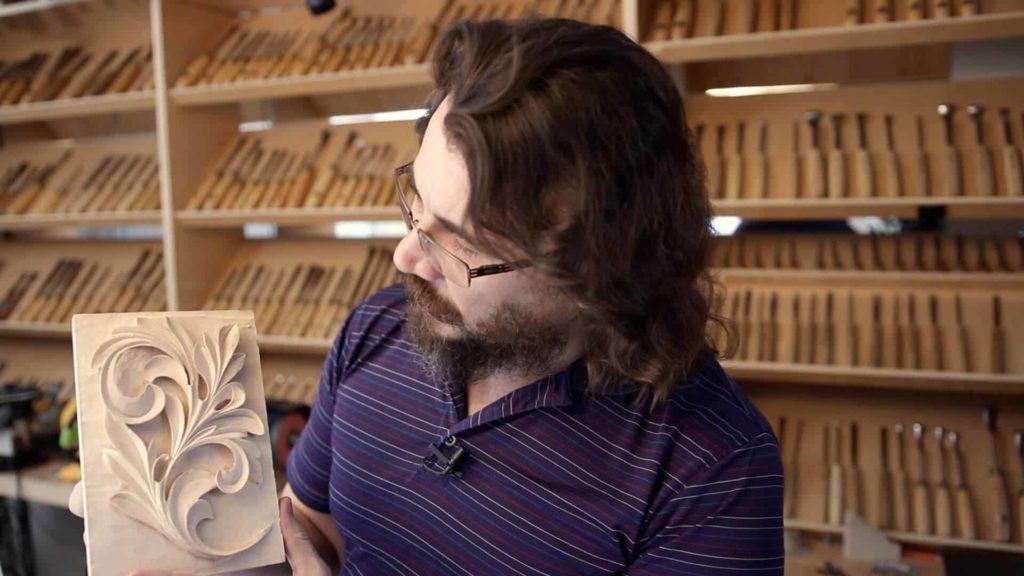
Alexander Grabovetskiy, woodcarver, School of Woodcarving · Published 2018
How do you clean up a wood carving without sandpaper?
Quick answer: Cleaning a carved edge without paper is a knife first and then a dry stem of Dutch reed, on my Greek leaf. The reed sands lightly, somewhere near 300 to 400 grit, so dirt and pencil come off while the chisel marks stay. Gibbons in the UK used that reed.
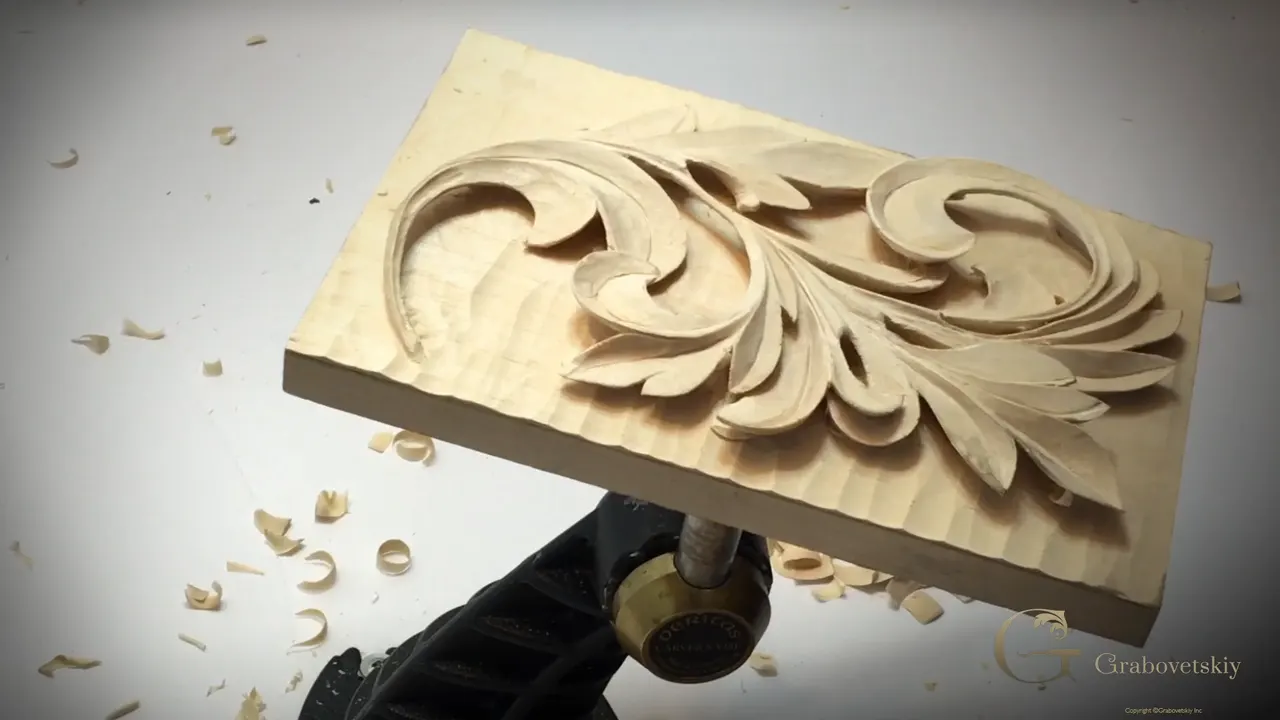
Cleaning up a wood carving without sandpaper is, on my Greek acanthus leaf in lesson 15, a number 12 knife first and then a short piece of Dutch reed. The knife runs along each rough edge first. Then the dry reed goes over those edges, and I'm going to be honest with you, that is sanding too, just slightly. It is equal to about 300, 320, maybe 400 grit, and you are still able to see all the chisel marks after it.
Do you want clean edges on your carving? Would you like every chisel mark to stay on it, too, the way it came off the gouge? Then leave the sandpaper aside on a piece like this. On this leaf I said it plainly, I would not recommend using sandpaper.
Doesn't matter how sharp your tools are, and doesn't matter how good a carver you are, you still get some rough edges. I said that early in this lesson. We clean everything, clean the edges, lower the background, and by the end of the fourth video I call the leaf done.
What I did to the Greek leaf in lesson 15
- My number 12 ran along each rough edge, then fixed one line that was not flowing.
- A dry piece of Dutch reed sanded the edges slightly and left the chisel marks.
- A toothpick pressed down the centers of the small leaves.
- The background came down about an eighth of an inch (3 mm), marked first with a pencil and my finger, then with a marking gauge holding the knife.
- A number 7 at 14 mm (9/16 in) worked crosswise to the grain and stopped about 1/32 in (0.8 mm) above the line.
- Three Ashley Iles background tools and a number 3 took the ridges off.
Why is a carved edge still rough after sharp tools?
Fuzz happens anyway, most of all when you do an extreme undercut and your edge is pretty much going to the point. It just runs along, and I don't have anything left there. We undercut everywhere in the lessons before this one, lesson 12 among them.
So there are a couple of ways to clean it. And you don't have to be perfect when you are cleaning.
Can a knife clean up a rough edge?
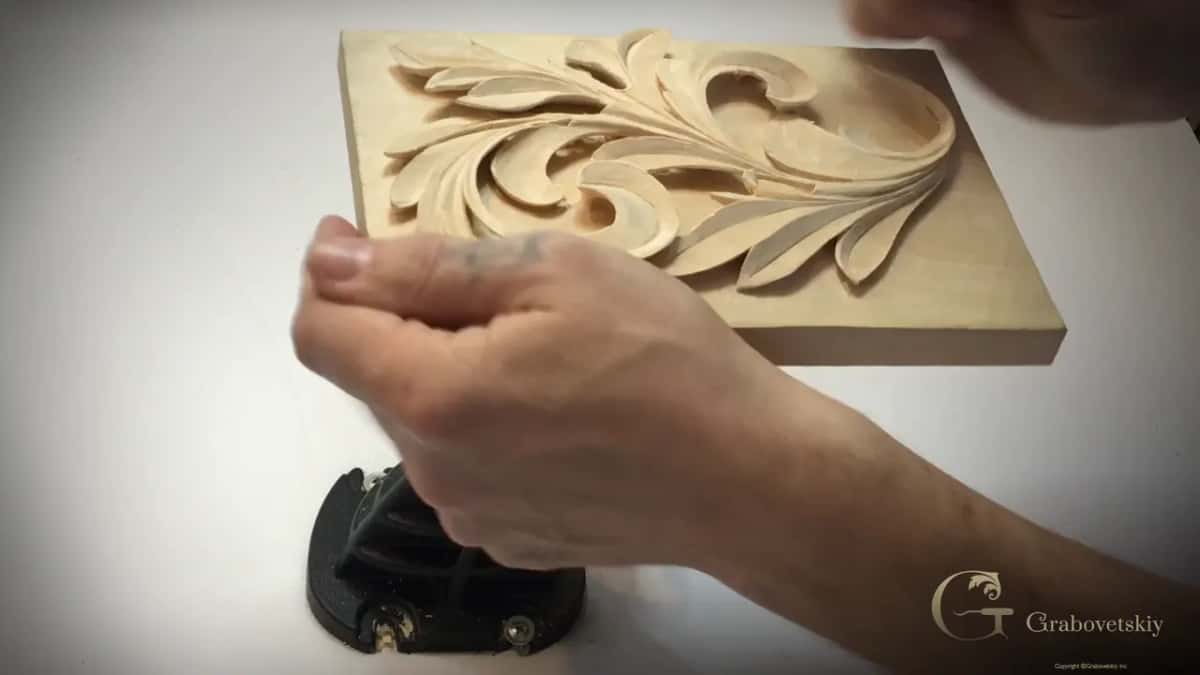
A knife is number one, and probably my preferred way. I take the same knife I used before, my number 12, and I just run it along the edge and remove what I think is not supposed to be there.
Depending on the grain, you can also kind of scrub it with that knife. Be careful how you do that. It cleans all the fuzz out too.
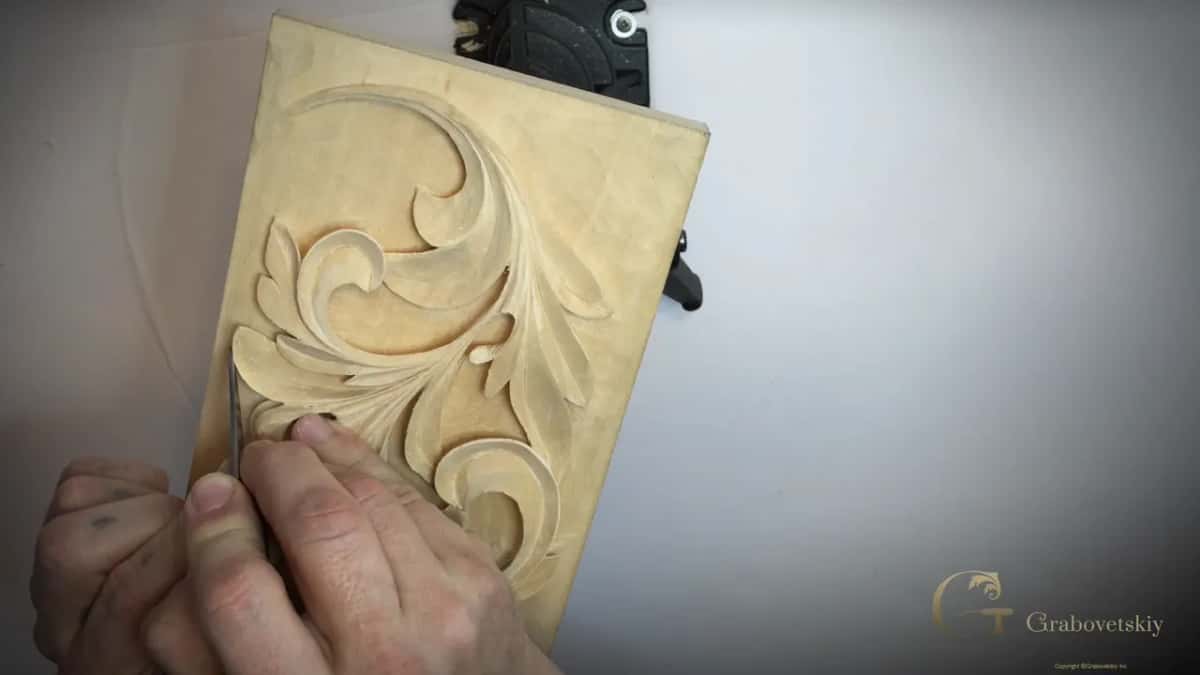
At that stage, besides cleaning the edges, you could check all the lines. I didn't like how one line was not really flowing, so I took the knife again and fixed that line, and now it's much better. At some point you have to stop, and I have to stop, because you can always find imperfections in your carving.
How do you use Dutch reed on a carved edge?
One of my favorite wood carvers in history, Grinling Gibbons, lived in the UK about 300 years ago, and he would use Dutch reed rush. I have some. Mine are small dry sections, approximately an inch and a half (about 38 mm) long, and I did not break them.
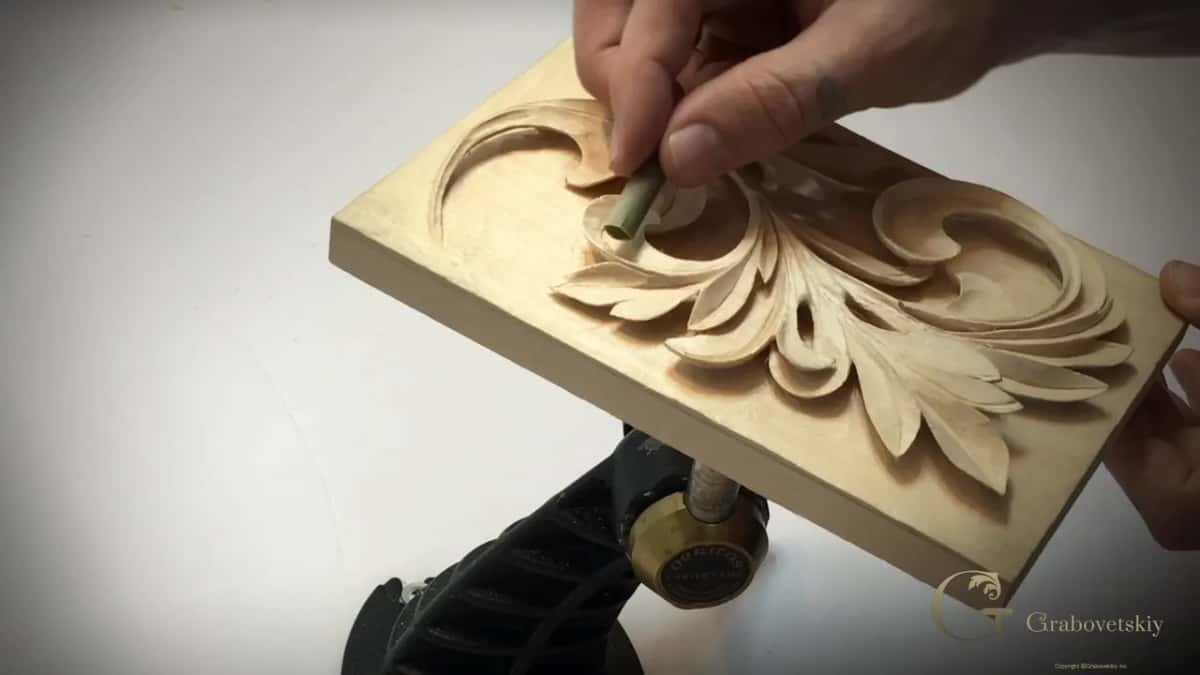
That's exactly how they would use it in areas like that. They would just rub on the edge, sometimes without even touching the surface. It's a really good technique to clean the rough edges and sand them a little bit, and once you use it you'll see it creates a beautiful edge.
It runs along the pipes too. And you can semi-sand, if you wish. How fine it works all depends on the piece itself, and it could be even finer than 400. It's still going to be authentic carving out of the chisel.
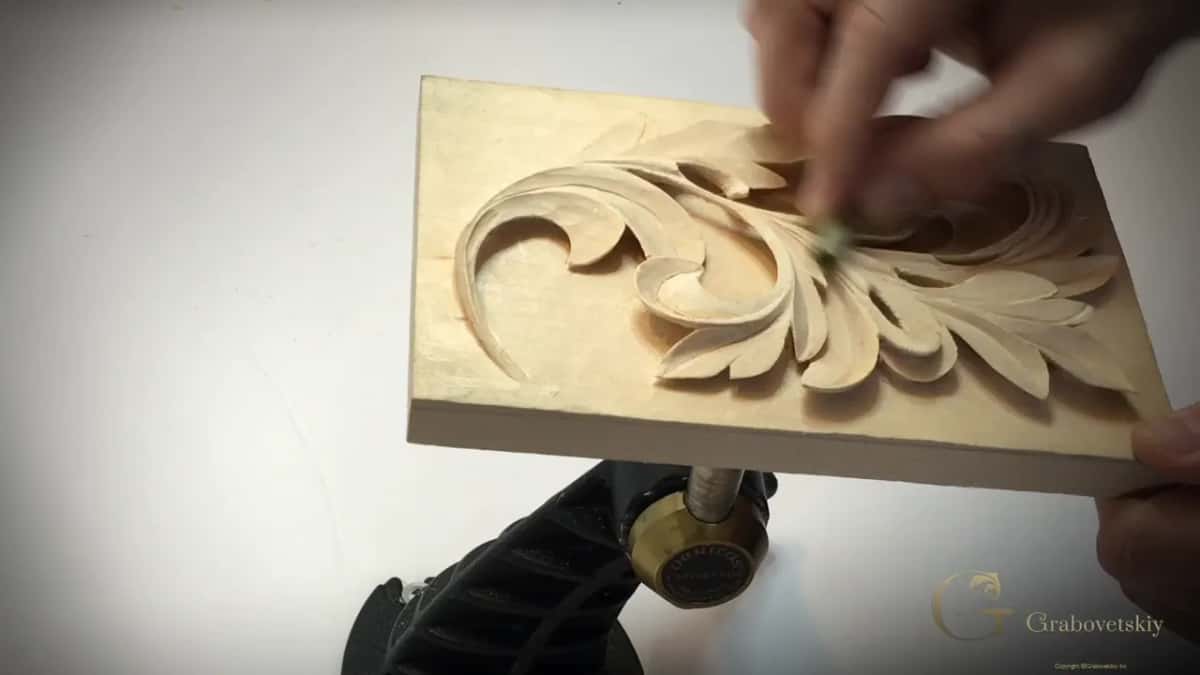
Wiktionary gives Dutch rush as the scouring rush. Wikipedia files the scouring rush under Equisetum hyemale, the rough horsetail, and says the ridges on its hollow stems are impregnated with silica and rough to the touch. It also says dried stems are used to shape the reeds of clarinets and saxophones. That fits what I said in a question and answer video about sandpaper, that you can buy reed rush in musical instrument stores.
People asked me about a rough edge back in lesson 12 too, and I gave them two answers there. A knife, or a small piece of sandpaper or a Dutch reed.
What does the reed take off, and what does it leave?
Next I cleaned the ridges with it. As you can see, it's actually just a sanding, but slightly. It removes all the unnecessary pencil marks and some dirty spots, and it does not destroy your carving.
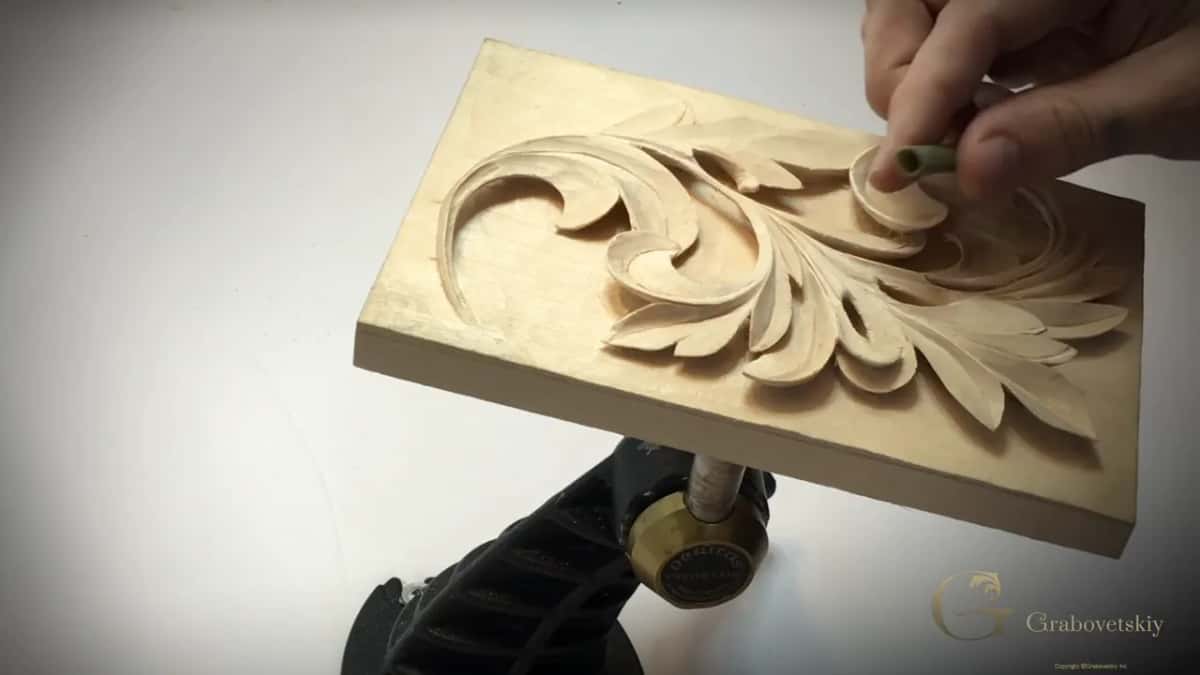
For an even smoother look without using sandpaper, you would still use the Dutch reed and make it a little more smooth. Those carvers used it, especially in the UK, I know for sure, and the Dutch carvers and the Belgian carvers too. It gives a really nice smooth look without damaging too much of the marks.
On a Hashemi flower in Hashemi lesson 24 I said light sanding with the Dutch reed should be fine, because the reed really doesn't take out those ridges. It just makes it smoother.
In furniture panel lesson 20 I rubbed it in a kind of rotation motion instead of with the grain. That gave the wood a more dull look, and with it I could see a ridge that was really hard to see under full-blown light. Moving the lights helps with that as well, as I showed in lesson 8.
Will a reed last longer on a paper tube?
It does. For the Hashemi flowers in lesson 18 I placed a wet reed on a roll of paper and let it dry, so it works like a tube. Working in the 17th century, I said there, you would use a Dutch reed.
Sometimes you have a really sharp edge and you don't want to use any sandpaper. I don't. I want to be authentic. So the easiest way is to use what they used back then. It's not really sanding. It is, but it's not like a sandpaper. That way I can work on my edge and see imperfections, and I can go back again with the knife and refine a little bit.
In furniture panel lesson 19, on the background, I used paper tubing the same way, and that section just lasts a lot longer. I like that better than the sandpaper because it doesn't leave any abrasive inside of the wood. Again, I'm not against the sanding. Looking back on the history, I said, most furniture makers used scrapers, most, not all, and some of them in the 17th and 18th century still used reeds, the plant growing by the river.
Is sandpaper ever the right choice on a carving?
It depends on the finish. I said so in that question and answer video, filmed beside an organ shade I was carving for a pipe organ in New York City. That shade would be water gilded, and for gold leaf the surface has to be shiny.
For gold leaf, as much as I love an out of the chisel finish, I still use some sanding, with a mesh that has holes in it. The dust goes inside those holes, so you are not leaving too much abrasive inside the wood. To answer the question I was asked, yes, it is absolutely okay to sand.
In the same video I said some people say carvers used the skin of a shark, though not everybody lived close to the ocean. I also said some carvers in the 15th century scraped with a piece of glass, and that scraping was one of the techniques used all over Europe.
Can you scrape a carving instead of sanding it?
The same knife can do it. That's not the best idea, but it's still possible, I said on the furniture panel. If you ask me whether it will destroy the tool, it's absolutely not. It will make it a little dull.
A little scraping gives you a lot nicer, cleaner, smoother look, almost like it sands it, but without leaving any abrasive parts inside of that wood. On the organ shade I scraped the whole surface with pretty much a carving knife, in place of a scraper. After the scraping you could burnish it with the same species of wood, and that gives a really shiny surface.
Why press a toothpick into the leaves?
To show the center. At this stage you could take a piece of wood, and in my case I took a toothpick and pressed it down a little bit in the centers of those leaves.
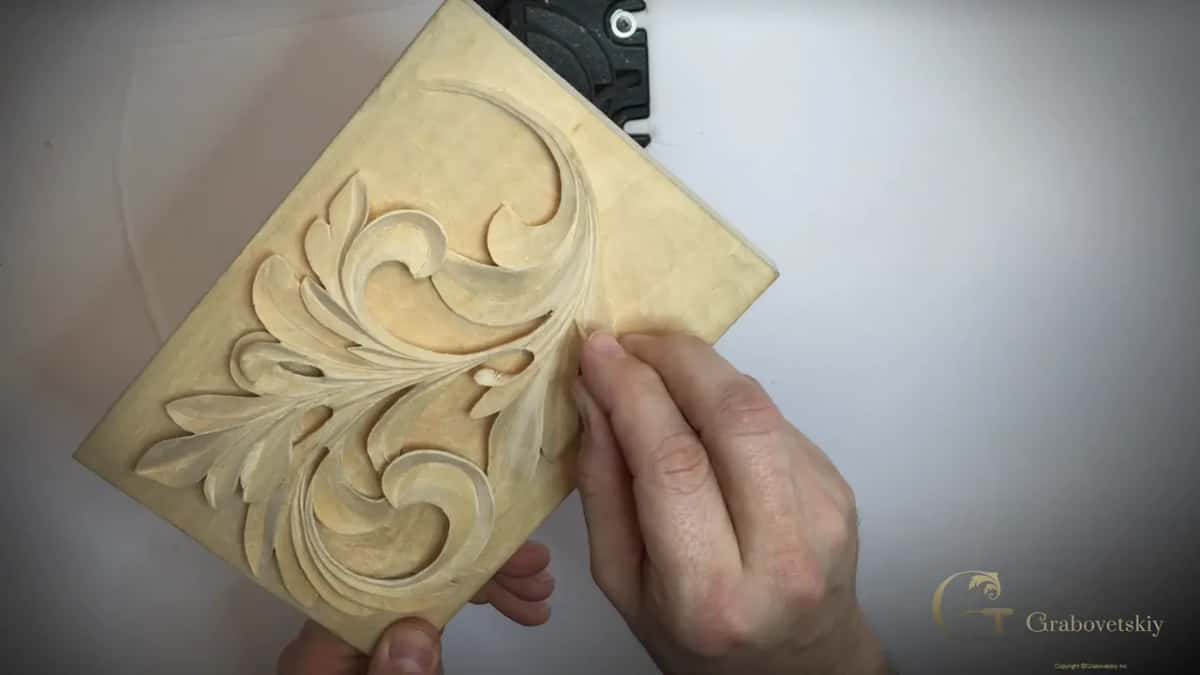
I know it's not that visible. But still, believe me, it does create a big difference.
What do the holes through the leaf do to the light?
They give you really nice shadow lines. In multiple spots my design goes all the way through, and I've done it on purpose, two places in lesson 9 and one section in lesson 12. Depends how the light shoots at the piece, it gives me an absolutely different shadow, and that's what I like about it.
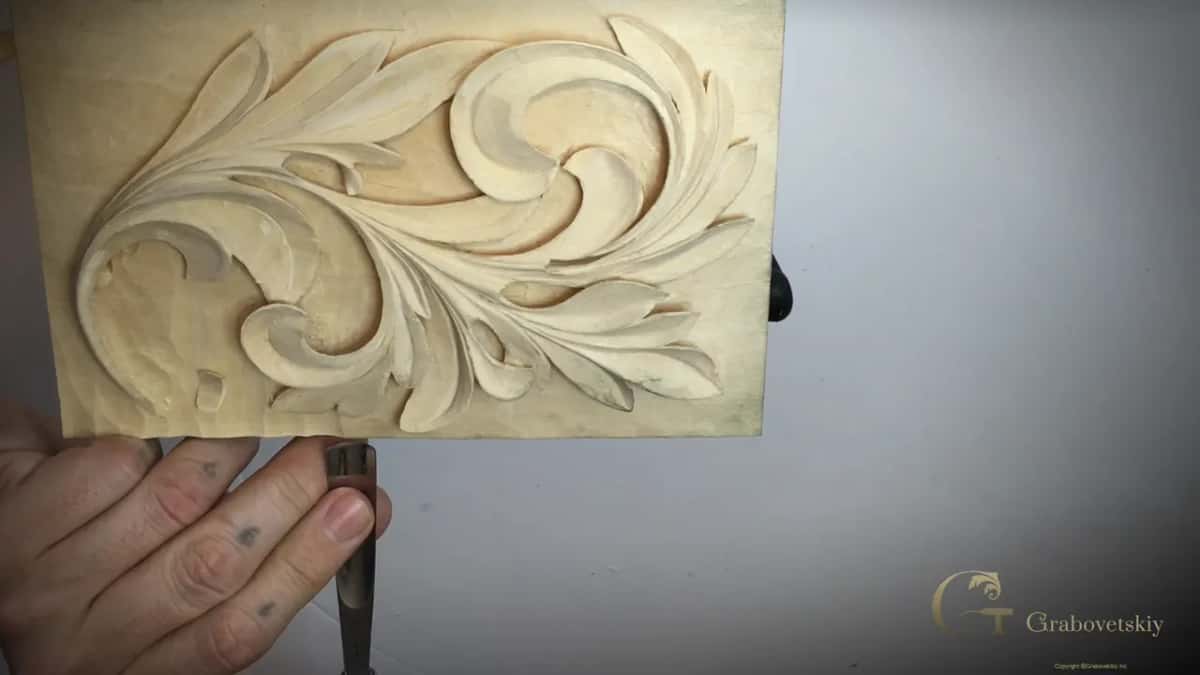
I did extreme undercutting on this one, but for furniture it would not be a good idea if people are going to touch it all the time. It's too fragile for that. If you want to frame this relief and place it on the wall, it's absolutely fine.
What marks the line for the background?
Your finger, or a marking gauge. First I showed the original line, and one way to redraw it is to base your finger against the block and just draw the straight line. And that's really accurate. That's probably my preferred way, and it's much quicker.
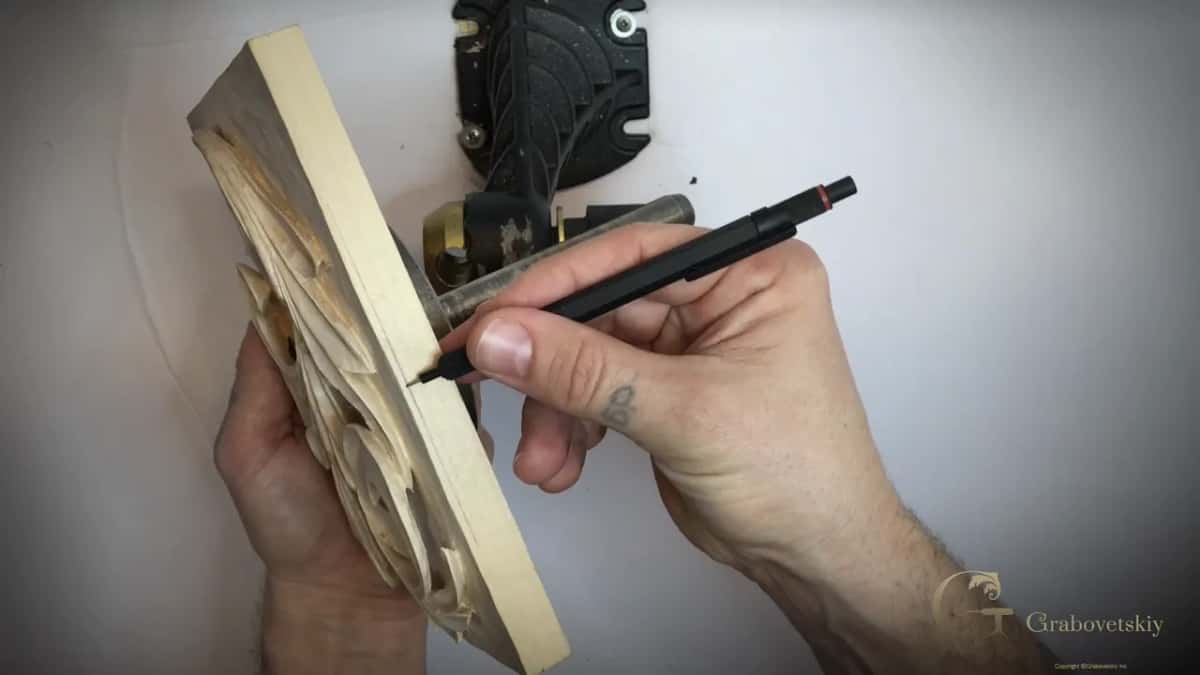
A marking gauge is the other way, if you don't feel comfortable with the finger. I set mine with the same knife in it, made it tight, and marked around, a couple of passes on every side. That way is really accurate as well, and the edge comes out nice too.
We left about an eighth of an inch (3 mm). Some spots it's less, some spots it's more.
Which gouge lowers the background, and which way does it go?
For lowering it I would take a number 7 gouge, the same 14 mm (9/16 in) one, and if the grain goes this direction, my strokes go across the grain. I remove the background really close to the line, but I still leave maybe 1/32 of an inch (about 0.8 mm) for cleaning.
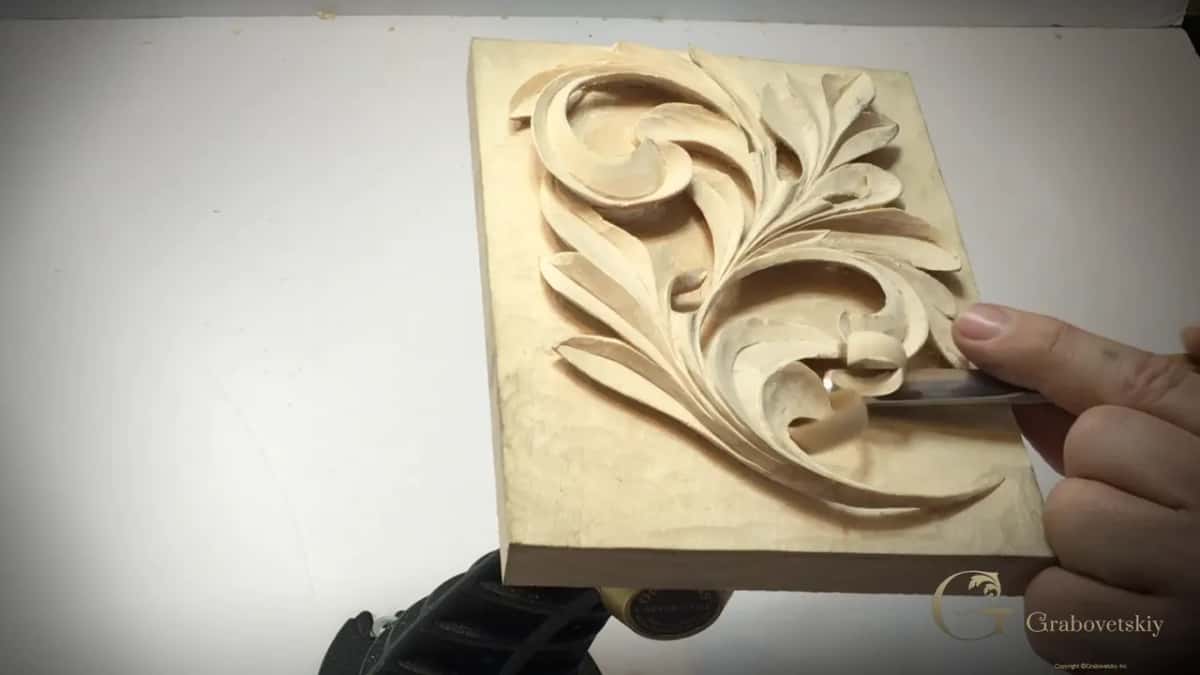
In one spot I needed a V tool again, my number 15 at 3 mm (1/8 in), to go a little deeper. Don't force it. It's not really nice when you got all the way to that stage, feel too comfortable, force it too much, and break it.
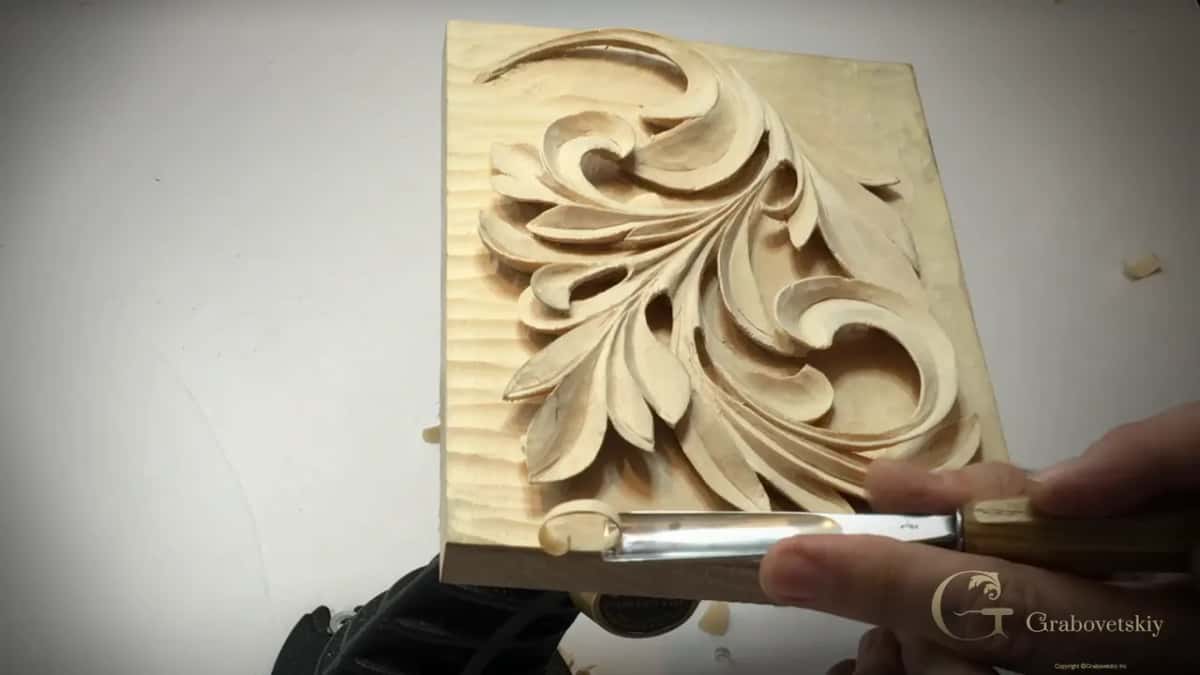
Try to hold your gouge parallel to the true surface you want to achieve. And if you ask me why across the grain, I feel much safer that way, much more controlled.
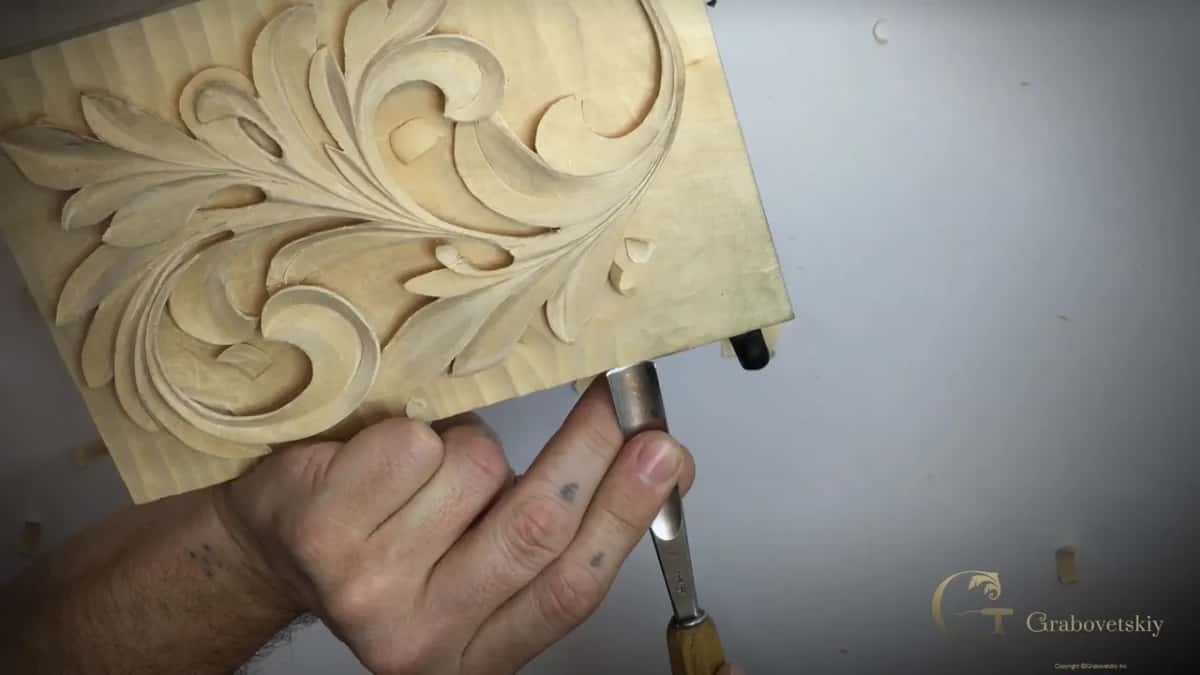
Make sure you have really sharp tools. My gouge is really sharp, and you can hear it by the sound. Then just don't force, and work your way in little by little.
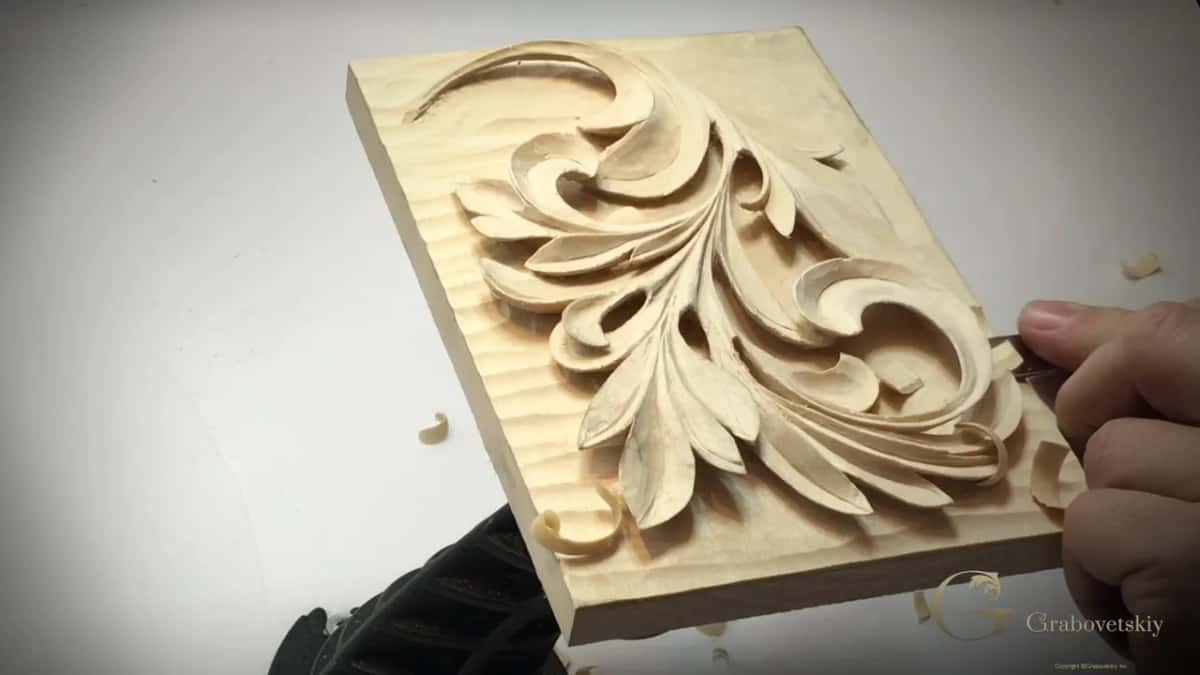
Which tools take the ridges off the background?
A couple of ways. First, the same tool, right on those marks, in a sweeping pass. Just a micro sweep, and you can remove them.
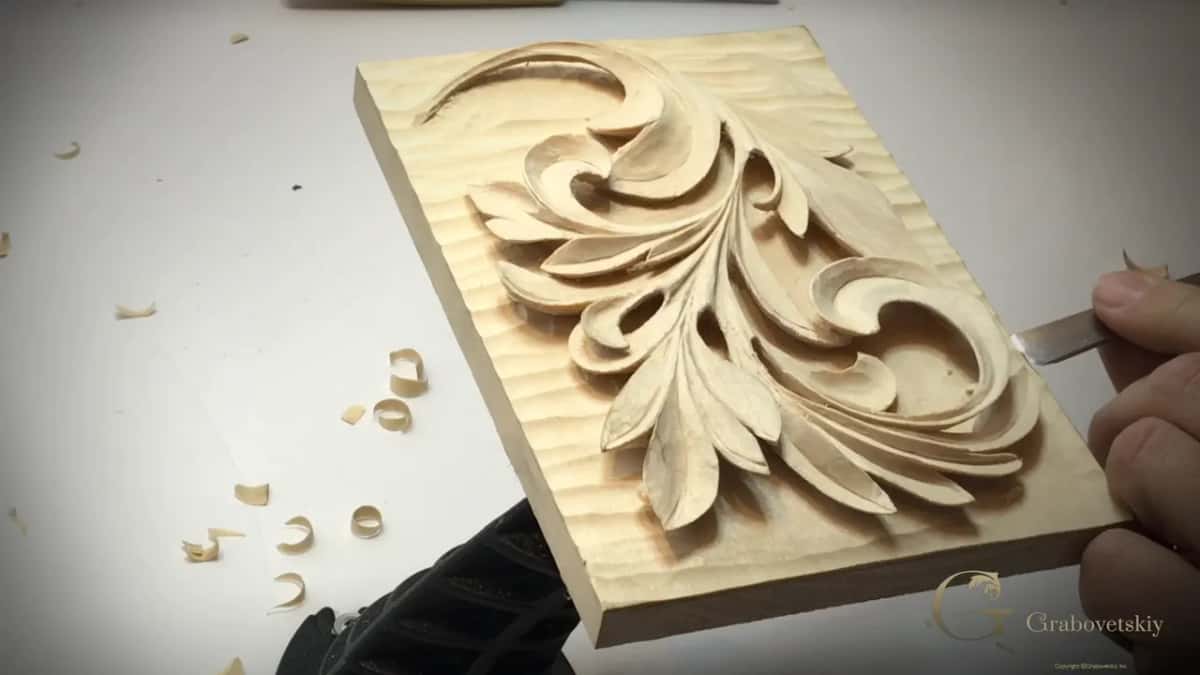
Probably better is a different tool, and here I took a number 3 of about half an inch (12.7 mm) to clean those ridges. Later I angled my tool about 45 degrees for the cleaning passes. Bigger tools are much better for that, if you have them.
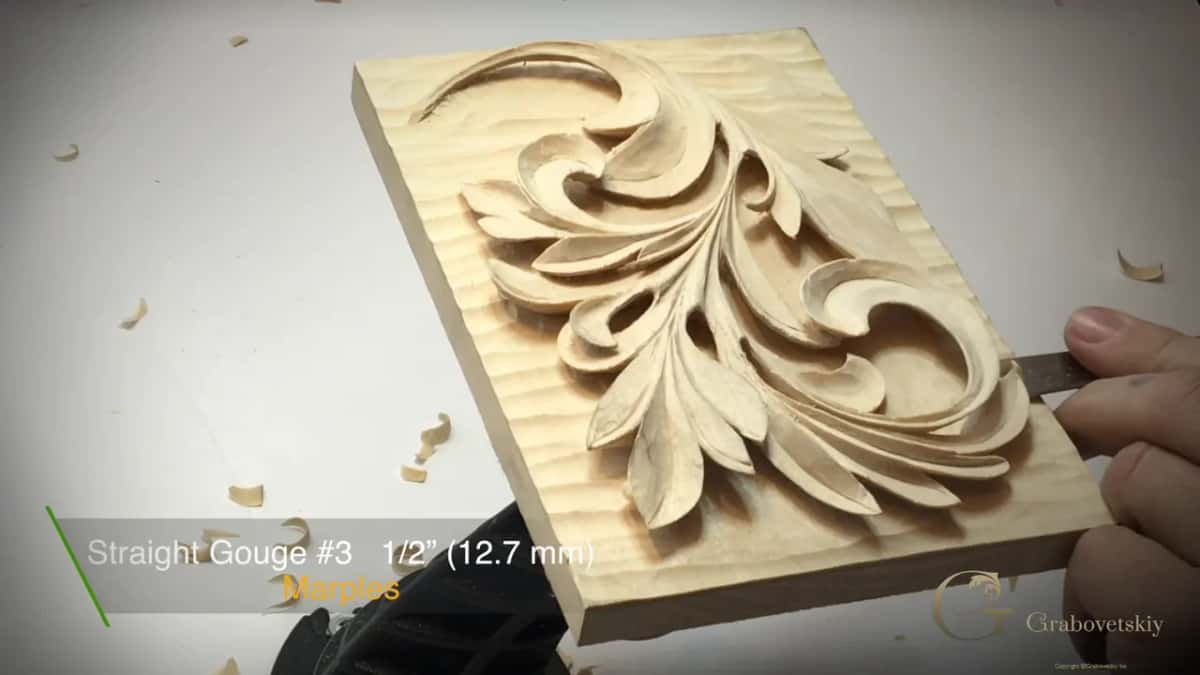
Mine are by Ashley Iles, if you do have a budget to buy some really nice background tools. One is a two and a half sweep, a big one, and it removes those ridges really nicely. Another, number 47, is about an inch (25 mm) wide, from the same maker, and you can see how quickly I can remove all the ridges with it.
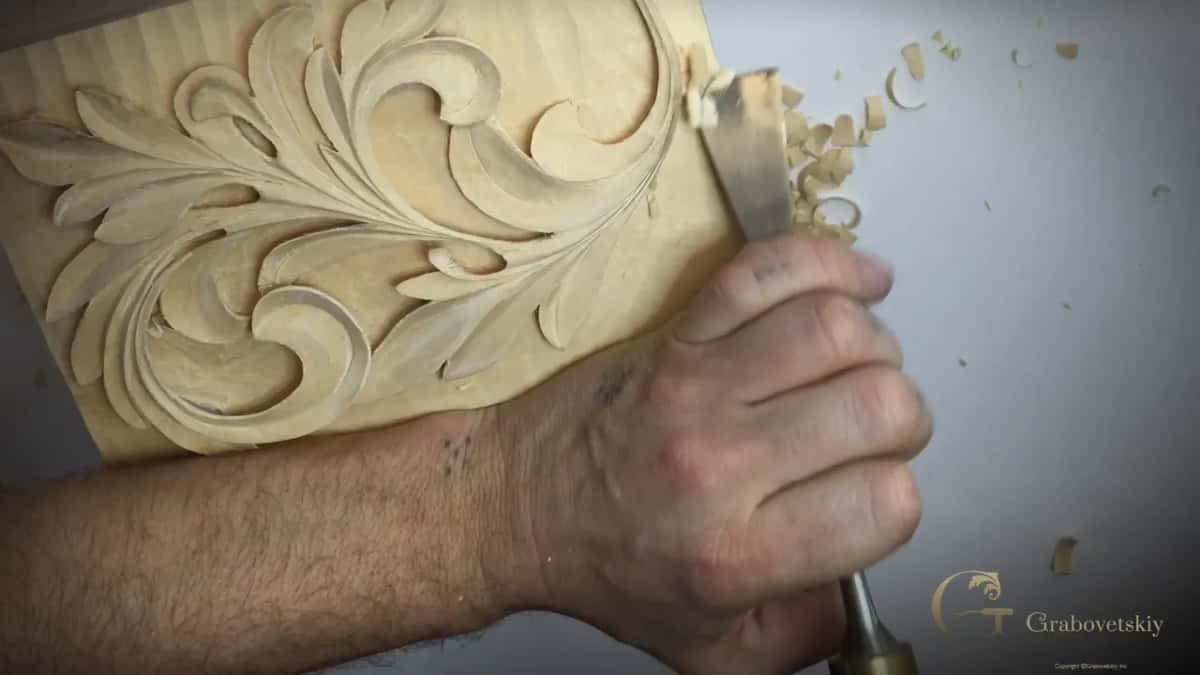
Their grounding tools are less than a number 3. It's two and a half, I would say, almost flat, but not flat. Near the end I took a smaller one, about five-eighths of an inch (16 mm), also by Ashley Iles, and removed the majority of my ridges.
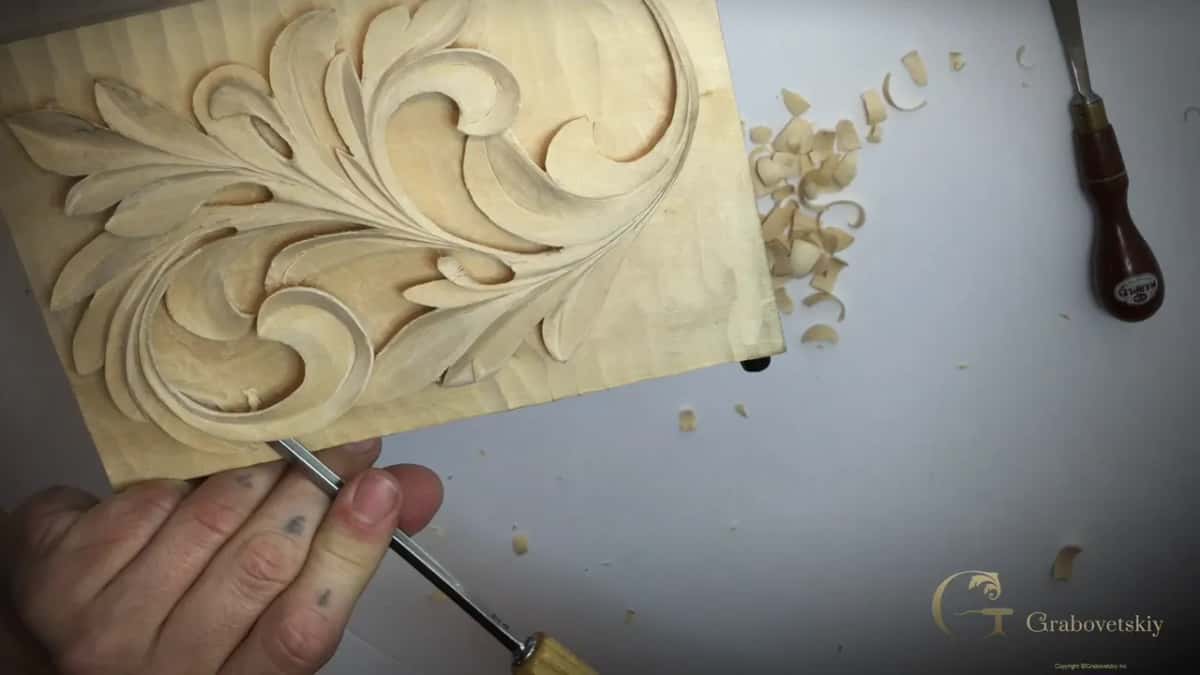
It doesn't have to be that big tool, though. A normal number 3 still gives really good results, as long as you make that sweeping move, like rotating moves.
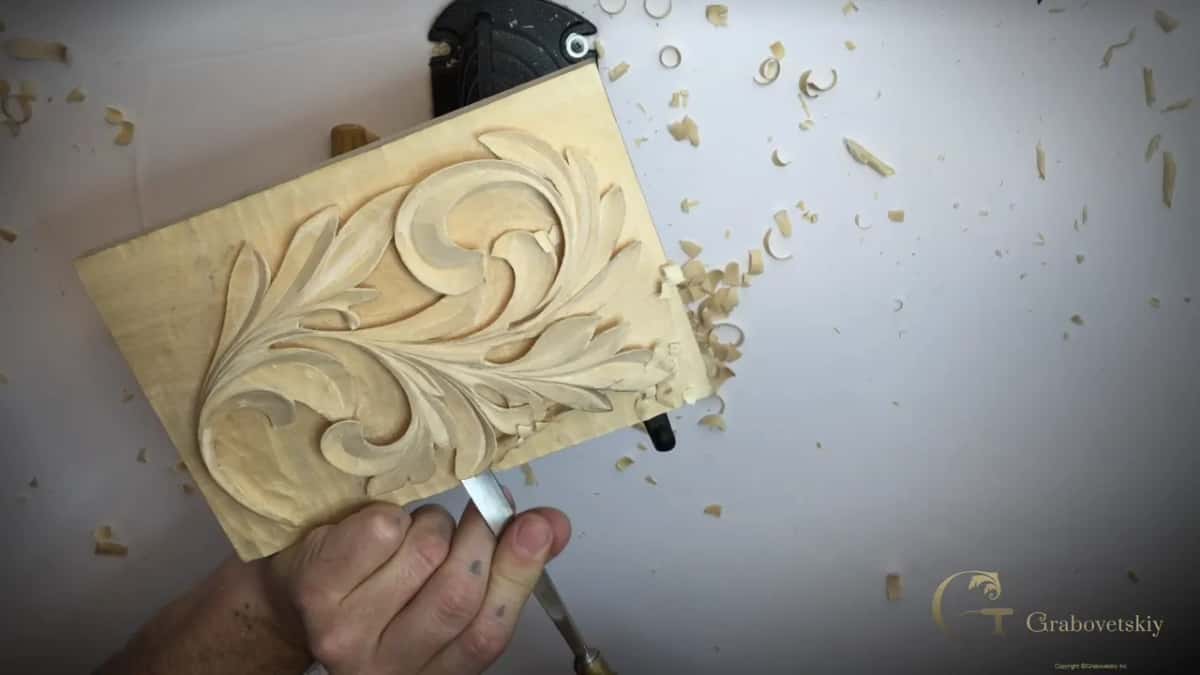
A small block plane can make it even better in some of the areas, if you're really careful. Just be careful not to damage your main design. There is a whole course on tools, All about tools for wood carving.
| Tool | What it did on this leaf | In my words |
|---|---|---|
| Knife, number 12 | Ran along the rough edges and fixed one line that did not flow | just run along the edge |
| Dry Dutch reed | Sanded the edges slightly and took off the pencil marks | kind of sand it a little bit |
| Gouge, number 7, 14 mm | Lowered the background crosswise, leaving a little for cleaning | I feel much safer |
| Straight number 3, half inch | Cleaned off the ridges that the number 7 left behind | probably better to get some different tool |
| Ashley Iles grounder, 2.5 sweep | Took the ridges off nicely with its big, almost flat blade | almost flat, but not flat |
| V tool, number 15, 3 mm | Went a little deeper in one spot and cleaned inside | exactly the same tool |
Should the background end up smooth or rough?
That's up to you. I know some carvers would leave the background rough like that, and it's up to your taste. Myself, personally, I really like a little rougher look on the background, because once it gets its finish, it looks really nice.
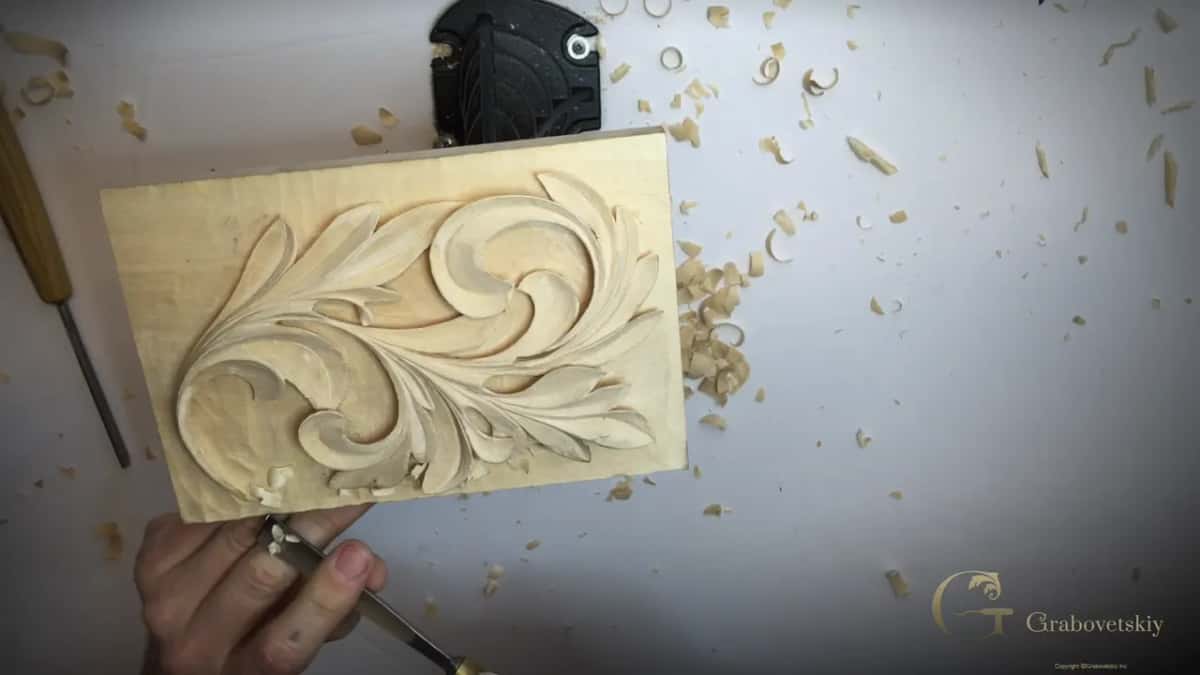
Even that stage could take a long time for some of you, if you want to do the real true perfection, which is absolutely fine with me. It's all about your taste and how much time you want to put on it. Like I said at the start of the second video, there's no end, and you can always find stuff you can refine, which is okay.
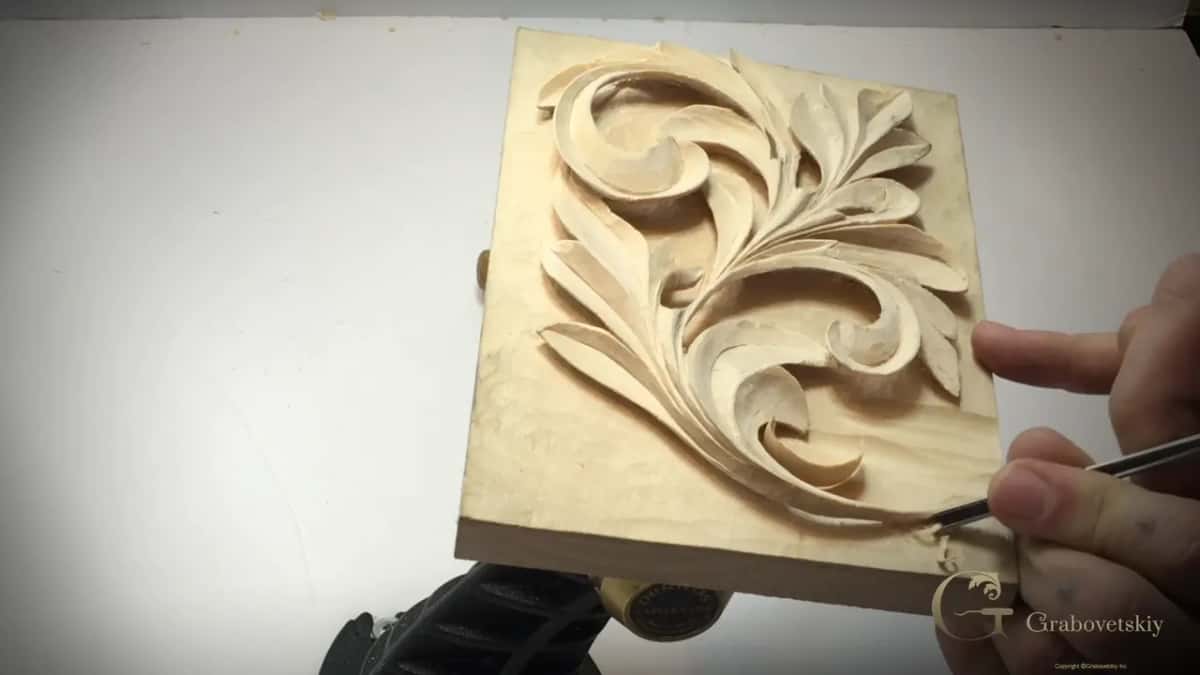
At the very end I took a V tool again. Off camera I'll spend a little longer, just a few more minutes, and clean it a little better. But for now I would call it done, an acanthus leaf in a Greek style.
It's only one variation of acanthus leaves out of many different ones, based on an ancient Greek acanthus leaf, and there's a lot more we're going to work on. After this comes lesson 16, the assessment.
Do you have a knife? Would you like to see the whole leaf, from the first pencil line? Every lesson of the Greek acanthus course is open with tuition.
How it's done
- Run the knife along the rough edges. Run the number 12 along each edge, removing what should not be there. Depending on the grain, scrub carefully with that blade.
- Rub the edges with the reed. Rub it along each edge and over the pipes. Semi-sand with it if you wish.
- Press the leaf centers. A toothpick pressed down a little in the middle of each small leaf shows its center.
- Mark the background line. Draw with your finger against the block, or set a marking gauge with your blade in it and make a couple of passes all around.
- Lower the background crosswise. Take a number 7 of 14 mm crosswise to about 1/32 in above the line, and never force it.
- Take the ridges off. Sweep with a number 3 of about 1/2 in (13 mm), or a grounding tool if you have one, in small rotating moves.
- Clean the corners and call it done. One more pass with a small V tool cleans the corners, and there is always something left to refine.
Frequently asked questions
What did Grinling Gibbons rub on his carved edges?
Dutch reed rush, as I said in lesson 15 of the Greek course. He lived in the UK about three centuries back and is one of my favorite carvers in history. I have some of that same reed myself, dry, and carvers in Holland and Belgium used it as well.
Does Dutch reed count as sanding?
Yes, a light kind. In lesson 15 I said it is sanding, just slightly, and on a Hashemi flower I said it is, but not like sandpaper. Mine cleaned off dirty spots and pencil, and every chisel mark I carved stayed visible.
How big are the reed pieces you use?
Small dry sections, approximately an inch and a half each, or about 38 mm, and I did not break them. For the Hashemi flowers I set a wet piece on a roll of paper and let it dry, so it worked like a tube. A paper tube made the reed last a lot longer on the furniture panel.
What to carve next