
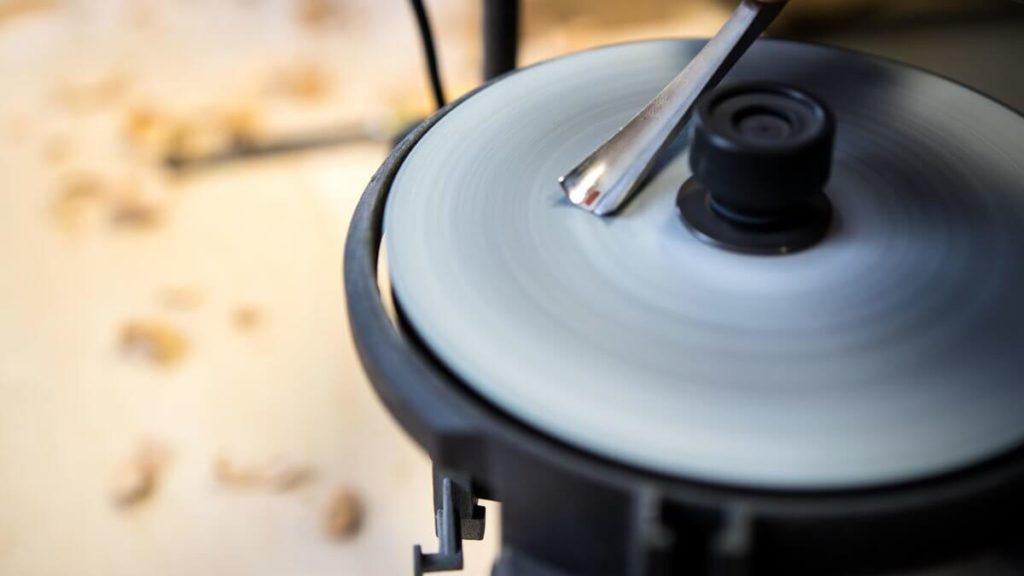
Alexander Grabovetskiy, woodcarver, School of Woodcarving · Published 2017
How do you sharpen wood carving tools?
Quick answer: Sharpening a wood carving tool has three stages rather than one. You reshape the factory bevel into a long low one, you bring the edge back on rising grits, and you strop it. The first job happens when the tool is new and the last one happens every day you carve.
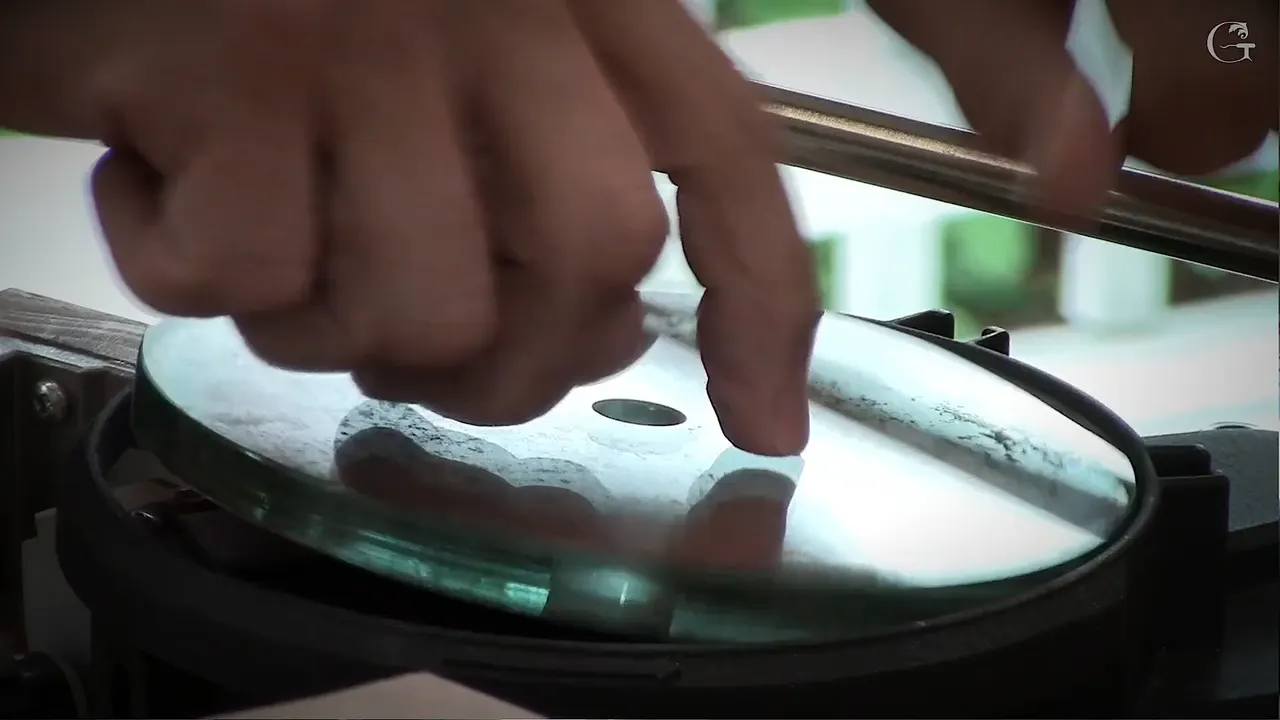
Sharpening a carving tool is three separate jobs, whether you work by hand or on a machine. You reshape the factory bevel long and low when the tool is new. You sharpen the edge through rising grits. Then you strop it, and that last one I do every day.
Ever fight a board all morning and blame the board? A brand new gouge on basswood makes you raise your hand really high before the edge even bites. My teacher gave me one knife and would not hand me a gouge until I had mastered that knife.
What actually makes an edge cut
- A factory bevel comes too short and far too upright, and it has to be reshaped.
- A lower bevel always wins when you push by hand, and a mallet needs it a little higher.
- All my tools get a micro bevel inside.
- Hand sharpening works, but without a jig it rarely gives you a flat bevel.
- A normal grinder does two bad things at once, it hollows the bevel and it overheats the steel.
- Stropping does round an edge, and stropping both sides leaves much less of it.
- A V tool is three tools in one, so sharpen the keel first.
Is it the wood or the tool?
The tool. I brought my teacher a board once and told him it was bad wood, and he told me there is no such thing as bad wood, only dull tools. Sharp steel does beautiful work on the worst board in the pile.
At an in-person class I said that when a new tool comes sharp, I use it until it goes dull, and I don't hone it in between. That usually takes a couple days, three days. Then I reshape it. Stropping happens daily and takes seconds. You still have to do that first stage, because the bevel on a new tool is really short and really high, and that is just not acceptable to me.
Why does a brand new gouge fight you?
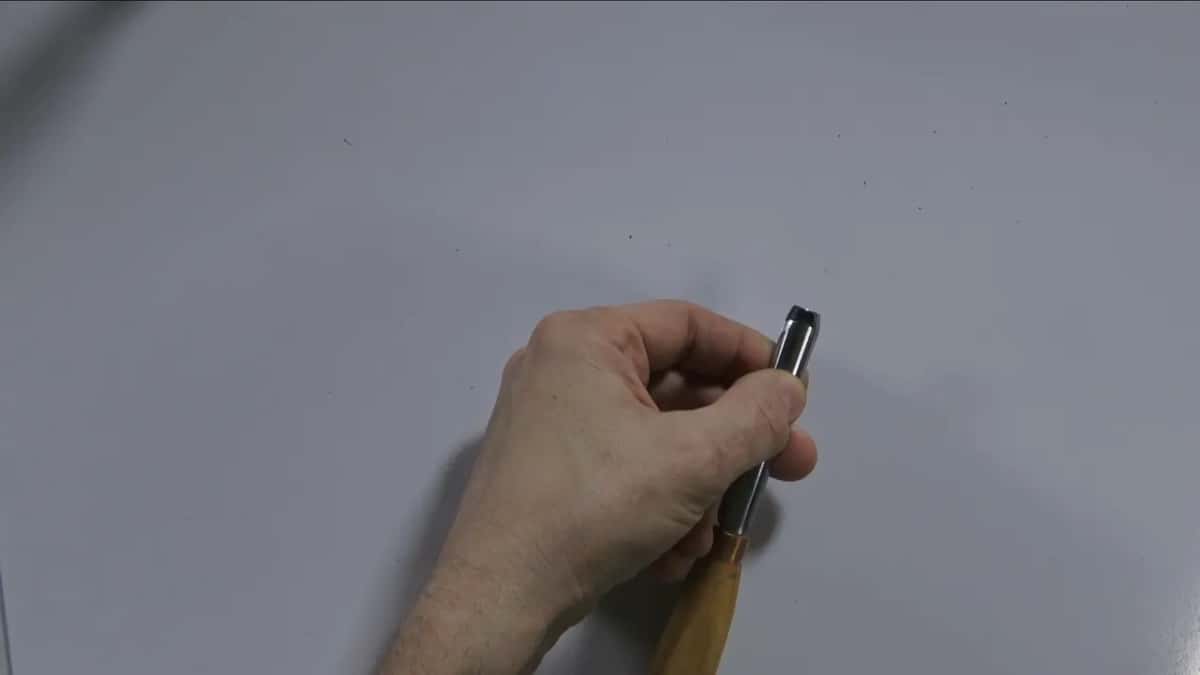
Factory bevels come short and steep. Take a new tool to a board and you can lift the handle four inches with the edge still grabbing nothing. It takes five inches before it bites. Your elbow and your shoulder pay for that all day. I have that problem with all of the brands. The one maker I found with a little lower bevel was Two Cherries, and the later batches I saw were higher too. The Ashley Iles number 6 in the spoon gouge lesson came with a bevel I was not too happy with either. BeaverCraft out of Ukraine gave me a tool I had no complaint about except the bevel.
How long should the bevel be?
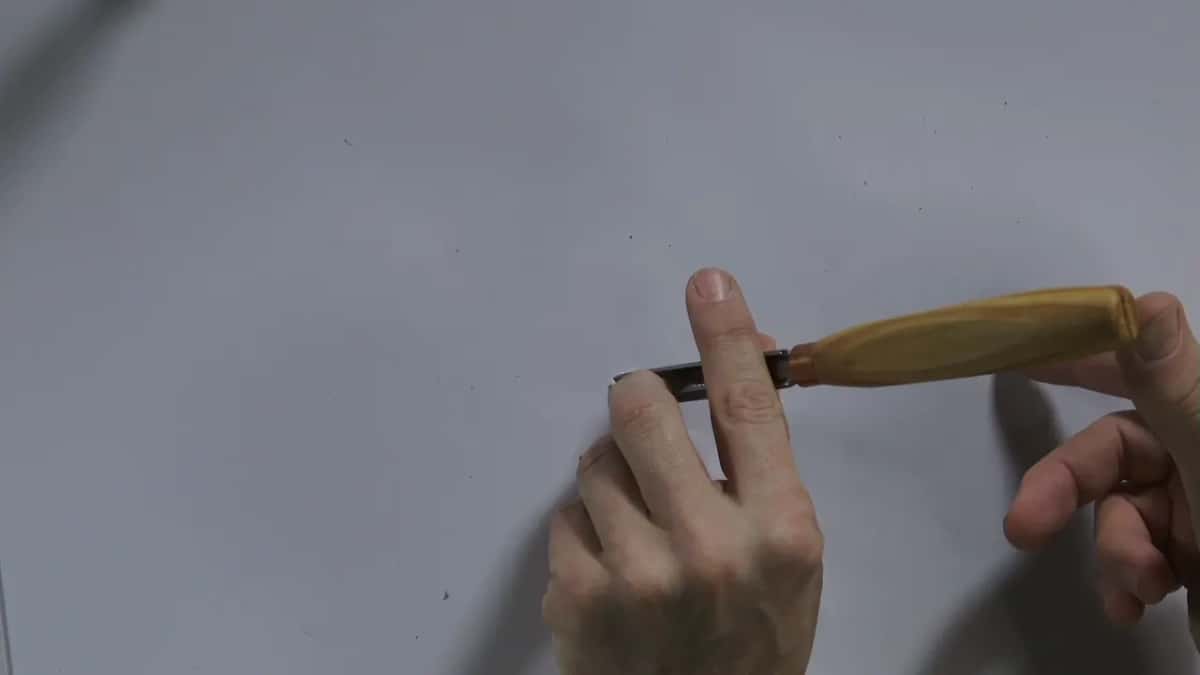
Long enough that your knuckles nearly brush the wood as the edge bites. That is my test, and a good rule is at least 3/8 of an inch, about 10 mm, measured edge to heel. A bevel is a wedge, and a high one causes lots of resistance in the wood. Some of mine run five eighths of an inch, about 18 mm. The exception is the mallet. Its head needs room to swing without striking the surface, so a mallet tool sits a little steeper.
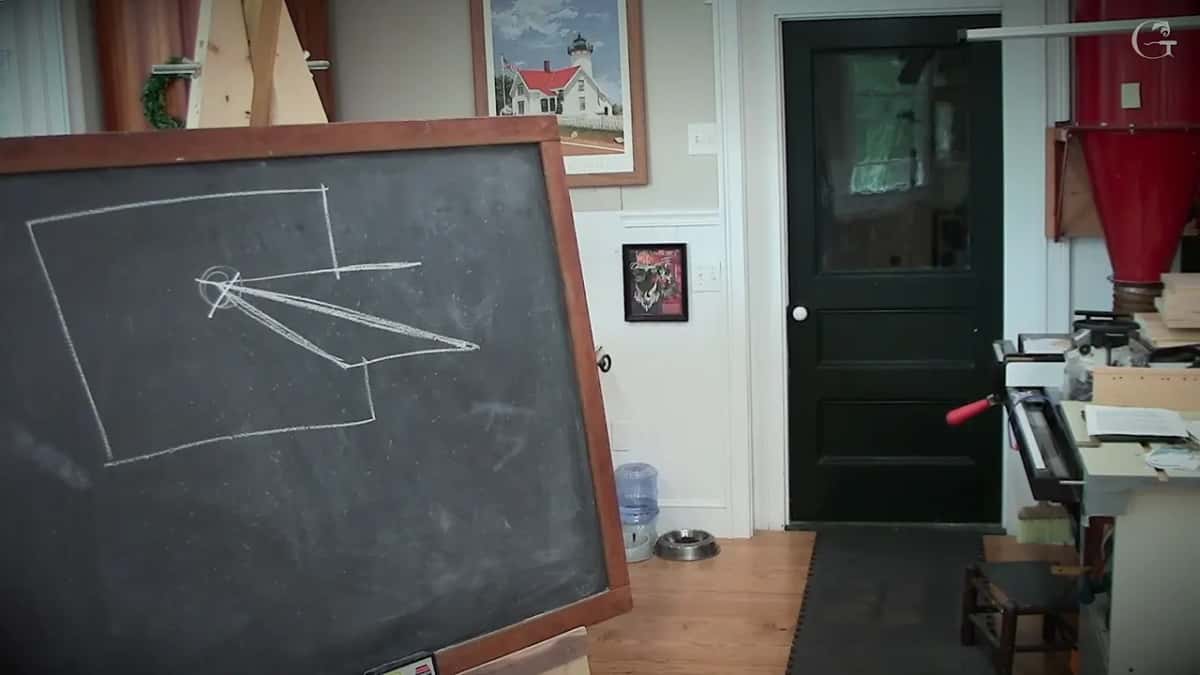
Every tool of mine carries a micro bevel on the inside as well. Two things come of that. The tip is no longer weak at the very edge, and the tool will work upside down without digging in and trapping itself. A few of my tools have a bevel so low that without it the point would be weak.
Why do I sharpen mostly on a machine?
Hand work never gave me a flat bevel. Buy some old tools on the market and look at the bevels, and you will see they all round, and not because anybody did it on purpose. Your wrist moves on the stone whether you want it to or not. You can still carve with such a tool, but you will feel a lot of resistance. On the big number 7 in the large gouge lesson, one of the biggest gouges I have, a stone reaches that bevel much harder than a machine does, and I really like to see consistency on it.
The other half of it is arithmetic. At the Maine Coast class I said I have half a thousand tools and I carve for a living, so the question is whether I am paid to sharpen or paid to carve. If you own twenty tools, buy a jig and a stone and enjoy yourself, because hand work with a jig genuinely does the job. My teacher taught me on a stone. Without a stone, take sandpaper on a flat bench, because it is still an abrasive and you can get the same result.
What does a grinder do to the steel?
Two bad things, and both weaken the point. A wheel leaves the bevel hollow, which thins the metal right behind the edge, and a normal grinder overheats the tool right on that weak spot. You often cannot see it happen, because the steel does not always turn blue. Then the point breaks really quickly, and you have to regrind it.
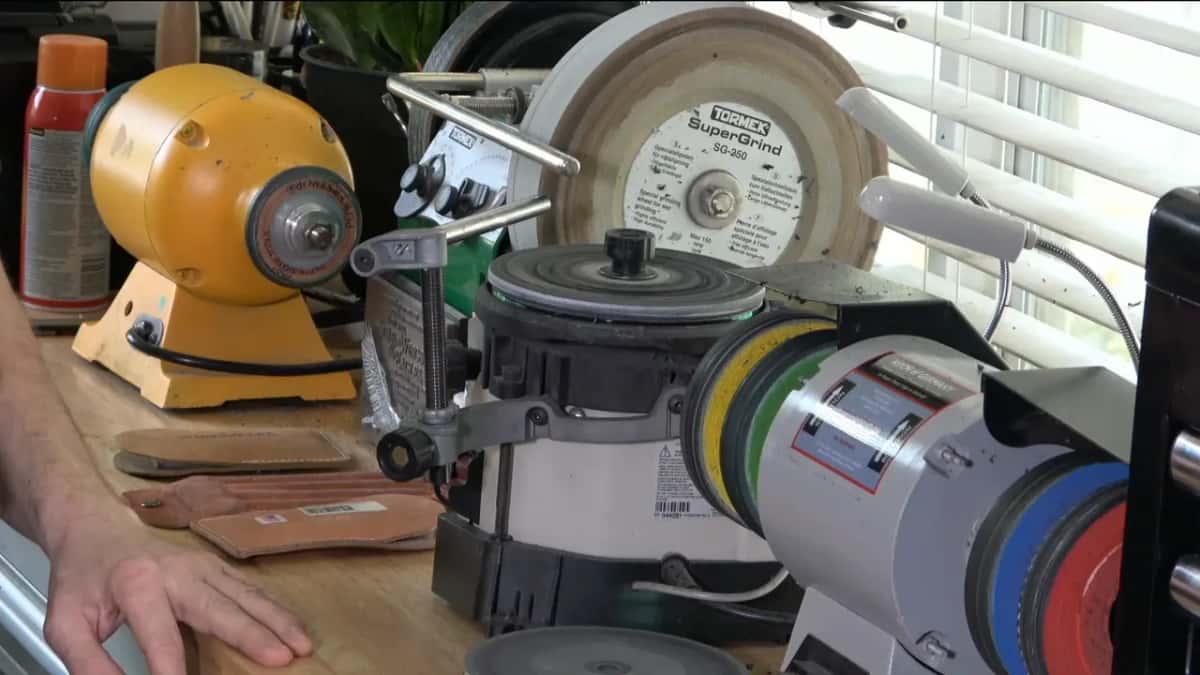
Tormek fixed the heat with water and a slow wheel, and I bought the whole system when it reached the United States. Jigs for everything, including an axe attachment I never used. The hollow stayed, though, and on an 18 mm bevel a hollow is not a detail. Two grits then, coarse and slightly less coarse than coarse, so Tormek did not solve my problem. Mine still runs, with a diamond wheel on it and the water tray dry.
| How you sharpen | What it does to the bevel shape | Real cost |
|---|---|---|
| A stone or sandpaper by hand | Bevel arches slightly | Slow, and some stones are really expensive |
| Normal grinder | Hollow bevel and an overheated point | Point breaks quickly |
| Tormek with water and its own jigs | No burning | Still hollow, and only two grits |
| Flat glass wheel | Flat bevel, any grit from 80 up | Fairly cheap |
What I wanted was a stone that ran on steroids. I found it in a machine at Woodcraft that felt so cheap I walked back and forth a few times before buying it. The wheel is flat glass, so the bevel comes out flat. It turns slowly and never burns anything, and the grit changes in one second, so I can run 80 to 6,000 and sharpen a tool in two minutes. If you want to watch me take a bevel from 80 grit to a mirror, the lessons are inside the school.
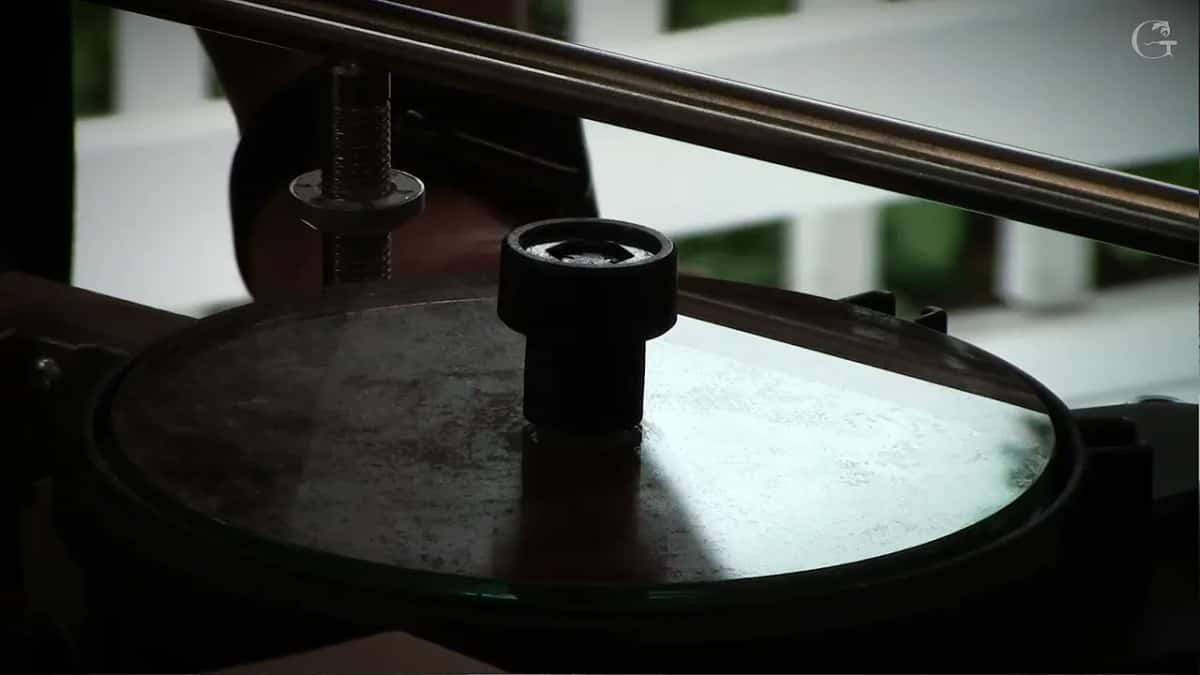
My own wheels are not all paper now. There are diamond discs and boron nitride ones as well, and the diamond ones are cheap. Chinese made, and I really don't have to replace them. The ones in the diamond discs lesson are 6 inches, 150 millimeters, with a 10 millimeter hole, and they fit just perfectly on my Work Sharp.
Is a cheap machine safe for a good tool?
Safer than the grinder it replaces, and not foolproof. In class I touched the wheel while it was running, to show how little heat there is in it.
All the same, I saw a guy kill a tool on this machine, and I told one of my in-person classes about him. He bought it brand new and full size, and by Friday it was dead.
The one catch on the machine itself is the bar that held the Tormek jigs, and in late 2017 we found out Work Sharp doesn't make it anymore. So in the L-bracket lesson I attached a Tormek grinder jig to a scrap dovetailed block instead, and now it clamps to my table, which turned out even better.
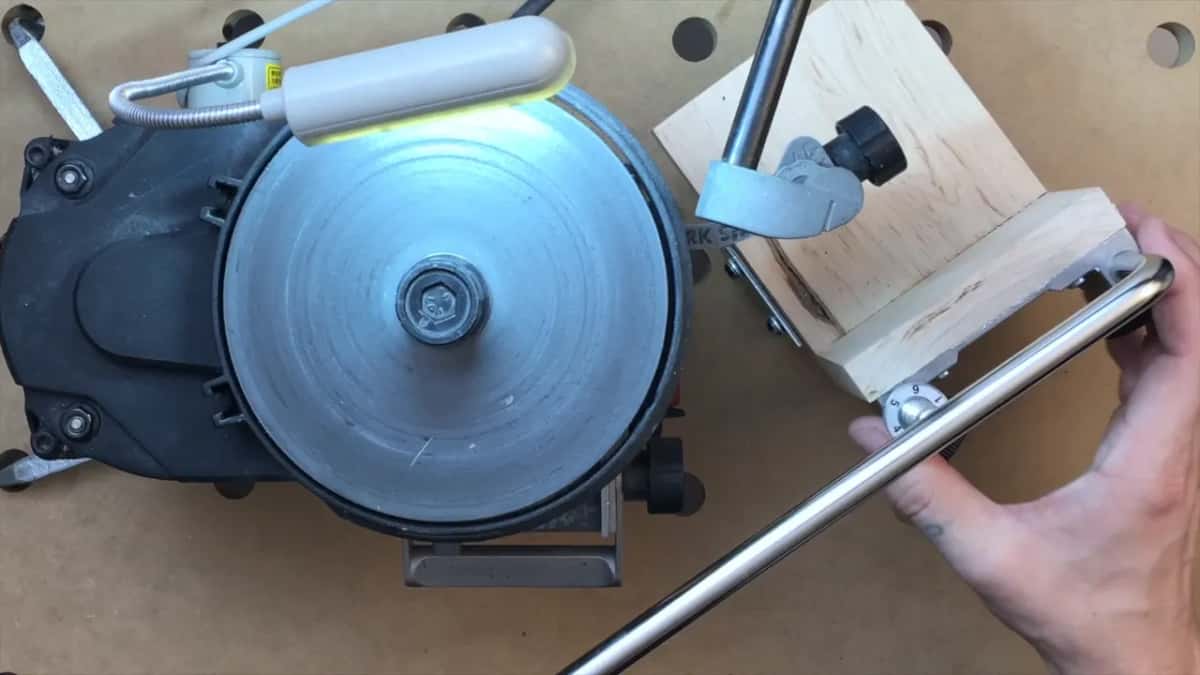
I think those jigs are just awesome. The people at Tormek are genius about them, and on my own bar I can take them to the Work Sharp, the Koch machine or another grinder. Other options exist if you can't get a Work Sharp where you live. All you really need is a flat surface. The SVD-186 gouge jig has marks on its side, zero through five. At zero it keeps a true straight edge, the way I set it for the skew bent gouge, and moved forward it gives the bevel of a fingernail gouge.
How fine you go is up to you. I said 6,000 is plenty in the straight gouge lesson, and I usually go there because I really like the mirror finish, though the wheels will run to 8,000 and past it if you want them to.
Does stropping round the edge?
Rounding is real. A carver in my chat told me he had quit stropping for exactly that reason, and I understand him, because I had that stage in my life too. Your hand rocks a little on every pass, so the leather rolls the very edge over and you feel it as resistance going into the fibers.
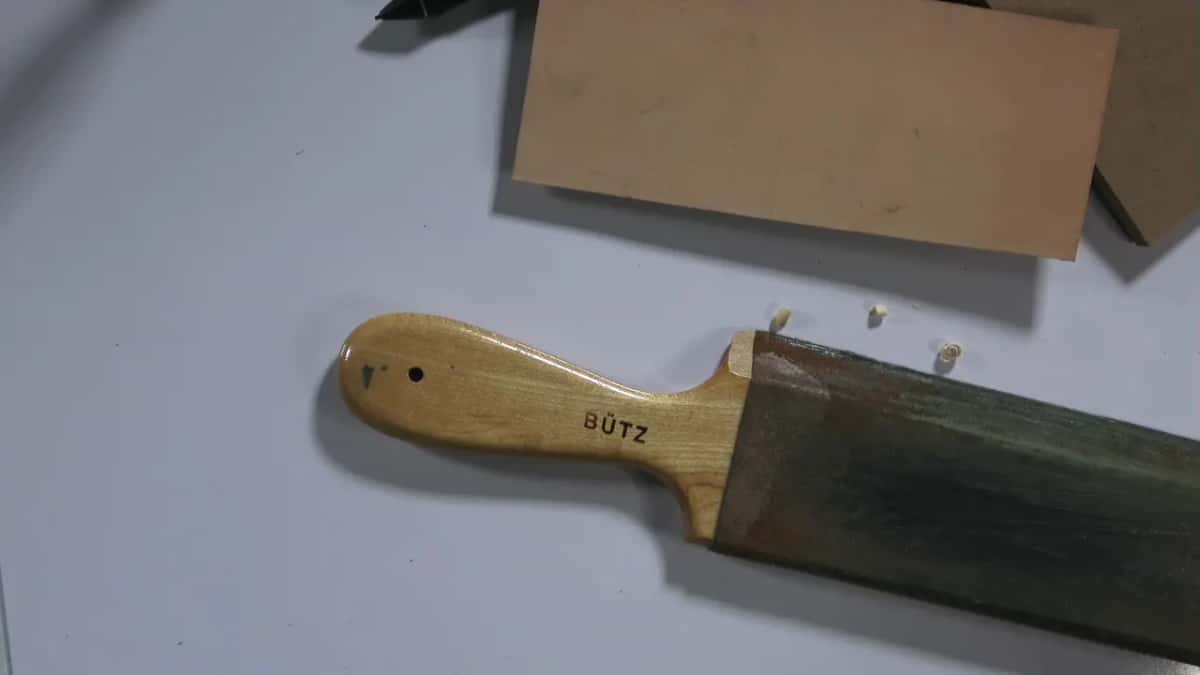
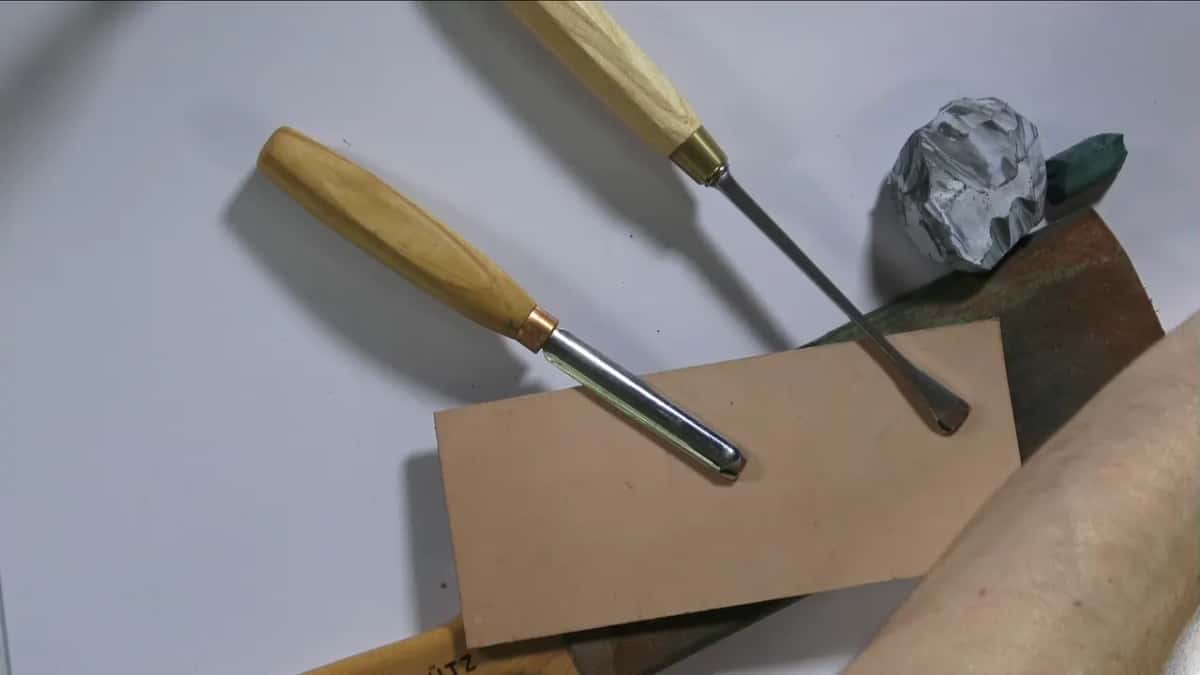
Strop both sides and you still get a little resistance, but not as much. My grandfather shaved with a straight razor and stropped it on a hide pretty much every day, and that razor was the thing in his toolbox I was most afraid of. His own grandfather taught him. I strop daily, on a Butz block that was about 20 years old when I filmed the stropping lesson, and on two leather wheels I mounted on a cheap grinder turned to run away from me.
Sold as a powder or a wax for stropping, chromium oxide is what people call green compound. I like the green paste by Koch, as I said in the back bent gouge lesson, although any other green paste will do. Black on the leather is metal coming off the tool. My two wheels are different thicknesses, one about 10 mm and one about 20. One is for gouges, and the other is a flat wheel for the outside bevel.
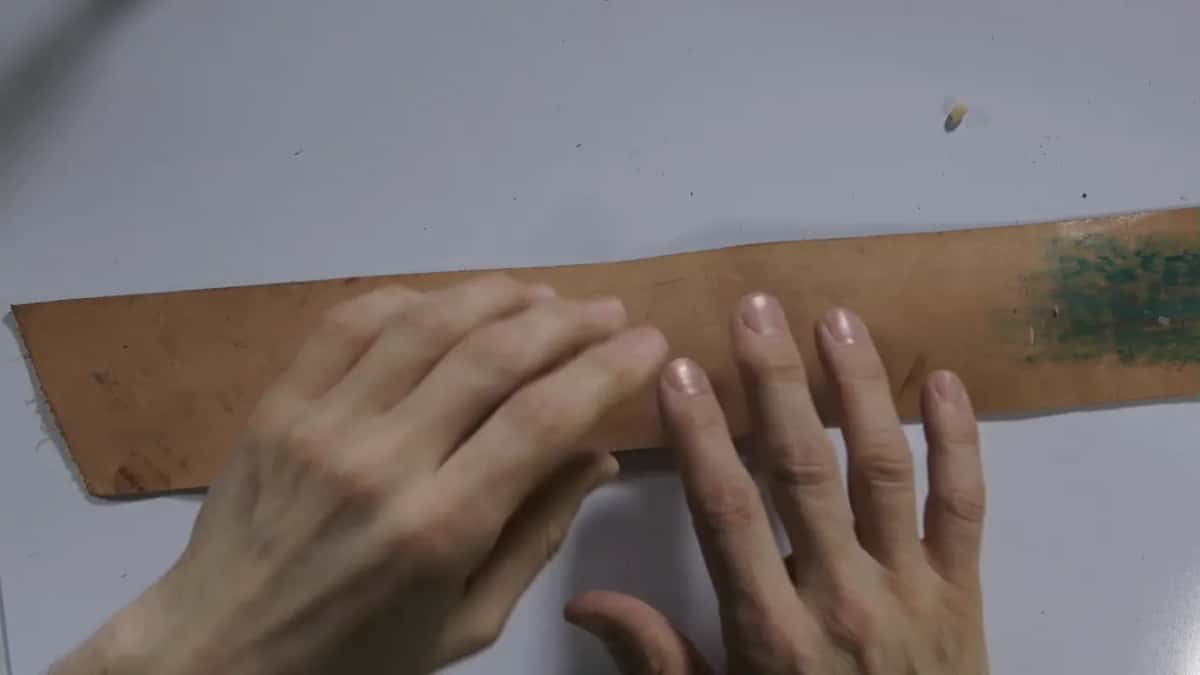
The chunk of leather on my bench came, I believe, from a leather supply, and you can get that pretty much anywhere in the world. An old leather belt will do too. MDF also strops, and so does a plain block of basswood, whatever you carve.
Why does a V tool give so much trouble?
Manufacturing, and it is not your fault. I called it the manufacturer's fault in the V tool problem lesson. When you sharpen one you sometimes hit a notch on a wing, and the reason is that the two wings are almost never the same thickness. A cutter bores the inside of a solid steel block and sits a hair off center, so one wall comes out thicker. Cheap tools made in China or expensive ones, hand forged or made on the most expensive CNC machine, they all do it.
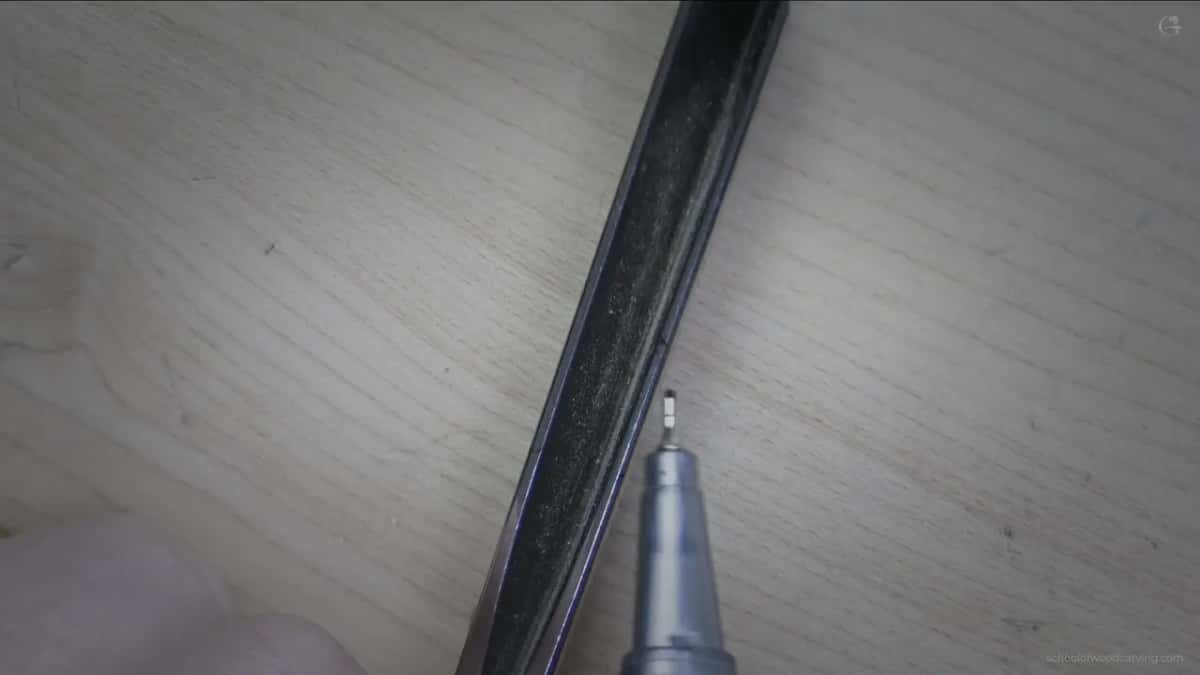
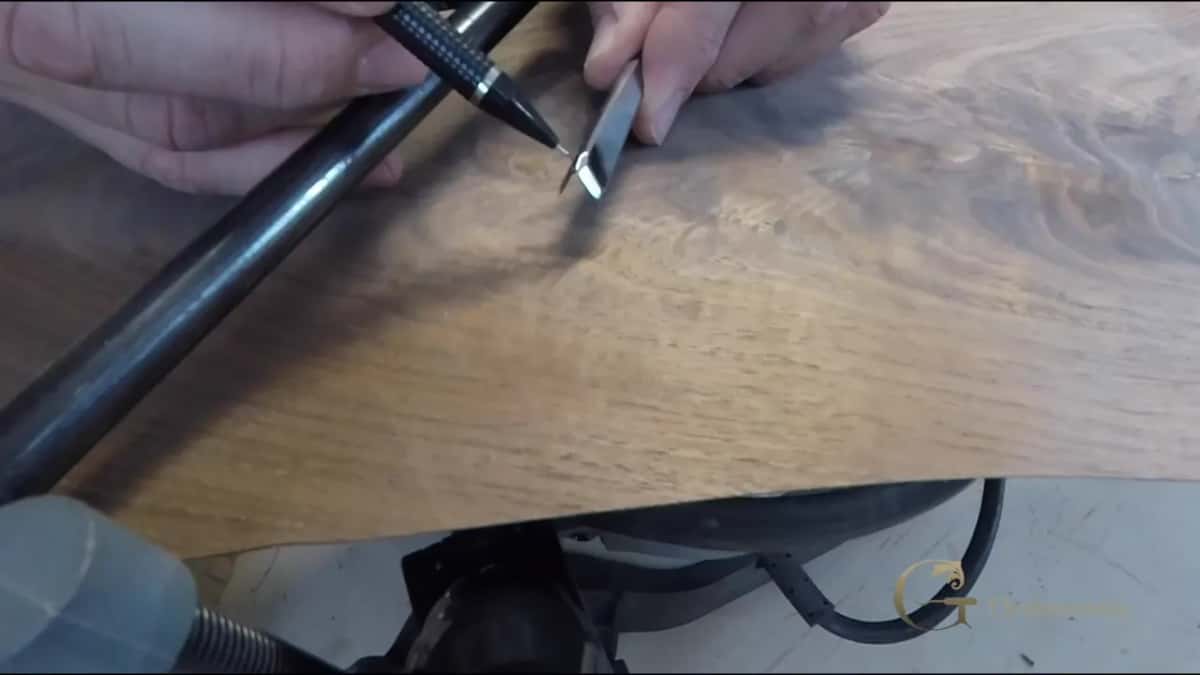
Sharpen it as three tools rather than one. I start on the keel in the V tool lesson, so I know exactly when I'm coming to the edge. The bottom is a tiny gouge with real curvature, the keel, and the two sides are chisels. Work the keel first. Then bring each wing to that notch, slowly, little by little, until they blend.
In that lesson I said it wasn't common until, let's say, the 19th century in Europe, and some carvers never use it even nowadays because of the problems. It's an excellent tool, don't get me wrong, but it wasn't an everyday tool.
How do you sharpen a knife on a flat wheel?
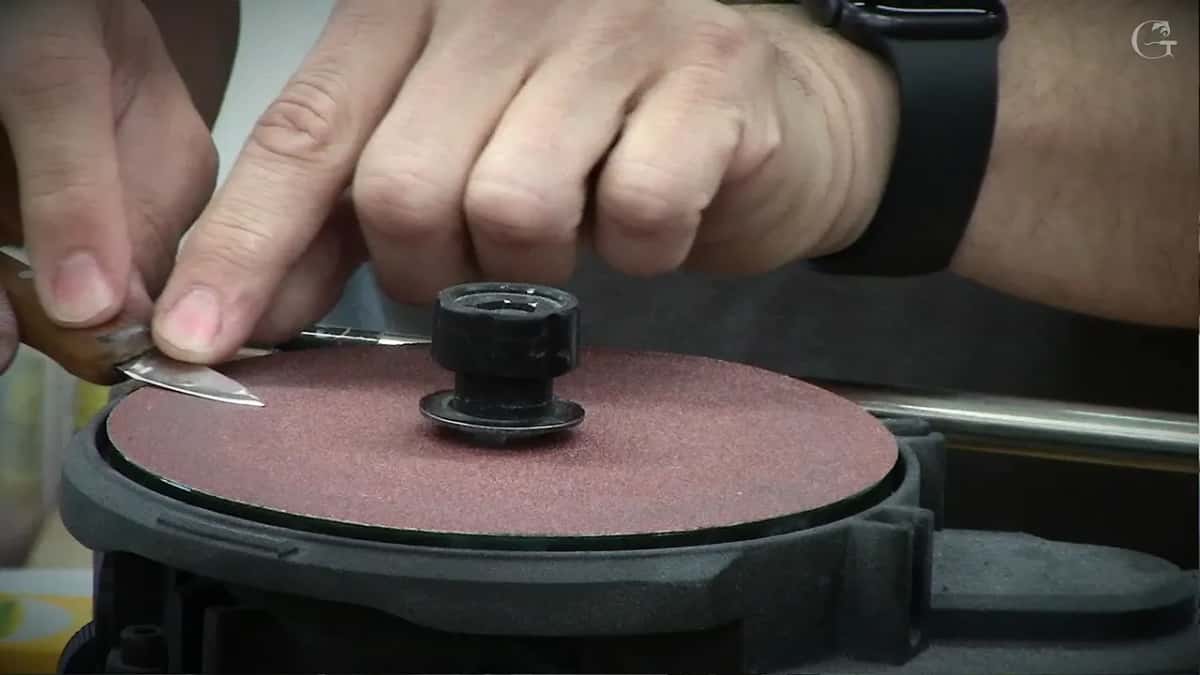
Flat on the disc, one side then the other. A knife needs almost nothing done to it compared with a gouge, so I usually skip the jig entirely and hold it. Lay it on the wheel, work the edge, then flip it and work the other face.
There are two small tricks worth having. The wheel turns only one way, and you can either rewire it or buy a plug with a reversing switch, no problem. And the arbor hole is 10 mm, so a plain 10 mm nut drops in and holds a wheel pretty much in position when you have lost the bushings, and I lose them.
Can you carve without buying stones?
I did it on camera with a Schaaf set straight out of the box. I imagined I had no money for stones, only a piece of leather, so the only thing I did to those tools was strop them, and they carved grapes. Stones are where the money goes, and one stone for a single grit can be really expensive. The German Koch machine on my bench is not cheap either, and I use it for honing all the time.
In the micro tools lesson I said that when I don't want to spend money on expensive stuff, I can use sandpaper on a flat surface to sharpen any of my tools, pretty much. When my teacher taught me, it was all by hand, the way masters did it for centuries. Pick a project and design it around the tools you have.
The same man handed me a sheet of paper and a pencil on my very first day and said design. He came back after I spent all day on it, looked at my acanthus leaf and said think. He meant think how you are going to carve it and how many tools you have, because a piece of paper is not a piece of wood. I call them an army. Every tool is a soldier with one job, and the bigger the army the more ground you can take.
When you buy sharp tools, they don't last, and sooner or later they go dull. So sharpening is really important, and nowadays even more important than design. A design you can find online, print and glue on, and you can just carve.
How it's done
- See which wing is thicker. Look closely at the edge, or at the top profile, and you can see one wing is thicker than the other. On my tool it was the right hand side.
- Treat it as three separate tools. That rounded bottom edge behaves like a small gouge, and the two flanks behave like chisels. Sharpen all three as separate jobs living in one handle.
- Start underneath, at the keel. Establish the bevel underneath before you go anywhere near the flanks. Start on the sides instead and you can end up with a kind of channel, and the tool looks weird.
- Blend the flanks upward. Shave one flank at a time until it runs level with that raised point. Do it really slowly, little by little.
- Hone the inside, then strop both faces. Take the burr off the inside with a small slip stone, moving only out. Then hone the inside on a leather strop, one side and then the other.
Frequently asked questions
Can you sharpen carving tools with sandpaper instead of stones?
Sandpaper works. Lay a sheet on a flat bench and use it exactly as a stone. It is not expensive at all, you just throw it away when it wears out, and some stones cost a lot for just one grit.
How long should a carving tool bevel be?
Low and prolonged, far enough that your knuckles nearly touch the wood while the edge starts to bite. Some of mine run five eighths of an inch, about 18 mm.
Should you put a micro bevel on every tool?
Mine all have one. A very shallow main bevel leaves the tip weak, and a small secondary grind inside puts that strength back. Turn a tool without one upside down and it digs in, and you can't escape.
What to carve next