

Alexander Grabovetskiy, woodcarver, School of Woodcarving · Published 2023
How do you copy a molding profile from an old building?
Quick answer: Reading a molding profile off a photograph works if you know the two places to look. Study where the run lands on the floor. Or study a miter, because two pieces meeting on a 45 turn the whole section toward the camera. Draw that and carve it.
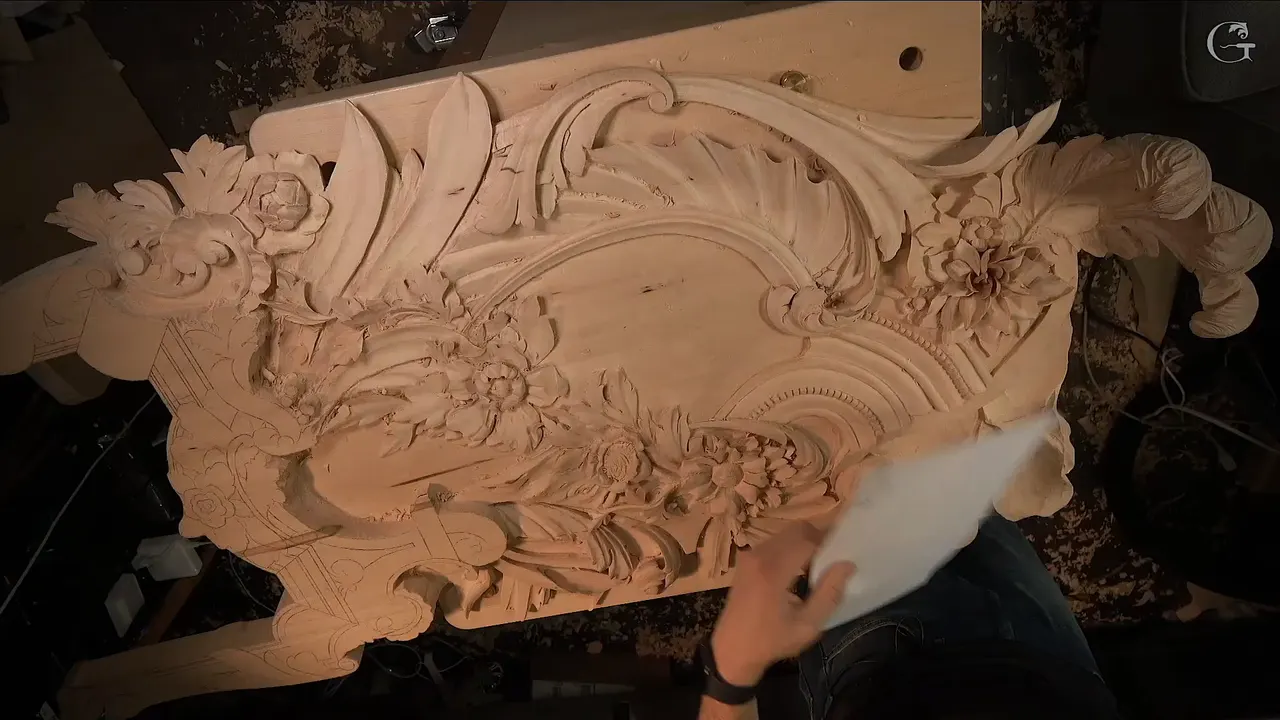
A molding profile can be read straight out of a photograph. Look where the molding meets the floor, or look at the miter, where two returns come together on a 45 and the section shows itself in outline. Draw what you see. Then carve it by hand, because no molding machine will.
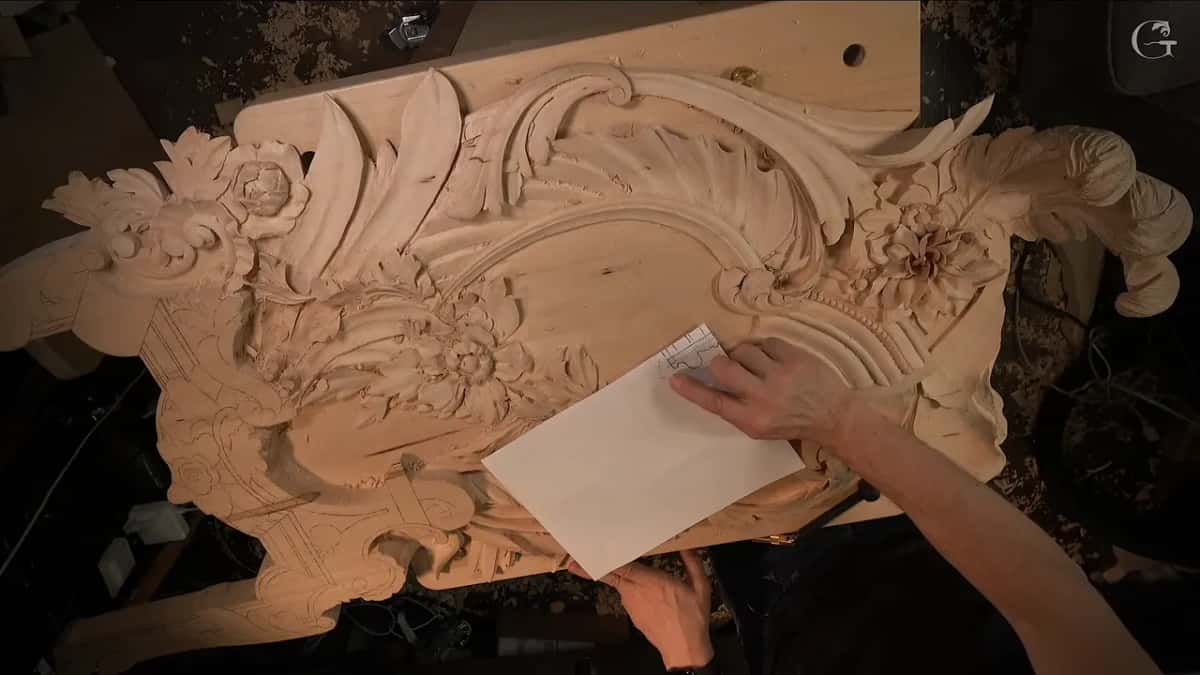
You found the perfect old room. Photographs of it, anyway. Then you went looking for the molding and every catalog in the country had nothing like it.
Have you ever wanted a profile that nobody sells? Do you own the tools to make one and still not know where to start? A molding is not ornament. Different rules, different tools, and one rule that reverses everything you do to a leaf.
Workshops 144 through 155 of the Venice Room are the architectural half of this job. A profile copied off a 16th century building, a run that tapers, a miter laid out with two squares, and a shell that folds.
What a molding demands that ornament does not
- Ninety degrees. The run gets a stop straight down and never an undercut, which reverses everything you do to a leaf on that same panel.
- One profile the whole way, even where it narrows.
- Three millimetres of wood left above every line, an eighth of an inch, for the cleanup that comes at the end.
- The drawing kept somewhere off the wood, since the wood carrying it goes.
- Depth checked, checked again, and rechecked, since a live project cannot be recarved.
Why is there no molding like this to buy?
Every profile in a catalog is one fixed section run down a whole length of stock. Repeating one section forever is what a moulder does. I went looking for this one and found nothing modern that came close, so I looked to Venice instead. One of the buildings is still standing, and I copied that section off a picture of it, to the best of my ability.
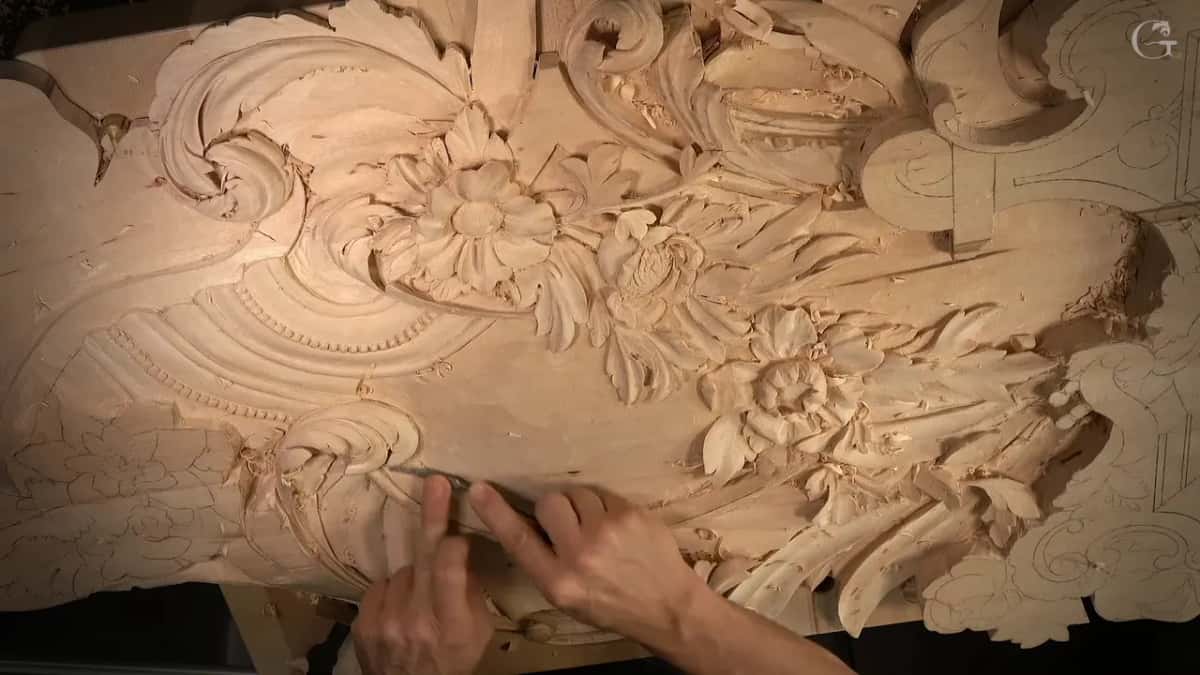
To the best of my ability matters here. I did not go there and hold a gauge against it. I read it off a photograph, and there is a way to do that.
How do you read a molding profile from a photograph?
Look at two places, and only two. The first is the bottom, where the molding runs down and touches the floor. The second is the miter, where two pieces meet on a 45 and the whole section turns toward you in outline. Never read a section off a straight-on shot of the face. The face tells you almost nothing.
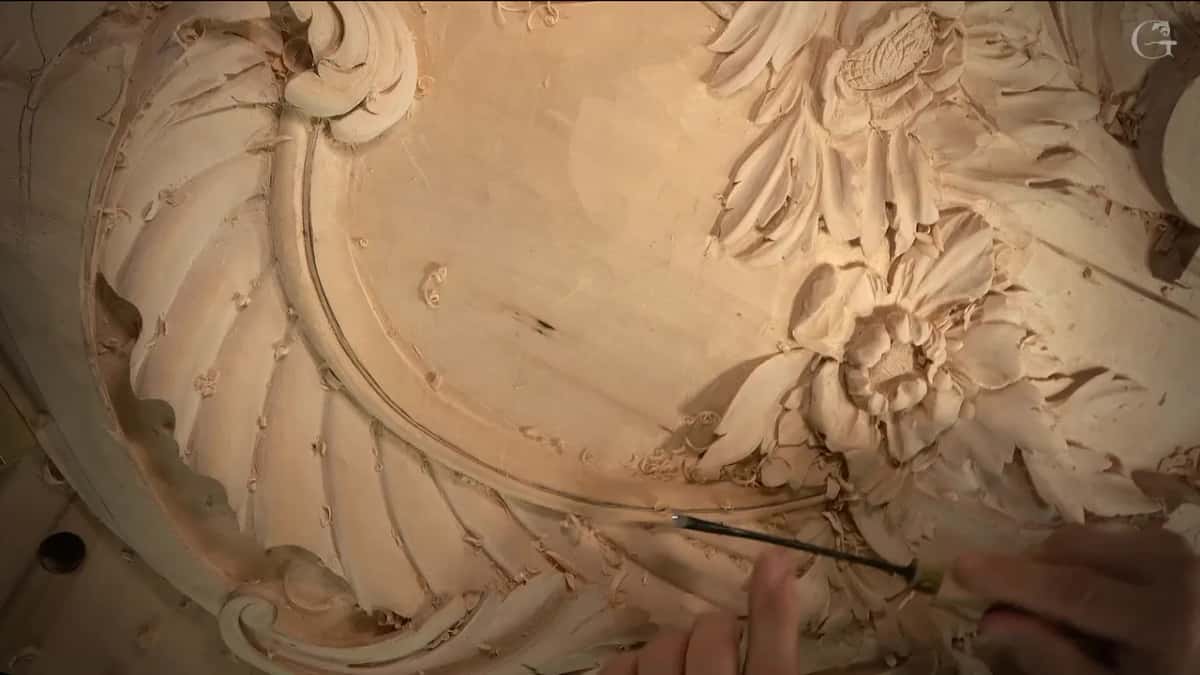
I checked that building from several points of view before I drew anything, and I still could not settle one question. Where the two big elements meet, is there a sharp point, or is it softened? The photograph would not say. I will probably make mine less sharp than I first drew it, and that is a guess I am telling you is a guess.
What is actually in this profile?
A bead, and then a curve that is close to a Roman ogee without being one. The bead part is easy, a straight bead and nothing clever. That curve is a big convex with a little concave. One inch, 25 mm, at the highest point, and 5/8 of an inch, about 16 mm, on the outside face.
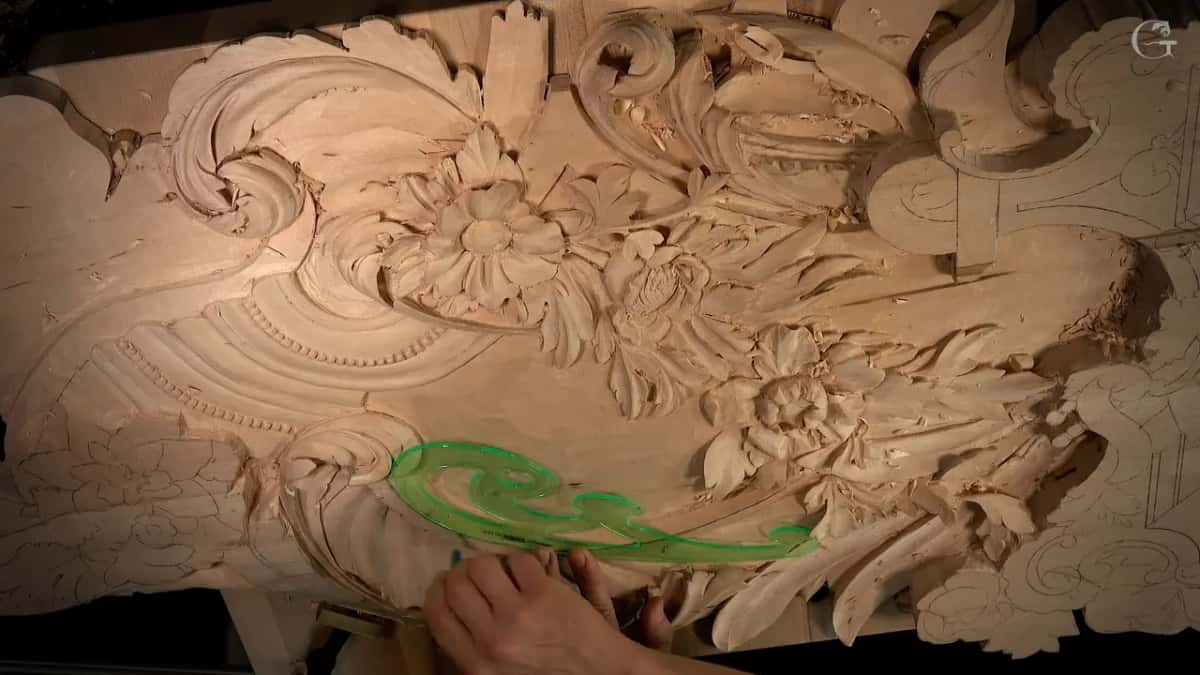
| The element | What it is | What I said about it on camera | What I did |
|---|---|---|---|
| A straight bead | a plain bead, the easiest part to read | it's just a straight bead | drew it on paper with the rest |
| The big convex | the main curve, with a little concave | close to a Roman ogee, not pure | kept it that way |
| Where they meet | a point the photograph would not show me | I could not tell | planned it less sharp than drawn |
| Acanthus on top | a separate leaf laid right on the run | legit, and better looking | kept its head higher than the molding |
| The taper | wide at one end and narrow at the other | no molder can do it | used back bends |
Why can no machine make this run?
Every moulder cuts one section and repeats it forever, which is the whole point of a moulder. Mine changes width as it travels. You cannot run the same section from a wide spot down to a narrow one on any moulding machine, not yet, and that is why this run had to be carved. A CNC might, but a CNC doing that is carving, not molding.
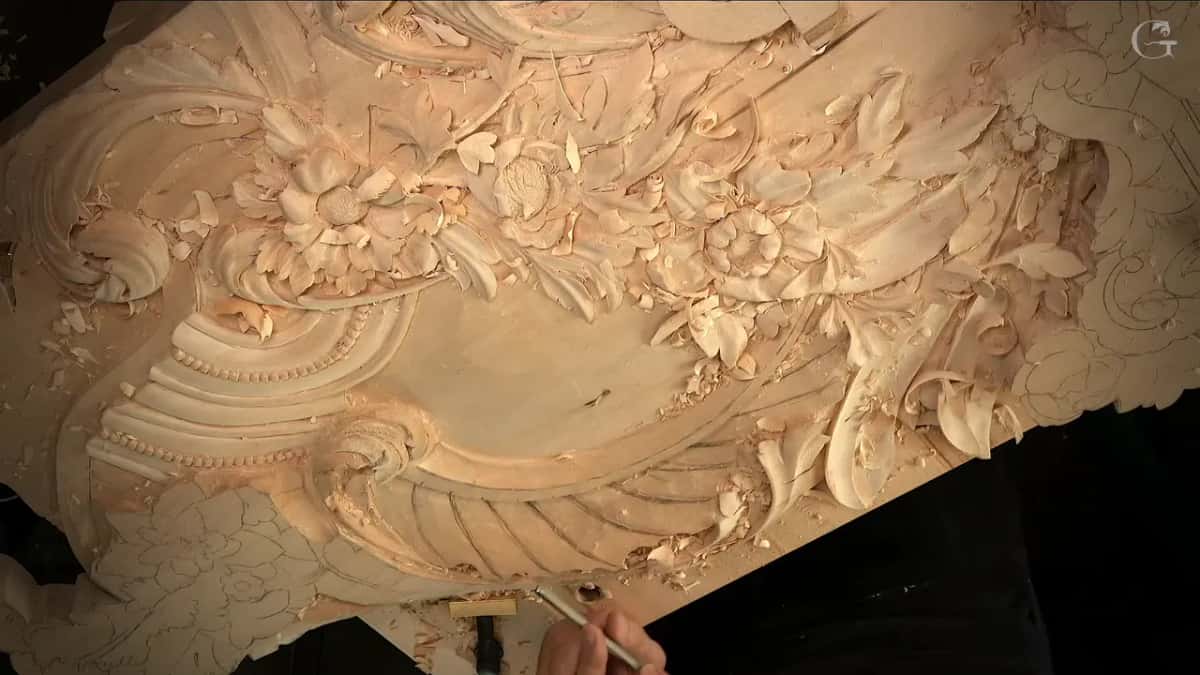
Cleaned up properly, that band can look like it came off a router. It did not and could not, because of the taper.
Should you ever undercut a molding?
Never, and I said so plainly on camera. On the leaves on that same panel I undercut everything, for the shadow it gives. Do that on a molding and you have ruined it. The tool stands dead vertical and goes straight down. If the end grain fights you, relieve it first with a number 11 and come back, but keep the tool vertical.
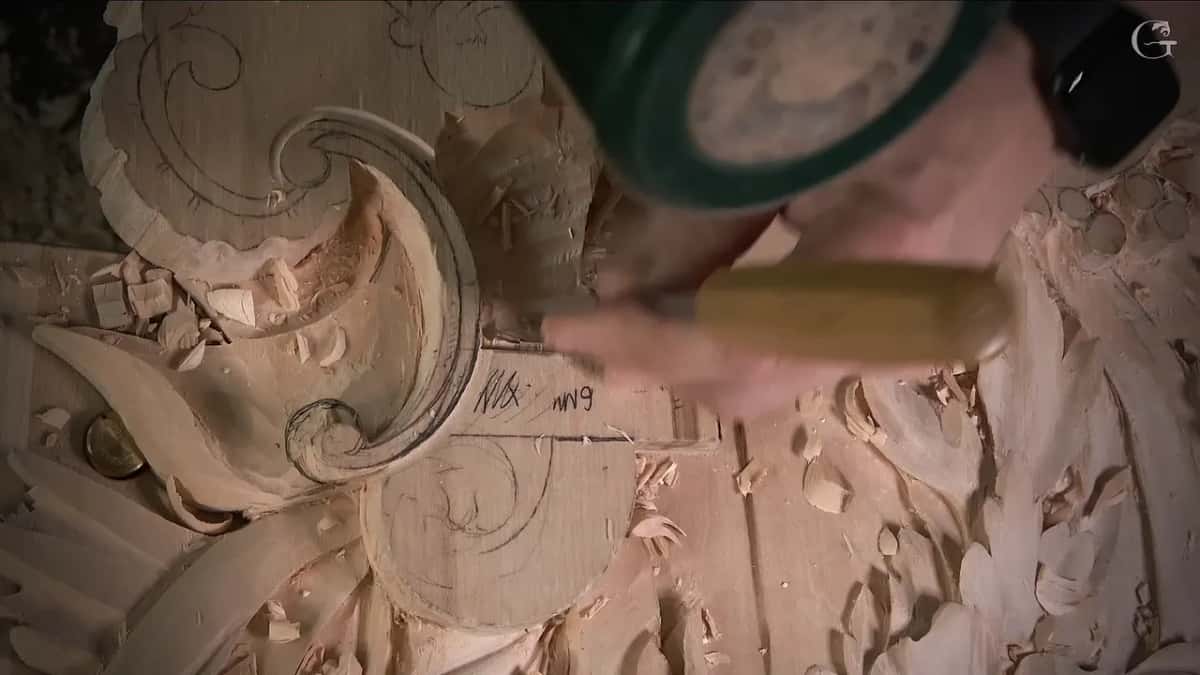
The tool for that stop is a number 1 single bevel, the thing a joiner calls a carpenter's chisel. Flat, one bevel, no sweep. A detail like this is good to have in furniture work too, well away from any wall.
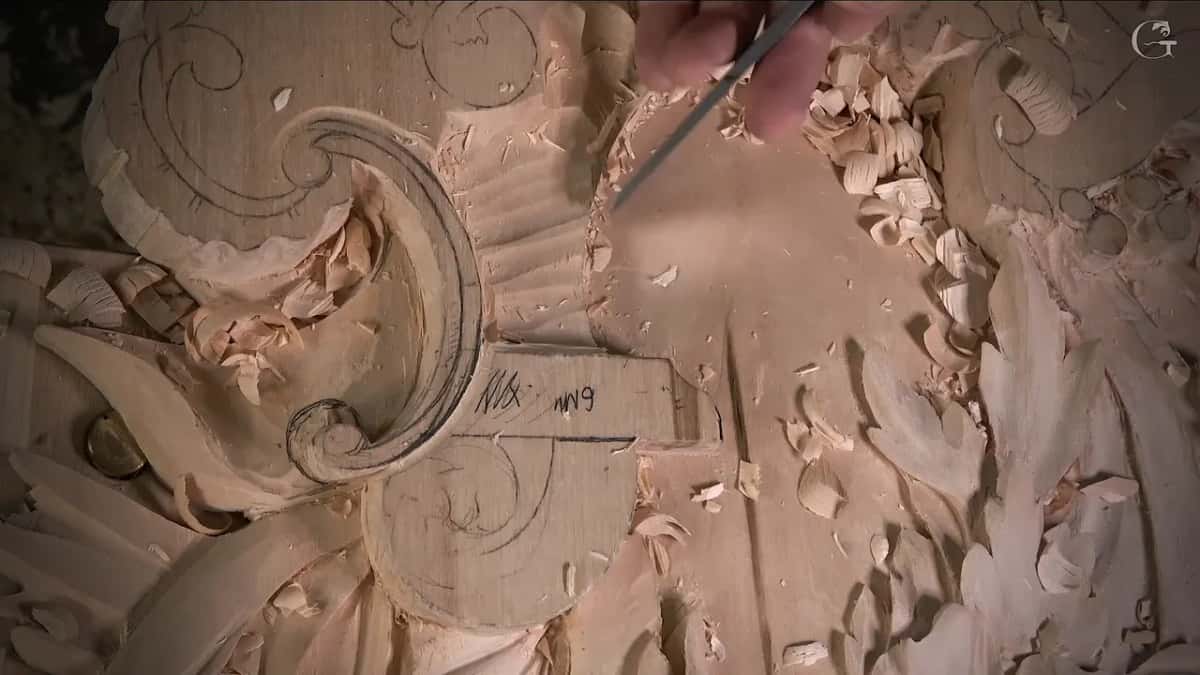
What carves a long line straight by hand?
Put the widest chisel you own directly on the line. Mine is a number 1 at 80 mm, three inches and an eighth, and it is a huge thing. Set that on the drawn line and it covers nearly the whole run in one placement, so the line cannot wander. Then follow with a 20 mm in the same track. A line laid down that way is not wiggly, because nothing was free to wiggle.
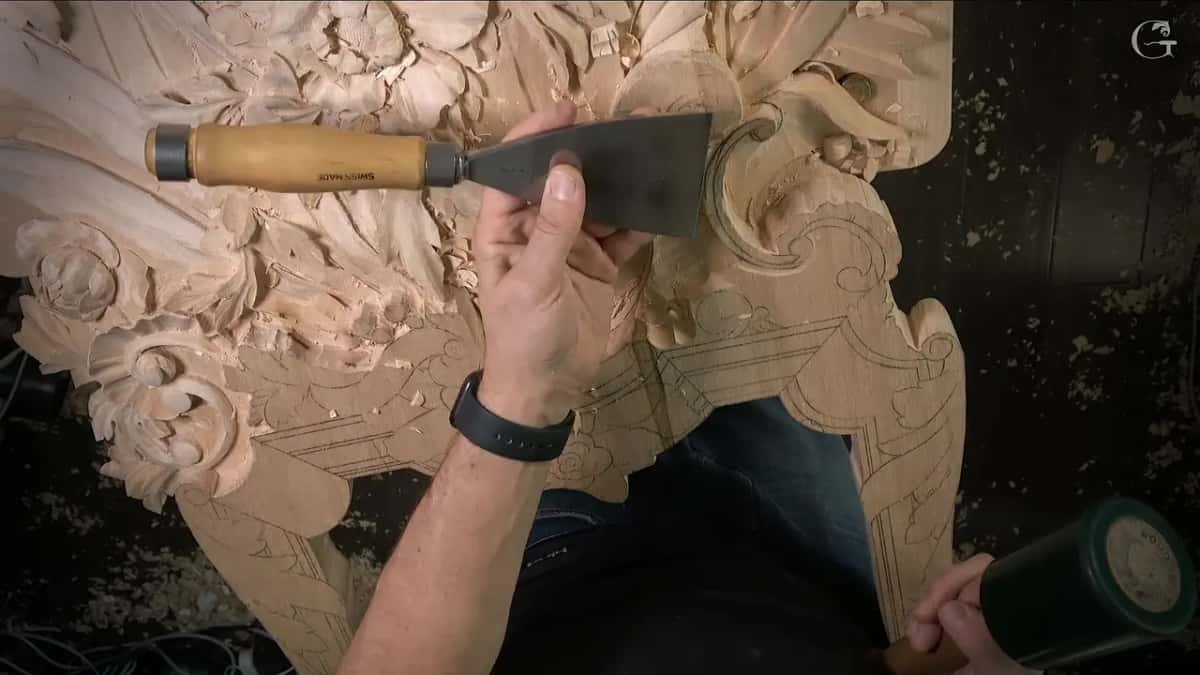
Waste comes off across the grain, always, with a number 9 at 20 mm. Safer and far more control than running with the grain. Some spots leave you no choice and you work against it, and there the only thing keeping you out of trouble is a sharp edge, which is its own subject.
How much wood do you leave above the line?
Three millimetres, an eighth of an inch, and there is a reason it is not zero. A gouge with a long bevel digs deeper as the pass runs out than where it began, so a pass aimed straight at the final depth arrives below it. Stop short and the error stays above the line where you can still take it off.
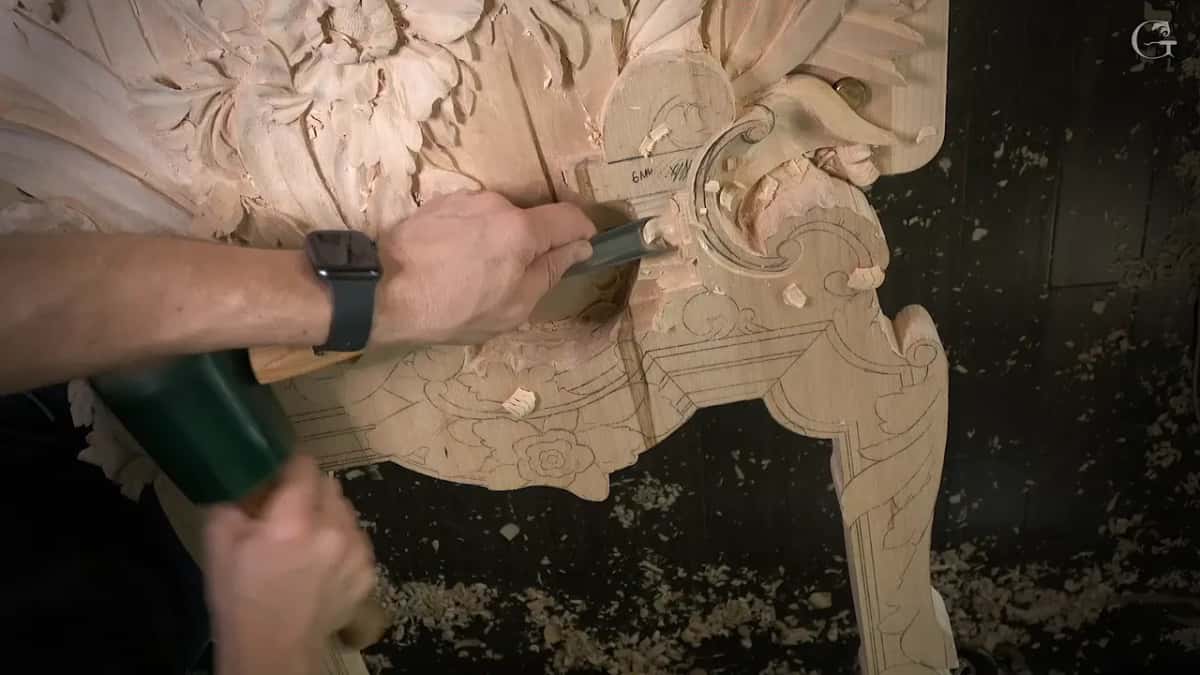
Tool marks are the second reason. Hit hard once you reach the finished level and the tool digs into the wood, and now you are cleaning a dent instead of a surface. On this one I put the depth on the wood in pencil, 6 mm, right where I can see it, and I keep checking.
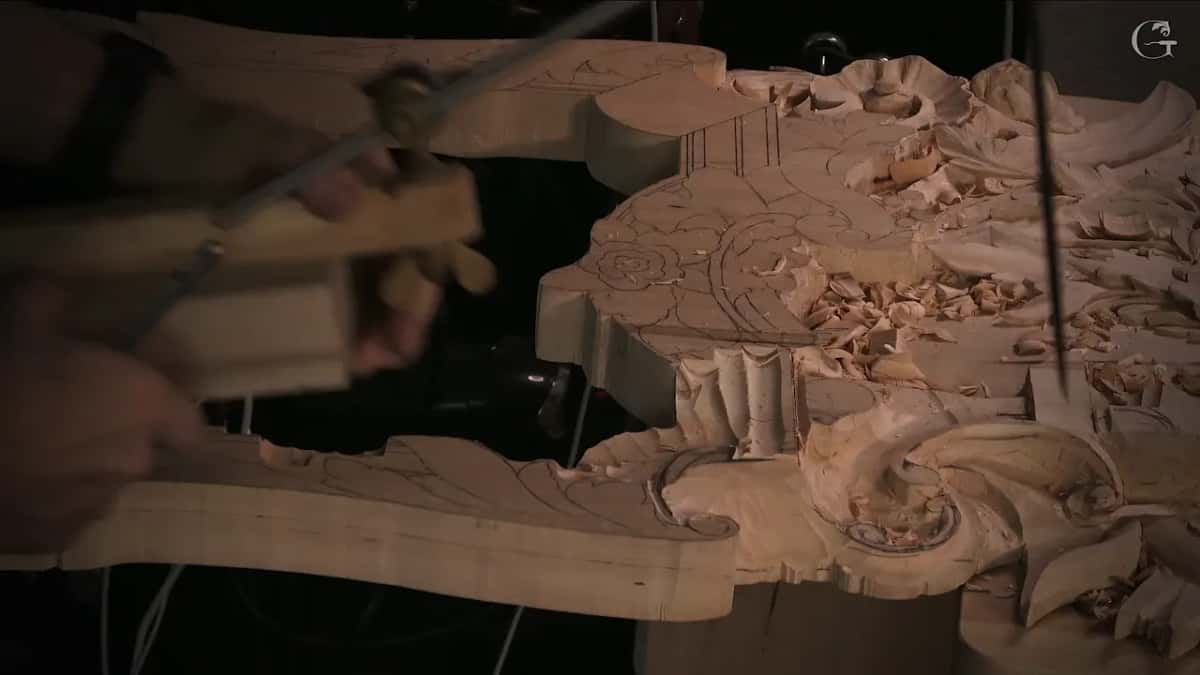
For the depth itself I use a pointing machine, and I have no idea why anyone calls it a machine. Mark the depth on a scrap of paper held against the side, set the stopper on a flat part, swing it across, and it tells you exactly how much is left. Check, check, and recheck. Sixteenth of an inch to go, and that is as far as I take it for now.
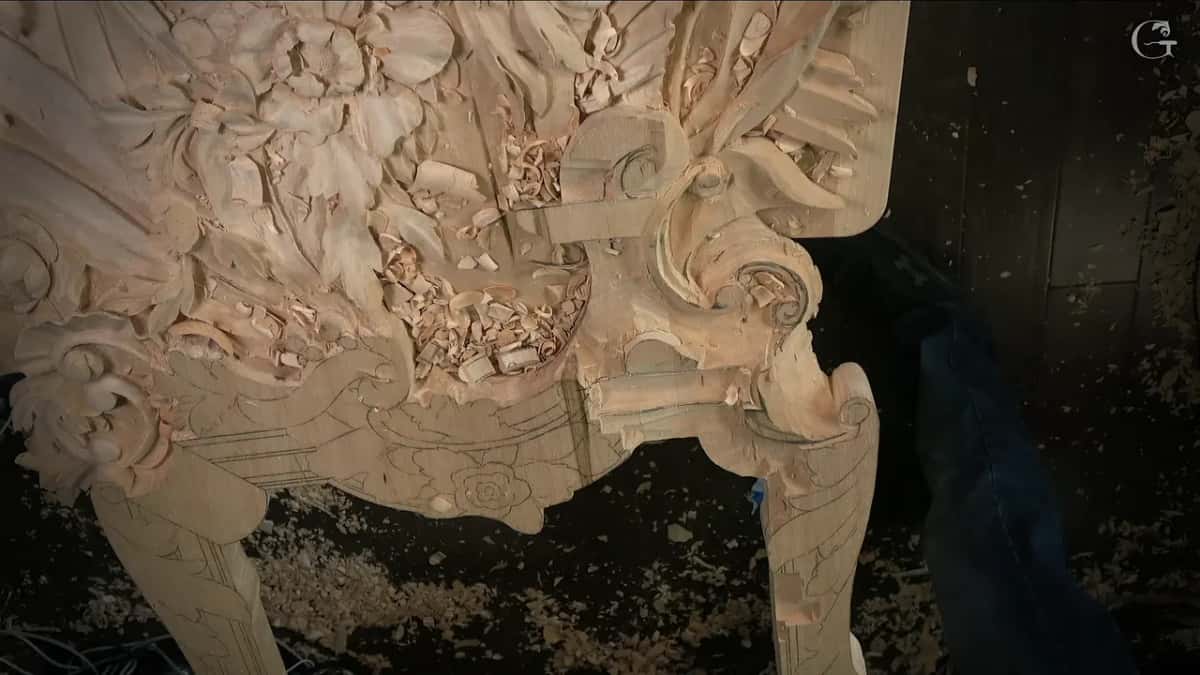
Where do you keep the drawing once the wood goes?
Trace it onto clear plastic with a permanent marker. Everything under that line is about to become chips, and once it does, the position is gone. So before the waste goes, I lay a sheet of clear plastic over the area, mark three or four lines that locate everything else, and keep the sheet. Takes a couple of seconds. Why not.
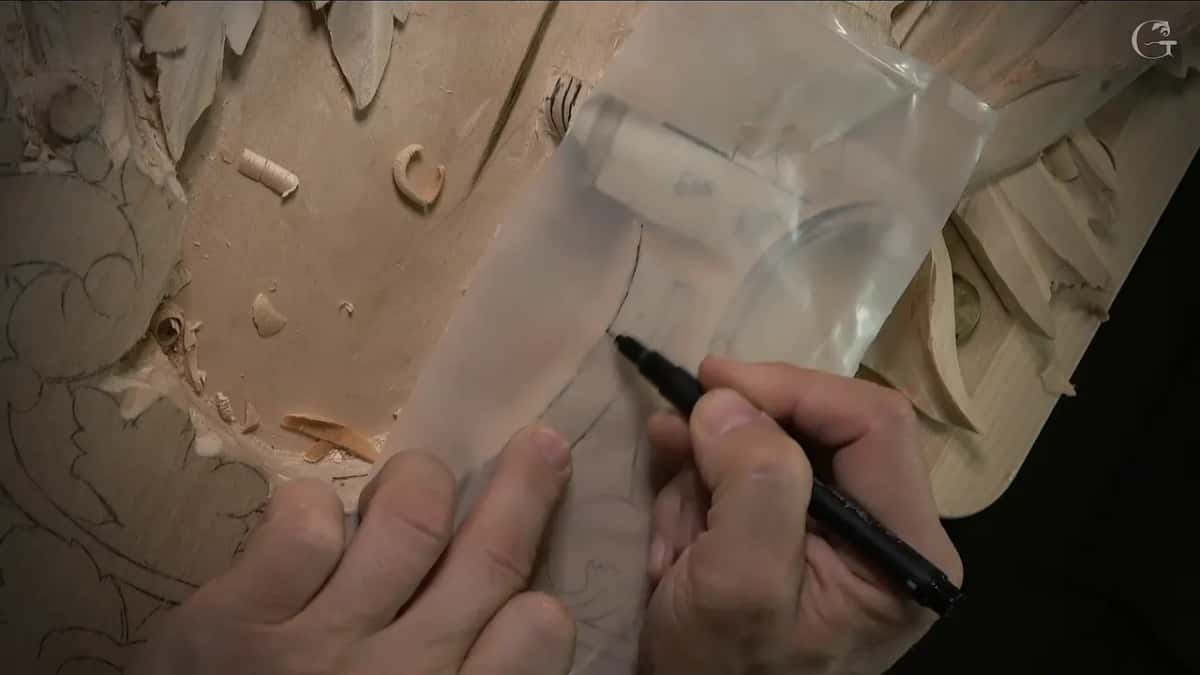
Paper works for the same job in a different way. I drew the molding section on a sheet, and that sheet became the gauge I checked the depth against later, which is quicker than reaching for calipers each time.
Can you lay out a miter without a gauge?
Two squares set against each other give you 45 degrees. Old trick, no special tool, and it is how I set the adjustable bevel I do own. Then transfer the spacing with calipers, or eyeball it, and sometimes my eyes are better than the calipers.
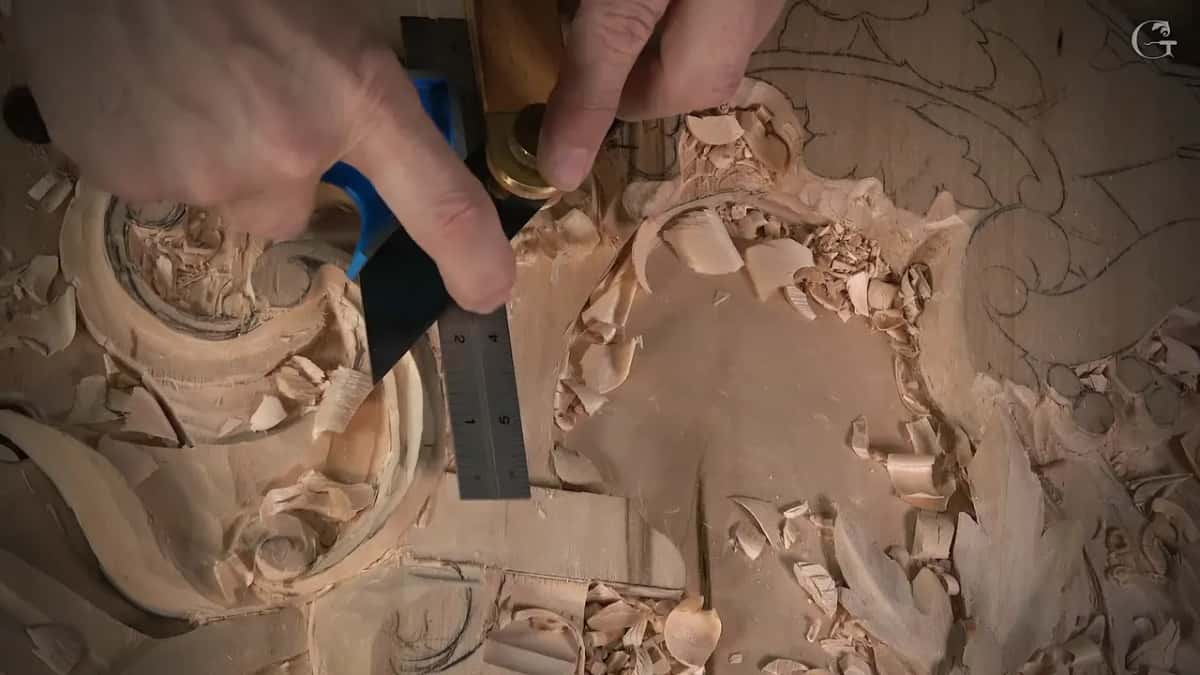
A marking knife beats a pencil for this if you have one. Mine were pencil lines, and the lines get carved away anyway, so nobody will ever see whether they were knifed or drawn. One honest problem: I had jigsawed that edge earlier, and a jigsawed edge is not dead straight, so squaring off it inherits its error. I laid the long number 1 along the line instead and extended it that way.
Where does the acanthus meet the molding?
Right on top of it, and I made that call on camera. Acanthus laid right over a run is legit, and I think it looks much better that way. Acanthus over moldings takes that on its own.
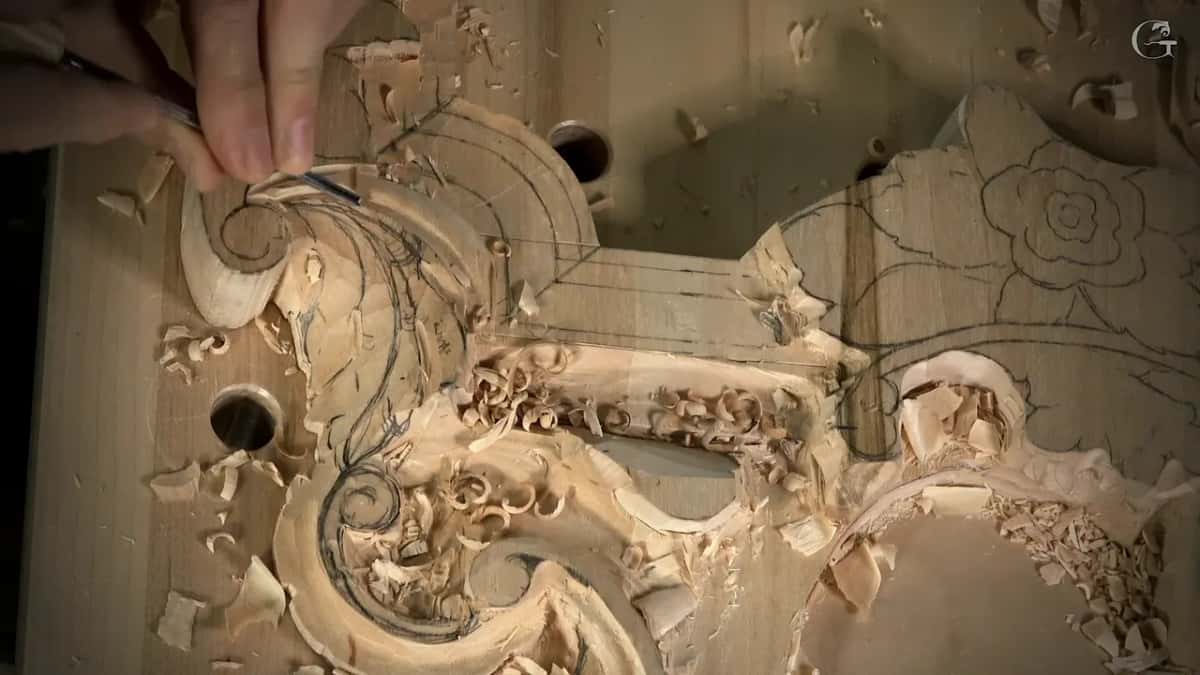
The head of the leaf stays higher than the run and the tail dies into a volute. Roughly 14 mm, a bit over half an inch, is what I left it to work in, which should be enough for a leaf to read as three dimensional, I would say. On the far side the same shell mirrors it and runs downhill instead of up. If this one is the hero, that one is the antagonist. A plus, and a minus.
Why are the pipes so big in Venetian carving?
Gold leaf is the reason. A pipe is the raised convex running down the middle of a leaf lobe, and in the Italian work they really exaggerate them. That habit came out of Byzantium, as I understand it, where the Orthodox churches used exaggerated pipes because gold leaf goes onto them a lot more easily.
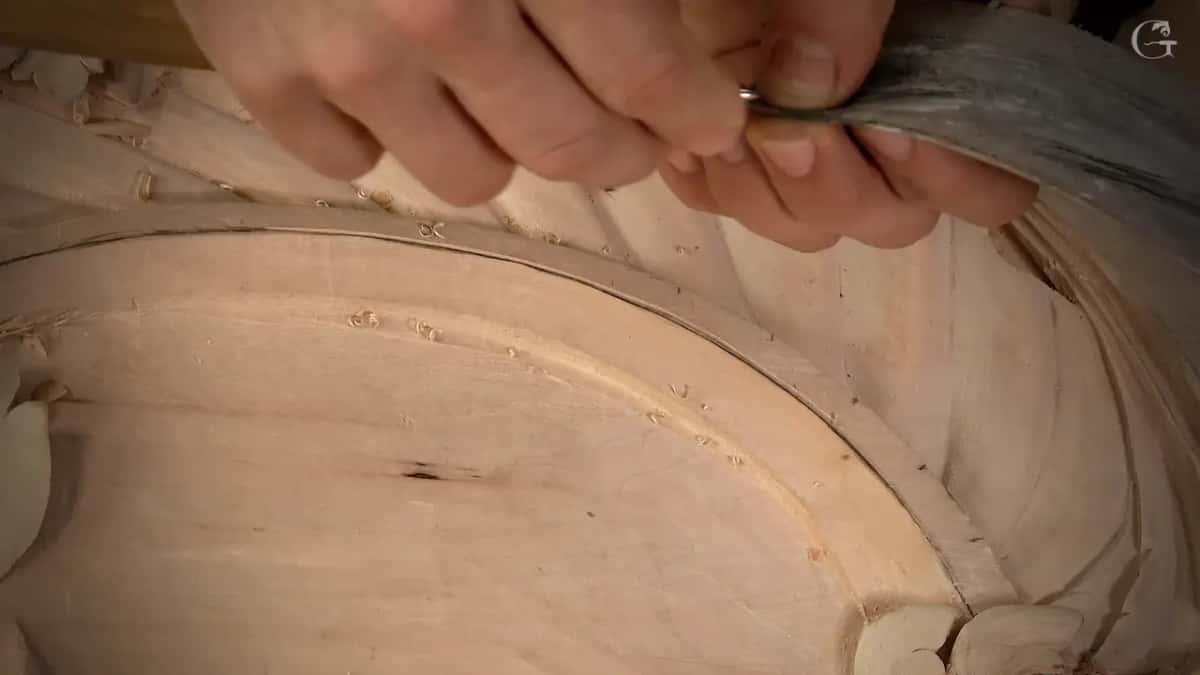
So a pipe gets made first by what sits beside it. Two concaves, one down each side, and the wood left standing between them becomes the pipe. Push those concaves lower and the pipe rises. The Byzantine acanthus is where that shape comes from, and Corinthian acanthus has a course of its own.
What happens when a decision cannot be taken back?
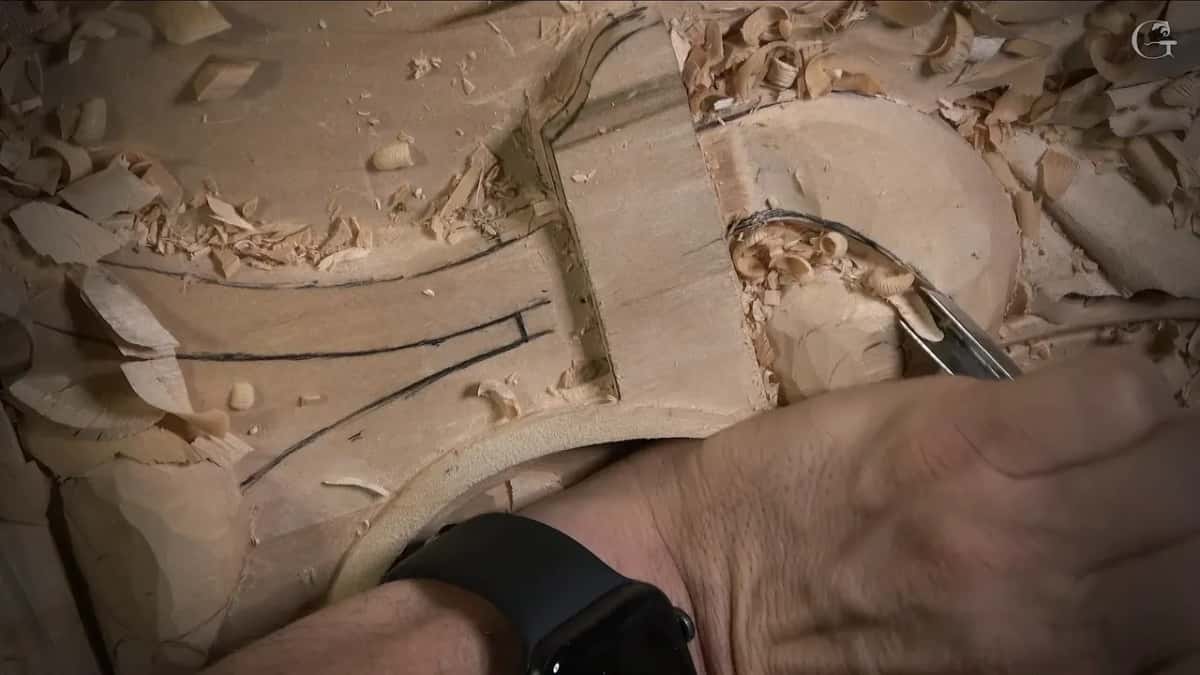
Carving is an art of deduction, and that word carries the whole problem. Wood only comes off. There is no adding it back, so every choice is final the moment the chip lands, and on a room like this there is no second panel to try it on. I said those words on camera right before I opened up one section. Later I put it plainer. This is a live project, and I can't redo it.
One of those choices went well. A small acanthus head was reading almost like a straight line. I put one division in, and then, instead of a second one, I opened it up for a shadow. That spot is somewhat of a focal point, right in your eyes. Good move, I'd say.
Repeating matters too. Whatever division I put on one side of a small leaf, I do the same on the opposite side, and an extra one can become the counterpart of another. Then I pick which part sits below the other. Both ways work, and I leaned toward below. The same design logic runs through everything on this wall, which is why the floral and molding panel is worth doing before a whole room.
What do you do when you are not sure of a shape?
Leave the wood on and decide later. On one volute I left about three quarters of an inch, 19 mm, of spare meat because I had not settled the movement. Later I looked at that section again and saw a better one. The drawing had looked good on the computer and good on the print, and still I thought, hey, I can make it much better.
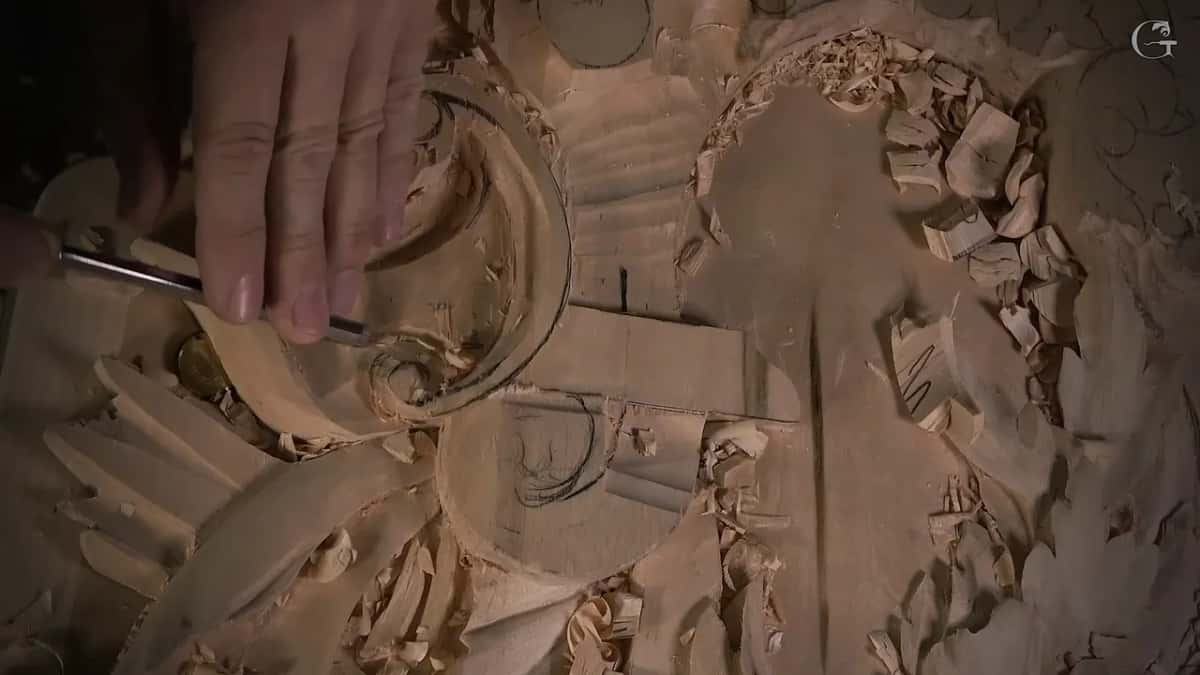
Nobody would have known. I didn't have to do it. The first version was perfectly acceptable, I could have left it alone and moved on to the next section, and I changed it because doing it that way gives me more satisfaction. Leaving spare wood on that volute is the only reason I still had a choice at all.
Why is the panel not fastened to the crown molding?
Wood moves, and a room is not a museum case. My first plan had this section butted tight against the crown so there would be no gap to see. Then I changed my mind. Wood swells and shrinks with the moisture in the air, and a carving fixed solid to a molding has no room to move. So the crown runs behind this section and nothing connects them. It can move a little. That is on purpose.
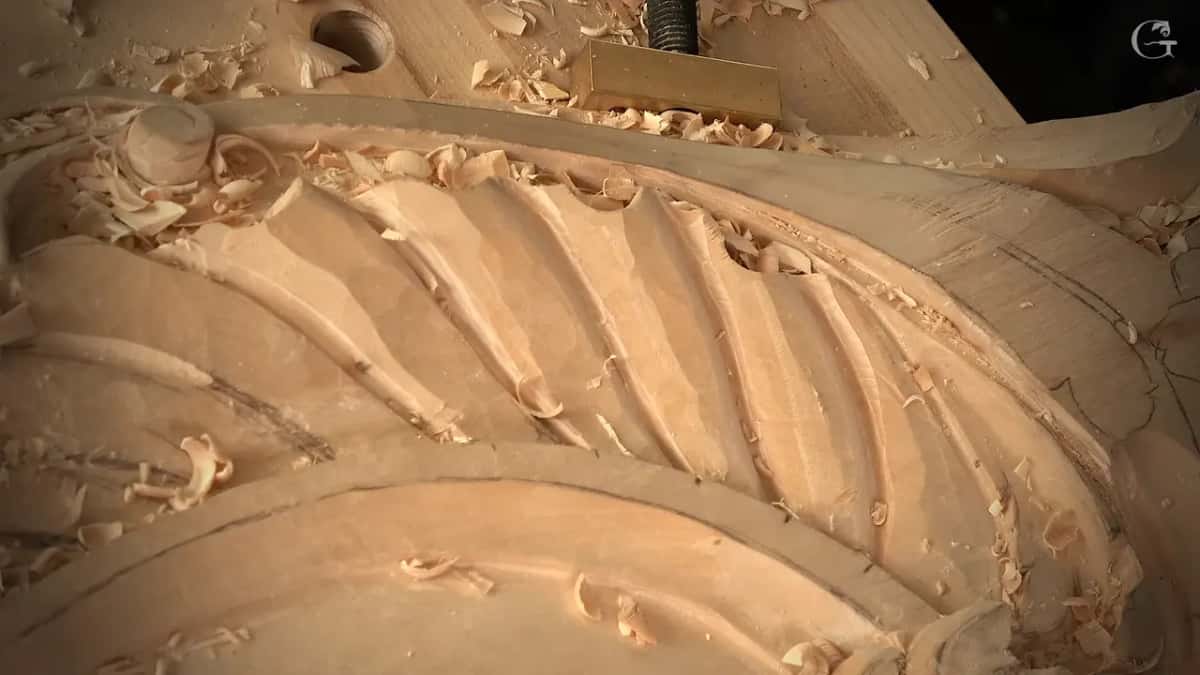
Some of the shell work went faster than usual and I will tell you why. Rasps. This room is paint grade, so it is getting painted, and a rasped surface under paint is a rasped surface nobody sees. I used them, skipped the sanding, and the deadline came sooner than I wanted it to.
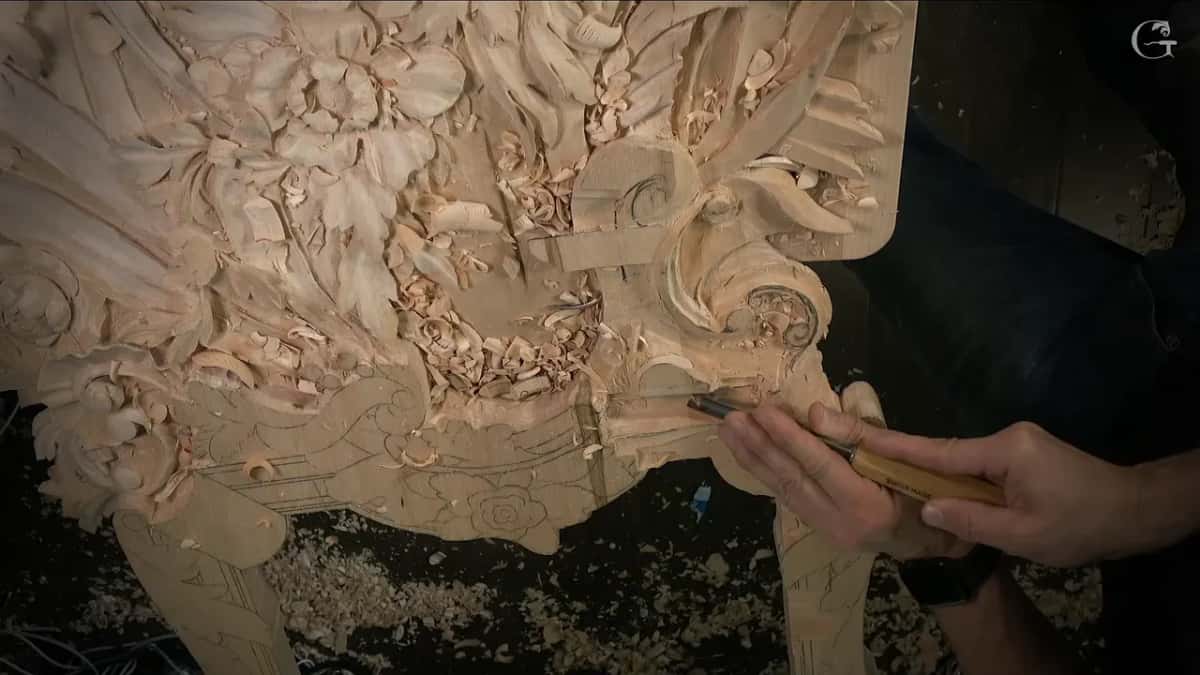
One section of that shell was not right. I did not move it far enough, and I said so on camera and then said I would fix it somehow. Later, working against the grain on another part, I told you about a documentary on hand trades that claimed carving wood is easier than carving stone, and that is not necessarily true. Limestone has no grain to calculate. Wood does, and sometimes reading it is not that easy.
The bench was bouncing at one point, which did not help. I shimmed it, carried on, and later refastened the whole panel with a clamp in place, and the vibration went. There is also a mallet on that bench I hardly use, exactly 20 ounces, a gift from the Marc Adams school, too nice to bang on a chisel all day.
Everything above sits on one piece of this room. The molding and the ornament on it run on opposite rules, which is why the two are learned together, right through to the last eight workshops. The pass by pass version is inside the workshop videos, which is what tuition to the school opens. Newer to this? Then start with something smaller and come back to the room later, or look at how the twelve workshops before these handled the flowers.
How it's done
- Find the section in a photograph. Ignore the face of the run. Look at the floor line, or at a mitred corner, because both of those turn the outline toward the camera.
- Draw it on paper and keep the paper. Sketch the section full size. That sheet becomes your depth gauge later on, which beats reaching for calipers on every single check.
- Trace the layout onto clear plastic. Lay a sheet over the area and mark three or four locating lines with a permanent marker, before the wood carrying the pencil disappears.
- Stop the outline dead vertical. Set a flat single bevel on the line, dead upright. Relieve the end grain with a veiner if it resists, and never let the chisel lean.
- Waste across the grain. Take the bulk off with a large number 9 worked across the fibres, and halt roughly 3 mm high so a long bevel cannot overshoot.
- Measure, and then measure again. Set a depth stop against a flat area, swing it over the work, and read what is left. A sixteenth of an inch, and stop there for now.
Frequently asked questions
Can you carve a molding profile by hand?
Yes. Some can only be carved that way. Machines repeat one fixed section down a length of stock. Change the width partway along and no molding machine can follow it, though a CNC, which is closer to carving, might.
Where do you find the section of an old molding?
Photograph the whole run, and then go hunting for the line of its section. The floor line shows you the profile. So does a mitred corner, because the section is turned toward you there. Accept that a detail or two ends up a guess.
Do you undercut a carved molding?
Keep the tool square to the surface and drive it straight down. Undercutting is right for a leaf and wrong for architecture, and this panel wants both. Relieve stubborn end grain with a veiner first, rather than tilting the chisel over.
What to carve next