

Alexander Grabovetskiy, woodcarver, School of Woodcarving · Published 2022
Why do you carve from the outside in?
Quick answer: Carving outside in is beginning each pass on the outside of a shape and moving toward its middle. Coming the other way where a design ends, I said in lesson 152, I could catch the grain and break wood past my line, and that would be a big mistake.
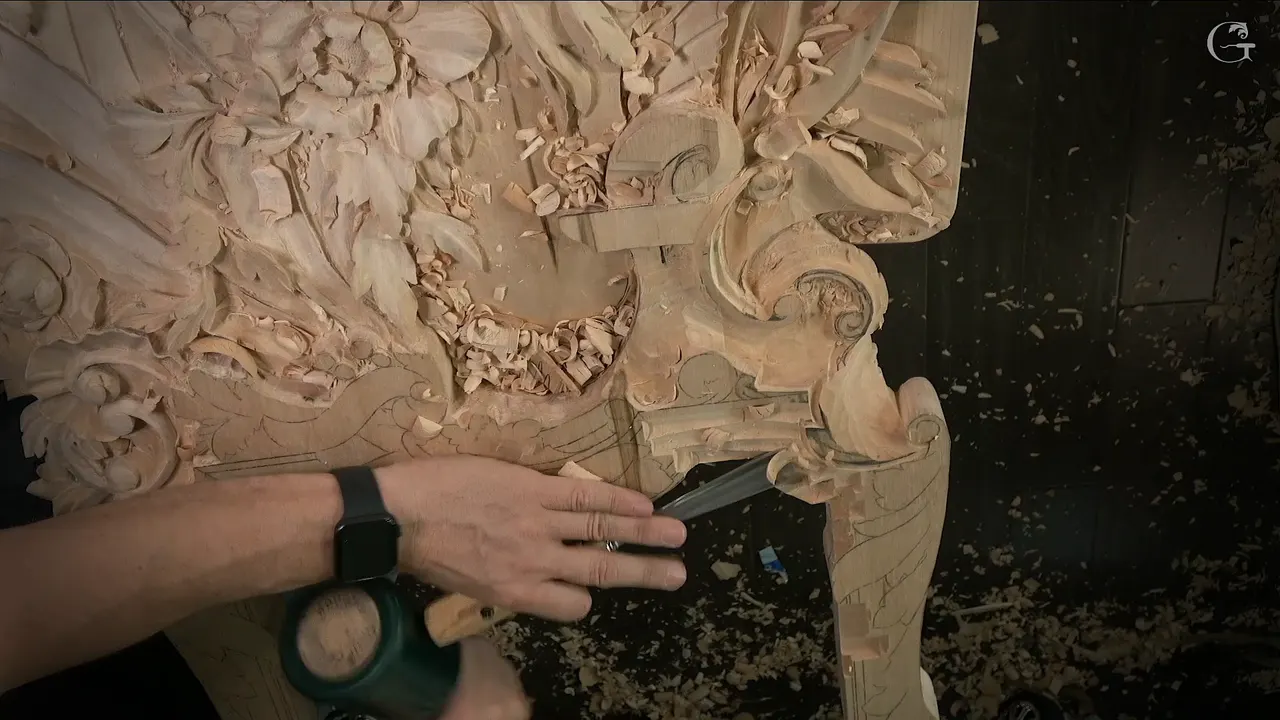
Carving outside in means starting at the edge of a shape and moving the tool toward its middle, so a pass never runs off the end of your design. In lesson 152 of the Venice Room I gave the reason in the first minute. If I kept coming from the side I was on, I said, the tool would reach the end of the design, catch the grain, and break it below the line. That would be a big mistake. So I attacked from the outside in.

Have you ever pushed a gouge to the end of a shape and watched a chip leave past your line? Did the wood let go in a place you never meant to touch? Then the direction you come from matters.
I'm going to be honest with you about how this page is built. Lesson 152 is three short parts, about 22 minutes of video, and the direction I come from gets one clear moment in it. So the lesson leads, as it happened on the bench, and after it come my own words on the same habit from other courses, each one linked to the lesson it came from. A few of those are the times I went the other way.
Six things lesson 152 shows about direction
I took the end of that shape from its outer edge, since coming the other way could break wood past the line.
My tool stayed about 1/8 of an inch, 3 mm, off the line.
A number 2 shaped the 3D form first.
A deep undercut opened in stages, and from two sides.
When a 3 mm tool seemed too big, I took a 2 mm one on the spot.
In other lessons I said the same thing, and in two of them I worked inside out instead.
The first opening was only preliminary, and I said so.
What did I say before the first pass in lesson 152?
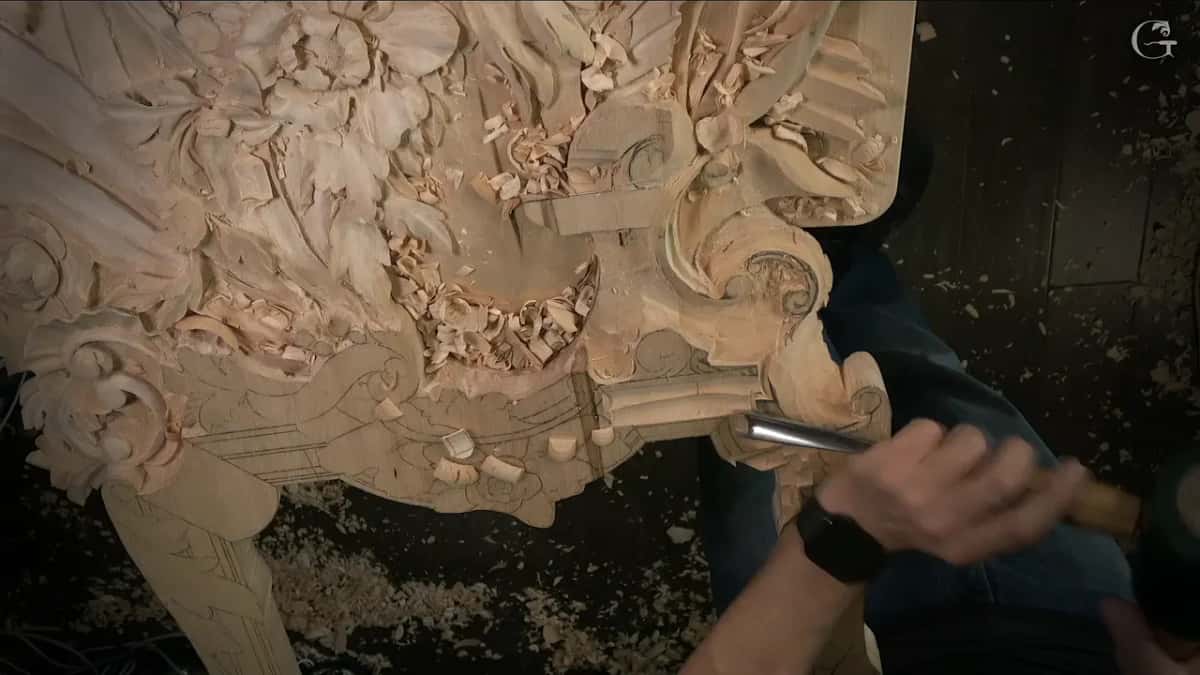
I said I needed to come in from the outer edge, and I gave the reason in the same breath. The shape I was working ended right there. Keep coming from my side, and the tool would run into that end, grab the grain there, then break it below the line.
A big mistake, I called it.
Next I worked it starting at the outer side, and for about half a minute nothing gets said. There was nothing clever in it. One sentence, and the next passes began on the outside and moved in toward the middle of the shape.
How close to the line did I carve?
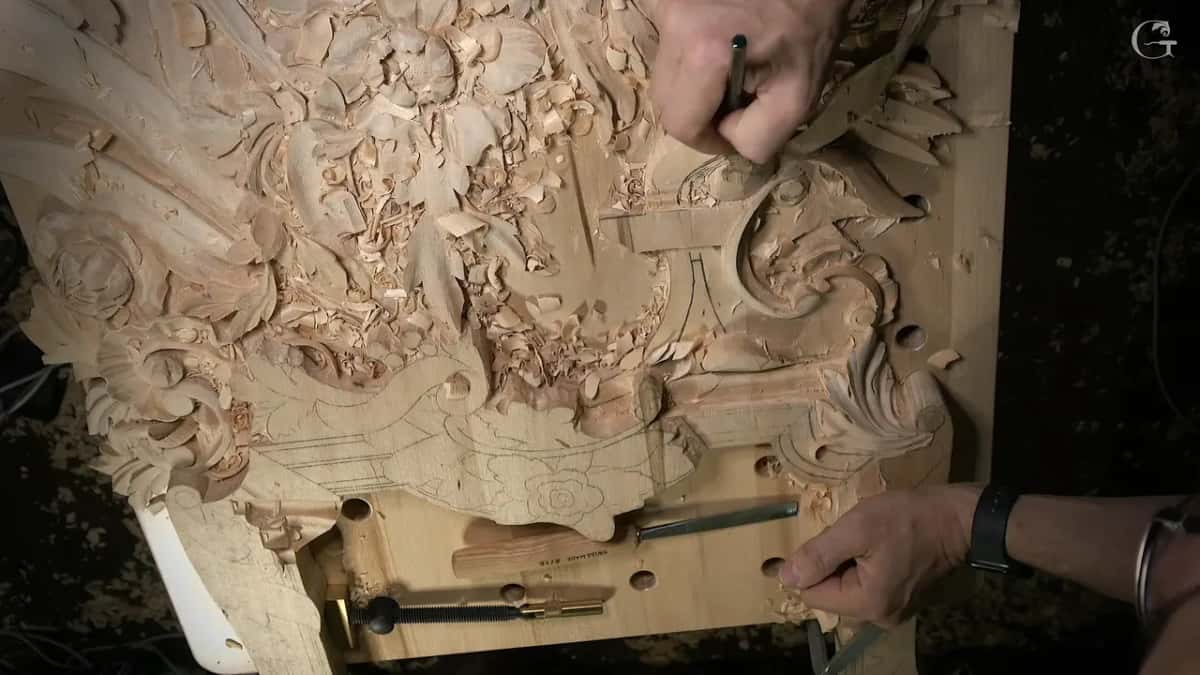
About 1/8 of an inch, 3 mm, was the gap I kept. I asked you to look from the side when I said it, and I told you I had cleaned that section only to some degree. A full cleanup could come a little later. What mattered first was that you could see the overall idea.
I'd also given that section a little bit of rasping. I didn't sand it. Some rasp, and on to the next thing.
What was the shape I was carving?
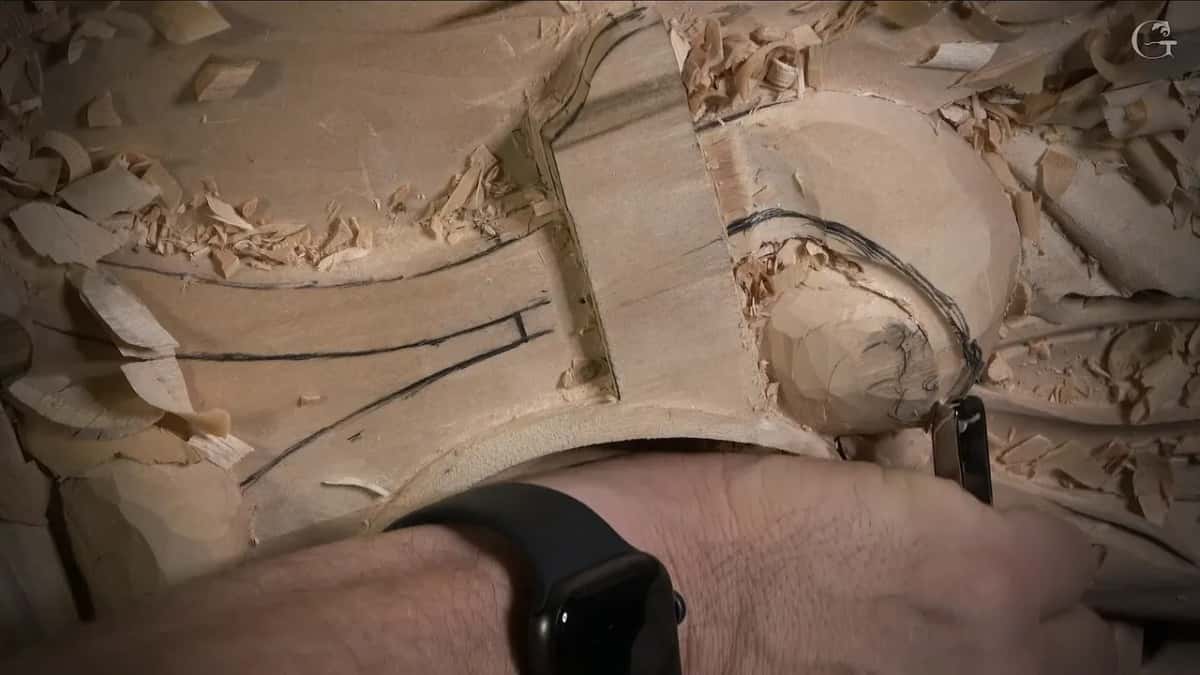
This one was a small element, one of two that sat there, and I kept calling it this guy. I could have worked on either one, and I said I'd probably just finish this one.
Before I touched it I told you the plan. It would go up, up, up, up, up, then curl, and there would be some kind of opening right there. Or I could open it more and make it look like it was rolling downhill, with that opening and a flipping motion going that way. I wasn't sure it would look good, and I said so.
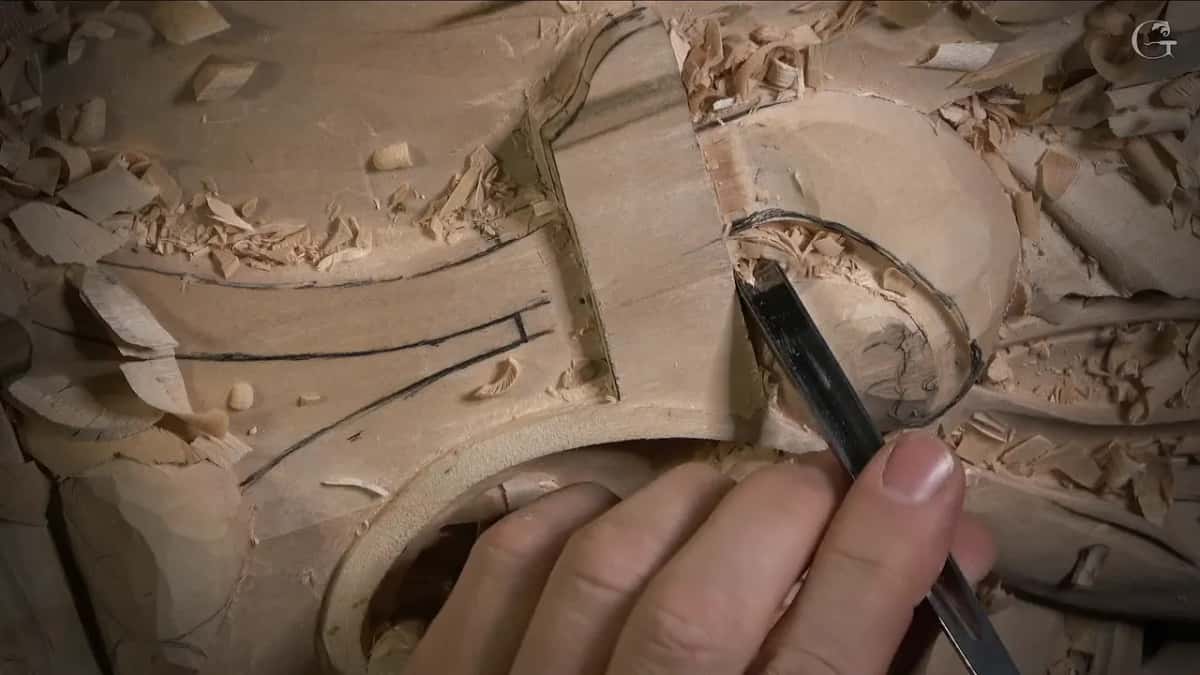
I had done that kind of part already, somewhere else on the panel. This one I really wanted to keep, because it would give me some kind of architectural look, and that is what I was after. I shrank it a little. Its start sat on about the same line as the movement on the other side, so the eye would read it as a continuation of that movement.
I stopped there and double-checked. I really did not want to make any mistake there.
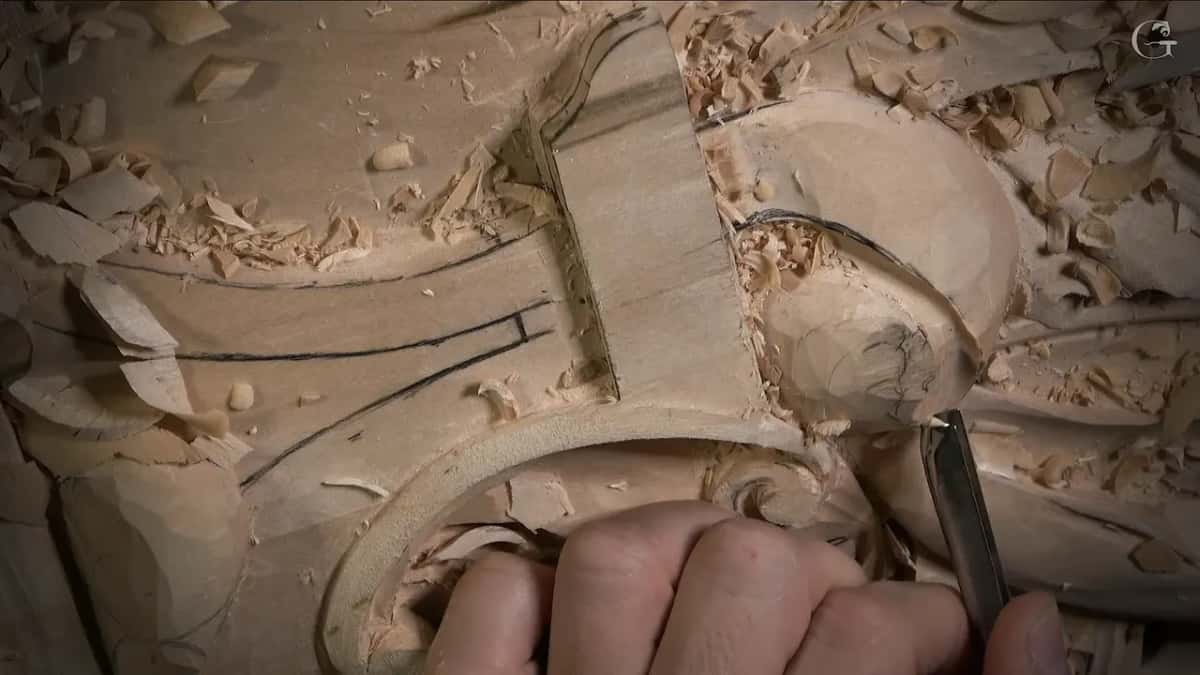
What went in before the undercut?
The 3D form went in first, and a number 2 did that. Next I opened up the area and named a number 7 for the job, then caught myself, apologized, and corrected it on camera: a number 11, at 7 mm.
That made my preliminary opening. It was not the final opening yet, I said, and I got on the line.
That is the order I used on this one small shape. I'm giving it to you as that, and nothing more.
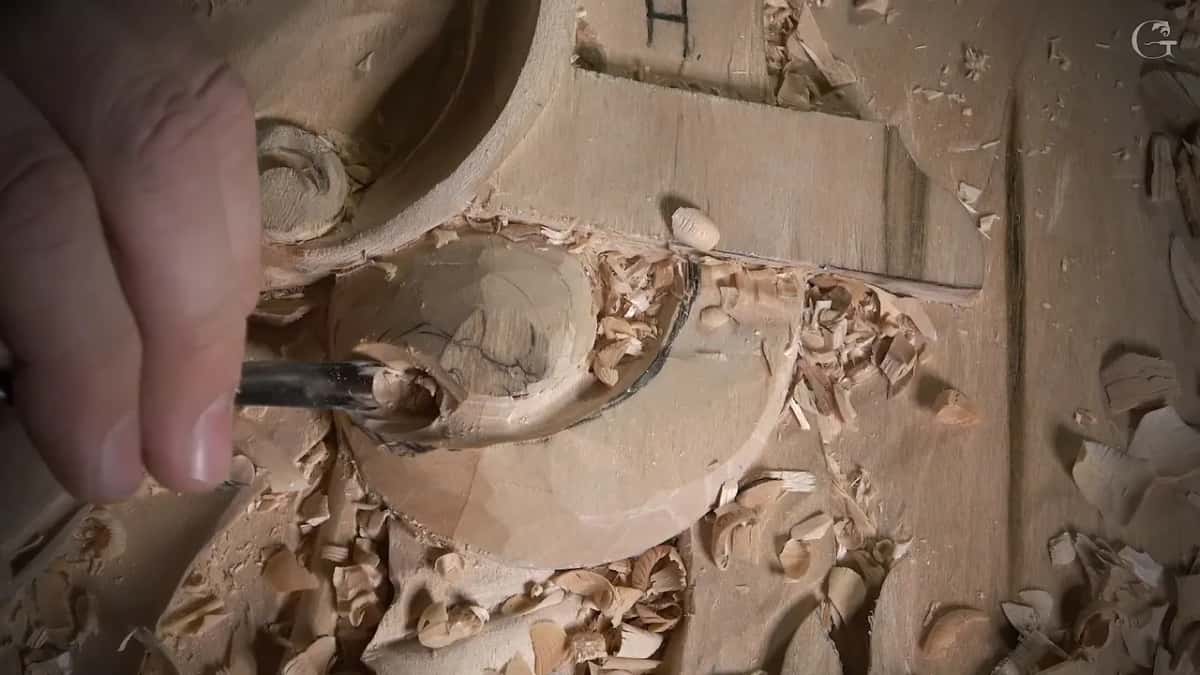
How did the deep undercut go in?
A few of you had asked me to show a really deep undercut one more time. Showing the same operation every time was not my plan, I said, but this element was a good place for it, because all of the inside would come out.
I went a little deeper there. I wanted it to feel like it was rolling from underneath and going up, and it looked like I got that. Next came a number 9, a quarter inch (6 mm) or so, and I said I would excavate right away underneath, as a plug cut.
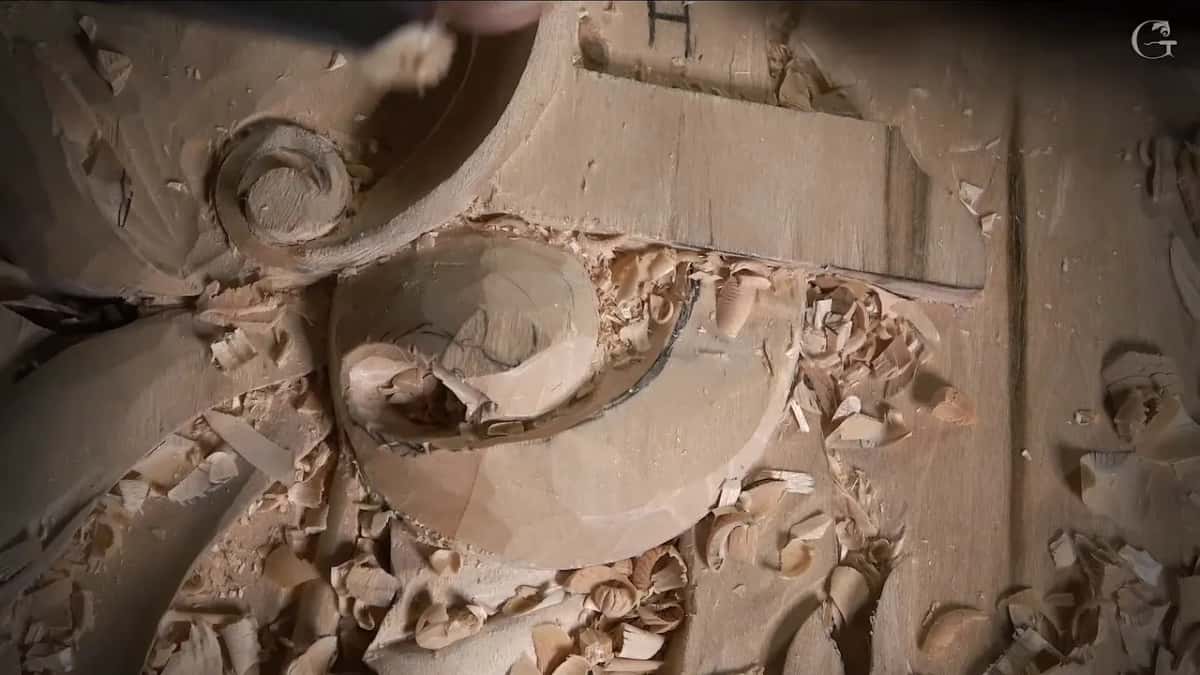
Part two opens on that spot. That spot was my starting point for the deep undercut. Going through completely was possible, I said, and it probably would happen, but slightly later. Even before that, it was already giving me deep shadow.
Then I attacked it from two sides. The whole channel was going to be open, I said. For that I took a smaller number 11, maybe even 2 mm, and went in little by little.
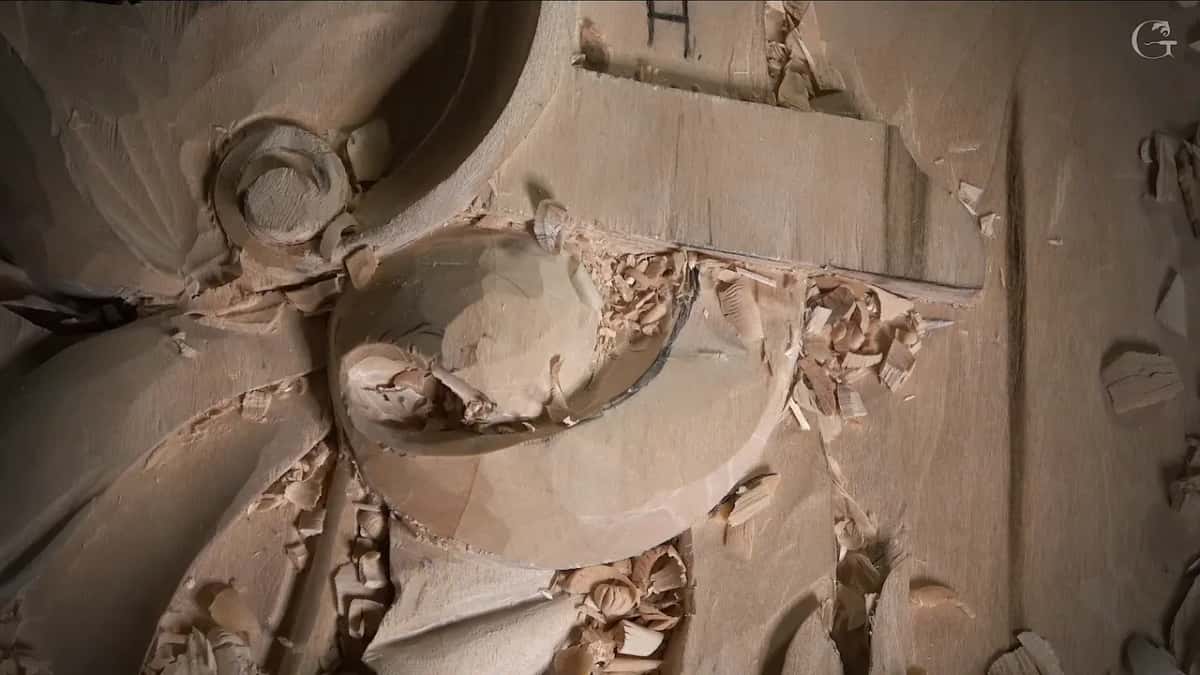
I knew it was only 2 mm. I probably could have got by with a bigger one, but I didn't want to overdo it. The number 2 came back after that, to make it a little more round, and I said maybe I didn't need a full opening in that area, because it already looked really good as far as the overall shape.
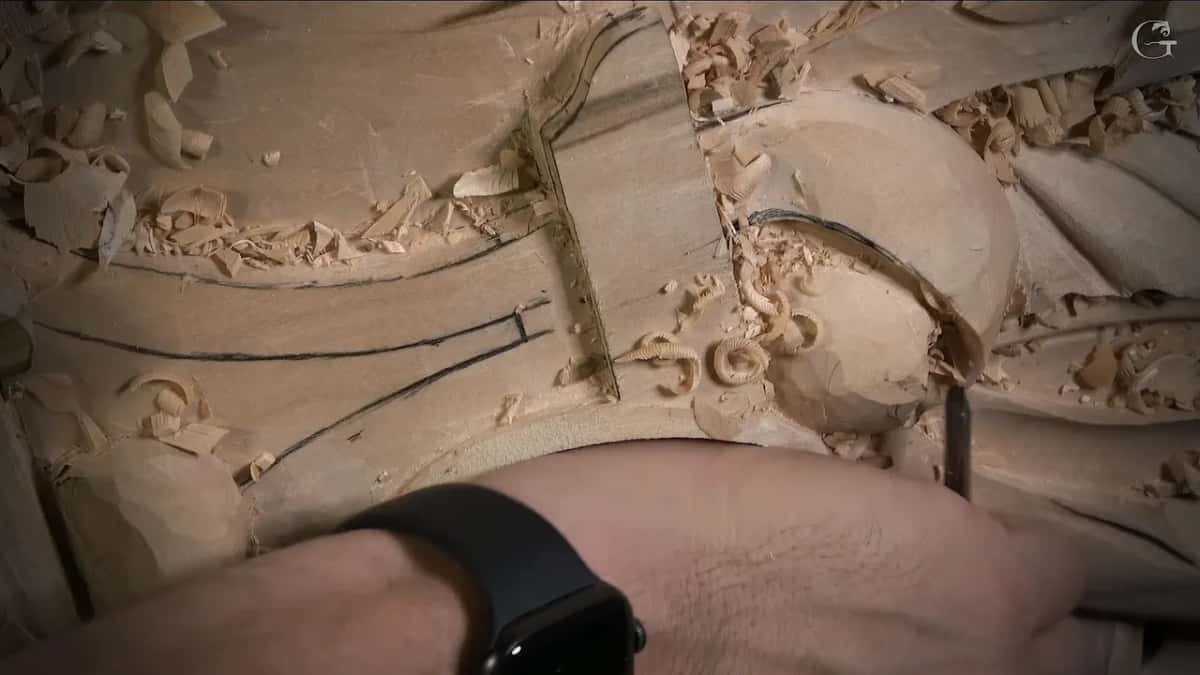
Under the next section I used a number 11 at 3 mm with the flute at about 10 o'clock, the way you read a clock face. It looked a little too big. Going to 2 mm, I said, would make more sense, and I told you that was probably what I'd use.
Every tool lesson 152 put on the wood
Here they are in order, the gouges and sizes I used on camera, with a short note from what I said beside each one.
Tool | Job | Note |
|---|---|---|
A number 2 gouge | set the 3D form before any opening went in | 3D first |
Number 11, 7 mm (9/32 in) | made the preliminary opening, which I said was not the final one | not final |
Quarter inch (6 mm) number 9 | to go under the shape at once, a plug cut | right away |
The 2 mm (5/64 in) eleven | worked the channel a bit at a time, from both ends | no overdoing |
A 3 mm (1/8 in) eleven | flute at about 10 o'clock, then judged a little too big | too big |
Small 2 mm number 9 | for a deeper shadow in the eye of that shape | deeper shadow |
One millimeter number 11 | to get all that mess out, after the division | the mess |
About 5 mm (3/16 in) wide | began the concave on each side of the future pipe | future pipe |
Where else did I say to work from the edge inward?
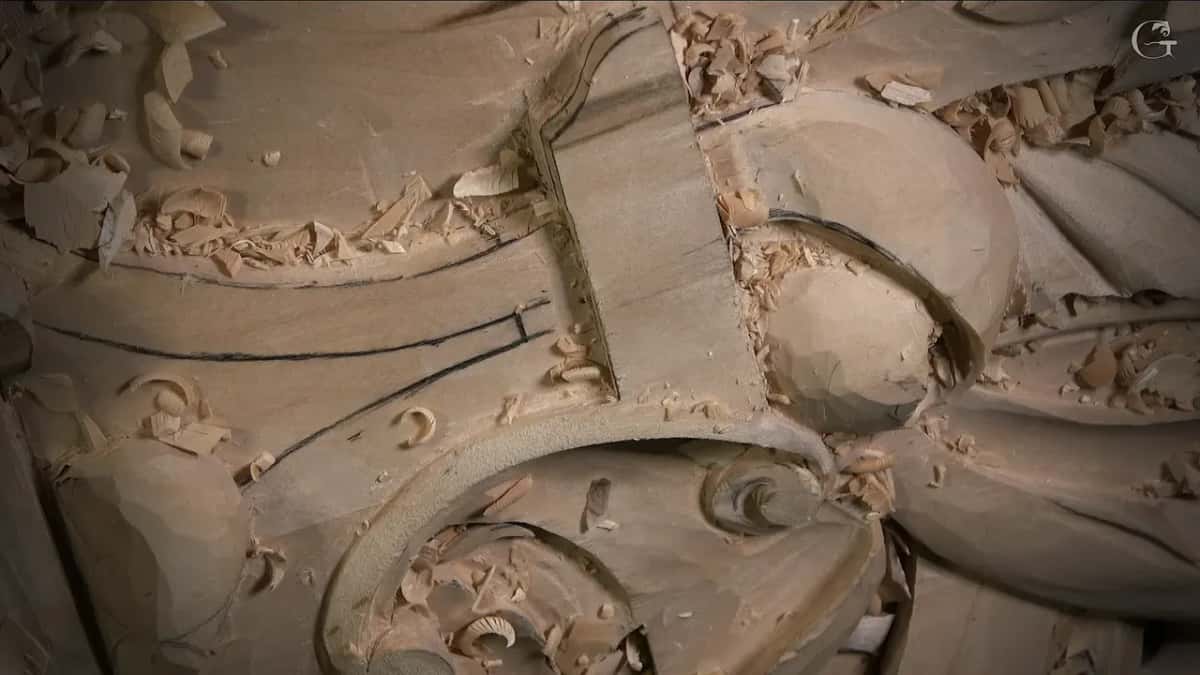
The Modern Acanthus has the plainest one. I asked you, in lesson 8 of that course, to please keep it in mind: always work from outside inward. It's safer, I said. Do not carry that pass the whole way from that side, or you're going to catch the edge, and it is not going to look good.
One lesson earlier, in lesson 7, a piece of that acanthus board was about to come out. Before it did, I said we would attack from the outer side going in, and take some of the material out from that position first.
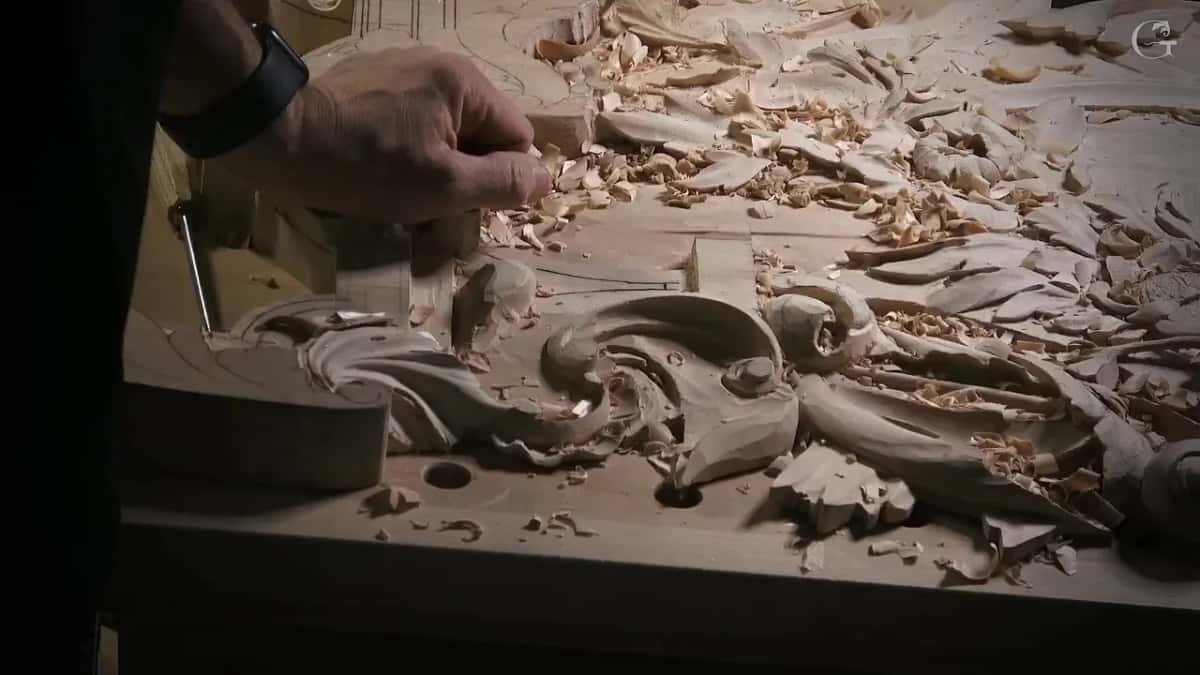
In workshop 18 of the furniture panel I advised you not to go toward an edge, since you can catch it and split it, and admitted I was going that way myself only so I would not have to move the camera.
On the Byzantine acanthus, in lesson 10, I showed you what happened on one end and told you to attack from the edge toward the inside, then rotate and come at it from the opposite side.
Carving the Corinthian leaf, in lesson 2, I felt safe going across the grain and said you could attack from outside inside, which was also somewhat safe.
For the background of the lily box, in lesson 2, I began with the outer edges and worked inward, and I used a light to look through, because it was a fragile wood and I wanted no mistakes.
And in workshop 24 of the furniture panel I warned that digging too deep right away can catch the edge of a flower and break it, which can be fixed, though I'd rather get it right on the first try.
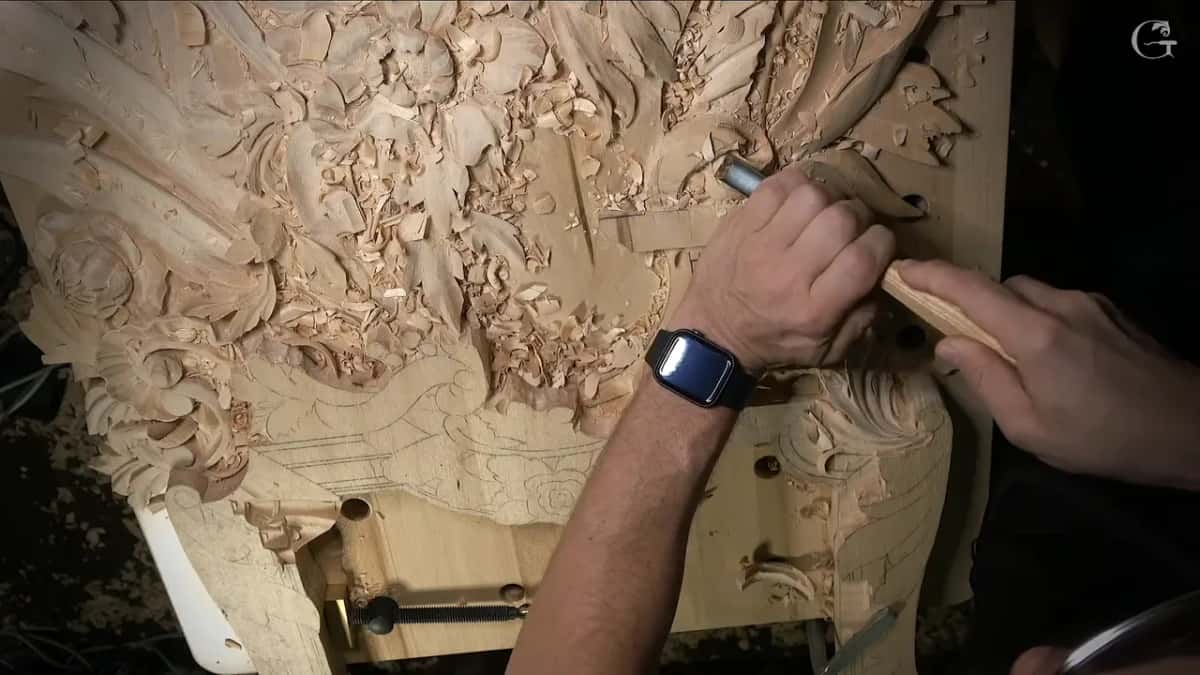
Is this the same as wood carving grain direction?
Close, and in one lesson the grain made the choice for me. The floral and molding panel, in lesson 5, had a spot I told you I could not attack one way, because the grain ran that direction and I would catch it and break it.
Carving against the grain without tearing has its own page, the one for Part 11 of this same room.
Back in lesson 152, the reason I gave had both things in it: the end of the design, and the grain I could catch right there at that end.
Do I always go outside in?
I don't. Three lessons show it on camera, and in each one I told you what I was doing.
On the Roman acanthus, in lesson 3, I said the wiser way was with the grain, outside in, then admitted I break that rule all the time, and that with really sharp tools on a form that is not final it really doesn't matter.
A lesson before that I had to work from the inside out, and it sometimes split the wood, but the board was an inch and 7/8 (about 48 mm) thick and I was not that concerned.
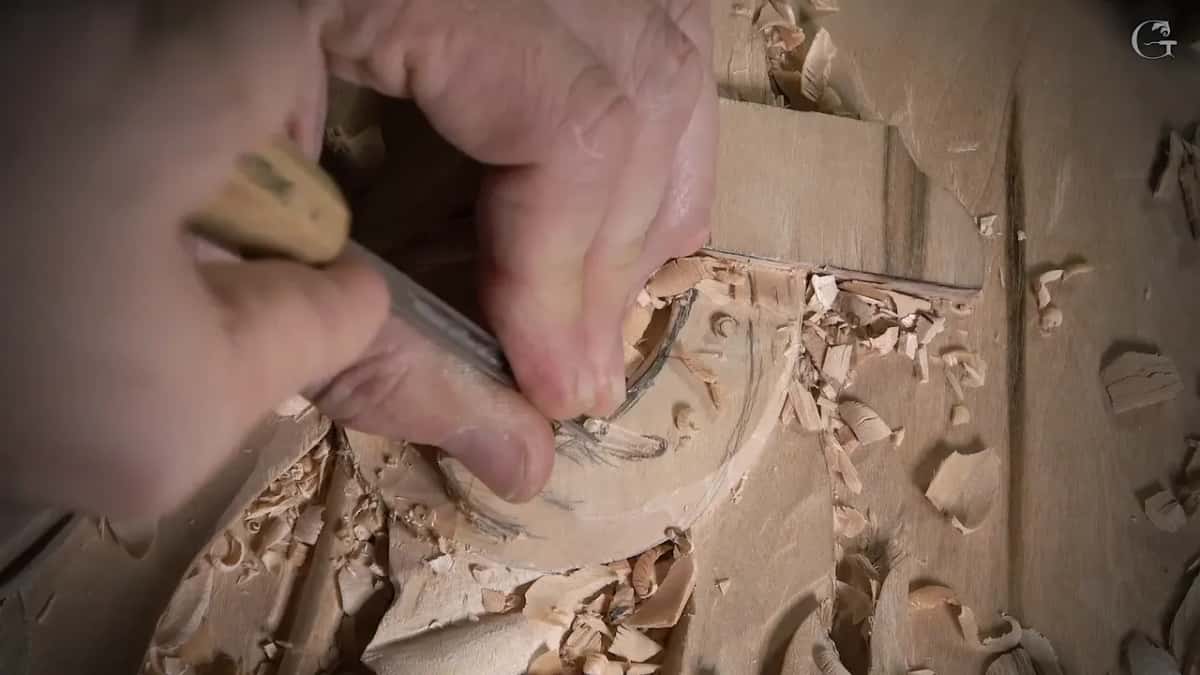
In the first Grinling Gibbons class in Maine I called removing material from outside inward a good idea, and then, since we were sloping everything, went from the inner part toward the outside, carefully. The class carries the name of Grinling Gibbons.
What else is in lesson 152?
Later in part two I said the overall shape didn't look too appealing, and I compared one line with the tool itself. That section was almost a straight line. A division went in right away to fix it, and then I had doubts about where it should go, and I said so twice.
I worked it out from the center line. Logically there was room for a couple of divisions, I said, but I chose one place for it, and before that division went in, I excavated an eye. From a different camera it did not look too bad, not too straight. There I said a slightly bigger tool, maybe about 3 mm, would let me see much better. It won't be too visible, I said, but it should still look really good.

What I chose for that spot next, and why the pipes in this style are so big, is told on the course page for Part 13.
After a small number 9, 2 mm wide, went in for a deeper shadow around the eye, a 1 mm number 11 got all that mess out. I blended the division underneath, though not as the final blend, and left some thickness on the side for a pipe. Before all that I had rounded one side as well, because I really wanted to see it more rounded, and I said I was happy with it. Really happy. The concaves on each side of that pipe started at about 5 mm, and I said I'd make the concave a little less closer to the molding part I was going to cover.
Who is lesson 152 for?
Anyone who likes to watch small choices get made on real work will get something from it. You see which side I come from. Before it in the course come lesson 150 and lesson 151, and lesson 153 comes right after.
This is wood carving on a 15th century Venetian room, done slowly, and lesson 152 shows it pass by pass in three parts. It opens with tuition to the school, monthly or yearly, and it renews automatically until you stop it.
How it's done
- Find where the shape ends. Look for where the design ends before the first pass, since coming at it from the far side can catch grain there and break it beyond the line.
- Begin on the outside. Start each pass at the edge and move toward the middle.
- Stay off the line. Keep roughly 3 mm (1/8 in) between the tool and the drawn line for now, and leave the full cleanup for later.
- Set the 3D form. Rough the shape with a number 2 before the deep opening goes in.
- Open it in stages. Make a preliminary opening with the 7 mm eleven, take a quarter inch number 9 underneath, then work the 2 mm eleven a bit at a time from both sides.
Frequently asked questions
What happens if you carve off the end of a design?
The tool can grab the grain where the shape stops, I said in lesson 152, and break it under the line you drew. I called that a big mistake and started at the outer edge instead, staying about 3 mm, an eighth of an inch, short of the line.
How did you open the channel under that shape?
Both ends got attacked by a number 11 of just 2 mm, little by little. A bigger tool might have got by, I said, but I did not want to overdo it, and the whole channel would end up open.
Does a deep undercut have to go all the way through?
Going all the way through was something I said I would probably do in lesson 152, but slightly later. Before that it was already giving a deep shadow, and in one area I said maybe a full opening was not needed at all, since the overall shape already looked really good.
What to carve next