

Alexander Grabovetskiy, woodcarver, School of Woodcarving · Published 2022
What is the difference between paint grade and stain grade carving?
Quick answer: Paint grade is a carving that gets covered with paint, and stain grade is one that gets a stain instead. In lesson 148 of the Venice Room I kept three feathers plain because paint will cover that panel. Glue and sandpaper choices changed in other lessons too.
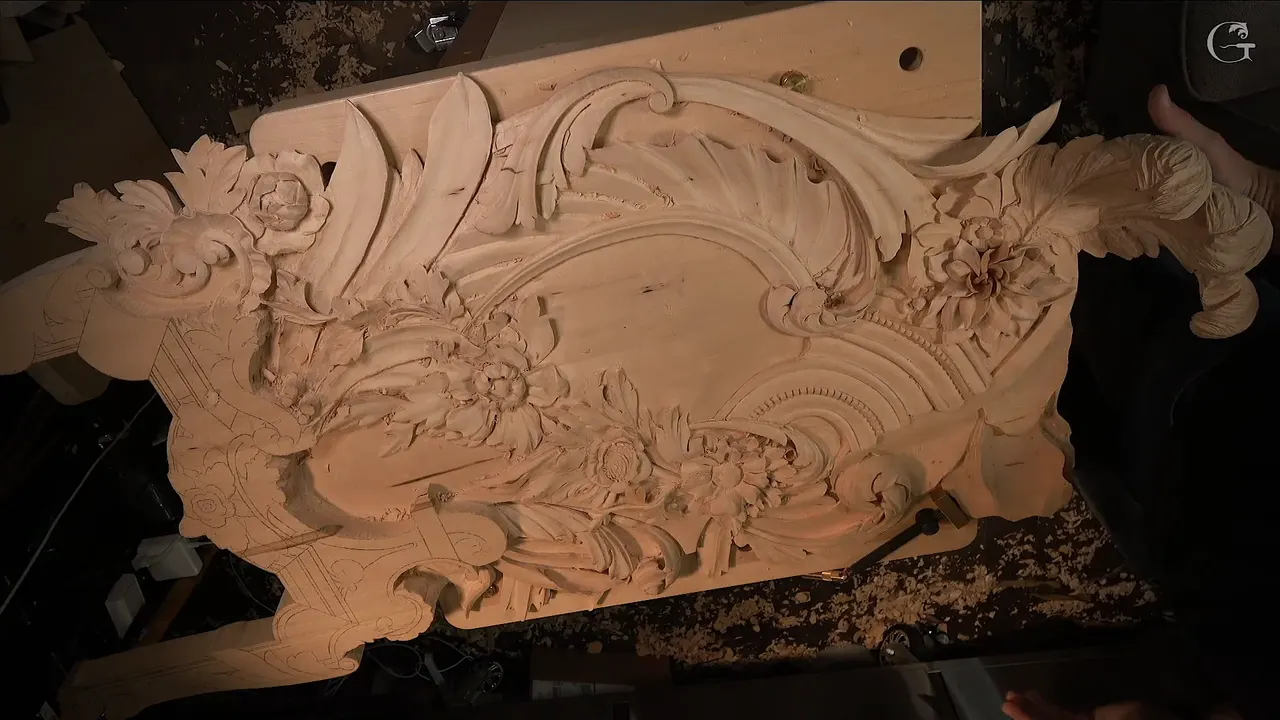
Paint grade vs stain grade is the difference between a carving that will be painted and one that will get a stain. That one fact changes a few of my choices on the carving itself. Lesson 148 of the Venice Room has three feathers that reach up to the ceiling, and I kept them plain. Like I said on camera, this project is paint grade.
People use those same two words for trim, doors and cabinets. On a carving they point at the same thing, the finish that goes on at the end. This page is about carving. It covers the detail I left off once I knew paint was coming, and the glue and sandpaper that paint allowed.
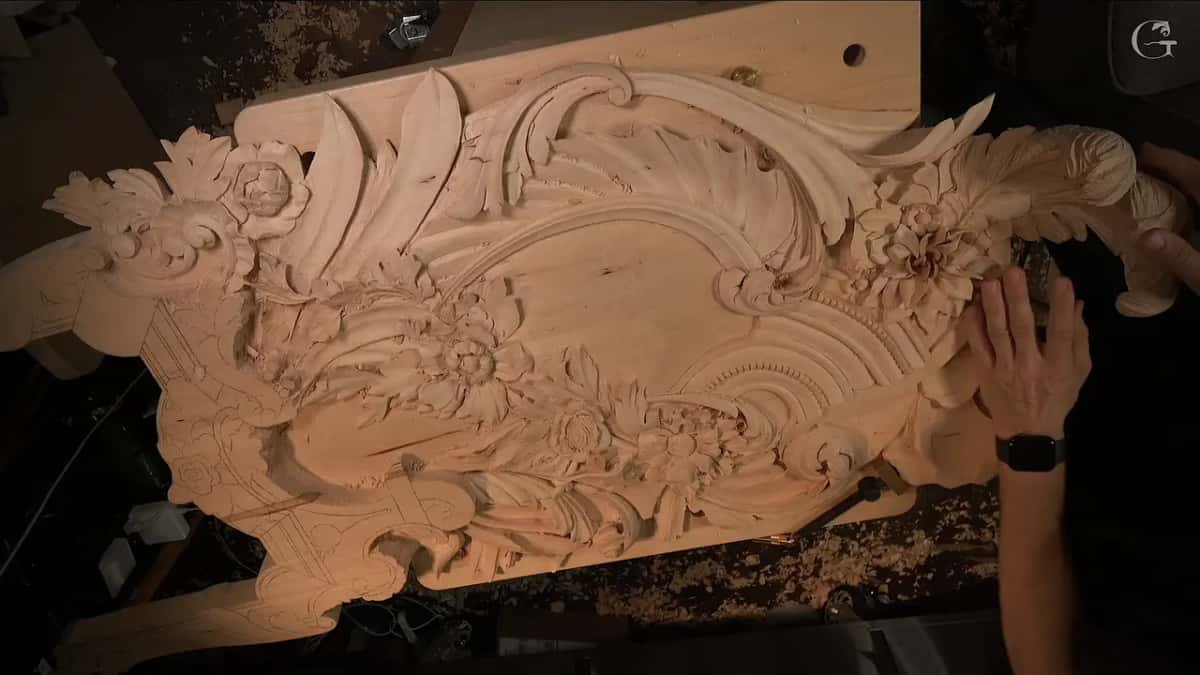
Have you ever brushed paint over a surface and watched the little marks fill in? Did a few of them show through anyway? Keep that picture in mind, because in this lesson I let the coming paint decide how far those feathers went.
I'm going to be honest with you about how this page is built. This lesson has one short passage on paint, the feathers, and most of the rest of that lesson is the molding, which the course page already tells. So the feathers lead, since they are the one thing in lesson 148 that paint decided. After them come my words from other lessons about what paint allowed, and each of those lessons is named and linked where I use it. That means one rosette lesson, two livestreams from April 2020, and single lines from Venice Room workshops 112 and 144, from two molding lessons, from the Byzantine acanthus and from the Floral and Molding panel.
The words paint grade are not rare in my lessons. They come up in at least fifteen Venice Room workshops before lesson 144, from workshop 10 on. What lesson 148 adds is where it decided the feathers.
Six short lines on paint and stain
A paint grade carving ends up painted, and a stain grade one gets a stain instead.
Three feathers in lesson 148 stayed plain, since that panel will be painted.
A rosette with a paper thin edge got a thin super glue from me, only because it was getting paint.
On one molding project I buffed a few pieces with sandpaper. Not much.
I still love the finish that comes straight off the chisel, even on a piece headed for paint.
How I look after a finished section hangs on the project and on the finish.
What did lesson 148 leave plain for the paint?
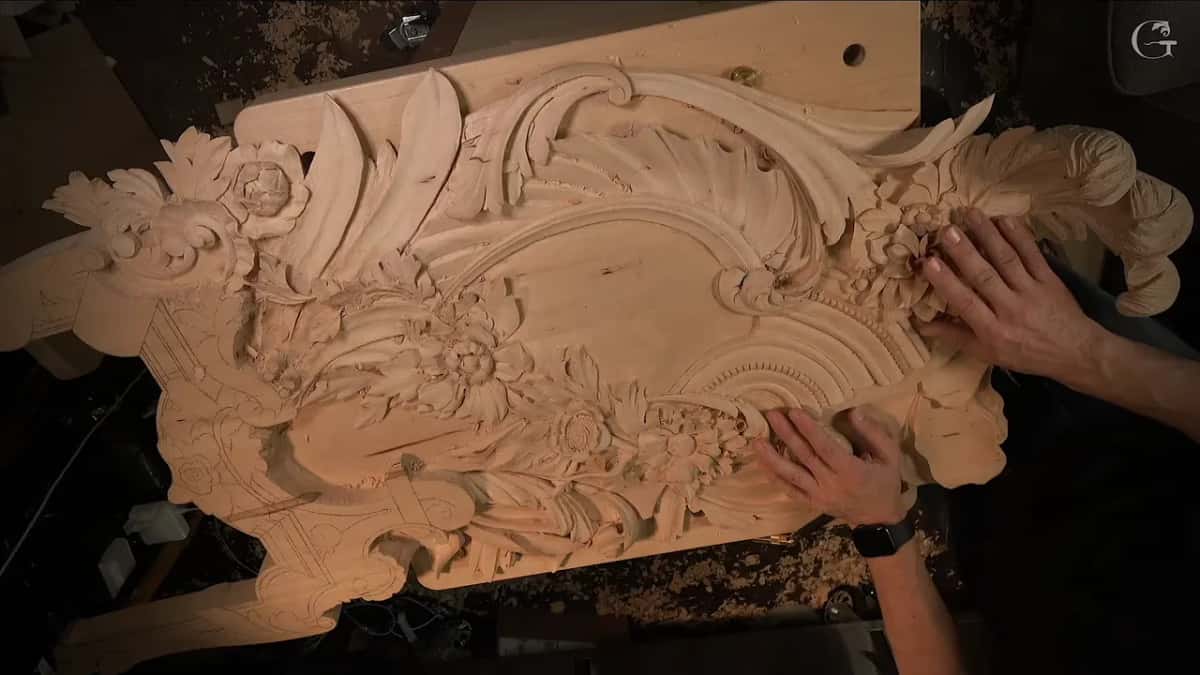
Three feathers. On that section they go all the way to the ceiling, and the crown molding with them is not that big, a kind of small one. I carved that whole section off camera because of the time. I really wanted to show it to you, but I did not want to repeat myself on the same details. The crown molding goes right behind that section and is not connected to it at all, so the wood can move a little. That piece is only one side, too. Another side is still to come, and I told you I didn't know if I would have enough time for it.
There is a way to do feathers with a lot of detail. You can just take it to the extreme. I didn't.
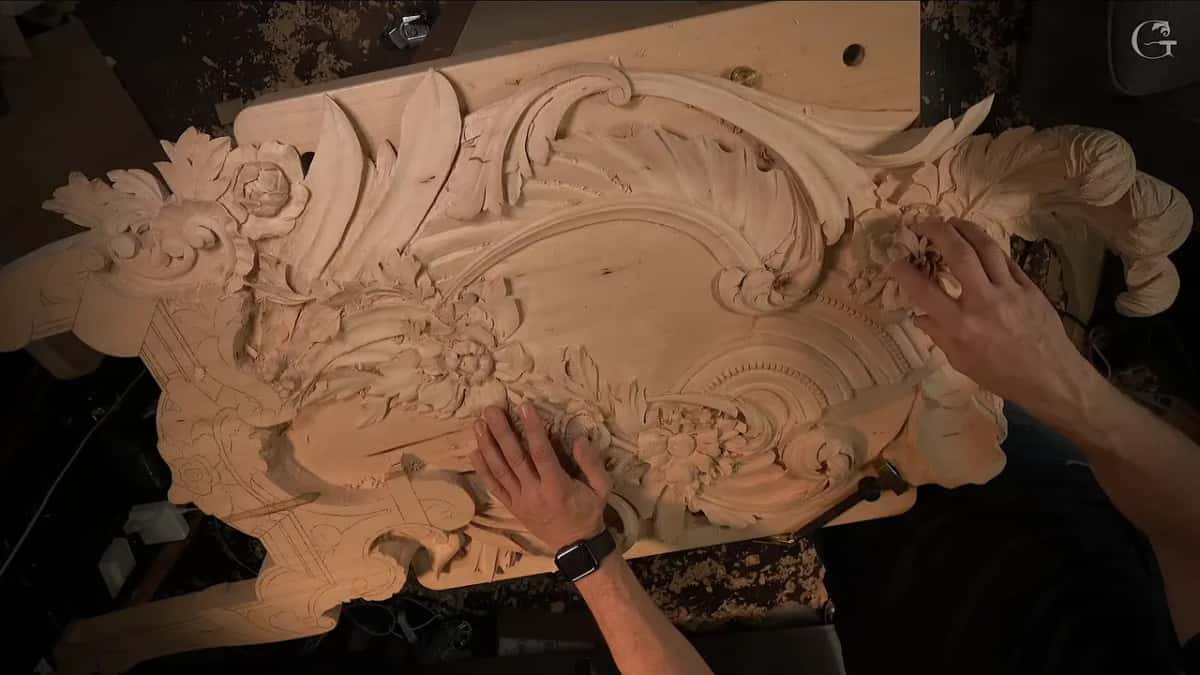
This project is paint grade, and they're going to paint it, so I really didn't want to put too many details on the feathers. I also promised you the basic idea of how to do them, if time allowed. Plain or not, the feathers themselves are a really nice, interesting detail, and I said so while I kept them simple.
The flower beside them was done off camera as well. I carved just its first layer from the solid and then set the middle part in, exactly what I did on the Hashemi flowers project, so it sits a little higher than the ones carved from one piece and gives a really nice transition. I also took a liberty, started on this side and finished one of its flowers, a simple one, still from a solid piece. The idea is the same.
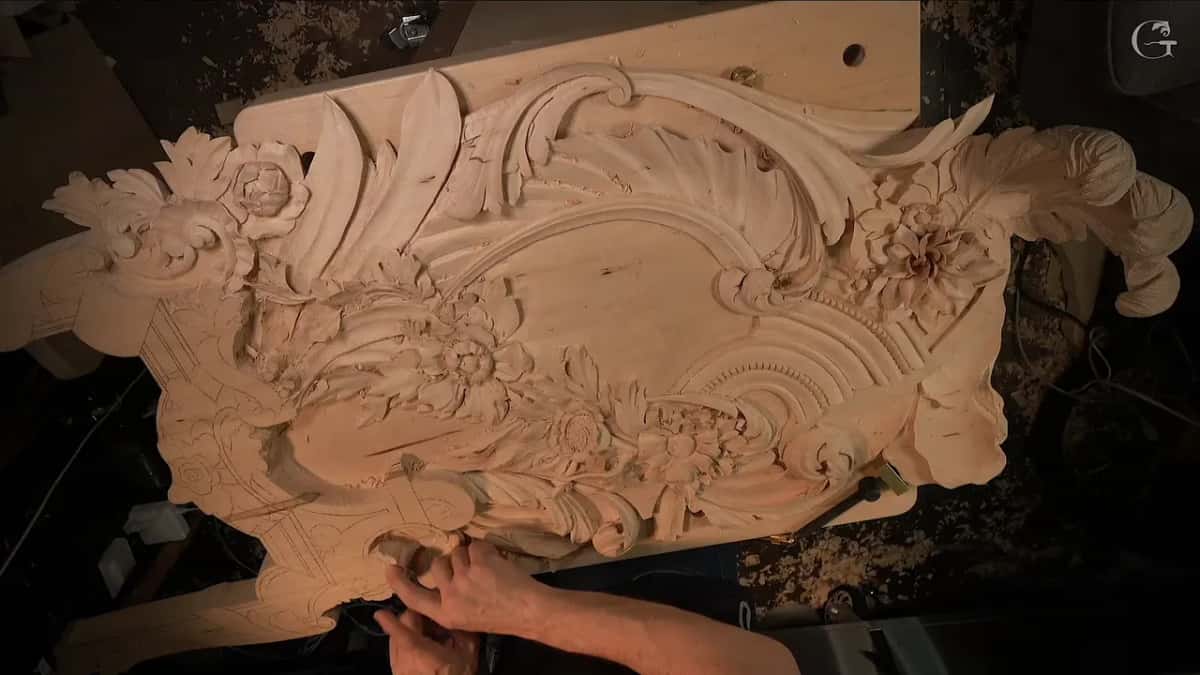
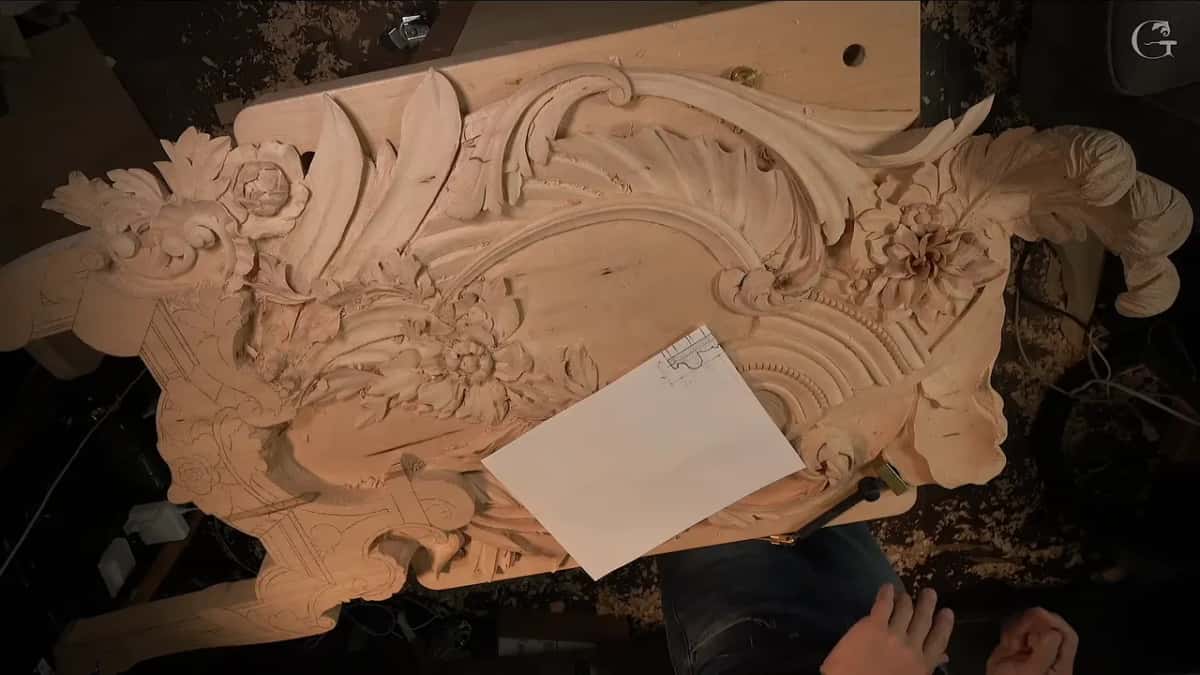
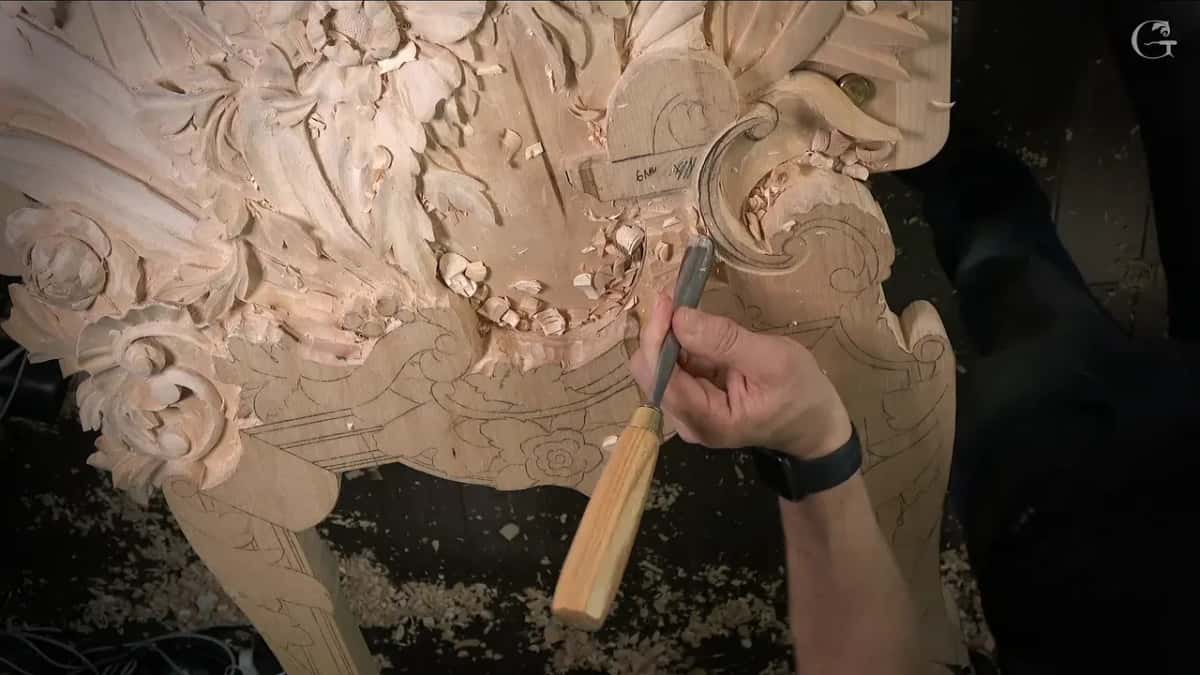
Look at the finished section in these first pictures. The flowers, the leaves and the row of small beads along the arch are all still bare wood, and at the lower left the pencil lines are still on the flat parts.
Does paint grade mean less detail?
On those feathers it did, and on a rosette I used almost the same words. I said it plainly in lesson 1 of the Venetian Flowers Rosette. It's a paint grade, I told you there, and I did not take it to the extreme, but if you look closer you can see some darker areas on it. Right after that, I explained that the part is paper thin and I had to stabilize it.
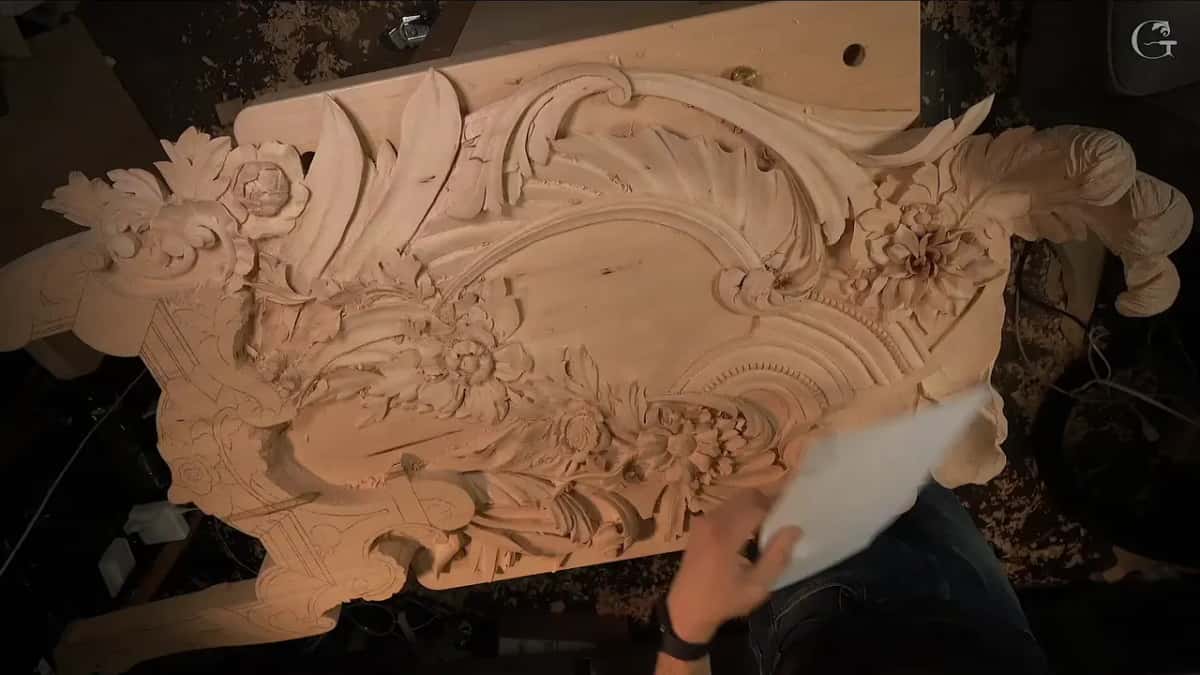
Workshop 144 of this room has one more spot where paint meant I could stop before the extreme, a hole this time. For the Floral and Molding panel, in lesson 9, I reminded you that it would all get painted, and that I don't have to overcomplicate stuff. That makes a few places where the coming paint let me stop sooner.
The surface still matters to me under paint. On the Byzantine acanthus, in lesson 10, I said a rough surface under paint I'm just going to brush on is okay with me, but I still love the finish that comes out of the chisel. Workshop 74 has its own page on why I still cleaned a paint grade panel with smaller and smaller gouges.
What happens to glue under paint and under stain?
Under paint I expected no problem from it, and on a stained piece I said it would come out blotchy. The rosette is the first case. Its paper thin part needed holding together, so I used something like a super glue, but a really thin one.
And I said it right there. I wouldn't do that if it wouldn't be painted, but because it's a paint grade, that is what I used.
In workshop 112 of the Venice Room I talked about reinforcing a fragile spot with glue diluted with water, and said that on a paint grade piece it should not create any problem, while on a stain grade piece it would be blotchy.
Those two lines are what these lessons give me about stain grade. Nothing in them lays out a whole routine for a stained carving, and I am not going to guess at one for you here. If you plan to stain your carving, that is honestly all I can hand you from these lessons, and I would rather say so. Whether a carving needs a stain at all has its own page, from workshop 65.
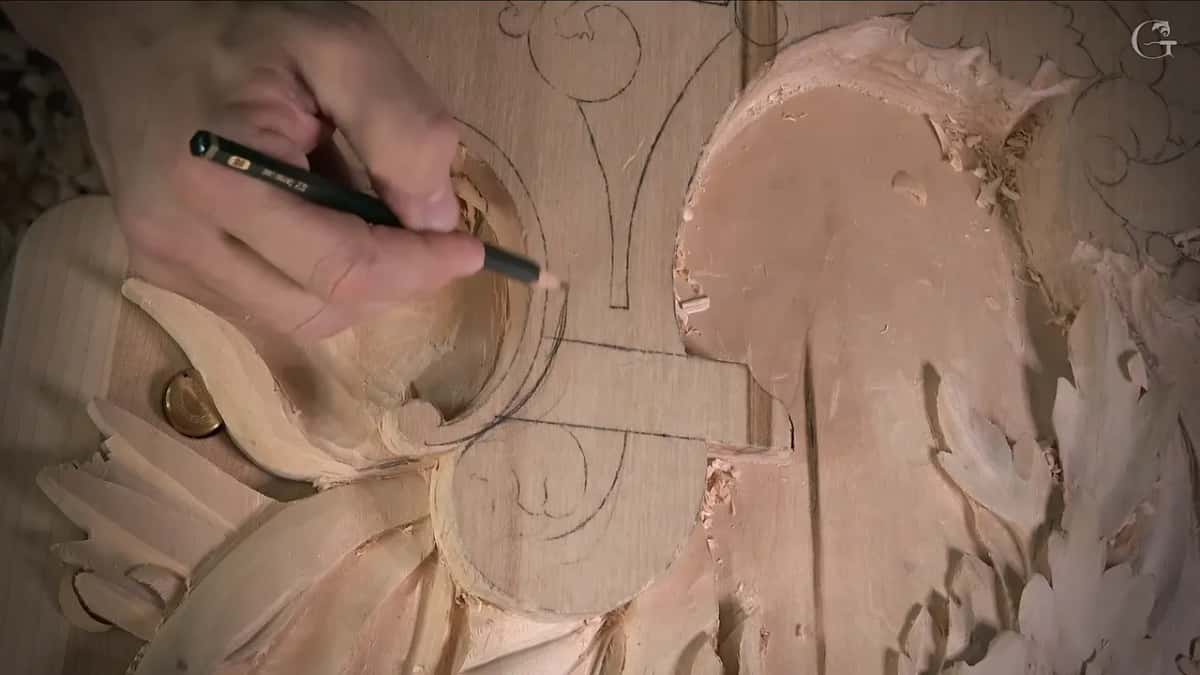
What paint grade vs stain grade looks like on the bench
Here are five things from this page about pieces meant for paint, what I said about each one, and where I said it. Read each row across. The first column is the job, the second is what I said about it, and the third tells you where to find it. A stain column would be mostly empty, so there isn't one.
The job in question | My own words about the paint, on camera then | The lesson name |
|---|---|---|
Kept three feathers plain | They are going to paint that, so fewer details | Venice Room 148 |
Stabilized a thin edge | Would not do that unless it was getting painted | Venetian Flowers Rosette |
Would soak thinned glue | No problem under paint, and blotchy under a stain | Venice Room 112 |
Sanded a few pieces | Just a little, since the paint would cover it | Acanthus over Moldings |
Carved a solid piece | I would apply just the chalk paint on it | April 2020 livestream |
Five rows, every one of them from a piece headed for paint. I would rather give you five true rows than a sixth one I made up for stain.
Can you sand a carving before it gets painted?
A little, on one project, and I told you why. In Acanthus over Moldings, lesson 9, I used some sandpaper to buff the pieces I had done before, not much, because the paint would cover it and I did not want to spend too much time cleaning my facets.
In its lesson 10 I said rasps and files will do the job, then added that it goes past paint grade, just to refine everything, with a gouge cleaning right after the rasp.
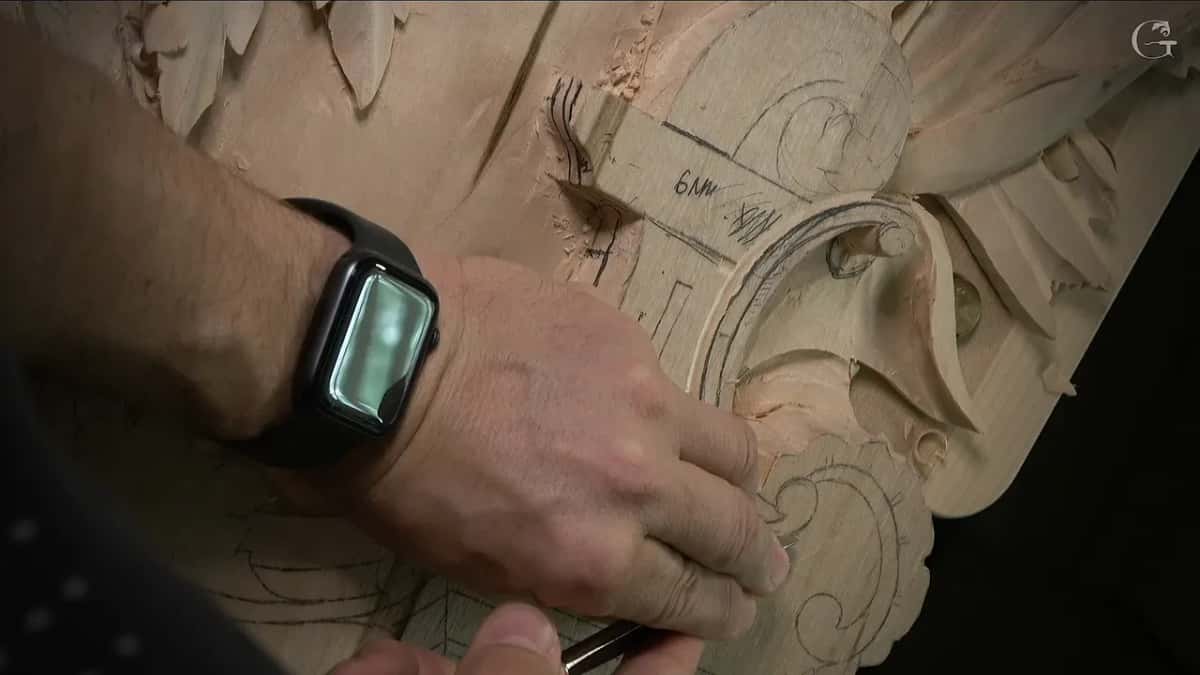
So the sandpaper came out, a little. The pictures on this page come from lesson 148 itself, and they show pencil, paper, gouge and mallet.
Do you protect a finished section while you carve the next one?
It depends. A viewer asked me that during a livestream in April 2020. After you complete a section of carving, do you protect it from dust and hand oil while you carve another section? That depends on the project, I said, and on how I'm going to finish it.
If it's going to be paint grade, like the piece I had there, or if I'm planning to stain, I'm not doing anything. Then I added one more line. It's a good idea to protect it anyway. So my answer to that viewer started from the finish, the same place this whole page starts.
In another livestream that April, the one on sharpening a spoon gouge, I showed a carving I had done in a solid piece and said it was paint grade, with just the chalk paint on it.
Whether you should paint a carving at all is a page of its own, and so is how I carved a panel for paint or gilding in workshop 8.
Does a paint grade panel still get careful carving?
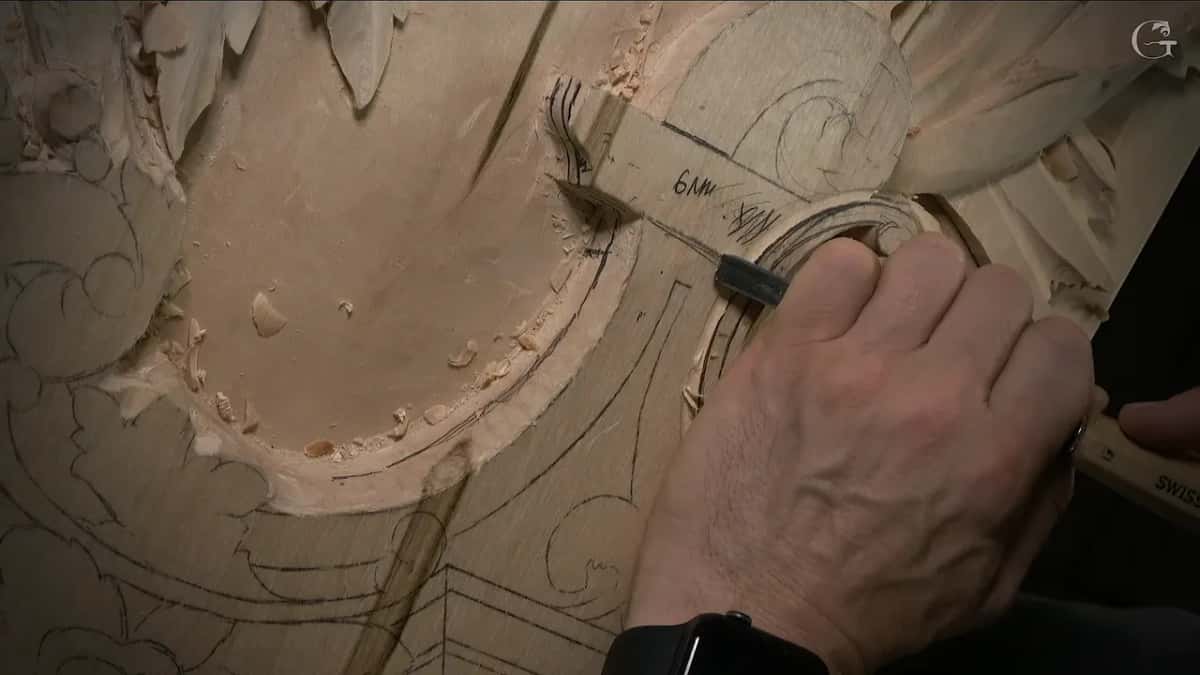
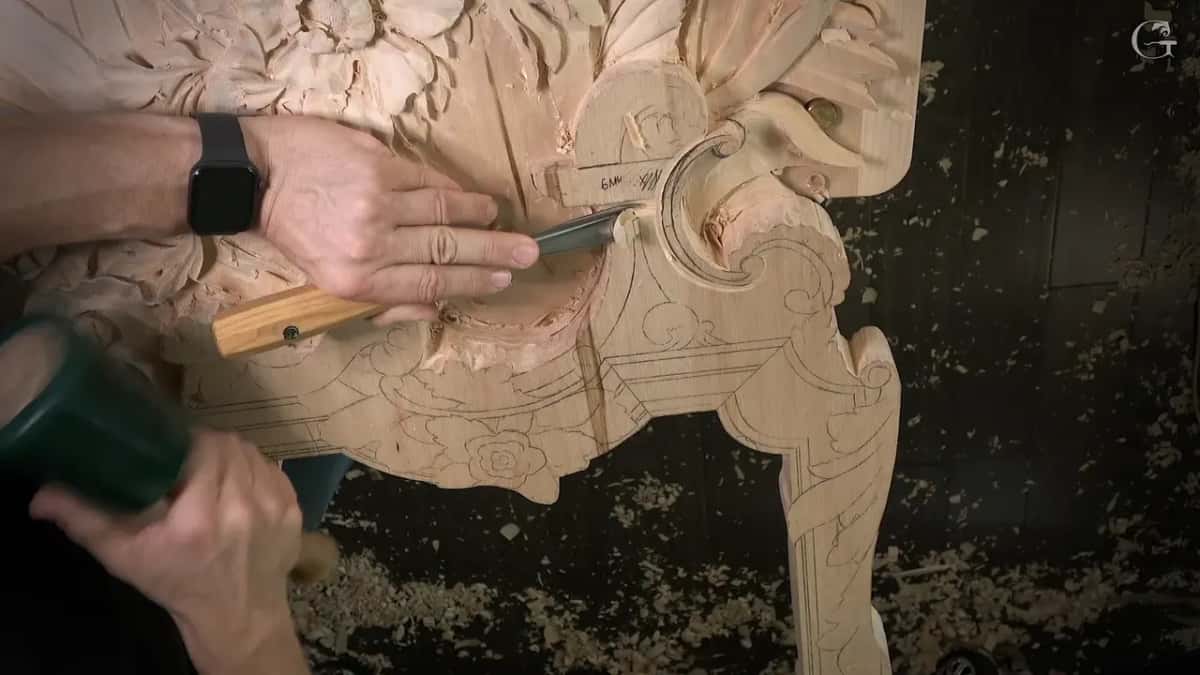
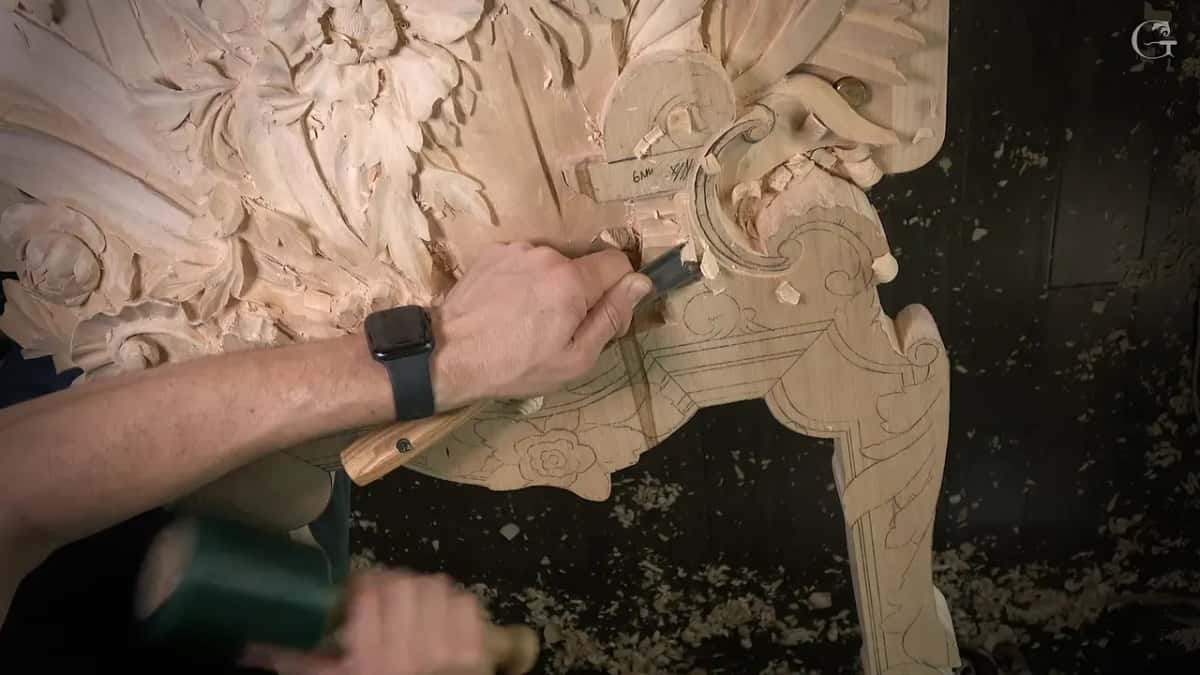
It did in lesson 148. The outline went in with a 7 mm number 11, a little bigger than a quarter inch, and my first pass went right on the line. I didn't have to use a mallet for that, by the way. I could just do it by hand with no problem.
One part of that section goes all the way down, and on that outline I could go really deep with the number 11 with no problem. It was just the preliminary. Later, when the waste came off, I stayed away from the line at first and then got a little closer to my outline, but still not too close, because that makes it much easier to clean for me.
And the grain. I checked that I was not breaking too much of it, because that would be no bueno. The other side of that section got the same thing. At one point I also stopped to make my workbench a little tighter.
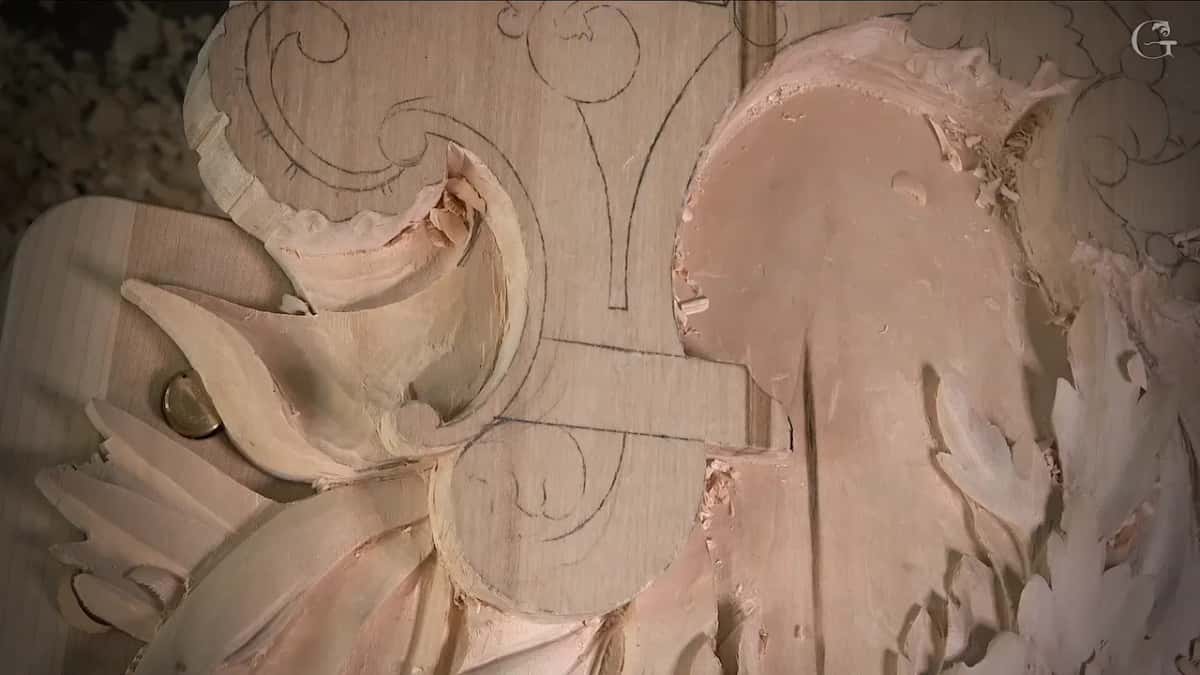
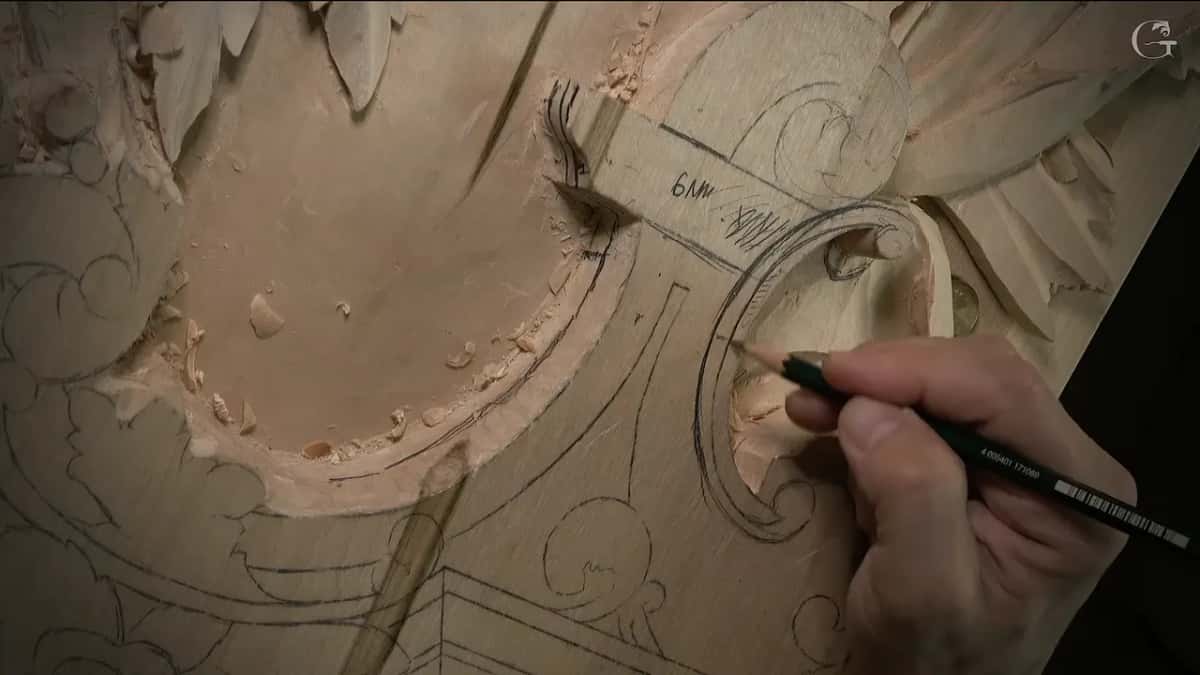
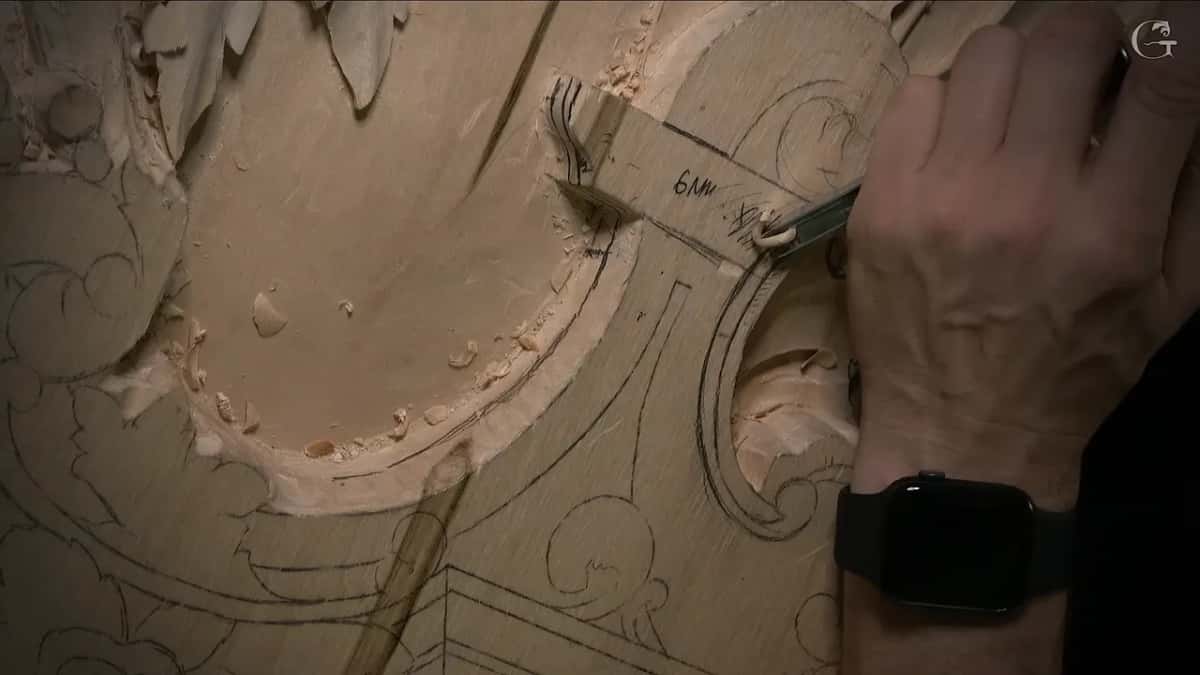
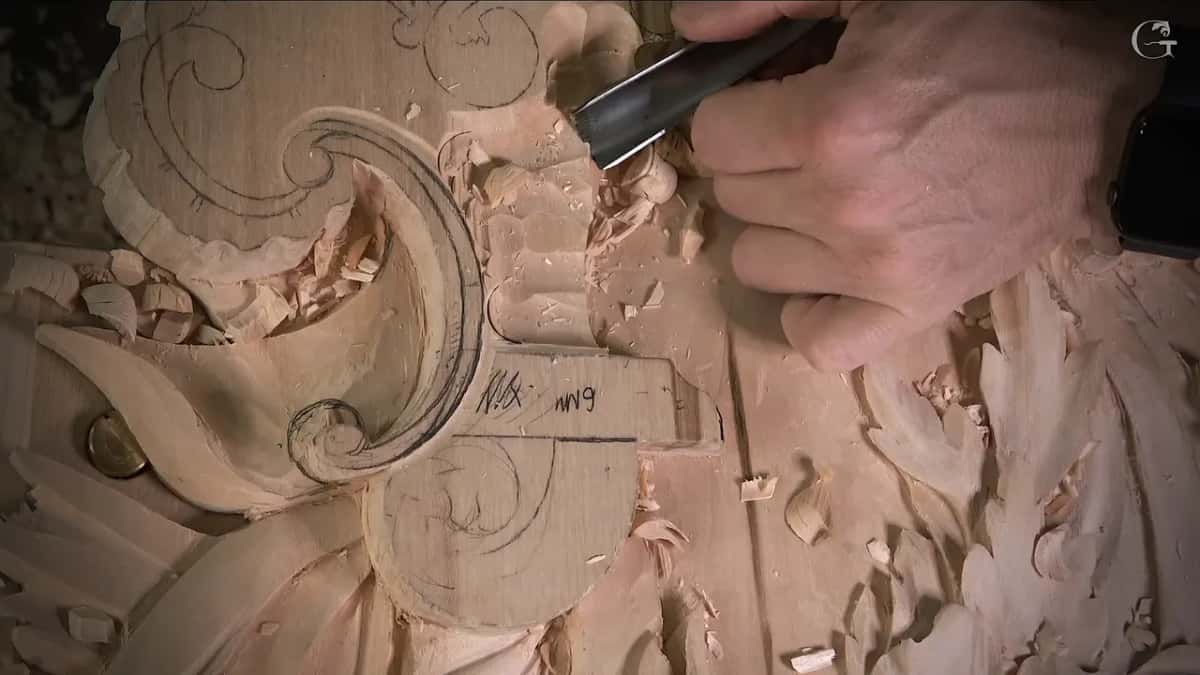
The part three pictures on this page show how it went. The mallet comes in for the waste, then drops out again, and my hand alone drives the tool through the chips. A pencil note beside the volute says 6 mm, and it stays there while the waste comes off around it.
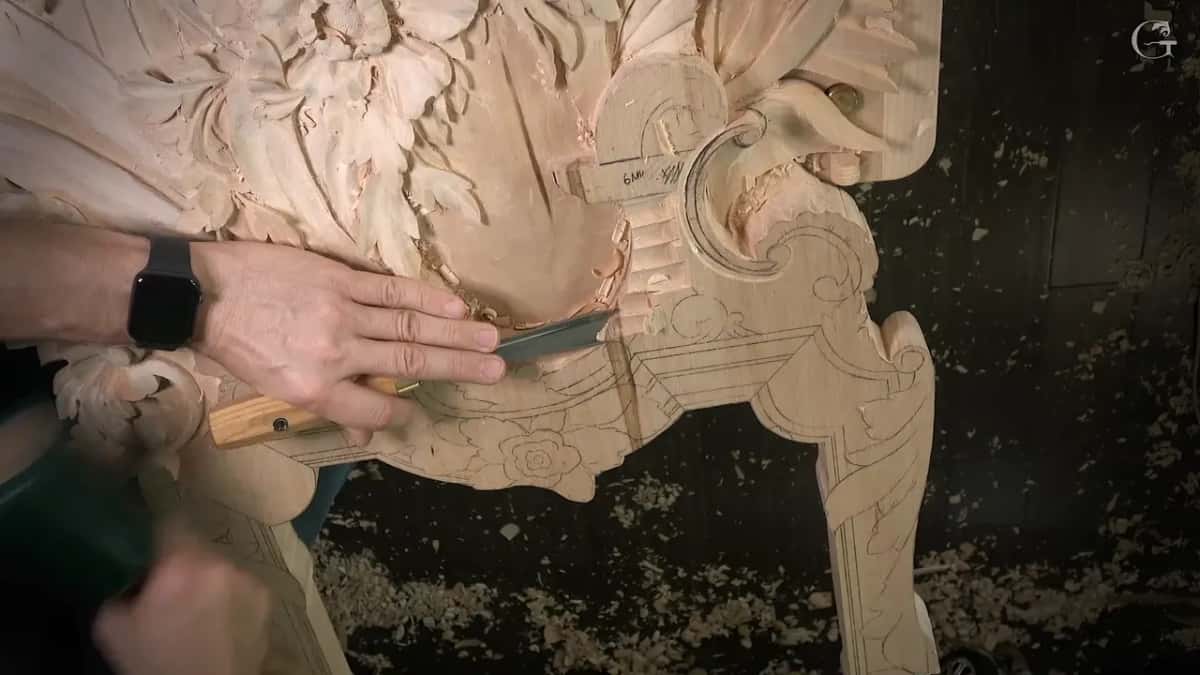
Do you have a carving on your bench, or one you plan to start soon? Will somebody finish it one day, with paint or with a stain? Here in lesson 148 you can watch one I knew would get paint, carved with gouges from the first line.
Where does lesson 148 go after the feathers?
Into the molding. Early in part two, before the outline, I changed one small detail on the acanthus that wraps it, because I didn't think it looked really nice.
In the second half of part one I show you my paper drawing of the molding profile, which I copied, to the best of my ability, from a picture of a 16th century building in Venice, and the course page tells that story. At the very end of part one I told you the camera was not positioned properly yet, and that once we started you would see much better.
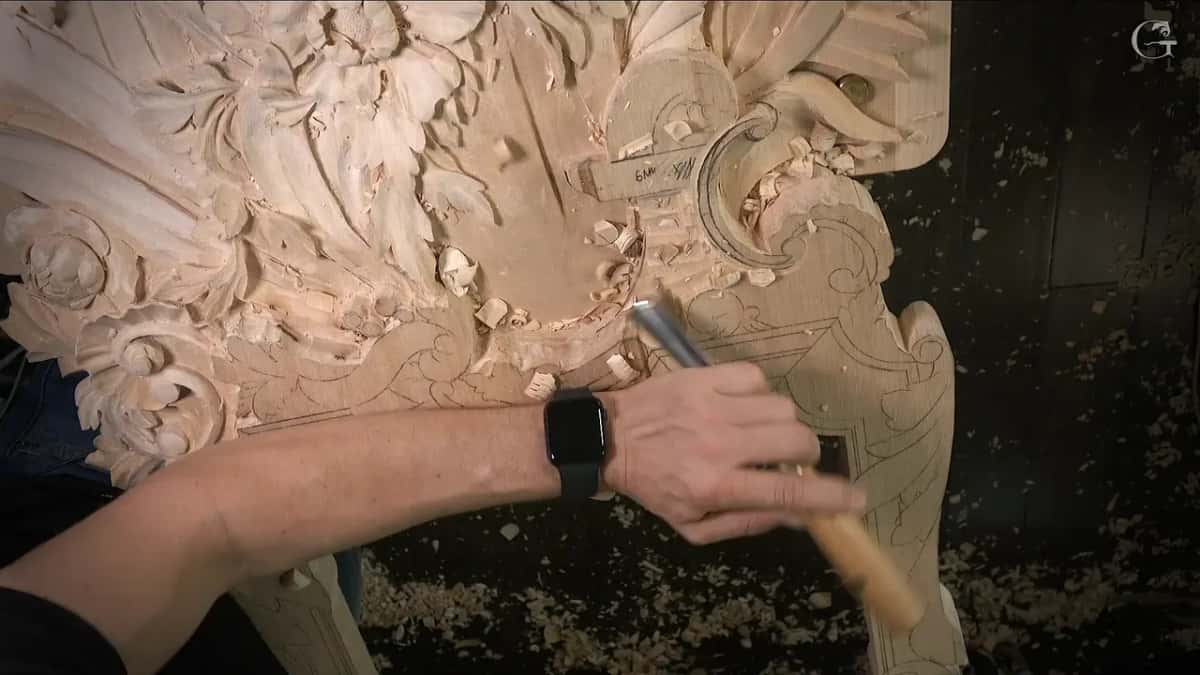
Part two starts from one shape and works off in one direction from there. I carve just one side on camera. The opposite side will be exactly the same, and the flower I do off camera, a simple one. You will get the idea.
Most of what follows, in part two and all of part three, is outlining and lowering the wood with a gouge, some of it with a mallet and some by hand. Three parts in all, a little over twenty minutes of Venetian work at the bench, every pass of it on a panel I told you would be painted.
Lesson 147 comes right before it and lesson 149 right after. It all opens with tuition to the school, monthly or yearly, and it renews automatically until you stop it.
How it's done
- Find out how it will be finished. Ask whether the piece gets paint or a stain. In a livestream my answer about protecting finished work began with the project and the finish.
- Choose how far to take the detail. Knowing this lesson's panel gets paint, I left the feathers simple rather than taking them to the extreme.
- Hold a paper thin edge with thin glue. A rosette meant for paint had a fragile part I stabilized with super glue, a really thin one, something I said I would skip on unpainted work.
- Buff with a little sandpaper. Use a little sandpaper to buff a few earlier pieces, the way I did on a molding job before its paint.
- Protect the finished part anyway. Even on painted work, I called protecting a finished section a good idea while the next one gets carved.
Frequently asked questions
Can super glue go on a carving that gets painted?
On one rosette I stabilized a paper thin part with a very thin super glue. I said on camera that I would skip that on work that would stay unpainted, and that you can spot darker areas there if you look closer.
Does glue show through a stained carving?
In Venice Room workshop 112 I said glue diluted with water would be blotchy on stain grade work. On a paint grade piece I expected no problem from it. The lessons on this page stop at that line, so I leave the stain side there.
How much detail does a painted carving need?
Less than you could give it, going by the feathers in lesson 148. I kept them plain since that panel gets painted, yet I still called them an interesting detail worth showing. The rosette got nearly the same words from me, and I stopped short of the extreme there.
What to carve next