

Alexander Grabovetskiy, woodcarver, School of Woodcarving · Published 2022
How do you carve an ogee molding by hand?
Quick answer: Carving an ogee by hand is a short run of moves, one tool at a time. In lesson 161 of the Venice Room I set a straight step at 90 degrees, filleted it with a skewed back bent, made a slight concave with a spoon, and rounded the convex last with a back bent.
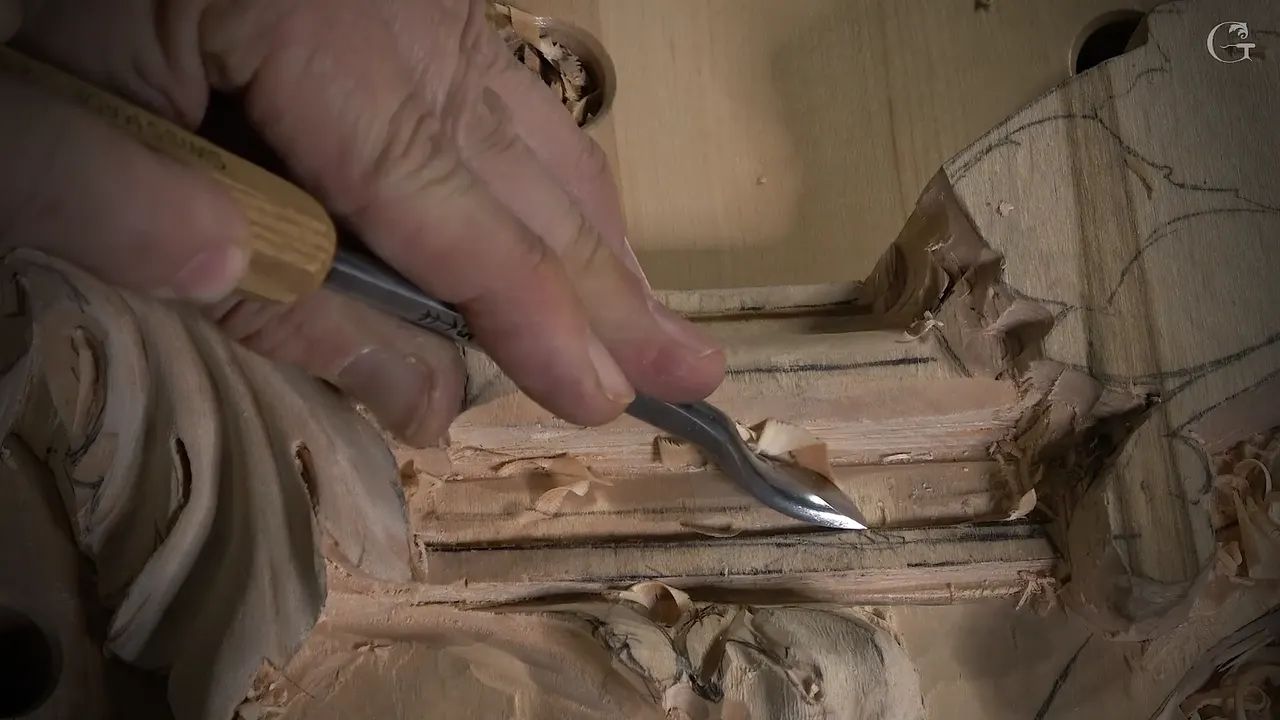
Carving an ogee molding by hand is four moves with carving tools, and in lesson 161 of the Venice Room I made them in this order. A straight step at 90 degrees came first, then the fillet, then a slight concave, and the round convex last. The main tools were a number one, a skewed back bent, a spoon and a number eight back bent.
Have you seen that S curve along an old picture frame or a door casing? Did you wonder how a carver gets it without a machine? Then this is the hand way, and every tool I name for the ogee is one I named on camera.
I'm going to be honest with you about how this page is built. Lesson 161 is three short parts. The ogee fills most of the first two, and in the third I lower the wood around it. So 161 leads here, and near the end you get what I said about moldings in two other courses, each one linked where I use it.
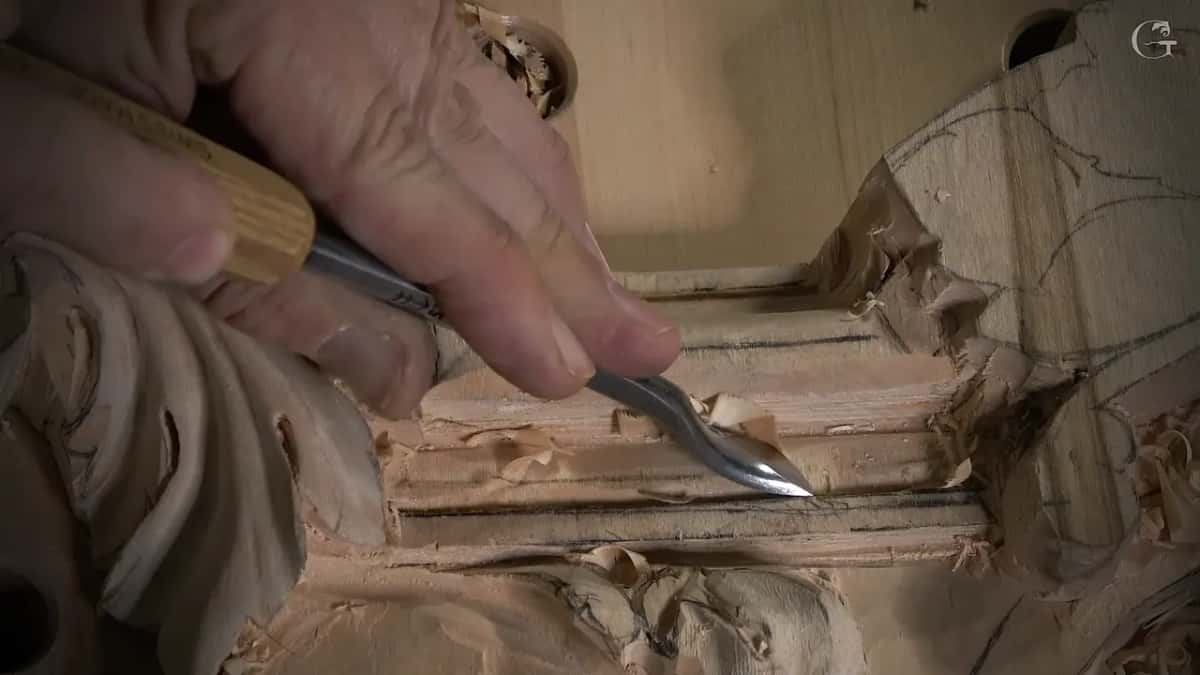
Four moves and the tool for each
A number one stood straight down for the wall, then half a millimeter to clean it.
Fillet first, with the skewed one, so I can work in any direction.
A slight concave from a spoon.
Then a back bent for the convex, worked both ways.
Last, the same profile everywhere around.
What is an ogee molding?
An ogee is a curve that bends one way and then the other, a hollow running into a round, and a molding carries that shape along an edge. On camera I called mine some kind of Roman ogee, and I said I would fillet it first and let the shape come after. Where the name comes from is a whole argument of its own, and the Greek Acroterion course page has it.
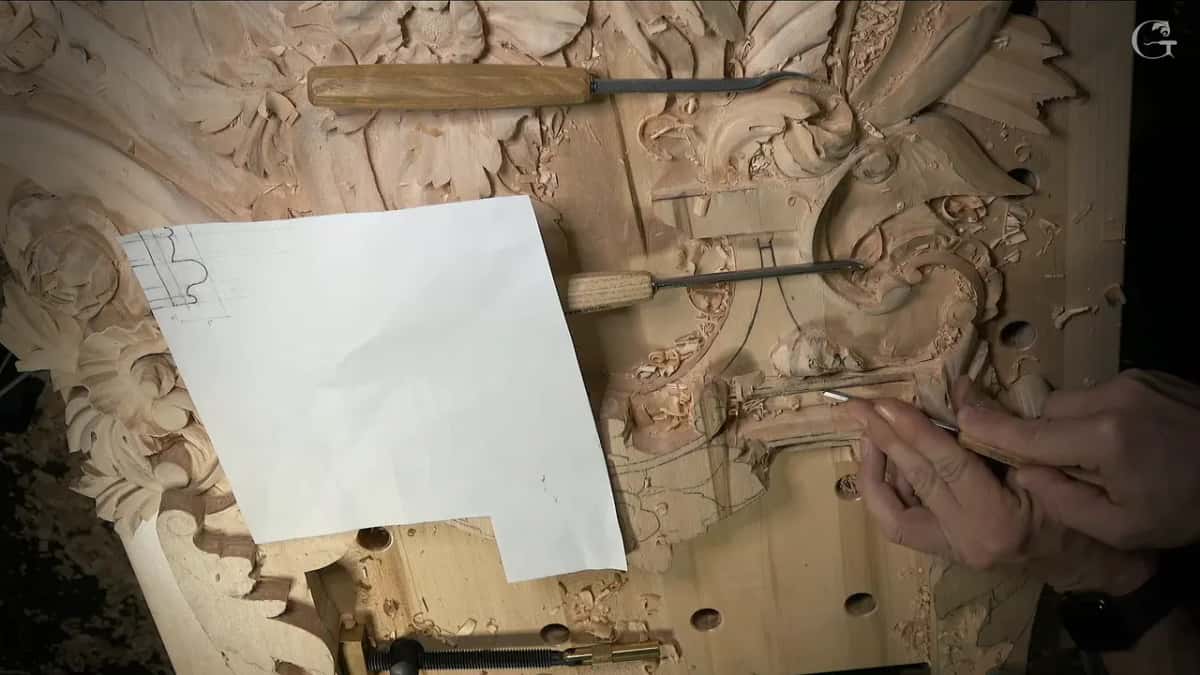
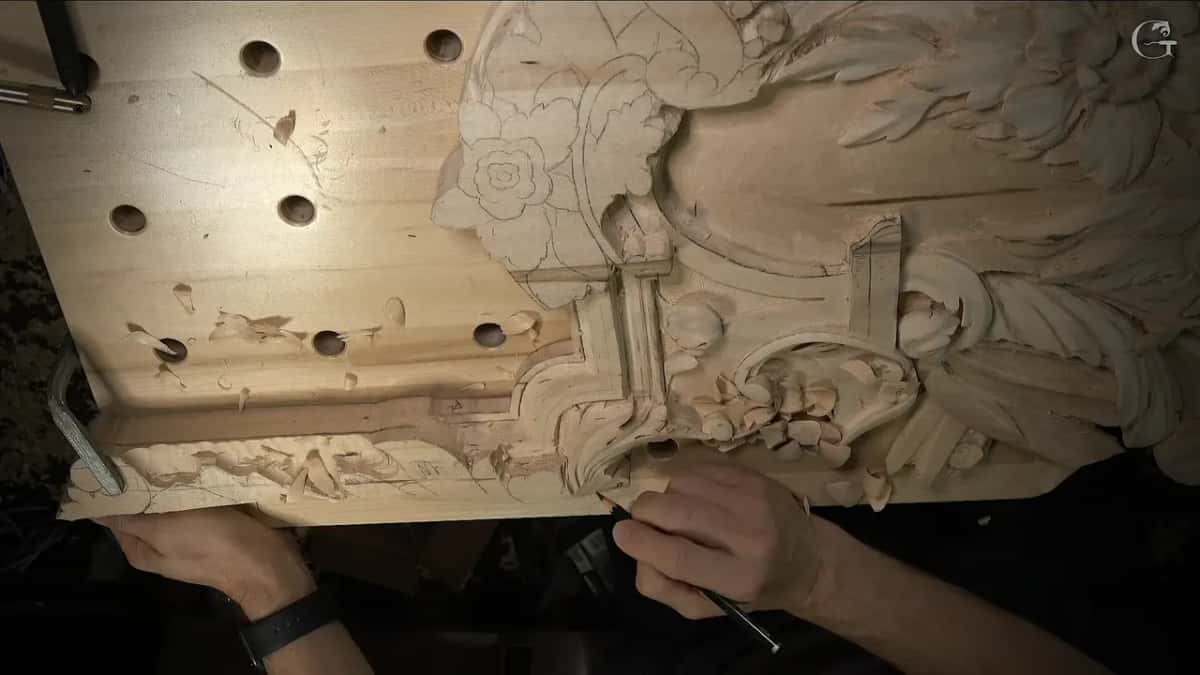
A few times in this lesson I told the camera it could not show you much. The first was, "I know you don't see it, I'm sorry." Another time I said you would have to take my word for it. The paper lying on the panel in these pictures carries a small profile sketch in one corner.
Where does an ogee start on flat wood?
On a clean, flat surface. Once it was flat, I said I could go deeper, about four millimeters or so (5/32 in), and that cleaning it first made it a lot easier to figure out how deep to go.
A bigger tool, maybe three millimeters (1/8 in), would go down easier, I said. But I went with the one millimeter (0.04 in) anyway, down the side of that part. At that point the groove was only about a millimeter and a half deep, about a sixteenth of an inch.
Which way does the 90 degree step go?
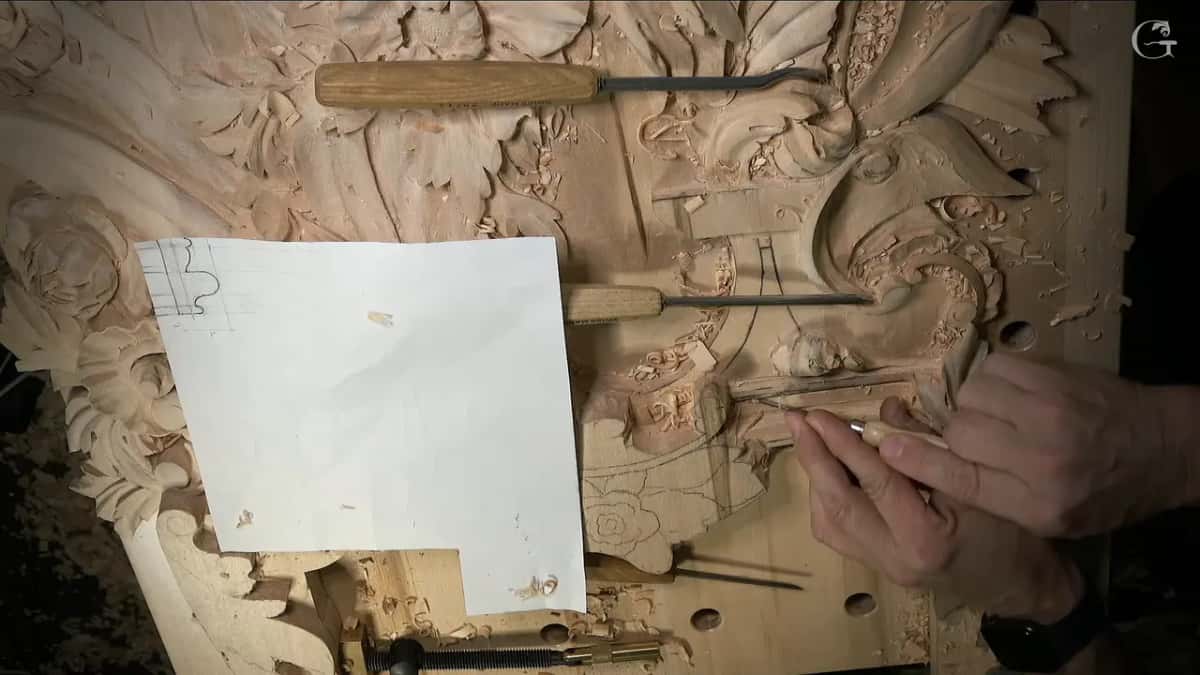
Straight down. My first idea was the half millimeter (0.02 in) tool, to make that edge super sharp, and then I stopped and said no, that's not what I'm going to do. I took a number one instead, placed it straight down, and made a 90 degree wall going downhill.
That way I knew I'd have a really sharp point there. "I don't need a sharp point, but why not?" I said. Last, the half millimeter cleaned it.
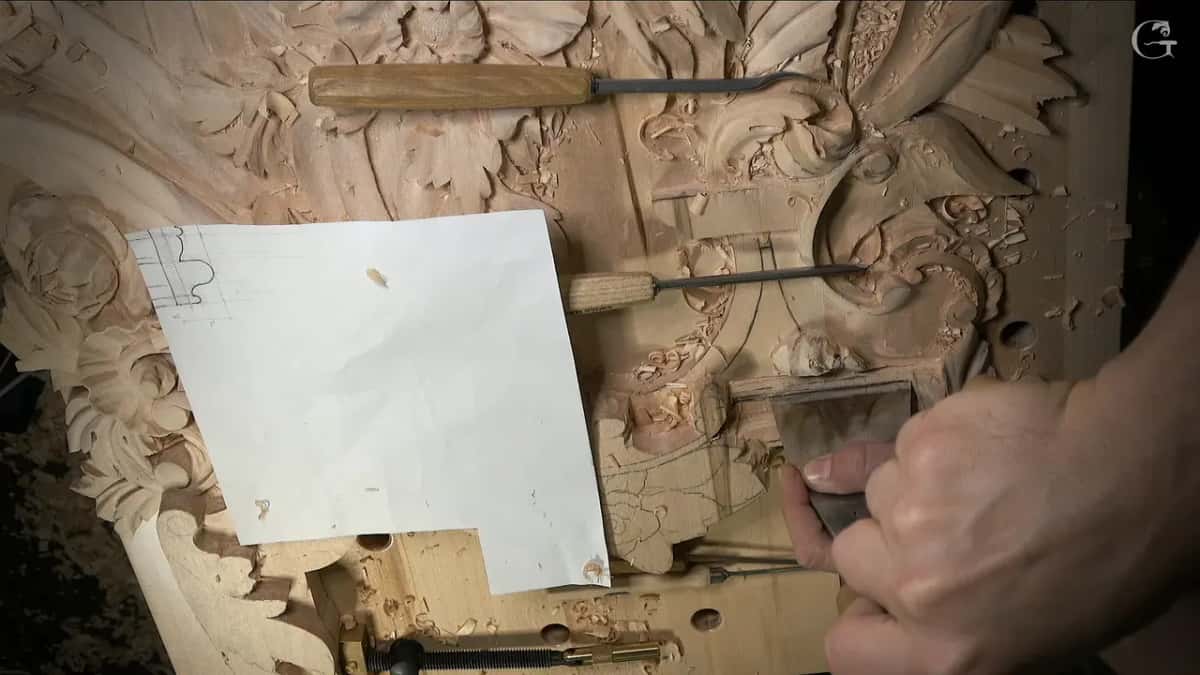
Later in that part I checked the wall. Any type of square will do for that, I said, and the wall was at a true 90 degrees. The next part opened with me saying I was happy with it, and that if I hadn't been, I could always shave it a little. Nothing needed doing.
What carves the fillet on an ogee?
A back bent. I like to use my skewed one, because that way I can work in pretty much any direction. I showed where the top of the fillet would be, and from there it goes downhill.
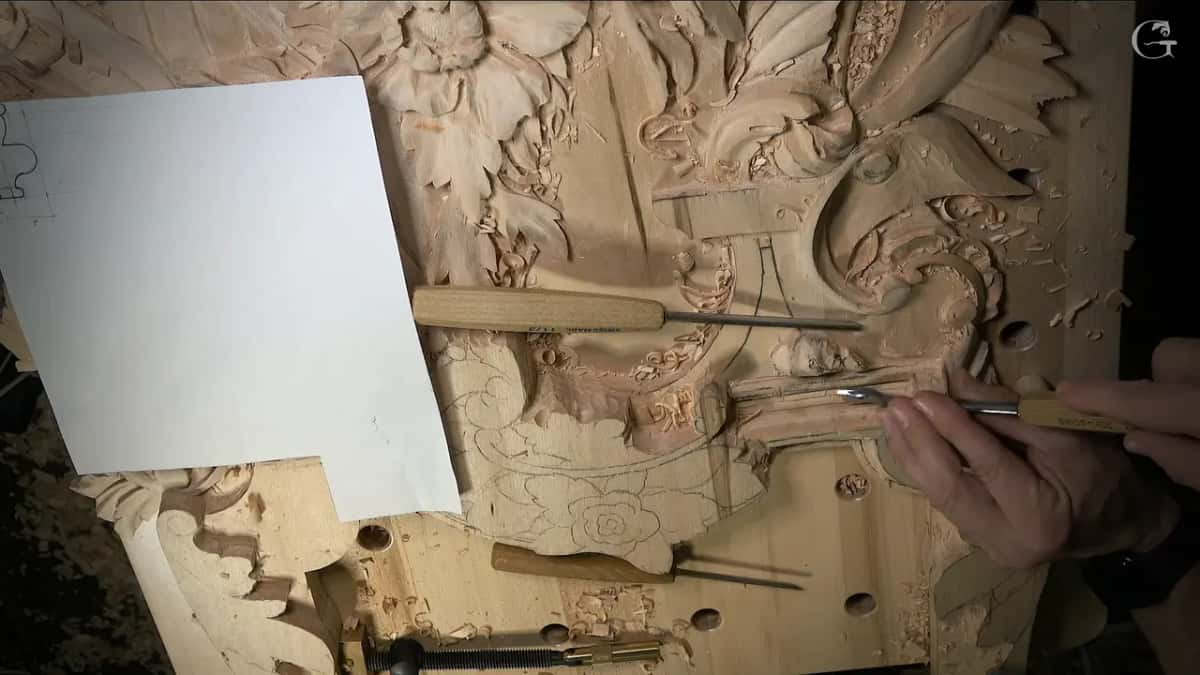
The first side came out really excellent. Next I started the fillet the opposite way, with probably the same tool to start, I said. Out loud, my plan was to fillet all the way to the step first, then go a little deeper, then make the concave that gives the effect of the Roman ogee.
The deeper part was about another two millimeters (5/64 in), both directions. A two millimeter tool was in my hand, and I said I could use the one millimeter, that I didn't need the two anymore. In part two I took the one millimeter again and went a little more down.
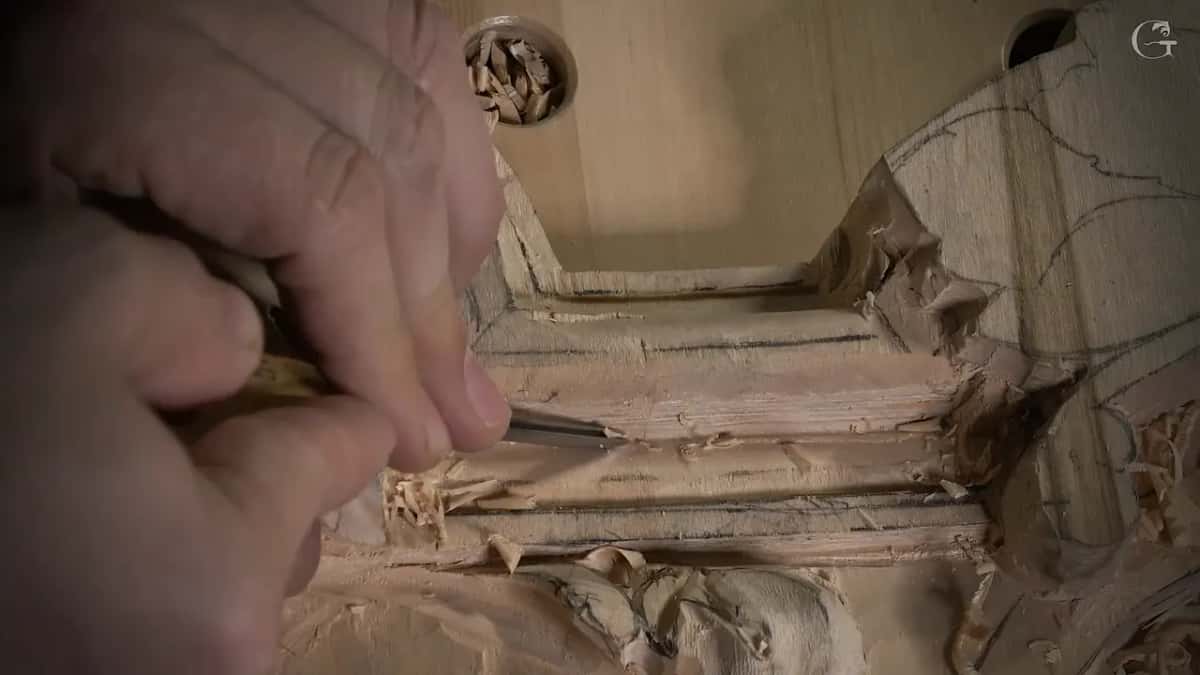
Its own page on what a fillet is sits under lesson 103 of the Venice Room.
How slight should the concave be on an ogee?
Really slight. Those were my words, really, really slight, not big. I started it from a point I picked, and I eyeballed it.
For the tool I took a spoon, and I said maybe a number six, a quarter inch (6 mm). The number six gets a page to itself, from lesson 157.
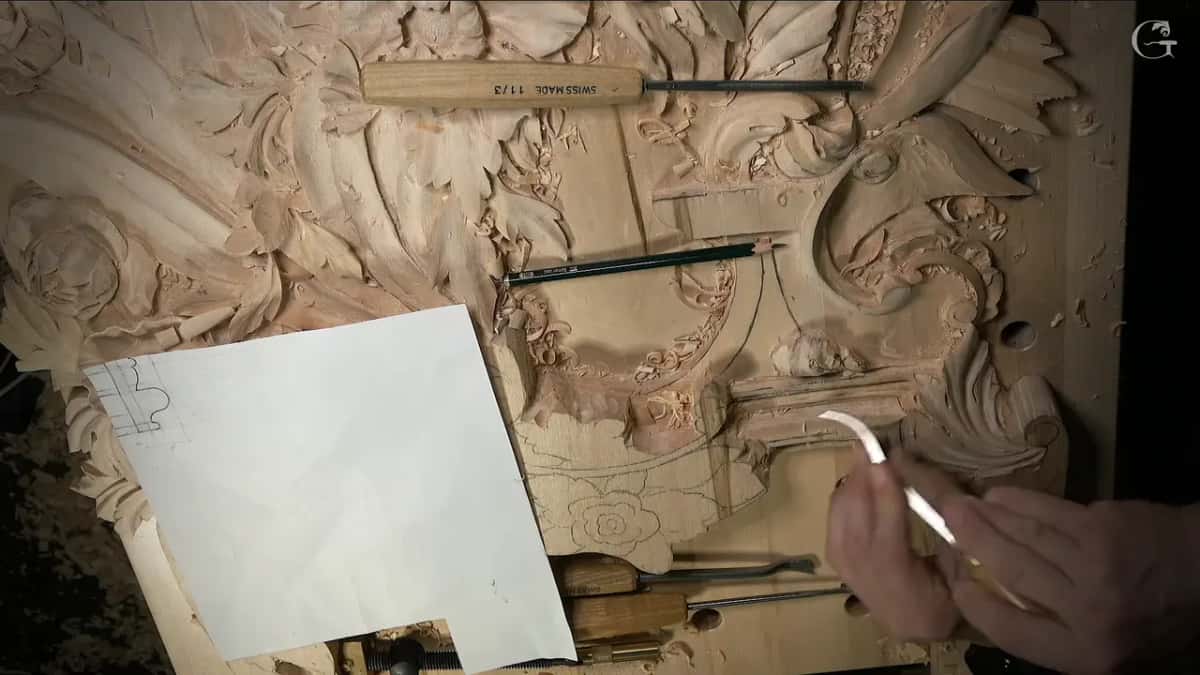
When it was close, I was pretty sure, I said, that it matched the drawing I had just made. It needed a little blending. After that I said I knew for sure, for a fact, that it was exactly the same as what I had right there, even if you don't see it with the shadows.
Then came what I called my new helpers. Rasps. I used them just to hit the high spots and get that really nice movement. It was almost perfect already, I said, even if it didn't look perfect on the camera. And that looks pretty good, in my opinion.
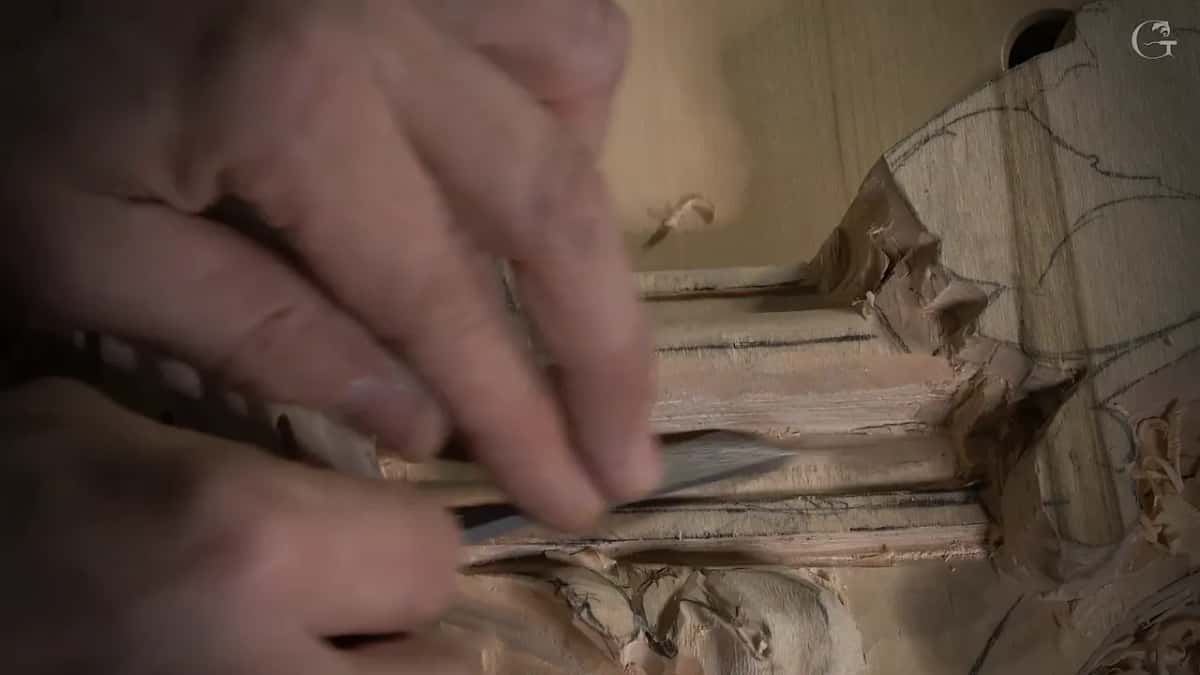
Which tool rounds the convex of an ogee?
A back bent. Before I picked it up, I said that once the convex was in I would be in good shape and the molding would be done. I have a few of them, and one is exactly a quarter inch, a number eight at 6 mm. Carefully, I went in and made the convex with it.
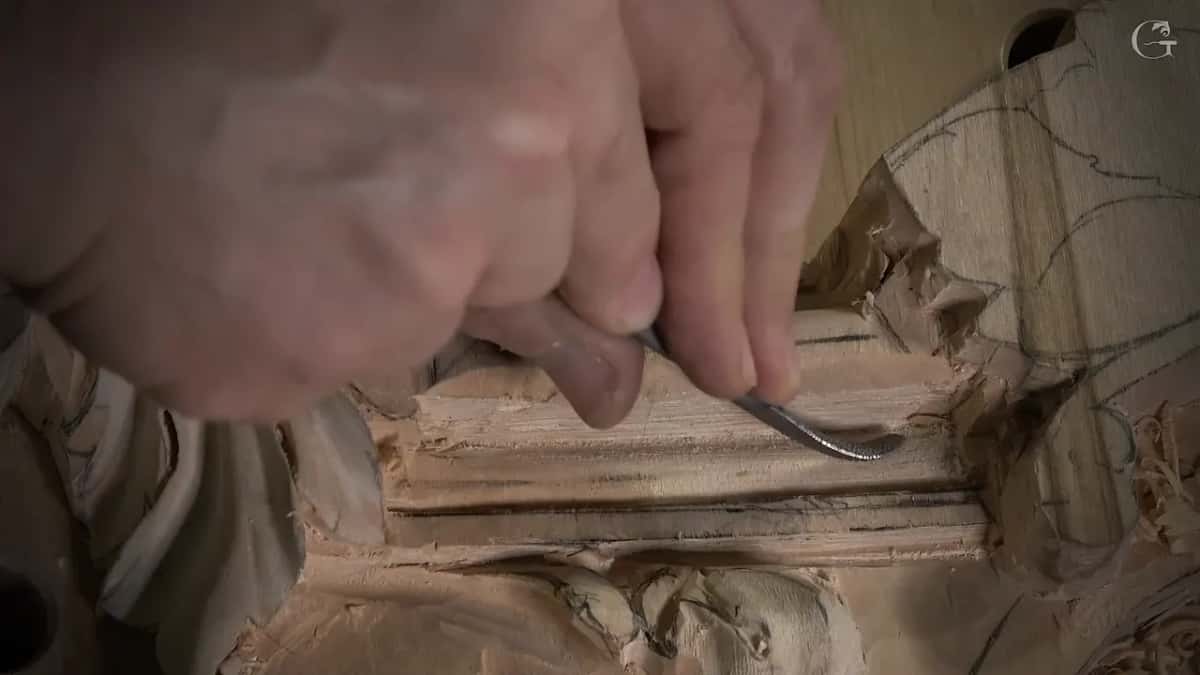
Of course I need to attack it from both directions, but you can see it gives me a perfect, perfect, perfect convex. My finger checked it after I cleaned it. I found some high spots, a little waviness that was still there even though I had cleaned it before.
I said the same tool would do around these other sections too, even if it's a little bigger than they need, and that I should be okay. Then the job was to go around and make the same thing pretty much everywhere, and I told you I'd catch you a little later. Right then I added that this side needed a little more care too.
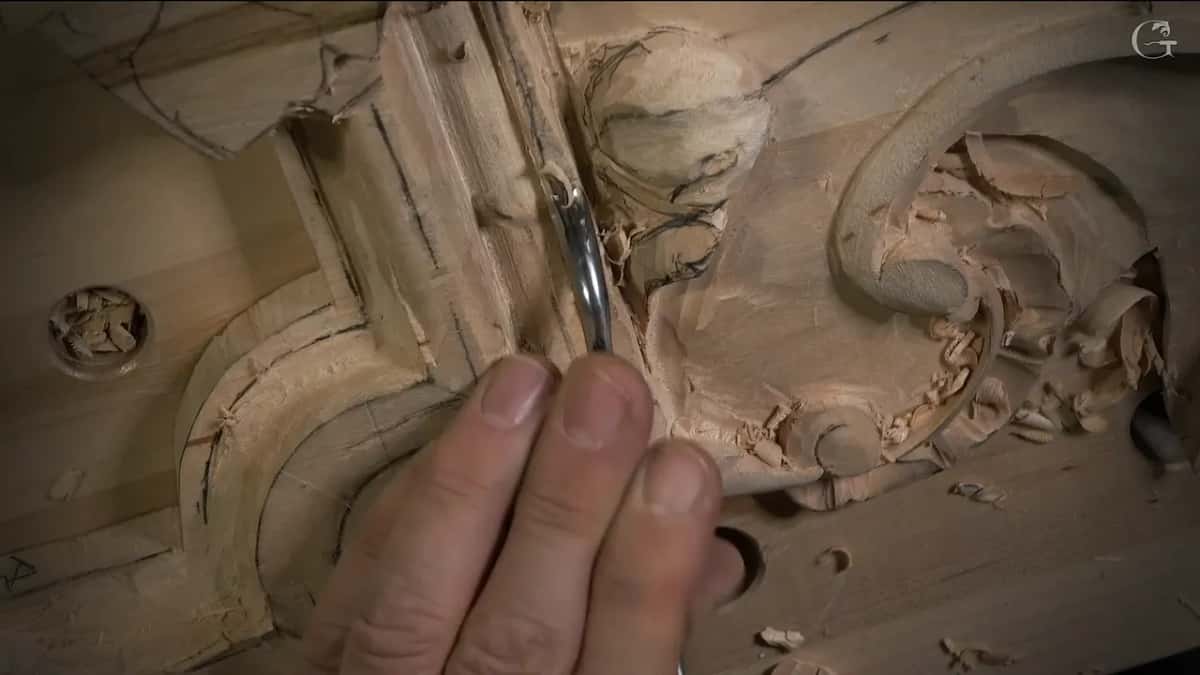
Here is every tool of the ogee in one place, in the order I picked them up.
Move | Tool | Said |
|---|---|---|
The straight step | a number one placed straight down, then cleaned with half a millimeter | why not a sharp point |
First the fillet | the skewed one, so I can work any direction | really excellent, I said |
Going a little deeper | about two millimeters more, then the one millimeter tool again | both directions |
A slight concave | a spoon, possibly a six, a quarter inch | really, really slight |
Blending the hollow | rasps, my new helpers, only on the high spots | almost perfect already |
Rounding the convex | the eight, 6 mm, exactly a quarter inch | worked both ways |
How low can you go next to a finished convex?
Only as low as the convex, and no lower. That was out loud, before I lowered the section beside it, and I called it a concave first, then said, "I'm sorry, convex."
On that side the wood goes low and then up and up. Where is the molding going to be? I asked that out loud, and then I knew I was able to lower that section. I thought I would keep one part higher. Then I had a second thought, and I said it would be much nicer to lower it and drop a little of the neighboring section too, so it goes down, up, and down again. Easy, I said.
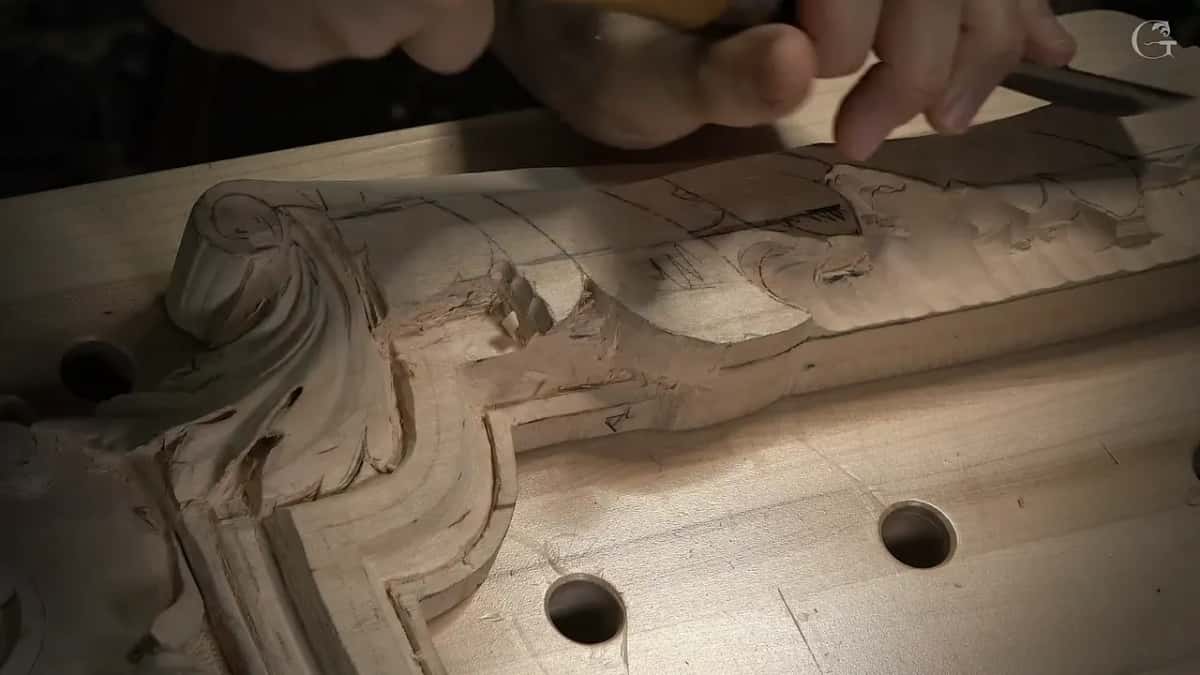
I took a big gouge for that, my number seven, and carefully started shaving. One spot there is the highest, and I cannot go too deep at it. It still has to wrap, I said, and I had maybe half an inch (13 mm) to work with for a really smooth transition. It would be a big mistake to shave too much off there. Hope it makes sense, I said.
So I did it piece by piece. The overall picture was the thing I didn't want to lose, and piece by piece would be more logical. When I stopped, there was about 5/8 of an inch left in that section, about 16 millimeters, and I said that should be okay.
At one point I stopped to think about the drawing. I don't want to lose the picture of my drawing, I told you, but I'm okay, actually, I could just redraw that. Right after, I wasn't sure you could catch the main idea of what I was doing, hoped you did, and said I wasn't going to do more than that.
There was one little guy too, and I took that down as well. It goes up like this, I said, just so I'd remember. A bit later came the stop. That is probably it, I don't want to go more than that.
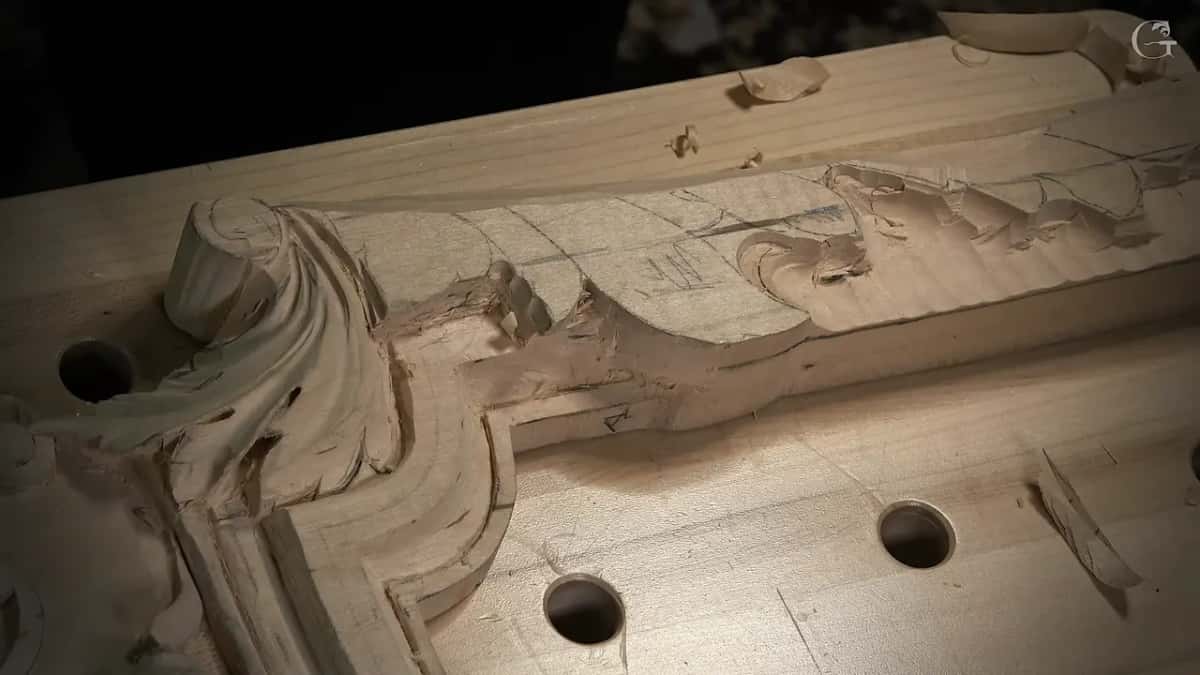
On the lowered wood I drew the design again, with a volute in it. One spot came out a little too high, with too much space below it, and I said I have to work more 3D there. And there was another one, and another one, and another one, really easy enough. Let me think how I can show that to you much better, I said at the very end, and I planned to tilt the work a little toward you, because that way you would see much better what is going on.
Before all that, I lowered another section about three millimeters, like an eighth of an inch, and stamped the background, the same as you saw me do on the corbels. Close by sat one more little piece, nothing special, just a convex and a concave, a couple of passes you really don't need to see.
Why carve a molding with gouges at all?
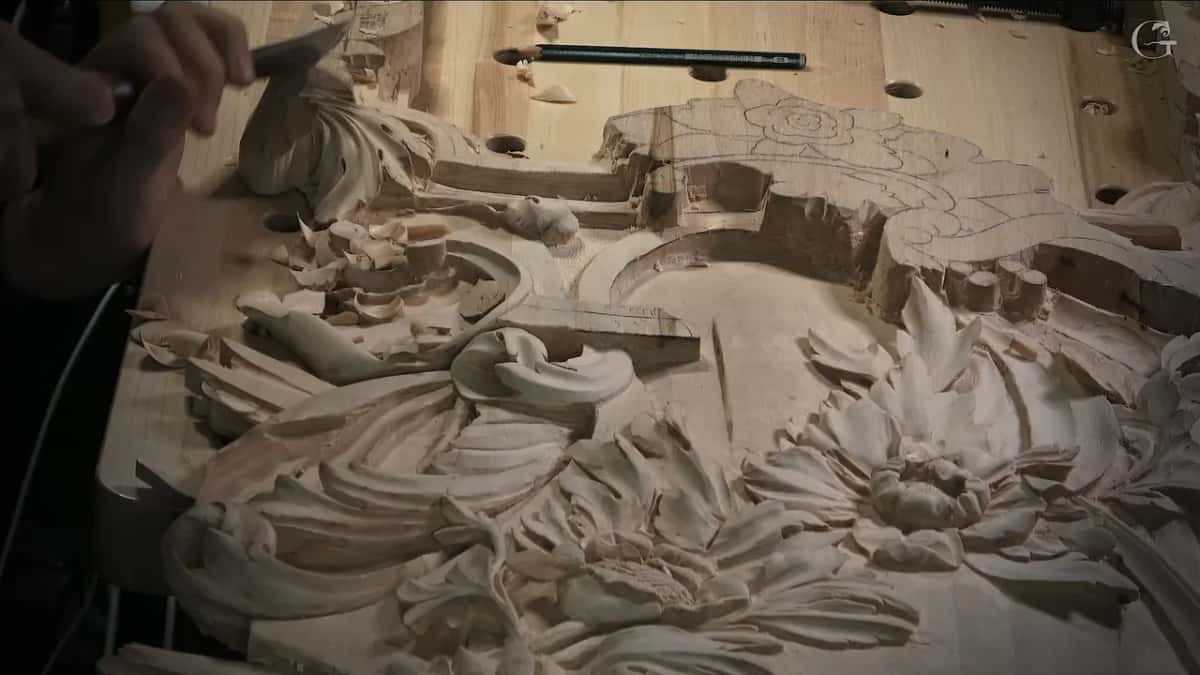
A curved ogee, or a molding that tapers, is work for gouges and chisels. I've said so in two other courses.
In the first lesson of the Greek Acroterion, I said many people ask how they did all the furniture back then, the curves and all the moldings. You can do some of it with molding planes. But say you have an ogee on a radius, or a complicated rococo form. The only way to do it is with your gouges and your chisels. They just carved it, I said, they just did it.
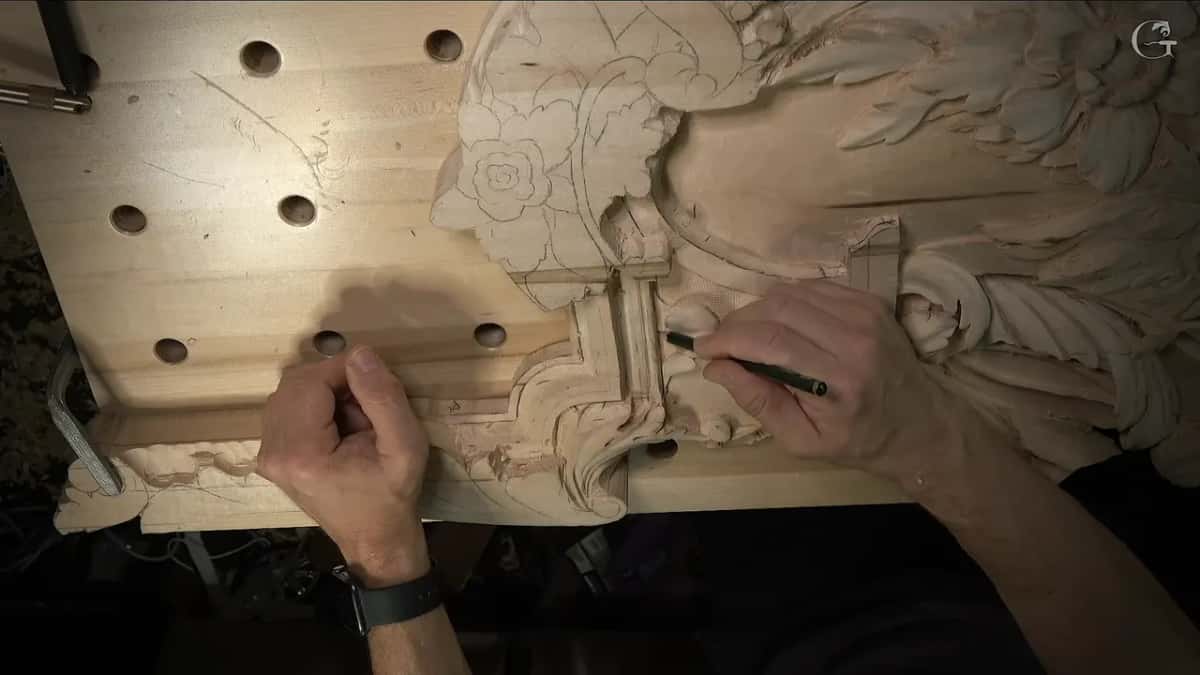
In a livestream in April 2020, the one on plastic as a carving tool, I said the same thing about ancient furniture. People would ask how in the world they did it. There is no molding plane because the molding tapers. But if you know how to handle wood carving tools, you can do any types of moldings, any types of movements. And that's actually an interesting topic, I said.
Plenty of woodworkers make an ogee with planes or a router bit, and that's their trade. On lesson 161 I carved mine, and that's the way this page follows.
Can a carving move like a molding?
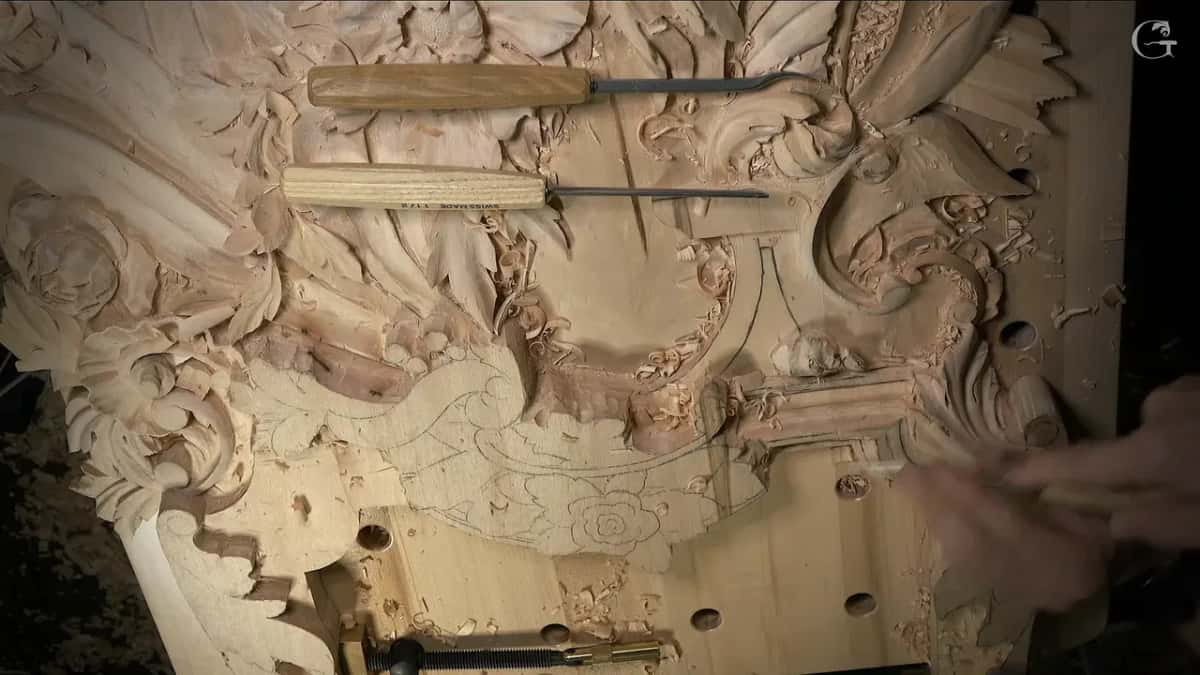
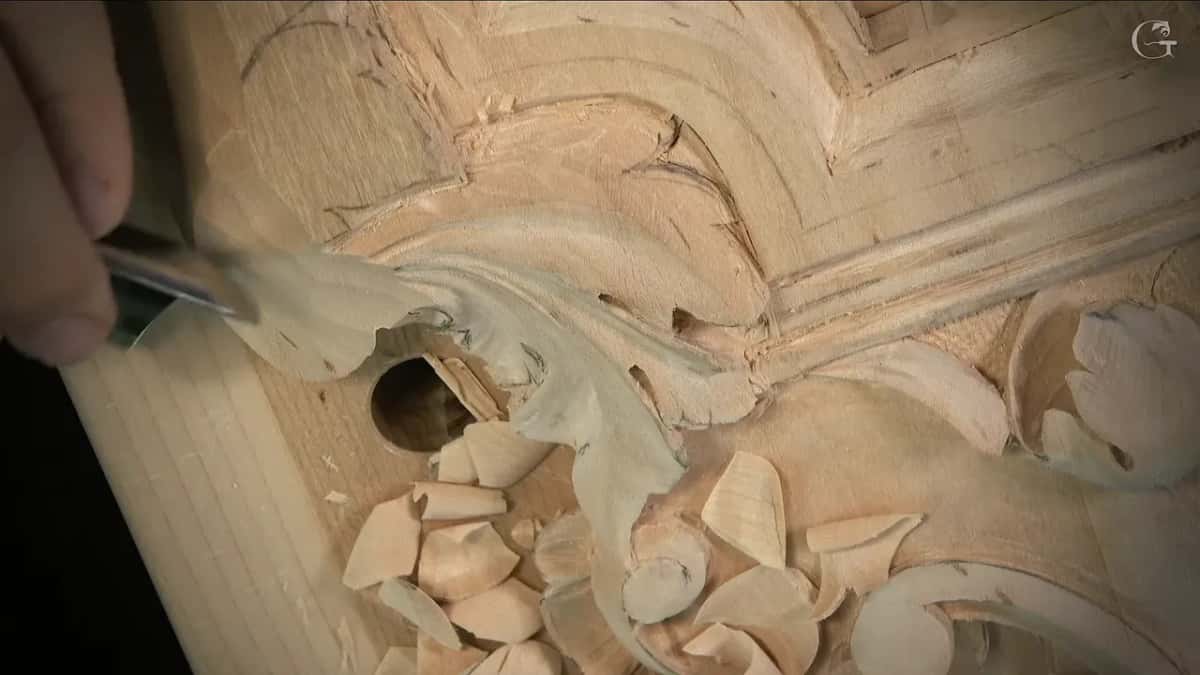
It can. On a livestream on April 8, 2020 I asked you to look a little closer at one section of the carving and said that is like a piece of molding. It goes along, then it hides, then it sticks out and shows again right there, and it's all one big movement. In lesson 161 the part I most wanted to show you was a section wrapping around the future molding.
Which other molding profiles have their own lessons?
Five other pages cover the molding shapes that sit beside this one on the site. Venice Room lesson 58 has a page on a concave molding. The half round is lesson 57. A bead molding along a curve is lesson 6. The clover molding sits in the Floral and Molding course, lesson 8. And the course page for Part 13 tells how I copied a molding profile off an old building.
Around this lesson, lesson 156 is about knowing which wood is waste, and lesson 158 is about blending. The course page for Part 14 is about how far to undercut.
Would you like to see it closer than a still picture shows it? Lesson 161 shows this ogee in its three parts, and it all opens with tuition to the school, monthly or yearly, renewing automatically until you stop it.
How it's done
- Clean the flat first. I cleaned the surface before going deeper, and I said that made it a lot easier to figure out how deep to go.
- Set the step straight down. Place a number one straight down so the wall drops downhill, then clean it with the half millimeter.
- Fillet both ways. Fillet one side, then come back the opposite way, up to the step, before you go any deeper. A skewed tool can go about any direction.
- Keep the concave slight. Use a spoon for it and keep the hollow slight. Blend it a little after.
- Round the convex. Take the back bent, mine was the eight, and work the round from either side.
- Go all the way around. Make the same profile pretty much everywhere on the molding, then check it with your finger for high spots.
Frequently asked questions
What tools did you use for the ogee?
On lesson 161 I used a number one for the straight step and a half millimeter tool to clean it. My skewed bent tool did the fillet, a spoon made the concave, and the number eight made the convex, and rasps took down the high spots of the concave.
Can an ogee molding be made without a router?
Carving tools did mine on lesson 161, a number one on the step and a back bent on the round. In the Greek Acroterion course I said an ogee running on a radius, or a complicated rococo form, could only be done with your gouges and your chisels.
How deep is the concave on a carved ogee?
Mine was really slight, not big, and I eyeballed it from a point I picked. I went down a little more with a one millimeter tool first, then a spoon made the hollow, and rasps hit the high spots after a little blending.
What to carve next