

Alexander Grabovetskiy, woodcarver, School of Woodcarving · Published 2022
What do you do when you can't see the part you are carving?
Quick answer: Carving a spot you can't see is the moment in lesson 162 of the Venice Room where I stopped partway. Setting in the eye of a leaf, I could not detect its surface from where I was standing, and said on camera that I wouldn't overdo it.
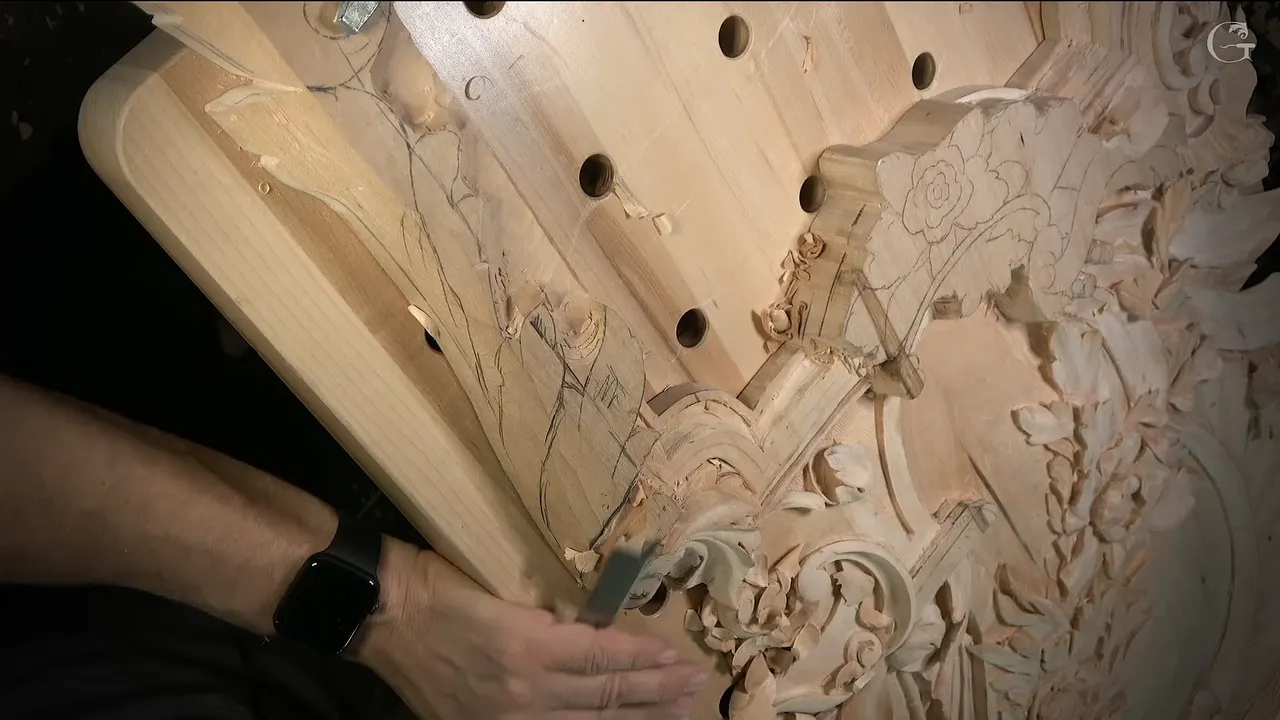
In lesson 162 of the Venice Room, when I couldn't see the part I was carving, I stopped short and didn't take it all the way. I was working the eye of an acanthus leaf. Standing where I was, I really couldn't detect that surface, and that was the problem, so I didn't want to overdo it. I said so to the camera, and then I added that I hoped you understood.
Have you ever leaned over a carving and lost sight of the spot under your gouge? Did you keep pushing anyway, just to finish the pass? I didn't, and the reason I gave on camera fits in one line.
I'm going to be honest with you about how this page is built. The lesson's three short parts run about 23 minutes, filmed near the end of this Venetian room, and they lead. The back half is my own words from three other courses, each named and linked where I use it, so you can watch the moment for yourself.
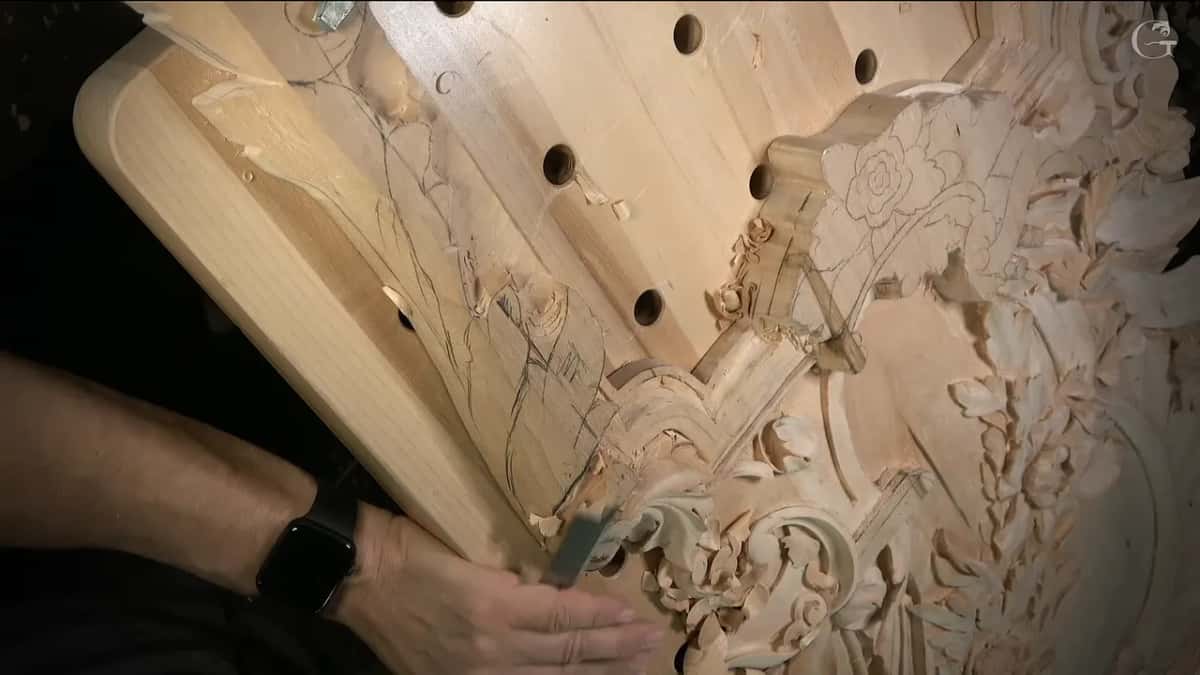
That first frame is a side view, with my hand down near the carved flowers.
Short answers from lesson 162
- I left the eye of one leaf short of finished, since from where I stood I couldn't read its surface.
- Another section, I said, had to be worked from a different side.
- One small section got relieved early.
- The first concave was headed beneath the volute, out of the camera's sight, and I asked you to believe me.
- On a grape leaf tray I said one side would probably show you more, and later on that tray I worked that way.
What did I do in lesson 162 when I couldn't see the surface?
I stopped short. The job at that moment was the eye of the leaf, and before I set it in I told the camera this eye would be visible only pretty much from the side. The parts there were equal, the part beside it would tuck a little underneath, and the pipe off the eye would be a wide one.
The lesson had opened on the camera, by the way. I hope you can see that way better, I said in the first seconds, and let me start, let me think. Then I got the eye going.
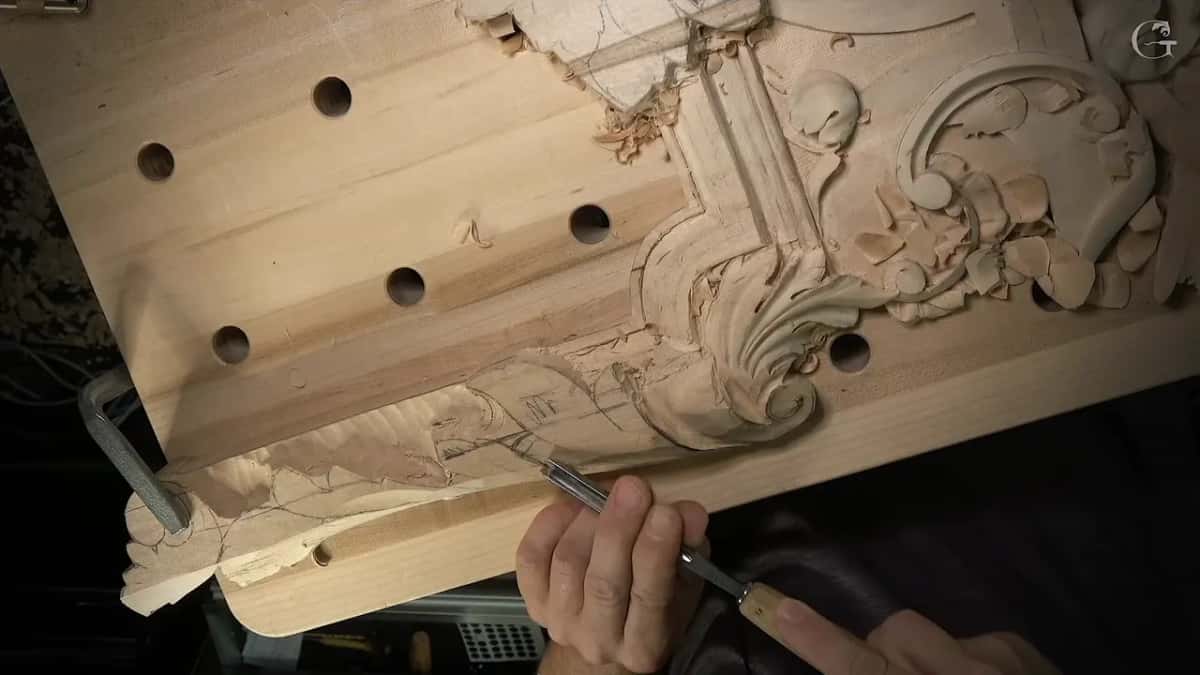
The tool worked a while. Partway in, I told you I wasn't going to finish it, and I gave you the reason in the very next breath.
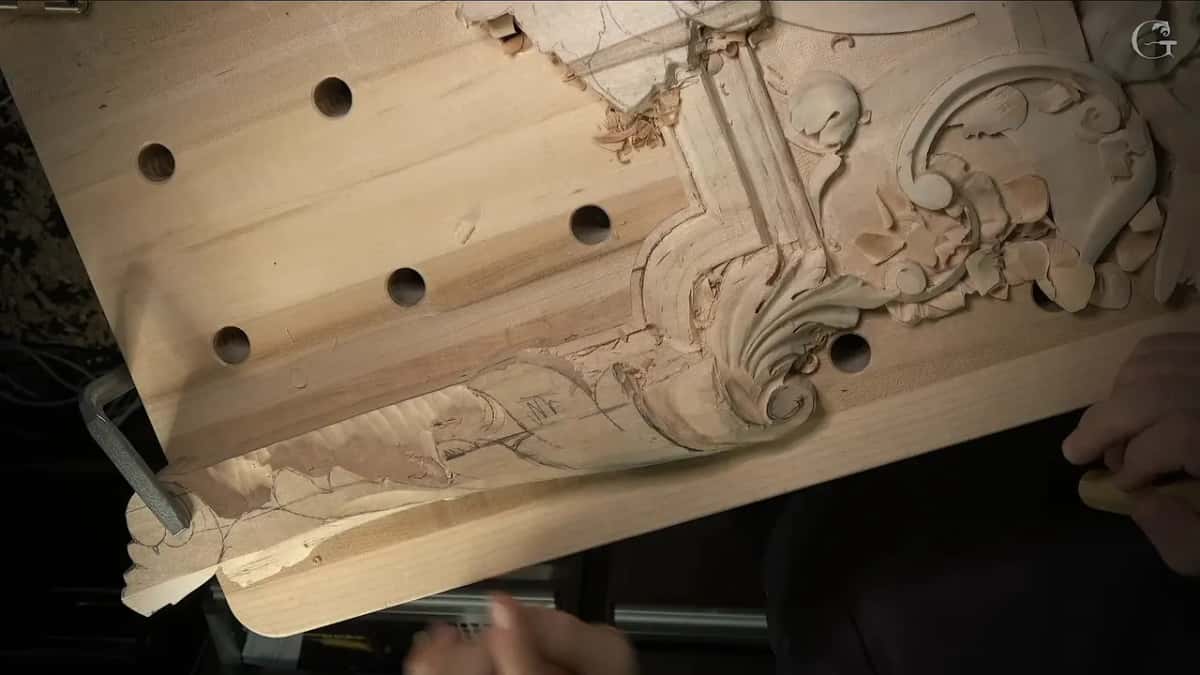
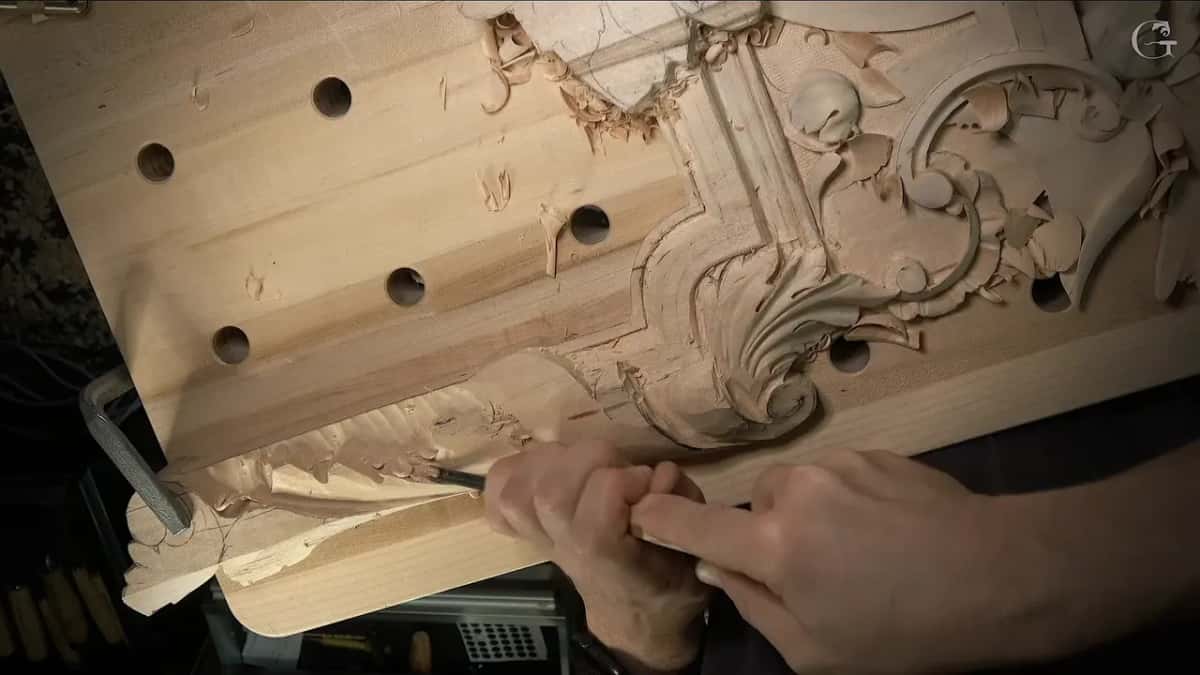
That frame is the panel from above, with the round holes of my bench top under it and pencil lines still showing on the lower band. Earlier in that part I had counted what was in front of me. One movement, two movements, three, four, five. Number five was pretty much what I wanted to work on, or maybe it was only a piece of the same movement, and I had to decide how I would attack it. For me that wasn't a hard decision. I could make this part go right underneath that one, I said, and that was the plan.
Where else in lesson 162 did I hold back?
Twice before that eye. Before I lowered the first movement, I said I wanted to make sure I wasn't going too low, because there's a molding right there, and I didn't want to make that mistake. A few minutes on, before the separation, I said once more that I didn't want a mistake there either.
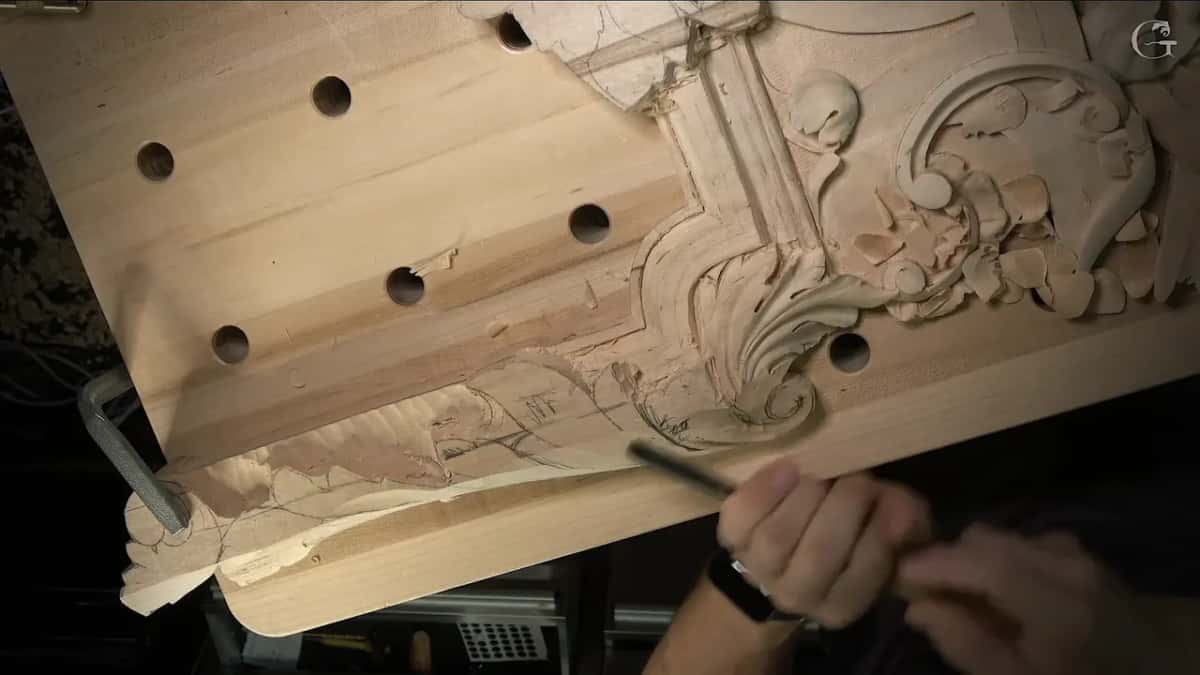
The close of part two holds back as well. I took a 5 mm gouge (3/16 in) and almost swapped it for a 4 mm. Five or four will work, I said, even three will work, and then, well, actually no, I'll just do five like I said beforehand.
With that tool I excavated only a little deeper. Later on, I said, it gets much deeper, and that's when I make the beautiful shadows. Preliminary, it's good, I said, and with those words part two comes to an end, right there on the lower band of the panel.
Which side do you carve a hidden spot from?
The one that shows it to you. In part two I came to another section and said I needed to attack it from that direction, since it would be more accurate that way.
Back in part one, as the second movement went in under that volute, I said it would obviously be a much cleaner pass if I could attack it from there. Attack is my word for it, and lesson 128 of the Venice Room has a page about that one word. Below, a broad gouge rests at the bottom of the band.

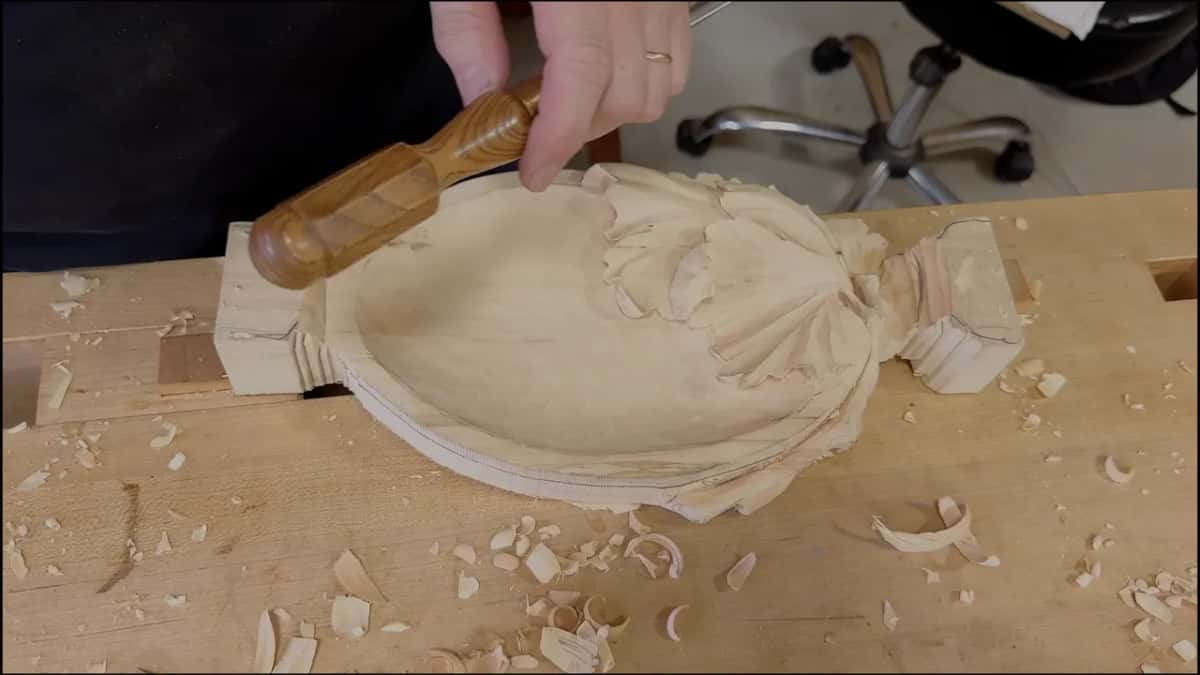
The Tray of Blessing, lesson 6 says the same thing its own way, and the frame below shows its bowl already smooth with the leaf waiting at the far end. That tray is a Cabernet Sauvignon grape leaf, and in its second part I said a flat spot lets you check and recheck what is going on. If you have to come in from this side, as in this case, I said, you'll probably see much better from there.
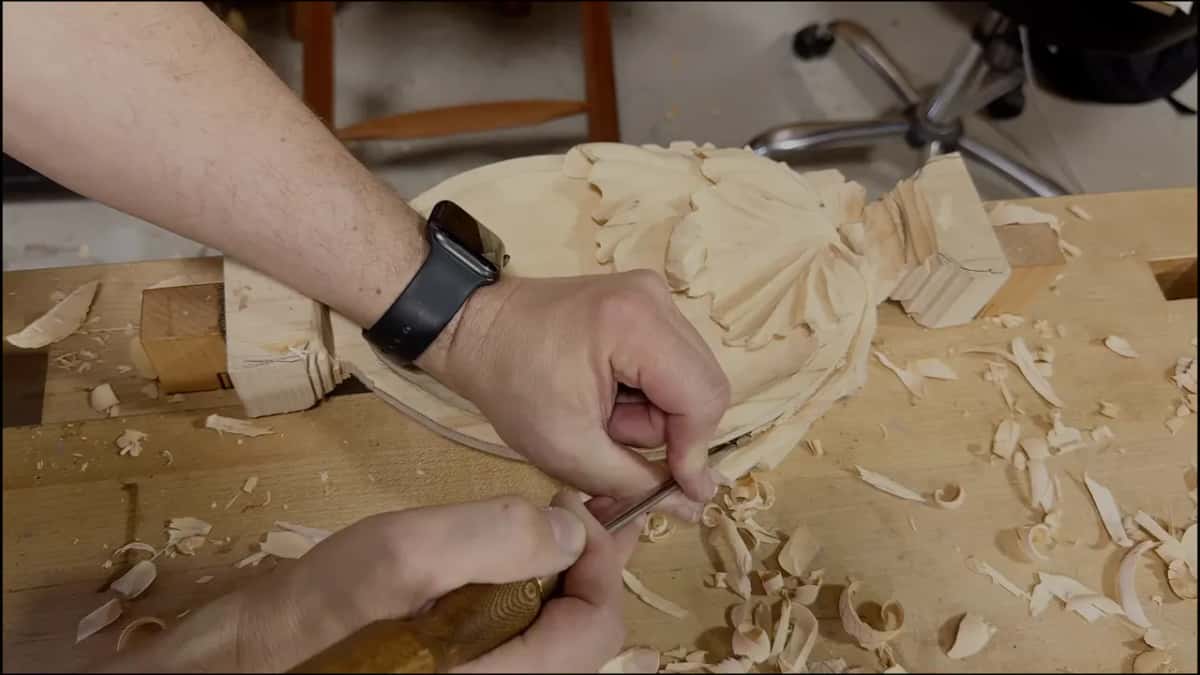
Its next part had me going little by little, and I said why I was attacking from that side. I can see where my vine is a lot better that way. A frame from that part shows two hands at the leaf end of the tray and a bench covered in shavings.
Sometimes I move the work instead. Early in that same tray lesson I said it's not really comfortable for me from this position, let me rotate the piece, and whether to walk around a carving or turn it has its own page, from lesson 119.
How do you keep track of a spot you might lose?
Relieve it early. Midway through part two, before going too far, I relieved one small section with the same 7 mm #11, about 9/32 in. Maybe this section also, right away, I said, otherwise you're going to lose it.
A moment later I took that word back. Not lose it, I said, but it's going to be easier for me to find it.
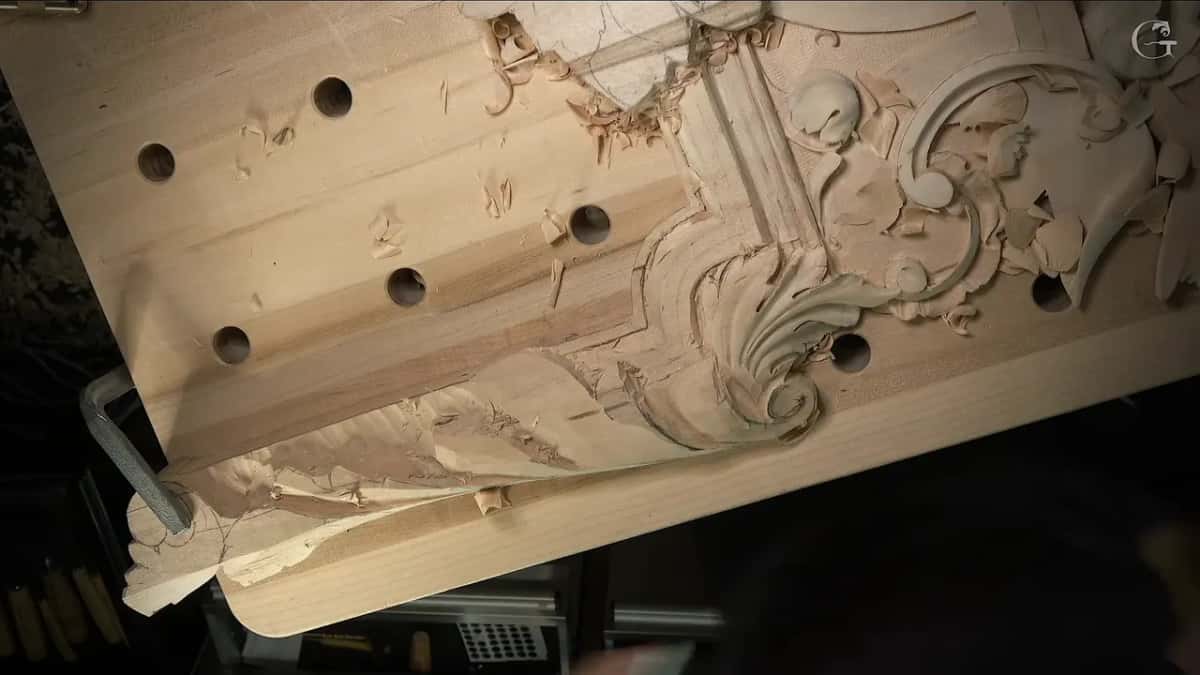
The frame above shows the band at about that point, with chips lying in the bench holes.
My beginner kitchen cutting board, workshop 11, is where I said it plainly. That way I can see much better what is going on. And on the Hashemi flowers, lesson 7, I told the camera I couldn't see from that side what was going on, so I flipped it and looked at it.
Those two get a sentence each here. Walking around the Venice panel wasn't an option either, and part two says why. If I rotate that or even walk around, I said, I cover my cameras, and then you can't see what I'm doing.
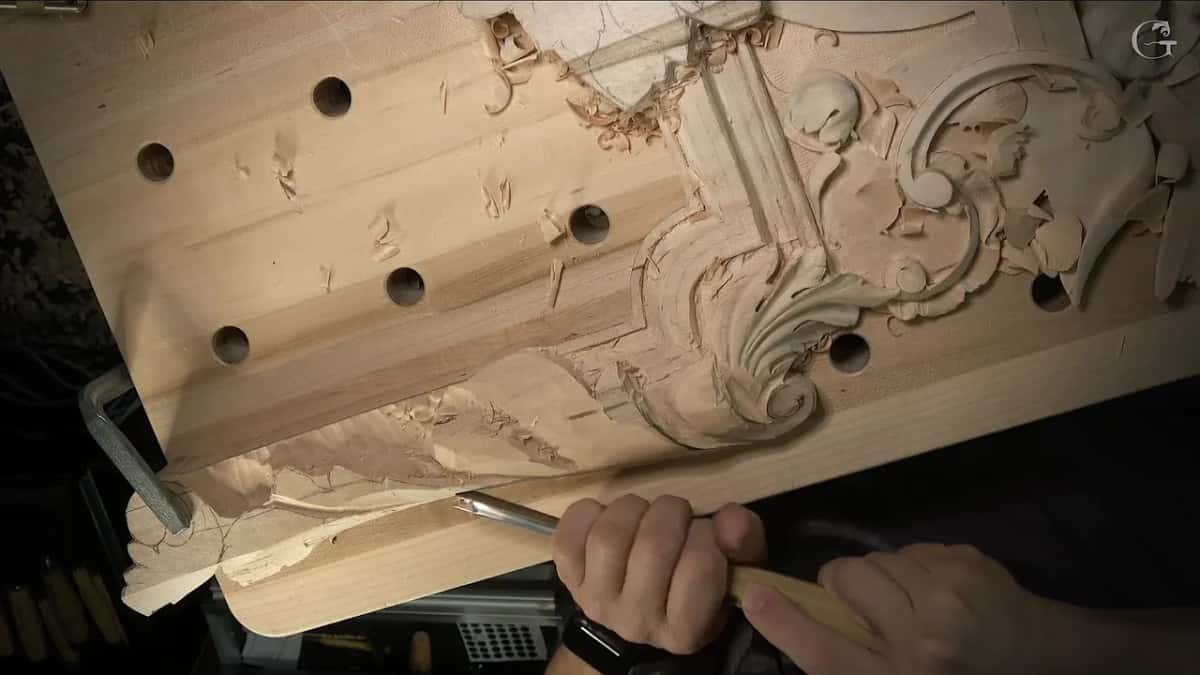
What if the camera misses the spot too?
Then I ask you to believe me. Early in part three I made my first concave really wide and said I would take it all the way beneath the volute. You don't see that side, I said, but it's okay, just take my word for it.
The camera comes up more than once in that lesson. While I set in a second eye, I said I apologize if you don't see it. In part one I showed the work from above so you could see how it looked. Later in part three I asked, can you see it, I hope you can, and I explained it one more time.
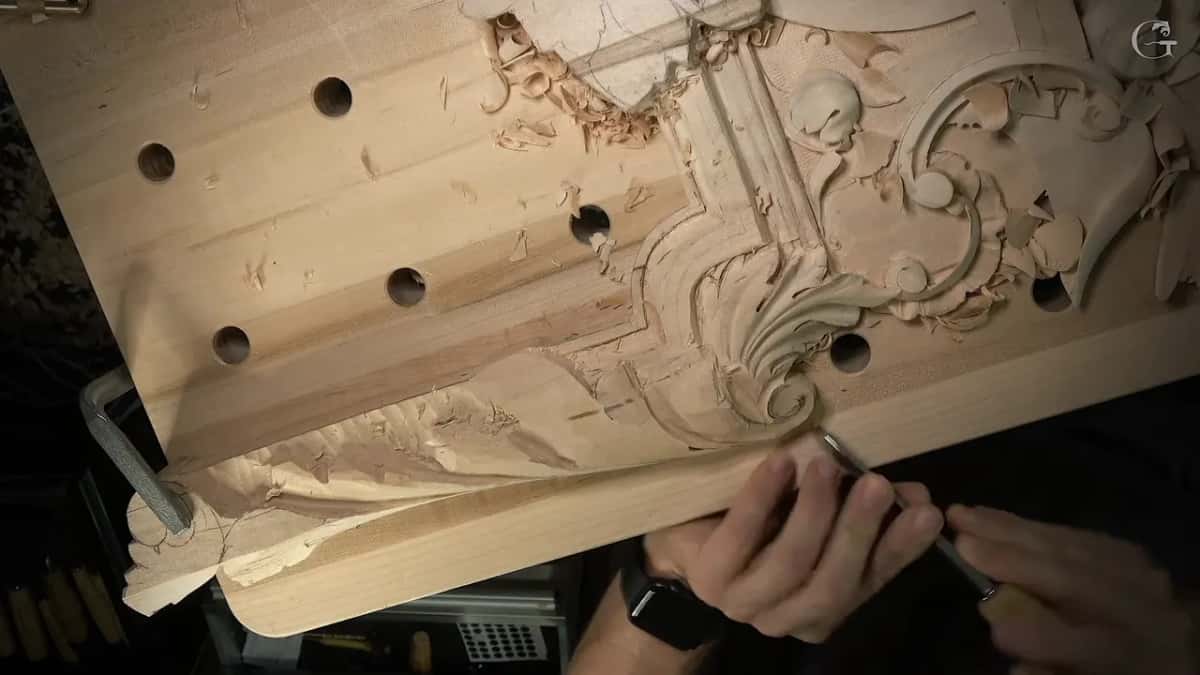
Partway through the main pipe I stopped to say I'm not sure if you understand that, and went on explaining.
What a camera over my bench misses is a question of its own, and lesson 88 of the Venice Room has a page on it.
Does a thin part have to be thin everywhere?
On the tray it didn't. Lesson 8 of the Tray of Blessing is where I said that whole part would come down to about a sixteenth of an inch later on, roughly 1.5 mm, or whatever it could be. It's only visible when you look from this side, I said, and it could be a little thicker in another area.
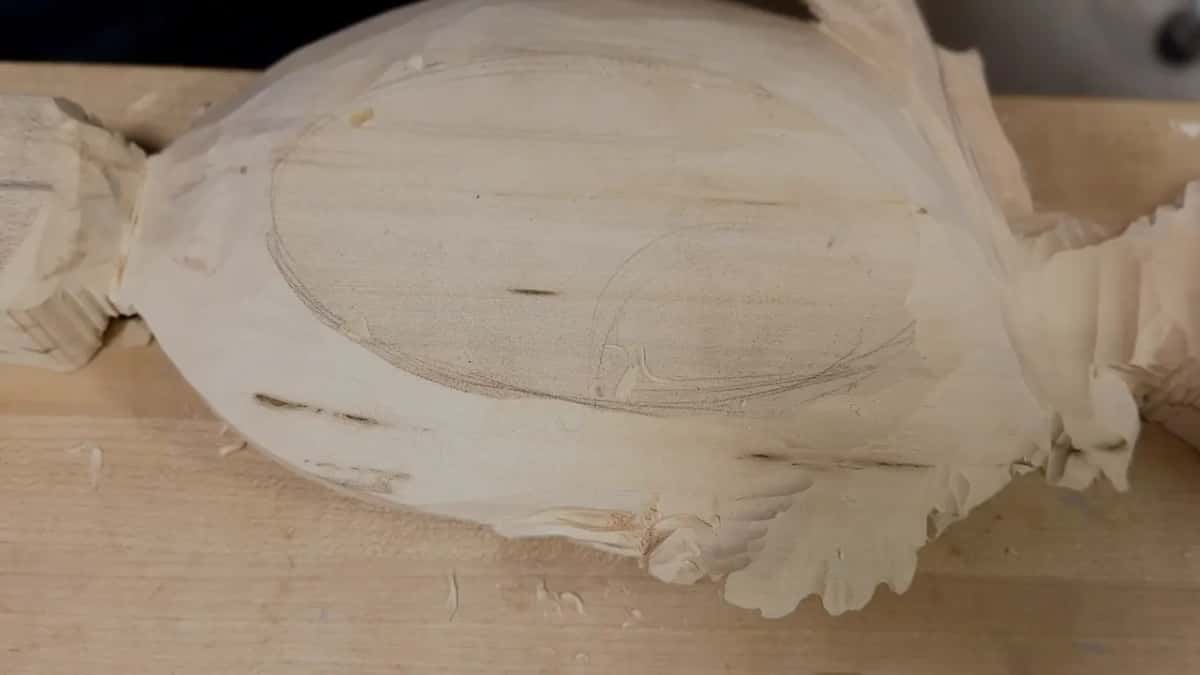
That was one part of one tray. I won't stretch it into a rule for every carving you make. In the frame, the bowl of that tray carries a pencil oval.
Six moments, three lessons
Where | What I could or could not see | Move | Said |
|---|---|---|---|
Lesson 162, first | a surface I could not detect there | stopped short | I don't want to overdo it |
Part two, again | one section, better from the other side | new direction | I had to attack from there |
Part three, early | my first concave under the volute, unseen | kept going | you don't see it, believe me |
Tray lesson 6 | flat spot for checking, then checking again | checked, rechecked | you will probably see it better |
Same tray, next | the vine, easier to see from there | this side | I see where my vine is |
Tray lesson 8 | a thin part seen from one side | 1/16 inch | it could be a little thicker |
Read down the second column. Every row there is about what I could see from my spot.
What else happened in lesson 162?
Mostly lowering, rolling and blending, movement by movement. The first movement started with the #11, of course, maybe 7 mm, I said, and I went in carefully. After that a #2 of 18 mm, almost three-quarters of an inch, took it down almost to the molding. Any number two or three will work, I said, and then, just blend it.
I called that number one. I can't even say that is a detail, I said a second later, but the main movement.
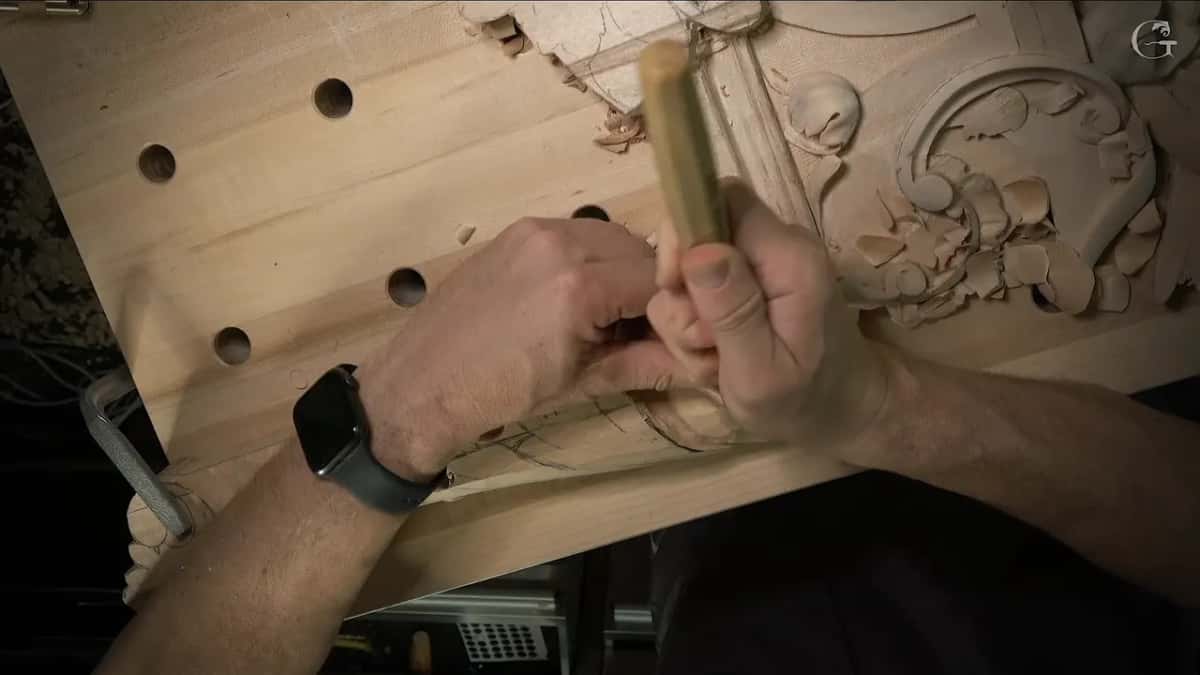
Part two opened a little deeper in one section. I rounded part of it with a big #2, about 15 mm (just under 5/8 in), and chopped it like that, right through, because that part has to wrap all around. I had plenty of material left for my future pipe. A little cleanup came next, then that part went right underneath, and I said, okay, the next one.
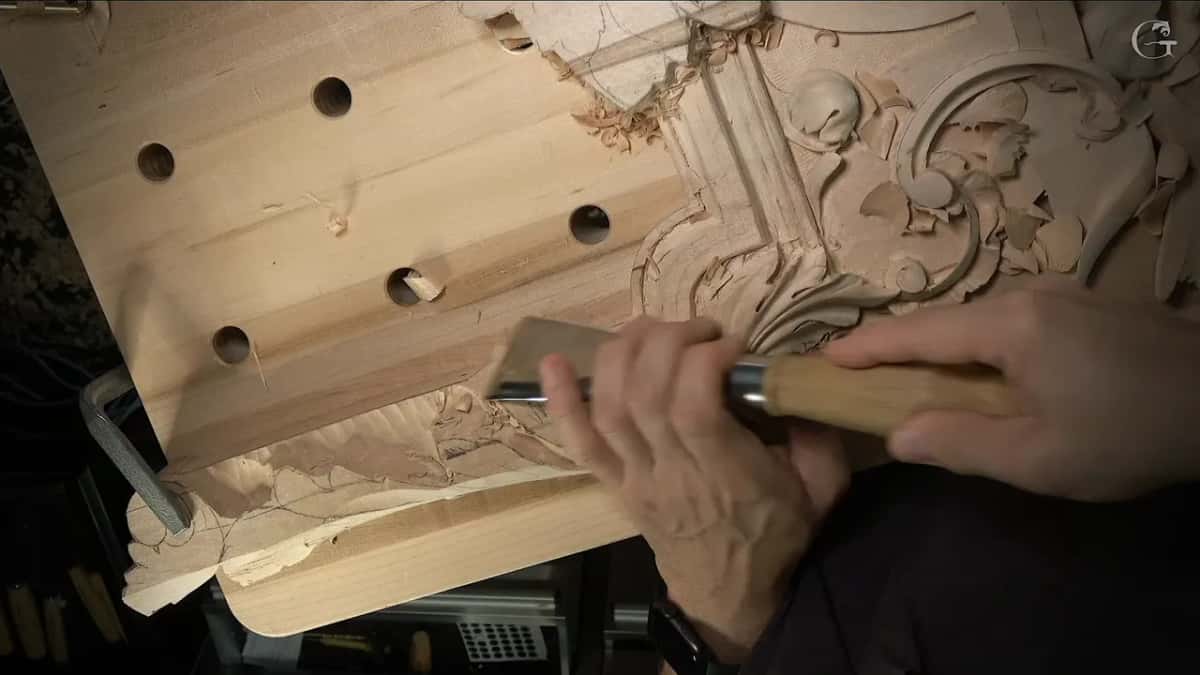
The next movement made me stop and think. I could show that part going on top of this part, I said, but logically I don't want to do that. So I made another eye instead. I lowered that section next and went in underneath that detail, and I said I think it'll be better.
Another #2 came out later, about 16 mm or 5/8 of an inch, and I said it doesn't have to be that. With that one I slowed down a little. The last movement got the same idea. Nearly a minute of quiet work followed, and then seven millimeters, I said, still the same.
Part three began with the 5 mm again and then the number two, rolling the shape slightly that way. I've got a really, really nice shape, I said, wrapping all around, and here I'll roll a little bit too, and here. Okay, wonderful. And I was happy with the overall movement. Next I cleaned that part of the volute and said I had to be careful how I approached its edge.
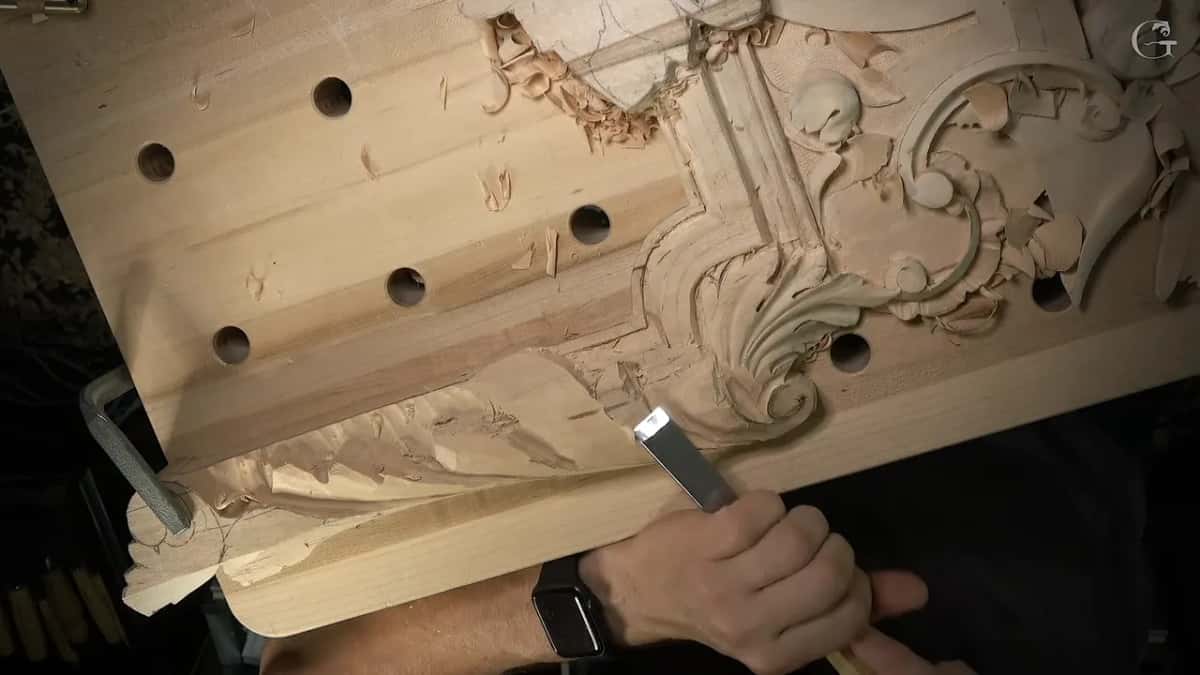
When the pipes began, I said I don't know where my end is, but anyway, I can start my pipe. A second concave, really flowing, met the same line underneath, and that made pipe number one, with a smaller second pipe after it. For the concaving I took a bigger #11, maybe 16 or 15 mm, about 5/8 of an inch. Close to the volute that part needed to go much deeper, I said, and less once I passed that point. I blended right away. The result was what I was after, I said, and I could probably shave the side of that pipe right then too.
Last comes where this leaf came from. The course page for Part 14 tells that story, along with how much to undercut, and several of its moments were filmed in this same lesson.
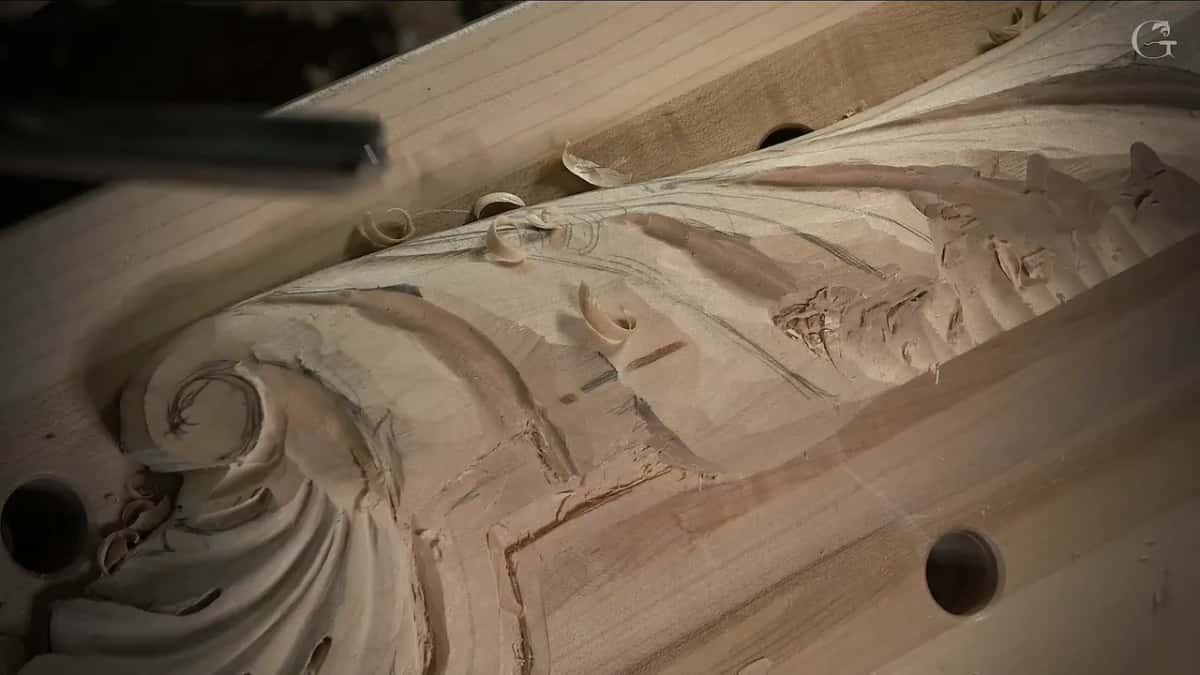
Where does lesson 162 sit in Part 14?
Near the end. The page for lesson 156 asks how you know which wood is waste, lesson 157 is about the #6 gouge, and lesson 158 covers what blending means. Lessons 159, 160 and 161 sit between those and this one, and lesson 163 comes after it and closes the part.
If you have never carved a leaf, the beginner cutting board course is a gentler place to start, and this room will still be here when your hands are ready.
This is wood carving on a real room, relief on a panel with an ornament that wraps a molding. Every pass of lesson 162 is in its three parts, the quiet stretches too, and they open with tuition to the school, monthly or yearly, renewing automatically until you stop it.
How it's done
- Stop where the surface hides. When the eye's surface hid from me where I stood, I left it short of finished rather than overdo it.
- Change the side you work from. The next section needed attacking another way, I said, since that would be more accurate.
- Relieve a small section early. Before going too far I relieved a small section with the 7 mm #11 right away, so I could find it again easily.
- Check, then check again. A flat spot on the tray let me check and recheck what was going on.
- Leave the deep pass for later. I excavated only a little deeper with a 5 mm and said that later on the hollow would go much deeper.
Frequently asked questions
Should you finish carving a spot you can't see?
The Venice Room's lesson 162 shows me leaving one acanthus eye short of done. From my side of the bench its surface was out of sight, so I said I'd rather not overdo it. I hoped viewers understood, I added.
Which side should you come at a hidden area from?
Whichever side gives you the clearer look. Part one of lesson 162 has me saying one movement would obviously come out much cleaner if I could come at it the other way. A grape leaf tray, in its sixth lesson, got much the same advice from me.
Does the exact gouge size matter in this lesson?
Not much, going by my own words in lesson 162. Any number two or number three would do for the first lowering, a 16 mm number two needn't be that size, and for one spot five, four or even three millimeters would all work.
What to carve next