
Alexander Grabovetskiy, woodcarver, School of Woodcarving · Published 2023
How do you carve a corbel in wood?
Quick answer: A corbel is a carved bracket that stands proud of a wall and carries what sits above it. Carving one means shaping a solid block on every face, so the work runs on templates cut full size, depths taken with a pointing machine, and a metal plate screwed to the back to hold it.
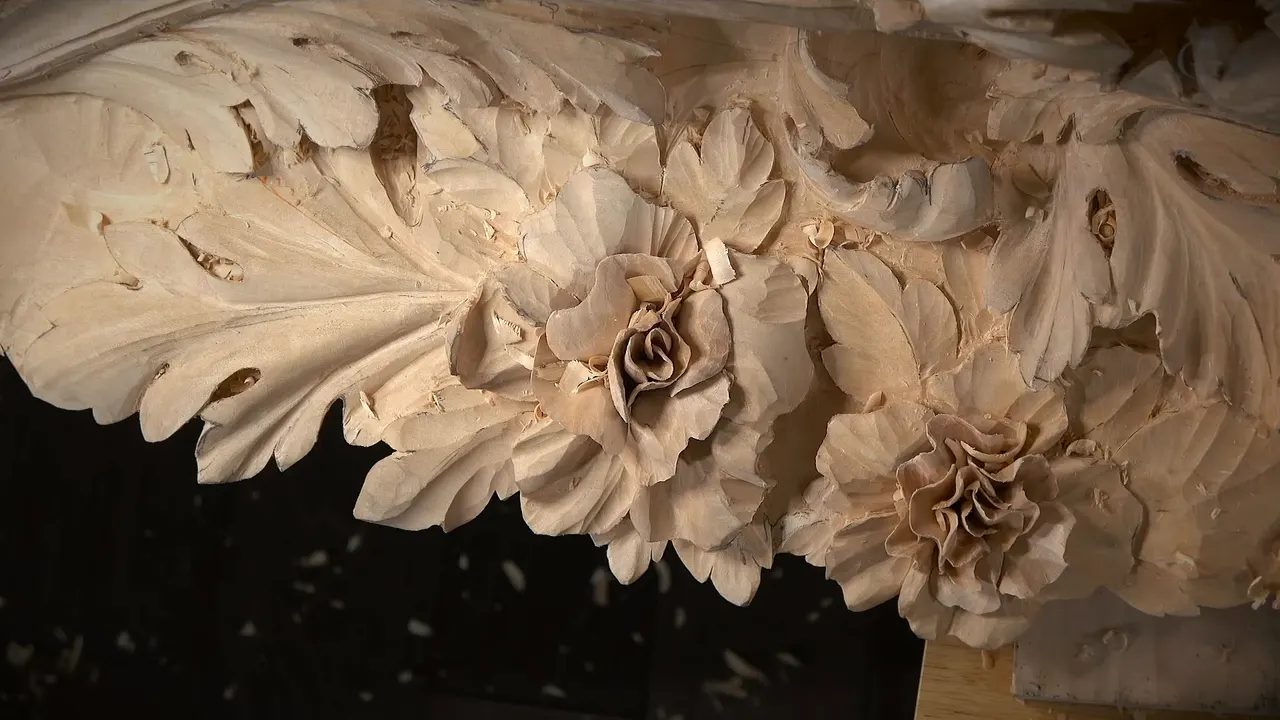
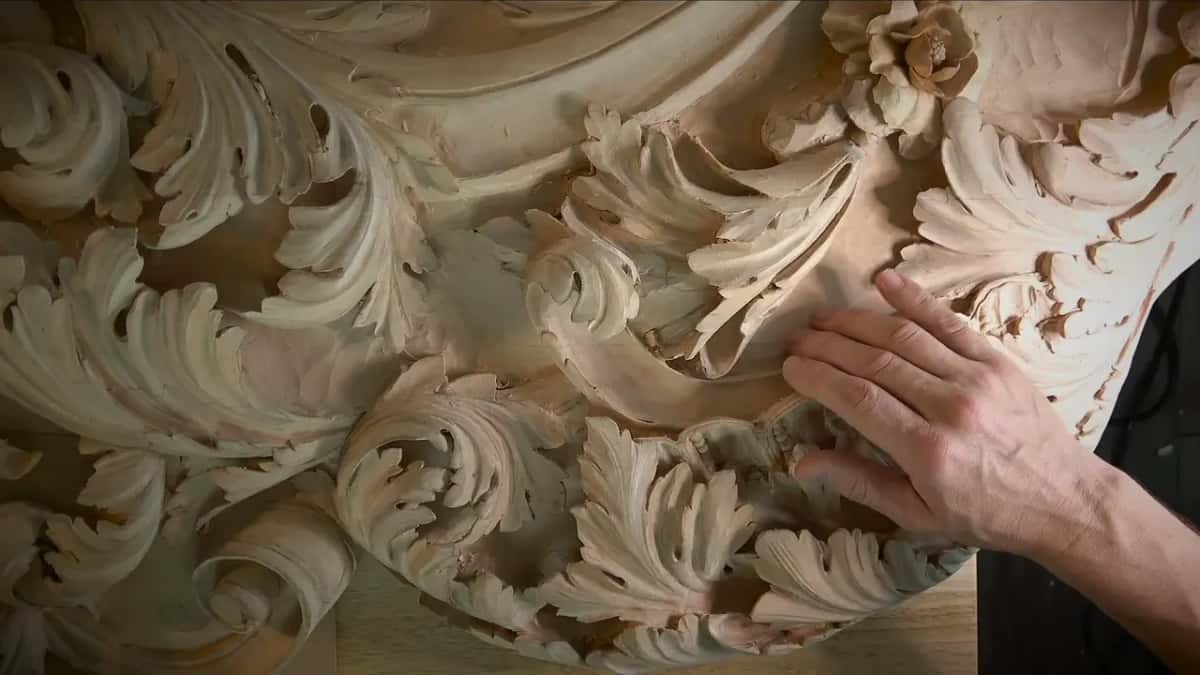
A corbel is a carved bracket that stands out from a wall and carries whatever sits above it, and carving one means shaping a solid block on every side instead of working into a flat board. Mine runs 42 inches long and nine inches thick. There are two of them. Everything on this page exists because of those numbers.
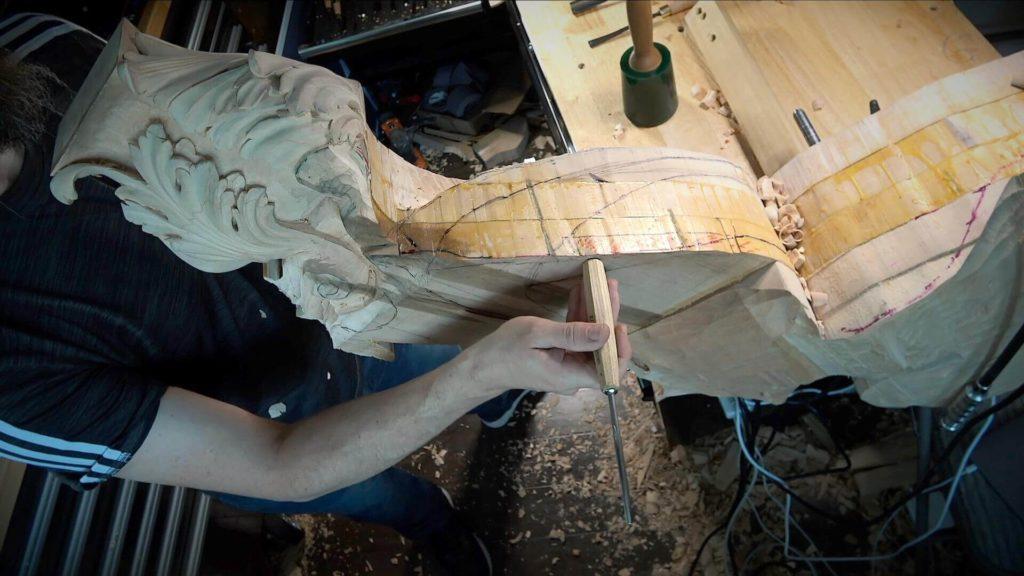
Workshops 74 through 85 are where the Venice Room stops being only a panel. The first five workshops still work on the panel, and from workshop 79 I am on the corbel. Now the shape carries on round the back, the blank is heavy, and a good part of the job turns out to be measuring, holding and sawing.
Have you ever been stopped by the practical side of a piece rather than by the carving? Not knowing how to clamp it, or how deep to go, or what to do after something snaps off in your hand? Those questions get answered here, and I am going to answer them the way they actually happen, mistakes included.
What decides whether a piece this size ever gets finished
- A template printed full size and glued to 5 mm plywood gives you something to measure from.
- A pointing machine takes depths from behind and reads them off the flat bench top.
- Bore to the depth you want, then carve down until you meet the bottom of your own hole and stop there.
- The blank rides on a three inch plate and long screws. The plate is the whole holding system.
- Stock two inches thick goes through a scroll saw on a very fine blade.
- Thin CA glue soaks right in and leaves a mend harder than the wood beside it.
What makes a corbel harder than a panel?
On a relief panel every decision happens on one plane. You look down, you see the whole composition, and the back of the board is just a back. The corbel gives you no such comfort. The drop rolls over the front, keeps going, and dies somewhere on the rear face where the camera never goes.
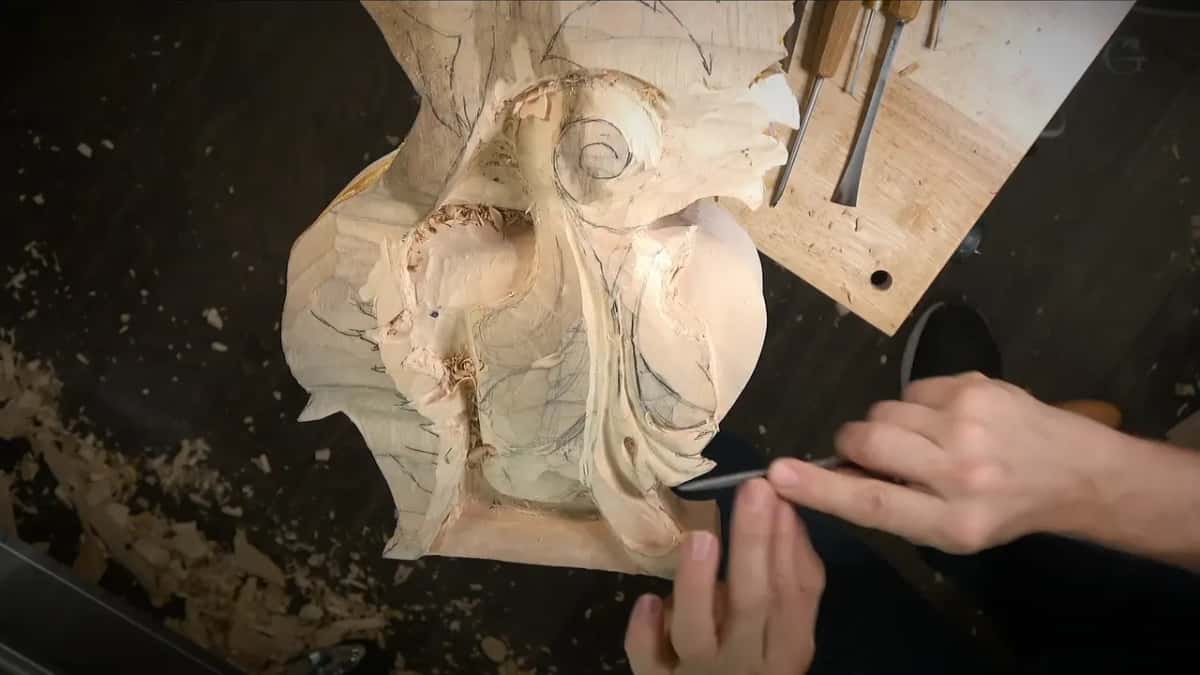
So I have to build a three dimensional form, and that is one of the challenges. Two of them, matching, on a piece too big for the bandsaw. I marked the waste on front and back, then on both sides, and only then picked up a gouge.
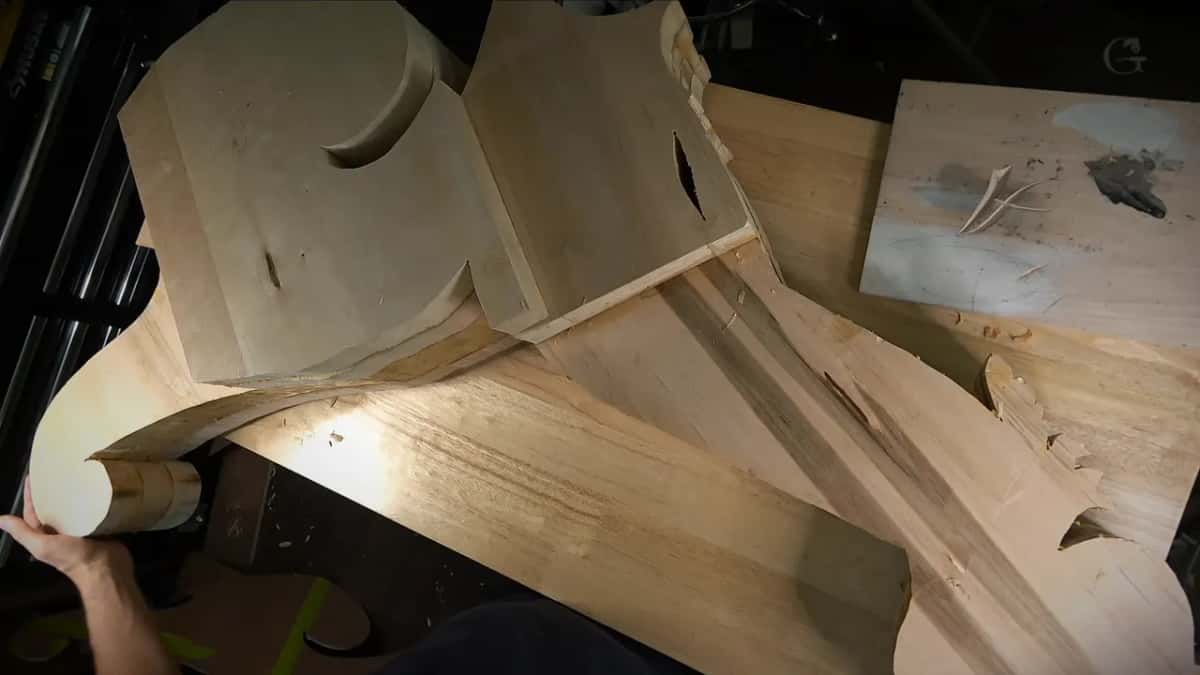
The proportion rules from the last twelve workshops still apply. What changes is that I have to look from different points of view to know if I am making a mistake or not.
How does a full size shape get onto a nine inch block?
On paper, one to one. I print the profile at actual size, glue it to plywood about 3/16 of an inch thick, five millimeters, and cut it out. That way I can just measure from it.
To repeat the corbel line on the opposite side, I print more copies of the same sheet and lay them straight onto the wood to mark from. Really easy, and it shows me how deep to excavate.
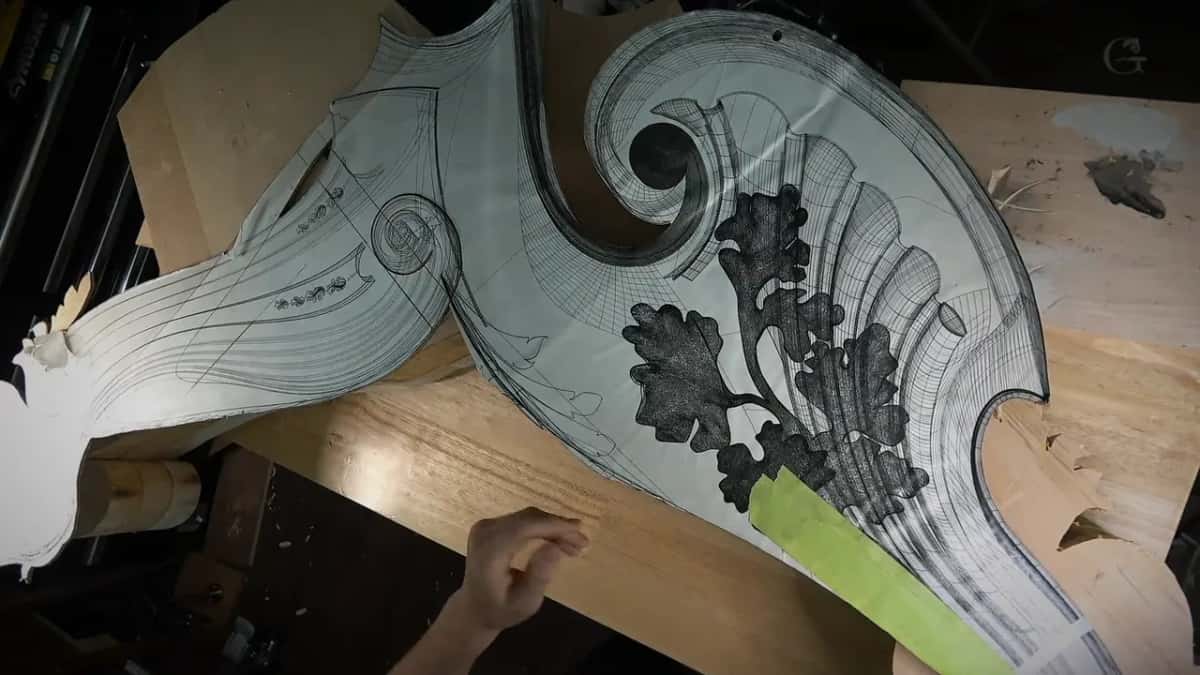
Then calipers, over and over. I glued the template for the opposite corbel by mistake, which does not really matter, because I can always reference it and measure. I need to be really accurate with my measurements.
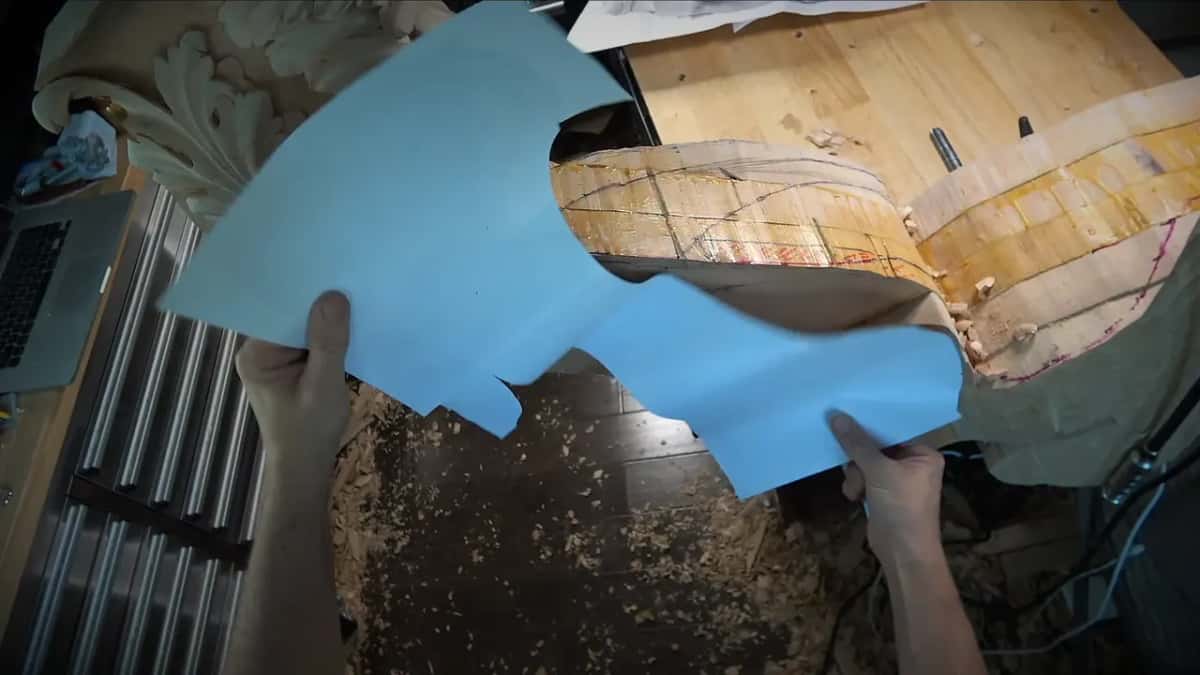
When do calipers stop working?
When the depth has to come from the backside, where sometimes it's hard to use even calipers.
That is where the pointing machine earns its place. A sculptor's tool, a needle on an adjustable arm, and I like it a great deal. Once I have the depth of a point taken from the back, the piece lies flat on the bench and I measure to that point from the bench surface itself.
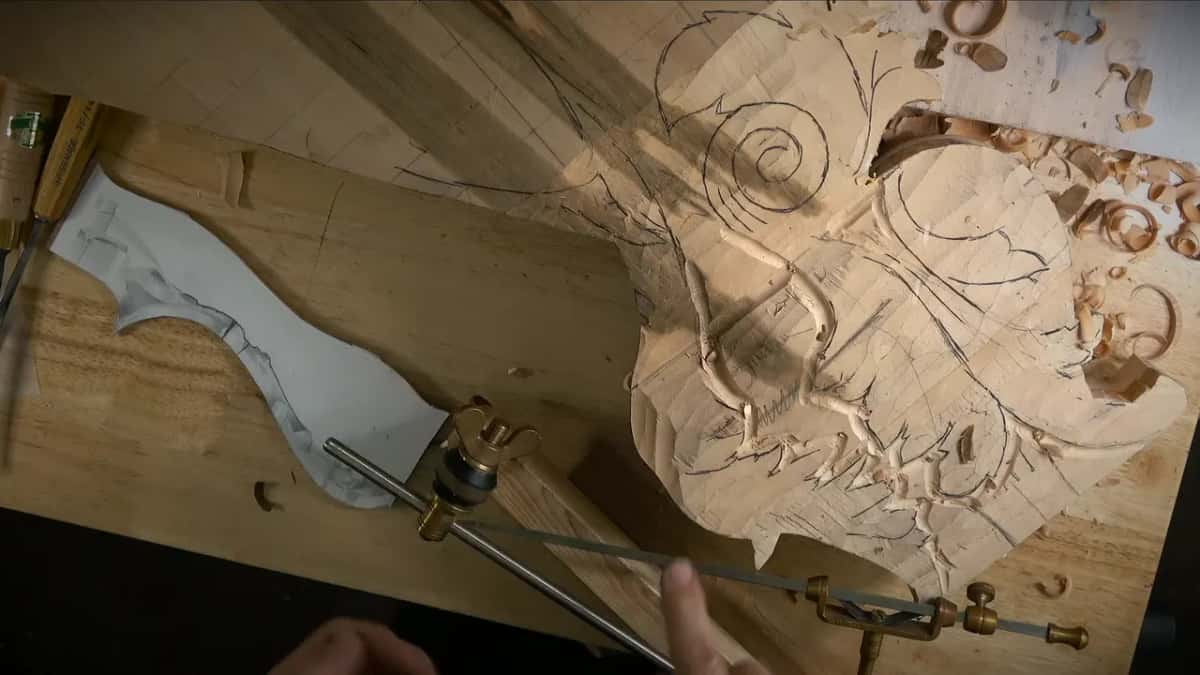
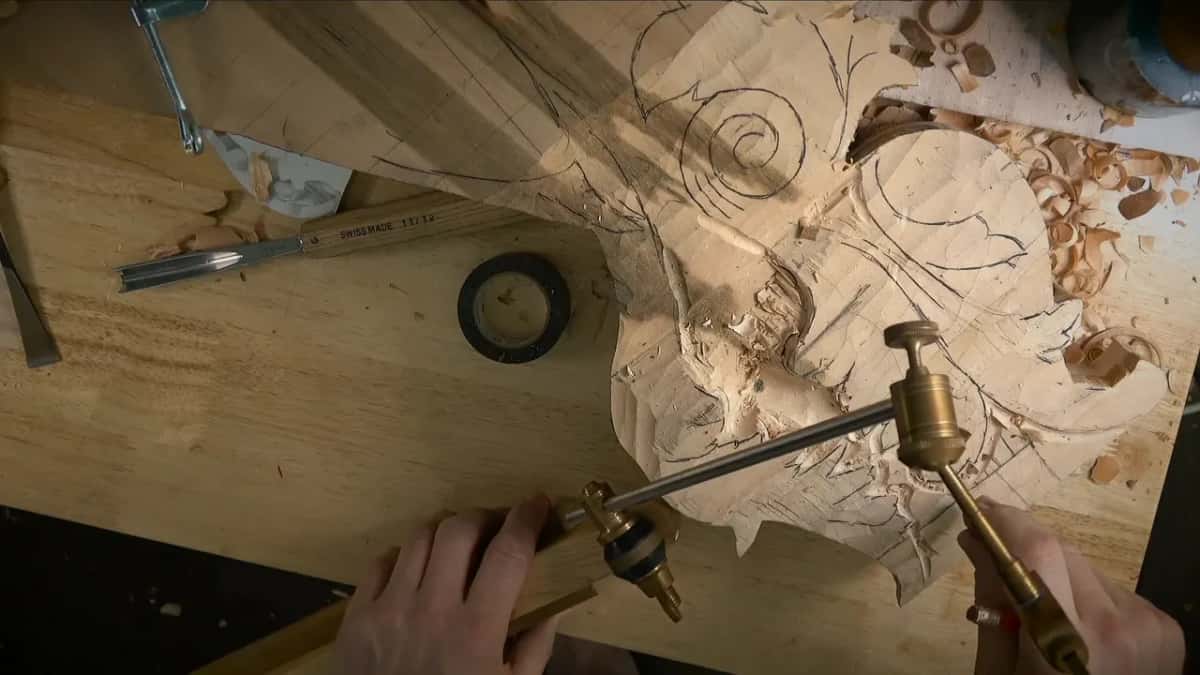
The needle also swings, so I can come at one spot from a different point. Set it flat, take the reading, move it, take another.
Why bore a hole before carving the waste off?
The hole tells you when to stop, because it shows me exactly the position I need to get to. I measure the depth I want, wrap tape round the drill bit at that mark, and bore straight down. After that I chop out the waste until I meet the bottom of my own hole.
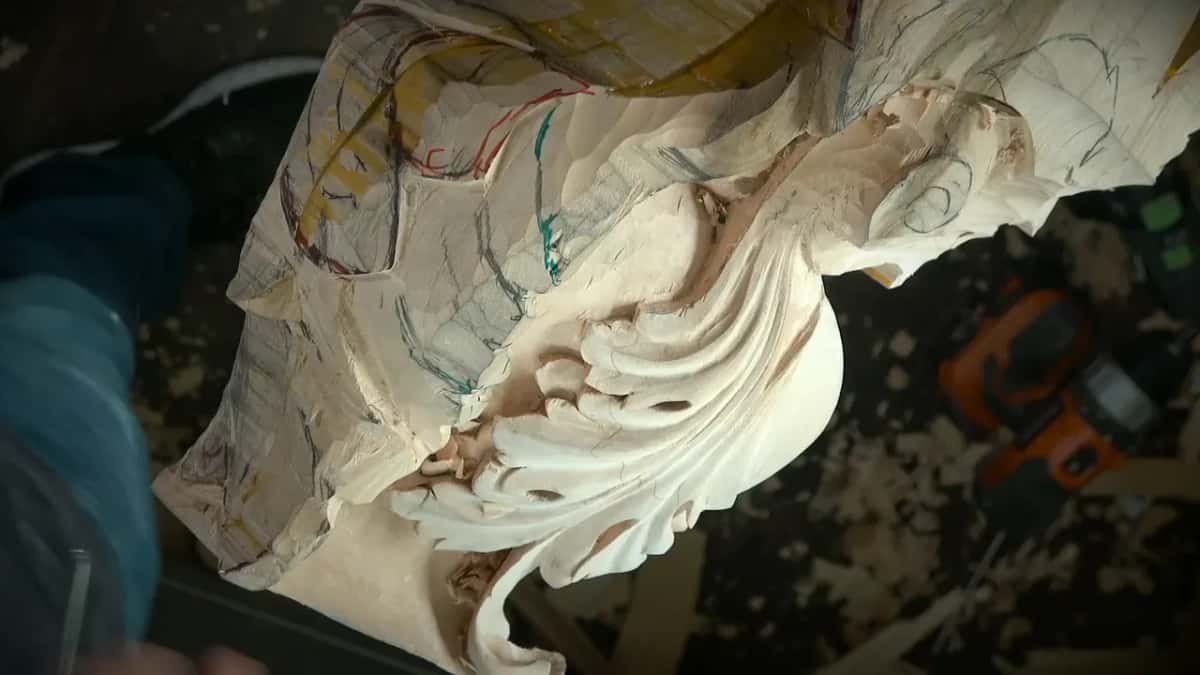
An inch and a half in one spot. Five eighths more in another, about 16 millimeters. The tape is only a rough guide, since my reference line sits lower than the high ground beside it, so I stop early and check rather than trusting the mark.
On one of those holes I came within a whisker of going too far. Almost messed up, and almost does not count. That is the whole reason for drilling short and checking twice. I leave about an eighth of an inch, three millimeters, for the cleaning cut.
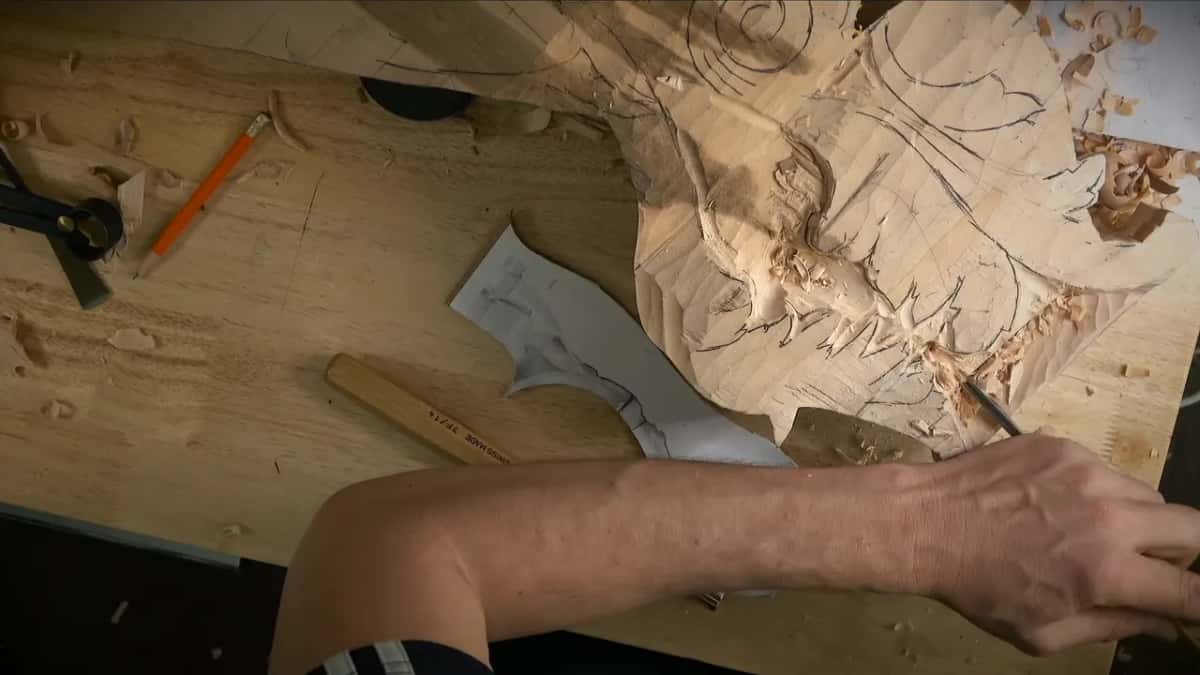
Holding something this heavy while you carve it
A three inch plate, screwed to the back of the blank with two and a half inch screws, dropped into a Veritas carver's vice. That plate is the whole system. I keep several of them, two inch and three inch, already mounted on different pieces.
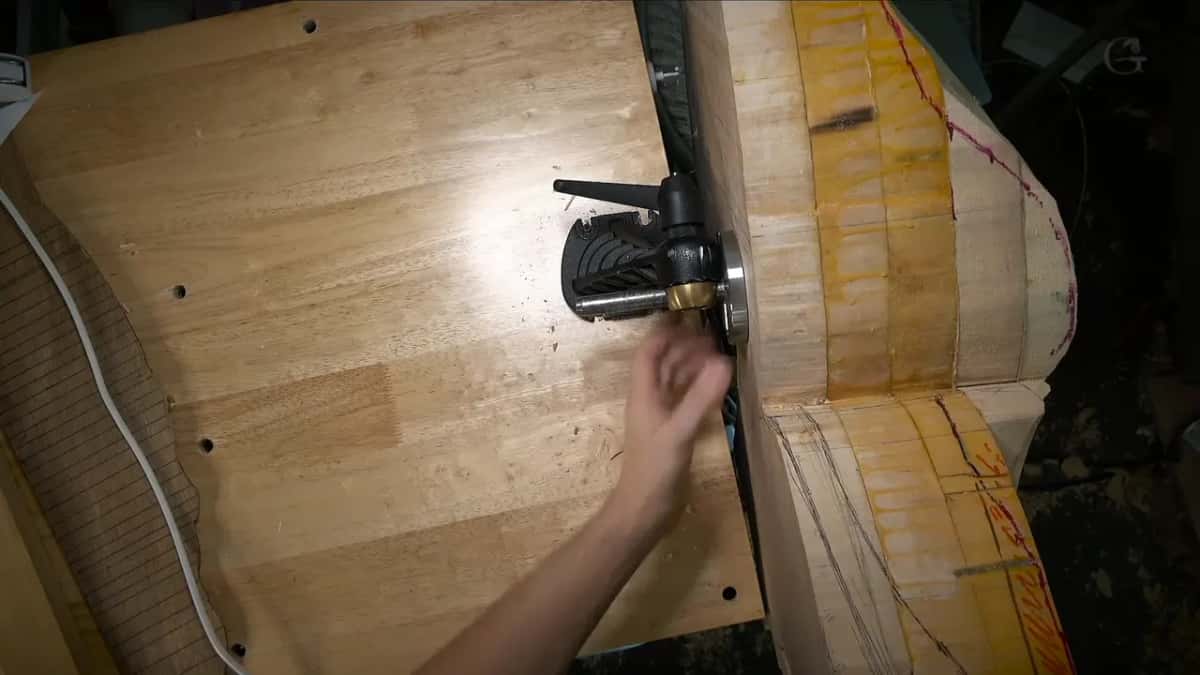
The vice sits on a sheet of plywood, held with a couple of small clamps on what I have to admit is not a real bench. Behind me it is drawers. The whole tower wobbles a bit and for me that is okay, because I can rotate the piece in any direction, and the result matters a lot more.
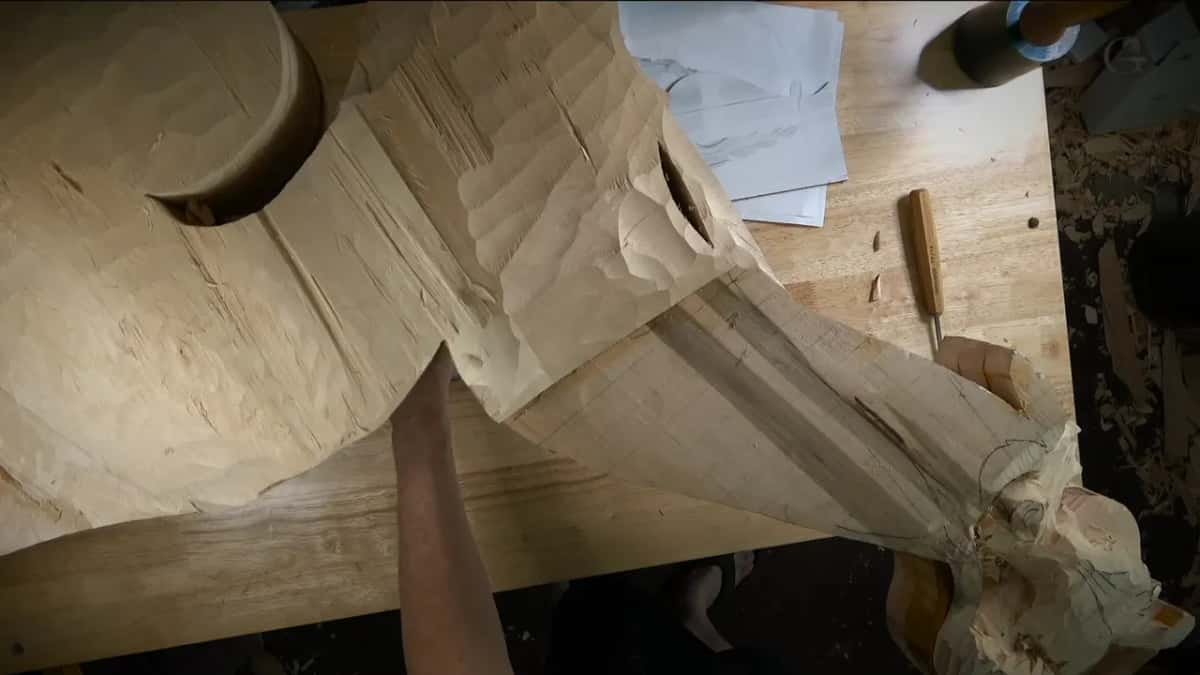
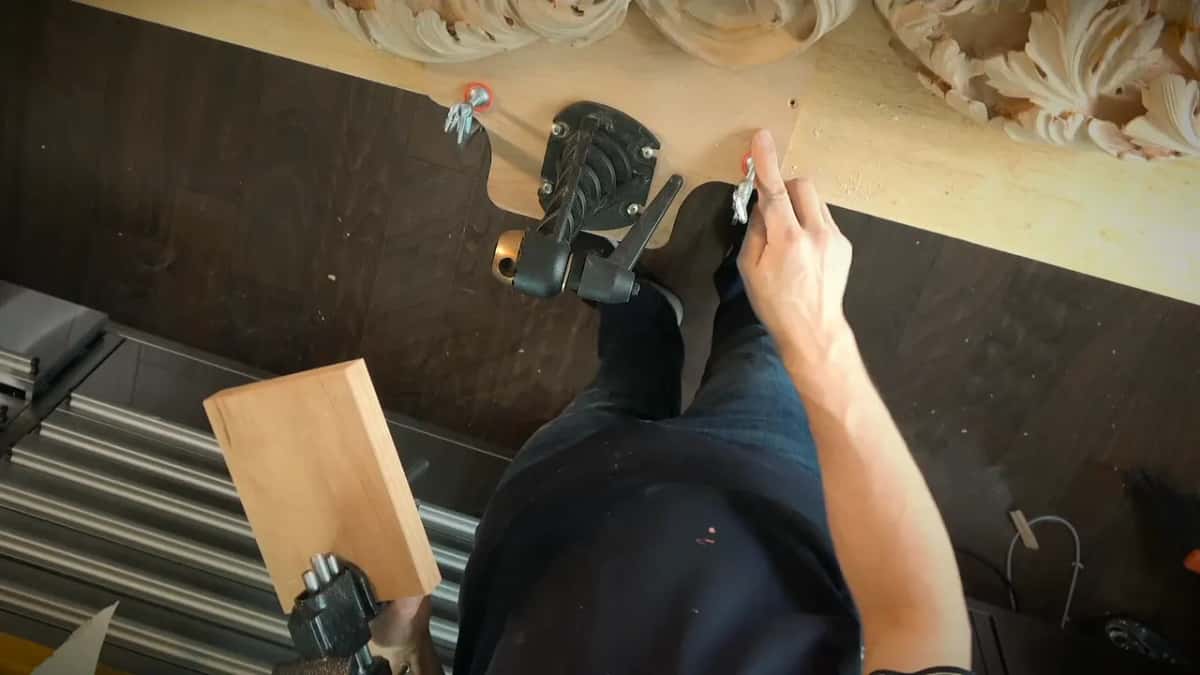
There is a proper Veritas carver's bench for this. When I filmed, it was out of stock everywhere and cost a lot for the bench alone, and it would take floor space I have not got. My shop is not a shop any more. It is a studio now, and I have to be careful about what goes in it.
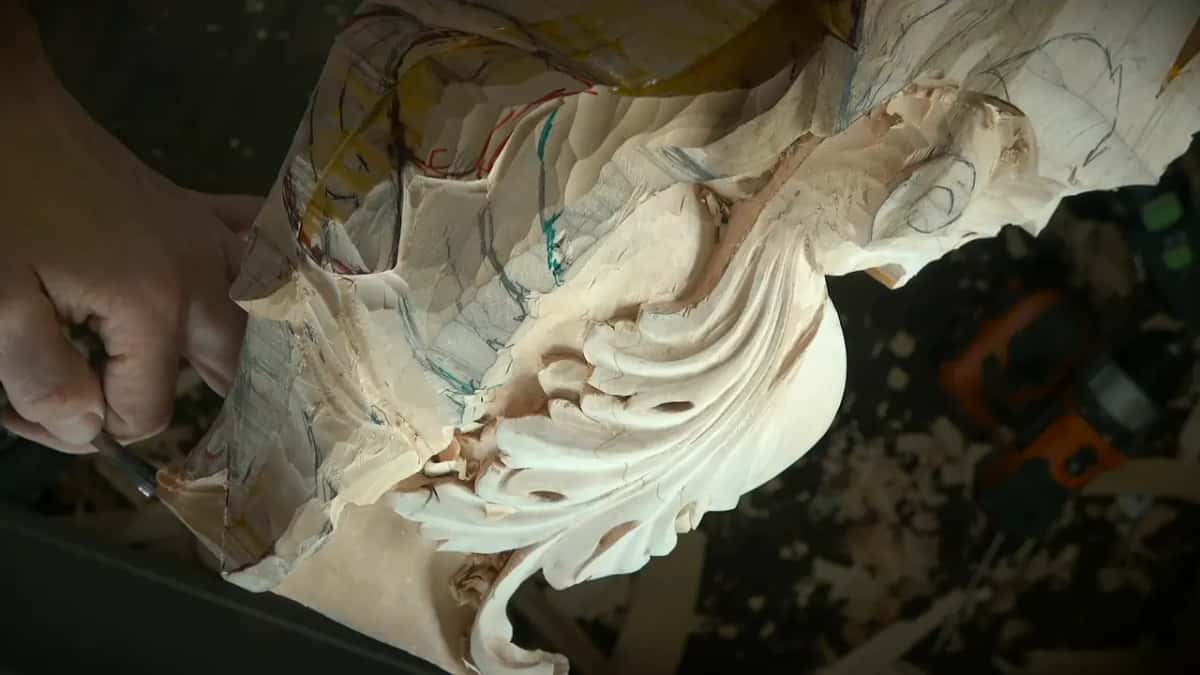
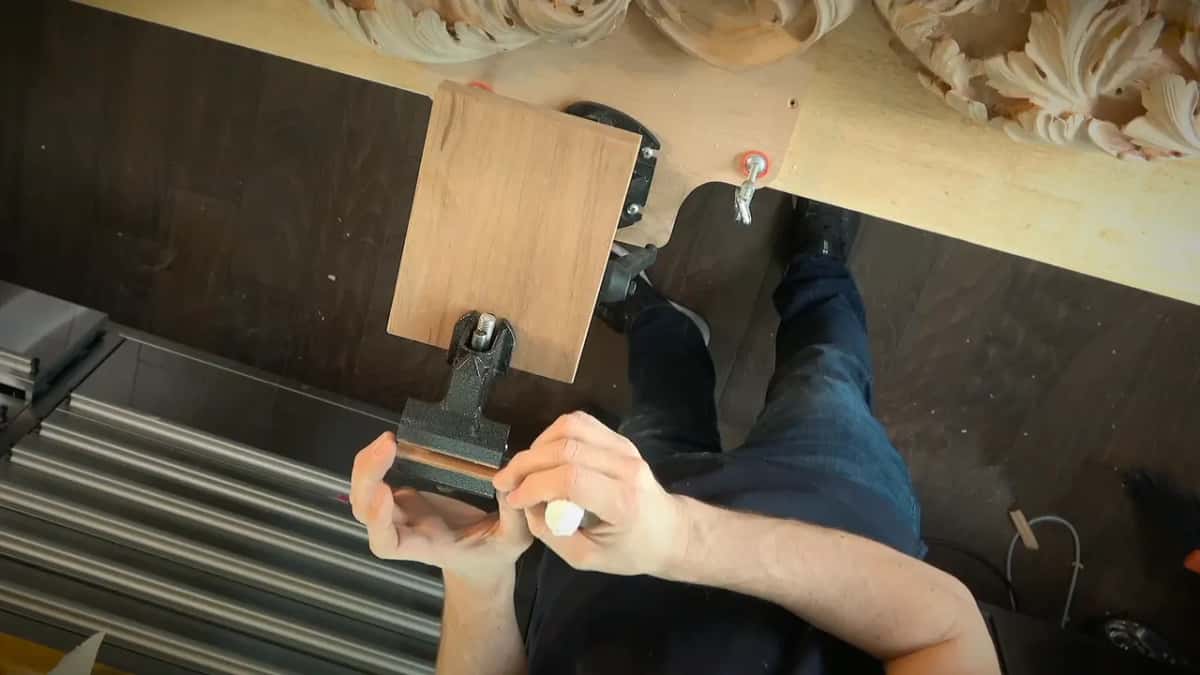
Inside the small clamp I glued thick leather, using the clear Gorilla Glue rather than the ordinary one, since the ordinary one foams and the clear one does not. Now a finished surface can go in the jaws and come out unmarked.
Will a scroll saw go through two inch stock?
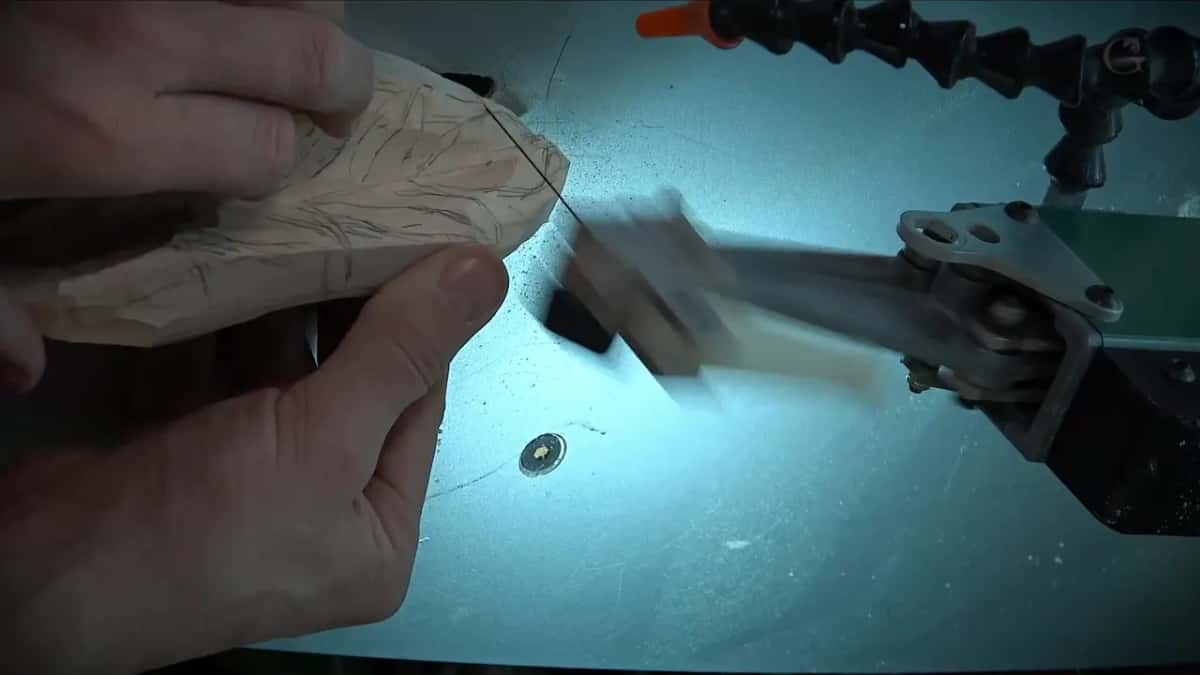
Yes. Somebody asked me exactly that, and this stretch is where I prove it. Eight quarter material, two inches thick, on a tiny skip tooth blade, and the saw never complained.
A bandsaw would be quicker if you own one. My scroll saw is an Excalibur General International, an older model made in Canada rather than the ones they build now, and I love that machine. Powerful, and no vibration at all.
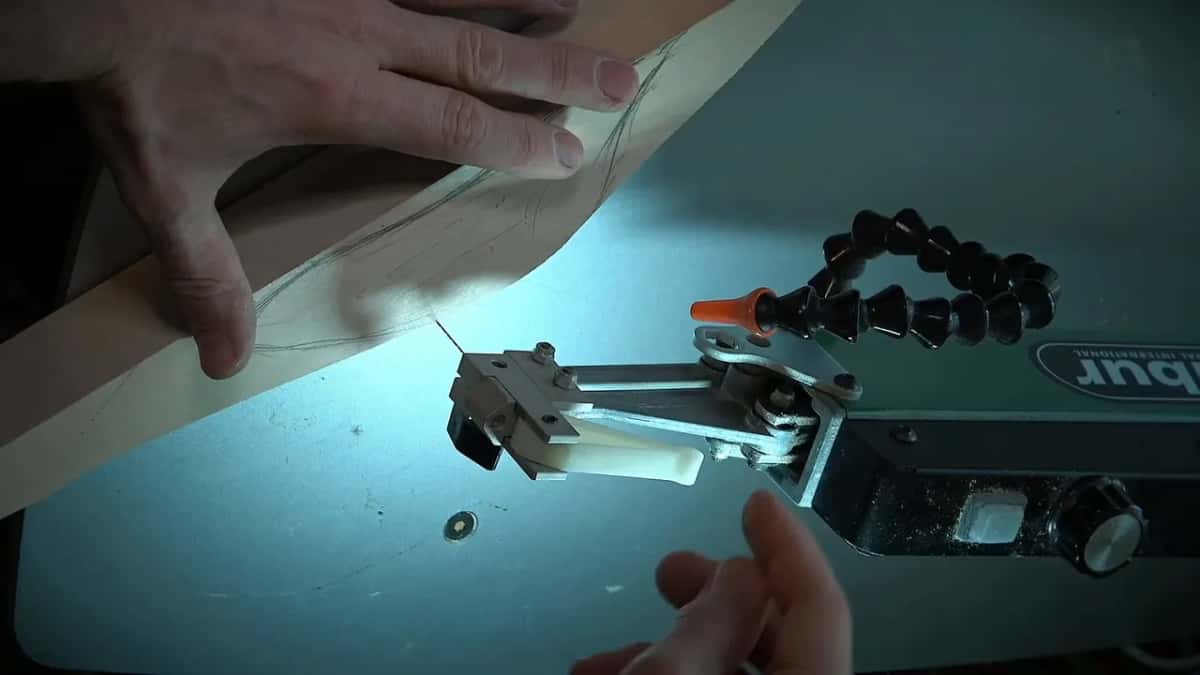
It changes how much gouge work there is. Cheeks either side of a middle leaf can be chopped with a chisel, or I can just cut them on the scroll saw, no problem. I switched to a spiral blade for one curve, which I normally avoid, and it did what I needed.
Why leave extra wood at both ends?
Waste left at each end becomes a handle. Clamp it, flip the piece and work around that double handle, and later on chop the waste off.
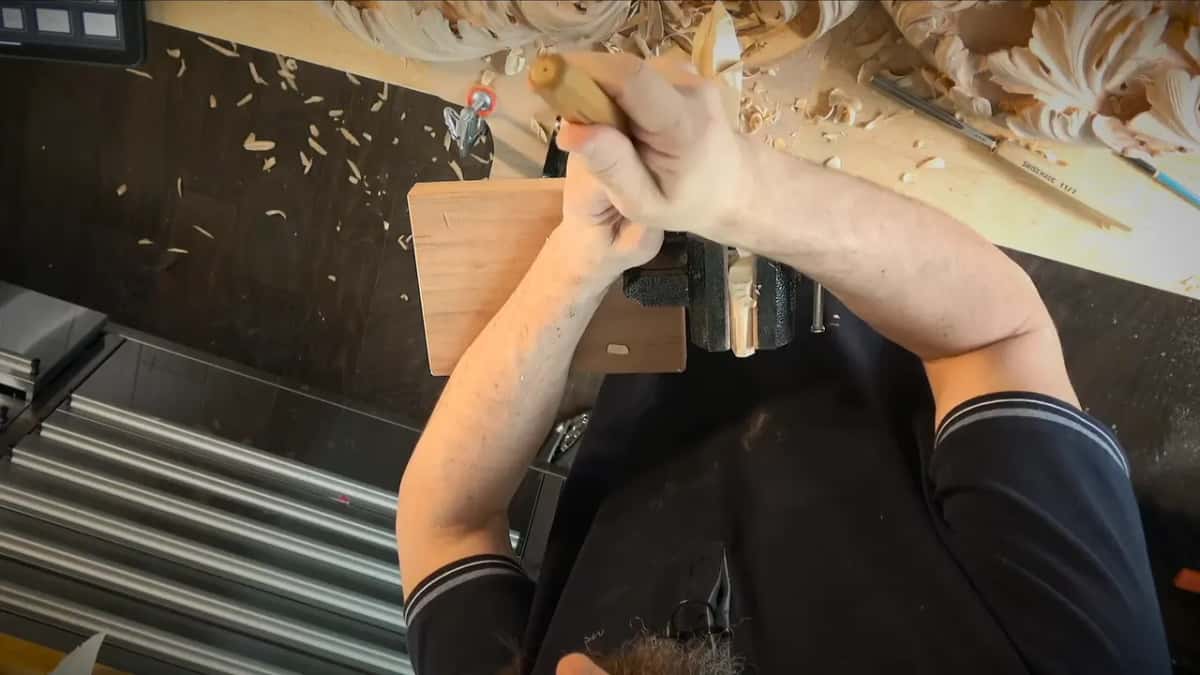
I try to keep metal out of harm's way too. If a tool slips, I want it to go underneath and miss the metal, so I set the work lower than the hardware, and gluing small blocks of wood over the exposed metal would be smarter still.
Did Gibbons really build his work in layers?
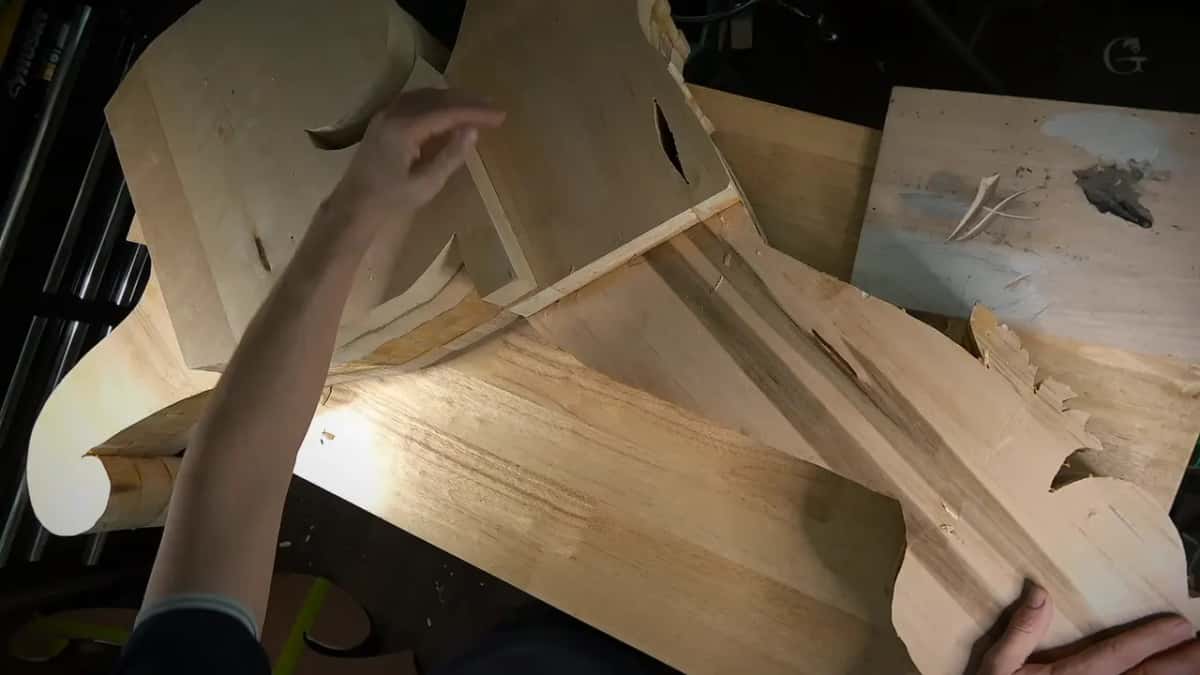
I could have carved this whole area out of the solid, the way the rest of the room was done. I left it for the school on purpose, because I wanted to show the method Grinling Gibbons used: separate layers, carved apart, then fitted and glued into place.
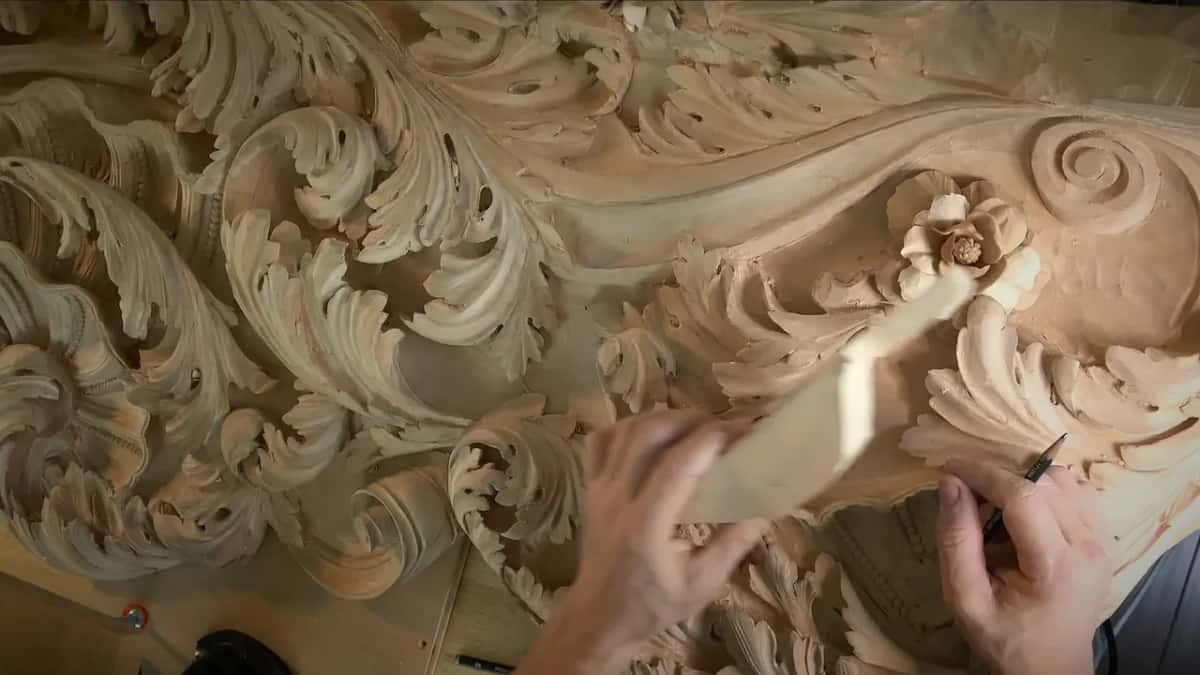
Here is the honest part. He left extra handles on both sides too, so he could flip the piece and work around them. How do I know that? I do not know. I am reading books, and the people who wrote those books can only guess as well.
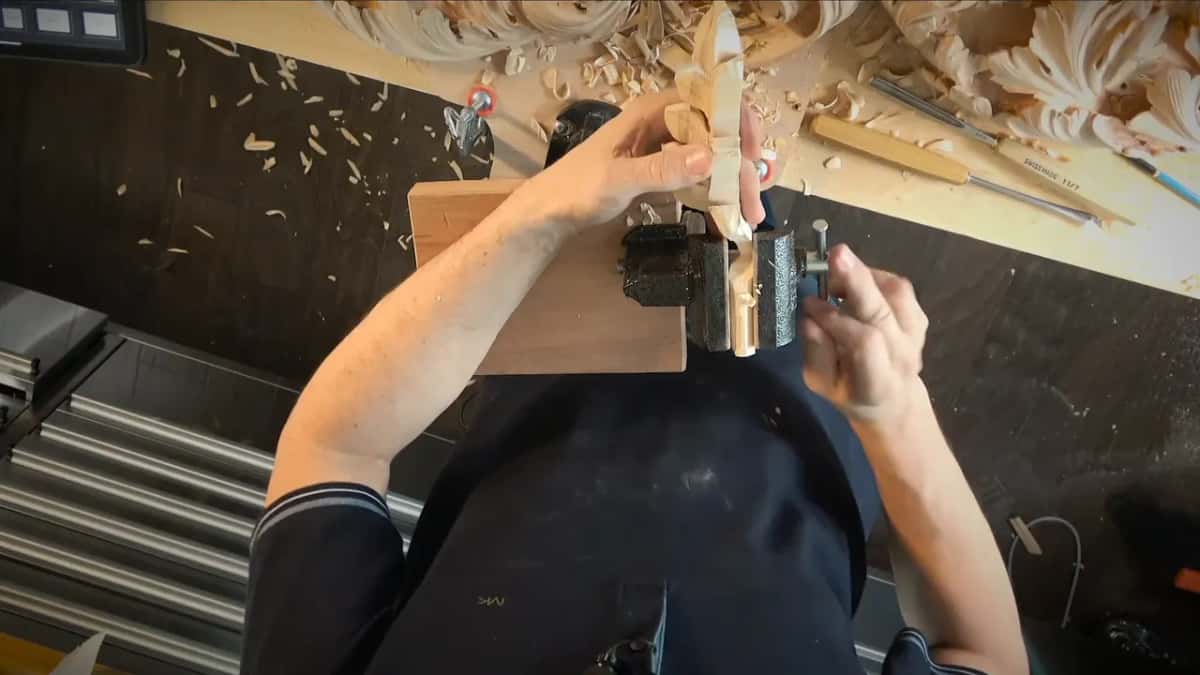
The stem I carve here would stand on its own as a project. The wood here is basswood, though the same piece would sit happily on an oak ground. No flowers on it, just leafage, and the flowers elsewhere on the body go in as inserts dropped into a carved socket, the same trick as the Hashemi flowers.
What do you do when a piece snaps off?
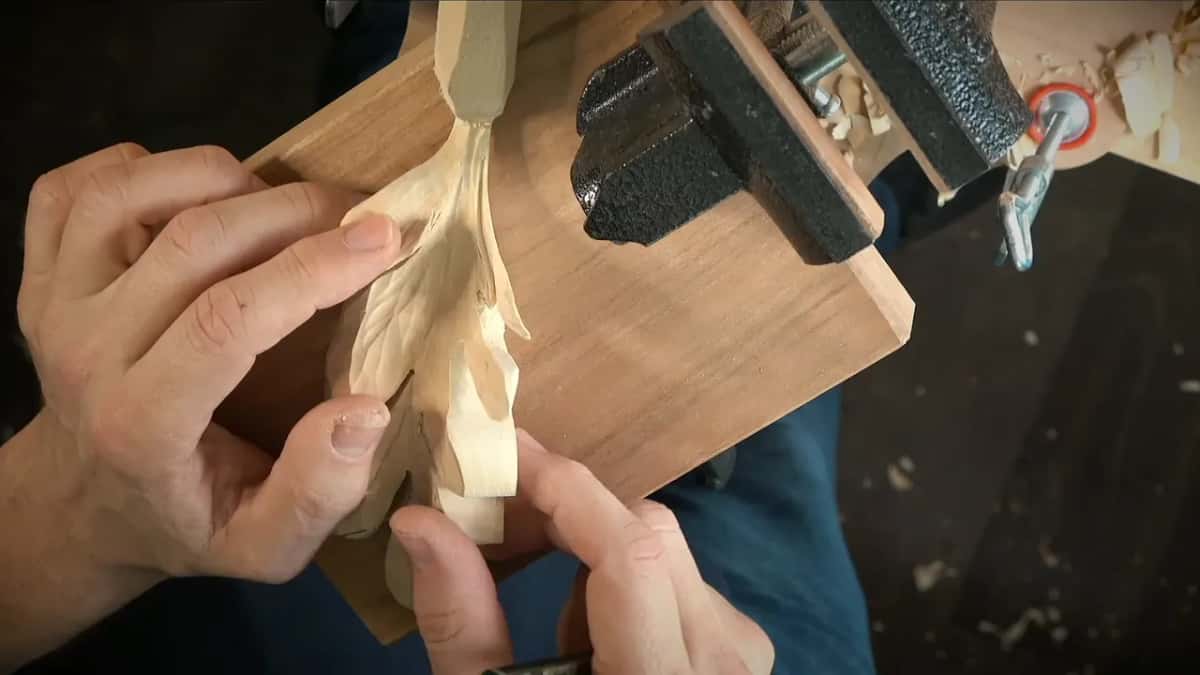
Glue it back and carry on. I broke a sliver here under a sixteenth of an inch thick, knocked off while I was unscrewing something, and it went straight back on.
The glue matters more than people expect. Mine is Starbond, a CA glue thin as water, and it does not sit on the surface. It runs into the fibers and stiffens them from inside. Carve up to a repaired break and the wood there behaves almost like plastic under the edge, clean and dense, while the surrounding basswood slices normally.
I read that people doing marquetry use it to fill gaps between veneers, and those are not people who would trust a glue that fails. Honestly I do not love CA glue in general. It surprised me enough that maybe I should use it more often, to stabilize some weak areas.
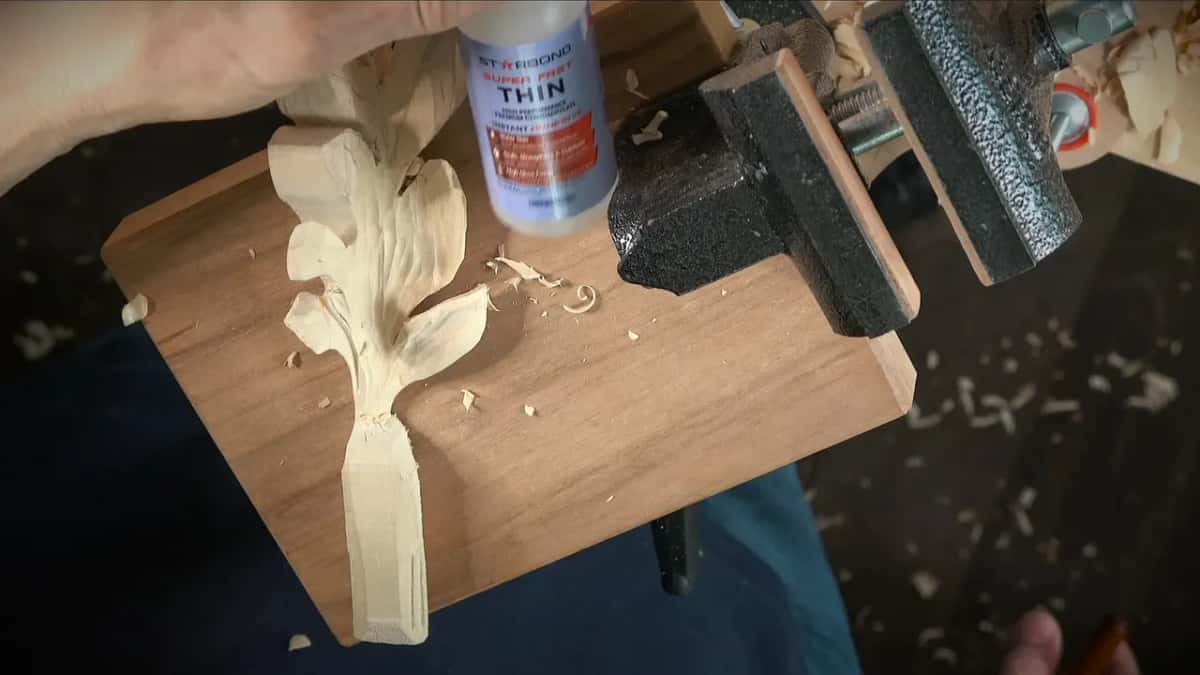
Two things make that decision easy on this job. The break was tiny, and this piece is paint grade, so I don't worry how the repair looks.
Which tools and kit do this job?
Mostly ordinary gouges, and then a short list of things that have nothing to do with carving.
| Kit | Size | What it does | Where it turns up on this job |
|---|---|---|---|
| Number 11 veiner | 7 mm and 15 mm | Outlines a shape and frees the waste beside it | Nearly every workshop in this stretch |
| Number 9 | 6 mm, driven | Bores a plug hole by hand when I skip the drill | Sinkings |
| Number 7 | 14 mm | Gets the shape to about an eighth off the line | The drop, first of all |
| Number 3 | Medium | Cleans | After every roughing pass, over the whole piece |
| Pointing machine | Needle on an arm | Takes a depth when calipers get awkward | Back face |
| Veritas plate | 3 in plate, 2.5 in screws | Carries the weight of the blank and lets it turn | The layered stem, then the corbel |
| Scroll saw | A narrow blade | Cuts eight quarter material and takes off waste a chisel would otherwise chop | Layers, cheeks |
| Starbond CA glue | Thin | Mends breaks and stiffens weak grain | Any time something snaps |
Why does a tool handle work loose?
Wood moves. A ferrule that gripped fine can come loose later, because the handle shrinks and swells with the moisture in the air, and that is not a defect in the tool.
The older ones I had were really good. The brand changed hands, and now a few of them will pull right out if you tug. CA glue fixes it, and so does epoxy, which is closer to a resin and stays put. The steel is still good steel. Only the handle let go.
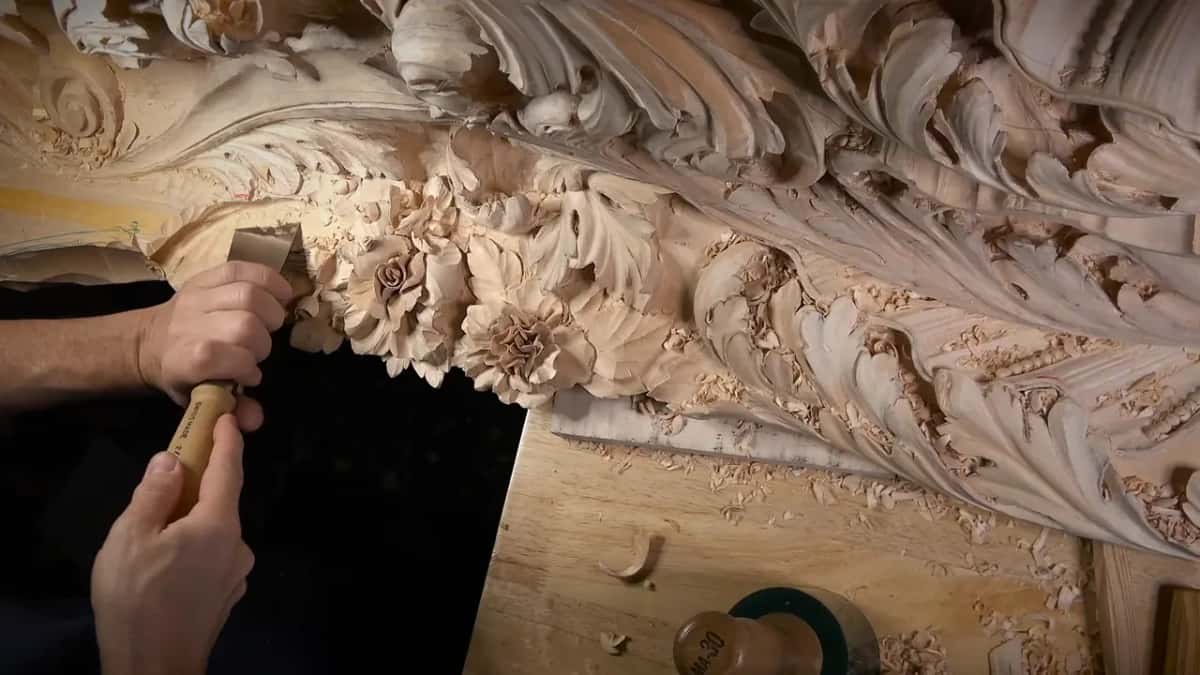
None of it helps if the edge is dull, which is a whole course of its own. Tools must be super sharp. That's just a must.
Who is this stretch of the room for?
This is the seventh block of one project. It opened in workshops 1 through 12, carried on through 13 to 25, 26 to 37 and 38 to 49, and by 50 to 61 the shadows were doing the work. Nobody arrives here on their first week.
If you are still fighting a flat panel, go and fight that, and draw before you carve. I know most of you are not going to do that big of a project, but sections of it can be used anywhere. You have to be real about which stage you are on.
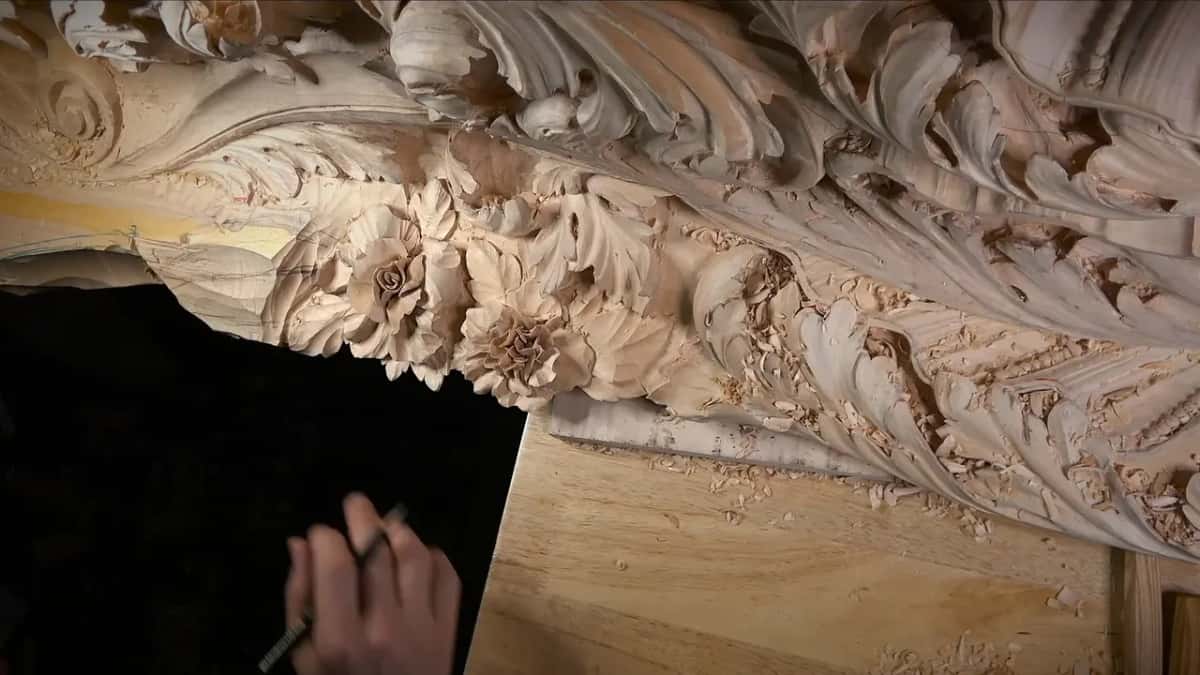
But if you have carved in relief and you want to know how the same hand makes something that reads from every side, this is the stretch. Do you want to understand the holding and the measuring as well as the carving? Would a bracket that looks like it grew straight from the wall interest you more than another flat ornament? Then the whole school is one door, and this room is one course behind it. Shall we carve?
Want a look around first, that is fine. The map of every lesson is open to anybody, the story of the school sits on one page, and the classes in Maine are there if you would rather stand at a bench next to mine. Start here if you have never held a gouge, and the tools course answers what to buy first.
One last thing. The flower inserts on the main body got carved off camera, because it takes a long time to edit. It is exactly the same operation I already filmed on another course, so putting it on tape again would just be redundant.
How it's done
- Print the profile full size. Actual size on paper, glued to plywood around 5 mm thick, then cut out. That way you can measure from it.
- Mark the waste on all four faces. Front, back and both sides before a single gouge comes out. On this corbel the drop goes around and ends on the backside, so the back gets marked too.
- Screw a plate to the back. Three inches across, held on with screws about 2.5 inches long. That plate drops into the vice and becomes the only thing between a heavy blank and the floor.
- Read the deep points from below. Lay the piece flat, set the needle, and take the measurement upward from the bench surface. Where even calipers are hard to use, this is how the depth gets known.
- Tape the bit, then bore short. Wind tape round the drill at the depth you want and stop before it. Check, then go again. Leave about three millimeters for the cleaning cut.
- Let the saw take what it can. Cheeks, outlines and whole layers come off faster on a scroll saw than under a chisel, even in thick stock.
- Rough to a millimeter off the line. A number 7 gets you close and a number 3 tidies. Stop short and leave yourself somewhere to go.
- Glue back whatever breaks. Thin CA glue runs down into the grain rather than sitting on top, so a mended sliver carves harder than the wood beside it. Keep going.
Frequently asked questions
What is a corbel in wood carving?
A bracket carved to project from a wall and carry a shelf, a beam or a cornice above it. Because it stands proud, the shape has to work from the front, from both sides and round onto the back, which makes it a solid-block job rather than a relief one.
What holds a heavy carving while you work on it?
Screw a metal plate to the back and drop that plate into a carver's vice. Mine is three inches across on screws about 2.5 inches long, and the vice sits on plywood clamped to the bench. I keep several plates already mounted on different pieces.
Can a scroll saw cut two inch thick wood?
It can. Eight quarter basswood goes through on a narrow blade with no trouble, and somebody asked me that exact question, which is why it got filmed. A bandsaw is quicker if you own one.
What to carve next