

Alexander Grabovetskiy, woodcarver, School of Woodcarving · Published 2020
How do you carve a flat side square to 90 degrees on a block of wood by hand?
Quick answer: Carving a square side by hand is taking the wood down in small steps and checking each one against a square. On my Venice Room corbel I kept the tool off the inside of the line, read a 5 mm gap with a speed square, and closed it with flatter gouges until no gap showed.
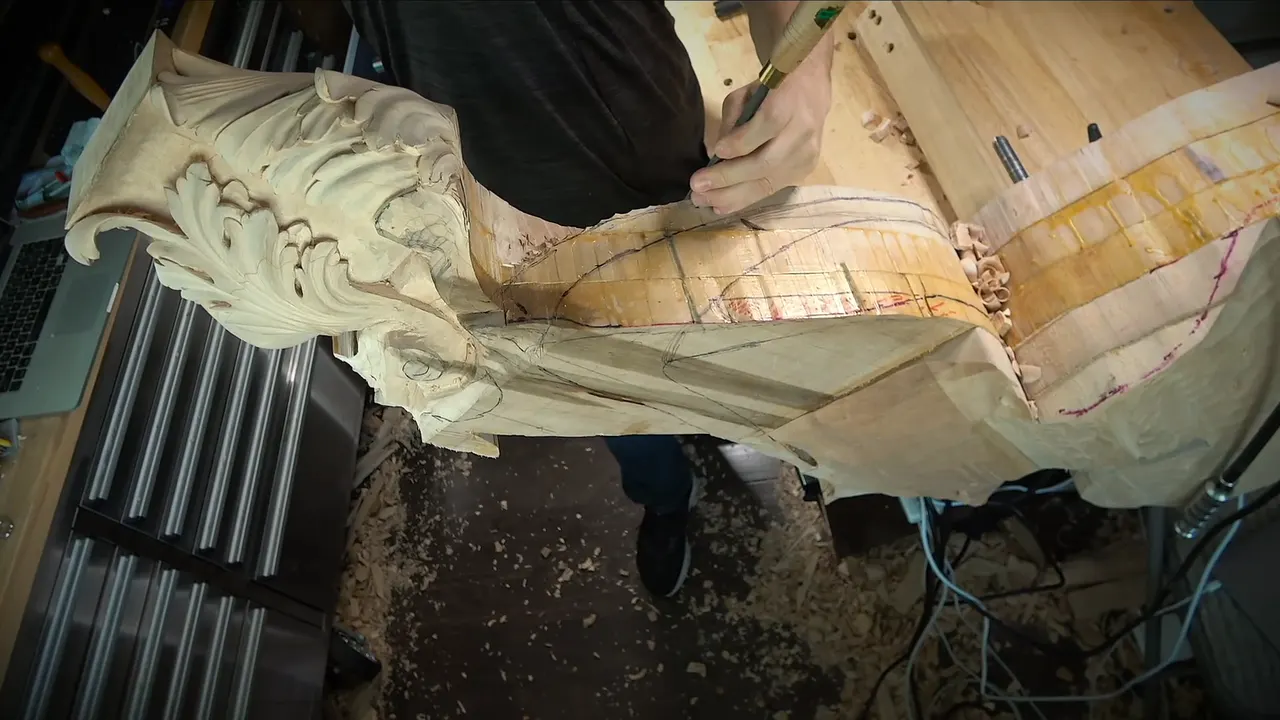
Carving a flat side square by hand is gouge work done in steps, with a square set against the wood after each step until no gap shows under it. People who search how to square a block of wood by hand usually want lumber for a box or a table, and that is a job for a hand plane. This page is the carver's side of it. One face of a carving gets squared with gouges, so the rest of the shape has a flat face to measure and mark from.
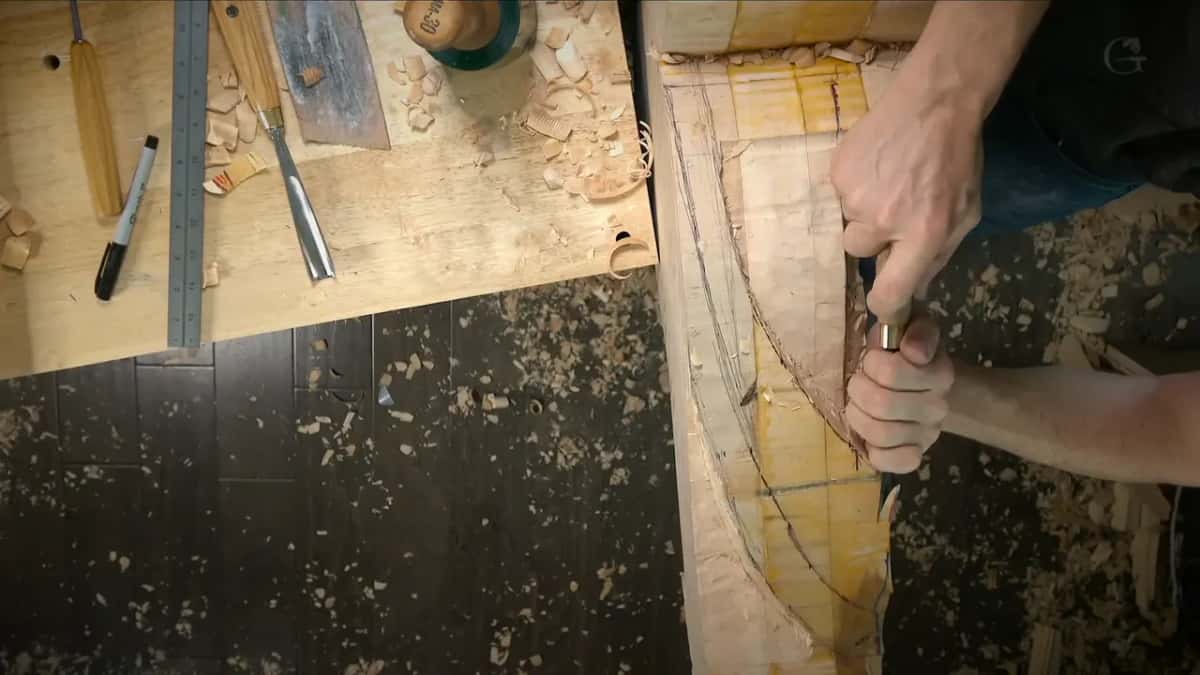
In workshop 85 of the Venice Room, the last one of Part 7, I did it on my corbel. I told the camera that one area was supposed to be a really nice 90 degrees area, so I needed to be really careful. My lamp was in my way that day.
Do you have a piece you want to carve on more than one face? Would one side you can trust make the other sides easier to measure? Then square that side first. Below are the steps I took on camera, with the numbers I read off the square as the gap got smaller.

Squaring one side with gouges, in six short lines
#9 and mallet first, then a #7 and a flatter #3 come in close.
The gouge never goes inward past the line.
At first the side stays a little out of square, on purpose.
A speed square reads the gap again and again, and mine went from 5 mm (3/16 in) down to nothing.
About 1/8 in (3 mm) stays on the side for mistakes.
Do it while a flat face is still there to mark from.
What was I squaring in workshop 85?
A side of my corbel, right where the drop runs. The drop starts at the front, goes around and around, and ends up on the backside. Before a gouge came out I had marked the waste on the front, the back and both sides, and I called that my final line of a corbel. To repeat the corbel line from the other side, I had printed several copies of the drawing. I placed one, marked it, and then I knew exactly how deep that area goes before excavating it.
This blank is heavy. It is five layers of two inch wood (about 50 mm each), and I said out loud that it was super heavy and would get much lighter once the big chunk came off. It sits in a Veritas carver's vice on a three inch plate (76 mm), held with screws of about two and a half inches (64 mm). As of that day it was the only way I could attack all three sides, and the Part 7 course page tells the rest of the holding story.
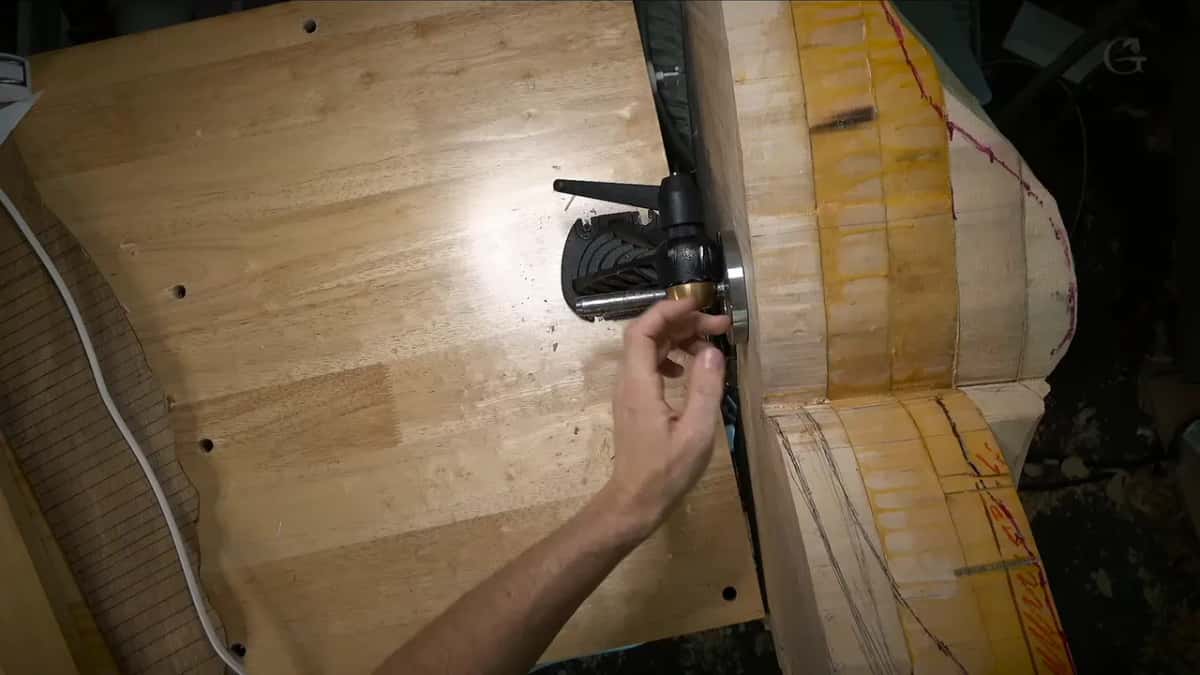
How to square a block by hand, with gouges
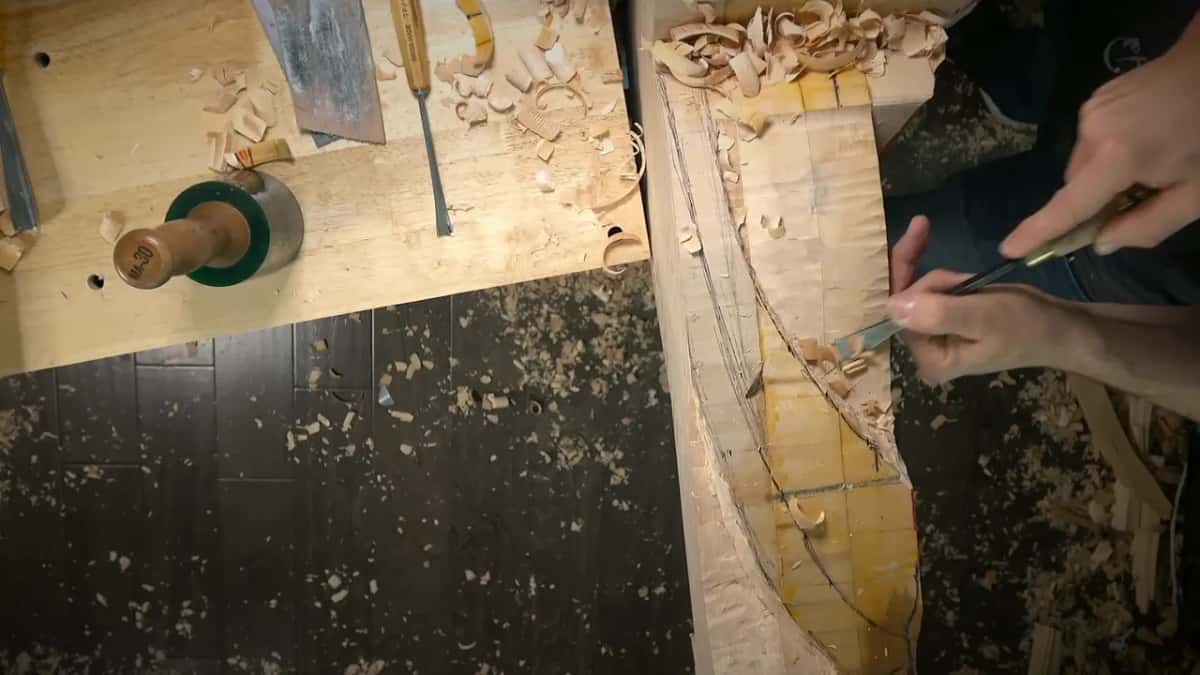
In the order it happened. The bulk comes off first with a #9 and a mallet. Then a #7 of 14 mm (about 9/16 in) gets you closer, and then a flatter gouge takes the last few millimeters while the square tells you where you stand.
For that bulk I used a heavy mallet of about 30 ounces (850 g). I took about a quarter inch (6 mm) at a time, which I called a really sweet spot, angling the gouge about 45 degrees where the grain asked for it. The line was marked on both sides, so I could attack from both directions and creep almost to the line.
I'm going to be honest with you. That part is kind of boring. On camera I called it nothing special, and I did some of it off camera for that reason. I even apologized for my hand in the camera again.
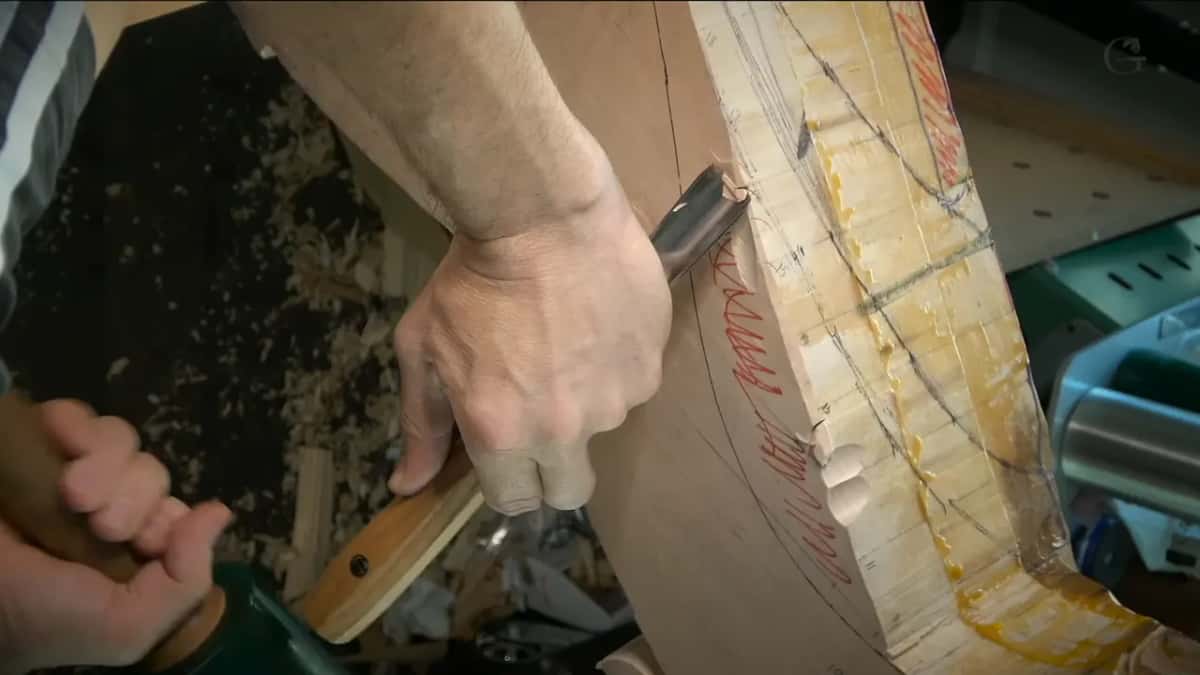
Why keep the gouge off the inside of the line?
Putting the tool inward is undercutting, and on this piece I called that a big mistake. The reason I gave was simple enough to say in one breath: the drop still had to be shaped in 3D all around.
So I never placed the tool on the inside. Better to be a little off, I said. On one side I was carving close to 90 degrees for one reason only, which was not to lose the boundary.
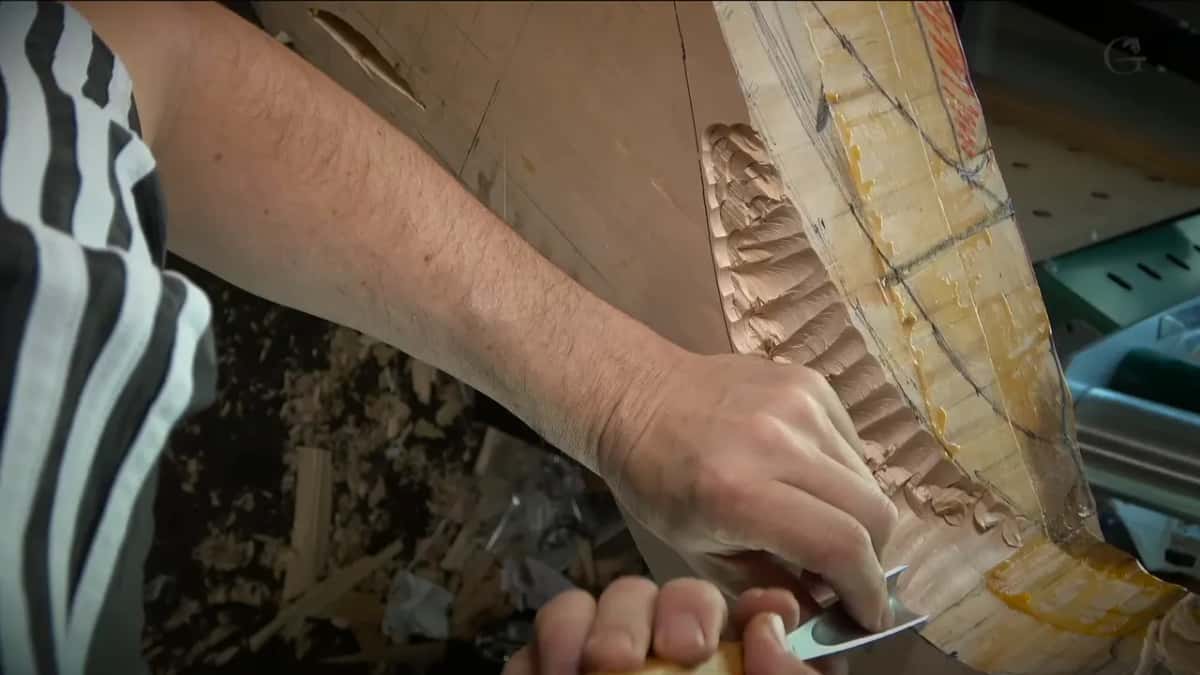
Late in the lesson I was still watching for it. You can undercut if you attack from the wrong spot or at the wrong angle, and I said it is always possible, so I kept checking that I was not doing it. How the flute of the gouge decides whether a wall stands up or leans back is where Part 8 of the Venice Room opens.
Why not carve straight to 90 degrees from the start?
Deliberately slow. I do it pretty much on purpose, I explained, and I know sometimes it doesn't sound right. Better not to be at 90 degrees in the beginning, and then to get there little by little, down to the final depth.
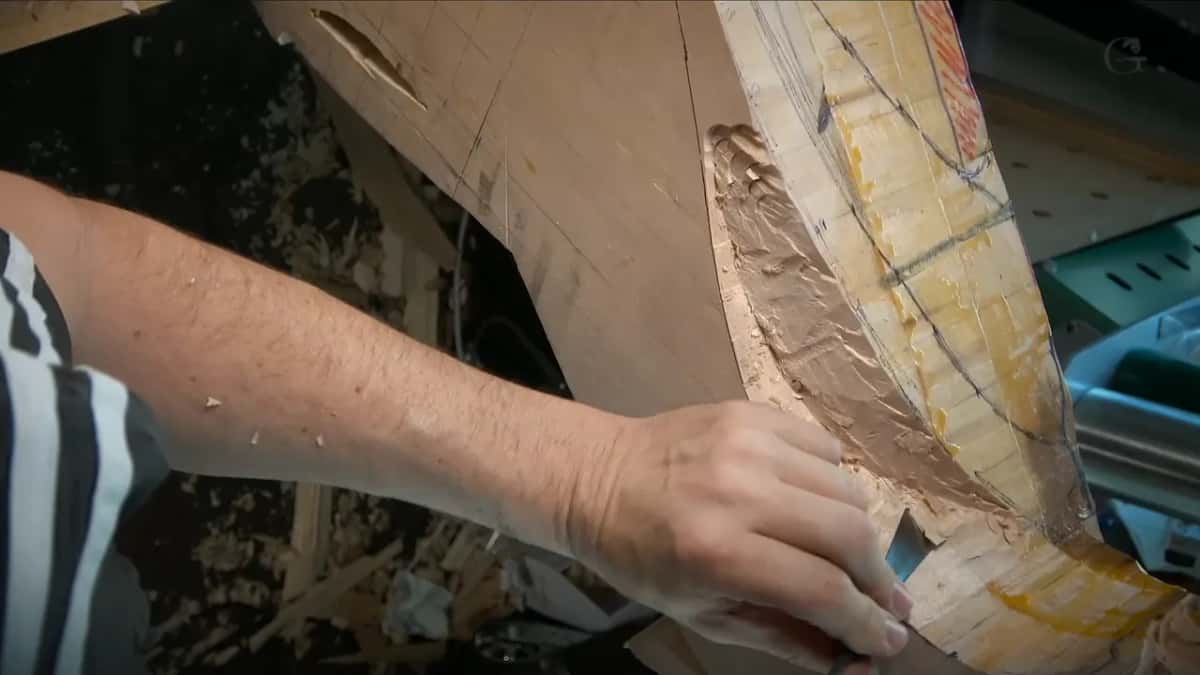
Earlier I looked at one side and said it was not exactly 90 degrees, a little off, because I really wanted to be careful how I did that. Pretty close, but not exactly.
I also left approximately one eighth of an inch (3 mm) on the side, to allow myself some mistakes if I made some. There were close calls. On one pass I got a little too close. On another I almost made a mistake, said it twice, and still kept the line that gives me the final depth.
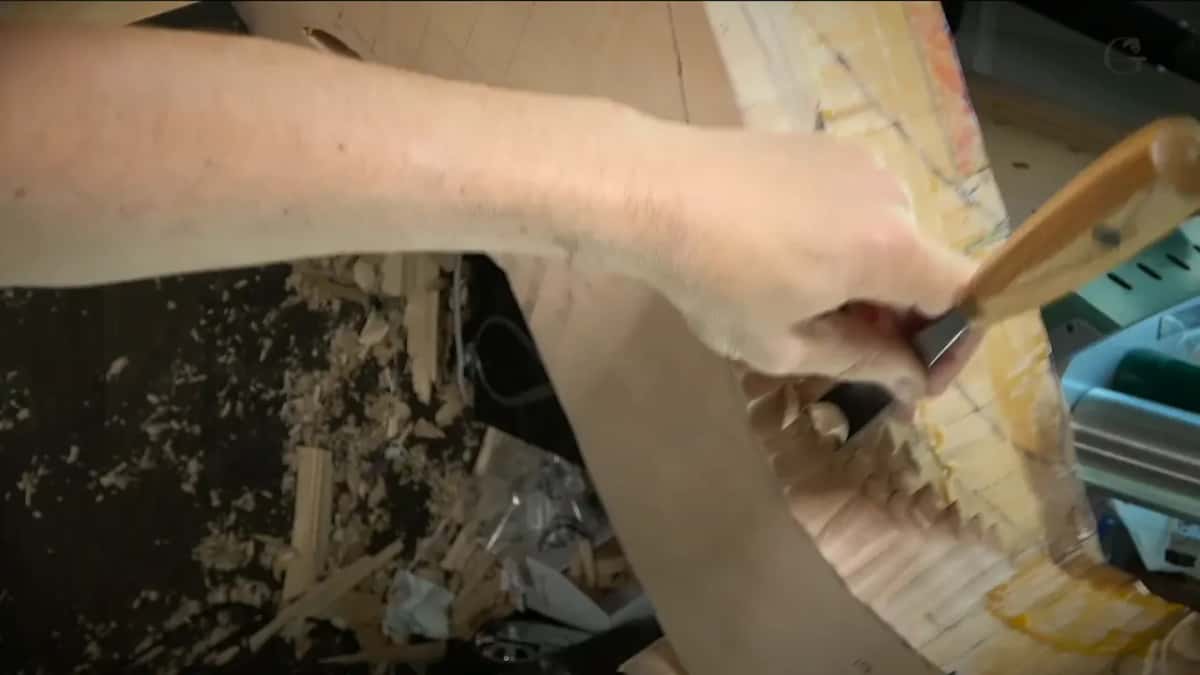
How do you check a carved side with a speed square?
Set it against the face and look at what is going on under it. Checking with some kind of device is always a good idea, I said, and mine was a speed square. The first reading showed me about five millimeters off, 3/16 of an inch, at one point.
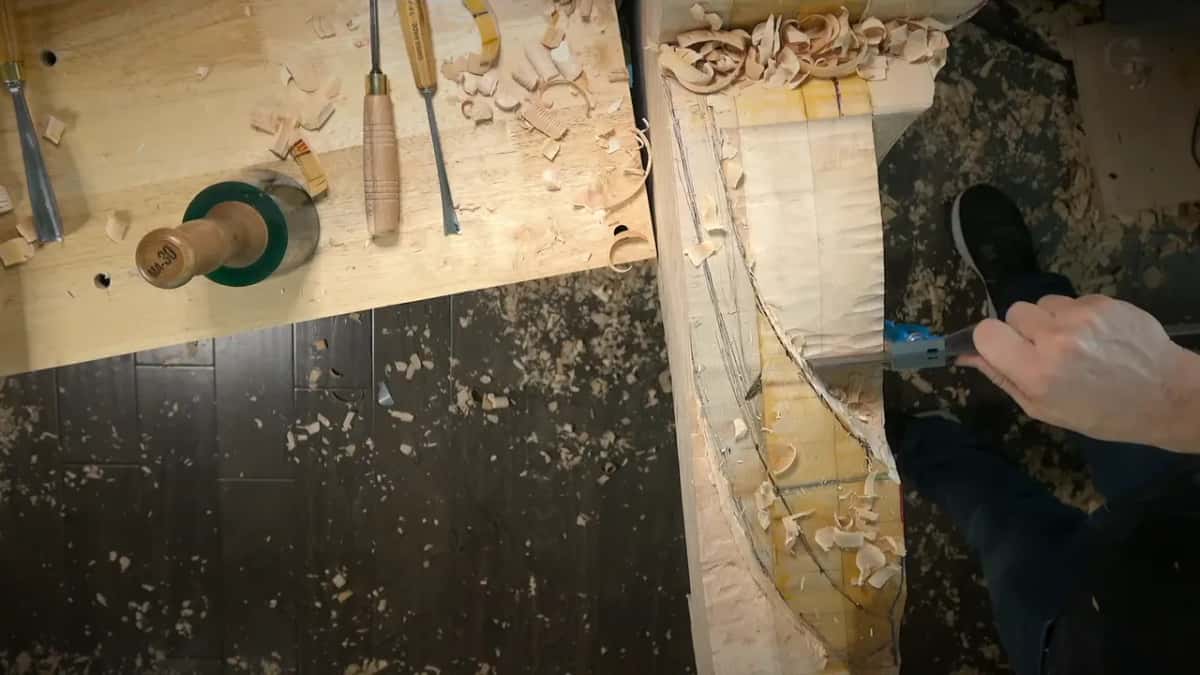
After that the numbers came down. I switched to the #7 with about 3/16 in still to go, so I carved one channel and looked again. At one spot I was about three millimeters (0.12 in) high. Later about a millimeter and a half was left, like 1/16 of an inch, and one really high spot still had about five millimeters or so to remove.
Check, a little more, check again. Very close, I said, but still not there yet. Good right there, a little too high at this point, angle it this way, and check once more. Once I called it my final depth and corrected myself right away. Semi-final.
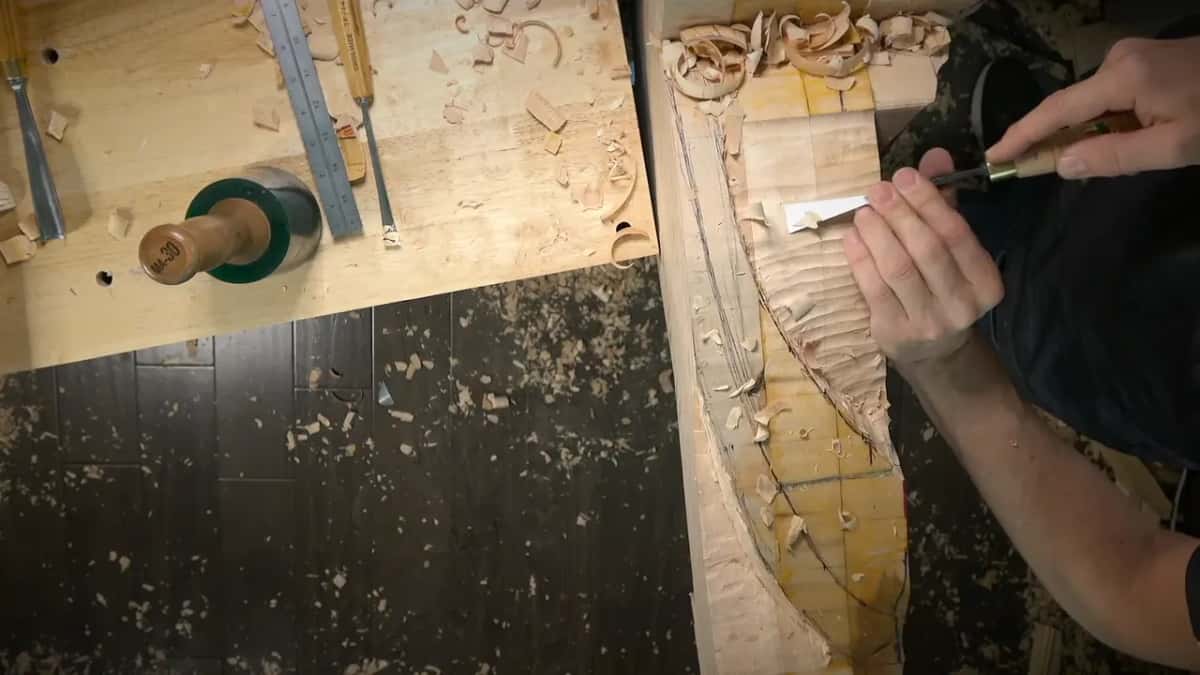
Then it was about 1/32 of an inch. The square went on once more and I was right on the money, with not even a gap under it. That is a true right angle between two faces of a carving, reached with gouges.
Once the face is done, the square works as a guide too. In the last part I placed it right on that surface and could say I was really square and 90 degrees all the way. Marking a drawing onto every face of this block is a different job, and workshop 79 has its own page on it.
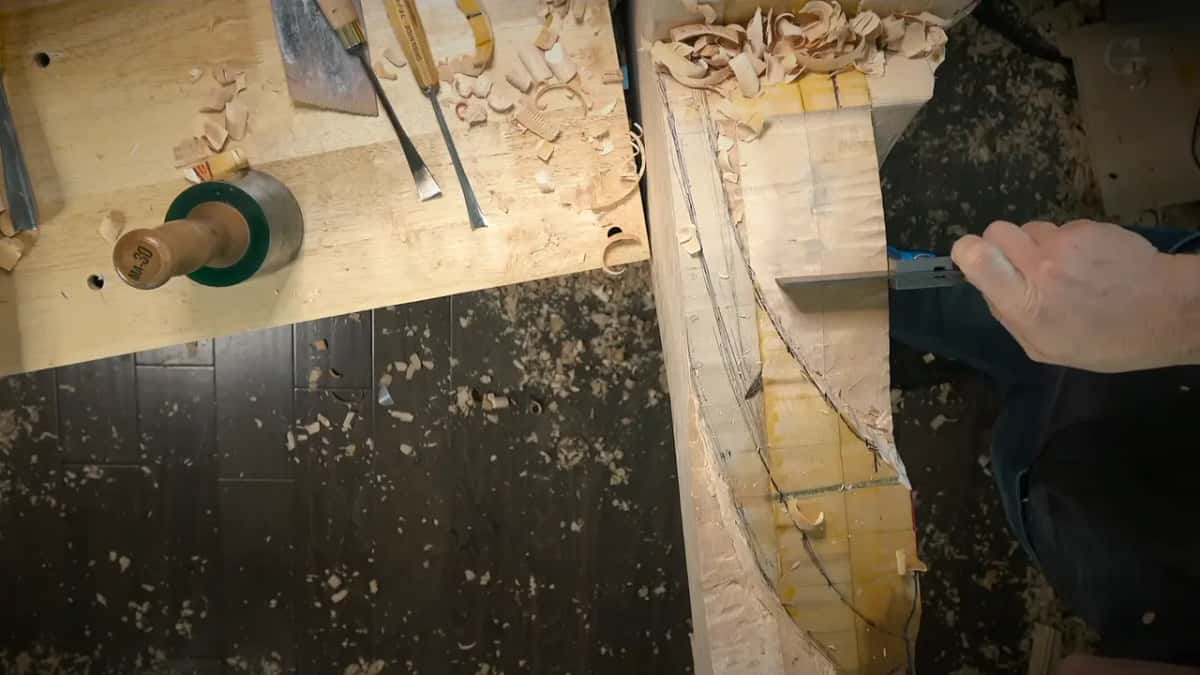
Why use a flatter gouge for the last few millimeters?
Depth control. Once I was close, I said that with the flatter gouge I could control the depth much better, and I used it to take care of the rest when I saw I was pretty close.
The same order showed up again later. There a #7 of 14 mm got me within approximately a millimeter of the line, and a #3 cleaned a little more. Earlier a #3 had gone really close to the line and left about 1 mm (0.04 in), no more, because I did not want to spend too much time on it.

What happens when the gouge goes dull halfway?
It leaves a trail. During the roughing I called out a trail and said maybe you don't see it, but it means my tool became dull. I was okay with that trail mark right then and left the sharpness for a little later.
Close to the line I stopped for it. The gouge became a little dull, then really dull, and I stropped it for a couple of seconds. After that it was like a razor and did not leave any trails anymore. That is what I like about English steel, I said, not too hard and not too soft, so a strop brings it back to the sharpness I am after. Sharpening itself is a whole course of mine.
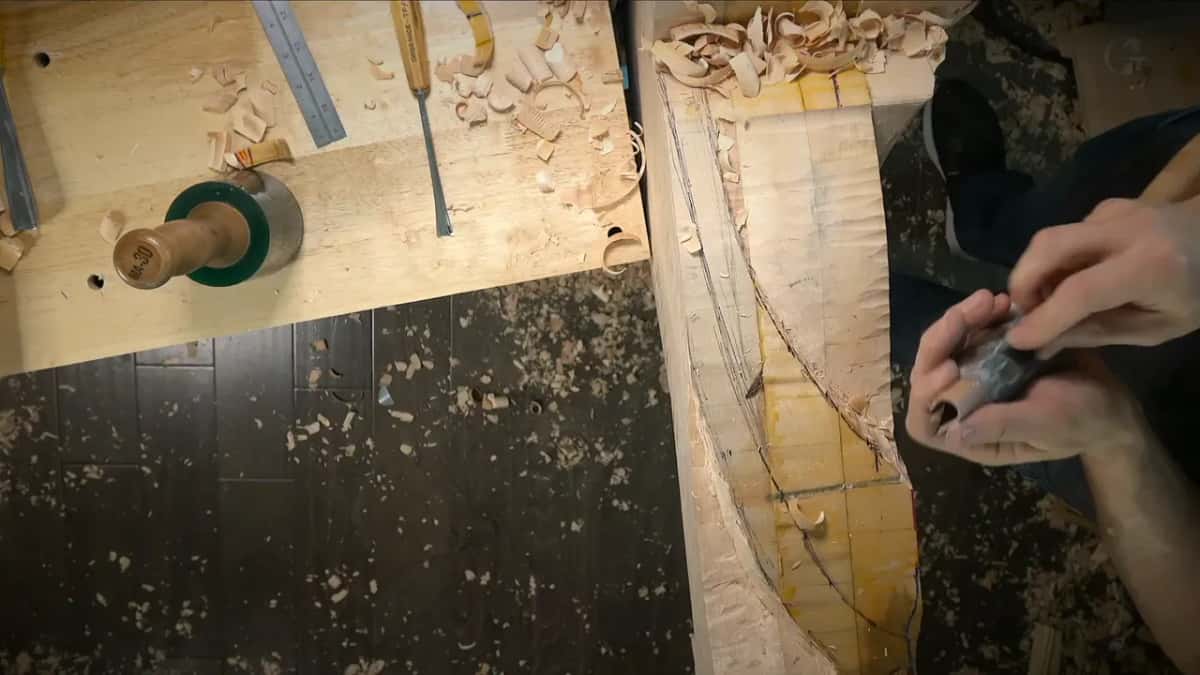
Why square the side this early?
For the reference. Doing that right, right now, was important, I said, because I could still mark on a side on a flat surface. Once that side is removed it gets kind of hard. Not impossible, I added, but a little harder, and I would have to spend a little more time to refine. Getting that 90 degrees was, in my words, somewhat really important.
Later I said it another way. My words were that it is a really good idea to get this done at the first step instead of figuring it out later. With the square side finished I had my reference again and could reference 90 degrees in that direction whenever I needed it.
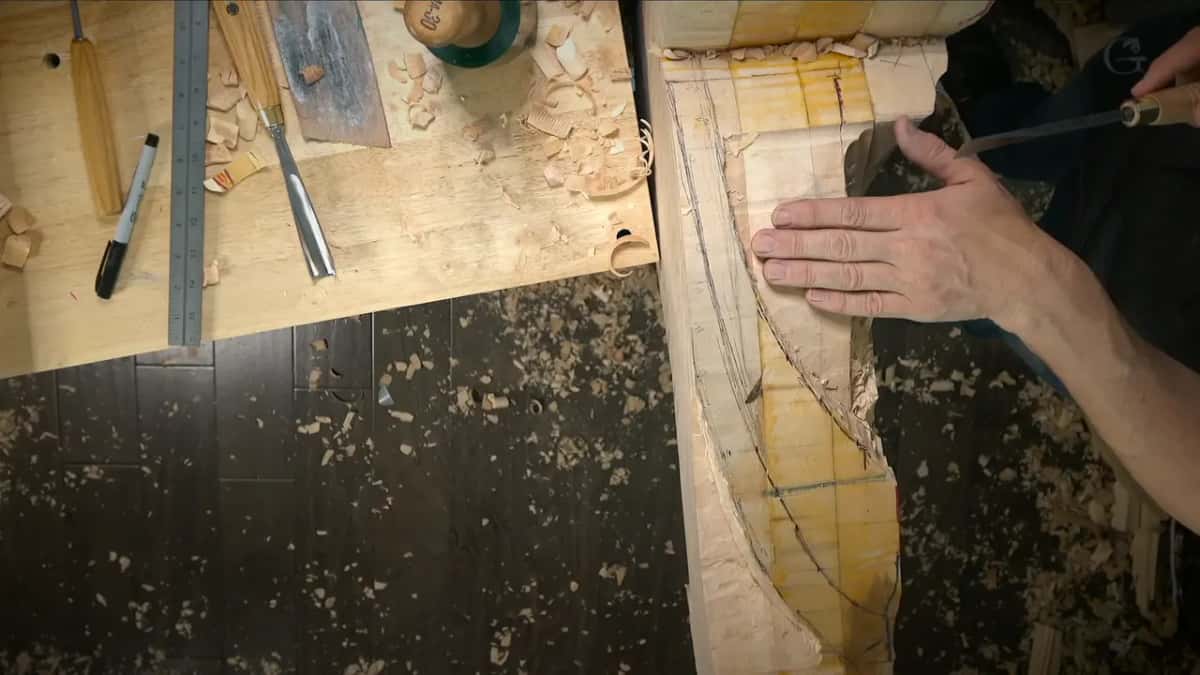
Then came a second line. I had to restore the line that sets how wide the main body of the corbel will be, and there is an easy way and a complicated way, I said. The easy way was to measure it. I measured, checked, checked again, and that was the final depth.
Then I flipped the piece. I marked on that side whatever boundary it is supposed to have, and the drop goes all the way to the backside, wider at the front with less material behind. For the waste I switched to orange for myself, because it would be a lot easier for me to see.
Does every face of the corbel need to be square?
Only where it matters. The only area it mattered, I said, was this one, because the next part is going to be a little different moment, and my students would see it.
On the other line of that section the 90 was not really necessary, since it becomes part of the drop. Farther along, on the far chunk, I carved on an angle for the time being and told the camera it would not be true 90 degrees. I was safe there, because I knew my drop would go downhill that way.
One spot on the squared side stayed a little too high, and I did not really have to worry about it. I can reference from the backside later, and that was not the final pass yet. The face did not have to be super clean either, I said, since I still needed to remove a chunk. With the face square, I could chop off one corner right away. I did not need it anymore, and the transition would come out more smooth.
Which tools squared the side in workshop 85?
| Tool | Job | Stage |
|---|---|---|
| #9, 20 mm (3/4 in) | Took off the bulk under the mallet. | Roughing first |
| Heavy mallet, about 30 ounces | Drove the #9 a quarter inch deep. | Roughing first |
| #7, 14 mm (9/16 in) | Came within about a millimeter of line. | Closing in |
| Flatter #3 gouge, near line | Controlled the depth better near the end. | Last millimeters |
| Speed square on the face | Showed how far off square it was. | Every check |
| Strop for a couple seconds | Brought the dull edge back to sharp. | Mid job |
A #11 of 3 mm (0.12 in) made one more pass along the way, a preliminary line for a shadow that comes later, so I would not lose that idea.
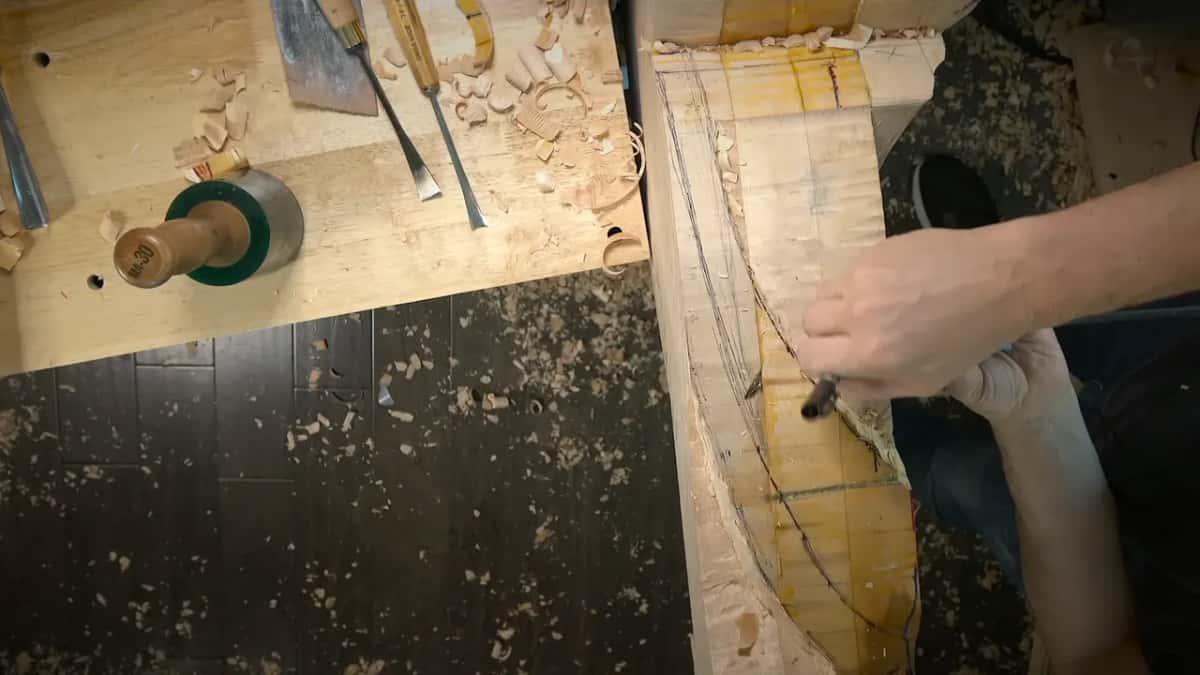
Where does the corbel stand as Part 7 closes?
Roughed, squared on one side, and far from done. The far side is started with the same #9 of 20 mm. I left a chunk where the middle ridge goes, because I did not know yet how tall it would be, and I planned to check my computer for how deep it is supposed to be, the way the 3D model page describes. The heavy undercut under the drop is still ahead, and I said it would give an absolutely gorgeous shadow. Workshop 86 picks it up in Part 8.
Who is workshop 85 for?
It sits deep inside one long project, right after workshop 84 and workshop 83. If you are still on flat panels, a furniture panel background and keeping two sides of a carving level have their own lessons.
Do you want to see the checks as they happen, the gap and the close calls included? Would you like every millimeter said out loud while the gouge works? Then the whole acanthus and corbel room sits behind one tuition plan, the map of every lesson is open to anybody, and if you have never held a gouge, start here. It is wood carving the slow way, with the camera running.
How it's done
- Rough off the bulk. Take the waste down with the #9 under the mallet, a quarter inch at a time, before any squaring starts.
- Stay on the waste side. Keep the tool on the waste side of the line so the wall does not lean in.
- Stop a little off square. Leave the side a little off 90 degrees at first, with about 1/8 in (3 mm) spare for mistakes.
- Read the gap. Hold a speed square to the face and see how far off it is.
- Close in with flatter tools. Go to the #7, then a flatter gouge, and put the square back on as you go until there is not even a gap.
- Strop when trails show. When the gouge starts leaving trails, strop it and carry on.
- Reference from the face. Place the square against the finished face and take 90 degrees from it for the lines that come next.
Frequently asked questions
What tool checks that a carved side is square?
A speed square did it in my workshop 85, set against the face again and again. The first reading was about 5 mm (0.2 in) out at one point. Later readings dropped to 1.5 mm, then roughly 1/32 in, and the last one showed no gap at all.
Should a gouge ever go inside the line on a square wall?
Inward means undercutting, and on my corbel I called that a big mistake, since the drop was still to be shaped in 3D all around. I kept the tool a little outside the line instead and let later passes bring the wall to square.
How much wood did you leave on the side before the last passes?
About an eighth of an inch (3 mm), which I left on camera to allow myself some mistakes if I made any. Later the #7 came to roughly 1 mm from the line, and the flatter gouge did the rest.
What to carve next