
Alexander Grabovetskiy, woodcarver, School of Woodcarving · Published 2020
How many sections does a carved acanthus leaf need?
Quick answer: Dividing an acanthus leaf is a count you settle before the gouge goes deep. In workshop 83 of the Venice Room I marked three main big parts, chose to merge a triple movement into one chunk, added smaller sections in teal and counted five in total, accurate to the Fibonacci sequence.
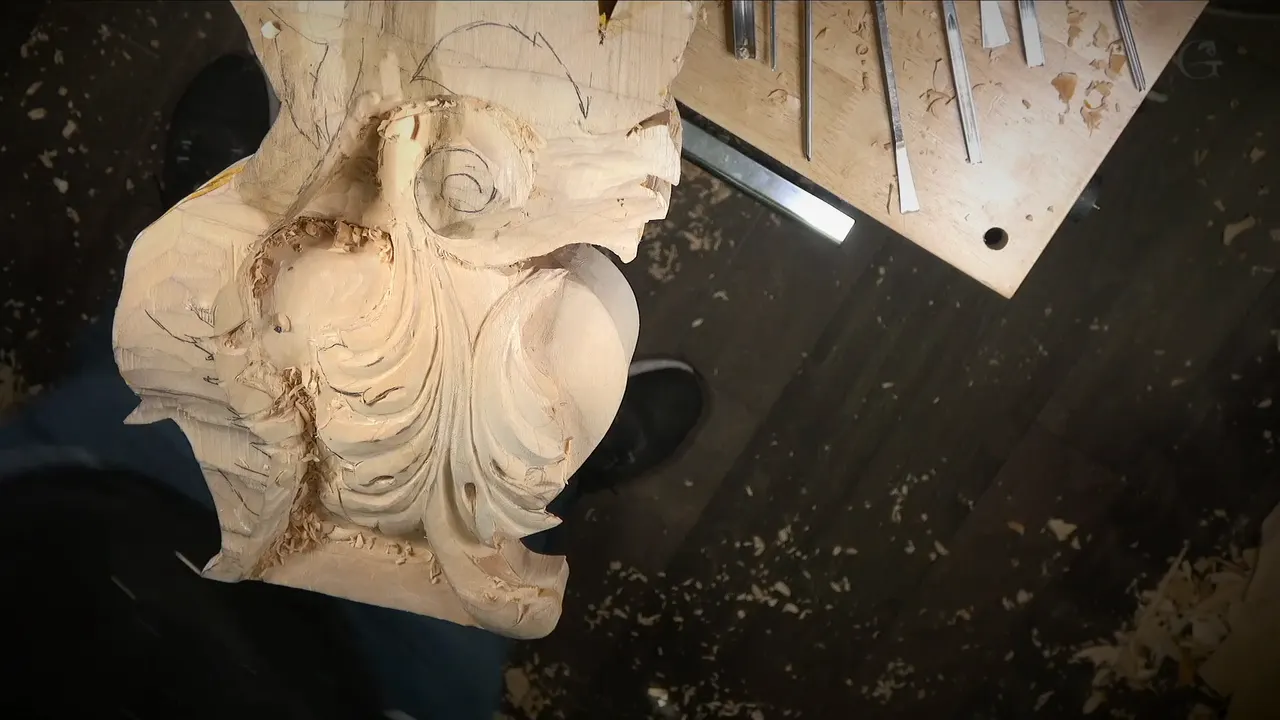
The acanthus leaf I laid out in workshop 83 of the Venice Room ended up with five sections. Three big parts went on first, the smaller ones came after in another color, and when I counted them I said the number matches the Fibonacci sequence. What you read below is that acanthus leaf design as it happened on my bench, one decision at a time.
Let me tell you a story. Deep into this workshop the gouge went down and a marker came up. For me it's not the challenge, I told the camera. I have to make the decision, and that line came out of me twice.
Do you like the look of an acanthus on old furniture or a ceiling? Would you like to know how all of its parts get decided before the wood comes off? Then follow my marker lines on this one leaf, the main movement first and the last small section at the end.
Five sections on one leaf, in six short lines
First came the main movement, which I treated as already given.
A #9 gouge cleared its path.
I chose one chunk over a triple movement.
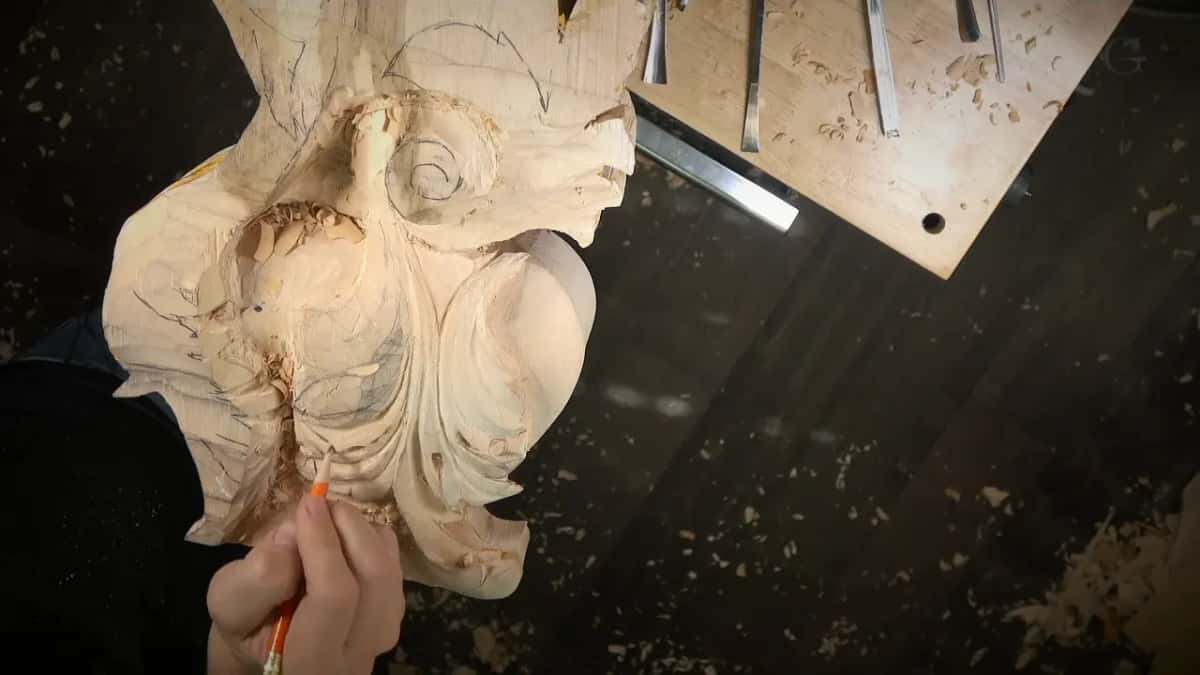
Marker went on for the big parts, then teal for the smaller sections.
Five sections came out of the count, and that was good.
However the side is divided, the whole leaf keeps the outline of a plain leaf, like a fishing boat.
Where did I start on the new part of the leaf?
My starting point was the side I had already carved. I looked at it to figure out what was going on there, and then I asked myself how many big divisions the new part would get. Same like what I had on this side, I said. Right before that, I had rounded the leaf where it wraps around, which is a job for a different page.
All my movements, I said, are supposed to follow the logic. I also said I was not going to repeat exactly what I designed. Approximately, yes. Exactly, no.
Which line gets settled before any small part?
The main movement does, and on this leaf it was already given. It runs from one end right through, and my job was to make that movement happen in the wood. One chunk stood in the way of it, and a #9 gouge took it out with no problem.
I looked again and thought I could remove even more. I left just one point standing. That point would become a part that sticks out, although it doesn't have to, I said. If it's going to be too fragile, I can always take it out.
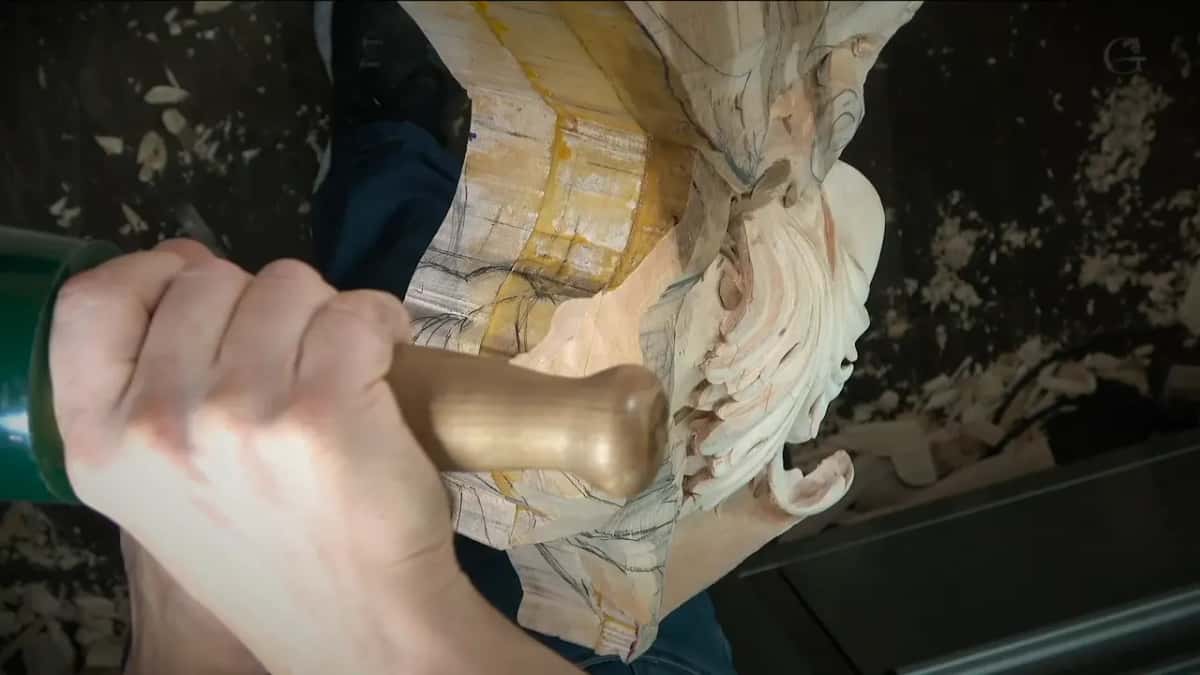
After that I checked the movement a second time. I called it the main, the central, whatever you call it. Not really the center, I said, but in this case a really interesting movement. There was still a space to fill. Originally I had some small parts sticking out there, that made sense to me, and I meant to do it.
Why unite three small movements into one chunk?
Three little movements in a row did not look right to me. I said so plainly on camera. What I don't like is what I've done right here. Maybe I have to change something.
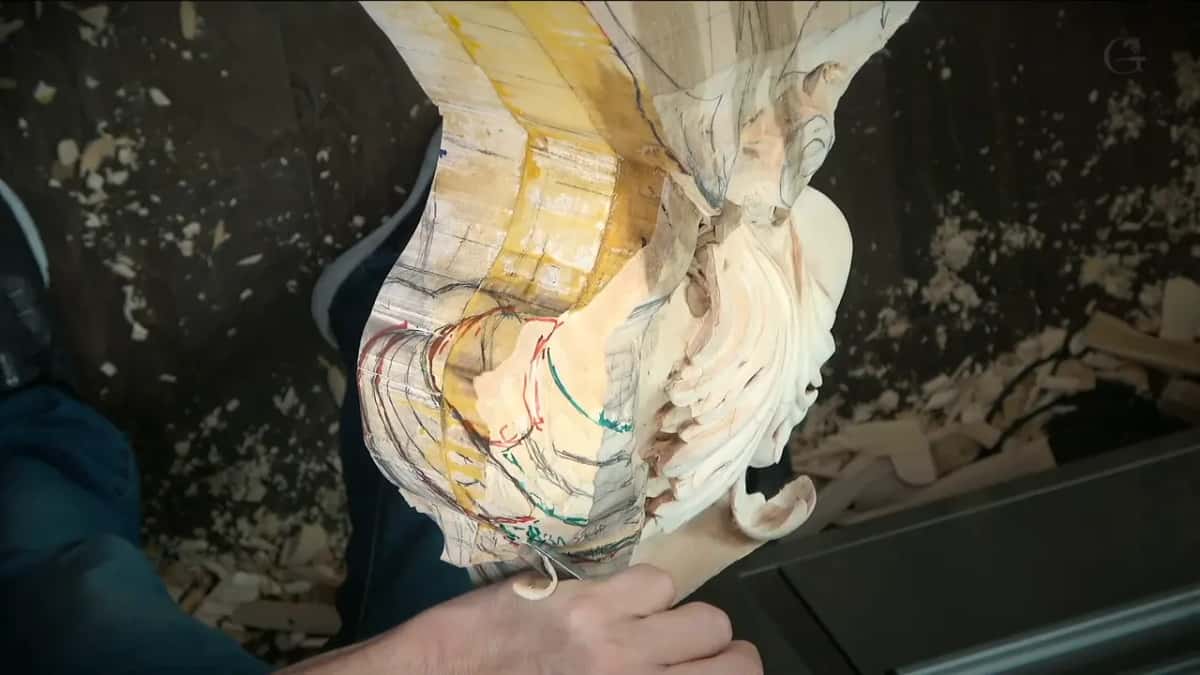
I counted them out loud, one, two, three, a triple movement. And what I can do, I said, is unite that in one chunk, and I think it will look much better. The last part came out twice. Before that, one line had to run all the way to another line, and I said it belonged to the big movement too.
Small second divisions carved inside one lobe are another matter, and I talk about those extra separations in workshop 14. Here the work went the other way, toward fewer and bigger parts.
What happens to a section you are not sure about?
Mine waited. Early in the workshop one area was still not too happy, and it just didn't make much sense to me. Maybe I have to get rid of the whole section, I said, but I'm not sure yet, and I left it for later.
What I was sure about was the simpler side. A bunch of leaves, and the center line going all the way, because everything goes to the center. There would be a pipe along that line, maybe a longer one, I said, and I went ahead with a longer pipe.
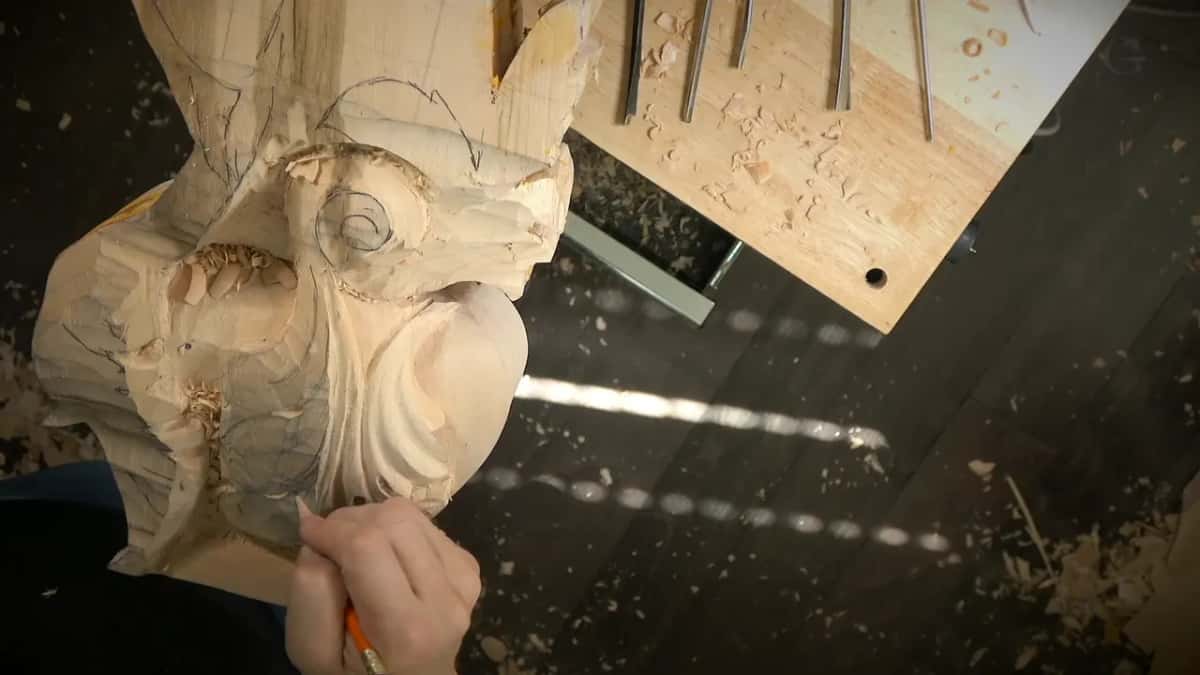
Wood I might need later stayed on as well. Below one leaf I left material for a small detail coming from underneath, a double layer. Another spot I did not dig out fully. Maybe a leaf would stick out there. Something doesn't make sense, I said at one point, but I'll figure this out a little later.
Acanthus leaf design in three big parts
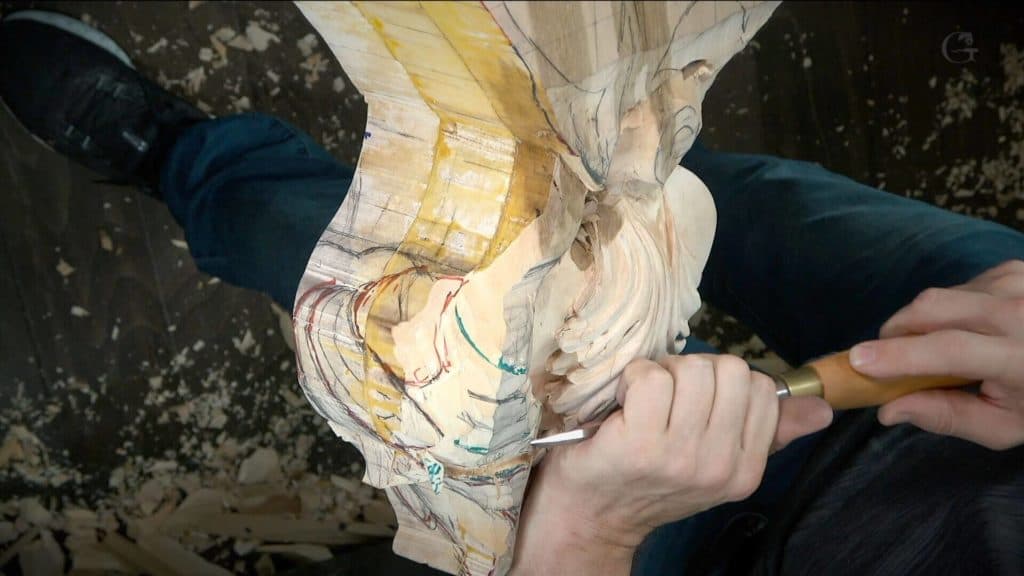
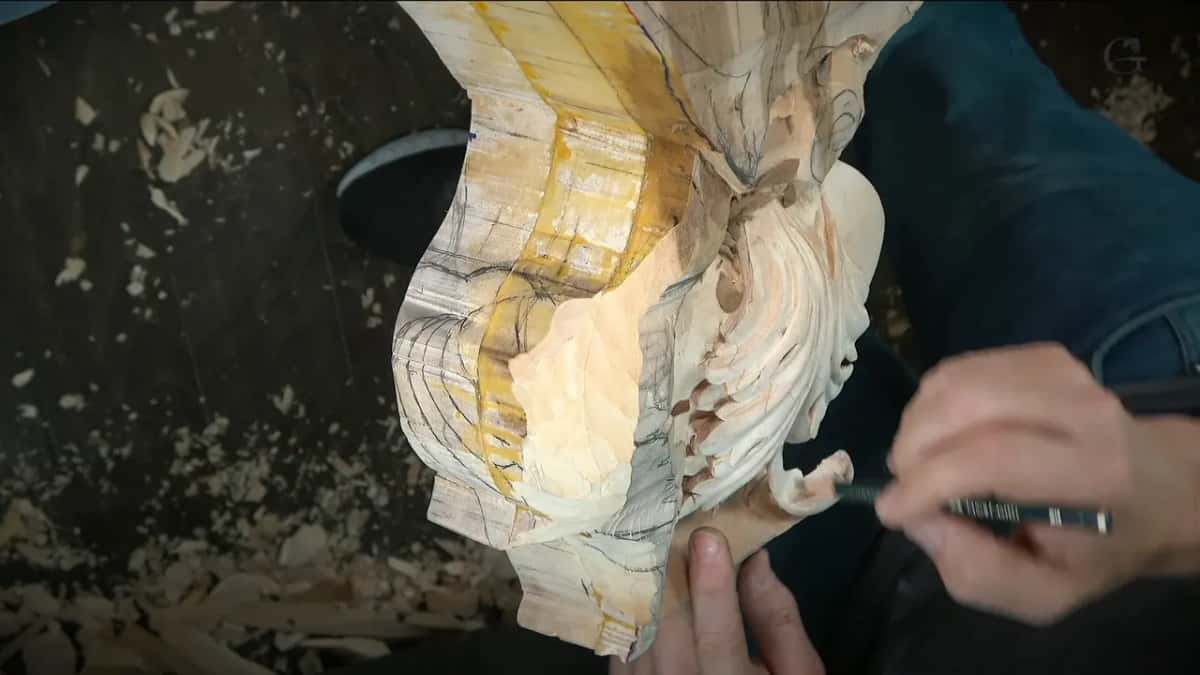
With a marker in my hand, I drew so you could understand much better. One section starts at one end and runs across. A second section is double layered, with one leaf on top of another, and I admitted on camera that it didn't make any sense yet. It will, I said.
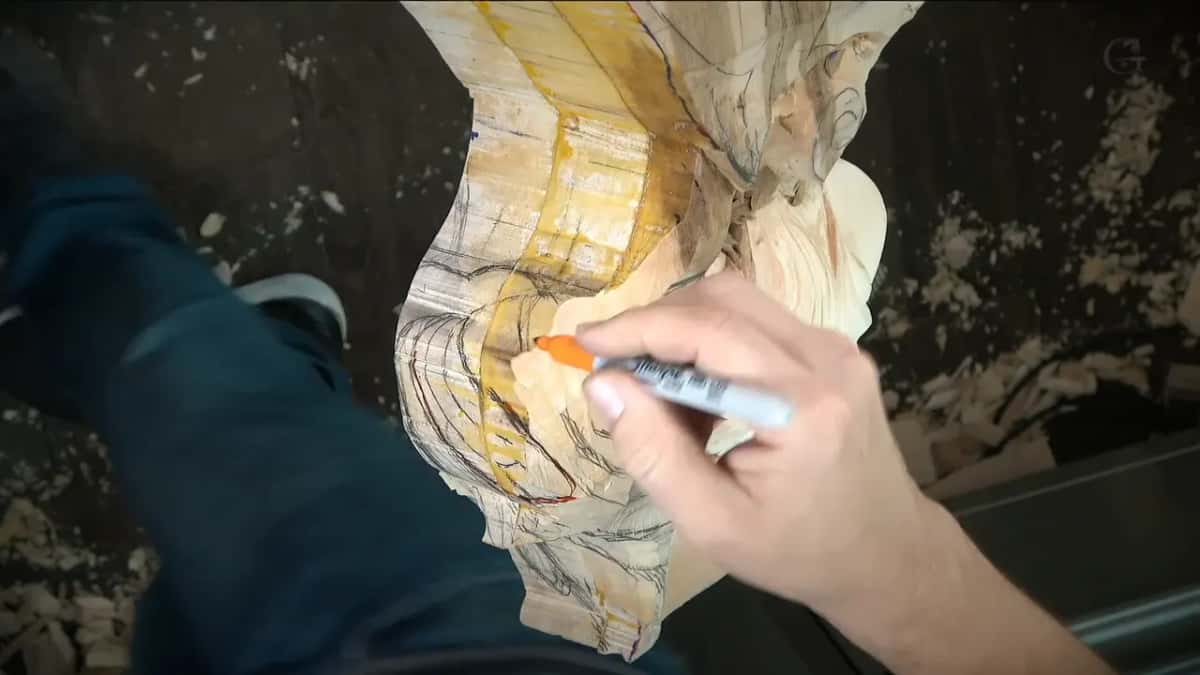
One of them I called the upper section. Something else had to go in one spot, otherwise the leaf was not going to look nice, and that became the third. One, two and three right there. Three main big parts, drawn on the wood before a gouge touched any of them.
These three are not the same three as the lines down the middle and each side of a leaf, the anatomy I explain in Maine class 4. On this leaf the three were big areas, each one with room for small divisions later.
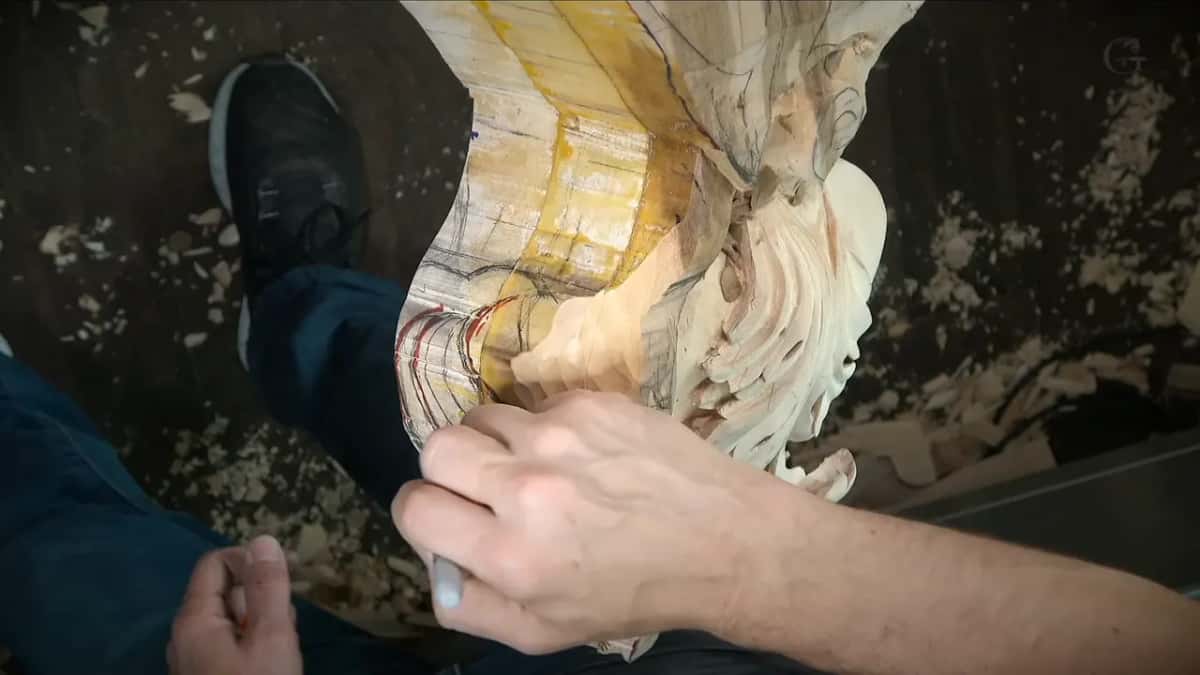
Where do the smaller sections go?
Everything that is not one of the big parts becomes a smaller section. Those I would indicate with a different color, I said, and I took a teal one. Two kinds of lines now showed on the wood, the big shape and the small parts inside it.
I was mumbling that day, and I said sorry for my mumbling on camera. I really had to figure this out. Then I looked again and said I can also divide that. One area became a section, and another became a second section.
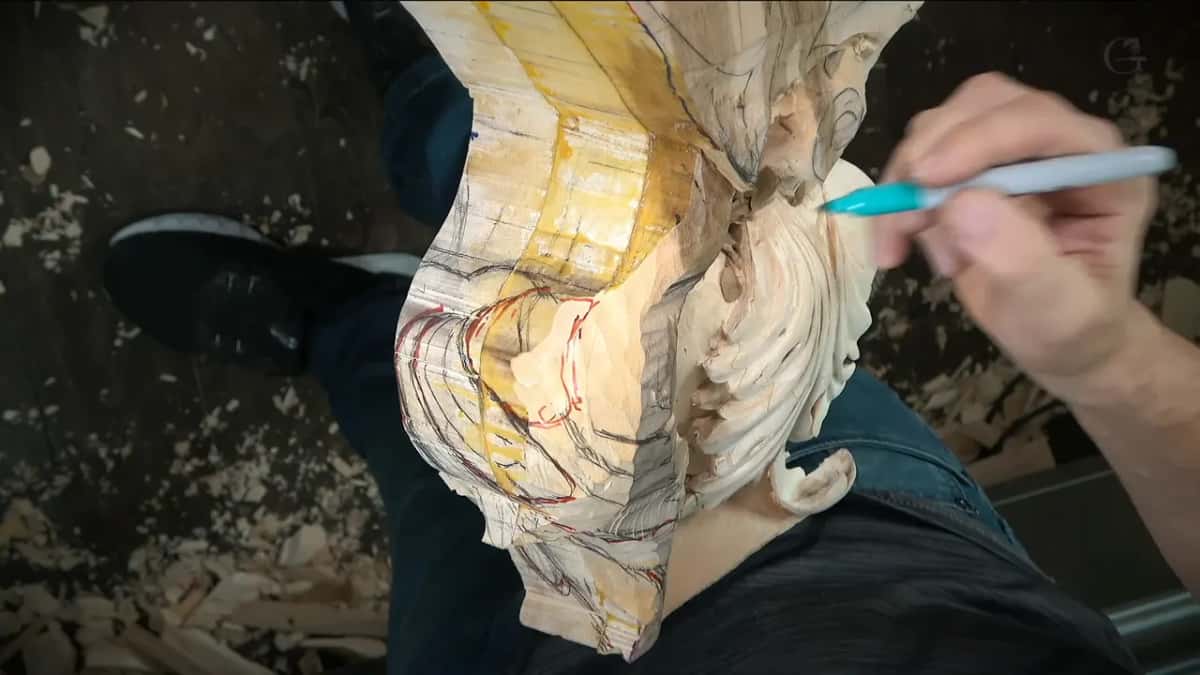
How much room each of those divisions should get is a different question, and I talk about spacing them on the workshop 34 page.
What did the count of five mean on this leaf?
One, two, three, four and five, I counted. That makes it accurate to the Fibonacci sequence, I said, and good. The sequence runs 1, 1, 2, 3, 5, 8, and on, every number the two before it added together.
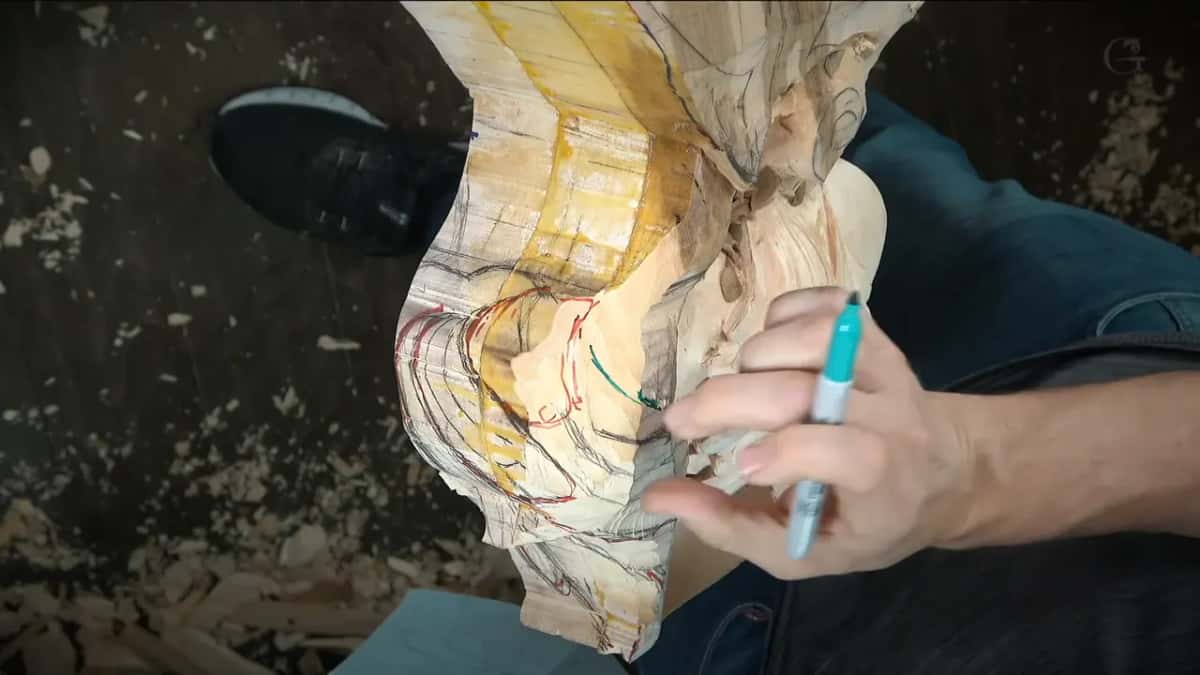
I know it looks a little complicated, and I said so, because we are not working in a simple form. A drawing has two dimensions, this one and that one. In real life, I said, it is three dimensions, and I said that twice as well.
Counting like this goes past one leaf. When I check a whole design for flower and leaf groups, the count comes up again, and lesson 14 of the furniture panel course is where that happens. Leaves along one stem are yet another count, on the workshop 77 page.
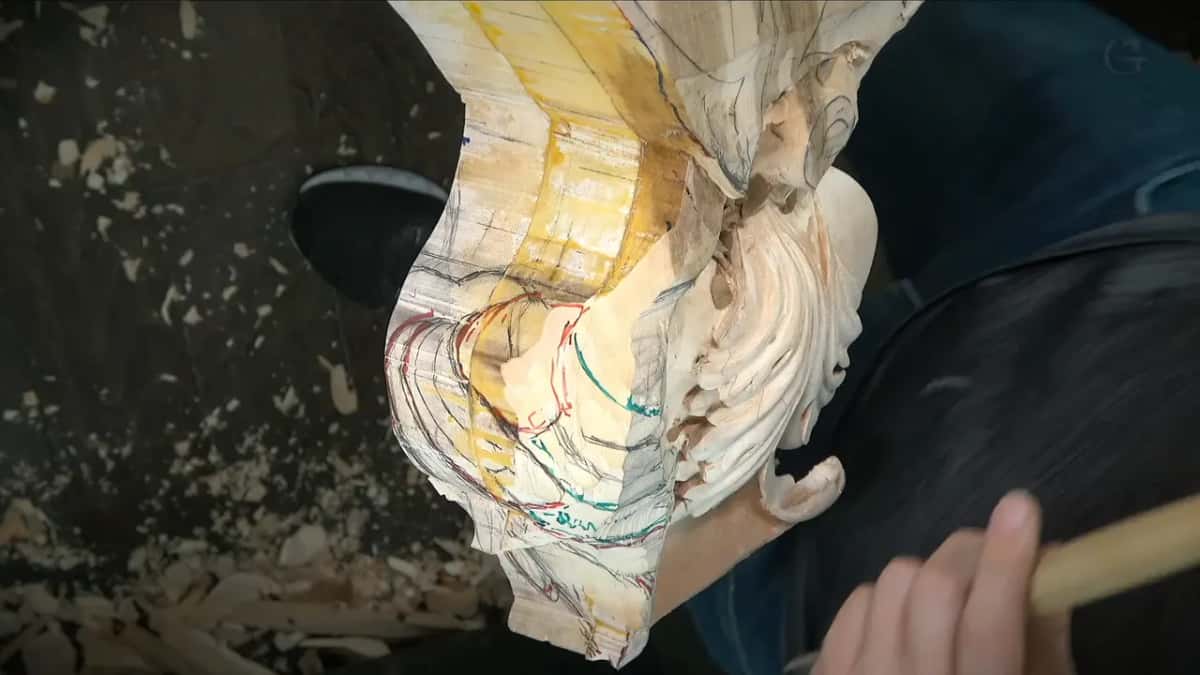
How does a divided leaf still read as one leaf?
However many divisions go on its side, the main shape stays the shape of a normal leaf. That is the logic I follow always, for all acanthus leaves or any leaves. It's still just a normal leaf, the kind you see every day on almost all of the trees and plants.
Or you can call it the shape of a boat, a fisherman's boat. That makes it much easier, I said, and then I said it again.
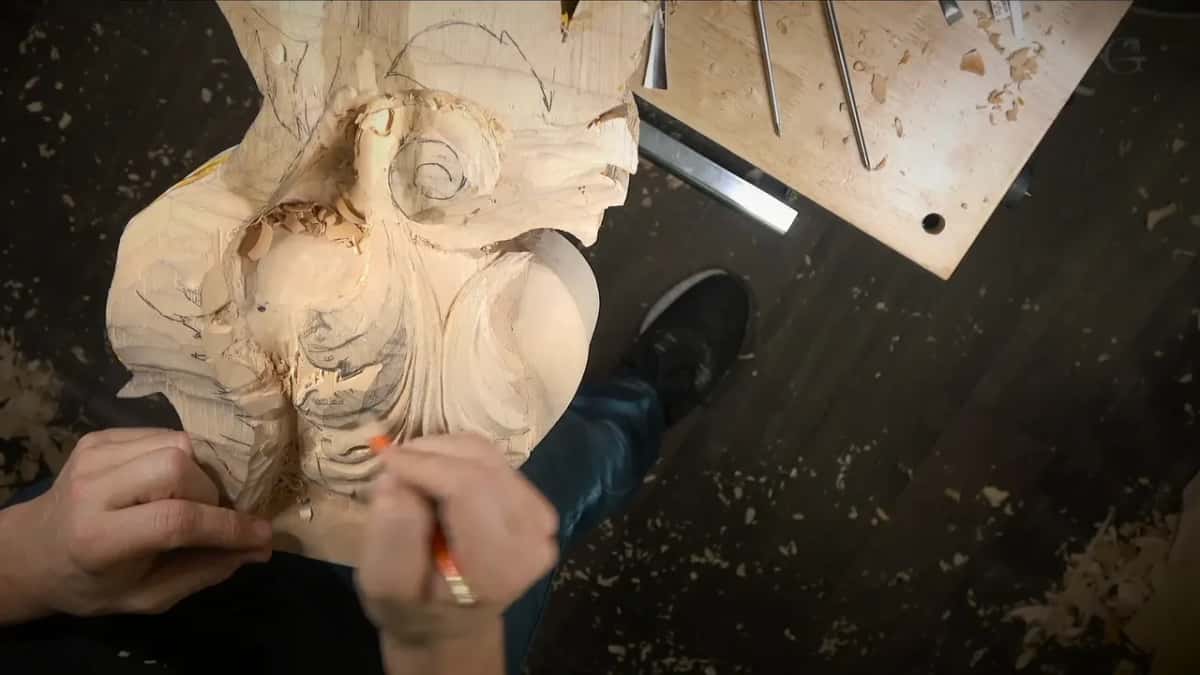
The ornament itself goes back a long way. Acanthus is the leaf on the capital of the Corinthian order, and it comes from real plants such as Acanthus mollis. My leaf is carved from basswood. Of one spot I said it has to feel like it is growing underneath.
What goes in with the gouge once the lines are drawn?
Step number one was a separation between the lower section and the upper section. I took the #11 again, and in this case I said I should take 7 mm (about 1/4 in). I outlined along that line and then outlined the other side as well.
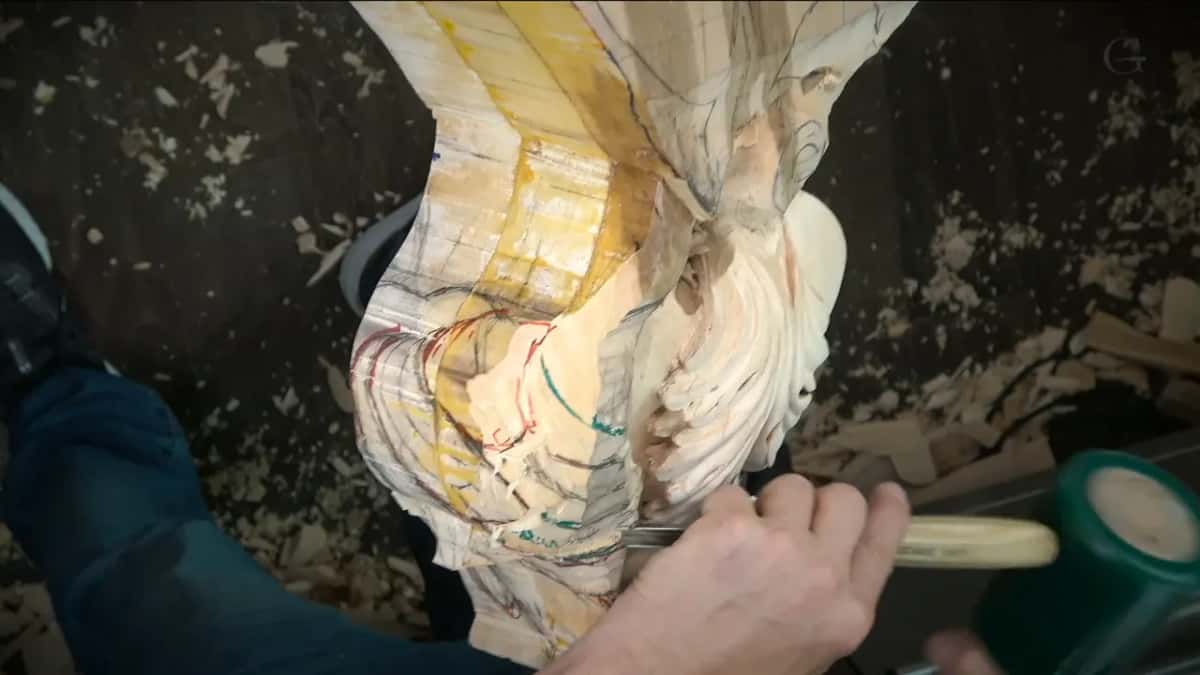
One piece, I decided, can sit just a little bit above the movement on my right. For the next stretch I kept quiet and carved. Then a skew came out, and I lowered one section down a little.
In this same workshop I asked your permission for that quiet. The project is big. Filming and talking all the time is hard. Some of you wrote me emails asking to see real life instead of a sped up video, and speed up is okay, I said, but it's better to just watch real life.
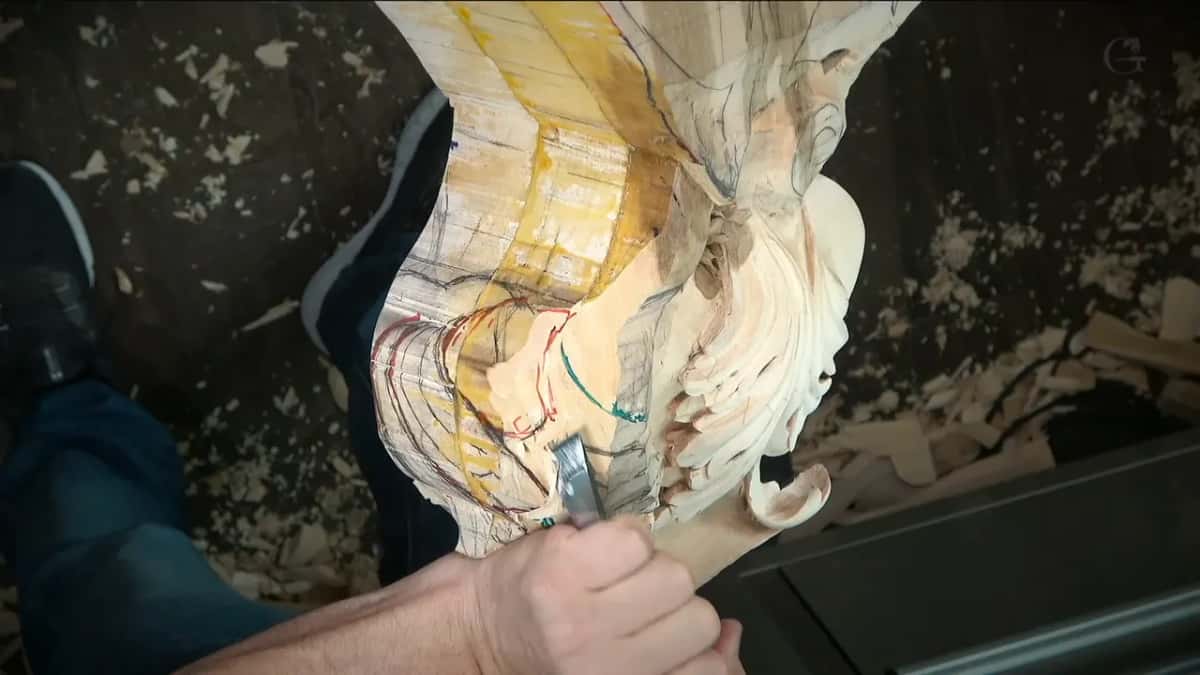
How did the earlier leaves in workshop 83 get their divisions?
One decision at a time, the same way, only smaller. On one leaf in the fifth video I stopped and said now I need to make the decision how I'm going to divide that. My first try didn't look too good. The next division became a letter S curve, and I outlined it with a 3 mm #11 (about 1/8 in).
In the sixth video I marked a middle line, a boundary and a separation, because that leaf was going to go underneath the leaf I would carve next to it. The seventh video had three concaves, number one, number two and number three. First I had to decide how the pipe would go and where its ridge would sit, and in that spot I went much deeper, because I really wanted to see the shadow.
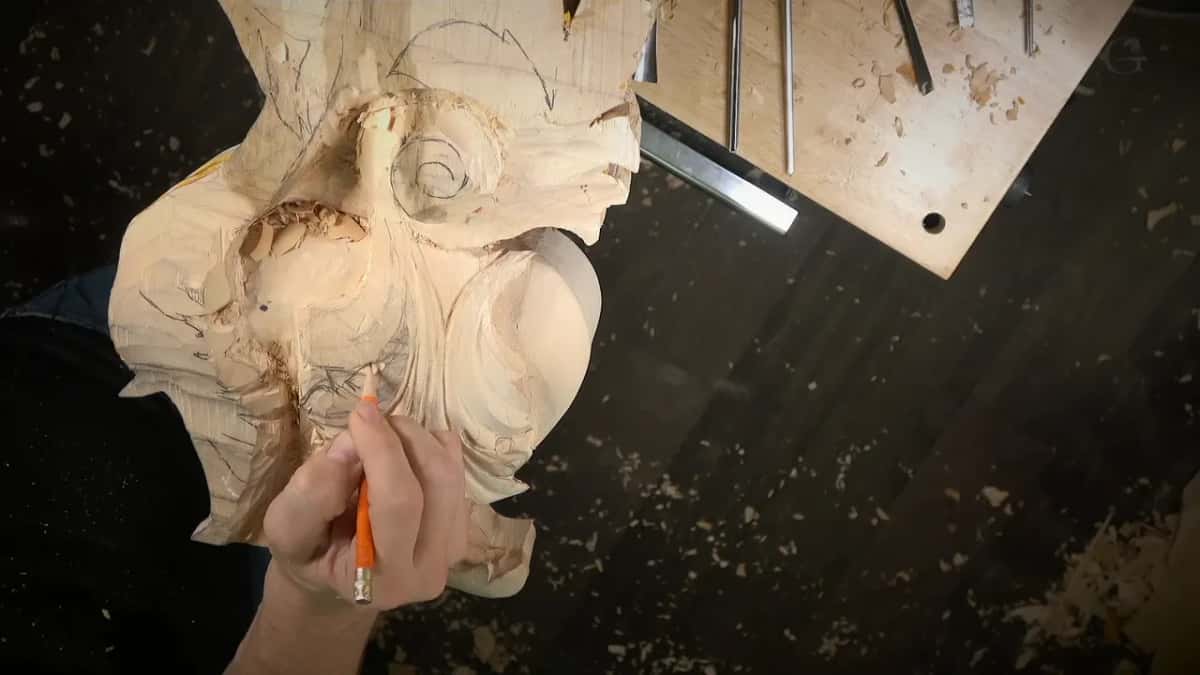
On the volute in the eighth video I started a concave with the 3 mm and said I was only indicating position for now, then took a 5 mm (3/16 in) tool for the pipe itself. By the ninth I reestablished my movement as a letter S again. It is simple, I said, but a good looking one. By the end of that video the section only needed cleaning up, to make it lighter and more airy, if you wish. Once everything is cleaned, it will make more sense and look more appealing, and what I wanted you to see was how I develop it.
Two more moments from the earlier videos belong here. Back in the third one I first had to decide where the point of the pipe would be, and I followed the original point, which ran uphill. I had been really pretty close. Near the end of that video I changed my mind about one spot and only blended it in instead of carving another pipe. With the final shape of that section settled, I could safely remove all the waste. One part in the sixth video I made wider, the same as the other side, which was much wider, so the two would overlap a little more.
Which tools did the dividing work?
Mostly a #11 in a few sizes, plus a #9, a skew and two marker colors.
| Tool | Job | Where |
|---|---|---|
| #9 gouge | Took out the chunk in my way. | Movement path |
| First marker | Drew the big parts so you understand. | Whole leaf |
| Teal marker | Marked every smaller section in another color. | Inside parts |
| 7 mm #11 veiner | Separated the lower section from the upper. | Section line |
| Skew chisel | Lowered one section a little after outlining. | One section |
| 3 mm #11 | Outlined the next division, an S curve. | Smaller leaf |
| Smaller #11, 3 mm | Made the first pass on the concaves. | Beside pipe |
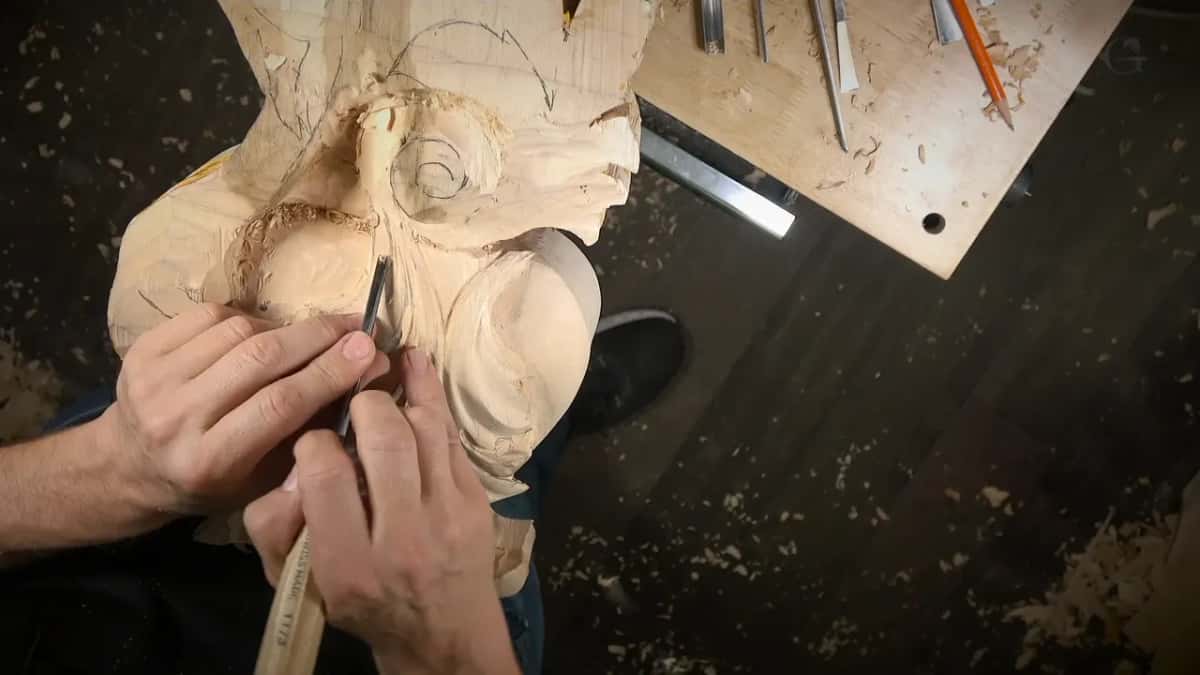
One more tool fact from this workshop. Partway through I had to stop and sharpen a gouge a little. Earlier a #7 was a little too small for one spot, and a half inch #7 (14 mm) worked just fine. The big #7 had broken before that, because I abused it on one pass, and it needed reshaping. All of it happened on basswood, with a lot of tools on the bench, too many at one point, and I said it was time to clean up because I was losing track of them.
Who is this workshop for?
Workshop 83 sits deep in the Venice Room, in part 7 of the project, so it suits someone who already knows how a gouge behaves in relief. It comes right after workshop 82, where the leaves lie on top of the wood, and workshop 84 comes next. The laws behind a movement have their own course, Principles of Design in Wood Carving.
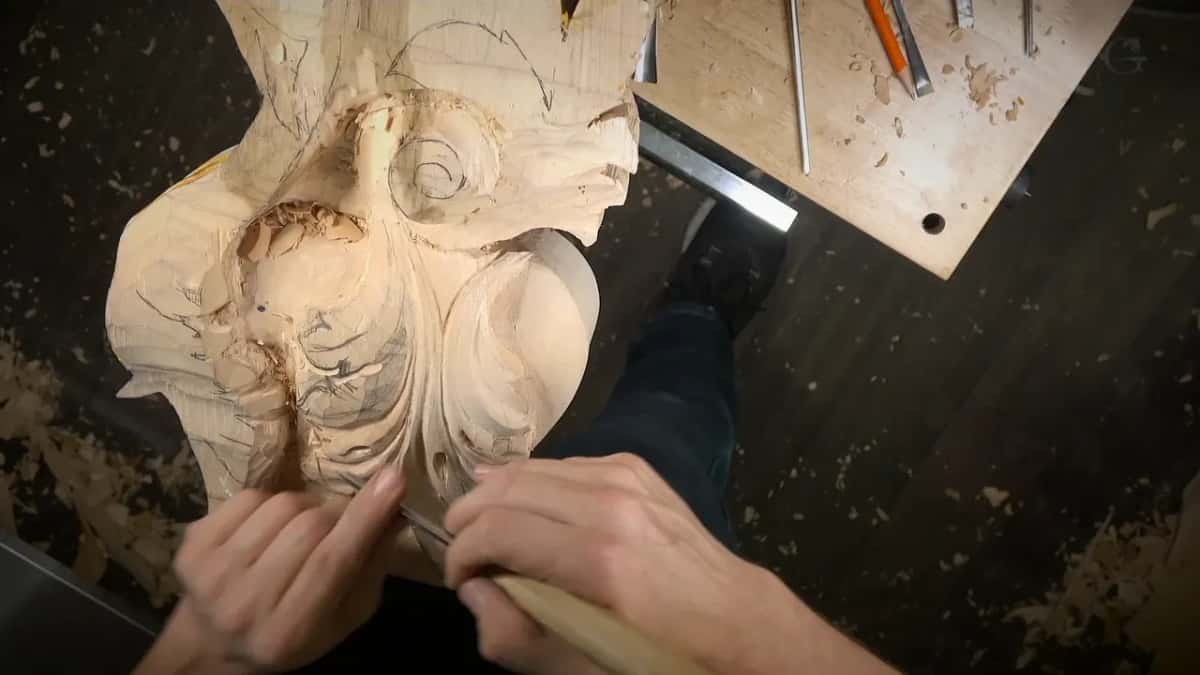
Would you like to watch these decisions made live, mumbling and all? Would a leaf that reads as one shape please you more than a pile of small bumps? Then the whole Venice Room is open on one tuition plan, and this leaf is waiting in it.
How it's done
- Read the side you already carved. Before dividing the new part, I looked at what I had carved before and asked how many large divisions to give it, the same as that side.
- Treat the main movement as given. Keep the movement that runs right through. On my leaf the chunk in its way came out with a #9 gouge.
- Unite what you don't like. Where three small movements sat in a row, I chose to make them one chunk.
- Draw large areas, then small ones. A marker went on for the three large areas so viewers could understand, and after them a teal color marked the smaller sections, before any carving started on that part.
- Separate lower from upper first. The first gouge work followed the line between the lower and upper sections, with a 7 mm #11 (about 1/4 in). Later a skew took one section down a little.
Frequently asked questions
How many big parts did the leaf get before the small ones?
Three, drawn with a marker so the people watching could follow. One of them runs the full length, one carries a second leaf lying on top of it, and the third went in because, without it, the leaf would not look nice. Everything else waited to become a smaller section.
What was the teal marker for?
Smaller sections. My words were that a different color would indicate them, so I picked teal and drew them after the three large areas were already on the wood. A little later I split one more area into two before any gouge went near it.
Where does Fibonacci come into an acanthus leaf?
At the count. The leaf came out at five sections, and I said on camera that five sits right on the Fibonacci sequence, then added that it would be good. Five belongs to that row of numbers, where each one equals the two before it put together.
What to carve next