

Alexander Grabovetskiy, woodcarver, School of Woodcarving · Published 2017
How do you carve a background one-eighth of an inch deep?
Quick answer: A one-eighth inch background is a ground taken down with a low knife angle in the corners, then a number 5, and stopped at the eighth, 3.2 mm. I judged the depth by eye on my Greek acroterion and still double-checked. My goal was an eighth below the highest spot, and no deeper.
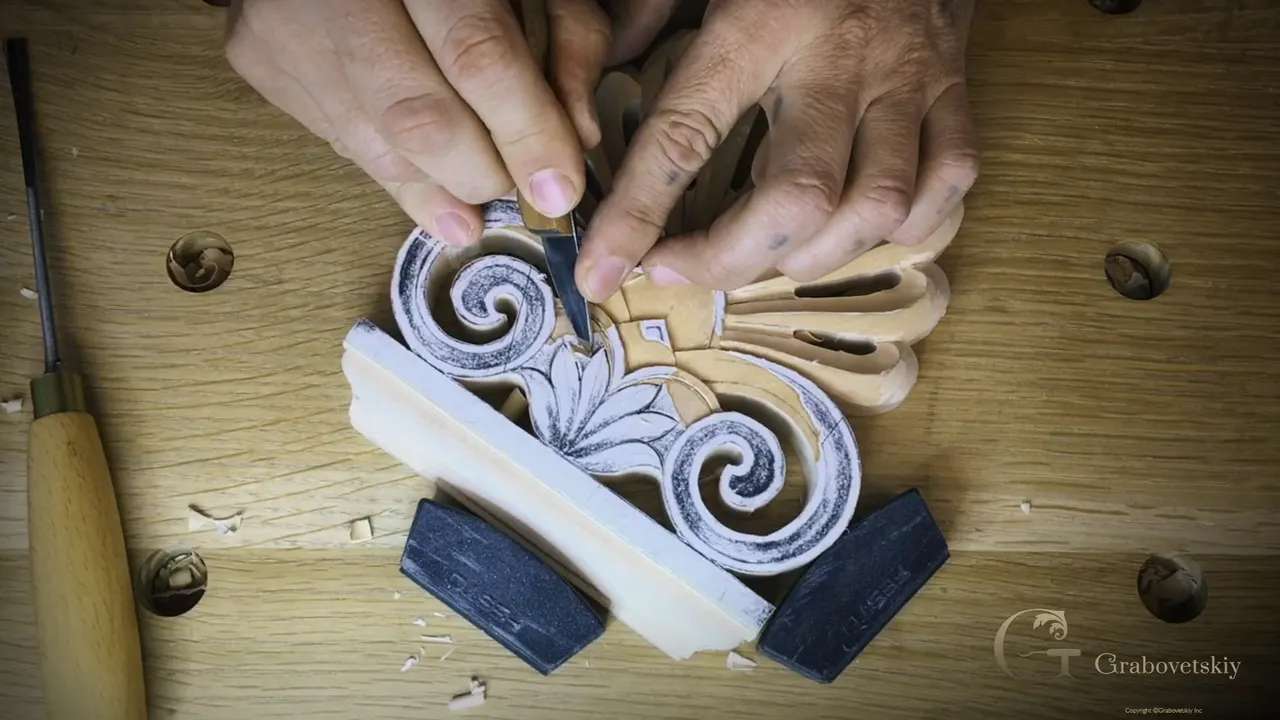
A background carved one-eighth inch deep is a ground you take down in light passes and stop at. On my Greek acroterion, in part 5 of lesson 4, a knife held at a really low angle found that depth in the corners. My number 5 then cleared most of the rest. I wanted an eighth below the high point, and no further.

Got a knife on your bench? And a pencil line that says how far down the wood may go? Then you own the first two things this job needs. Here is how mine went on the acroterion, and where else in the school I took a ground down the same way.
What does a one-eighth inch ground ask of you?
- Find the depth in the corners first, using a knife held really low.
- Clear the rest with a gouge that fits, a number 5 on my acroterion.
- Stop at the planned depth.
- Press barely at all where the wood is fragile.
- Eyeball the depth if you like, then double-check when you want to be sure.
- Save the deeper pass for later.

How do you find the right depth with a knife?
Angle the knife really low and let your hand learn where the depth sits. In my words on camera, you kind of have to feel in your hand where your eighth is. Inside the acroterion I went about that deep, then rotated the piece and did the same on the next side. The one after that got the same, and so did the last one. Really simple, I said.
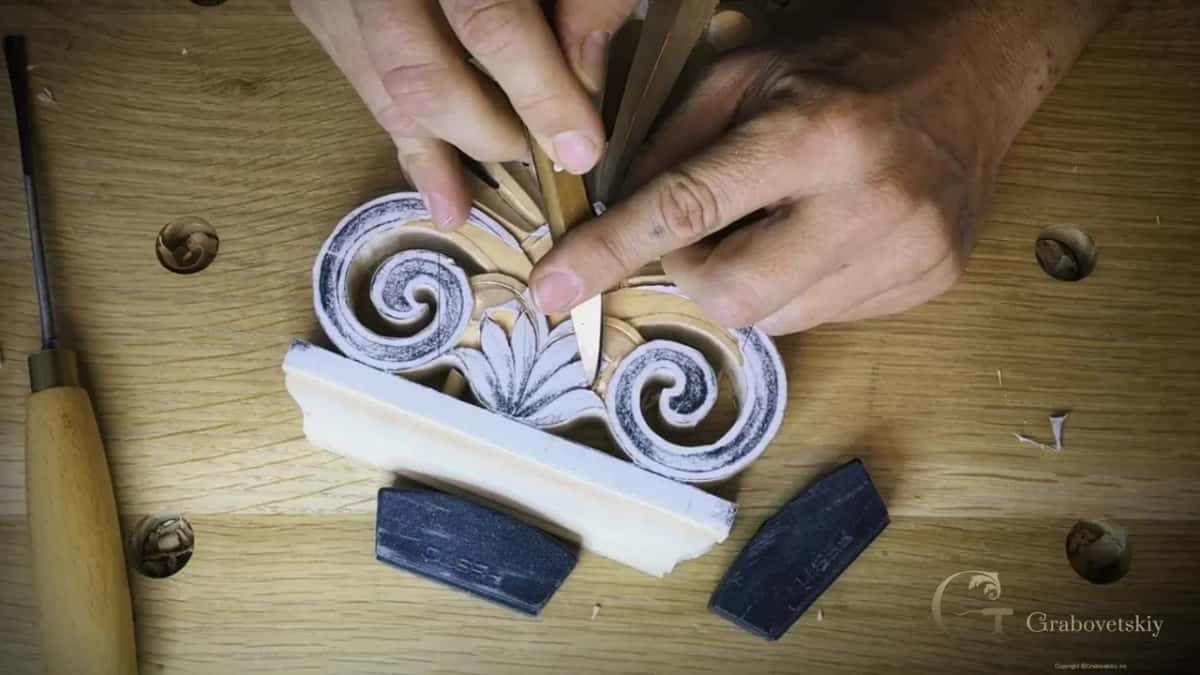
A second section got the same treatment, with the same knife finding my depth in those corners. It is a number 12. Because the depth is an eighth, 3.2 mm, I had to follow that line the whole way around, and the angle stayed that really low one.
Here is what makes it hard. You work in a three-dimensional world, and you have to feel what angle reaches that depth with your own hand. Then I went to the other side and did it again.
Which gouge clears the ground after the knife?
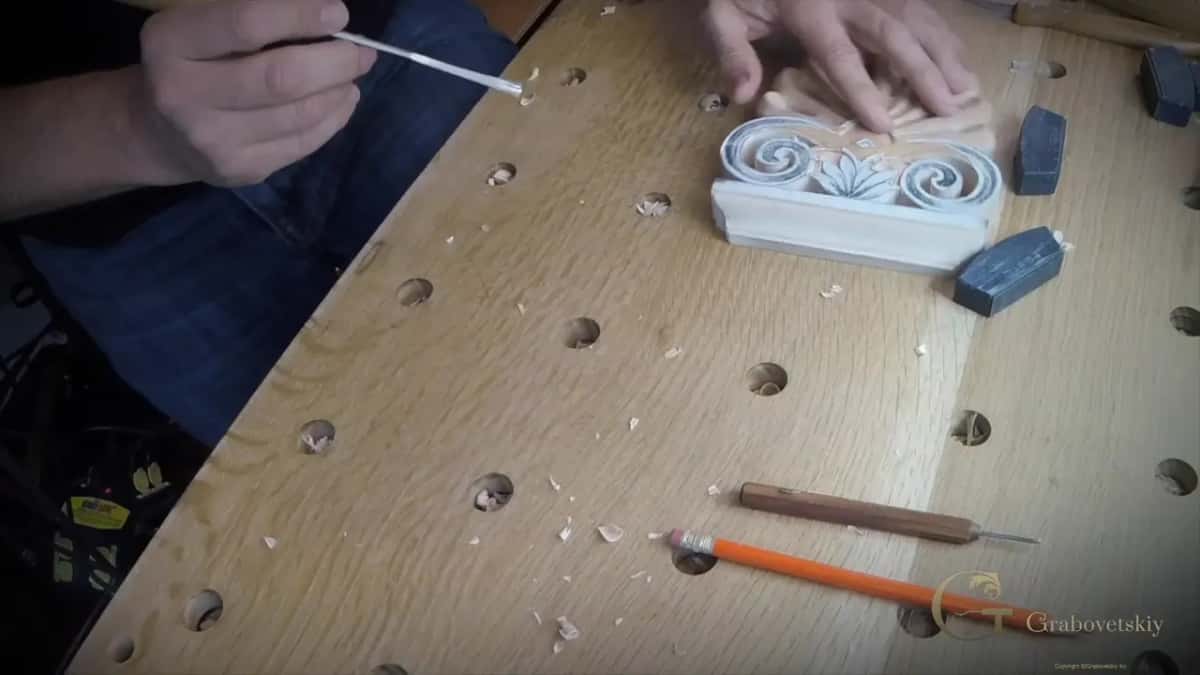
Mine was a number 5. Let me take a number five, I said, and I'll remove most of that background. First I stopped to sharpen it, and then I went with the one by Ashley Iles.
That maker matters a little. The sweep on an English number 5 differs from the European chart, because the two charts are not the same. I told you I might place the difference on the website, since there is a big difference between sweeps. For this job it was not that critical.
There comes a moment when you don't even check which sweep you're holding. You are in automatic mode, grabbing whatever lies on your workbench like a robot.
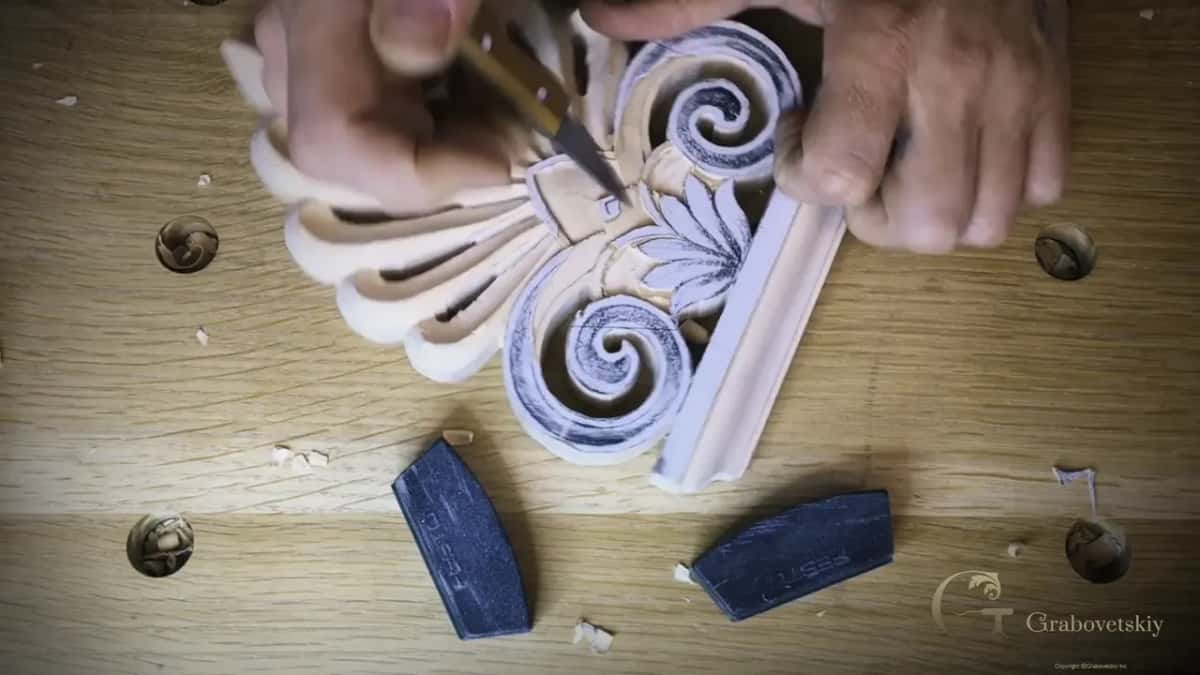
The plan was short. Bring it down an eighth from the high point, and nothing deeper. Next I wanted an eighth again, no more, just to work on my corners, and that depth was going to be my establishing depth point before I got smaller.
What happens to a thin curl at that depth?
Smaller tools take over next. A grounding tool came out, a number 3 with a slight bend in it. I called it an excellent tool. It cleaned all the way to the swirl, the curl part, and out through it. Rotate the piece, and the same goes for this side.
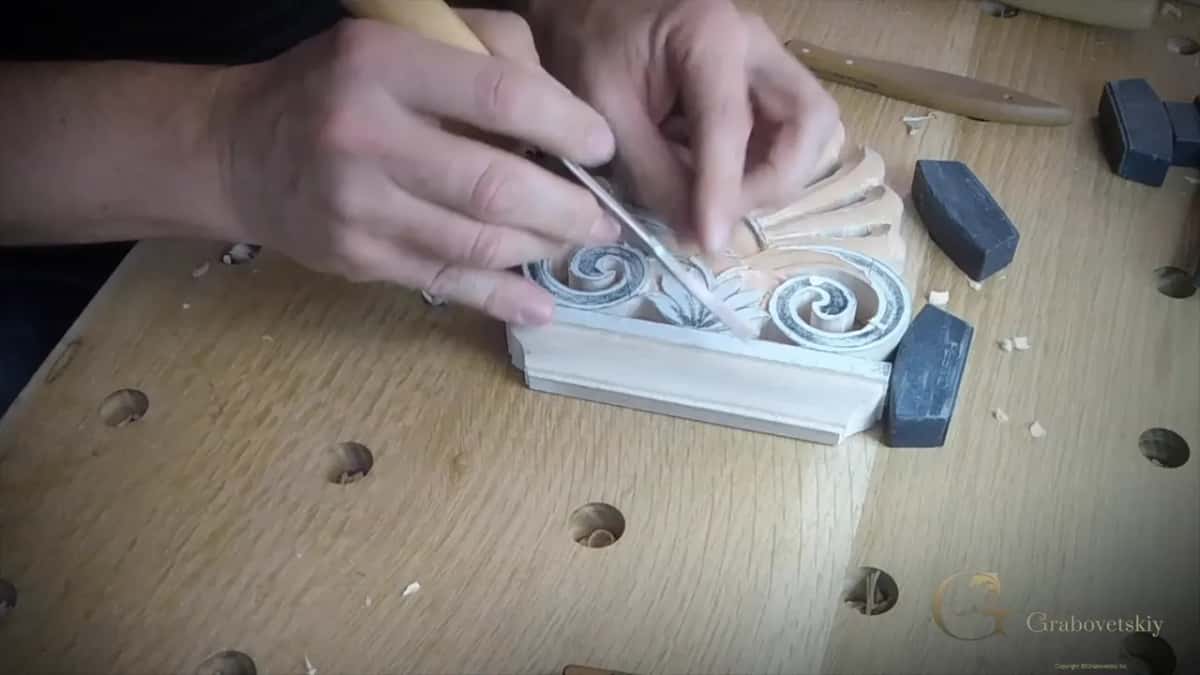
Pressure is the part to watch. I barely created any, because I didn't want to make a mistake. That part and that part are fragile, and you can easily snap them out if you create too much pressure.
Inside the corner I wanted exactly an eighth, or close to it. My cleaning cuts barely removed any material, only taking some of the ridges out, and a smaller grounding tool carried me inside that area as I worked my way in. Looking at it, I said the leaf needed to be a little smaller.

A grounding tool can fool you on the chart. Mine is a number 3 on the English chart, the British chart, but it feels like less than three, a number two almost, with almost no sweep at all. The chart still shows three. A two and a half in grounding tools sits in my kit too, yet for some reason I use the original much more often.
Can you eyeball an eighth of an inch?
I do, and I told you why. There are ways to measure it, but I kind of like to eyeball it, and when you eyeball it, it trains your eyes. Maybe it's a good idea to double-check, I added. This time I thought I should be fine.
In the part before this one, I drew a pencil line for the same depth and said I'm just eyeballing it. If it isn't perfect, I told you, that means a human being did it by hand. My knife was on my table and easy to use, so the knife did that job.

The rosette course shows a second way to check. On one rosette ground I didn't think my router plane would fit, so I eyeballed it. You don't have to, I said. Take a nail or a screw, screw it all the way through and leave it 1/8 in right there, and you can check the background against it. I skipped that, since it is not that critical when my eyeballing is really close.
The lily box said the same thing another way. One section went a little deeper so two sections would sit about on the same plane, and I said it's almost impossible to catch that by the eye. There are multiple ways to measure how deep you go, but I don't think you really need one. If it's approximately the same, like three millimeters deep or one-eighth of an inch if you are in the United States, you should be fine.
What if every block needs the same line?
Mark it the same way each time. In the first rosette workshop I had 15 blocks to make, and they had to be all equal. A ruler gives you the mark. The quick way is a finger against the wood at that mark, following the line along the four sides, which I do a lot. But you can make a mistake that way.

So with 15 to make, a marking gauge found my depth. I made a couple of passes, maybe three, to make the line a little deeper, and with all four sides marked I knew they were equally marked.
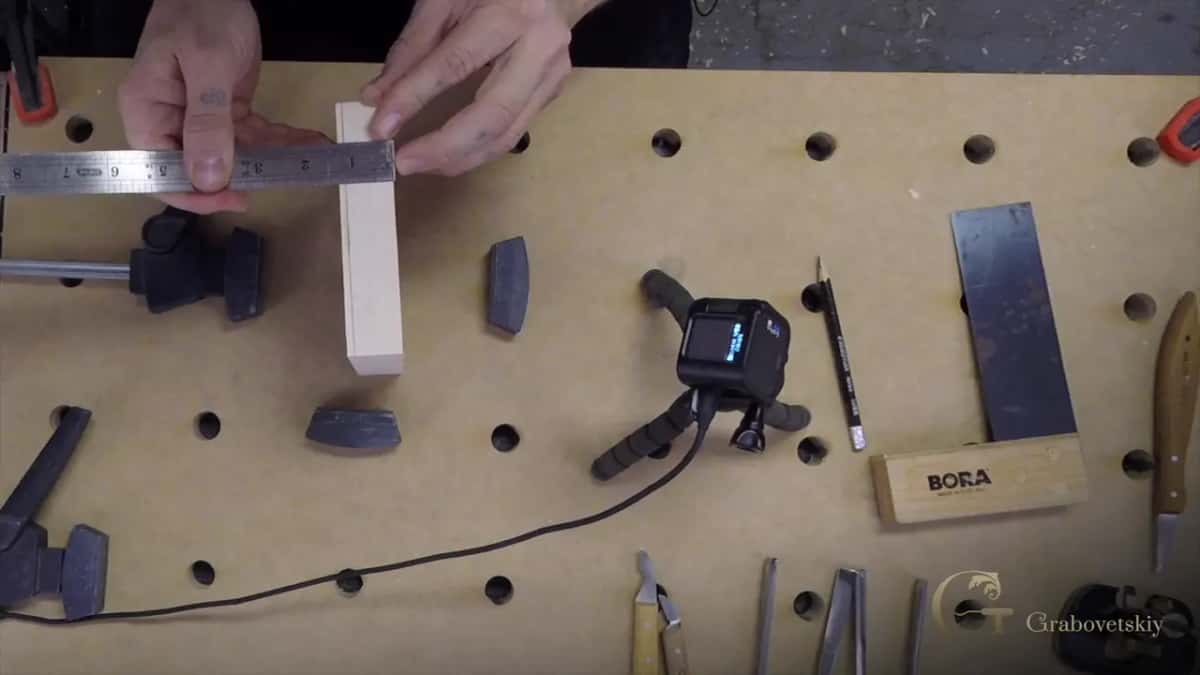
The knife went straight down, so it made no bevel. In that workshop I checked the edge and said it measured exactly an eighth. I double-checked, showed you the side, and said, perfect, right on the mark.

Why stop at an eighth and go deeper later?
The dining table apron got a plain warning from me: don't push past an eighth. "You can always take it little deeper later, but not in this stage." I called that really important. When I outlined a round on the same apron, I told you to make sure you don't go more than you should.

The original apron was less careful. Some spots were an eighth and some spots 3/16 deep (about 4.8 mm), and I said the original carver didn't really care about it.
For the furniture panel I took out only an eighth for the time being, and told you the final decision on depth would come a little later. A number 5 at 12 mm (0.47 in) did one stretch, and I said a number 7 at 14 mm (0.55 in) would give a much better result there. Details are in lesson 15.
I picked up a number 9 at 10 mm (0.39 in), let's say. Careful not to dig in just at the inside of the line, I said, because you need to keep that high spot for the router plane to get support. The router plane would make the final pass. I held it back at first, since a lot of the material could come out with the gouges.
Chunks come out easier if you step back from the line. Straight down with a number 8 or 9, close to the line, in multiple passes without touching it. It pretty much relieves the area. That makes it much easier to clean later, and the chunks just fly out.
The Roman acanthus leaf took two stages. I marked a line roughly an eighth above the background line and called that my rough background. The plan was to carve everything down to it, then clean to the final quarter inch (about 6 mm). Stay away from the design, I said. Leave about two or three millimeters, and keep above the rough line at first.

The Greek acanthus leaf gave me another reason to wait. Another sixteenth to an eighth was still there to lower, and I explained it this way: "at the beginning I'm always leaving extra just in case if I dig somewhere deeper."

What keeps a gouge from taking too much?
On the hazelnuts I said I'm not going to go past an eighth or so, about three millimeters. Later I repeated that figure, that's how deep I'm taking.

Don't try to place the whole tool and remove the whole thing, I said. It is possible, but you're going to get tired, and there's no reason. Let the tool do the work and not you.
From the furniture panel comes one more habit. When the grain runs one direction under a gouge, I "always try to be across the grain," because it gives me much more control. Another stretch needed care, too, since I told you to be really careful not to dig too deep with only an eighth to work with. Then I checked how deep I was, and yep, I said, I'm pretty close.
When does the ground go deeper or shallower than an eighth?
At times I go past it on purpose. In lesson 16 of the furniture panel, one section went a little deeper, because I don't want to see exactly the same level everywhere. Five millimeters (about 3/16 in) was the figure, which is half of a panel that is 10 millimeters thick (about 0.39 in).
Lesson 17 laid out several depths at once. A sixteenth (about 1.6 mm) went all around, one-eighth above the main design, and 3/16 of an inch inside, five millimeters. More authentic, I said, because if you look at 18th-century panels, you can see a lot of times different depth in different areas.
A shallow area has its own use. A sixteenth deep gives a lot more strength to the panel, I said, so it's not going to move as much.
My lily box changed depth between the edge and the center. The deepest point was probably an eighth, maybe about 3/32 of an inch (about 2.4 mm), a couple of millimeters. Closer to the center we can go deeper, I said, but closer to the edge we don't want to. Near the middle, around 3 mm, I usually don't like to go deeper than that.
Your plane needs something to ride on. On one deeper section I didn't have much support if I removed everything, so I made a kind of island, a high spot to rest the plane on, and planned to take it off later.
Side by side, how do those grounds compare?
Here are the grounds in one place.
| Piece | Tool used | Depth | Notes |
|---|---|---|---|
| Greek acroterion ground | A low knife angle, then number 5. | One-eighth inch | Stop at that depth, I said. |
| Antique style rosette | Marking gauge, a knife, then a gouge. | Eighth inch | Each side marked the same way. |
| Dining table apron | V tool outline, then the right gouges. | 1/8 inch | Later passes go deeper, not now. |
| Roman acanthus leaf | Big gouges like number eight or nine. | Eighth above | Final depth is a quarter inch. |
| Lily box ground | Number four gouge working across the grain. | Three millimeters | Edges stay shallower than the center. |
| Furniture panel ground | Number five, number seven, a router plane. | Several depths | From 1/16 inch to 5 millimeters. |
What do these words mean?
In plain terms, a gouge is a curved chisel, and a mallet taps it. A relief keeps a design raised out of a flat ground, and a marking gauge scribes a line at a set distance. A router plane levels the bottom of a recess, and grain is the direction of the fibers. An acroterion is an ornament set on a roof end, a palmette is a fan of leaves, and a volute is a scroll. An inch is 25.4 millimeters.
This part is one of eight in lesson 4. The third lesson and the fifth lesson sit on each side of it on the course page, and the final assessment follows. Tuition to the school, monthly or yearly, renewing automatically until you stop it, opens all eight parts of lesson 4.
Would you start with the knife held low?
How it's done
- Start with the corners. Hold a knife at a low angle and feel for the depth, then follow it around each section.
- Clear the ground. Take most of the background out with a number 5, and stop at an eighth, no deeper than that.
- Clean the curl lightly. Use a grounding tool with barely any pressure, because the thin parts snap out.
- Check the depth. Eyeball it, then double-check, or leave a nail or screw in the wood as a gauge.
- Save the deeper pass. Take it down more on a later pass, if the piece needs it.
Frequently asked questions
How deep should a shallow carved background be?
Mine came to an eighth, which is a little over 3 mm, and no further. The same figure came up on the rosette, the apron and the hazelnuts. The furniture panel mixed a sixteenth, an eighth and 3/16 of an inch in different areas.
What angle should the knife take to find the depth?
Angle the knife low, then feel for the depth in your hand. I went about that deep on the inside of the acroterion, rotated the piece, and did the same on each side. In a three-dimensional world you feel the angle that reaches it.
Do you have to measure the depth of a carved ground?
Mine was judged by eye on the acroterion. I kind of like to eyeball it, and it trains your eyes, though maybe it's a good idea to double-check. Driving a screw through and leaving it there is one check, and a marking gauge line on the block is another.
What to carve next