

Alexander Grabovetskiy, woodcarver, School of Woodcarving · Published 2022
Why does an undercut that looks too shallow in a bright shop show a dark line on a wall?
Quick answer: A shallow-looking undercut shows a shadow once the piece hangs, because shop lamps on every side fill its shadow in, and a dimmer wall lets it show. In lesson six I said the shop lights hid my shadow and a wall would show it.
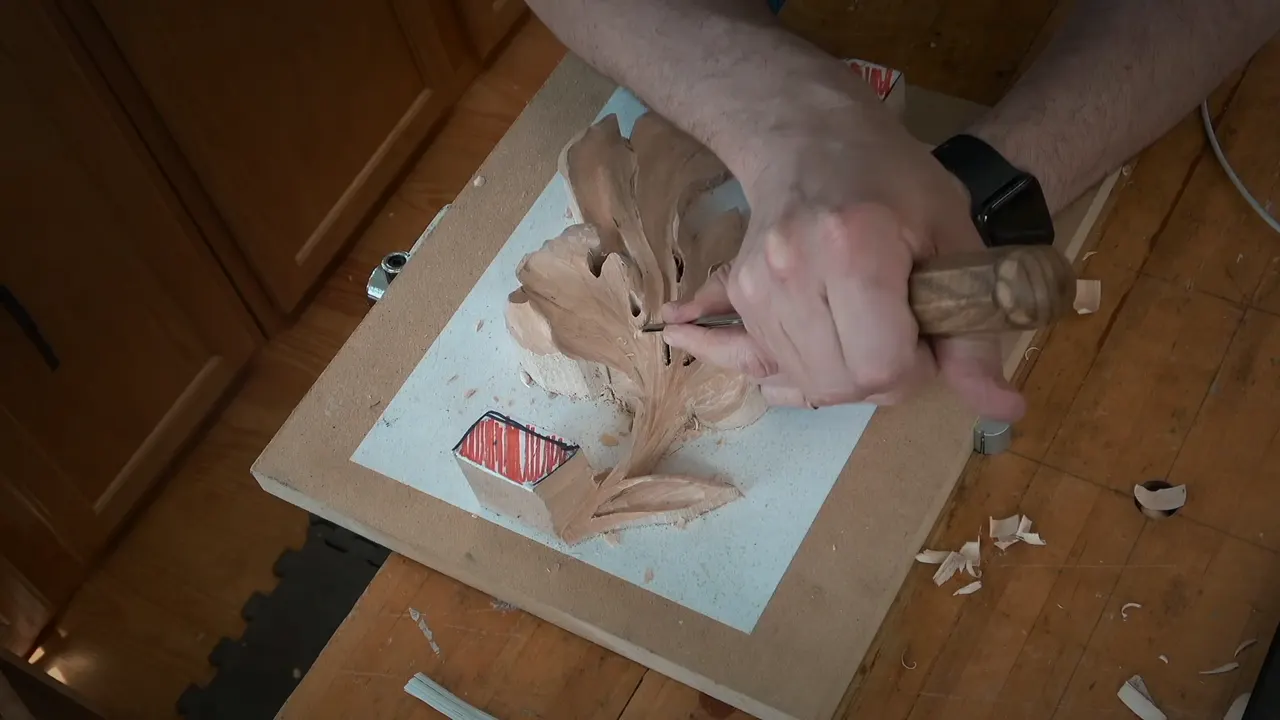
An undercut can look like nothing under bright shop lights and still throw a dark line on a wall, because lamps on every side fill the shadow in and a wall with less light does not. I said it as I carved the edge of an acanthus leaf, in the third video of lesson six of Carving Modern Acanthus.
Can you see the dark line under the edge you just carved? Does it vanish the second a lamp comes on above your bench? Then your undercut may be fine, and the light is hiding it, so a little patience with your own eyes pays off before you go deeper.
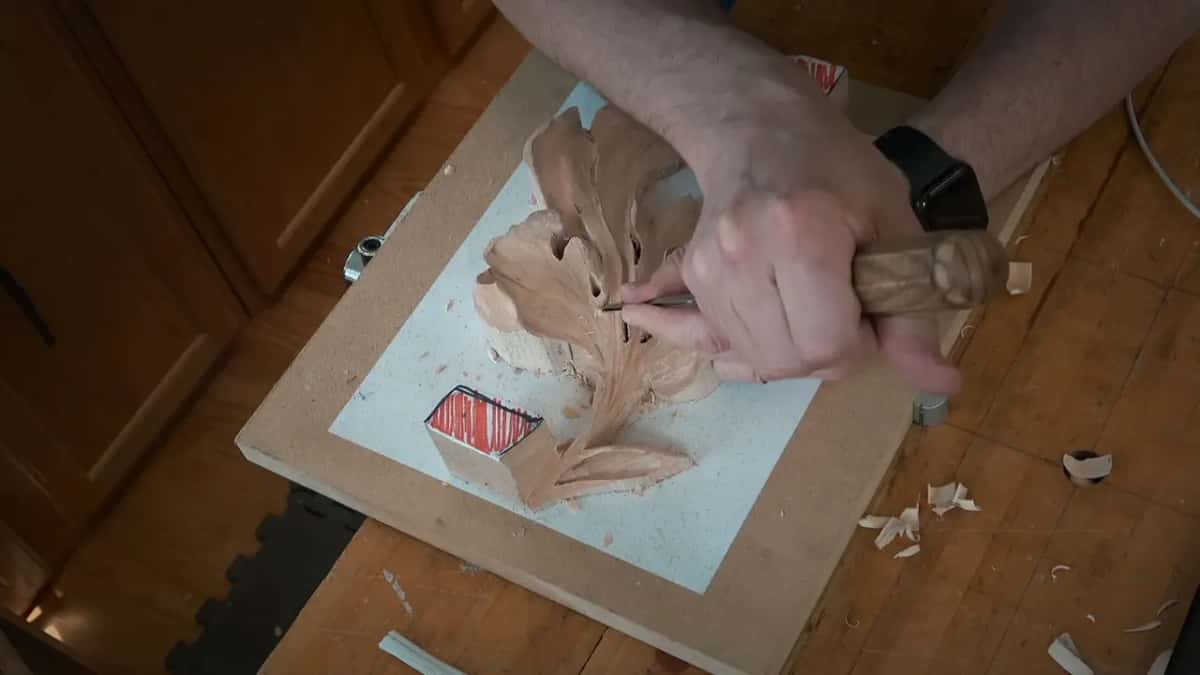
Why can't I see the shadow while I carve it?
Light is pouring in from every direction. The first thing I told the class in that video was what I was after, and it was one word: shadow. A lot of light surrounds me, I said, so the shadow stays hidden. Carry it to a wall somewhere that is not too bright, and it shows.
Other courses say the same. Workshop 76 of the Venice Room had me digging a little deeper with light sources shining from both sides, and that is how I kill the shadow. I still need both lights on, because that way I can see from both sides.
Workshop 71 of the Venice Room made the point from another side: lights from all over, no true shadow yet, and a plan to turn the lights off later and see how it would look in real life. Workshop 131 had the lights hiding the shadow again, and I added that it all depends how you place the light source.

The Furniture Panel had lots of lights going on, so the true level of the shadows stayed hidden. Once the piece sits in its natural setting, in a dimmer room, I said, you see beautiful shadow casting. Plenty of light does not always hide it, though: in another video on that panel I said I was already seeing the shadow, although I had a lot of light. In the Roman acanthus lesson I asked the class to think of one-side light, like from a window or any other source, because that creates beautiful shadow lines.

What did a smaller gouge add to the undercut?
Deeper, if you own the tool. With a half a millimeter, I said, you can create an even deeper undercut, and it looks even better. The same line came twice, about half a minute apart, and each time it carried an if: if you do have one. That size is about 1/50 of an inch.
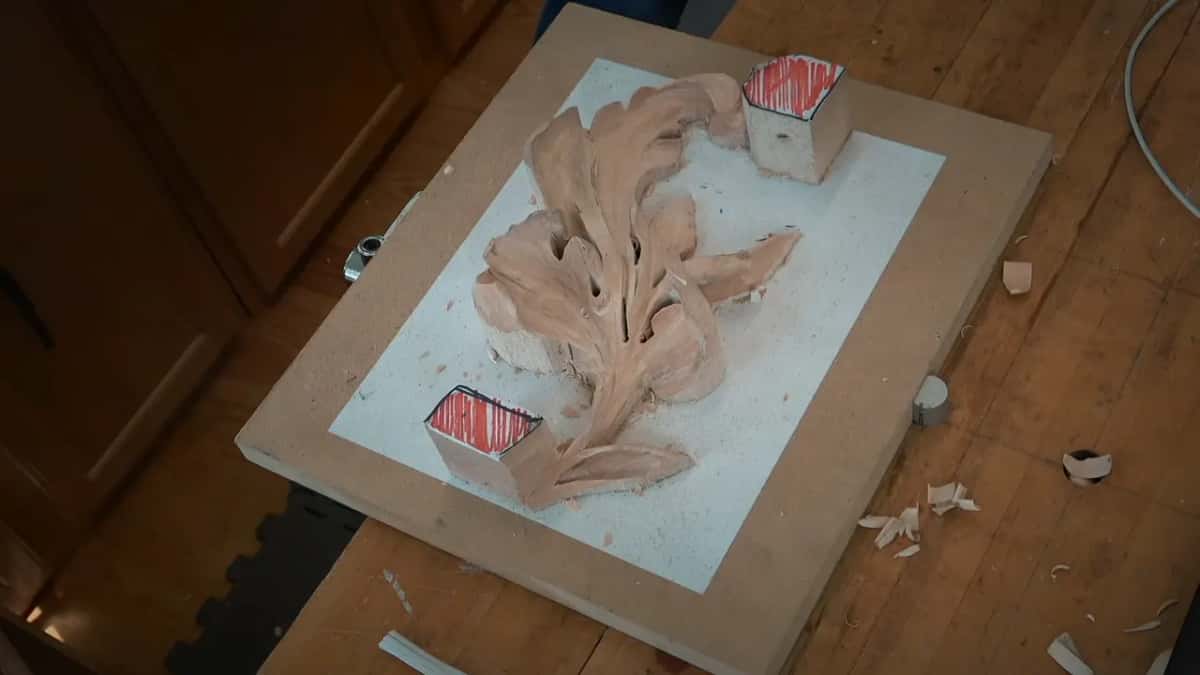
Workshop 76 showed the steps. Two millimeters (about 5/64 of an inch) came first, then a jump to maybe one and a half millimeters, like a 16th of an inch, to excavate even deeper. I do not really need to, I said, but I think it is going to give me a shadow.
How does the same undercut look under different lamps?
The table puts the moments side by side, with the lamps I had on and what I said about the shadow.
| Course and lesson | What I was carving at that point | Light on | What I said about it |
|---|---|---|---|
| Modern acanthus 6 | Undercut on the edge of a leaf | Bright shop | You do not see that shadow |
| Venice Room 76 | Going deeper still with a smaller gouge | Two lamps | Both lamps together kill that shadow |
| Venice Room 71 | Looking at a carved spot that looks good | Lights everywhere | I will turn the lights off |
| Furniture Panel 24 | Cleaning a spot while keeping its shadow | Two sides | With one off, shadow shows up |
| Roman acanthus 8 | An undercut meant to give me shadow | Both sides | Think of light from one side |
| Furniture Panel 20 | Excavating deep underneath on the flowers panel | Many lamps | Low light later shows the shadow |
| Cabernet tray 2 | Excavating deeper where the light comes sideways | Window side | Wall and light above, shallower works |
How deep should the undercut go if the piece will hang on a wall?
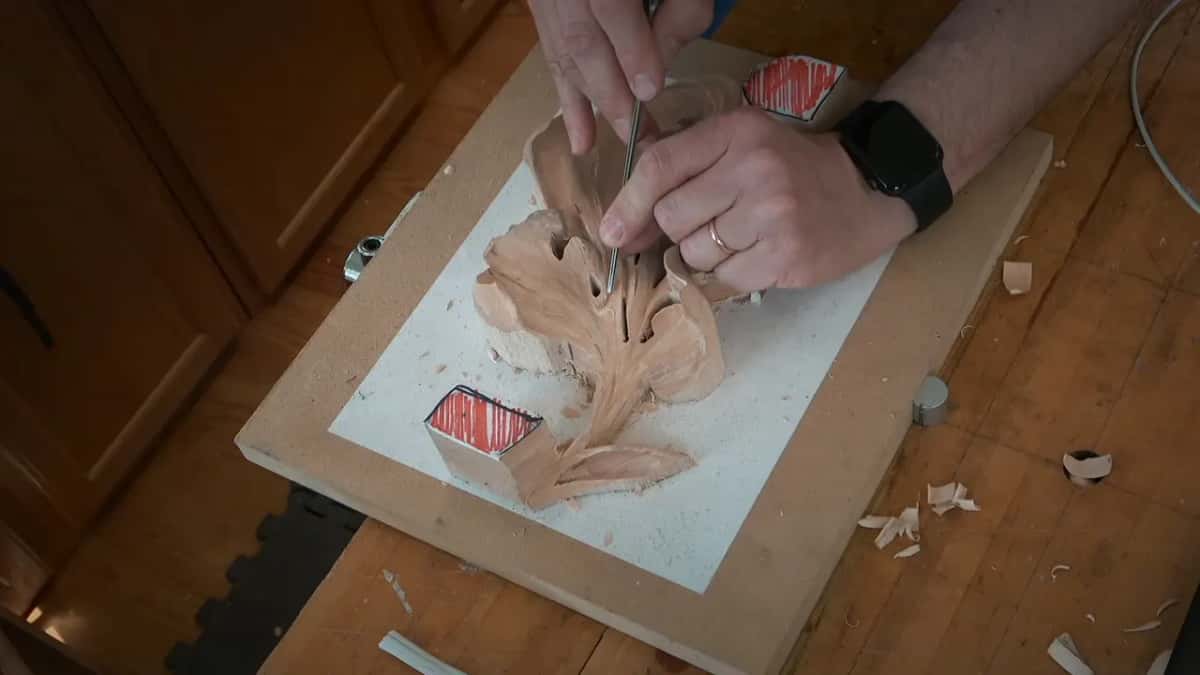
The clearest answer I have came on the Tray of Blessing. We are painting with the shadows and the light, I told the class, and it depends how the light is going to hit. That tray was not headed for a wall. In a dining room the light would come through a window, so I had to excavate somewhat deeper to create the shadow where the light hit sideways.
A piece with the light source above is much easier, because a shallower undercut still casts the shadow there. The tray got extreme excavation instead.
For that excavation I brought in what I call a back stepping cut. I carve, step back, carve, step back, the same way you would run a molding with the molding plane. You never start at the beginning, I said, you start with the end. I stepped about half an inch (13 mm) each time with the slicing motion, and I was not afraid of losing the picture, because as long as I stayed pretty close to the line I could replicate it on the other side later.

In the sixth lesson of that course I turned it around. For a piece of decoration headed for a wall, I said, I would do extreme under, but not on a practical use tray. So a wall with light above asks for a shallower undercut than a side window does, and what the piece will do asks for its own answer.
Where does the light come from in your own room?
The Venetian rosette lesson had me keep in mind how the composition is going to be positioned on the wall, at eye level, and how the shadow is going to be cast. My light source goes from above, so if I want to exaggerate the shadows, most logically I make a lot deeper shadow on one side. That meant one petal had to go underneath its neighbor.
At night, once the light is on, I said, you can see that much better. For workshop 41 the light was going to come from the side, so I wanted to excavate kind of deep and make a beautiful shadow line. A window sends light in sideways, and a lamp over a wall sends it from above. Which one will your piece live under?

How do I check the shadow before the piece goes up?
Turn a light off. On the Furniture Panel I had lights from two sides. Switch one off, and a shadow appears. I was barely taking any wood there, because I did not want to lose that shadow.
Workshop 53 had me create the shadow, even if you could not see it right away, because my light source on the right-hand side pointed from one direction and made no really deep shadow. With that light turned off, I said, it would be really deep and nice. Workshop 62 gave the same result: really deep excavations on the sides gave me the shadow I was after, and with that light off it showed much better, actually popping the piece out. See workshop 62 for that moment.

Back on my own leaf, in lesson five, I switched the lights off and asked whether you could see that dark shadow. On furniture panel 19 I turned off the other light and looked at the opposite side, and it gave a beautiful shadow too. I called them really deep shadows and asked the viewers to look at that side as well.
Moving a light works as well. A small change of the light source in workshop 54 gave an even more beautiful look, and how you position the light changes the look of the whole piece.
The lamps can also get in the way the other way round. Workshop 83 had too many shadows, or too much light, I should say, so I got rid of one of the sides.
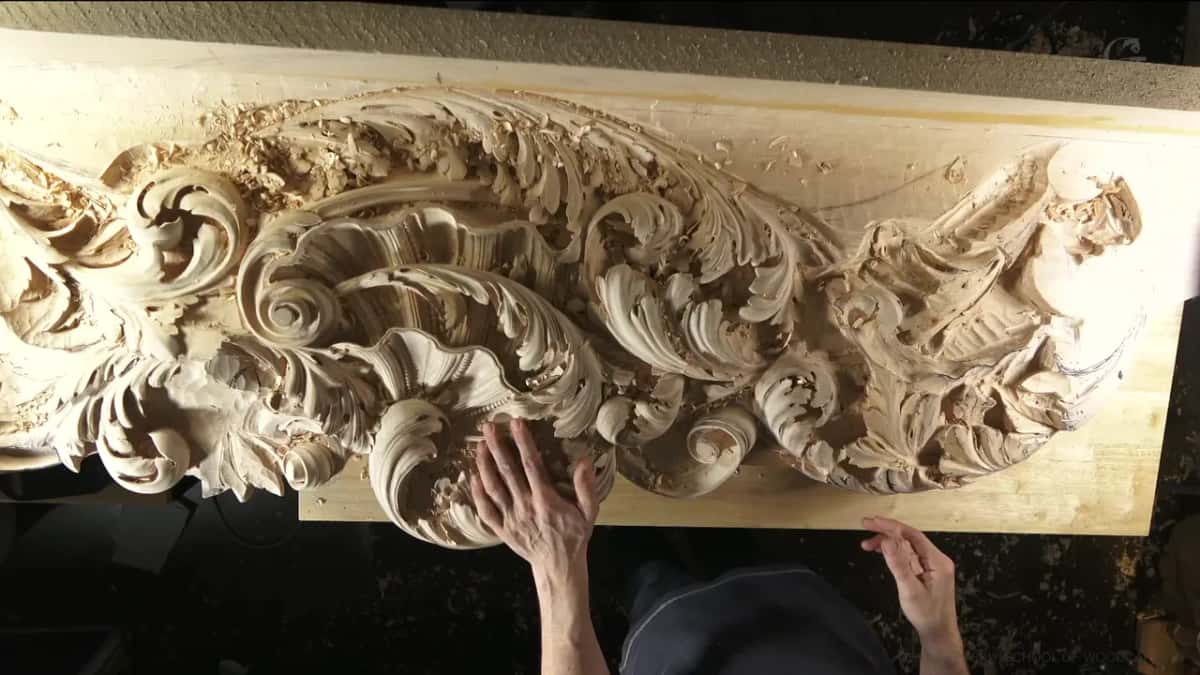
Why carve a shadow you cannot see yet?
Deeper shows more. In workshop 54 the excavations ran between 25 millimeters, about an inch, and 50 millimeters in the deeper spots, about two inches, and about the same depth everywhere. They made darker spots. It is all about the light and the shadow, like painting in a three-dimensional world with darker and lighter spots.
Lots of people carve without deep excavation, and they do not do an extreme undercut. That is okay, and it looks absolutely fine. The deeper you get, though, the more dimension you show. Workshop 48 made it plain. I really like the idea of creating really extreme shadows, and with one light off the shadow came out deep, which is just what I am after. Without that undercut there would be no deep shadow, and the carving would not be as three-dimensional.
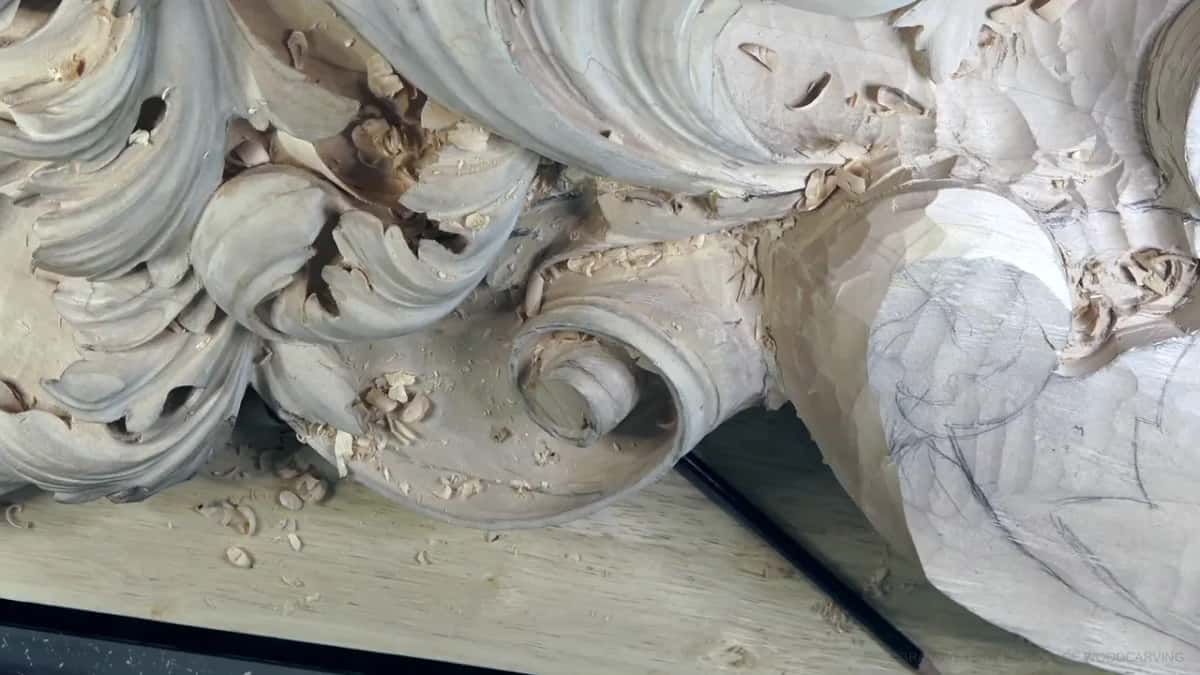
How did I keep the undercut from going too far on this leaf?
I started it away from the eye and blended it. Near the eye I held back. It is not really around the eye, I said, though partly it is, but not as much, and I said do not go too far there, since it will not look nice. The undercut has to start at almost nothing and end deep, so I skipped one spot altogether.
My flute started up, somewhere right there, and I turned it left while I carved, to about ten o'clock. Nine o'clock was out because I had some stuff in my way. That was step number one.

Step two used the same tool as before, once I found it. Many tools on the bench, and you get lost. I made the pass from almost the end of it and carried it inside slightly, so the edge would feel like it was rolling inward, from outside in. You have to feel the grain.
Once the undercut was done, the final shape came a lot easier. I held my tool straight down and chopped slightly, and the waves came from that. You probably do not see that really well on the camera, I admitted.
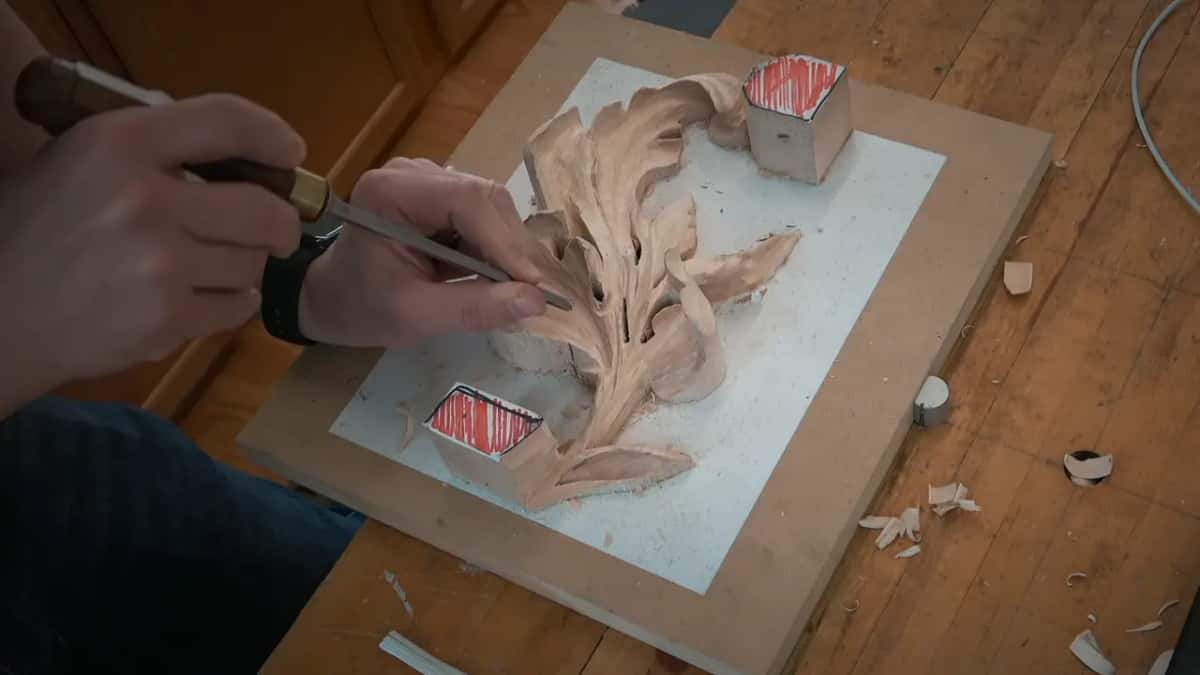
What do I look at once the undercut is in?
The profile of the line. Pay attention to what is going on all around, I said, and fix what needs fixing. On my leaf one spot needed a little more undercut underneath, and that was probably a good time to do it. Then I asked everyone to rotate the piece, kneel down and look from different angles and points of view. A line that is a little too straight and not flowing gets fixed right then.

Next I used a number 7 at 45 degrees against the center line to knock one side of a pipe down, then flipped the tool the opposite way and blended it. I called it a really small detail that is going to look really awesome. That pipe goes uphill to the eye, and it casts a little different shadow.

One more look at the paper. Do not concentrate on a final form like on a piece of paper, I said. A drawing shows a really wavy line, and I made only the fingernail at first, a straight pass, with the waviness coming a little later.

What happens to a shadow, in plain terms?
A shadow is the dark area where something blocks the light, and a relief is a surface built from raised and lowered shapes, so the two belong together. A low relief has very little depth, which is why an undercut matters so much. Shading shows depth by varying how dark a surface is, and the strong contrast between light and dark is called chiaroscuro. Light falling from one side makes it plainer.
An acanthus leaf is a good teacher for this. A gouge is a type of chisel with a curved blade, and a sculpture or wood carving gets its depth from where that blade took the wood away. A large light source also softens the edge of a shadow, which this note on umbra and penumbra explains.
That is page voice, not mine. Mine is simpler: put the piece where it will hang, switch a lamp off, and look.
What will you check on your own bench?
Where will your carving hang, and which way will the light fall on it? Can you turn one lamp off right now and look at the edge you just carved? Is there a line of dark under it, or just wood? If you have a smaller gouge, would that line go deeper before the wood gets thin? If the answers are yes, then the video I described is the one to open.
That video is the third of three. The sixth lesson page holds all of them, lesson seven comes after it with what to do before the carving comes off the board, and the whole class sits at the course page. Open the video with your Tuition and watch the lights go off.
How it's done
- Make the undercut even if you cannot see it. Workshop 53 called for a shadow the light was hiding, so I carved it anyway.
- Start the undercut away from the eye. I began with my flute up and turned it to the left while I carved, to about ten o'clock, and I blended it, starting at almost nothing and ending deep.
- Go deeper with a smaller gouge. A smaller gouge goes deeper, if you own one.
- Turn one light off. Lamps on two sides hid the shadow, and one switched off brought it back.
- Look from different angles. I rotated the piece, knelt down, and fixed the line when it was too straight.
- Think about the wall. Under a light overhead, the piece got by with a shallower undercut and still cast the shadow.
Frequently asked questions
Why can't I see the shadow of my undercut under shop lights?
Lights on several sides cancel the shadow. At workshop 76 my light sources shone on two sides, and I kill that shadow. Lesson six said the same thing: lots of light all around me hides it, and a dimmer wall shows it.
Does a shallower undercut work on a wall?
My Tray of Blessing taught me this: with the light source above, a shallower undercut still casts the shadow. That tray was lit sideways, though, so there I did extreme excavation to get the same dark line.
How do I check an undercut without moving the carving?
Switch a lamp off. On furniture panel 24 two lamps were on, and with one switched off a shadow showed. Workshop 54 moved the light source a little, and the look changed with how I positioned it.
What to carve next