

Alexander Grabovetskiy, woodcarver, School of Woodcarving · Published 2022
How do you carve a stem that runs over a flower in relief?
Quick answer: Carving a stem over a flower is carving around the stem and sending a petal underneath it. My Maine course covers it in class 8, where I outlined one with a number 9 at 10 mm (3/8 in), named a number 11 at 3 mm (1/8 in) as another choice, and reminded the room a petal goes beneath.
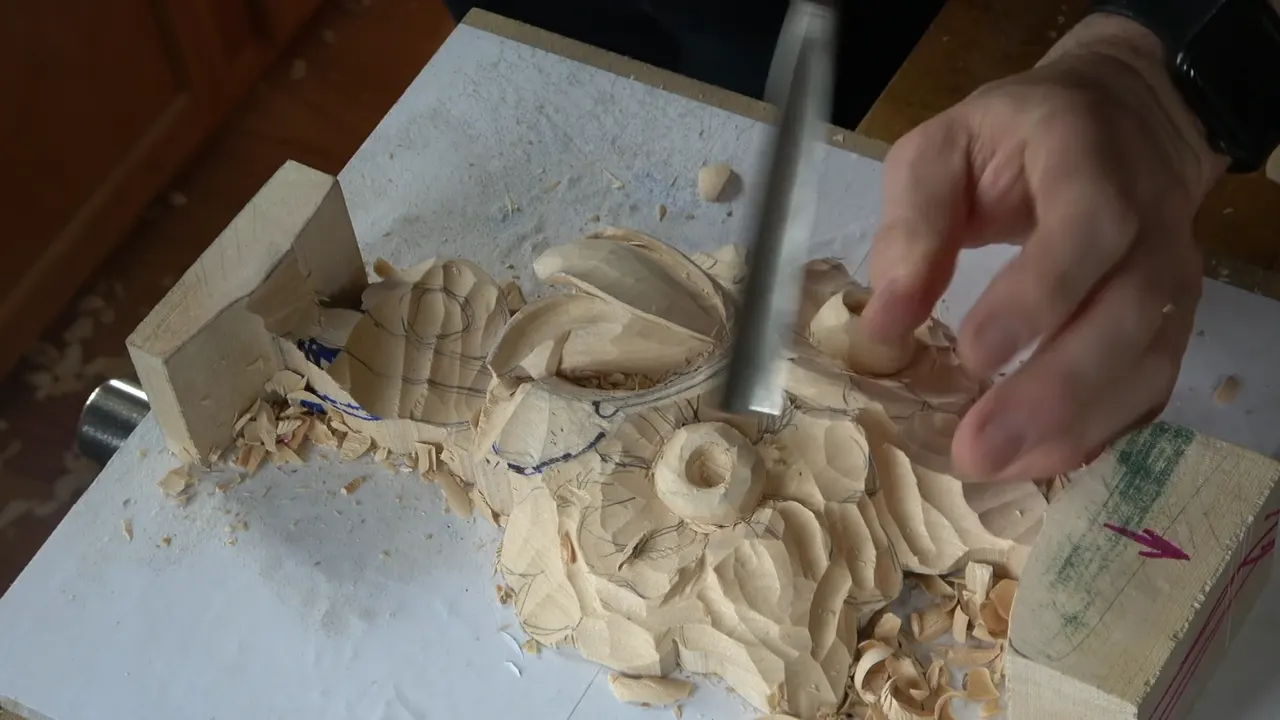
A stem lying on a flower in relief is carved around, and one petal goes underneath it. In class 8 of my Grinling Gibbons course in Maine I put a number 9 gouge round the stem, and told the room what has to happen to the petal there.
Have you drawn a stem across a flower and then watched your petals ignore it? Maybe one of them landed on the wrong side of that line, and you noticed only when the whole flower already looked good. That trouble is small.
This part of class 8 is short. I will stay with the one stem, then walk through how I handled stems in other classes, so you can see the same habit on different wood.

Six lines about one stem
- A stem you can see on the flower means an outline cut round it.
- The outline took my number 9, and I named my number 11 as the other tool for it.
- Stem on top, petal beneath it.
- Wave stays in the petals, and five parts stay in the flower's center.
- Lower goes the flower beside the first, since the first one is higher.
- Depths I gave on that flower: 3/8 of an inch around it (roughly 10 mm), a quarter inch for the plug.
What changes when a stem runs across a flower?
The flower stops being alone. Before I carved a single petal in class 8, I stopped and told everyone what was coming. Do not forget, I said, we are going to have some kind of stem going right on top of the flower, and there will be other flowers.
Then came the line that matters. That petal is going to go right underneath, I said. Just before that I had reached for a ball pen, so I would not create a mess.

How do you outline a stem that crosses a flower?
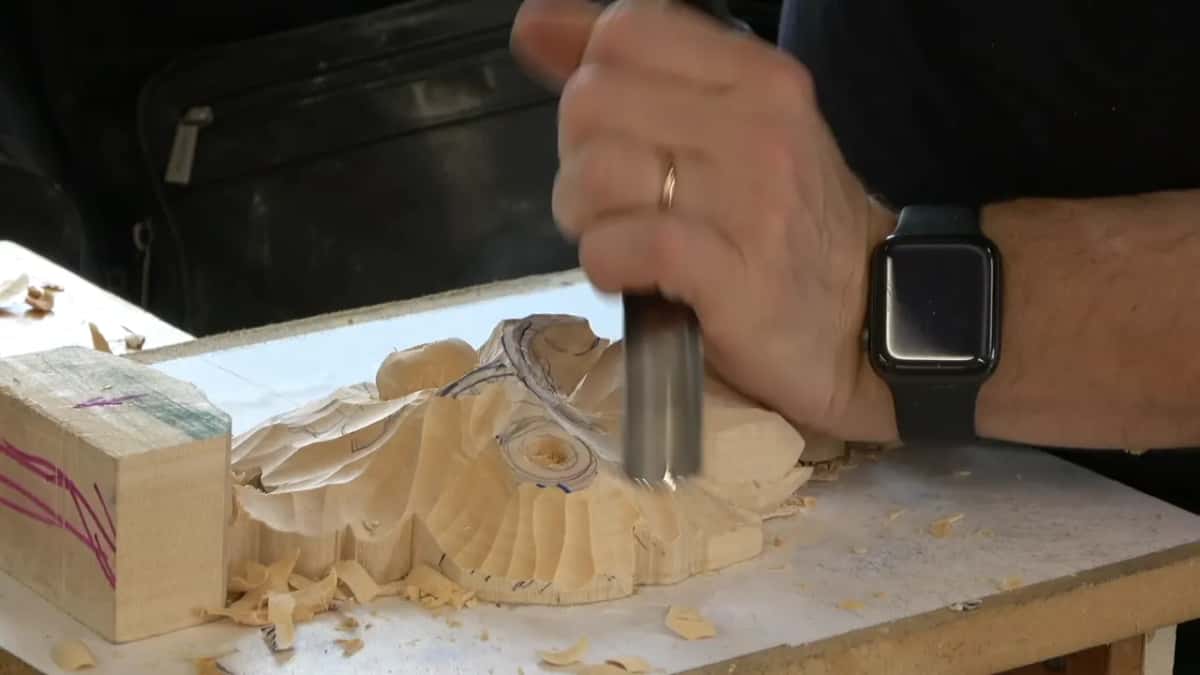
You carve around it with the tool already in your hand. Around four minutes into part 8-3, I said that if you see that stem, it means you have to carve around it again with the same tool. The tool was a number 9, 10 mm wide (close to 3/8 inch), and its job was to make the outline cut right there.
A smaller tool works too. The number 11 at 3 mm will do, I said (close to 1/8 inch), so go like that. In that part I gave no reason for choosing one over the other.
It ran across the panel to the flowers that hang down. Look at the screen, I said, and see how that stem goes all the way to those hanging flowers. A couple more were going to hang down, I added.

Which petal tucks under the stem?
The one the stem reaches. In 8-3, near the end, I said it plainly: it has to go underneath of that stem. The line had come in 8-1 too, before any outline existed.
In 8-1 I was also working out how two neighbors sit against each other, and I told the room it all depends. On that flower I could right away indicate that my petal runs underneath the one beside it.
In 8-2 I asked the class if that was easy enough, and if I should stop right there or show the next step. I could stop there, I said, just to develop both of those onions, and a little later I would show them one of the petals.
I have plenty of material, I told them, and later I sharpened my pencil to redraw the petals. Wood is different. A cut that goes too deep stays deep.

How deep is the relief cut when a stem crosses the flower?
On this flower I went about 3/8 in around it (a little under 10 mm), and I said so while I worked the relief cut. If you ask me how deep I will go, I said, the answer is somewhat deep, like three eighths.

The plug in the middle of the flower was shallower. I went a quarter inch (about 6 mm), which I also called five millimeters, approximately. Going deeper is still possible, I said, but it does not necessarily make it easier. So I said to not overdo it.
In 8-2 I said I would drop the area round one flower a quarter inch, then added or even more, actually, why not. The next flower I also meant to take kind of low.
There was a warning in the same breath. I reminded them there is a dome underneath, so nobody has to be crazy with it.
Why does the second flower go lower?
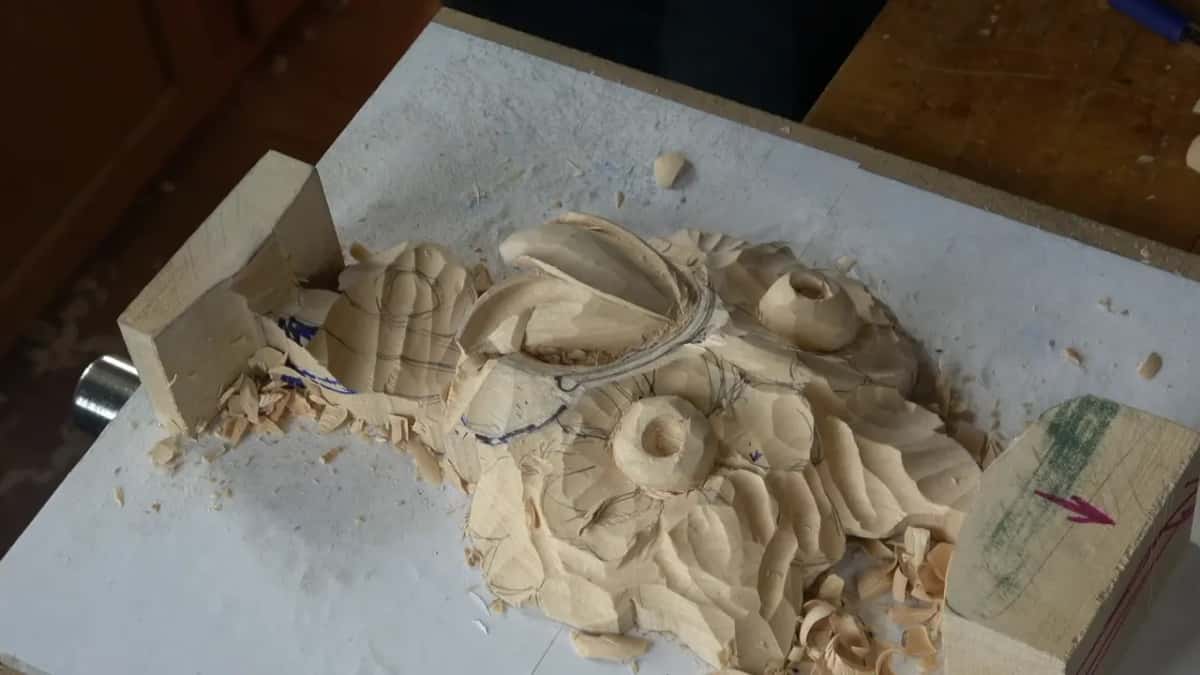
The first one is higher. In 8-1 I said the second flower should probably go lower right away, since the flowers beside it stay higher.

The heart of the flower got a drop too, since a concave right there was not what I wanted. I have plenty of material, I said, and I can redraw the stuff.
What else happened on that flower before the stem?
A lot of it comes back to one word, waviness. In 8-1 I said the petals are not supposed to be just like an arc, so they really have to be wavy. Then it is going to look nice.

To get the feel of overlapping petals in 8-3, I picked up a 1 mm number 11 (about 0.04 in) and excavated right underneath. The center is easy enough, I said. A number 11 held upside down carves it so it shows approximately the same shape I see on the outside.
The middle part got subdivided in five. They can be imperfect, I said, but the edge is supposed to be wavy. They already looked like flowers.
How does the plug cut start a flower that a stem will cross?
It starts in the middle. In 8-1 I took the nine and made a plug cut inside the center of my future onion, the word I kept using for the flower's middle. I pointed the tool in a perpendicular position toward the main movement.
Please do not go straight down, I said. Look at how it slopes. How far you go is up to you, and mine was a quarter inch or so. There is my plug, I said, and since I was there I did the second flower the same way.
Which tool rounds the middle of the flower?
A number 7, upside down. I presented it at approximately 45 degrees, not straight down and not 90 degrees toward the cut, and I said that gives a much cleaner result. Short strokes. It goes cut by cut, and I said I would go no more than probably an inch, or even less at the end.

Next I said a smaller number 11 would be a good idea and relieve it slightly, to create the channel cut, because that would be safer. After that the number 7 came out again, and I rolled it and cleaned it.
The center can be imperfect, I said, and if it is not perfect it will be better. But it is not supposed to look like a donut. I do not want to see a flat donut, I said, it has to be full 3D. I know you all love donuts, I added, but this is not the place. Rotate the tool in different directions, I said, and create that onion looking shape.
What did I do with the petal that rolls backward?
In the second half of 8-3 I took one petal and turned it. I pointed at the second flower and said what I would like it to do is roll backwards, to create a motion, so it would not be all straight.

My tool was a number 7 at 14 mm (about 9/16 in). I rolled it backwards like that, and then I said, just this one, because I did not need to create a lot of those movements.

Where that petal met its neighbor, they intersect, and I wanted a sharp line between them. See that sharp line, I said. Really nice.
The nine excavated right underneath that rolling motion and went right across. The small eleven could then exaggerate the roll in some areas.
That petal repeats the waviness and stays the same petal, I said, so I had to chop somewhat from the top. I asked the class if they could see the motion.
How did I handle stems in other classes?
Every stem came with a figure, and the table lists them.
| Where | What happened to the stem there | Figure |
|---|---|---|
| Part 8-3, Maine | stem across flowers, one petal tucks beneath | outline cut, number 9 |
| Tulip, class 7 | connecting point dropped to about 1/2 inch | stem joins the tulip |
| Holes, class 6 | holes opened to expose the stems underneath | stems about quarter inch |
| Class 3 stem | this stem got worked in full 3D | up to half inch |
| Hollow, class 13 | one stem in the way, hollowed under | 3/8 of an inch |
| Tray lesson 4 | stem above the leaf, dying underneath it | one eighth inch thick |
| Venice workshop 133 | a leaf stem going under another leaf | a transition comes first |
Class 7 is where I dropped one spot a half inch (about 13 mm) as the connecting point for a stem. Two stems were coming, I said. One crosses and develops flowers growing from somewhere underneath, and the other connects to the tulip, about half an inch down. The tulip itself might go a little deeper later, I said, because of how wide it is. See the class 7 page for that.
Out in the holes of class 6, the stems needed exposing. A lot of material has to come away, I said, to expose the stems underneath, though short of the edge, and the stems needed to be about a quarter inch (about 6 mm). Don't overdo it, I said, and the full lesson sits on its own page.
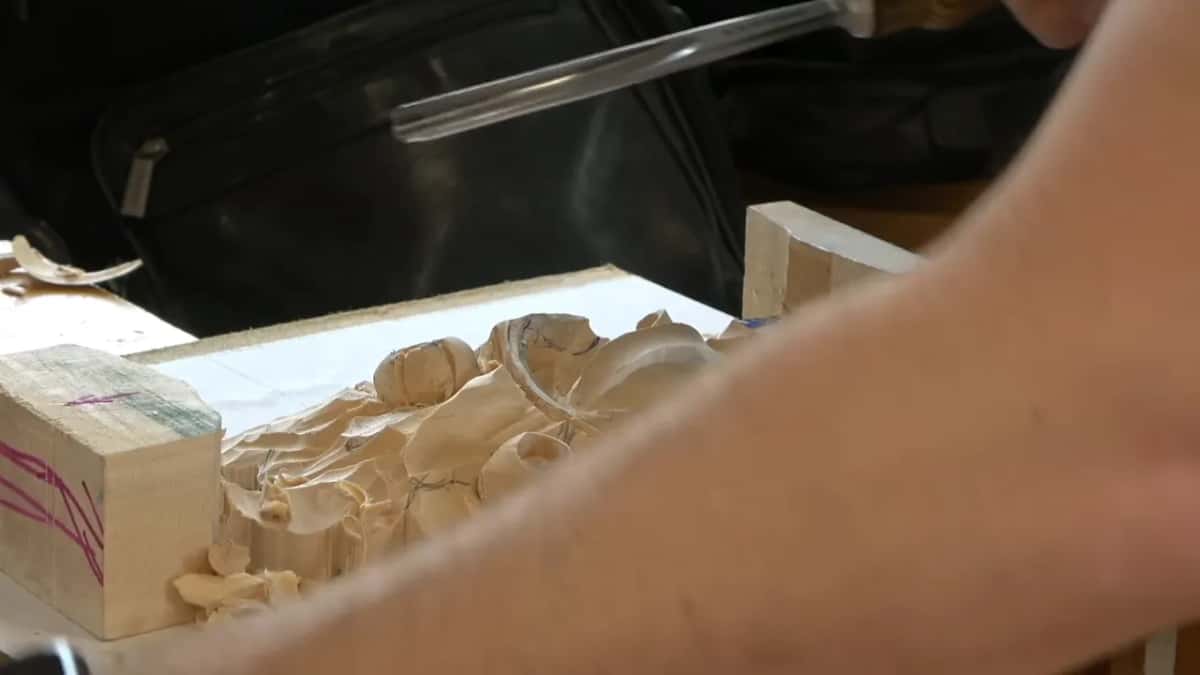
Stems are not lines drawn on top, either. Class 3 is where I said the stem is not going to sit on the surface, because we are working in full 3D. The class 3 page has that. It begins at nothing and reaches a half inch (about 13 mm). For that first step I said I could probably take a number 9 at 20 mm (about 3/4 in).
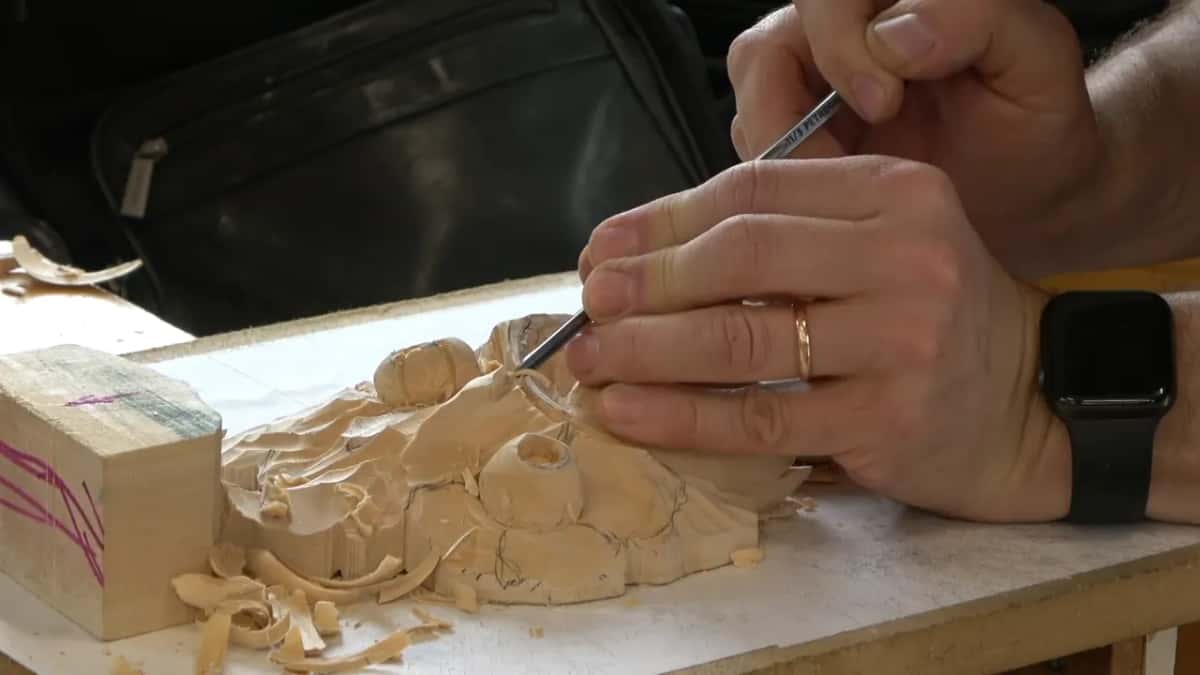
Sometimes a stem is simply in the way. Class 13 gave me one, and I said so out loud: there is a stem in the way, but see how big an excavation I have underneath it. I got about 10 millimeters or so, a hair under three eighths of an inch, and I could probably attack from the opposite side too, I said. The class 13 page has it.
In my furniture panel course I pointed at a stem that goes underneath a group of flowers and said we would develop a volute. That was lesson 20.5, and you can find it in Carving Furniture Panel, part 2.
Class 14 gave a thinner one. I said the stem was about five millimeters for now (about 3/16 in), and that later I would refine it to much less, maybe three millimeters or so (a little under 1/8 in). That stretch of the course sits on the class 14 page.
Over in class 16 I pointed at a stem right underneath a flower and said it goes all the way to the side. Maybe you do not see that well, I said, but it was right there.

Not every stem hides. When I carved the Tray of Blessing, I said in lesson 4 that you can do a stem from above and let it die into the leaf, or do it from below. I would probably go with above, and let it die underneath. One part of the leaf sits somewhat above the stem, and another part sits below it, almost overlapping the backside, and the stem hides in.
That is a little more complex, I said, but I think it gives us beautiful motion. That stem measured about one eighth of an inch (about 3 mm), maybe three sixteenths (about 5 mm), just to make it more stable.
The idea reached a Venetian panel too. In Venice Room workshop 133 I needed to create a transition inside the leaf first. So the stem of this leaf goes under the leaf beside it, I said.
Does the stem have to sit on top?
In my class, one petal went under a stem. On the Tray I did the reverse, with a lobe of the leaf covering the stem's connecting point slightly. I said I kind of like that idea, so I would drop the stem slightly, underneath the leaf, not much.
What I want you to take from both is the order. The two shapes cannot both be on top, and you choose which one is before the tool goes in.
Class 8 is where the overlap question lives. What I said about which way petals overlap sits on that lesson page, and class 5 has its own page on undercutting a stem, which is a different job from this one.
Can a beginner carve a stem on a flower?
I carved around that stem in front of a class, with a gouge and an outline cut, and if anyone had a problem with it, I said, they could come and ask me a question. I was all here, I added.
A relief carving like this one has a dome underneath it, and I said a hole is a problem if you go too deep. I added that I should remind myself of that too.
Class 8 goes on from there. Every part of it opens with Tuition, and you can watch me carve around that stem, and the petal beside it, in a wood carving class in Maine.
How it's done
- Say where the stem will run. Before the first petal, I said a stem was coming across the flower, with other flowers beyond it.
- Carve the relief cut around the flower. The nine goes around, 3/8 inch deep (near 10 mm), and the second flower drops lower right away.
- Outline the stem. If you see that stem, go round it with the same tool. My number 11 will also do it.
- Send the petal under it. The petal that meets the stem goes under the stem, and I settled that before I carved.
- Keep the petals wavy. Petals are not an arc, and the center gets the same shape as the outside.
- Roll one petal back. The seven, one petal only, with a sharp line where it meets its neighbor.
Frequently asked questions
Which gouge outlines a stem on a flower?
My number 9, the 10 mm one, was the tool for the outline cut in class 8. The 11 was the other one I named, and in that part I did not say why I would pick one over the other.
What depth goes around a carved flower?
Three eighths of an inch on the flower in class 8, with a quarter inch for the plug in its center. I also said you do have a dome underneath, so you do not have to be crazy with the depth.
Which petal sits below the stem?
Whichever petal reaches it. Class 8 has me saying it has to go underneath of that stem, and the part before has it as well, while I was still working the relief cut, before any outline existed.
What to carve next