

Alexander Grabovetskiy, woodcarver, School of Woodcarving · Published 2021
Is a number 17 as good as a number 11 for undercutting a carved leaf?
Quick answer: Undercutting a carved leaf with a number 17 is, on my Venetian rosette, a job both tools did clean. A 6 mm 17 went under my second leaf, super, super clean, the same idea as an 11, I said. A smaller 17 gets deeper still. I keep my 11s because they feel more authentic to the era.
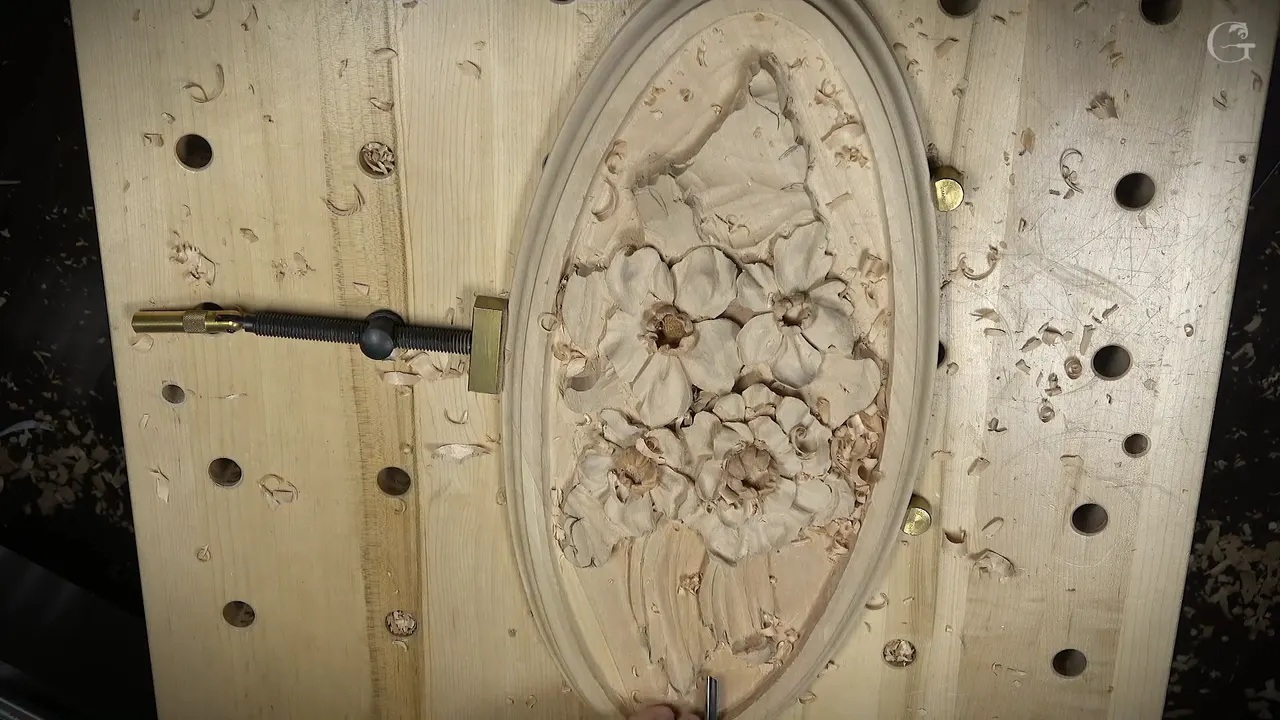
Undercutting wood carving using a number 17 is, on my Venetian rosette, a clean job, and an 11 does that job clean too. A 6 mm (1/4 in) 17 did the undercut on my second leaf, and I called it really clean. Then I picked up an 11 anyway, because I still like them.
This is the third video of lesson 4 of Venetian Flowers Rosette. The flowers were pretty much finished by then, and a couple of leaves were left on one side. It opens on the first leaf. Then the second one gets its curl, its relief cut and a rough convex, and after that comes the undercut this page is about.
Have you got a leaf standing on its ground, ready to lift? Do you want a shadow under its edge? Then take your time going under it, the way I did.
You will see the two tools I used, the sizes I said out loud, and what I have said about the same choice on other wood carving work, including the Venice Room and a grape onlay.
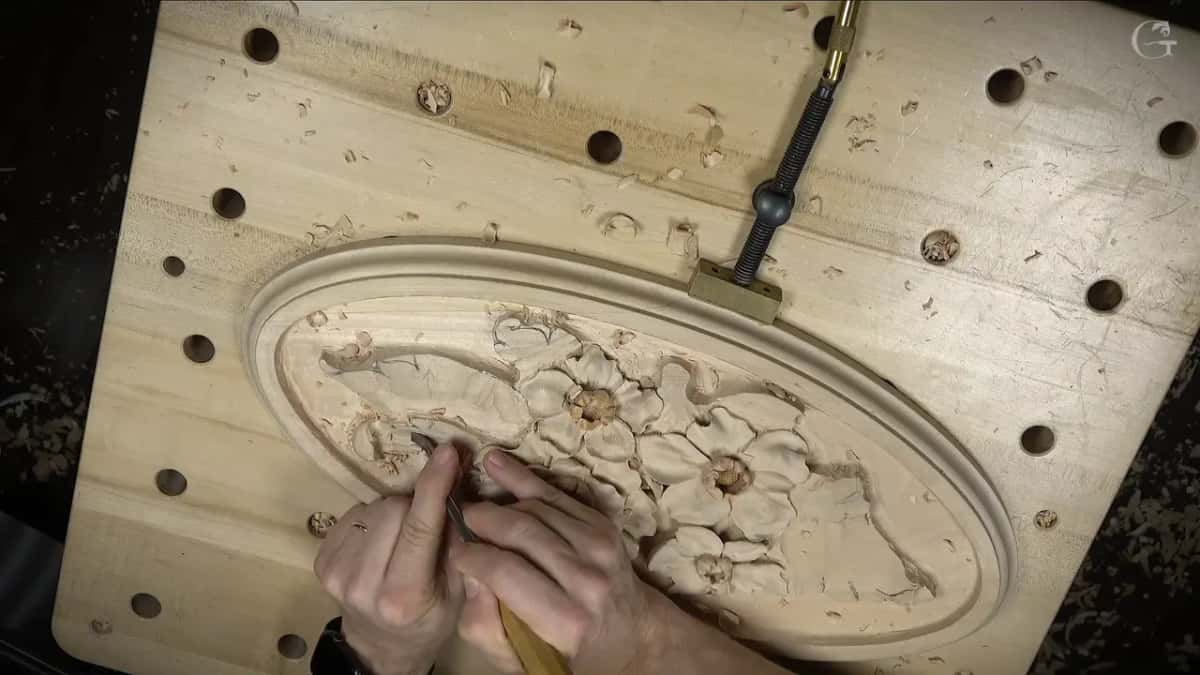
The 17 and the 11 under one leaf
- A 6 mm number 17 slid under the second leaf, and the undercut it left was really clean.
- When the 11 came out, it left a clean undercut as well.
- With a smaller 17 you can get deeper still.
- My 11s still come out, for the era.
- Before any of that, a 20 mm (3/4 in) 17 cleared the mess, worked on its side.
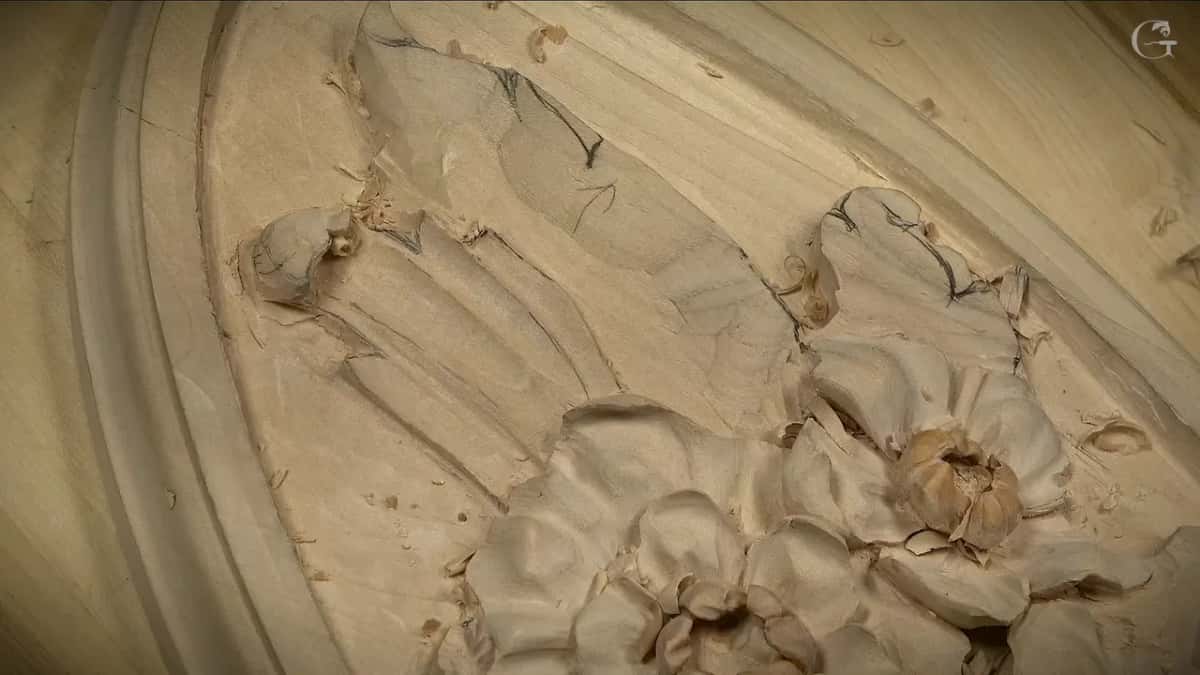
How did the 17 get under the second leaf?
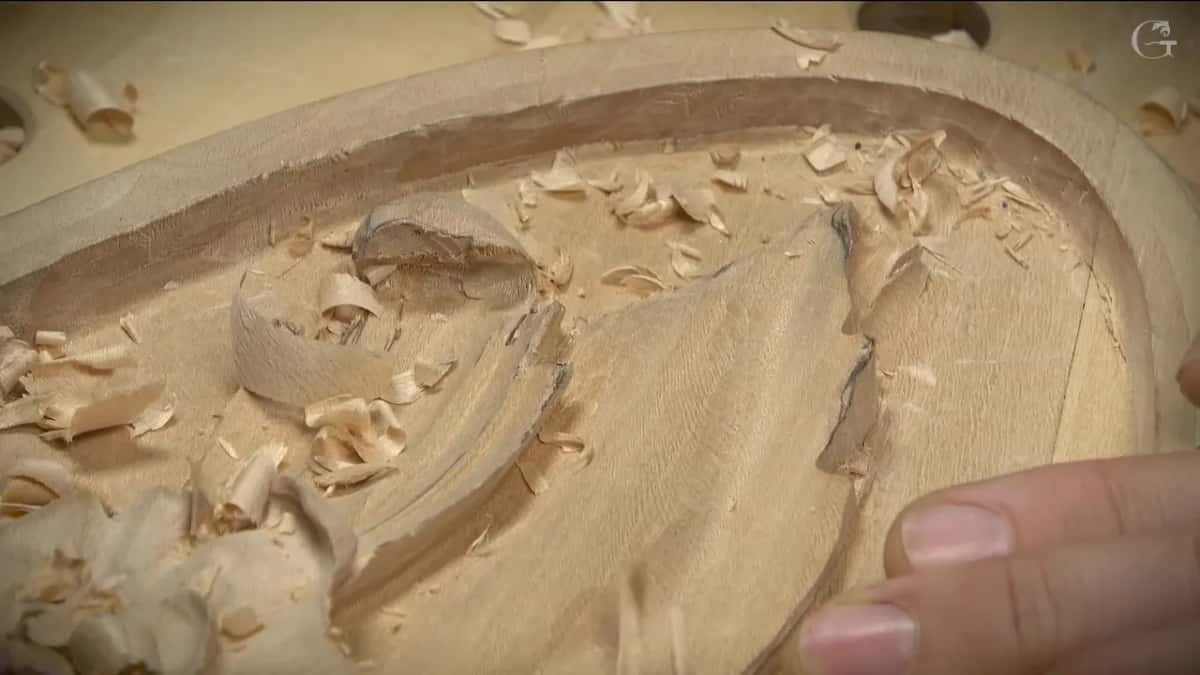
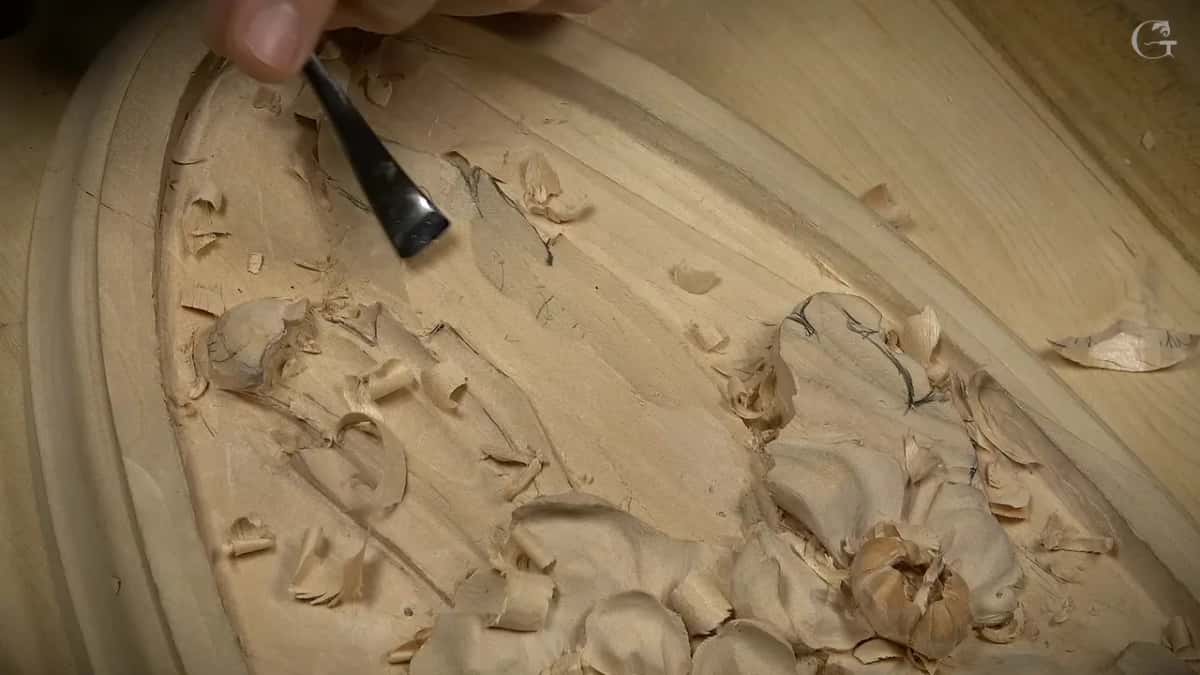
Slowly, and with the small one. By then I was happy with the overall movement of that leaf, but the mess around it had to go, and I was getting really too close to the flowers for a big tool. So I switched down.
Same tool, just for the purpose of showing it to you. Still a 17, I said, the smaller version, like six millimeters, and I would take my time with it and not rush, to get much nicer work out of it.

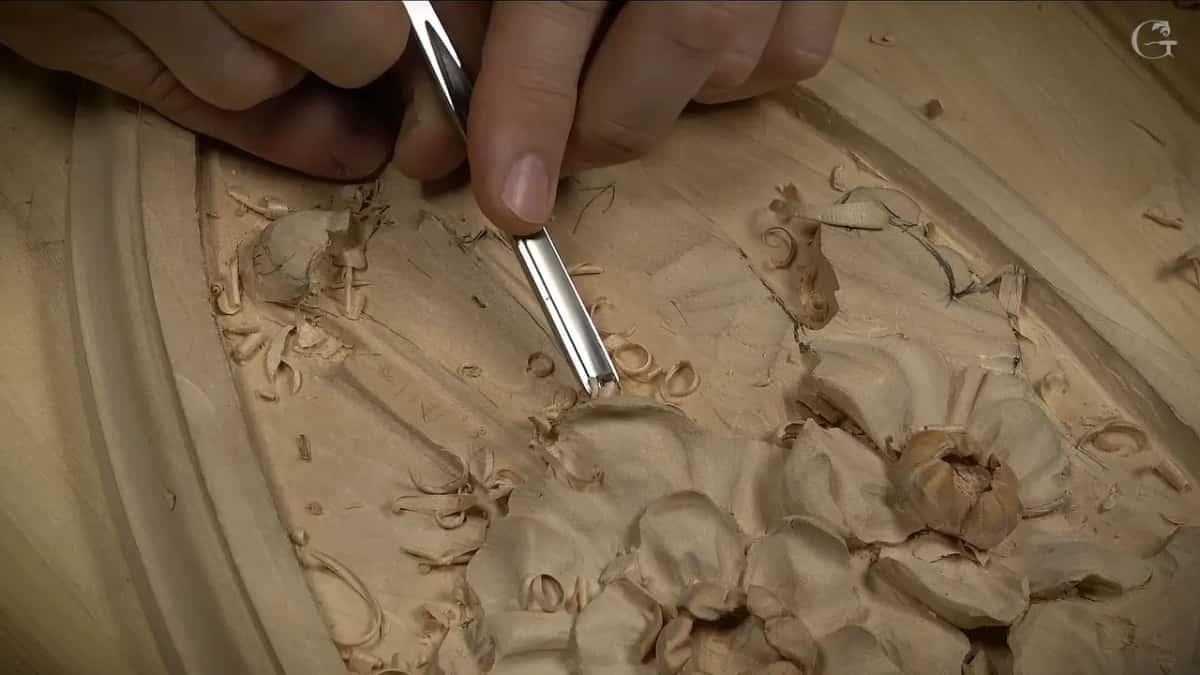
This tool can pretty much go underneath of that leaf, I said. It gave me a really nice and beautiful transition underneath. Really clean undercut, I should say.
One video earlier I had said the 17 is good for undercutting too. If you want to undercut and still don't want to see a sharp line, you can use it. It's also really good, I said. A little later in that video I pointed out that the line it left was not really sharp, and still had a curve on the bottom.
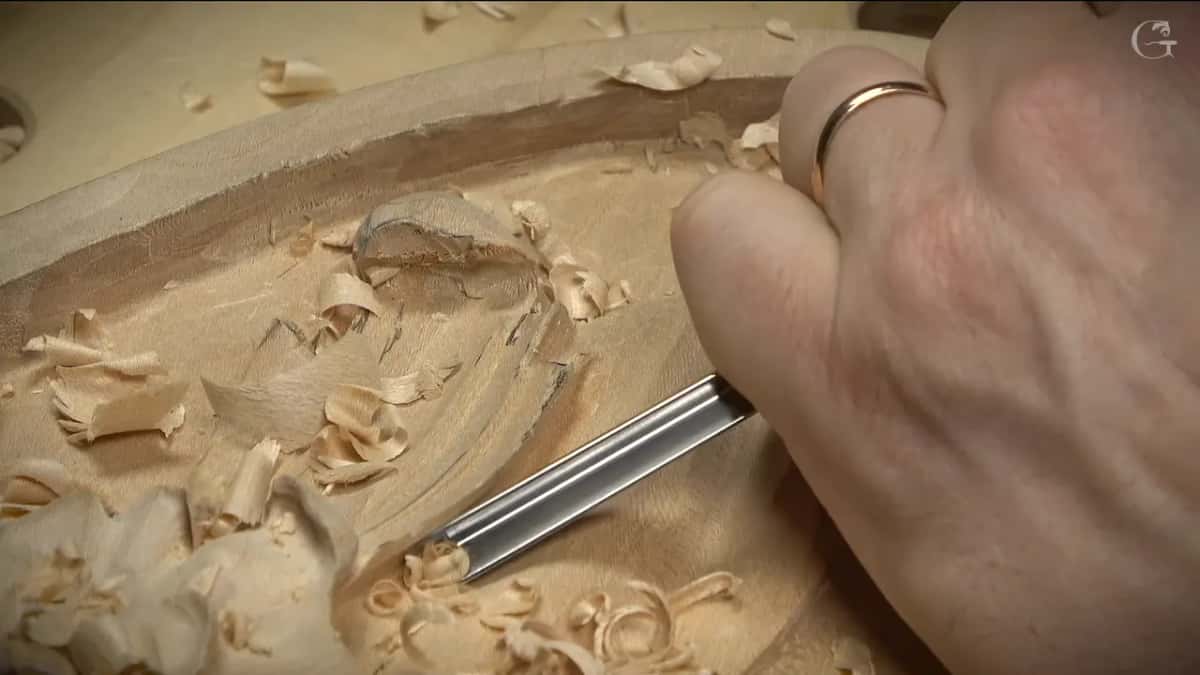
Was the undercut from the 17 really clean?
Super, super clean, in my words. I wasn't sure you would be able to catch it. Later on I said it again, that I was not sure the camera shows it, but this undercut is super clean. I'm really happy with the result, what the tool produces.
And between those two lines, the one that matters here. Exactly the same idea as number 11. One of the tools you could use, I said.
What is a 17? Only my own words on camera, from the second video of this lesson. Swiss made. A quarter inch, and it looks almost like a V tool, but it's not. How the numbers on a gouge work is something the tools course goes through properly.
Why did I still reach for number 11s?
For the era. I still like to use number 11s, I said, and that way I feel more authentic, if you wish, to the era. An 11 was probably still coming to that spot, too, to get even deeper and make even deeper shadow right there.
Soon after that line I said a smaller 17 can actually get you an even deeper undercut. Both lines are on the video, in that order. When the 11 came out, it gave me a beautiful undercut as well, with a nice clean transition underneath and no mess on the inside. Even here, I said, you can get a really nice undercut with an 11.
The era comes up on my other work too. In the very first workshop of my Venice Room, I said I would like to be authentic to the 15th century in that project. That means mostly gouges and veiners, and trying not to use any V tool. But we'll see, I added.
On a livestream in April 2020 I was creating an effect inside, I said, and then I said there are two types of undercut. The one I showed first was really sharp, with the detail on top and the background below. In that case it would not be authentic, I said, to the original Italian Venetian style, because they did not use a V tool. They used veiners, and they used gouges. I was after a dome there, so that wherever the light hits from, the shadow gets cast from underneath.
Over one spot in workshop 139 I said a V tool was an option if you wish, but it's not going to be authentic, I said, to the period, and I took a skew chisel instead.
What did the big 17 do before the undercut?
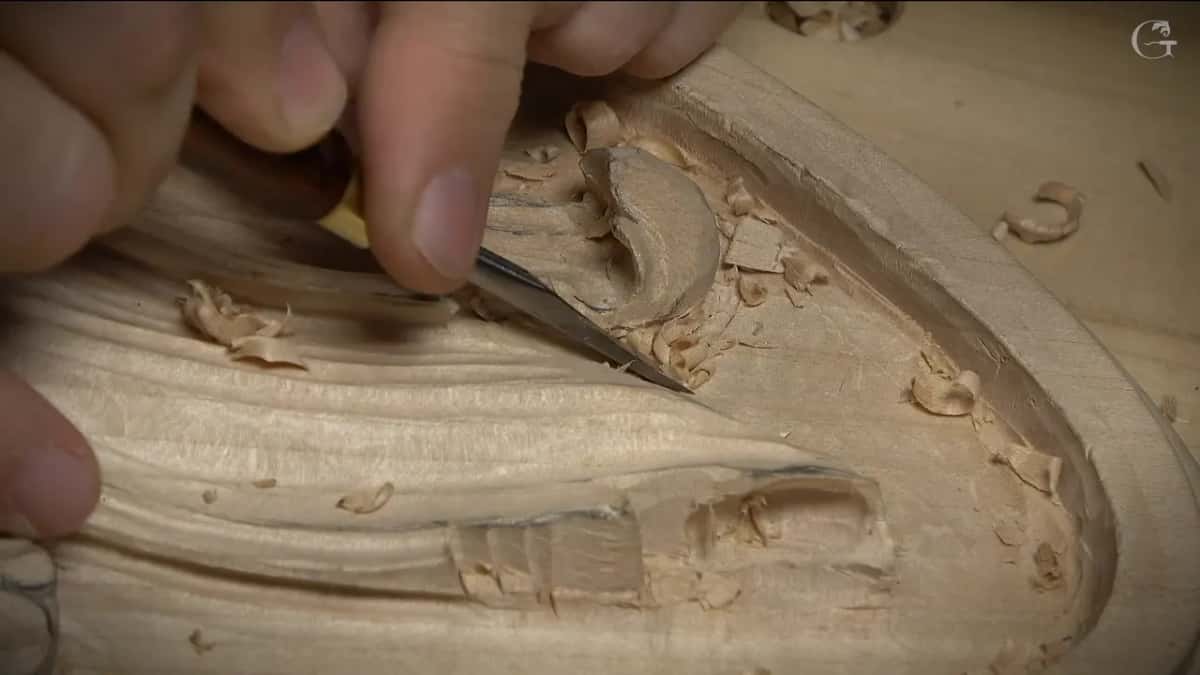
It took care of the mess. I could have used an 11 there, like I did on most of this project, but I had also brought in a new tool here, the number 17. So I took a big one, 3/4 of an inch or 20 millimeters, a little bigger than 3/4 of an inch.
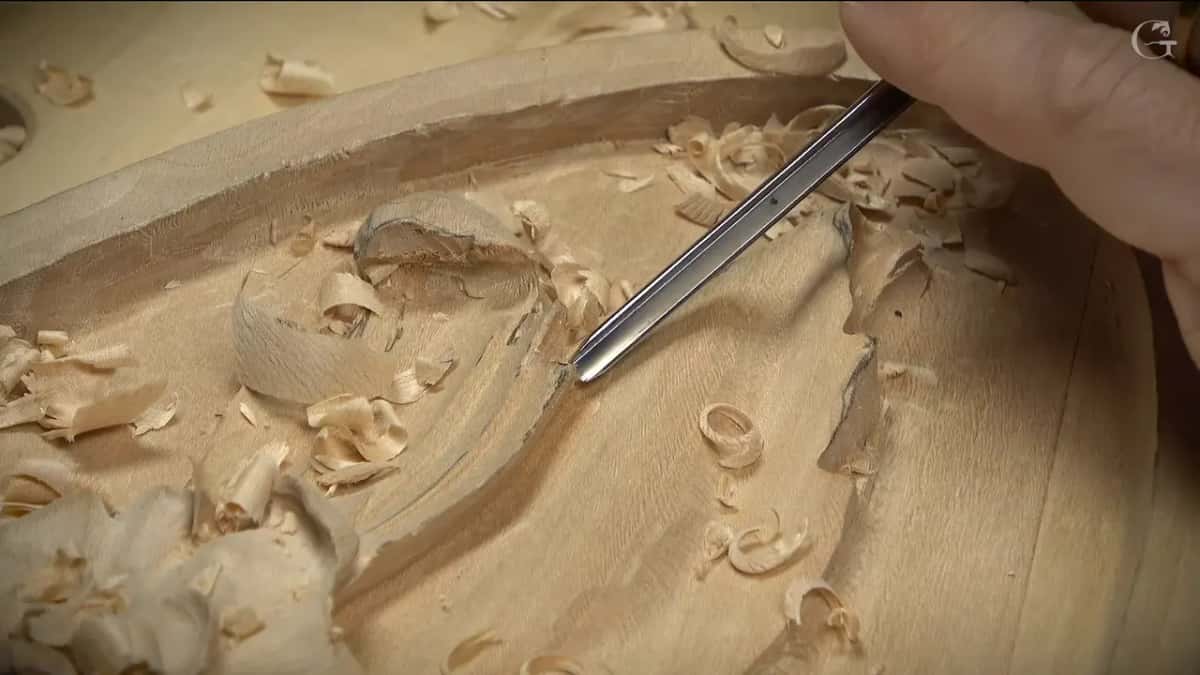
I used just one side of it, the same way I had used the small one, and cleared that mess. Take a look, I said. It does not leave any sharp transitions like a V tool, and the idea is pretty much the same as a V tool, just that the wings of the tool open much wider.
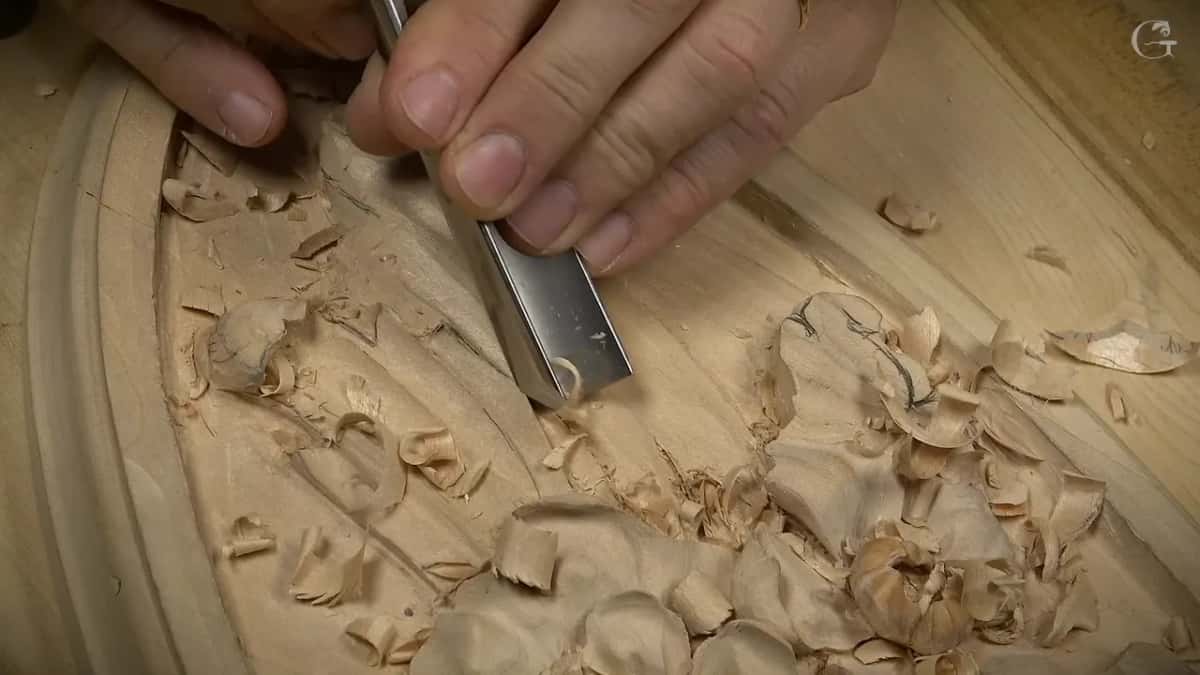
Earlier in this video, on the first leaf, the 17 had done some of the same work. I need to clean up that mess, I said, and I'd take care of it a little later. Then I changed my mind and used the same 17 to attack it in a preliminary way and take some of that stuff out. One edge on the second leaf also had to be a little raised, going uphill, and with this tool it's easy for me, I said.

Which tool did each job on leaf two?
| The job there | What I did there, in plain words | Tool used | What I said at that moment |
|---|---|---|---|
| Clearing the mess | Laid the big one on one side | Twenty millimeters | Does not leave any sharp transitions |
| Undercut near flowers | Switched down and went under the leaf | Six millimeters | Really nice and beautiful transition underneath |
| Going deeper still | Told you a smaller one goes further | Smaller seventeen | You can get even deeper undercut |
| Undercut, other tool | Picked up the other tool for it | An eleven | Nice clean transition, no mess inside |
| Relieving a separation | Kind of relieved it, background kept safe | Eleven again | The 17 would be much easier |
| Another separation pass | Went back to the tool from before | Seventeen again | It could go to the floor |
| Concave inside it | A small gouge hit that separation inside | Number five | Some kind of concave, same idea |
Read the third column top to bottom. The 17 does most of the rows, and the 11 comes in where I wanted it.
Where else did I take the 11 over the 17?
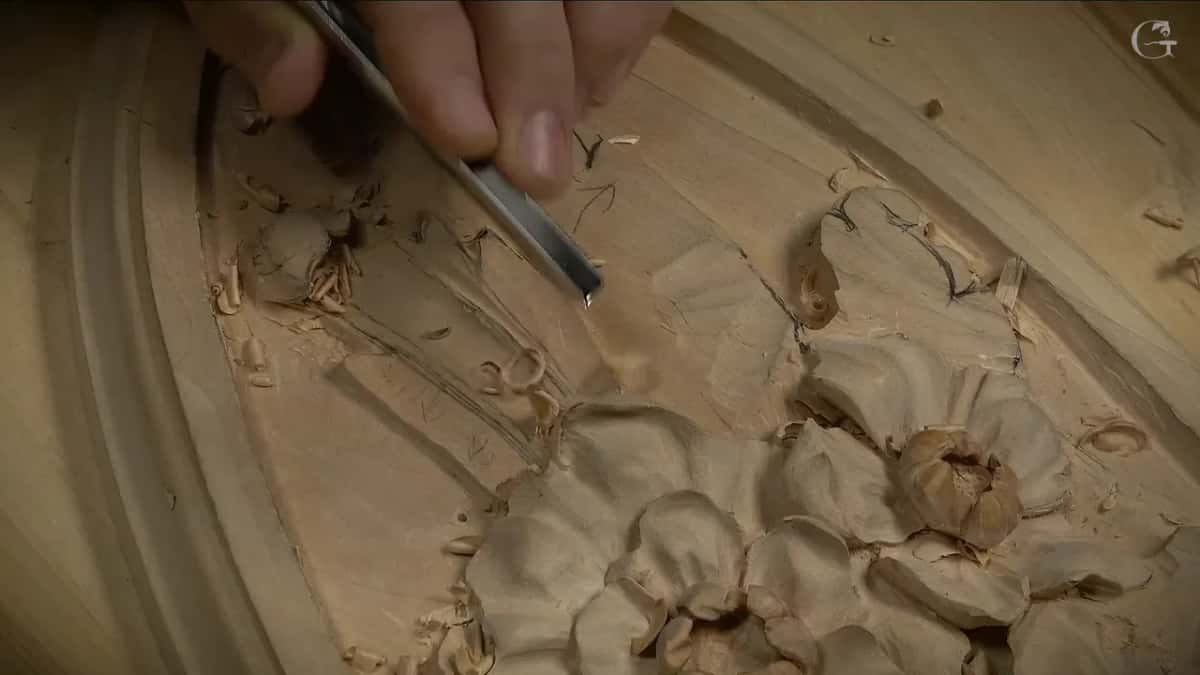
Same pair, on an acanthus over a molding. I could use a number 11 veiner, I said, or I could use a 17. I'll probably just take a number 11, I said, and that would be a really good choice, and the one I picked was seven millimeters, a little bigger than a quarter of an inch.
One lesson earlier, in lesson 3 of that course, I reminded you I was using a 17. It does not have to be a number 17, I said. More logical, actually, would be a number 11. A couple of minutes later a 17 of 1/8 of an inch, three millimeters, went right underneath one part, the same idea there, just a smaller tool, and I would blend a little more, I said.
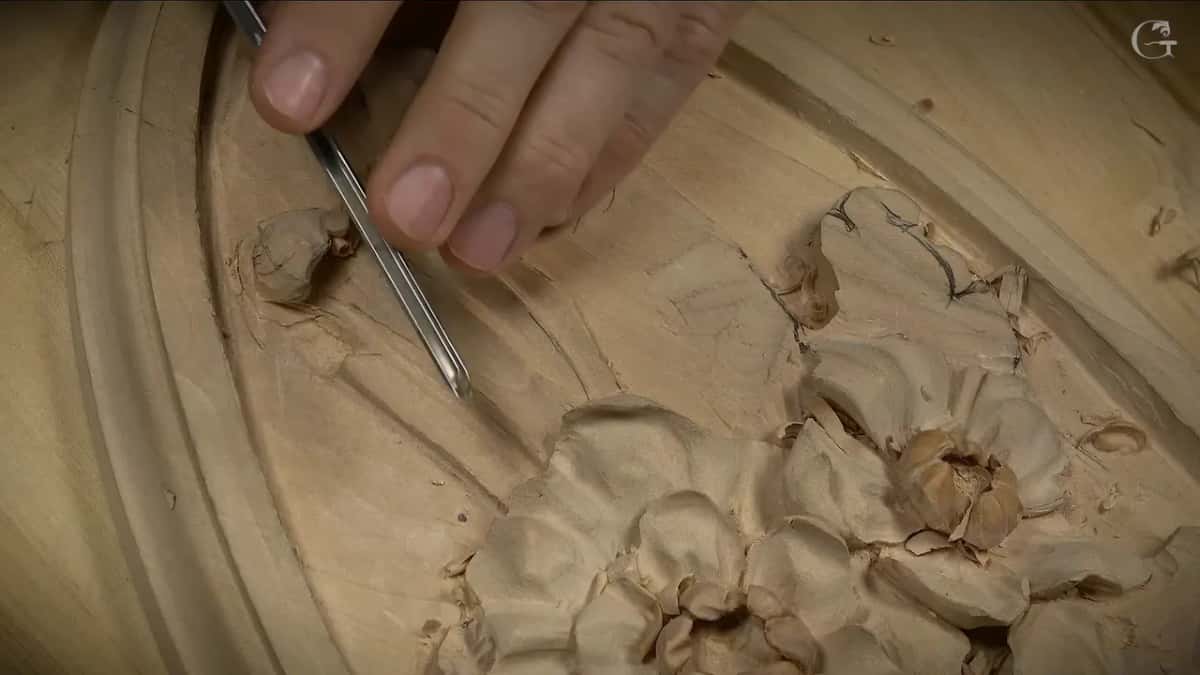
And once, on my grape onlay, I reached for an 11 and found a 17 in my hand. I grabbed number 17 by mistake, I said, but that's all right. I didn't want to confuse you, though, so I went back to my number 11, the one from before.
Why does a clean undercut matter so much?
People see it. In workshop 70 of the Venice Room I needed a clean, really clean transition from underneath, because it would be visible. Not really close to your eyes, I said, but still visible. And that's why I like those number 11s. It gives me a beautiful transition.
Three workshops later, in workshop 73, a wall on the inside would be visible from below, and I did not want to mess up. It's supposed to be a really clean undercut, I said. Little by little, I said. I'm not forcing it. Then a number five came down from above.
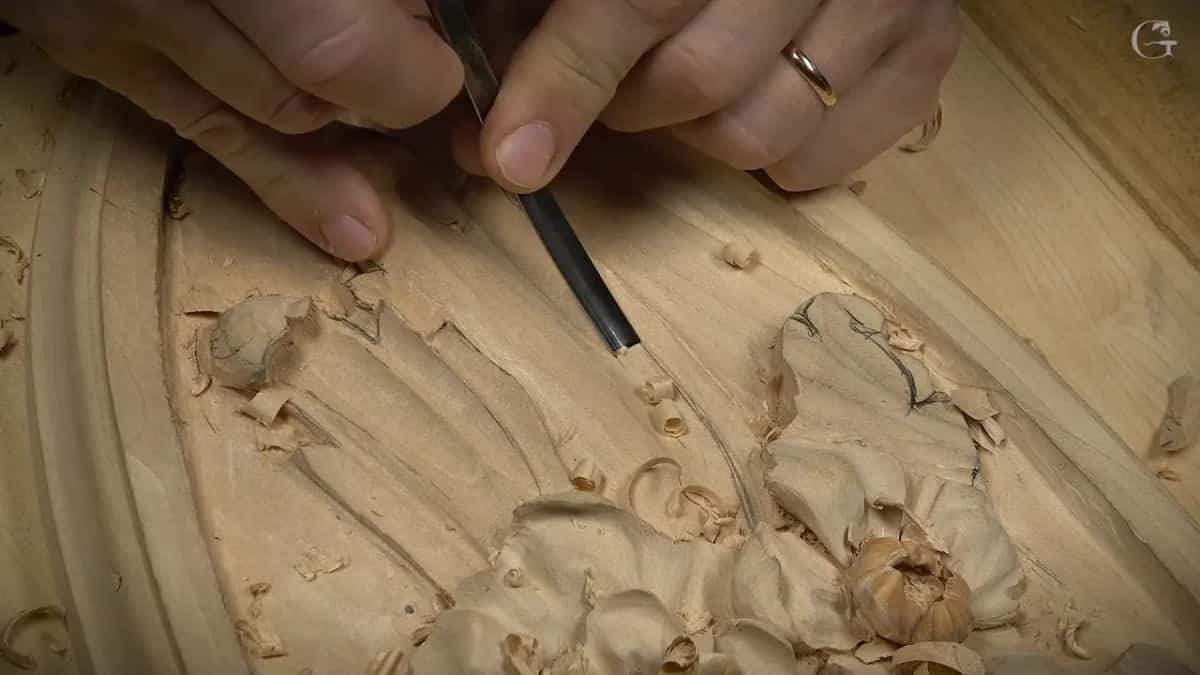
On a Corinthian acanthus I said your wood is going to act a little differently in different areas, because of the grain. Just make sure you don't push your tool in, I said. Undercutting, I said next, is one of the most difficult skills. If you learn clean undercutting, it gives you a whole lot of skill to work on deeper levels of a Corinthian leaf without hitting the parts in your way. The most important skills, I called them in the end. Somebody may not agree with me, I said, and I'm okay with that.
Not all furniture makers used to undercut on a furniture style, I said on my furniture panel. I do. I like that extra shadow casting. There a 1 mm (about 1/25 in) number 11 went around on its right-hand side for an initial undercut, and I said I usually don't do that right away. It was just for you to understand how it would look, in case you jump ahead of me, and there is nothing wrong with doing it right away.
How deep can an undercut under a leaf go?
All the way to the background. On my rosette that part waited for later, and I'll just undercut everywhere, I said, though not necessarily with the same tool.
One video back, on the first leaf, I gave the steps for a really deep one. Two millimeters (5/64 in) at first, go underneath, then switch to one millimeter, and you can go half a millimeter (about 1/50 in). It's up to you, I said, and how deep you want to go.
To clean that undercut, of course, a number 11 veiner, I said in workshop 45. And if it doesn't fit, I can always fit a smaller one. I also can undercut right away, pretty much, I said there. On my grape onlay, lesson 14, I was after really good shadow and said that even using an 11 you take small, small passes and still slice it. Really important to slice it.
Did the 17 help anywhere else on that leaf?
On the separations. Right there I would clean later, I said, because I still wanted to make some movements detectable first. For one of them I got a number 11 and kind of relieved it, because I did not want to damage my background. I said the 17 would make it even easier. Much easier.
Another line I would go on with a different tool, I said, but for now I could indicate it. Inside, I still wanted some kind of concave there, not a really deep one, and I reached for the long bent, a number seven. I know I've got too much light going on, I said. It's kind of bright, but you should be able to catch it. Near the end of the video another separation needed a pass, and I picked up the same tool I had used before, the number 17. It could go all the way to the floor, I said. I would clean that a little later. Then a small gouge, a number five in my case, made a small concave inside that separation, and another concave went right there, the same idea.
The rest of the undercut, a bunch of passes underneath, I left for off camera, and how the leaves and the flowers on this rosette fit together is on the course page.
Two tools under your own leaf
Is there a leaf in relief on your bench waiting for its undercut? Would you like to see the shadow before you start? Then watch the 17 and the 11 go under mine, one after the other. Tuition and Access sit on one plan page, and the whole of lesson 4 is in there.
How it's done
- Clear the mess with a wide 17. Work a 20 mm number 17 on one side and take the mess out around the leaf. Mine left no sharp transitions.
- Go smaller near the flowers. Close to finished flowers a big tool is a big mistake, so switch to the 6 mm one.
- Slide underneath slowly. Take your time and go underneath, without rushing, and look for a clean transition there.
- Try a smaller 17 for depth. A smaller one can actually go deeper still.
- Bring in the number 11. Use an 11 for the undercut too, if you like, as I do because of the era. It gives a beautiful undercut with no mess inside.
- Leave the background for later. Undercutting to the background, everywhere, can wait, and it need not be the same tool.
Frequently asked questions
What size number 17 went under the leaf?
Six millimeters, about a quarter inch, on my rosette. Before that, a big 20 mm one, a little over three quarters of an inch, had cleared the mess around the leaf first. By the flowers I wanted the small one.
Does a 17 leave a hard line down in the undercut?
Mine left no sharp transitions, I said, the way a V tool would. The wings open much wider, and the idea is about the same as a V tool. With the side of the 17 you can smooth out whatever you need, as you can with the side of an 11.
Why use number 11s if the 17 undercuts cleanly?
Era and depth. I still like 11s, I said, because that way I am more authentic to it. I also meant to go deeper there with an 11, though soon after that I added that a smaller 17 gets deeper too.
What to carve next