

Alexander Grabovetskiy, woodcarver, School of Woodcarving · Published 2021
Can calipers make up for weak drawing skills in wood carving?
Quick answer: Measuring with calipers instead of drawing by eye is, on my Venetian rosette, the option I showed for anyone without really good visual skills. I redrew its leaves by eye from a paper reference and said calipers can replicate pretty much any picture. In my Greek acroterion course I say drawing by hand trains my hands.
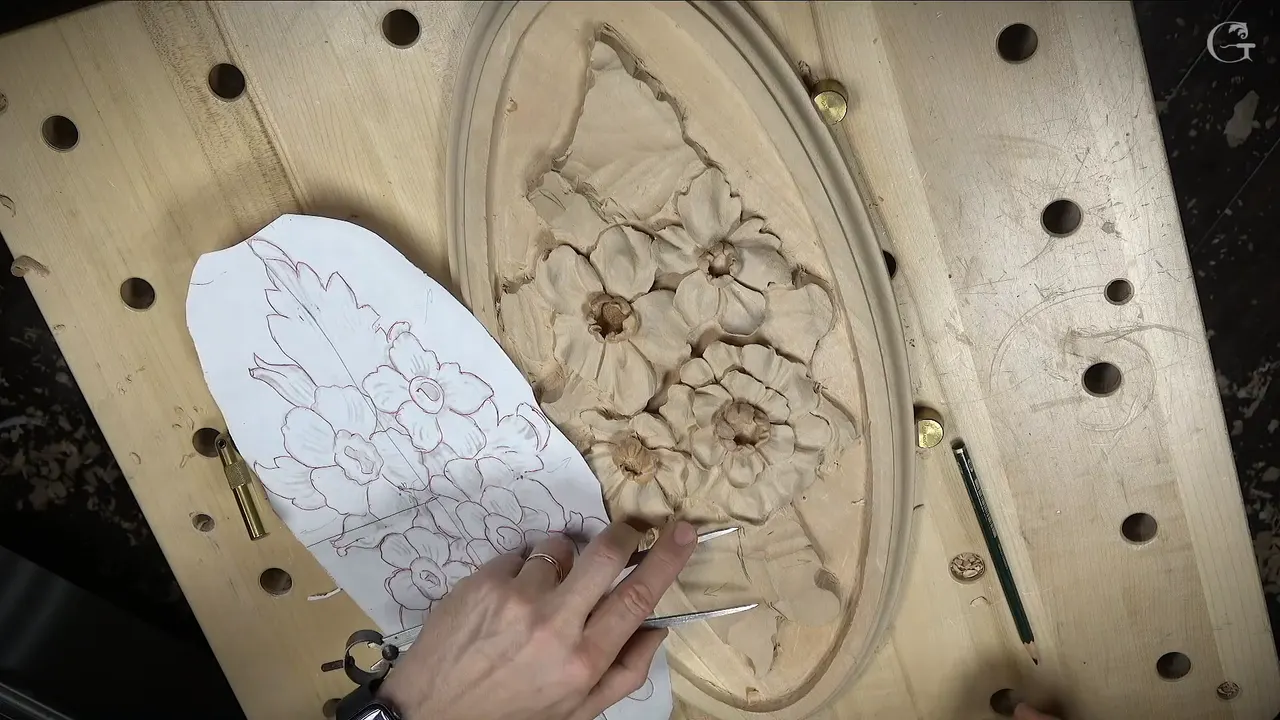
Calipers for wood carving are, on my Venetian rosette, the option I showed for anyone who doesn't have really good visual skills. I redrew the last leaves by eye, with my paper reference close by. I didn't need the calipers. The other side of the work was my reference. Still, I showed you the option, and I said they can copy nearly any picture.
This video is part 1 of lesson 4 of the Venetian Flowers Rosette. The flowers were pretty much finished. A couple of leaves were left on one side, and the pattern had to go back on before the first leaf was carved.
Have you got a drawing you like, sitting on paper? Did you ever look at the paper, then at the bare board, and lose the spot for a line? Then measure it over.
I'll show you what my calipers did on this panel and on other pieces of mine, with the sizes I said out loud, and the places where I said the hand still has to learn to draw.
Calipers and drawing in six lines
- My eye drew the rosette leaves, and the calipers stood by as an option.
- Any picture, pretty much, can be copied with them, I said.
- Mine carry a size across, off an old piece, a pattern, or the back of a board.
- On one molding I called them always the best tool.
- Drawing by hand is training for my hands, I said while making an acroterion.
- Workshop 1 for beginners has lines drawn with no tools, and if one isn't accurate, it's fine.
What did the calipers do on the rosette leaves?
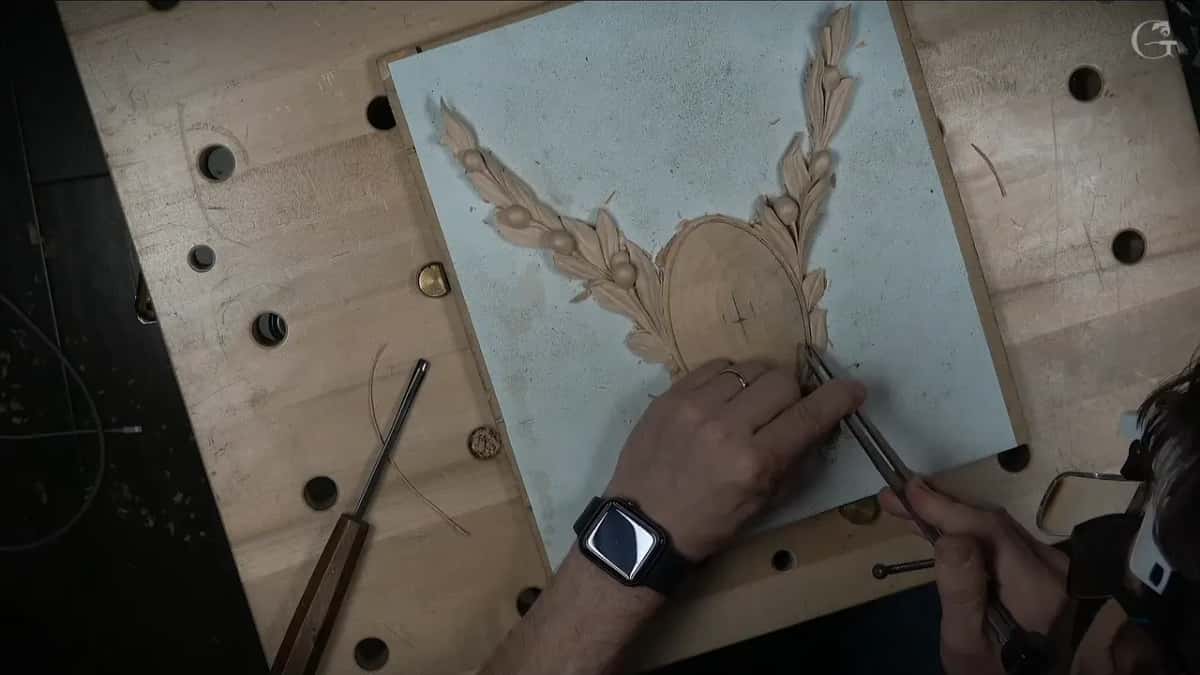
They stood by while my eye did the drawing. Let me recreate the pattern, I said, and I put my paper, my reference, close by. It doesn't have to be exact, I said, I'll just try to eyeball it.
Once the main boundaries were on, I said I can always measure it with calipers if I want to, to get approximately the position. I don't have to, I added, because I have the other side as a reference.
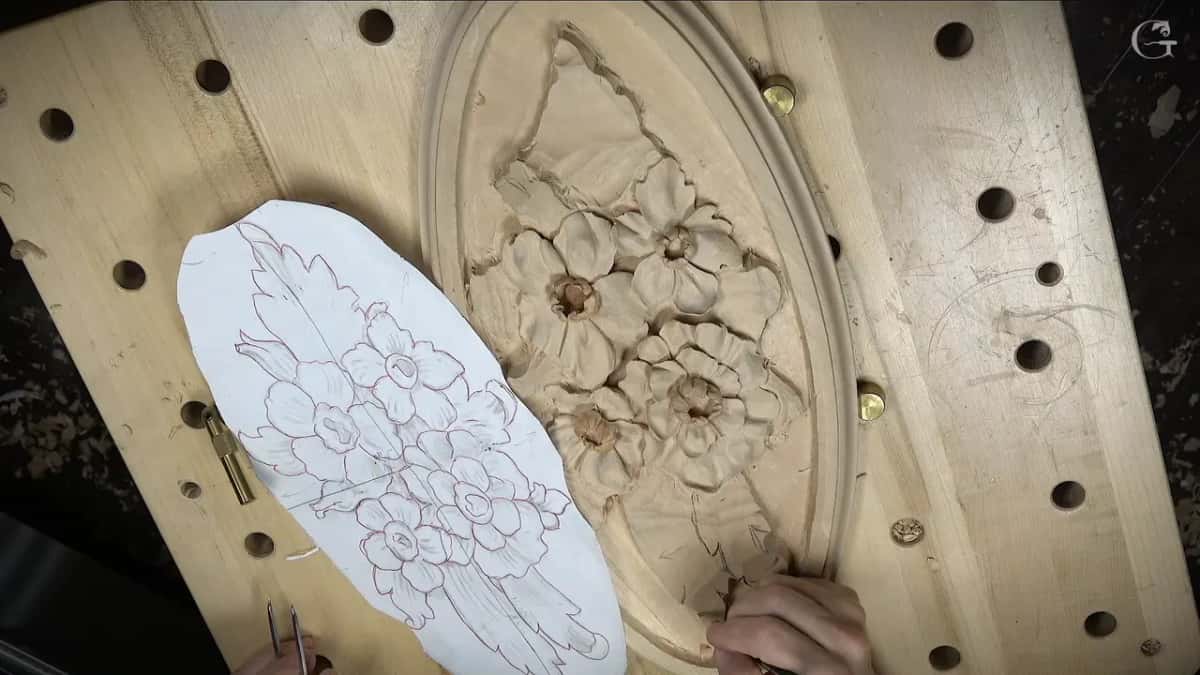
But still, I wanted to show you the option, for anyone who can't tell exactly where a line is supposed to be. That's going to help, I said. I said it plainly next. With the calipers, you can actually replicate pretty much any picture.
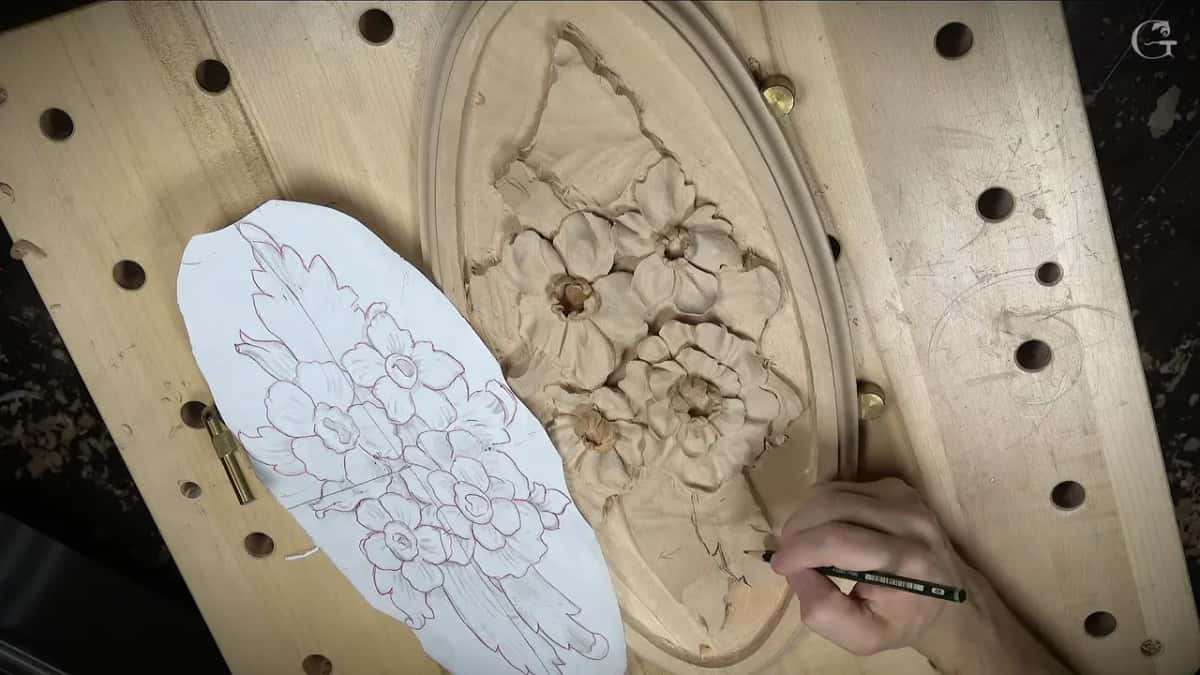
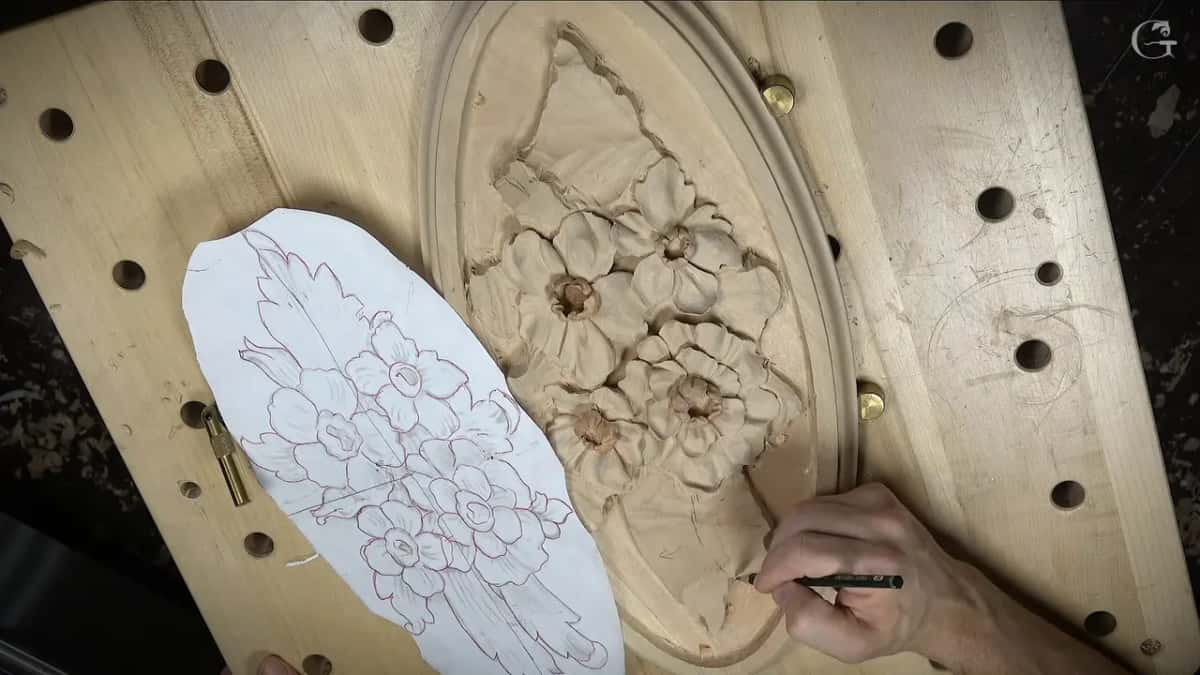
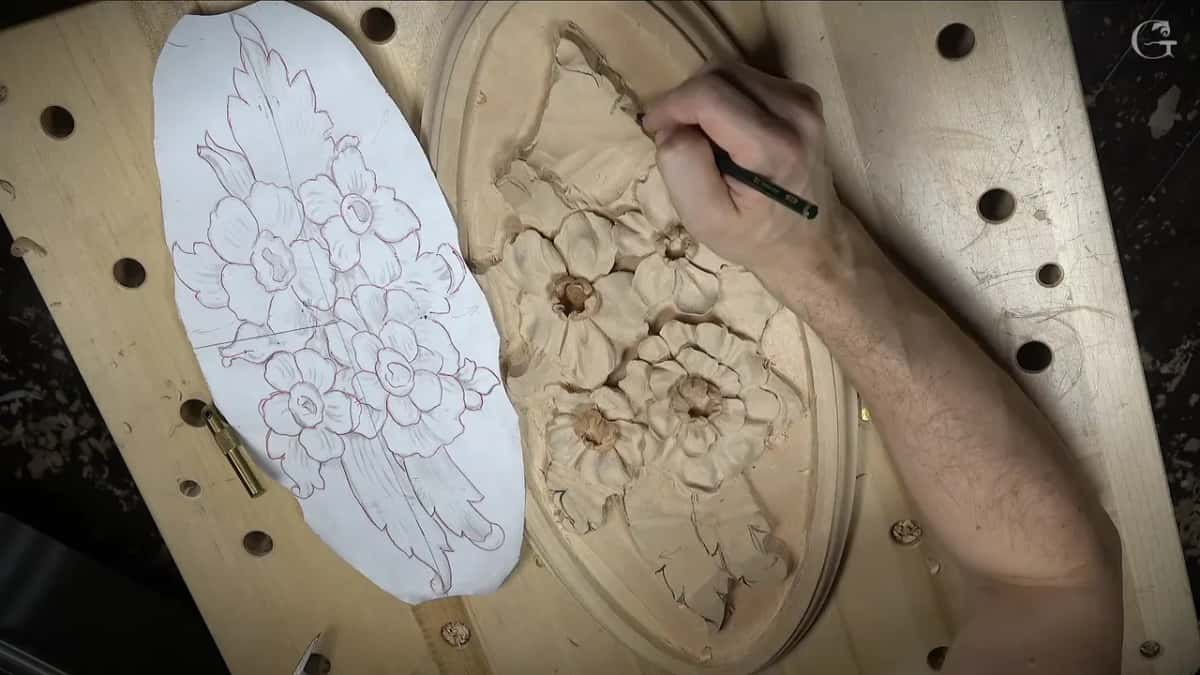
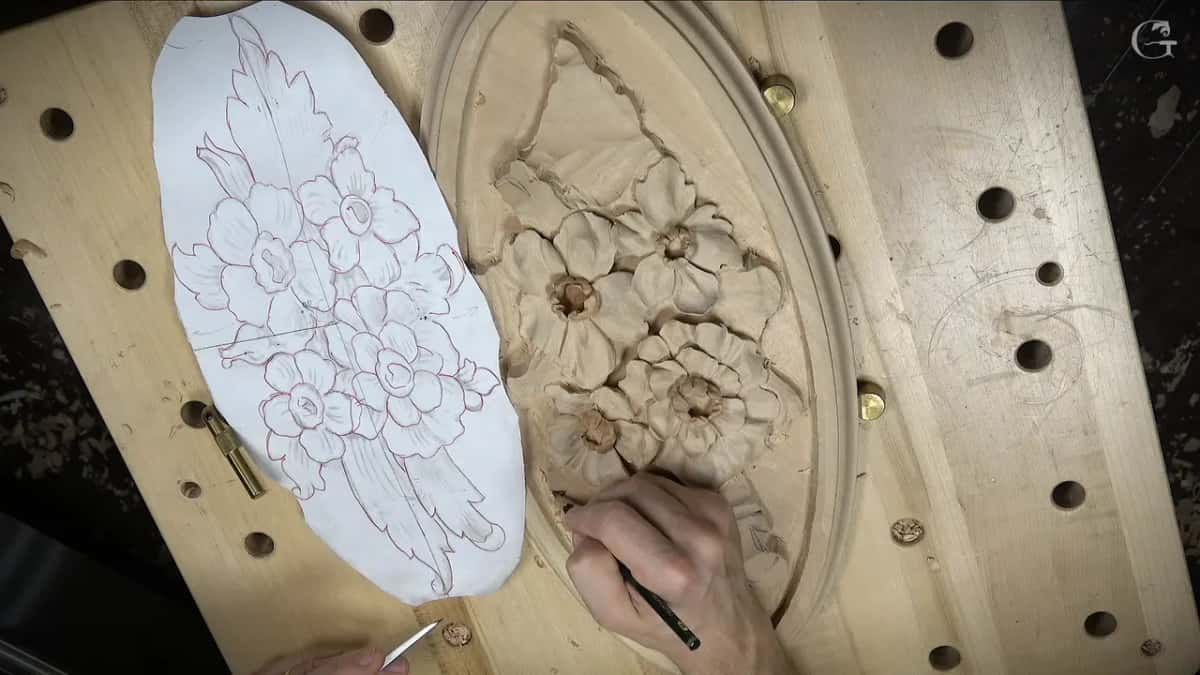
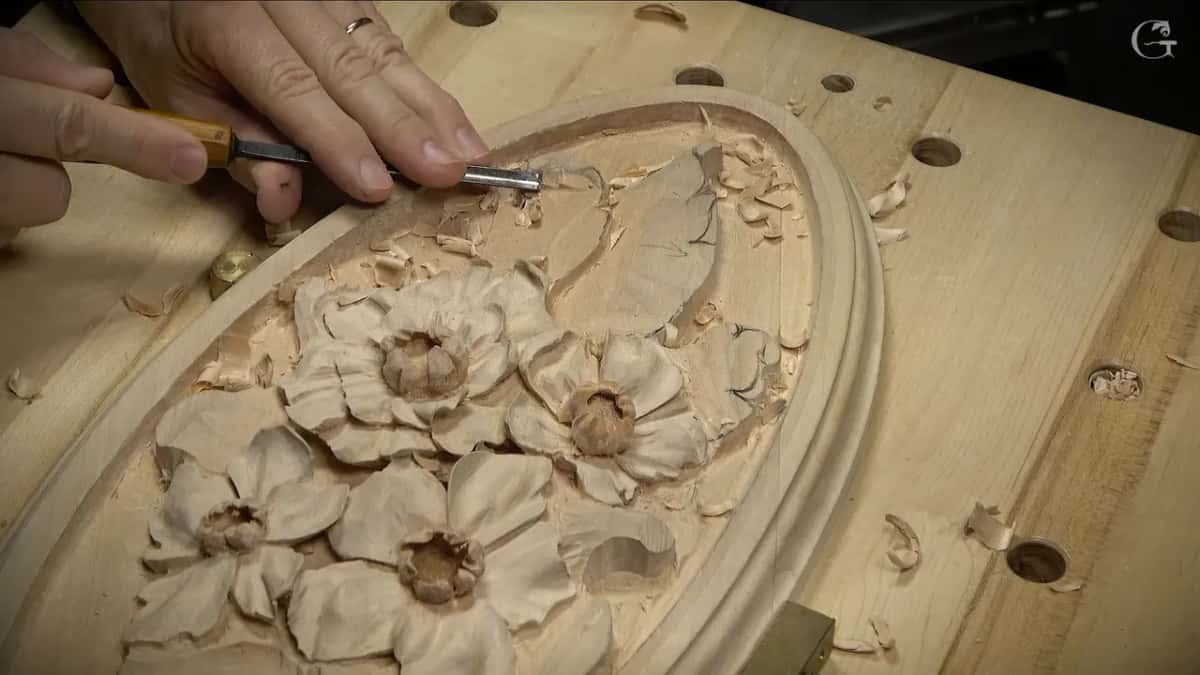
On the video my paper lies flat on the bench, to the left of the oval, while the pencil works on the bare wood beside the flowers. At one point my hand holds the calipers right between the two.
After that the pencil went back to work. One leaf would go downhill. I had a good indication of my separations, and I double-checked. In this case I really don't have to be perfect with my drawings, I said. One leaf was pretty easy. The last one went on just like that.
Where else do I use calipers for wood carving?
Off an old piece and onto a new one, on my floral and molding panel. Lesson 2 of Carving Floral and Molding for the Panel had me set how wide my molding would be. There are different ways to do that, I said, but what I like to use is calipers. Probably one of my favorite measuring tools, and probably the most accurate, I'd say.
I took the old piece and measured it line to line. That setting went over to my new piece, and I set a couple of spots.
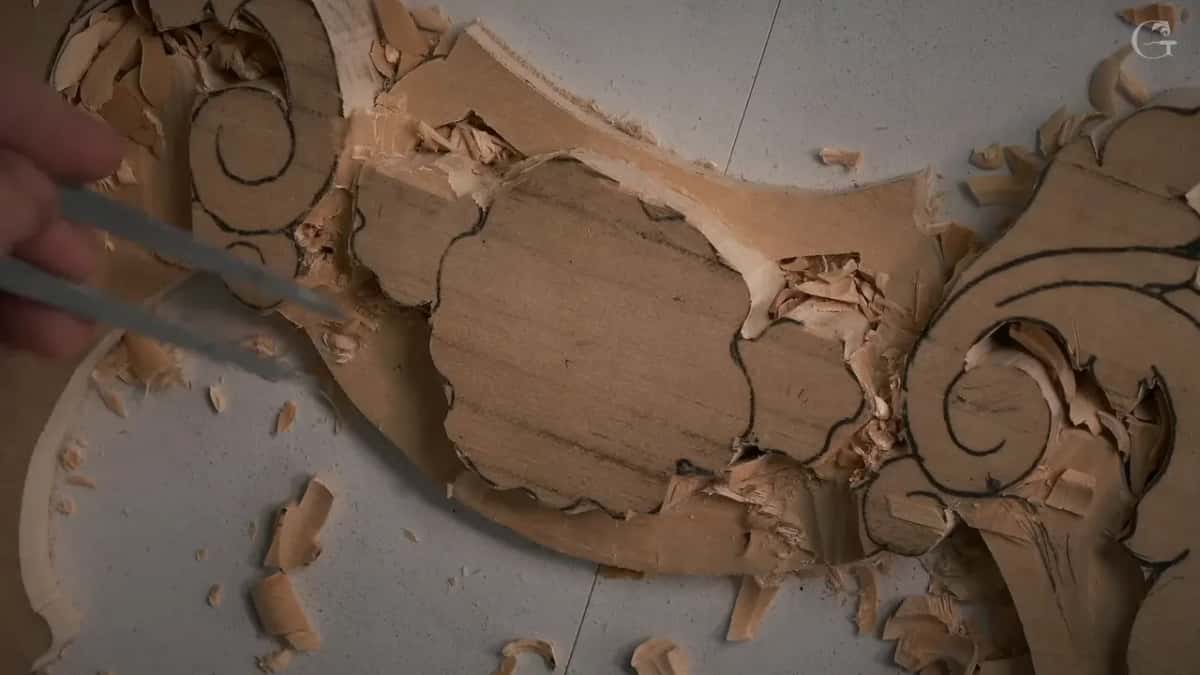
Later in that course I needed a distance for a volute. The best idea, I said, was to go back to my previous piece and get my calipers, so both sides would come out about the same. I can always eyeball it, I said, but I don't really need to if I can measure it. It came to about half an inch (13 mm) at the widest spot, and I marked both sides right away.
A molding in lesson 8 started with a measurement of how wide it would be. Always, always the best tool, I said, just the calipers. I double-checked on both sides. After a little back and forth it came out at exactly three-quarters of an inch, about 19 millimeters or so. For the middle part I took the calipers again, then said I'll just eyeball it, and I had a few spots in the middle.
My chamomile and bow rosette needed beads that matched in size. I measured one with calipers, about six millimeters (1/4 in), and carried that over to my new piece. The calipers also put on the preliminary line. My tool checked it after that, and the tool was slightly smaller. That is my boundary, I said.
Can calipers carry a pattern from the back of a board?
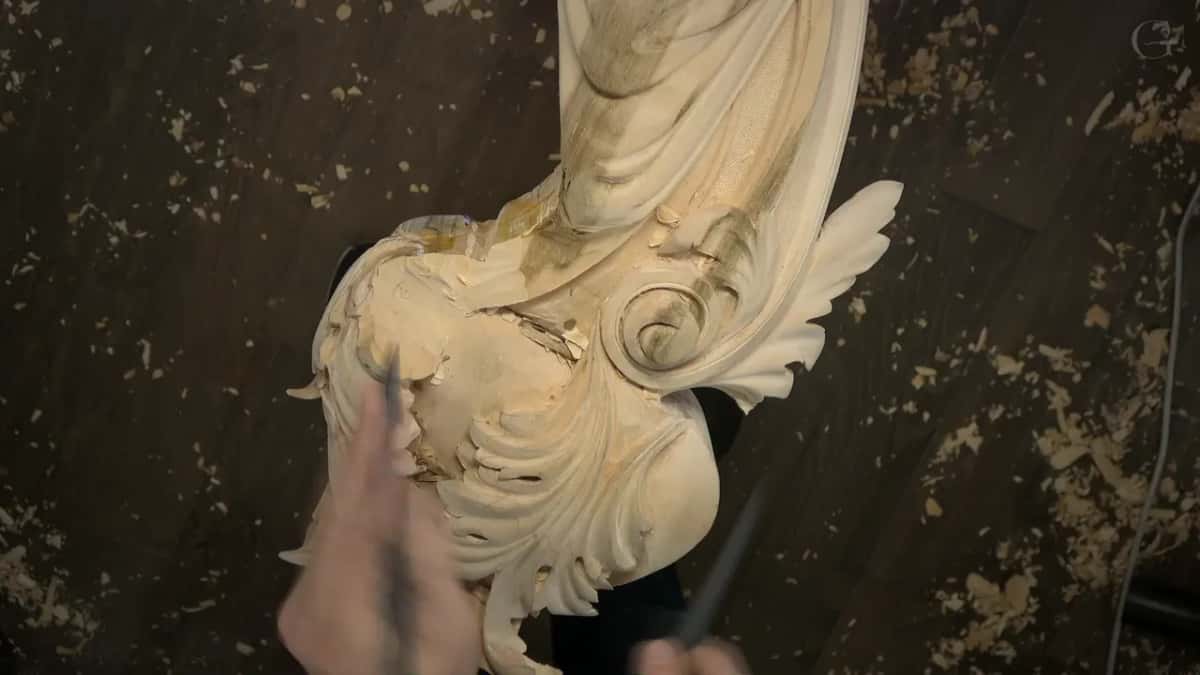
They did on my Venice Room piece in lesson 101. I took the big calipers again. I'd drawn the pattern on the back side, and I'd already measured the distance across, out to where the line had to go. I measured on the back and moved that to the front, which gave me a point roughly where I'd measured. That would be a lot easier for me, I said.
Before that I'd taken the calipers to check the depth on one side, then on the other, to see if both sides came out close. About one millimeter of difference in one spot, I said, but one millimeter is not a big deal in this case anyway.
Back in lesson 1 of that same room I kept a pattern for the future, to measure from. I'm going to measure from it, I said, using calipers as a reference. Mine have a size limit, though. Later in that lesson I said you'd normally just measure the distance with calipers, but I don't have that big caliper, I guess, I've got only 12 inches (30 cm). I didn't think I'd need it right then.
On a volute in lesson 87 I measured the height the same old way, just the calipers, between two lines. I had to double-check that one, I said, since it was a little bit confusing even for myself that day.
What if you can't draw it at the right size?
Trace it. On a livestream in April 2020 I said that if you can't draw right in scale, meaning the size, simple plastic helps. Old sketches count too. One evening I was bored, took a pencil, sketched some of the movements, and kept them, because someday I want to use them.
For a design of my own I drew a middle line, traced only one side, then folded it, and that gave me two sides. Nowadays it's so easy to scale up or down, I said. Take a picture, even on your phone, and email it to yourself. Enlarge it on the screen of a computer or any tablet and place your plastic right on it. You don't push too hard, and I wouldn't use a ball pen for this, I said. Then you just trace whatever you need from the screen.
When is my eye enough without them?
On the lily box, when I judged how much wood I was leaving. I'm not measuring how much I'm leaving, I said. I'm just eyeballing it, and for me it works fine.
But if you don't feel comfortable eyeballing the distance between your surface and the detail, go ahead and measure, I said. There are many ways, and calipers are one of them. I use calipers a lot when I'm working on big projects, like three-dimensional big projects.
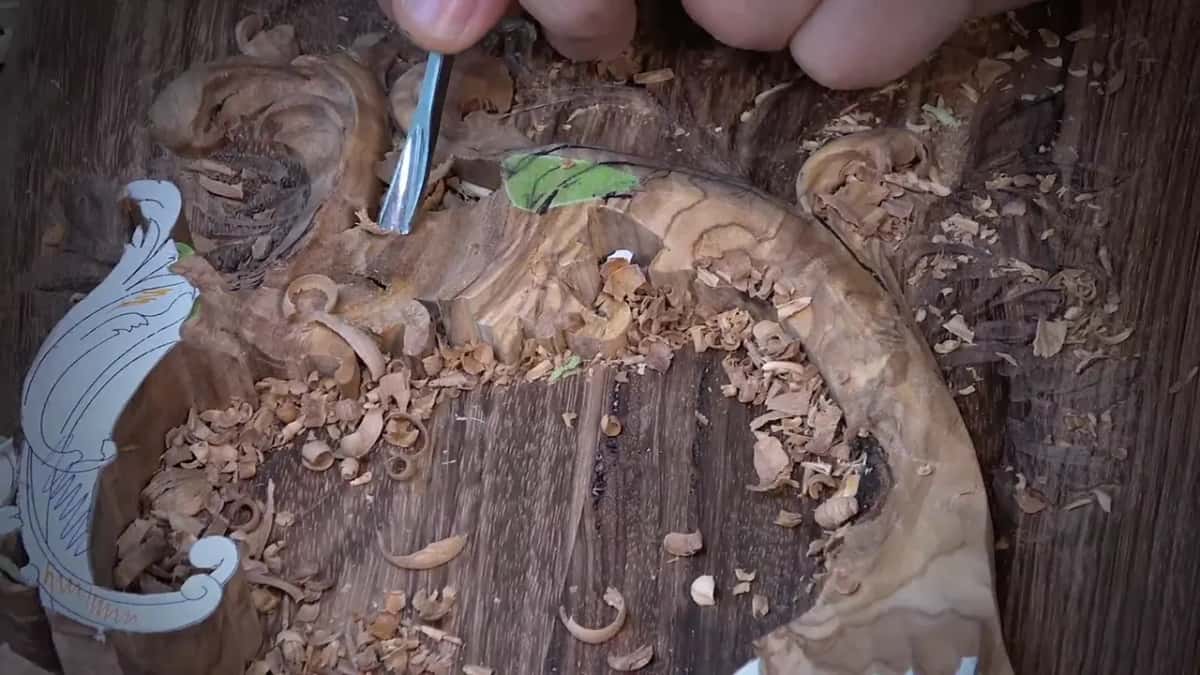
In lesson 57 of the Venice Room I placed a marking and said you could use calipers or any other tool to mark it if you wish. I don't need to, I said. Eyeballing is okay, and if there's a little variation, that's okay too.
During lesson 78 I was checking for no more than one-eighth of an inch (3 mm) right in the middle. I'm just guessing, I said, but you could measure that with calipers. I really don't need to.
A furniture panel of mine went the other way round. I guessed the center was about a quarter of an inch deep, a little less, and said I didn't measure it. Let me actually measure it, I said, and got my calipers. The reading came out a little less than a quarter of an inch, under 6.35 mm.
Is a compass good enough on a carved plate?
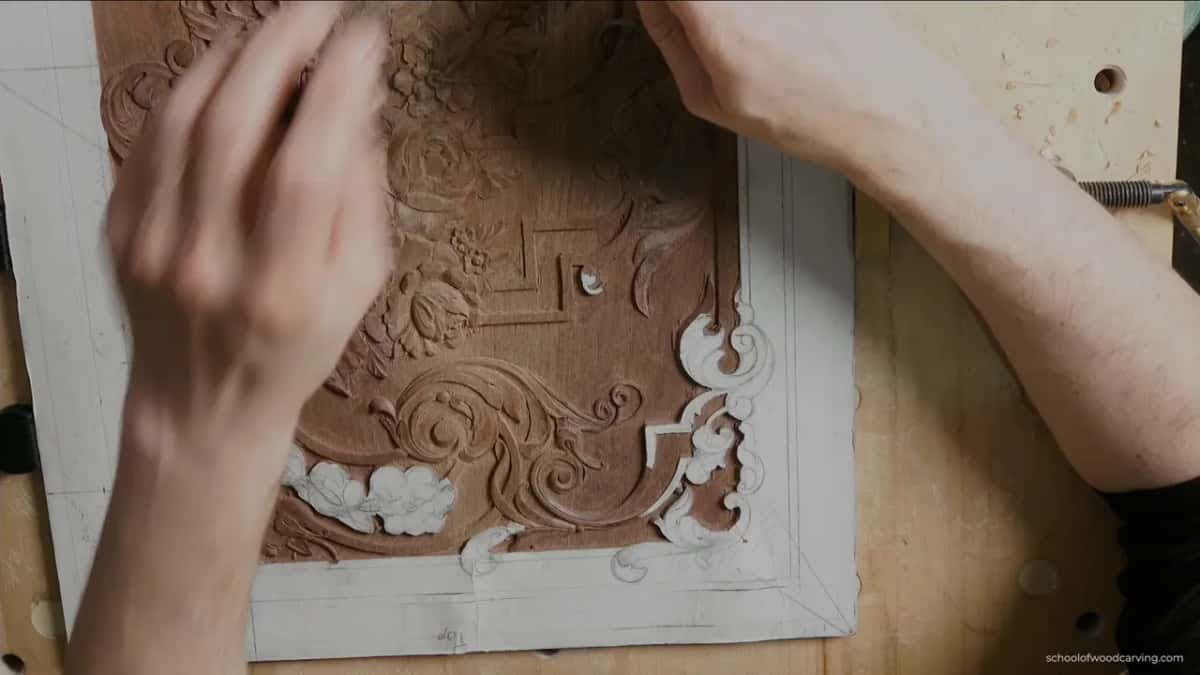
For my plate with butterflies I said you'll probably need the calipers if you plan to do it that way. Without a lathe at home, it's still possible. A really good tool to have is just calipers, normal calipers, and I said it's really important to make the points sharp. You could also use just a compass with a pencil, I said, and it's still going to work.
My lines on that plate were scratched into the wood. If you have an extra set of calipers, I said, you can make it like a knife point. My next line went about a quarter inch from the edge, which would be about six millimeters, I said. Later I kept an eye on my line as I carved, and since I'd made it with calipers, the line was really sharp, so it was a lot easier. If you used only pencils, that's all right too, and like I'd said before, it doesn't need to be perfect.

Where does drawing still matter to me?
In my own hand, before the design goes anywhere near the wood. My Greek acroterion design was drawn by hand. I love to draw my designs by hand, I said, because that way it feels like a human being did it.
I could take it to AutoCAD, or SketchUp, or even Illustrator. But I'd like to draw it by hand, since it trains my hands and the drawing skills. Then I printed it to the scale of my design, glued it on top of lime wood or basswood, waited about overnight until it dried, and took it to my scroll saw.
The hand draws in my first beginner workshop too. That line runs straight across, about 90 degrees. It's a good idea not to use any tools when you draw that line, I said, so you get the feel of how your hand is drawing. Later on you'll need to learn how to draw and design, and if your line isn't accurate, that's fine. Say you lived 4,000 years ago with no other tools, just a knife.
Lesson 93 of the Venice Room had me talking about going further one day, so you could learn how to draw what you intend to carve. The drawing process for carving isn't the same as working in a 2D world, like on a canvas, I said. It's absolutely different. I said we could take the online lessons a lot farther, to drawing that trains your hands, the mechanics of it and the logic of it.
On that same livestream in April 2020 I put it in fewer words. All you do, I said, is train your hands and your movements in the right position, how you draw, and so on. A form carved in the round asks something else of your eye, and I wrote that up in do I need to be good at drawing to wood carve and sculpt.
Which job did my calipers do on each piece?
| Piece | Job | Size |
|---|---|---|
| Venetian rosette leaves | Stood by as the option for a weaker eye | None named |
| Floral panel molding | Width measured on the old piece, carried across | Couple spots |
| Volute, same panel | Distance from the earlier piece, marked both sides | Half inch |
| Lesson 8 molding | Width measured first, then double-checked on both sides | Three-quarters inch |
| Chamomile rosette beads | Bead size carried over, preliminary line put on | Six millimeters |
| Venice Room board | Back side measured, then moved to the front | Rough point |
| Furniture panel center | Checked my depth guess after I hadn't measured | Quarter-inch, nearly |
Down the middle column, the calipers mostly moved a size I could already see onto new wood. Once they only checked a guess.
What came after the drawing on this video?
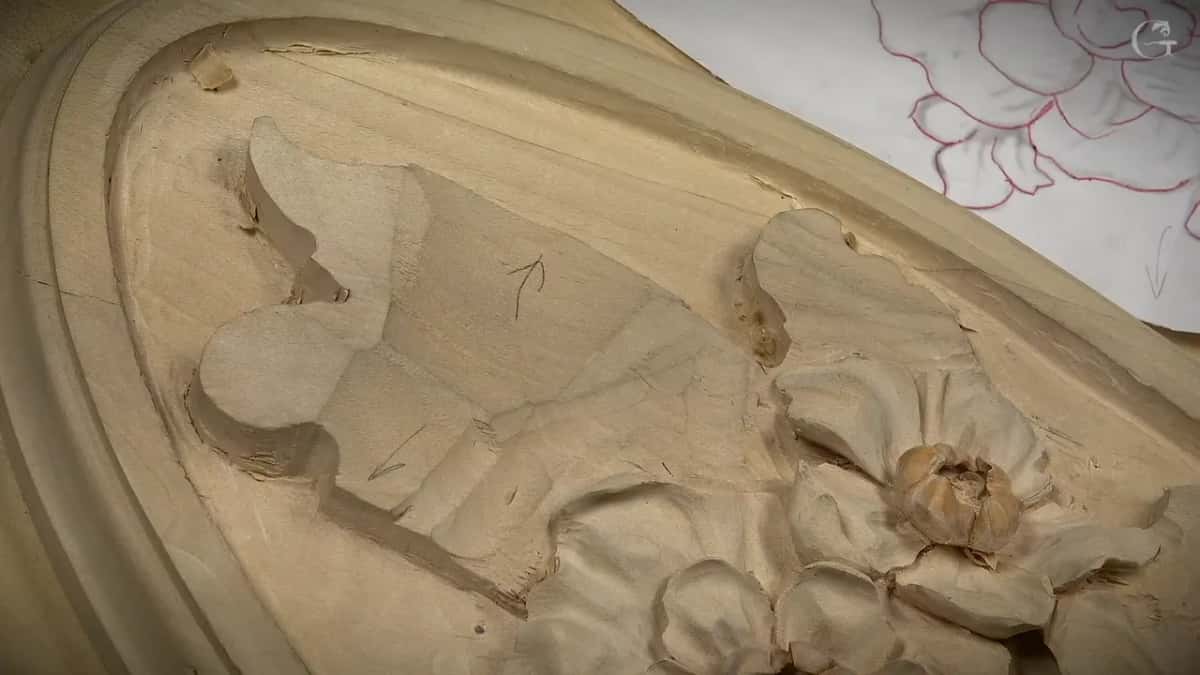
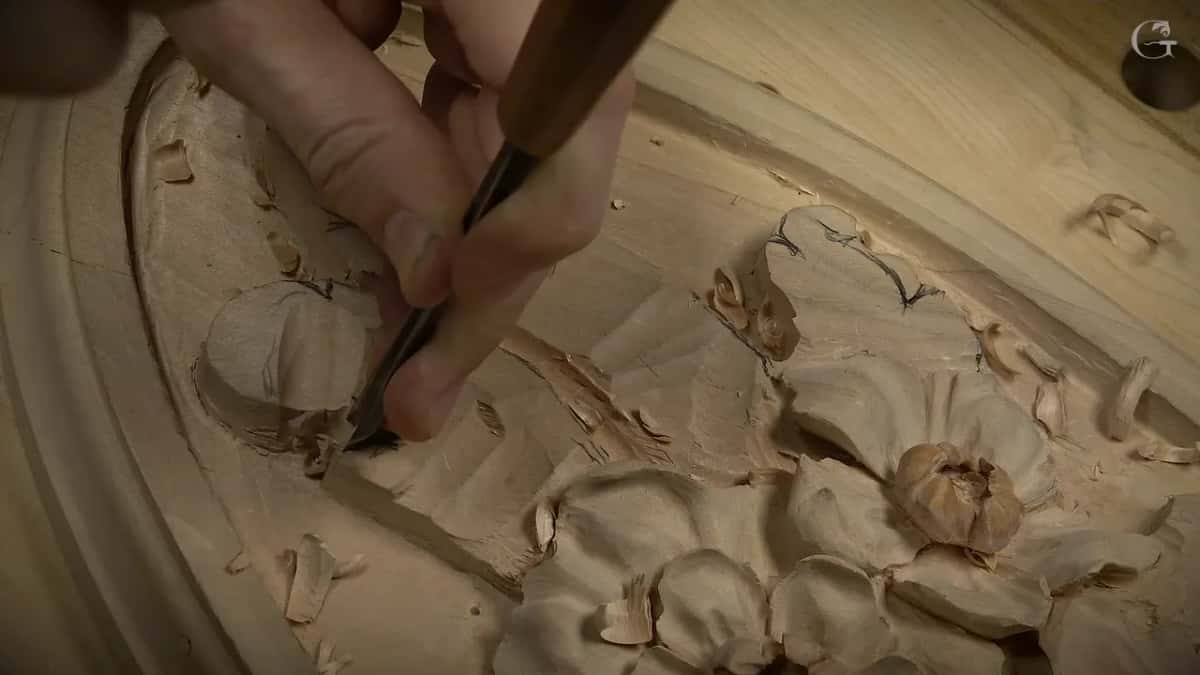
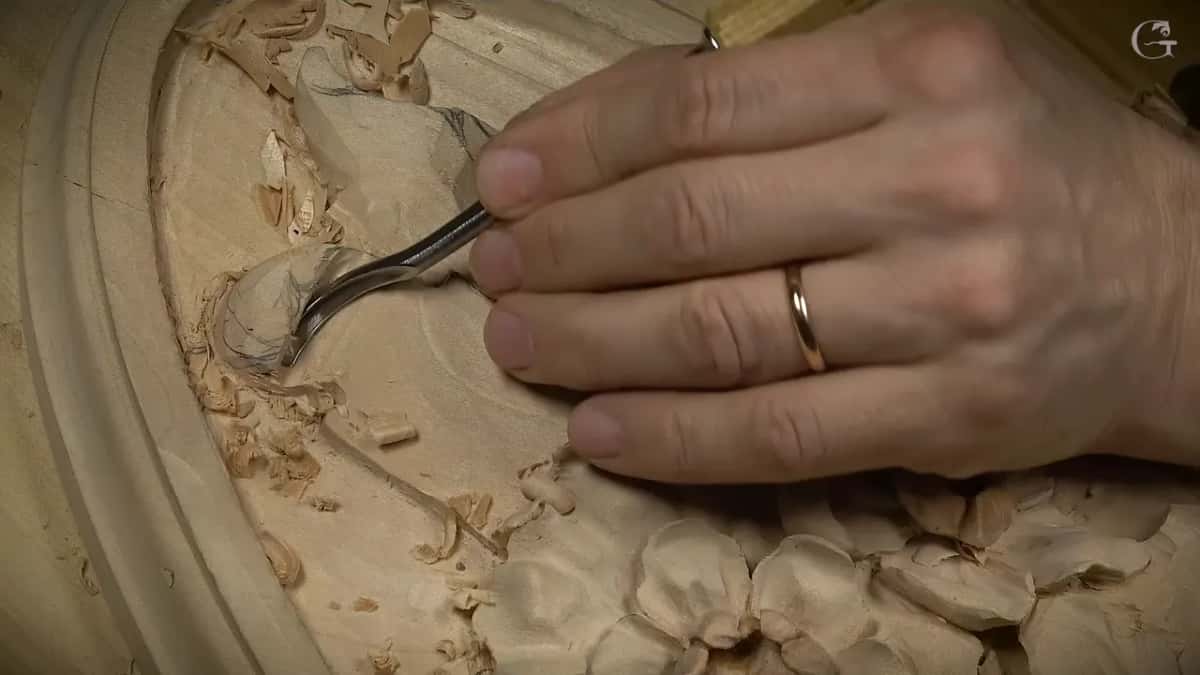
A separation between two leaves came first, with a number 11 gouge of about four millimeters (5/32 in). Next I attacked the curl from the side with a half-inch number 9 (13 mm), and went almost all the way to the ground, leaving no more than five millimeters or so, about 3/16 of an inch. How that leaf twists in relief is told on the lesson 4 page.
The drawing on your own bench
Put your paper close by and try your eye first. Where it can't tell the spot, take the calipers and carry it over from the original. Check it again before the gouge goes in.
The whole panel starts on the Venetian Flowers Rosette page, and every video of lesson 4 opens with Access to the school.
Is there a drawing you like on your table? A pair of calipers in a drawer? Then you already have the two things I reached for before these leaves.
How it's done
- Set the reference beside you. Lay the paper drawing close by the board, the way I did before redrawing the rosette leaves.
- Try your eye on the main lines. Eyeball the main boundaries first. Exact wasn't needed on my rosette leaves, as I said while drawing.
- Measure what the eye can't place. Where you can't tell exactly where a line goes, take calipers to the original and get approximately the position.
- Carry the size across. Measure on the old piece or the pattern, then move that setting onto the new wood.
- Mark a few spots. Set a couple of spots, or a preliminary line, with the calipers.
- Double-check before carving. Check the marks again, on both sides when there are two, as I did on a molding of mine.
Frequently asked questions
Do I need calipers before I put a drawing on wood?
My rosette leaves didn't need them, since the other side was my reference and my eye placed them. I showed the calipers anyway, as the option for anyone with a weaker eye. For a butterfly plate I said a compass with a pencil still works.
What sizes did your calipers carry on the floral panel?
A molding width taken line to line from the earlier piece, and a volute distance of about half an inch (13 mm) from my previous piece. Later a molding there measured exactly three-quarters of an inch, about 19 mm, and I double-checked it on both sides.
Should I still practice drawing if I own calipers?
The line in my first beginner workshop goes on with no tools, so the hand gets a feel for drawing, and I said drawing and design come later. The acroterion was drawn by hand on purpose, and I called that training for my hands and my drawing.
What to carve next