
Alexander Grabovetskiy, woodcarver, School of Woodcarving · Published 2022
How is an acanthus leaf carved across a molding?
Quick answer: Acanthus over moldings is a carved leaf that climbs across one or more moldings, riding above them in places and slipping behind them elsewhere. Cut the moldings to exact height first with a marking gauge and a router plane, then carve the leaf on top of levels you can trust.
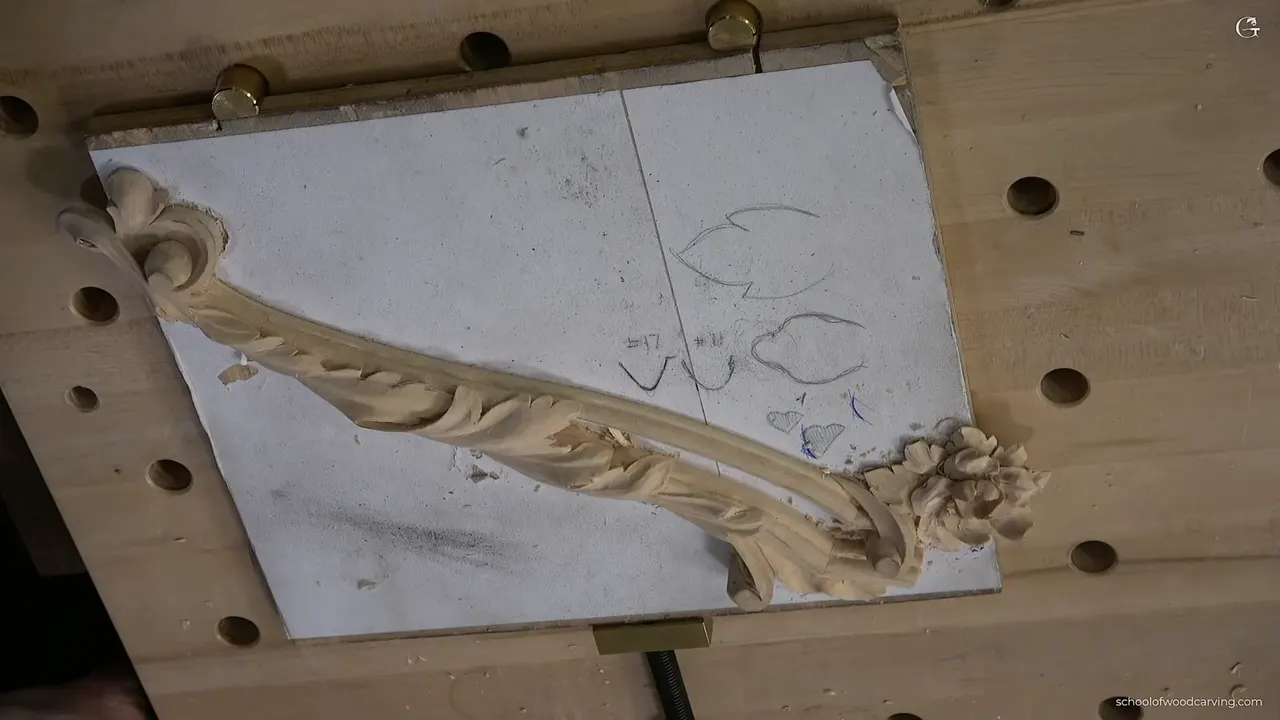
An acanthus leaf going right on top of a couple of moldings is a detail I think will help you a lot. Two shapes, two heights, one has to cross the other. I want it to feel like the leaf was laid on top of the molding, not carved from the same piece.
Do you own a marking gauge? A router plane? Both are common on the furniture maker's bench, I highly recommend both to a carver, and they are what make this detail behave.

This one belongs to my Venice Room, sitting low on a panel, and four of them go on together. What it teaches travels much further than that room. Any time ornament has to climb across trim, the method below is the method.
What is acanthus over moldings?
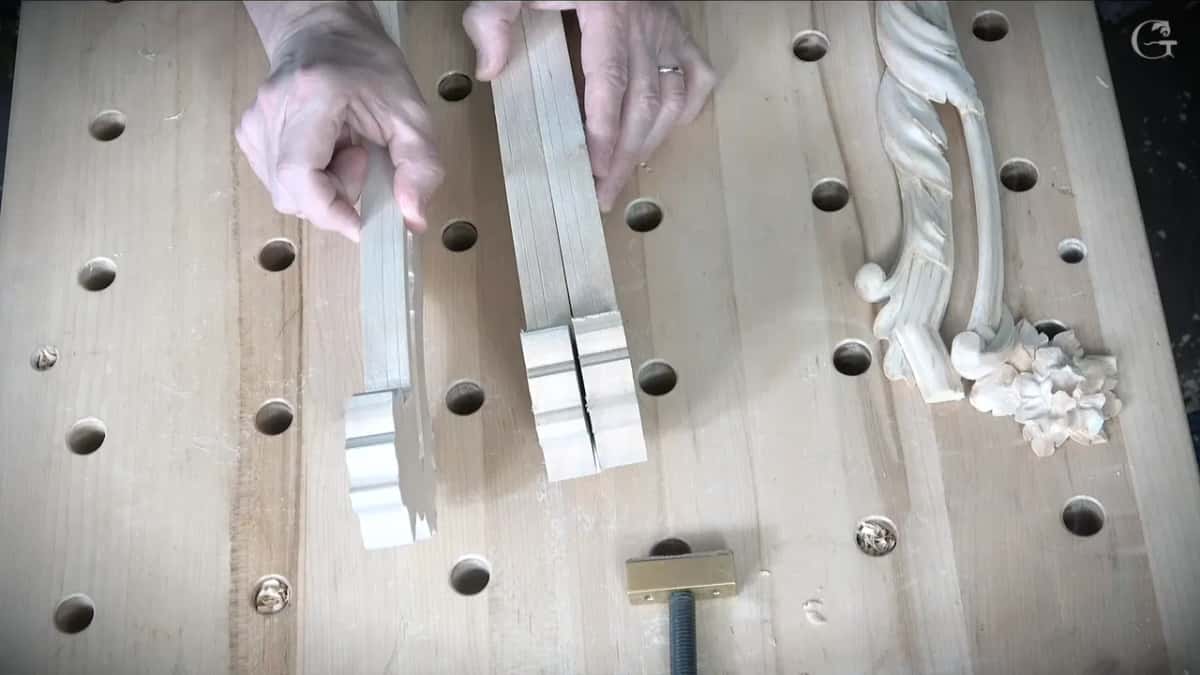
The phrase means a carved acanthus leaf that crosses one or more moldings, passing above the moldings in places and slipping behind them in others. Mine is Venetian, an anatomy with a raised spine running the length of the leaf.
What has to be true before the leaf goes on
- Molding heights come first and the leaf second. Get the flat levels right and the ornament has somewhere honest to sit.
- A marking gauge sets the height of each molding, and a cheap one with a sharp knife works fine.
- Buy a router plane. It takes a surface to one exact level, and I think every carver should have one.
- Two step cut, my preferred way. Straight down at ninety degrees, then horizontally into that cut.
- Stop a millimetre short of your line, every time, and creep up on it afterwards.
- Basswood or limewood. I highly suggest you skip poplar, even under paint.
- Light and shadow carry the piece.

Which wood, and why not poplar?
Basswood in America, limewood in Europe, and they are the same wood. Furniture grade, and mine finishes under white paint.
Some people think poplar is fine the moment they hear the word painted. It is okay, but it is a little harder to carve. Maybe that is only my opinion, but it does not feel good when you carve it. Cherry carves much better, and even oak carves better than poplar.
Thickness is seven eighths, 22 mm. Three quarters works, an inch works. If you want the exact figure I used, 22.23 mm.

How the blank gets held down
Glued to a board, through paper. I call it the sandwich method, and I think it beats holding the piece in bench hardware, which only gets in the way. Half an inch of plywood underneath, two sheets of ordinary printer paper between, and the carving on top, so that a chisel slid into the paper layer later pops the piece free without touching the wood.
Spray adhesive rather than wood glue. Titebond holds fine and then fights you when it is time to clean it off. Spray the board, spray one face of the paper, wait a couple of minutes until it stops feeling wet and turns tacky, lay the paper down, then spray again and spray the back of the blank. Touch it. Not sticking to your fingers means ready. Mine is Loctite high performance, though the brand hardly matters.
Set the blank on the diagonal. A long piece laid corner to corner uses the whole board, and if a corner sticks out past the edge, that is no big deal for me. When the carving is finished, a little alcohol softens what the spray left behind. Then the piece goes face down on soundproofing foam, ribbed and soft, so nothing snaps while you work the back.
Why does a carver need a router plane?
A router plane cuts to one exact depth and keeps cutting to it. That way I know for sure every molding on this panel finishes at the same height as its neighbour.
I like two brands. Lie Nielsen is superb quality with one limitation, the blade widths. Veritas lets you swap blades from a single millimetre up to an inch, and reaching into a slot a millimetre and a half wide is exactly the job. Mine ran a quarter inch blade here.
One trick worth stealing. Keep the offcut you sawed away and set it beside the work as a second landing pad, so the plane rides on two surfaces instead of teetering on one, and nothing slips after that.

What stops you overshooting the line?
Two cuts, in this order, over and over. Straight down at ninety degrees, then a horizontal cut that meets the bottom of it. The second one cleans out the waste.
Start with a number 9 around 20 mm. Rotate the tool as it travels, which turns a chop into a slice, and plant your other hand solidly on the surface so nothing can run. Watch which side the grain wants to break out on and attack from the other one.
Stop short. About a sixteenth of an inch from the line at first, then about a millimetre as you creep closer. Every mallet blow should land inside the cut before it, never on fresh ground, which is easier on you and much easier on the tool.

Which tool releases the molding line?
A number 17, though you do not have to use one. Somewhere between a V tool and a number 11, a V with a small gouge at the bottom of the vee. In the London pattern it answers to 48.
Six millimetres for the long runs, three for the tight spots. No number 17 in your roll? Then a V tool does the job, or a number 11, or a plain knife works, and I show it on camera to prove the point, though a knife has a habit of drifting under the line and undercutting where you did not intend to.
| Tool | Leaves | Risk | Verdict |
|---|---|---|---|
| Number 17 | A clean wall sitting over a gently rounded floor | Low, once it is sharp | What I reach for, though you do not need one |
| V tool | A sharp corner right down at the very bottom | A mark Venice never had | Fine wherever the cut disappears later and nobody reads it |
| Number 11 | A rounded trough rather than any kind of corner | Low, with no sharp line | Perfectly usable, and in some spots more logical than a 17 |
| Any knife | Exactly the same result as the other tools | Drifts under the line easily | Good, provided you watch what the chip does on its way out |
One historical footnote I actually obey. Carvers in Venice around 1500 had no V tools, so I keep mine off any surface where its signature would show. Here the cut will disappear later, so nobody will ever read it.

Sweeps, and the Russian smile
Sweep is just curvature, and every number on a chart is one. I explained this to a class in Indianapolis, so here it is. A tool with no sweep at all is flat, a chisel, and it does not smile. Bend it into a half circle and you have a number 9, which I call the American smile, because it is a big one. On the European chart a number 2 barely curves at all. That one is the Russian smile. We just do not smile. Watch any movie and you will find out.
Charts disagree with each other, which is why my number 17 answers to 48 in the English list.
One more thing about buying. The old makers stepped their sizes in half millimetres, so you could find a two and a half or a three and a half. Most modern makers dropped them, and many sell a number 3, then a 5, then a 7, which is business rather than carving, and I understand it. Henry Taylor made one of my specialty tools, a slightly bent skew gouge, until recently. You can make one yourself.
Who made Grinling Gibbons his tools
Worth knowing, if you do not know the history of these tools. Grinling Gibbons bought from one manufacturer, and that shop stood on his own street in London. He was the biggest carver of his day, working in royal houses like Hampton Court. You can read the tool count straight off his work: the more tools a carver owns, the further into a corner he can reach.
Gibbons died in 1721. On that same street a new shop opened in 1718 or 1719. There is a debate on the year. The name over the door was Addis. Before he opened it the man had been apprenticed to the very toolmaker who had supplied Gibbons for years, so he walked out of that apprenticeship carrying the profiles. Which is the part that matters. An Addis sweep is the sweep Gibbons cut with.
The family kept the shop for ten generations, sons and grandsons and great grandsons, renaming it after whoever was making the tools. Then one of the Herring brothers served his own apprenticeship there, married a daughter of the Addis family, and eventually set up a separate line. Same profiles, same steel, same secrets. Both firms took a prize medal, London in 1859 and Paris in 1861, and both stamped it on the blades. I own tools with that stamp on them, and the antique ones are the ones I reach for lately. Somebody used them before me, and it might well have been a master. Who knows.
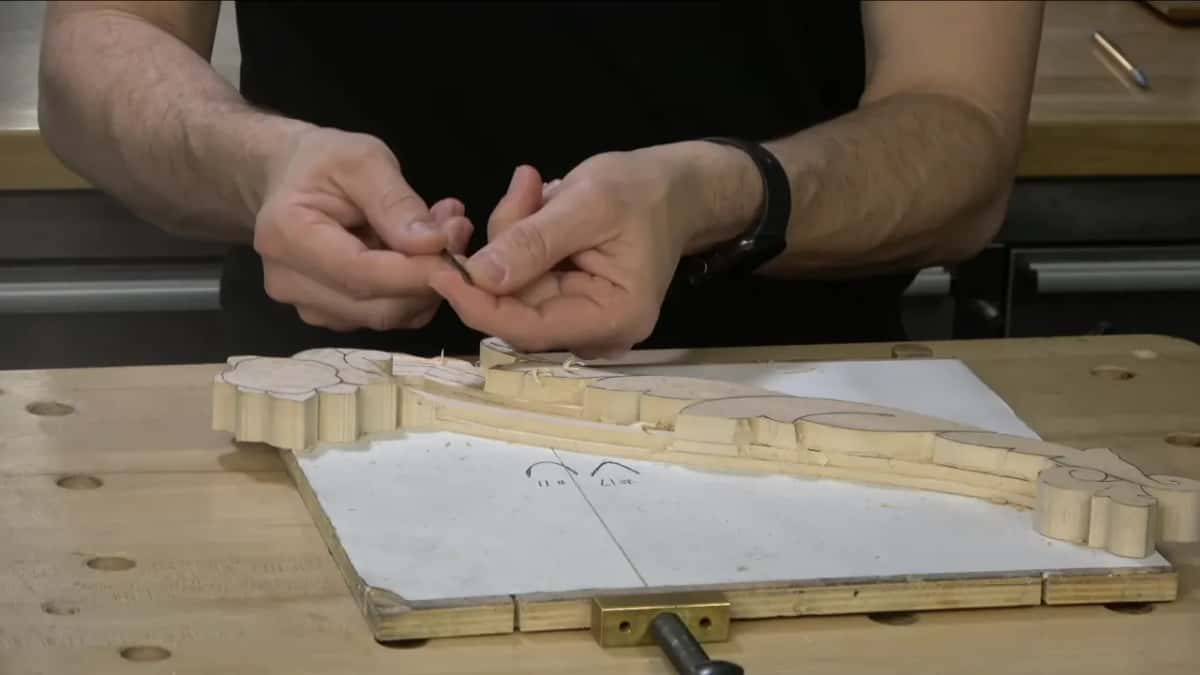
What makes a Venetian acanthus different?
The spine. One raised ridge runs the length of the leaf, and every lobe hangs off it.

Acanthus comes in many styles. Roman, Greek, Byzantine, Corinthian, each with its own anatomy. If you have carved the Roman leaf or the Byzantine one with me, you already feel the difference in your hands.

Setting in, and why the molding waits until last
Setting in is the woodcarver's term for it. You outline one layer with a straight down cut, drop everything around it, and only then move to the next layer. Relief work is layers, and each one gets its own turn. Here that meant lowering one side of a volute before I worked on the leaves, because it stood right in my way and the leaves get much easier after.
The moldings themselves are the last thing I carve from the front, after every leaf and the flower are done. They are probably the easiest part of the piece. Multiple chamfer passes take the square edge down to the rounded shape, one facet at a time, until the profile arrives. The wide one they call a clover, convex through the middle with a fillet down each side.
How far you undercut is decided by a paintbrush
Something worth thinking about before you go deep. This panel gets painted white, and a brush has to reach under every lobe. So I think about how deep I can undercut and still get the brush in. That is one reason I use a number 11 there: it leaves a smooth hollow with no sharp line at the back, and it stops me before I get carried away.
Michelangelo said he was releasing whatever was already inside the marble. I do not really believe he worked that way, but we all want to be like Michelangelo anyway.
Put your lights in front of you while you work, too, to play with the shadows. Old woodworkers set their bench under a window for exactly that. Mine has lamps in front of it for the cameras, which flatters every shadow, so what you see on screen is a little braver than what is really carved. Judge your own by turning it, not by the photograph.
A last one on colour. White paint is what these get, but you can tint the flowers if you want to, and old furniture did exactly that. Nothing bright. A slight reddish shade on a flower, and for green, more like olive mixed with brown, which looks better on wood.
How deep should the lobes go?
Deep enough to throw shadow, and how deep depends on the finish. Wood carving, I believe, is light and shadow.

Hollow each lobe, roll its edge, and undercut beneath the tip. Two millimetres of undercut turns a flat edge into a dark line, and that is the shadow I am after.

Where two lobes meet, one usually passes beneath the other. In a few spots I open a gap between them instead, so the divisions do not all look the same. Petals overlap the same way, as on the rosettes in this room.
There is a price on depth, though. Deeper undercut means more fragile, every time. A piece that only hangs on a wall as decoration can go to the extreme and end up paper thin. Put it on furniture, or on a panel people brush past the way these four do, and you keep the mass behind the detail and stop earlier. Want the thin version to survive? Stabilise the wood first with a vacuum chamber and cactus juice, and then it behaves like plastic. Decide before you carve, not after.
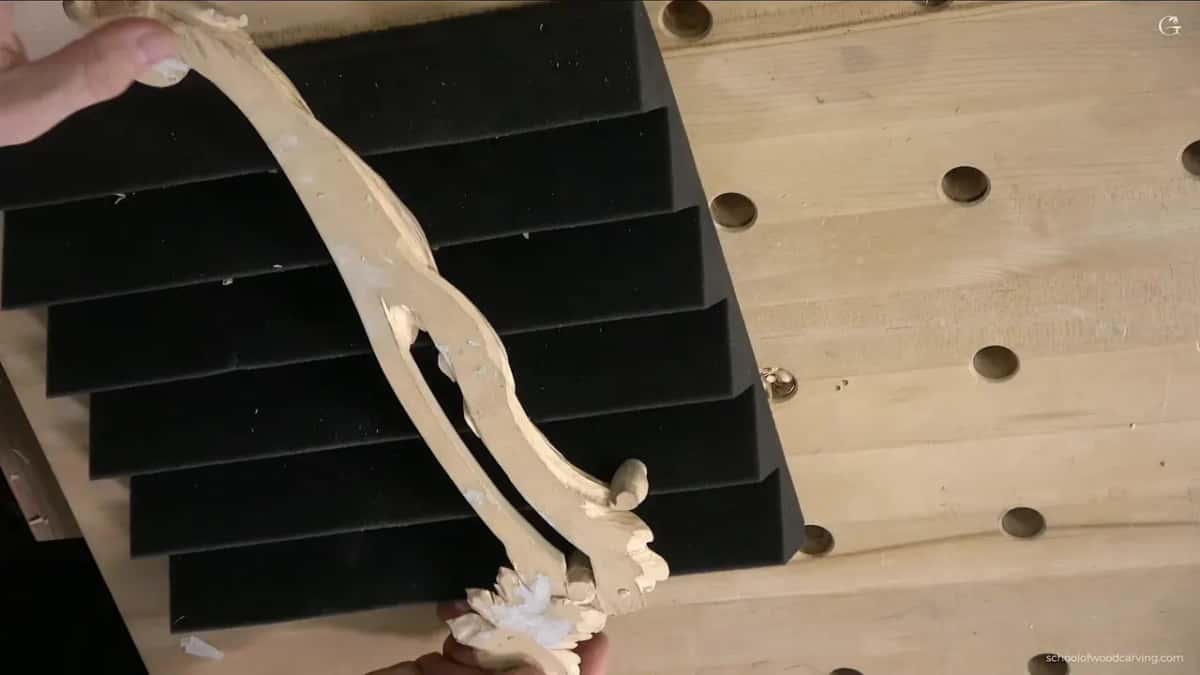

What about the eye where two lobes overlap?
A small number 11, not too deep, but deep enough for a really beautiful eye. The flute points to about one o'clock or eleven, depending on which lobe overlaps.
On a Venetian leaf the line around the eye is always raised, and at the very end I come back and clean every eye once more.

What I changed my mind about
Sandpaper. For a long time I did not use it, because it did not feel really authentic to me. Then people asked about it on a live stream. I started using paper last year.
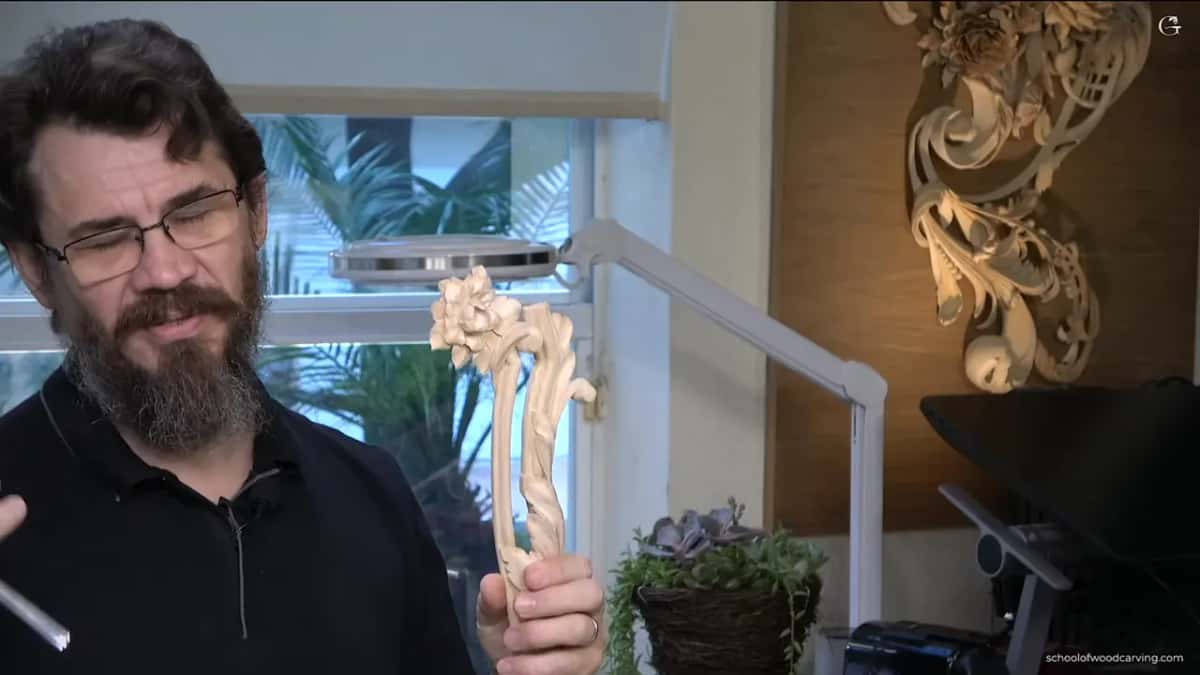
My answer now is that it depends on what the piece becomes. These four go under white paint, so I did not want to spend too much time cleaning facets. A piece that stays bare wood is a different story. Do not take that as permission to sand everything smooth. It is permission to think.
When I do reach for paper it is Mirka, mesh backed, out of Finland. The mesh matters: dust goes through it instead of packing the surface, and it leaves fewer abrasive particles buried in the fibres. 180 grit and no coarser.
Last of all, burnish. Take a scrap of soft wood, ride it along the fibres, and press them down. Wood against wood, never metal. It gives a different feel from the tool, and it costs nothing.
What cleans it up if you skip sandpaper?
Half a millimetre number 11 for the overlaps, then a flat gouge riding the ridges. Circular strokes, barely touching, until the facets go.
Rasps deserve a mention, and I only started using them a year ago. Hand stitched French rasps take a surface smooth and then a gouge tidies whatever the rasp left. For abrasive, mesh backed sheets at 180 and no coarser, because after 100 grit you spend a lot more time cleaning up.

Is this a good place to start?
Not the first thing you carve. Learn a leaf on the flat before you ask one to climb over a molding.
What lifts the difficulty here is not any single cut. Keeping four pieces at matching heights, judging where the ornament crosses and where it hides, holding a line while a mallet does the work. Start simpler if none of that sounds familiar yet, and the lesson map lays out the order.
So look at the panelling in your own house. Where does the ornament stop dead at a molding because nobody knew how to carry it across? Come and carve one with me. Shall we carve?
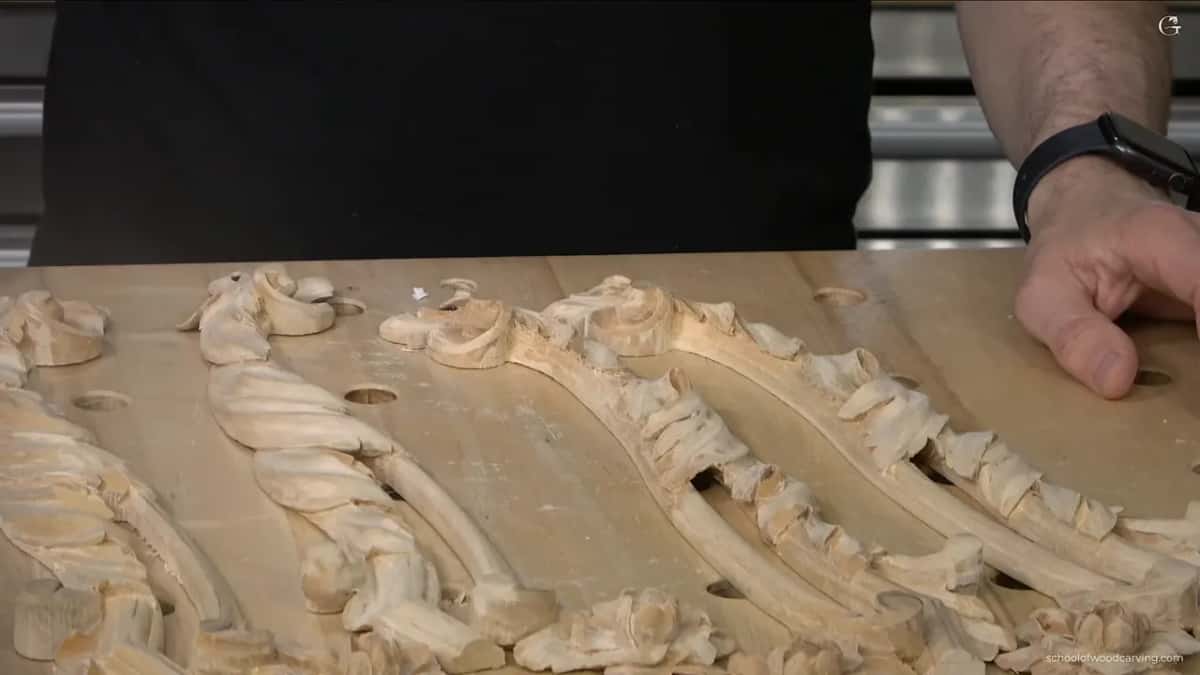
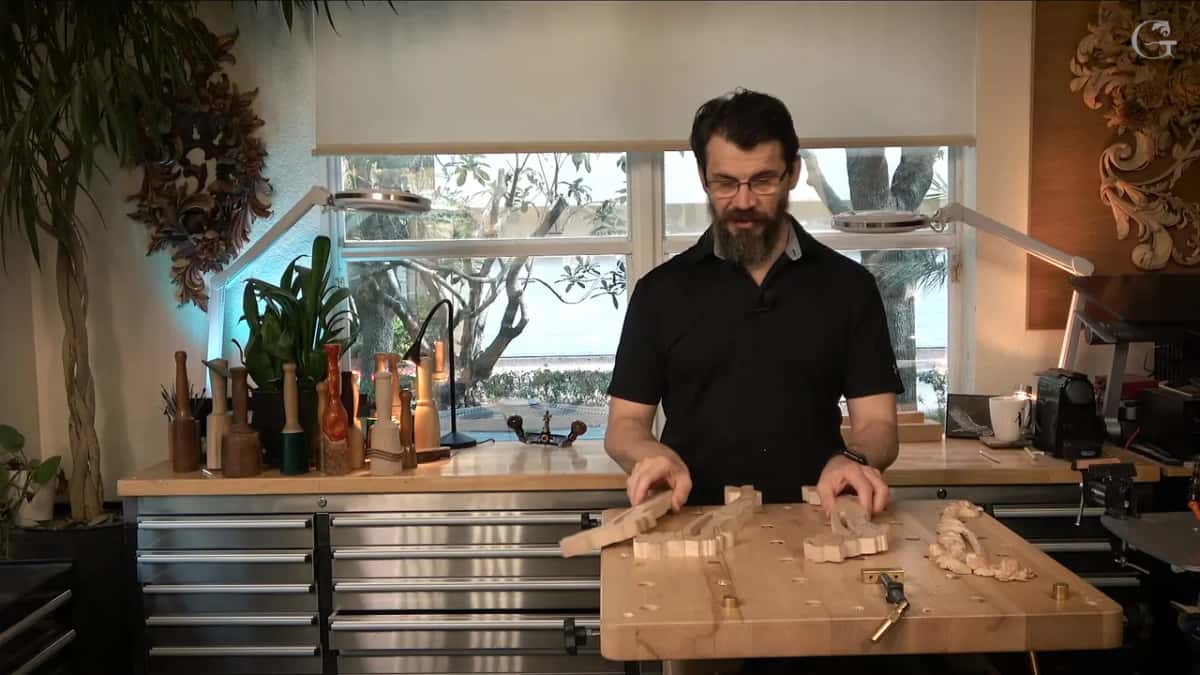
Four of these went onto one panel in the end, and I laid them out on the bench side by side before they went up. Would you rather stand at a bench next to me while you learn it, the in-person classes run through the year and fill fast.
How it's done
- Score the molding heights with a gauge. Run a marking gauge along every edge that will become a molding, on the face and on the side. Any cheap one with a sharp knife and a guide will work.
- Glue the blank to a board through paper. Spray both faces, let them go tacky, then press the wood onto printer paper onto half inch ply. Mount it diagonally and the whole board earns its keep.
- Chop down toward each scored line. Twenty millimetre number 9, rotating as it travels so the cut slices rather than chops. Leave roughly a millimetre standing and read which way the grain wants to tear.
- Level the flats with a router plane. Set the blade, rest the plane partly on the offcut you saved, and take the surface down until it kisses the scored line. Every molding then matches its neighbours exactly.
- Free the molding from the body. A number 17 at six millimetres separates the two, held so one wall stays perpendicular. Undercutting here would be a genuine mistake, so watch that wall.
- Rough the leaf and find its spine. On a Venetian leaf the middle line stays raised. To get that convex middle, carve two concaves, one on each side of it.
- Hollow, roll and undercut each lobe. Scoop the inside, roll the edge over, then slip a small tool underneath the tip. Two millimetres of undercut buys the dark line that makes it read.
- Clean the overlaps, then the facets. A veiner only 0.5 mm wide excavates where one lobe passes under another. A flat gouge in light circular strokes removes the facets afterwards, no abrasive required.
Frequently asked questions
Can I skip the router plane?
I would not. For furniture or architectural carving, it is one of the tools you should have. With it I know for sure each piece ends at exactly the same height as the one before.
Why not poplar if the piece gets painted?
Poplar is okay for paint, but it is a little harder to carve. To me it just does not feel good. Cherry is much better. Even oak beats it, and for this kind of ornament I use basswood or limewood.
What is a number 17 and do I need one?
Picture a V tool with a rounded floor, sitting between a proper V and a number 11. English catalogues list it as 48. Useful, though you can manage without one. A V tool, a number 11 or even a knife will separate the same line if you keep the wall perpendicular.
What to carve next