
Alexander Grabovetskiy, woodcarver, School of Woodcarving · Published 2022
How do you know when a carving gouge needs stropping?
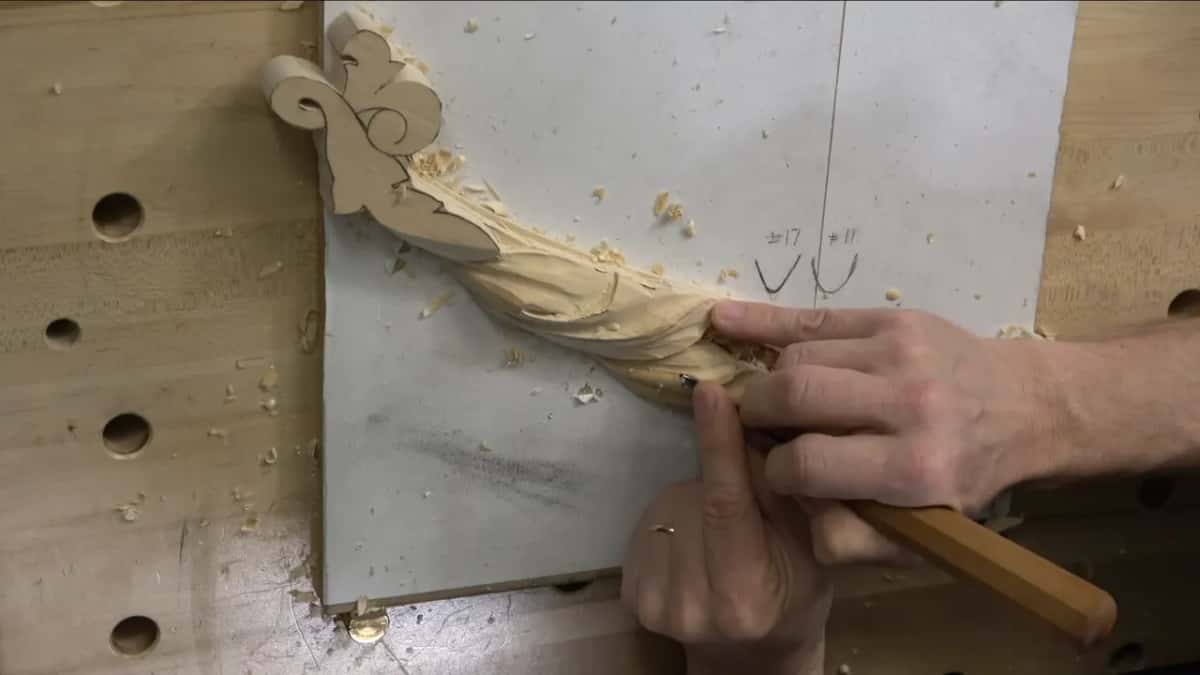
Quick answer: Testing a gouge for stropping is a matter of touch more than sight. I lay a fingertip under the edge and touch it lightly, moving outward, not along it like a knife. Fingers pick up even thousandths of an inch, where the eye may see nothing.
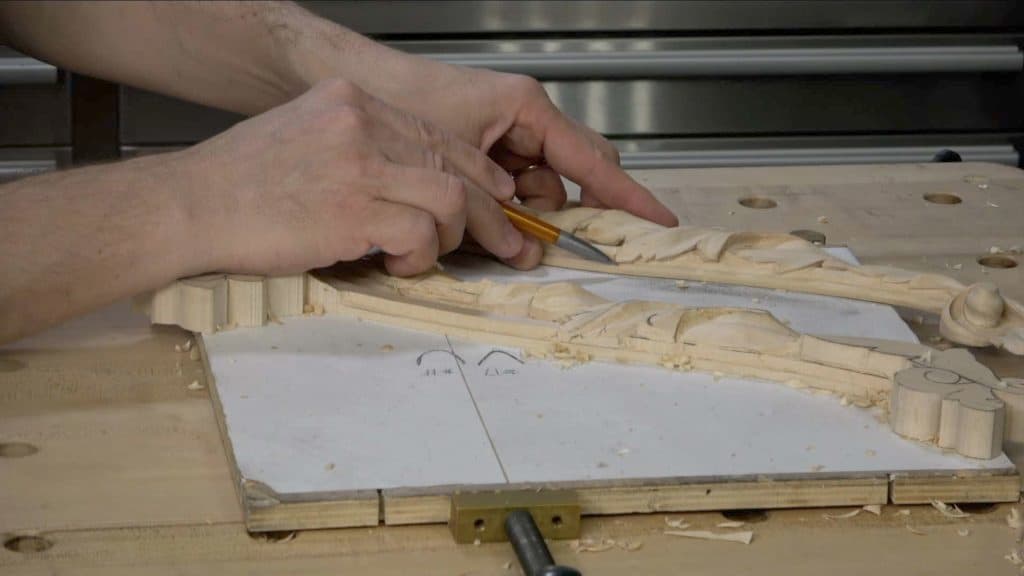
Checking a gouge for stropping is a job I do with one finger. I put the tip of my finger underneath and touch the edge lightly, going outward. You can't always see a dull edge. A finger can feel it, and for stropping carving tools that's the best way I know. In lesson 4 of Acanthus over Moldings I check twice, first on a number 11 of 7 mm and later on one of 10 mm.
Would you rather find a dull edge before it touches your wood? And find it without cutting yourself? Then check from underneath first, and strop when you feel it. That habit sits at the very start of this lesson, and the rest of this page follows the sharp tools onto the leaf.
The six things lesson 4 does
- A light touch from underneath, moving outward, tells me if a tool needs the strop.
- Rubbing at a sharp edge with your finger can cut you.
- I sized the number 11 to the area, 10 mm for a bigger one and 2 mm to get under a small section.
- A number 3 backbent moved in a circle took the sharp ridges down with no sandpaper.
- Facets stay. Slight blending is fine.
- Over the molding, the edge of the leaf stays low and gets no deep undercut.
How do you know when a gouge needs stropping?
Usually you can feel it. I place my finger underneath the edge and just slightly touch it, going outward, and you usually get it that way. You're not always able to see if the tool is dull. Fingers can detect even thousandths of an inch.
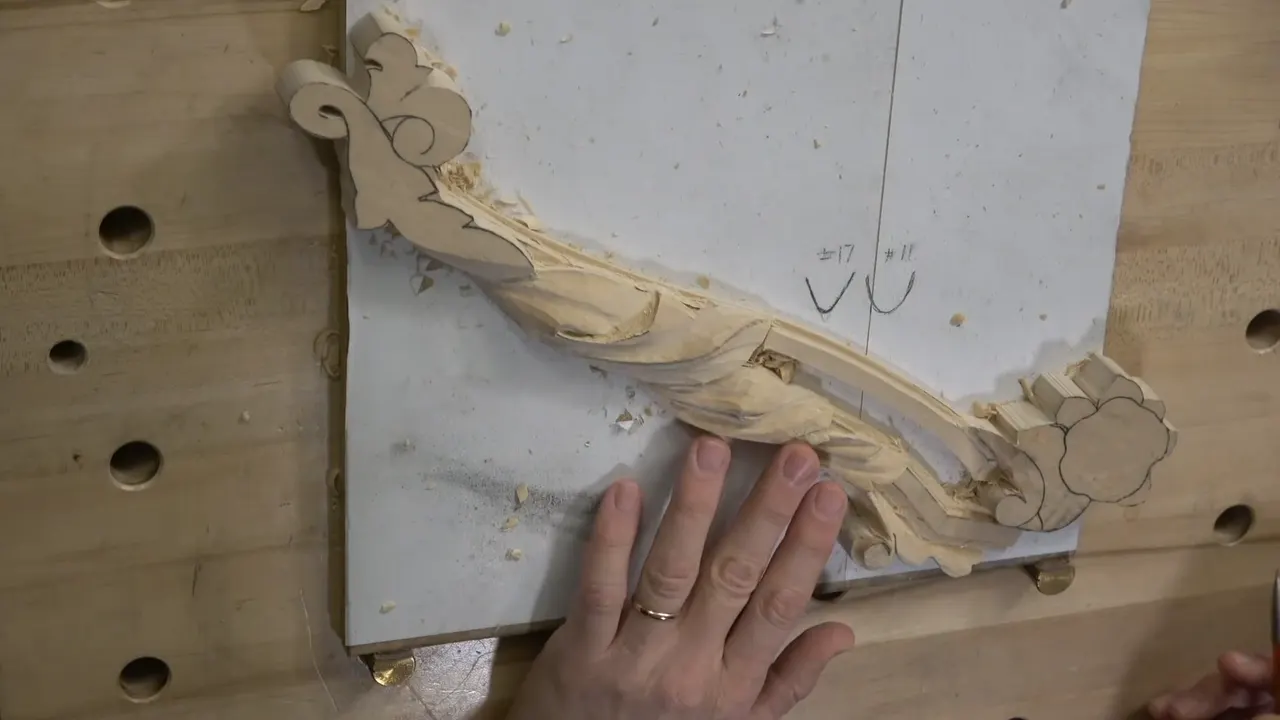
My first check came right at the start. I thought about which number 11 would be best and took 7 mm, a little bigger than a quarter of an inch. I double checked if I needed to strop it, and yes, it looked like I did. I didn't want to create the mess again, so I stropped it right there, before my first concave cut.
The second check came in part two. For a bigger area I needed a bigger tool, and I grabbed 10 mm, 3/8 of an inch. It really didn't feel dull or anything, and I stropped it slightly anyway, just in case. Then came a little concave there, and the transition came out really clean. See how clean that is? Beautiful.
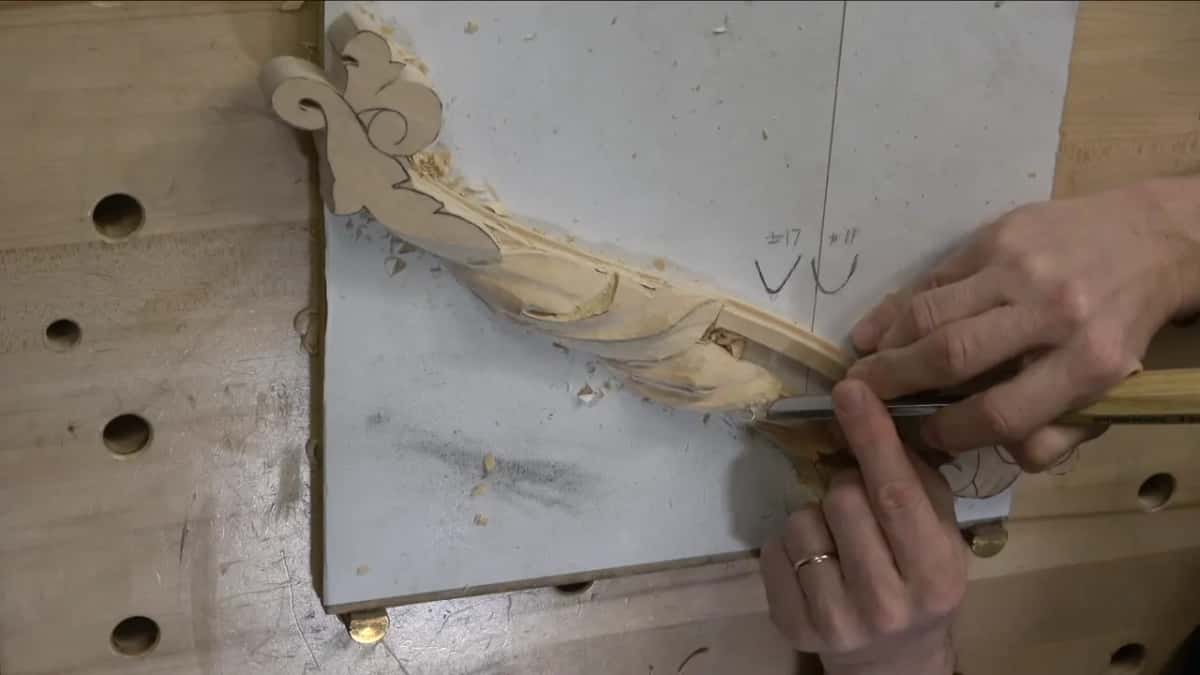
Why not check a gouge like a knife?
Rubbing at a sharp edge is how you cut yourself, so don't check it the way you'd check a knife. That gouge was a little sharp right then, and if I did what some people do and rubbed at the edge, I would just cut myself. That would be a big mistake. So the finger stays underneath and moves outward.
Why even soft wood dulls a tool, and how often I check an edge for a wire, I cover in Carving Roman Acanthus 10. Leather and compound have a course of their own, Stropping, Honing, Buffing, and the sharpening itself is in Carving Tool Sharpening.
One more example from another course. Over on the Floral and Molding panel I reached for a 6 mm number 9 and said it would most likely need stropping. Out came my leather and a mirror paste, one of my favorite compounds lately.
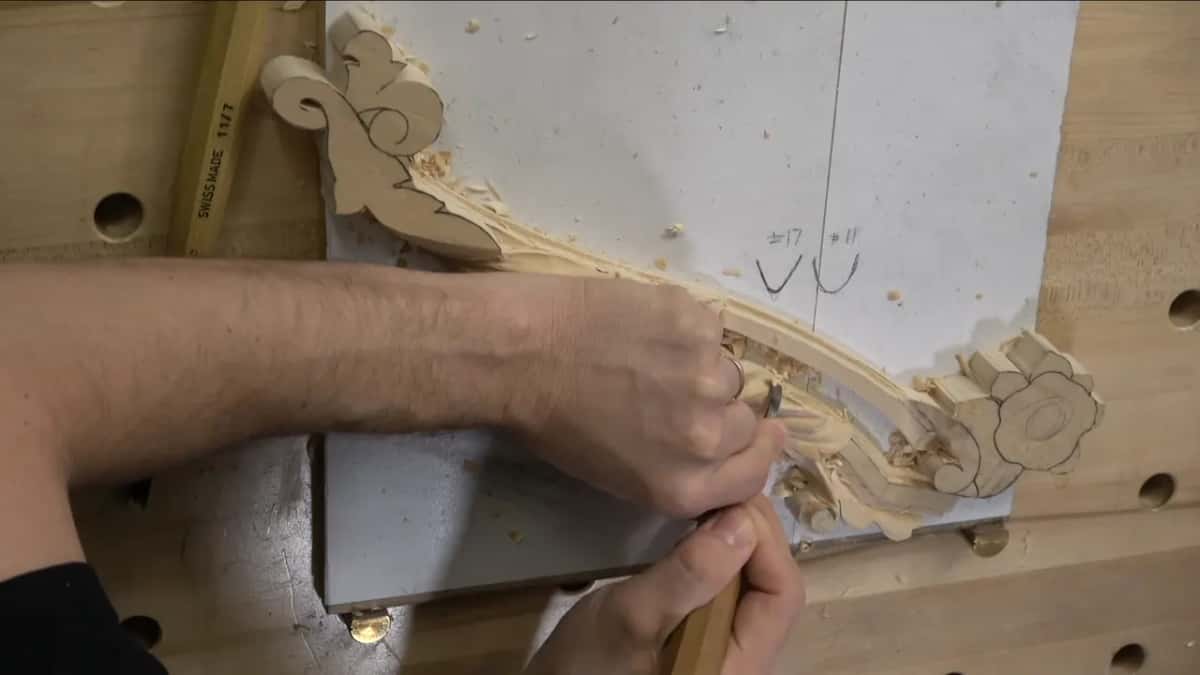
Which number 11 did each spot get?
A number 17 could go there too, I said, and I took the number 11. That was a really good choice. Much of this leaf went to that 7 mm one, the same tool again and again across all three parts.
At one spot in part one the backbent was going to dig inside that area, and that's not good. I went back to the same eleven and blended that edge too.
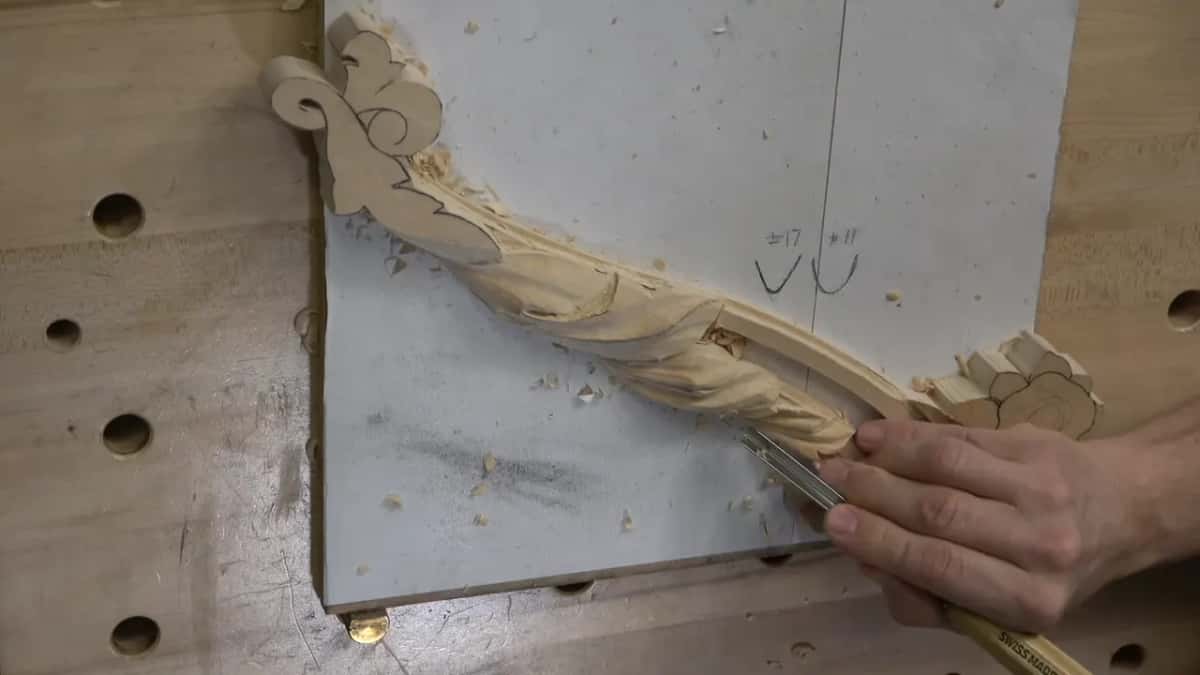
Bigger spots got bigger tools. That bigger area in part two got 10 mm, and I said I could actually use even bigger, about half an inch (about 13 mm).
Small spots got small tools. To get underneath one section I left the tool I was using on the bench and grabbed a small one, 2 mm (about 5/64 in). I held it with the flute at about 10 o'clock. That was only an initial undercut, not a full one yet, because I still had to work on that surface.
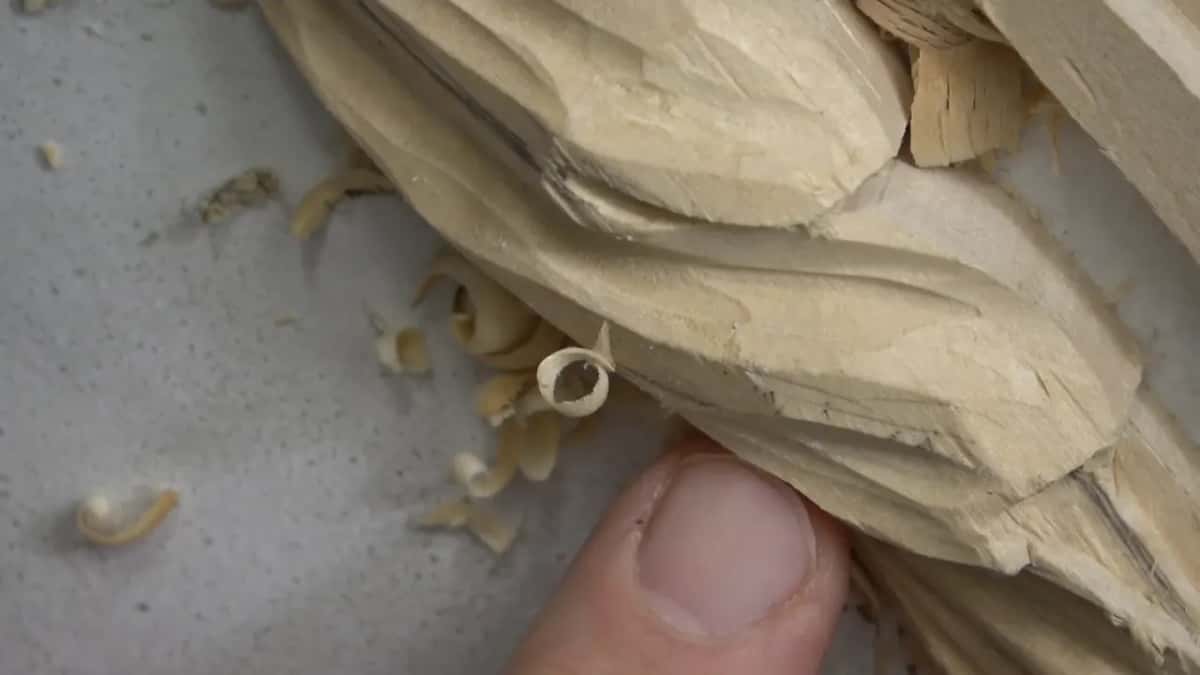
The separations in part three took a 2.5 mm (about 3/32 in) eleven. At every separation the tool went straight down. For the eye I held it at about one o'clock, because that part of the acanthus leaf overlaps the right hand side.
That little eleven is a beautiful tool. It's an old one from a German brand, and I don't think you can find that brand anymore, maybe someday on eBay. You don't have to have one. 2 mm, or even 3 mm, would give the same result there, I said. Makers used to go in half a millimeter steps, and now most of them jump. I don't judge. Business is business, nothing personal.
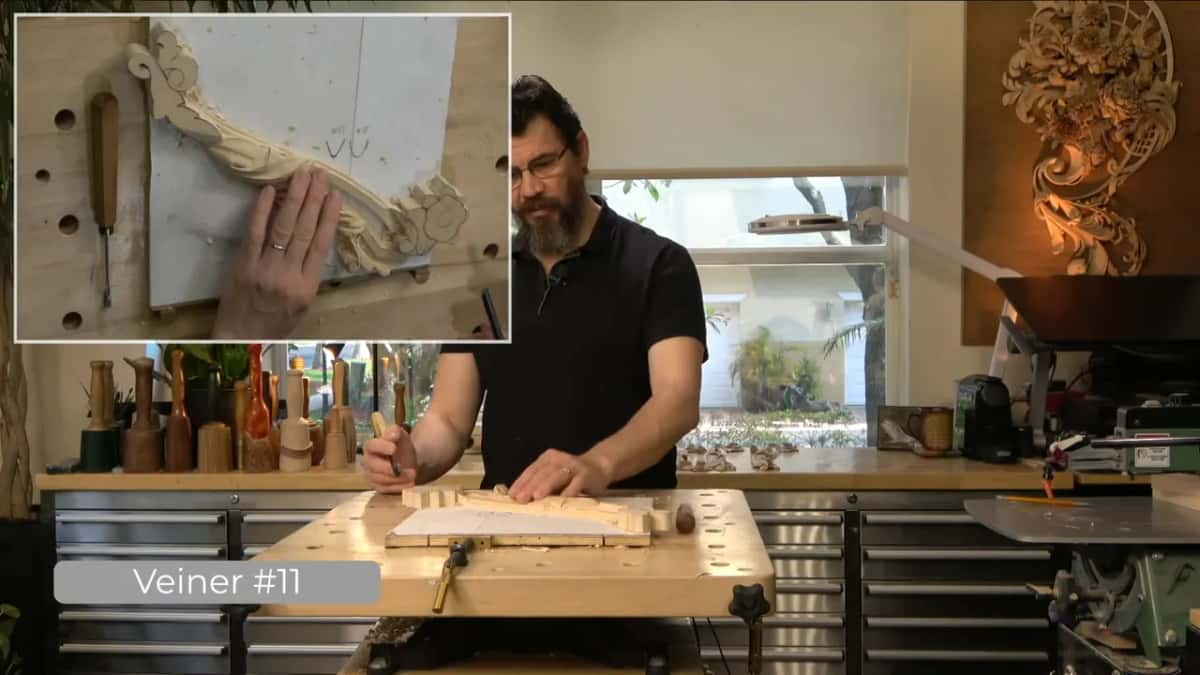
How does a backbent blend a sharp ridge?
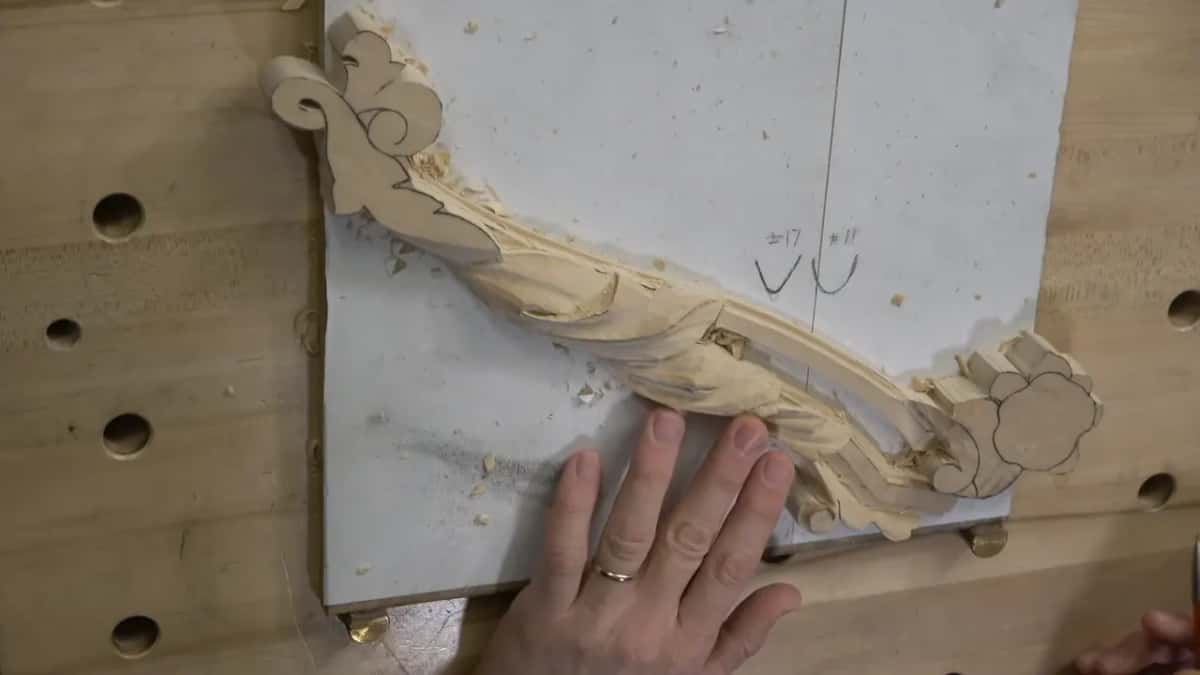
In a circle. The tool here was a backbent equal to a number 3, a quarter of an inch (about 6 mm). One ridge was too sharp, and I don't want to see a sharp ridge, so I hit it with that backbent using just a circle motion, because I really wanted to blend that thing.
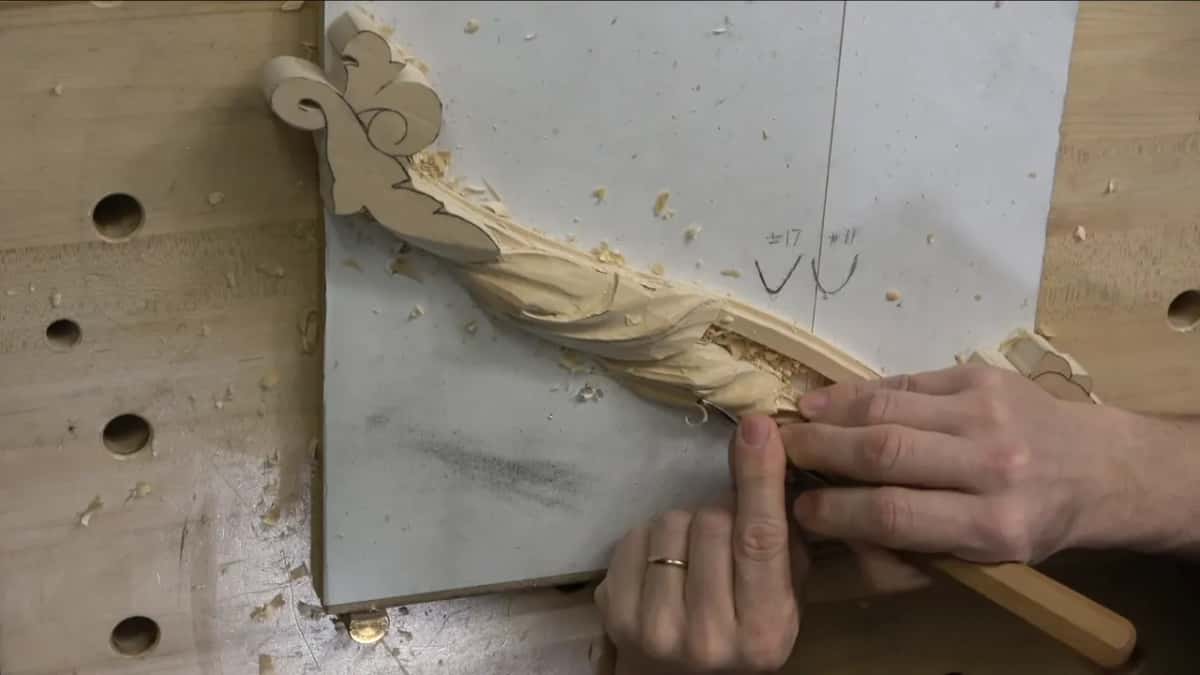
Part two brought the same backbent back. You can see it becoming really, really nice and clean. Again, just a circular motion. And you really don't need to use any sandpaper.
It doesn't have to be a backbent. I really like to use them, though, and later on I said a normal number 3 or a number 2 would do, so I took a normal number 3 of about half an inch.
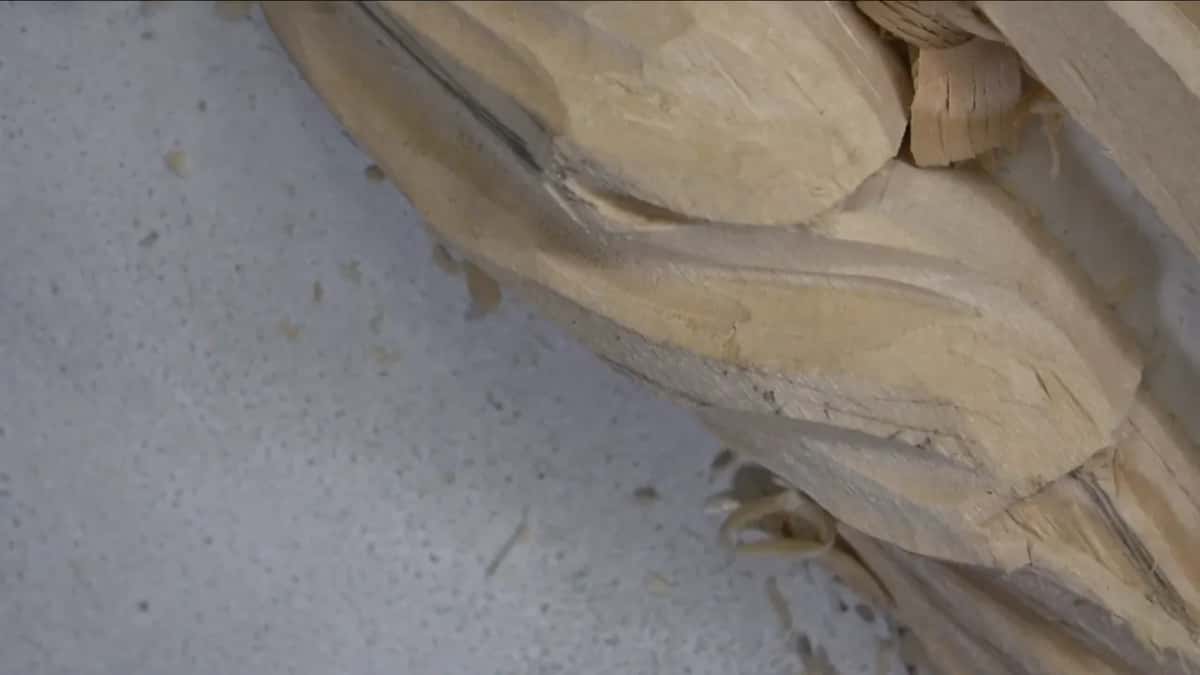
The grain had a say too. The right hand side gave me a really good result with the blending. On the left I was digging inside the grain, and you could see a couple of spots, so I took that from the other side. Lesson 2 is about why one side comes out rough.
At the end of part three the middle got knocked down. Seen from above, I held the tool at about 45 degrees toward the line, so it was not a perpendicular cut. What the grain will do there, I don't know, and at 45 degrees it's safer.
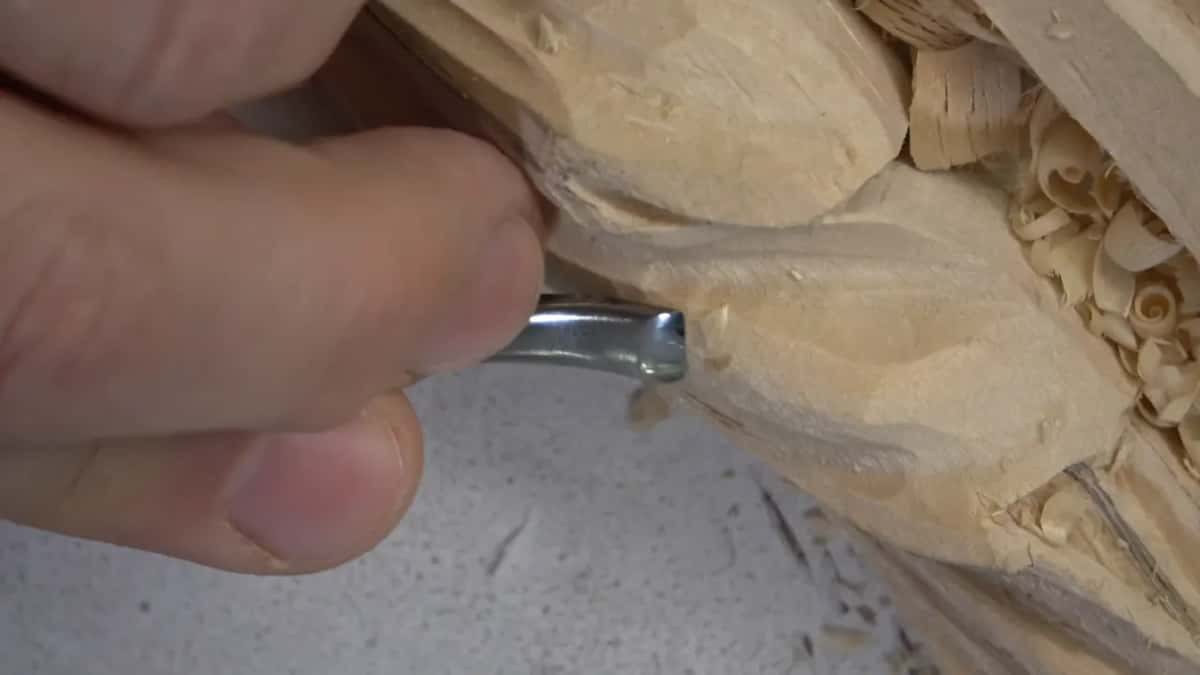
Should you take every facet off?
Taking it to the extreme is possible. You could get rid of all of those facets, and I would not do that, not here. There's no reason in my case, and besides, it's always a good idea to keep those facets. I've mentioned it many times. A carving like this is like an art piece, and the facets are like brush marks.
Blending is okay. Slight blending like that is absolutely fine, just not to the extreme. I said in part two that it could go that far if you wanted, but for me it already looked really clean. I come back to sandpaper later in the course, and the course page has that story.
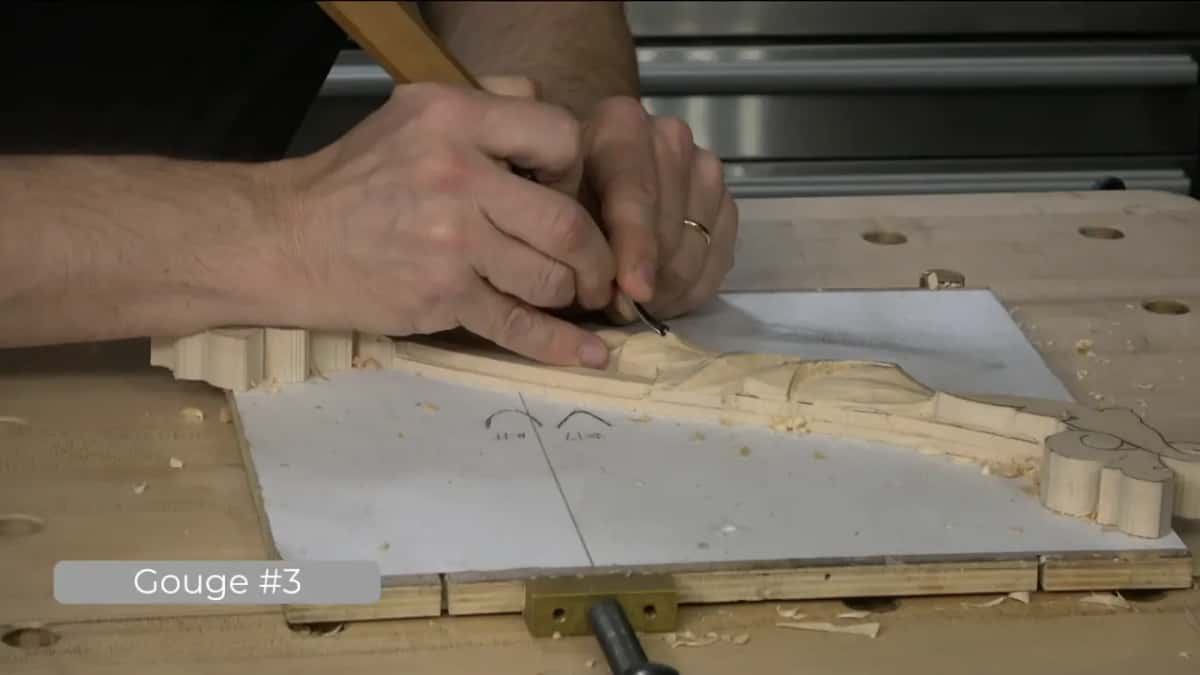
What did David Esterly do differently?
He would clean before he moved to the next detail. Wood carvers have different opinions about when you should clean, different mindsets, and David Esterly is one example. He writes in his book that if you don't clean right away, you're going to forget. It's probably somewhat true. On a huge piece you do forget some of the areas.
But I found it better for me to divide the work in stages, and stage one is just roughing out, creating the 3D movement, everything first. After that I look back, after a few days maybe, and I usually get some ideas of what I would change. Sometimes I'm just not happy with what I've done.
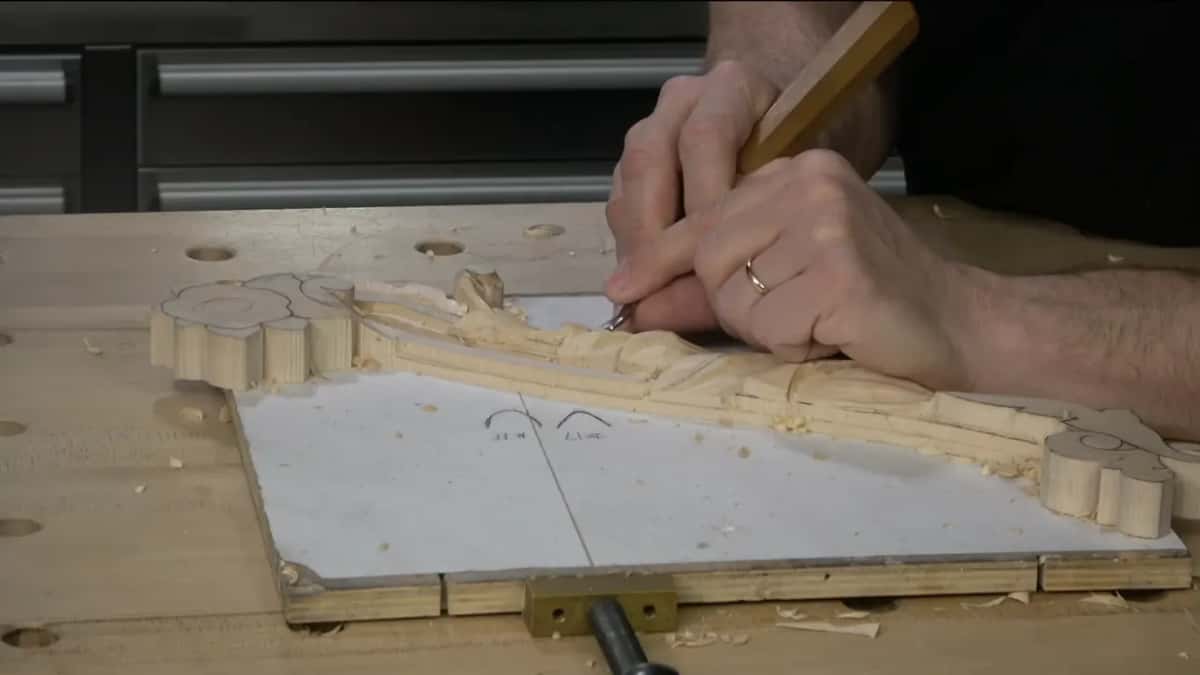
If I did not spend a lot of time cleaning, changing it doesn't hurt. But spend so much time making it perfect, and the change costs you. There's a difference between investment and spending. You can spend your money, or you can invest it, and time is exactly the same. Investment comes with a return. Going back to change an area I already invested so much time in turns what I invested into spending, a waste of time. I'm not trying to be philosophical, but it makes sense, at least for me.
So the blending in this lesson is one of those techniques I usually do at the end of the project. Some of the spots I can do right away. Why not? Near one pencil line I went almost to the line and left the cleaning for a little later. Grapes are different, because each grape's side gets carved clean the moment you make it. That story is in Carving Grape Onlay 1.
Where does the leaf have to stay low?
Right where the molding runs under it, along this part of the leaf. Look at it sideways and you see the molding going underneath. A deep undercut in that area is something I don't want, because it's going to be kind of hard to clean and to create the molding. So I bring that edge a little closer to the molding and blend everything to the shape.
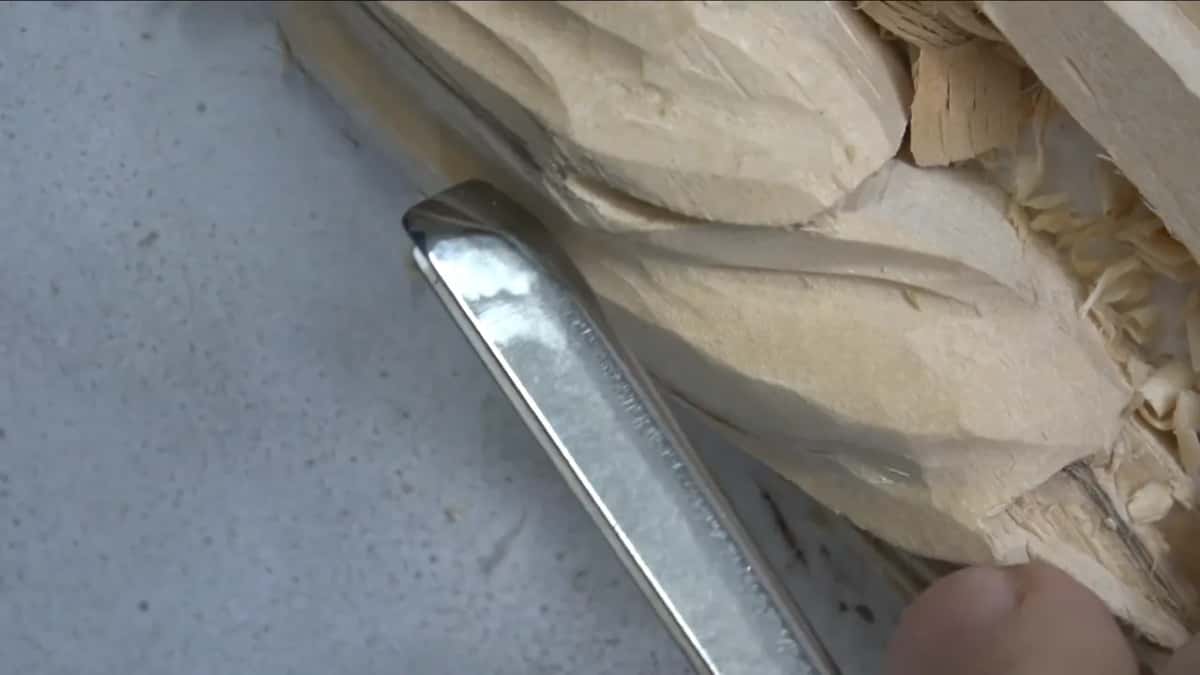
My point stays high. Under it I have absolutely no problem making an undercut. Right there over the molding, though, I keep it as low as possible.
The pipe gets the same care. Digging too deep underneath it would be a big mistake. I'm somewhat after shadow, but I don't want to roll it backward into a natural looking pipe.
The eye on the leaf I'd marked earlier sits about 3/8 of an inch (about 10 mm) from the point. That part goes all the way, wrapping around the molding.
How many tools stay on the bench?
A few. Three, five, seven, that's okay. I put each tool back, because it becomes really confusing really quickly when I pull too many. Not that I never did it. I've done it multiple times, and when tools pile up on my workbench I get lost.
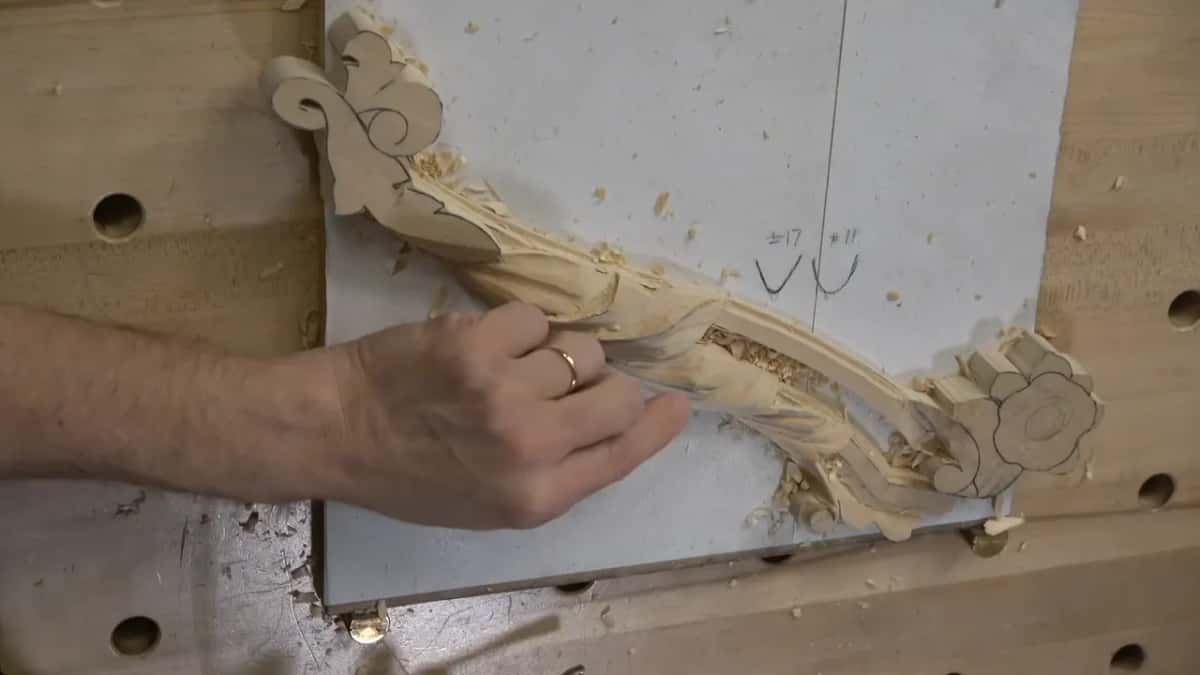
Especially if you have so many tools, and I do. All around the room behind me there are tools the camera doesn't show, another side with more, and then another tool chest. When the 7 mm eleven came back for one concave, the number 3 stayed close by.
What does the pipe need around the eye?
The wood beside it knocked down. Since I had an eye, I wanted a pipe going all the way along that side, which meant knocking down the part beside it. It was kind of too high anyway. I took the 7 mm eleven again, and I still had to be really careful. Wrong side, so I switched.
Then I moved to another side and came at it from the opposite direction. I made a little concave there and didn't want to overdo it. A high spot right beside it set the limit, because my cut should not go deeper than that. Better to be safe.
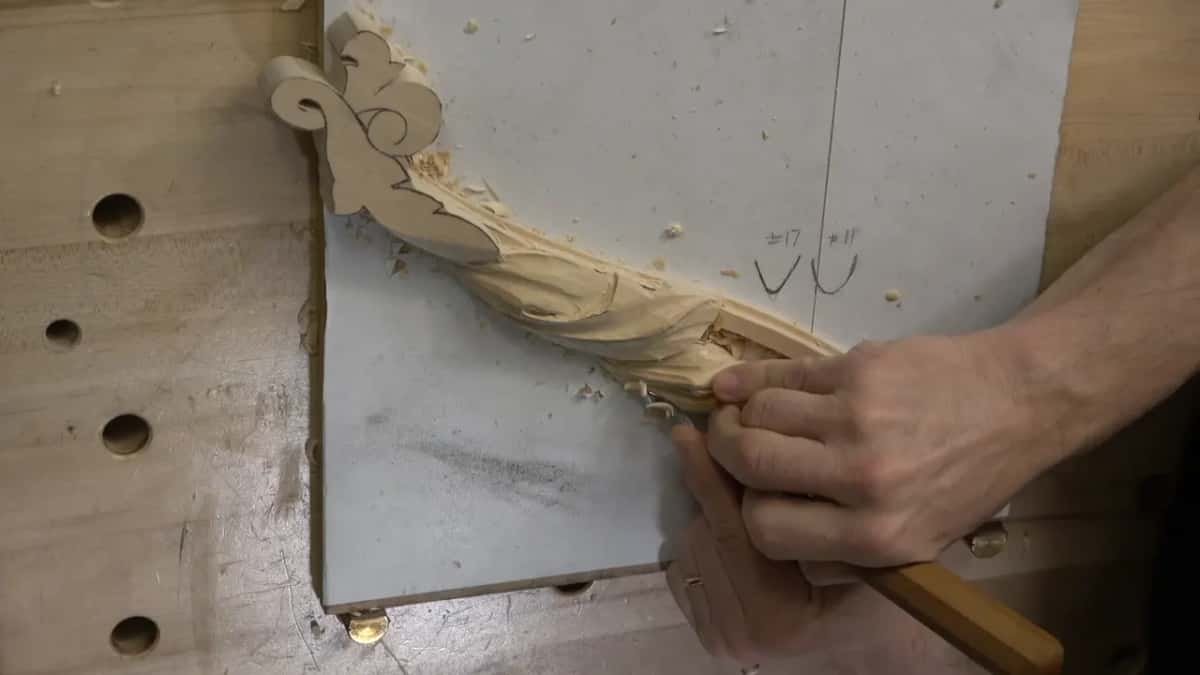
Next to an eye I made the shape of a water drop, and that became my high ridge. All the rest around it had to be knocked down, and I was happy with how high my pipe will be.
What do you do when one side looks wrong?
Change it, for your own taste. In part two my number 11 just hit a little bit at a corner. That happens, and I should not call it a mistake. I cleaned it, just a little bit. That's it.
The opposite side didn't look too appealing to me. It was a little too high for my taste, so I lowered it with the same eleven. Then I looked from the side for a nice, gradual slope downhill. I want to see the overall picture in 3D, so sometimes it's a good idea just to double check. In my opinion it looked good.
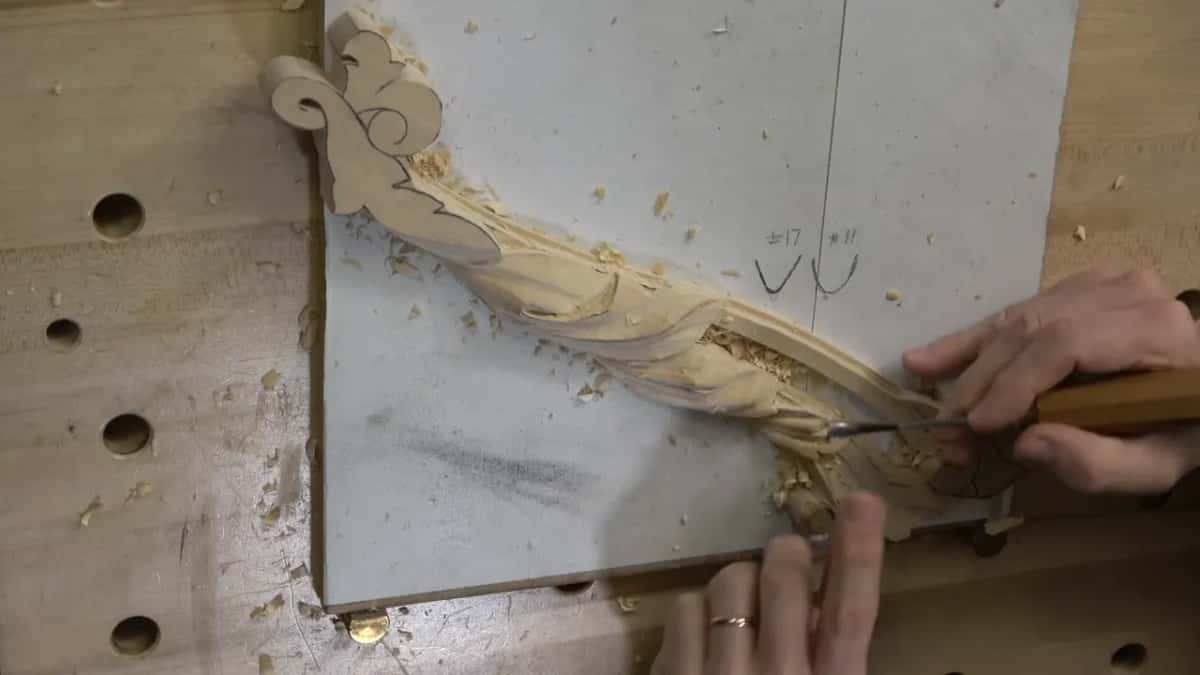
Back in part one I also flipped the tool upside down and made some movement, almost like a micro concave. Part three had another section I was not too happy about, so I made a little deeper excavation there. Unfortunately, you don't see what I see. I have plenty of cameras, but I can't put 20 cameras in this room.
Once one area in part one was cleaned again with the eleven and blended nicely, I liked what I saw. It looked good.
Which tool went where in lesson 4?
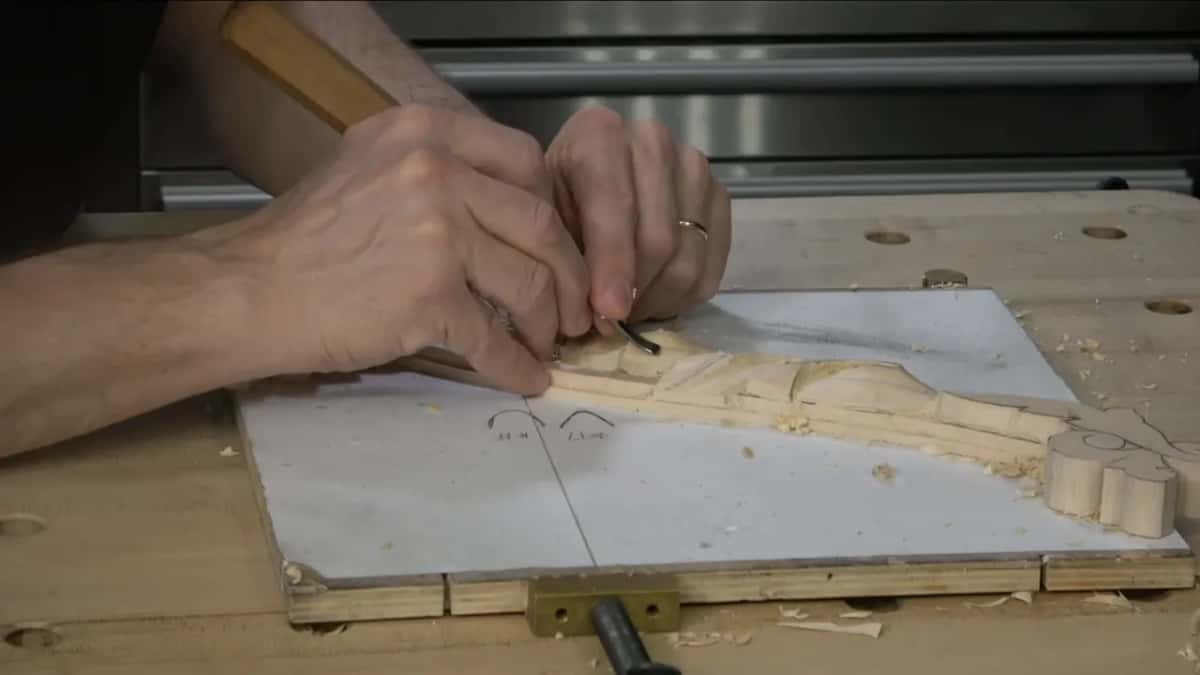
Here is what this leaf took, with my own words beside each tool.
| Tool | Where | Said |
|---|---|---|
| Number 11, 7mm | The first concave cuts on this lobe, and later the pipe too. | Let me think which is best. |
| A 10mm eleven | A bigger area on the next section, worked from both its sides. | Kind of a bigger area here. |
| Small 2mm eleven | Underneath one section, flute at about ten o'clock, only a first undercut. | Not going to be full yet. |
| Old 2.5mm eleven | Straight down at every separation, then the eye, tool near one o'clock. | A beautiful tool, German and old. |
| Backbent number 3 | The convex in the middle and the sharp ridges, moved in circles. | Doesn't have to be a backbent. |
| Spoon number 11 | A surface coming my way, so the tool had to go uphill. | My cut has to go uphill. |
| Spoon number 3 | A spot that needed a smaller tool, so 1/8 inch this time. | Lately I really love old tools. |
Ready to carve this leaf with me?
Would you like to see that finger check up close, right on the leaf? And the backbent going around in circles until a sharp ridge is gone? Then come and carve lesson 4 with me. Lesson 3 comes before it, lesson 5 comes after it, and Tuition opens every lesson of the course. That first concave cut is still waiting on the lobe.
How it's done
- Pick the size for the spot. I thought about which one would be best here and went with seven millimeters.
- Feel under the edge. A light touch from below, going outward. Never check it the way you check a knife.
- Strop if your finger says so. Mine said so at the start. Later I stropped slightly even with no dull feel at all.
- Carve the concave with the eleven. Carefully. Then rotate the tool toward the left to blend it to the edge.
- Take a sharp ridge down in circles. The backbent, a number 3, in a circle motion.
- Switch sides where the grain digs. Where it digs into the grain, take that part from the other side.
- Check it from the side. I look for a surface going downhill nicely and gradually, so I get the overall picture in 3D.
Frequently asked questions
Do you strop a gouge even when it feels sharp?
In lesson 4 I did. I picked up a 10 mm number 11 for a bigger area and didn't really feel it was dull, but I stropped it slightly anyway, just in case, and then went on with that area.
Which size number 11 works on an acanthus leaf like this one?
On this acanthus I used a 7 mm number 11 the most, a little bigger than a quarter inch. 10 mm went on a bigger area. Small spots got 2 mm and 2.5 mm, and for one of those I said 2 or 3 mm would give the same result.
Do you need sandpaper after blending with a backbent?
I didn't need it on this leaf. My backbent number 3, moved in a circle, made the surface really clean, and on camera I said you really don't need any sandpaper for that. I keep some facets on purpose, because to me they are like brush marks.
What to carve next