
Alexander Grabovetskiy, woodcarver, School of Woodcarving · Published 2022
Should you use short or long strokes when carving wood?
Quick answer: Stroke length in wood carving is a matter of stage, and I mix both. My lines start short, because short strokes let me see the grain while I work. Long cuts are okay at the end, when I clean the surface.
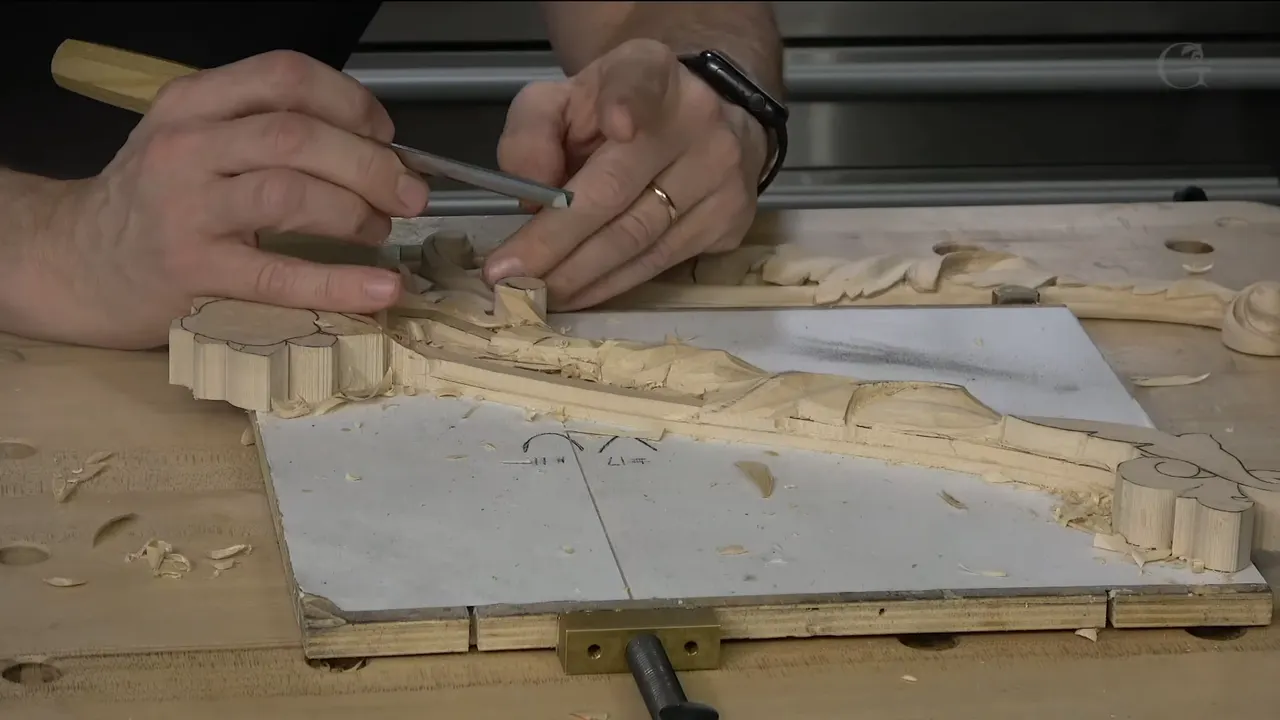
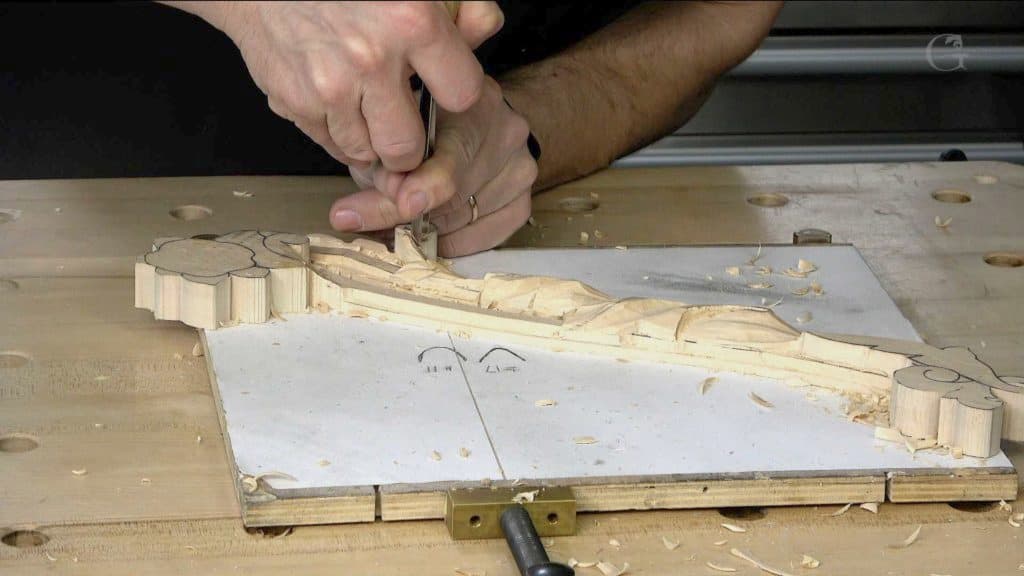
Short or long strokes in wood carving is a question of timing, and I mix them. On the opening passes along a line I go short, so I can see what the grain of the wood is doing. The long ones wait until I clean. In lesson 3 of Acanthus over Moldings you watch me start that way on a Venetian style acanthus that runs right beside a volute.
You have heard both rules. Some people say do only long strokes, and others say do only short ones. I said it on camera while I carved the eye of this leaf, there are lots of different opinions about that, and I mix. Here is when I go short, when I go long, and the hand that keeps either one under control.
Short strokes first, long cuts later
- The opening passes on this leaf were short, so I could keep an eye on the grain.
- Long ones are okay once I clean.
- While I'm still making the overall shape, I don't try a long cut yet.
- One hand stays down on the board, whatever the length.
- A U-shaped tool, a V-tool or a gouge leaves one clean wall and one rough wall.
Why do I start with short strokes?
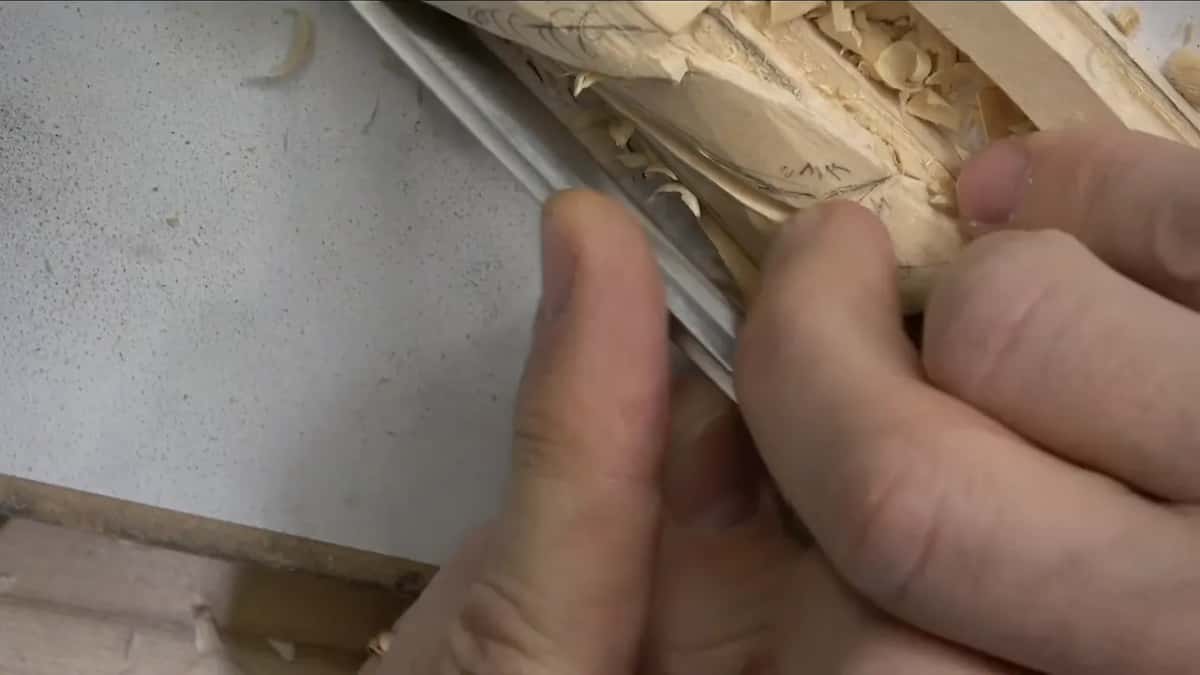
Short strokes let me watch what is going on with the grain of the wood. Especially with a U-shaped tool or a V-tool, or even a gouge, one side of the channel comes out clean and the other side comes out rough, because it goes against the grain. I spent most of lesson 2 on that rough side, so I won't tell it twice.
While carving near the eye of this leaf I said it plainly. I'm doing really short strokes. I'm not pressing and going all the way with a long cut, and there is a reason. Especially on the first passes, I keep them short.
The same thing came up on the Modern Acanthus 5 leaf. I had a big number 9 in my hand, 20 mm (3/4 in), and still said I'm not taking really long cuts, because for me it's better to be careful. A few seconds later I showed the limitation. Where my pass changes direction, the grain meets at one point, and we call it a marriage line. If I push through it, I'm going to break the whole thing.
When is a long stroke the right one?
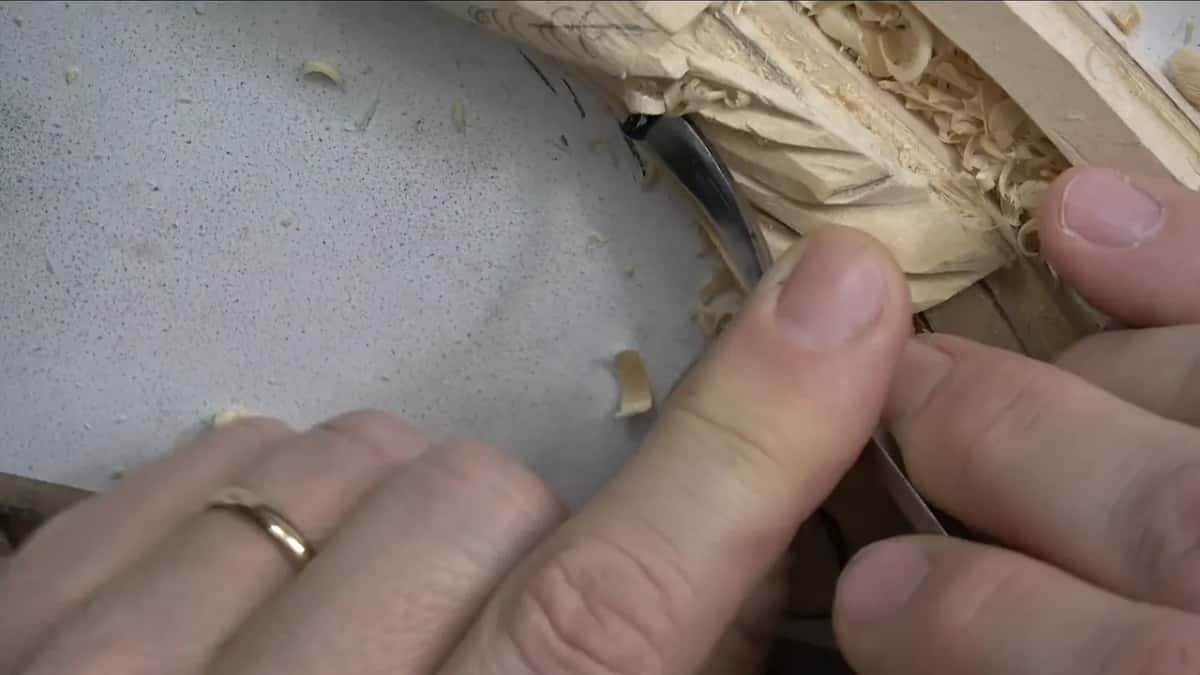
Once you're going to clean, long cuts are okay. In Modern Acanthus 2 I said I would repeat it, though I know I've told it multiple times. Don't try to create the long cut yet. While you are just making the shape, it is still stage number one, which we call boasting. In normal people's words, it's creating the overall shape. You don't need to learn English for that.
My teacher, my master, told me something I passed on in Carving Roman Acanthus 6. Never try to take all the material with one single cut. Yes, you can still get really nice long cuts, but first take small chunks out. That way it's much easier to make it look cleaner, neater, nicer.
What a long cut is, exactly, I showed in Carving Floral and Molding for the Panel 1. You start on one corner of the tool and end up on the other, slicing the whole way. A short one of about 10 mm (3/8 in) is still a slicing cut. When I can do long cuts, I push them with my whole body, the way you would push a plane, and you can watch that in lesson 4 of that course.
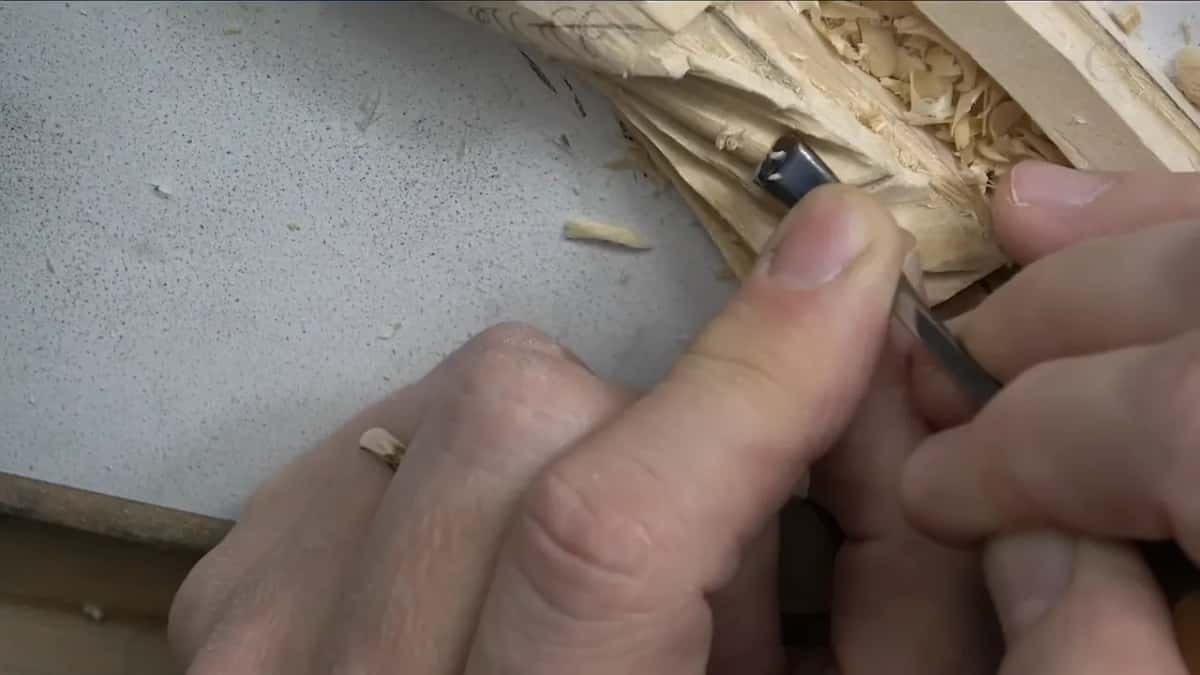
Where does the control come from?
On this leaf the control came from a hand placed solidly on the board. Pay attention to my hands on this leaf. One sits on the board, and my pinky tries to give support, so my passes are much better controlled. That lets me make a stroke as long as I wish, or as short as I wish.
Even if I hold my tool some other way, I'm still placing my hand pretty much right on the board. At least one of the hands, okay.
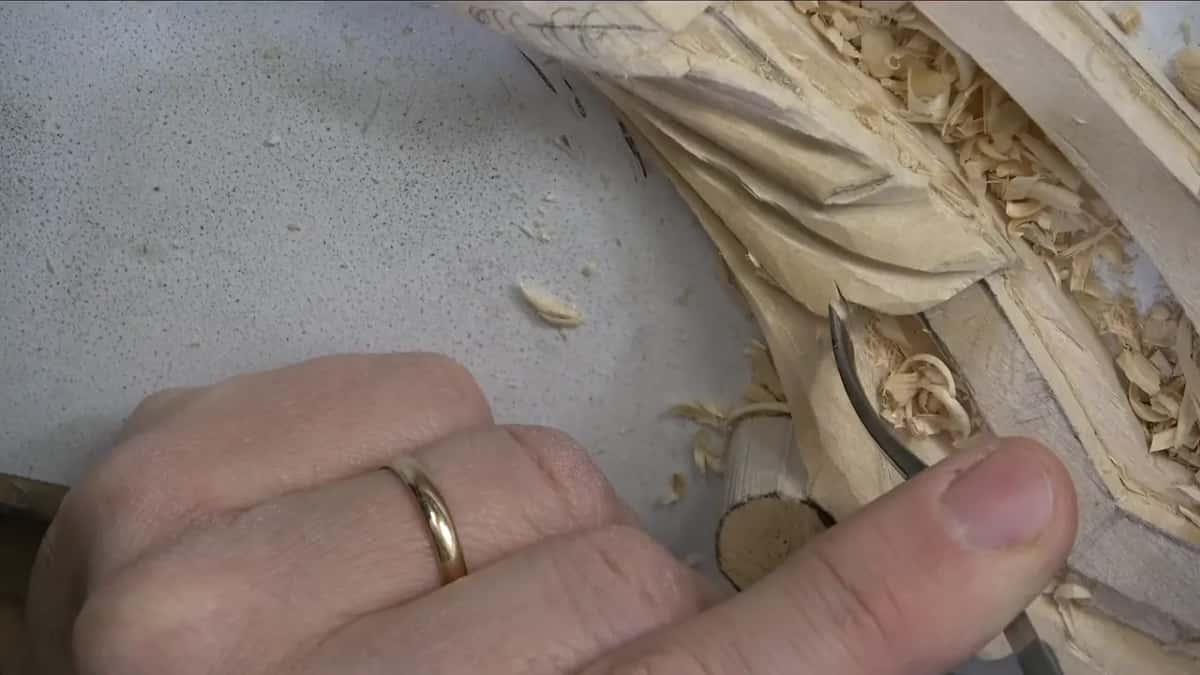
On the Modern Acanthus 1 leaf I put it stronger. Left hand always placed solidly on something, either on the background or on the piece, and as close as possible to the blade. Do not do air carving, with both hands in the air. That is no good.
Look at my left hand there and you see the muscles working too. I'm not getting tired, the way I would if I did all the work with the right hand. My short ones on that leaf were no more than about half an inch, maybe three quarters of an inch the most, like scooping out, and they gave me a much safer cut. In areas like that I said it straight, do not do the long cuts, and attack from different points.
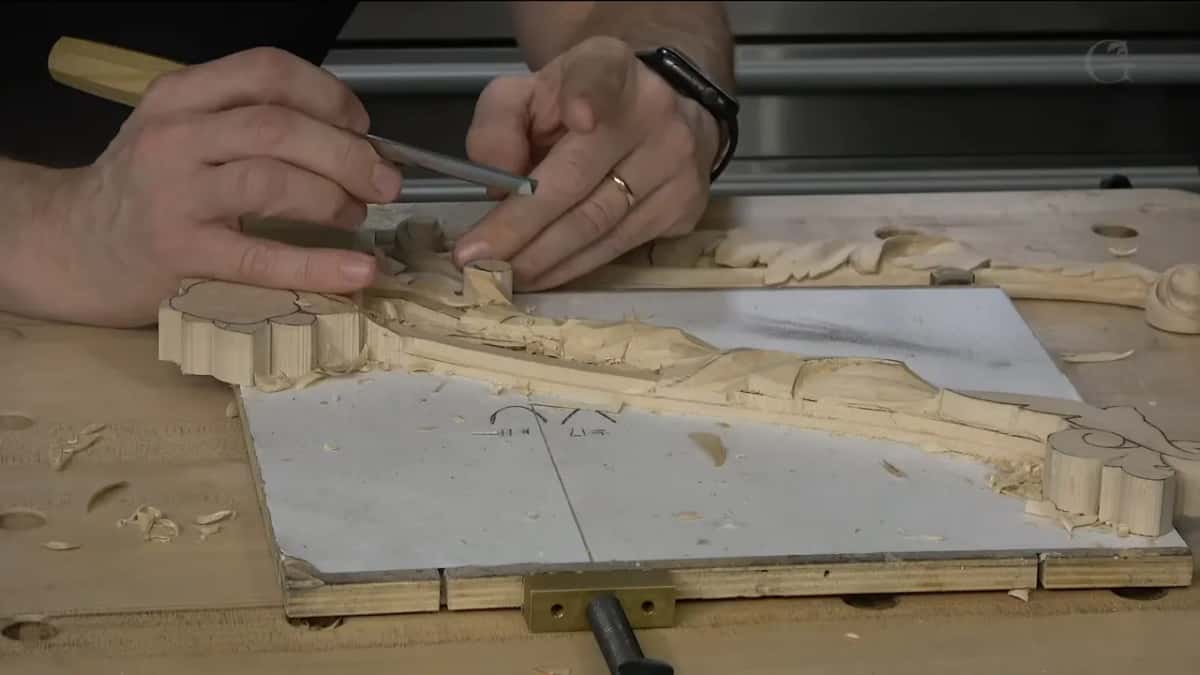
Which tool did I start with on this leaf?
My number 7, an inch and a quarter wide (32 mm). Checking the previous pieces, I saw this part of the acanthus goes really low, and the volute goes right underneath it. The bigger number 7 you have, the better, and I don't mean only the number 7. Big tools in general are the first thing you reach for.
It doesn't have to be an inch and a quarter, a bigger tool is just a good idea. That part also sits low right on top of the molding, so it has to kind of wrap. I don't want to overdo it. A couple more strokes, and it was okay. Back in lesson 1 the first tool was a number 9, about 20 mm (3/4 in).
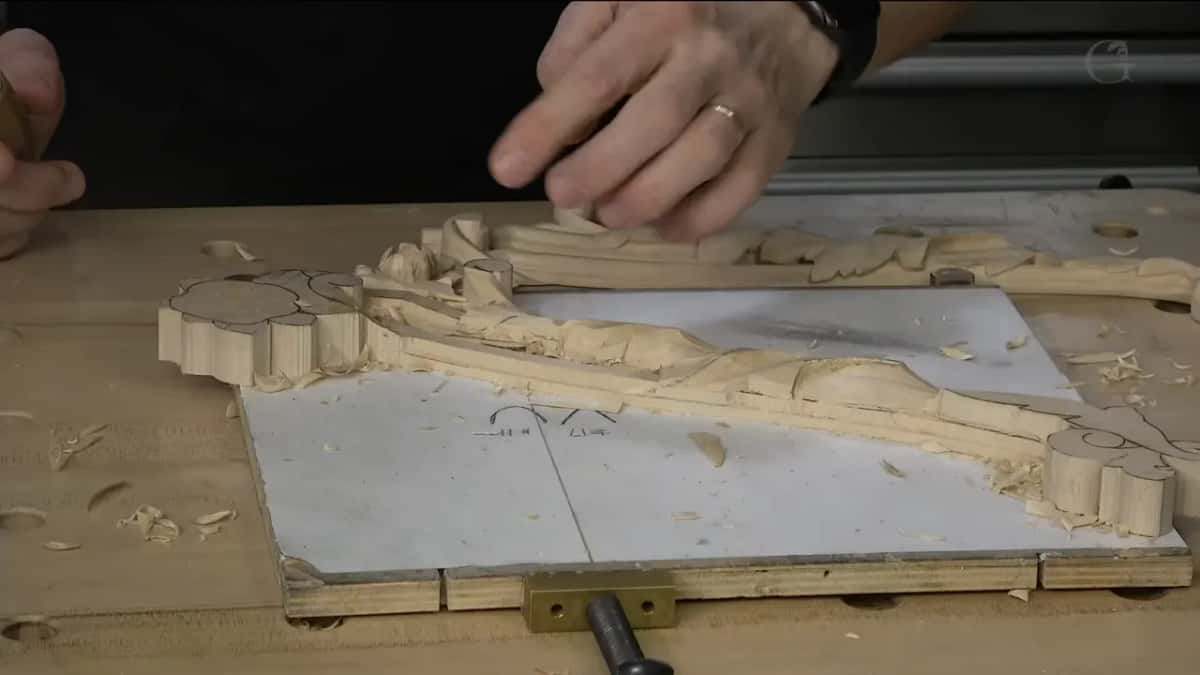
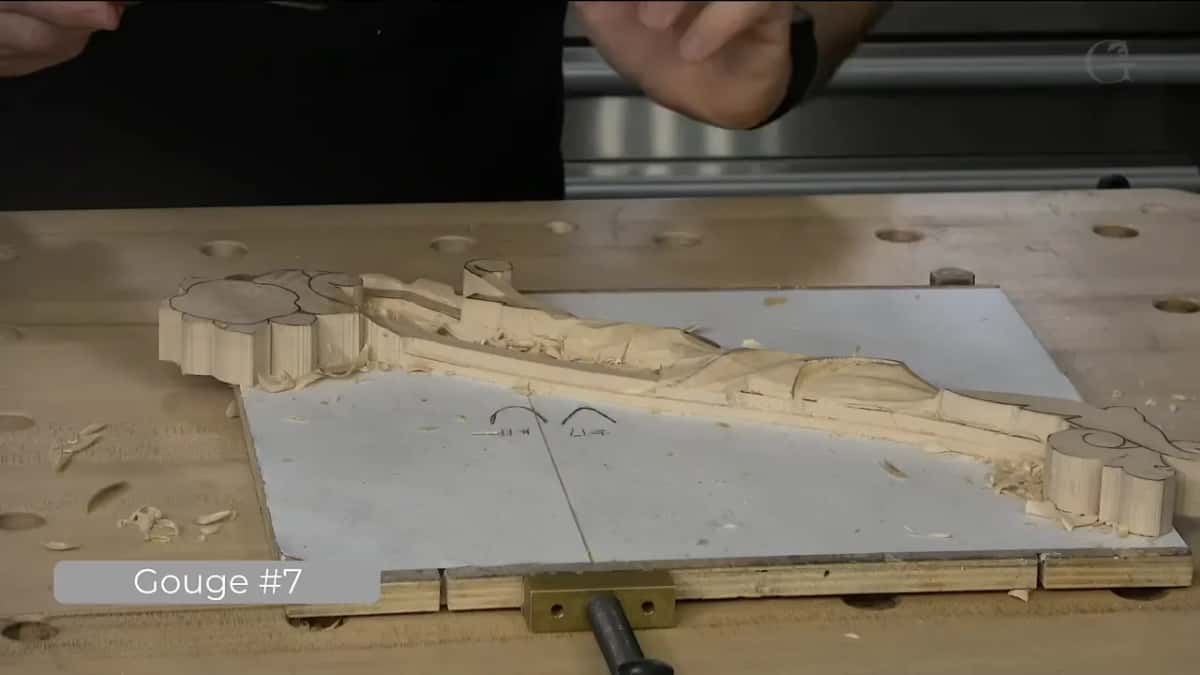
Why do I redraw before the detail?
I want to do exactly what needs to be done right there, so I look at my previous one first. Then I redraw. A small eye, then a subdivision, and that acanthus goes all the way underneath. Then a line, my separation line, and only after that the details.
I check the side too, how much space is there, and I make sure that space is equal or approximately equal. We are all capable of making mistakes, and this one I really did not want to mess up.
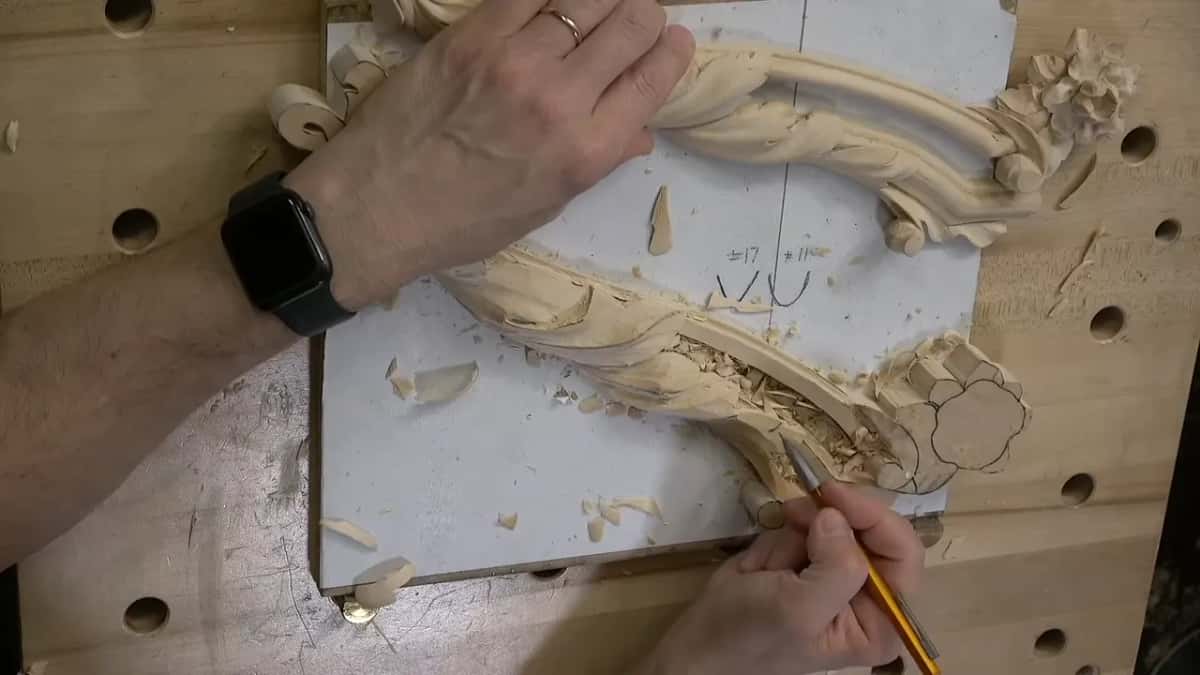
What does my strop look like?
The most complicated stropper you will ever see, a piece of leather and a little bit of paste. It is really not super complicated stuff. A couple of strokes, maybe more than a couple, and I'm pulling the tool.
In the third part of the lesson I used just the side of that leather and said a strop needs very little of your time. A leather craft shop often has small pieces like that for free. If you can't find leather where you live, you can skip leather altogether, as long as you have some kind of paste. Buffing paste, green paste, blue paste, mirror paste, it still works fine. How I feel whether an edge needs it is in lesson 4.
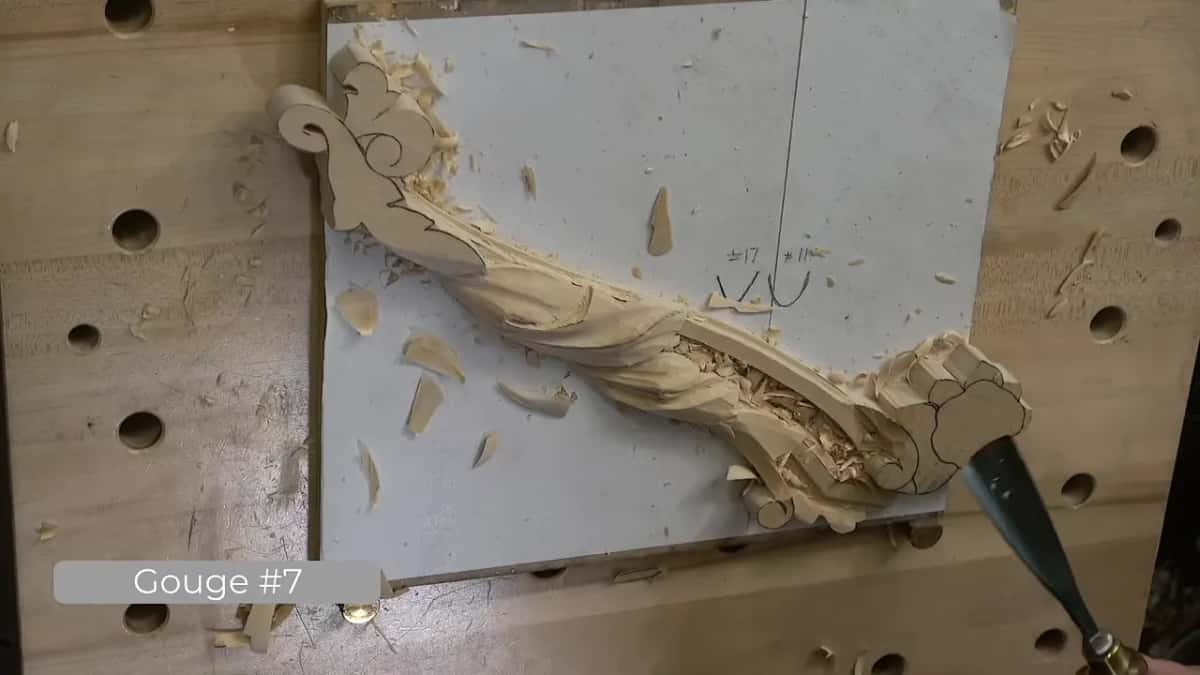
The flute, read like a clock
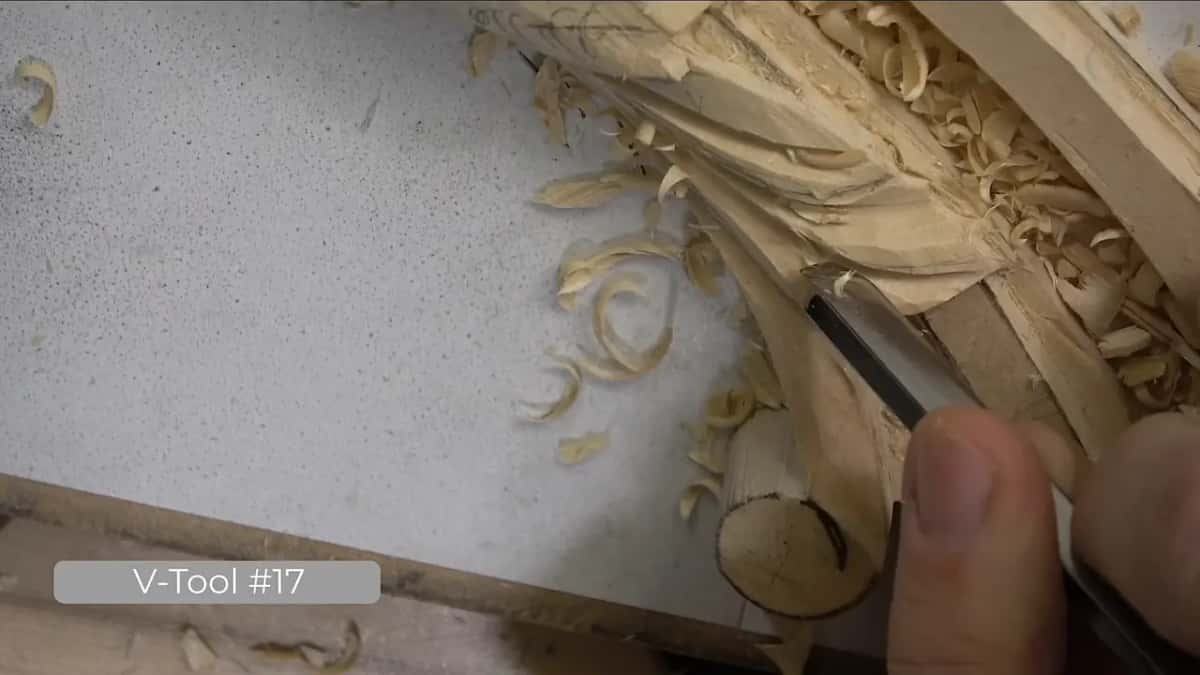
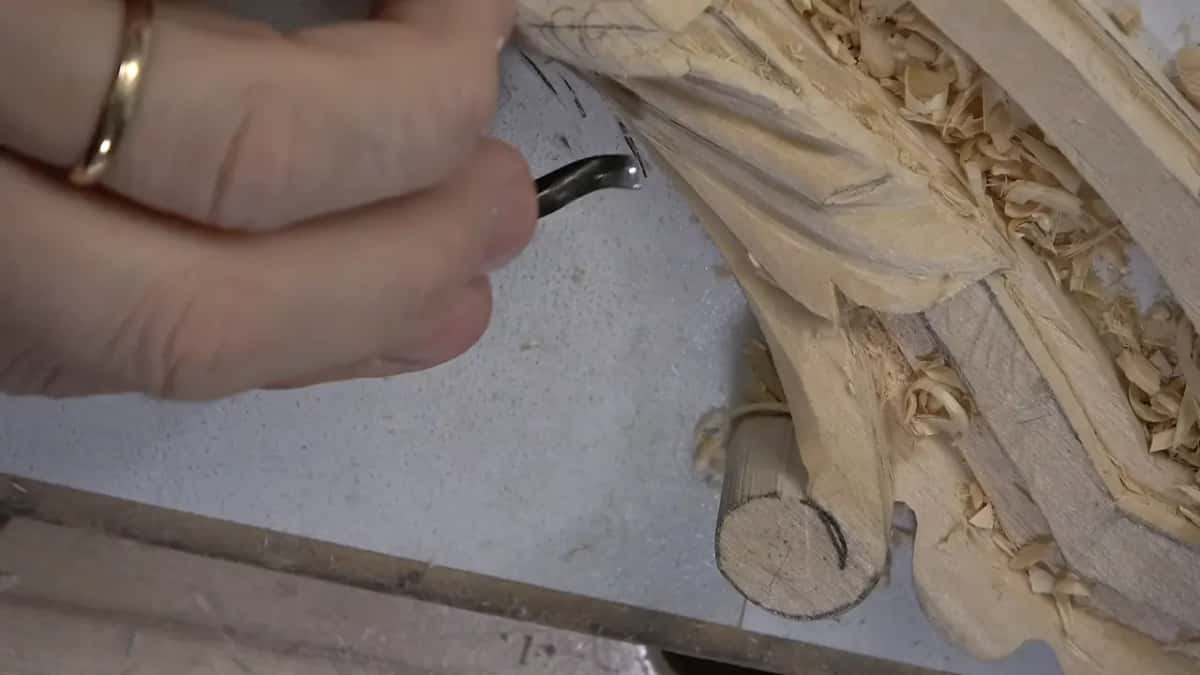
On that detail my first tool was a number 17, 6 mm (1/4 in), with the flute at about ten o'clock. Next came a small number 11, maybe 1 mm, with the flute almost straight down, about one o'clock, where one part of this acanthus overlaps another. Not as deep there, no more than a millimeter and a half (about 1/16 in). I really don't need a super deep cut.
Please don't get me wrong about the number 17, it's not one more tool you have to buy. Any other V-tool, or a number 11, will give you the same result. Mine is Swiss made. I even said a number 11 would be more logical.
Each tool on this leaf, and how it went, fits in a small table.
| Where | Tool | Note |
|---|---|---|
| Beside the volute | The big number 7, 32 mm wide | Couple more |
| Around the eye | Number 17 at 6 mm, quarter inch | Really short |
| Where lobes overlap | One millimeter number 11, flute almost down | Not deep |
| Cleaning the pipe | Back bent, about a number 3 sweep | Slow circles |
| Line too sharp | Then 11 at 3 mm, not 17 | Much better |
| Volute side hollow | Spoon gouge, a number 7, right position | Excellent tool |
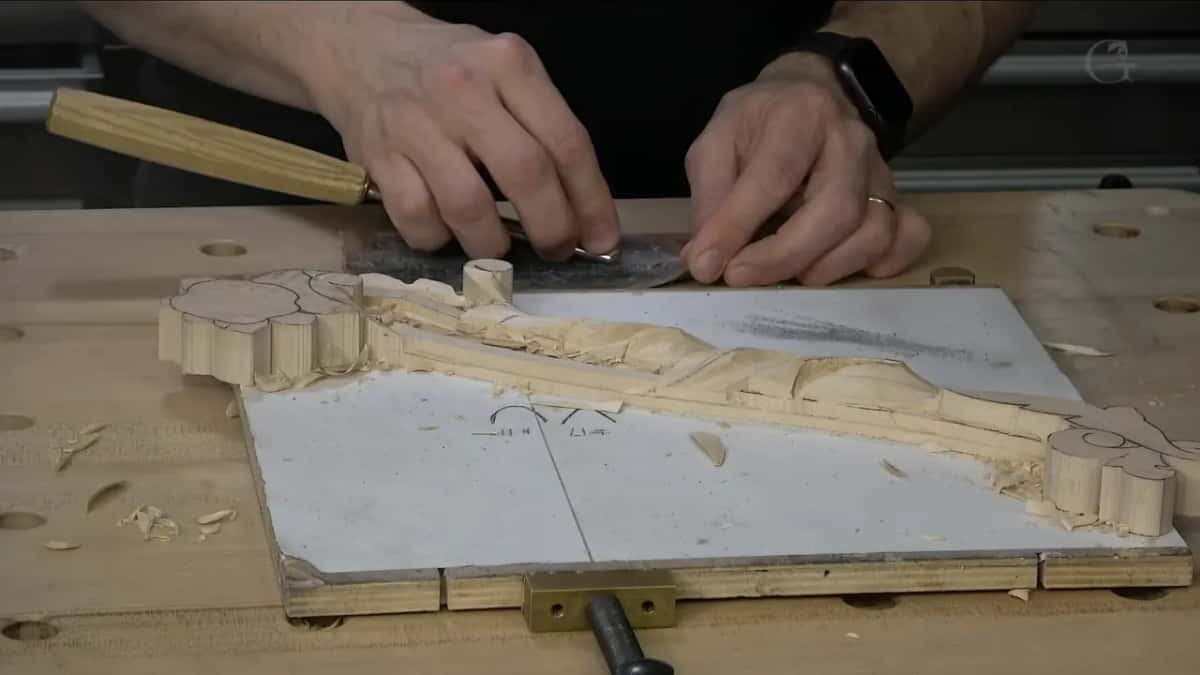
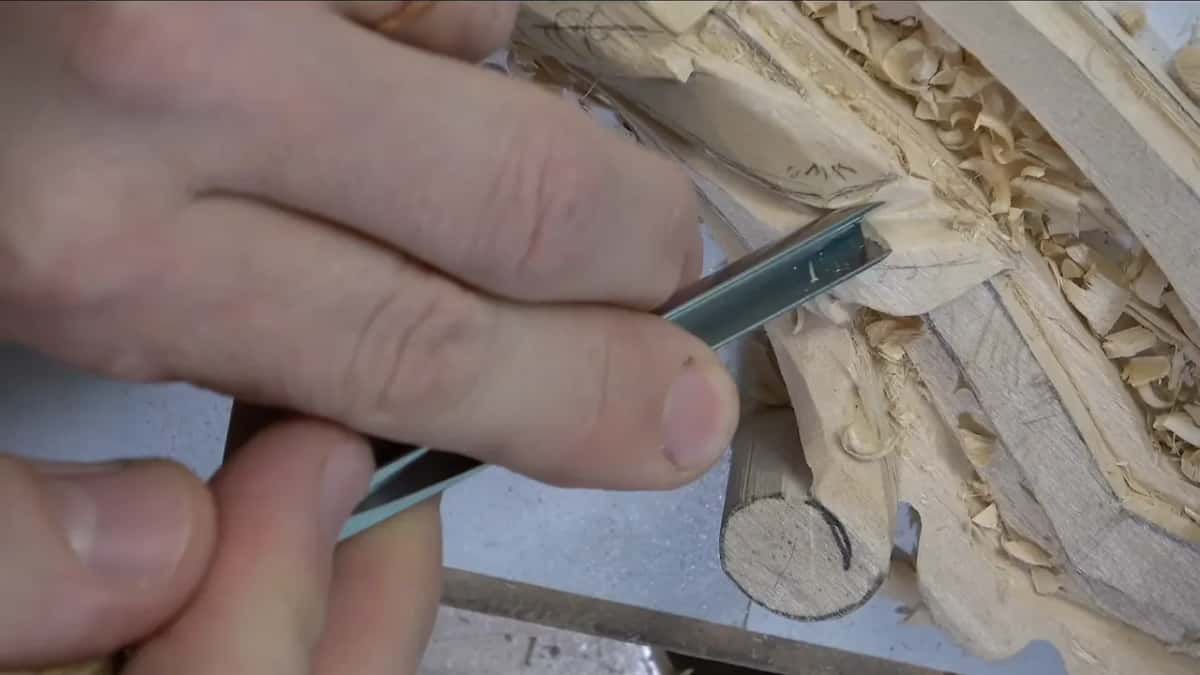
When the V cut looked too sharp
The 6 mm number 17 gave me too sharp a look, so I went down to a 3 mm one, 1/8 of an inch, same idea in a smaller tool. Later, going a little deeper, the line was still too sharp. Too much of a V cut.
So I switched to a number 11, 3 mm. Two and a half millimeters would have been too small. That's much better. It still gives me beautiful shadow, but I have to watch the molding right underneath. The acanthus lies right on top of it, and I cannot carve deeper than the molding itself, so that is my stopping point.
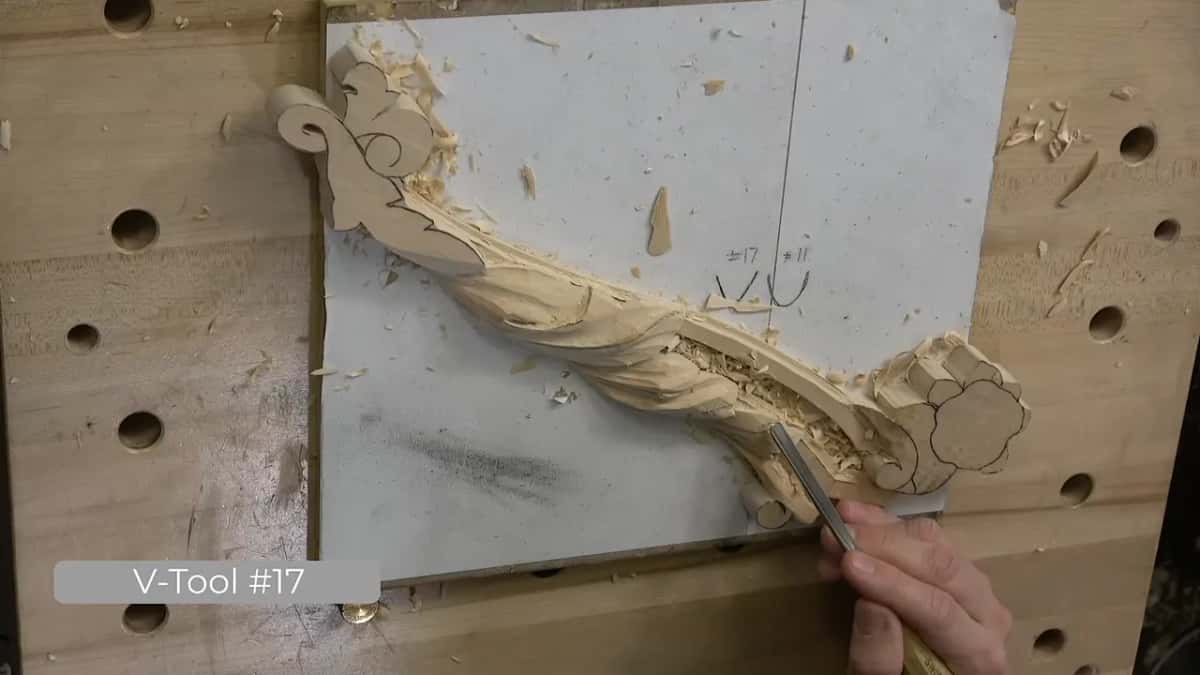
Two concaves make one convex
The middle part of this type of acanthus is always convex, and to create a convex you have to create two concaves. I know I've told it multiple times, maybe too many times. Whenever you see an eye in the Venetian style acanthus, the line around the eye is always raised up, and the movement goes downhill on both sides.
Maybe you didn't watch my Venetian room project, there are so many videos in it, over a thousand in one project. That project and this course should show you the logic of what I do.
To raise the ridge I roll my tool slightly toward the left side as I go. Then I jump to the other side and do exactly the same. That ridge is my high spot, and from it everything goes downhill. The pipe movement matters to me too. It should be really gradual, smoothly going down, and if you look from above it is a nice, smooth movement.
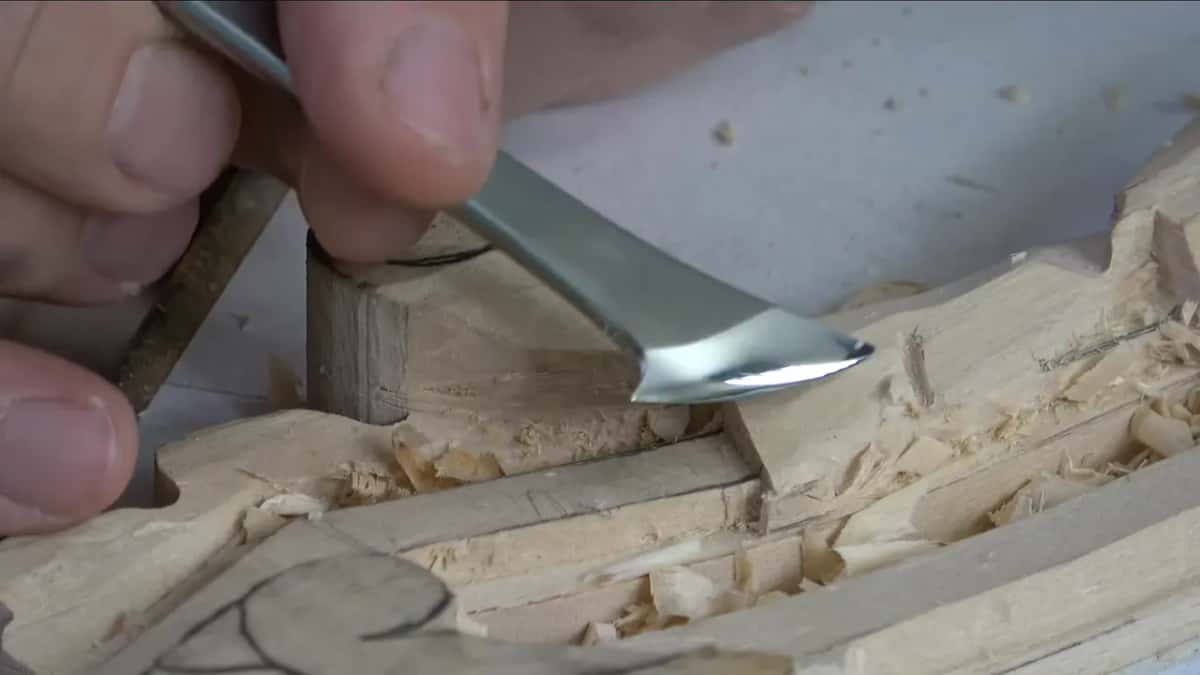
Partway through I saw a little hump. I don't really like how it looks, I said, and I needed to take care of it, because I'm looking for the gradual movement. A concave, even a slight one, is going to give you shadow, and that gradual line creates more shadow play. I'm having fun today, I said on camera.
Cleaning the pipe with a back bent gouge
Mine is a flatter back bent, equal to a number 3 sweep, about a quarter of an inch, 6 mm or so. I say about, because there are no markings on it. It doesn't have to be back bent. I just really like back bends, because I can reach in safely when another part is in my way. I lay the tool right on the middle finger and use it almost like a pencil.
See how clean that is. No sandpaper needed for it. I do a circular motion, really slow, riding on top of the facets, and it leaves a really clean surface. Lesson 4 comes back to that same motion.
A sweep is the curvature of the tool, and you can call it a smile. In a class in Indianapolis I explained the charts, and not everybody knows what the sweep is. If it is straight, there is no smile, and that is a chisel. On a European chart a number 9 is like a half circle, and I call it the American smile. Number 2 on that chart is almost no smile, a Russian smile. For more on the tools themselves there is a whole tools course.
For the middle of the leaf I took another one, a true back bent, about a number 7 sweep, and it gave me a beautiful convex. I especially like antique back bends. Then a tiny one, about three thirty seconds of an inch, maybe a couple of millimeters, for those of you from Europe.
If you don't have a back bend, it's not the end of the world. You can do all of those operations with a number 11 or even a number 9. To prove the point I used a number 11, 2.5 mm, and when I was ready to clean up, I rotated it to the left or to the right, depending on the side. Clean enough, I should say. I could still see some spots, but as of now I was happy.
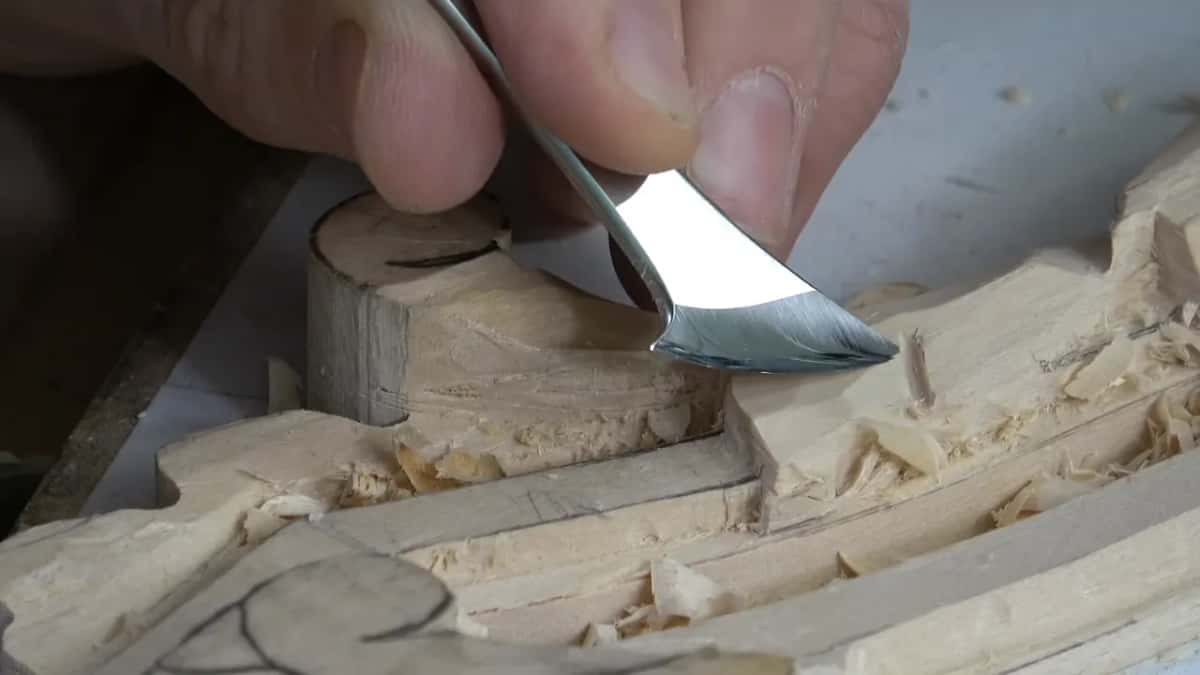
The barrel of the volute
A volute barrel has its own movement on the side, concave, convex, concave, and I need to create it. This distance is about 10 mm (3/8 in), and point to point about 13 mm (1/2 in), just approximate measurements.
I took a number 5, no bigger than a quarter of an inch. At 4 mm, a number 5 would also give me about the same result. I keep watching what the grain does, because I don't want to damage that line, so I am carving with the grain very much.
One spot there looks like a mistake, and it isn't. The volute continues that way, and that part will be all convex later. For the hollow on the side a spoon tool helps, and special tools give you much more flexibility. I used a number 7 spoon, an absolutely excellent tool, because it let me reach in from the right position.
Do you have to pick one master's rule?
In Carving Furniture Panel 16 I tell a joke about an apprentice who wanted to learn wood carving and spends seven years with each master. The second master tells him to carve with short strokes, not the long ones. The third one says medium to long, and each one calls the master before him stupid. The point of the story was that there are no perfect masters. You learn from all of them, and you still develop your own approach.
On Furniture Panel 38, where one side ran against the grain, my passes were really short too, with a slicing motion, and I said there was no reason for long ones. On this acanthus I said I mix, and the first passes were the short ones.
Have you ever pushed one long pass and felt the wood break? Do you want your own leaf clean from the first pass? Then go short first, plant one hand, and save the long cuts for cleaning. Acanthus over Moldings has ten lessons and a final assessment, and tuition opens every one of them.
When that volute was done for now, I said it was good, and I was ready for the next detail.
How it's done
- Start with a big tool. My big number 7 took the leaf down beside the volute first.
- Redraw the line. I check my previous piece, then draw my separation line before any detail goes in.
- Plant one hand. One hand stays planted on the board, with my pinky as support.
- Go short at first. Short ones come first. That way the grain and the rough wall show up early.
- Strop when needed. Leather and a little paste. I pull the tool a couple of times, maybe more.
- Clean with long cuts. With the shape done and cleaning ahead, a long one is fine by me.
Frequently asked questions
Is it bad to take long strokes when carving?
Long strokes are not bad. I just don't take them before the shape is done. Once I'm cleaning they are okay, and when I can do long ones I push them with my whole body, the way you would push a plane.
How long should a short carving stroke be?
On a Modern Acanthus leaf mine stayed within about half an inch, maybe three quarters of an inch at the most, like scooping out. In Floral and Molding lesson 1 I showed a short one of around 10 mm, and even that one still slices.
What is a marriage line in wood carving?
A marriage line is where my pass changes direction and the grain meets at one point. I showed it with a 20 mm number 9. If I push the tool through there, I'm going to break the whole thing. Right before that I said I was not taking really long cuts.
What to carve next