
Alexander Grabovetskiy, woodcarver, School of Woodcarving · Published 2022
Why does one side of a carving cut come out rough?
Quick answer: A rough wall in a carving is the side where the tool ran against the fibers instead of with them. A gouge, a number 11 or even a V-tool leaves one side clean, the other rough. So before I start, I decide which side has to stay clean and come at it from there.
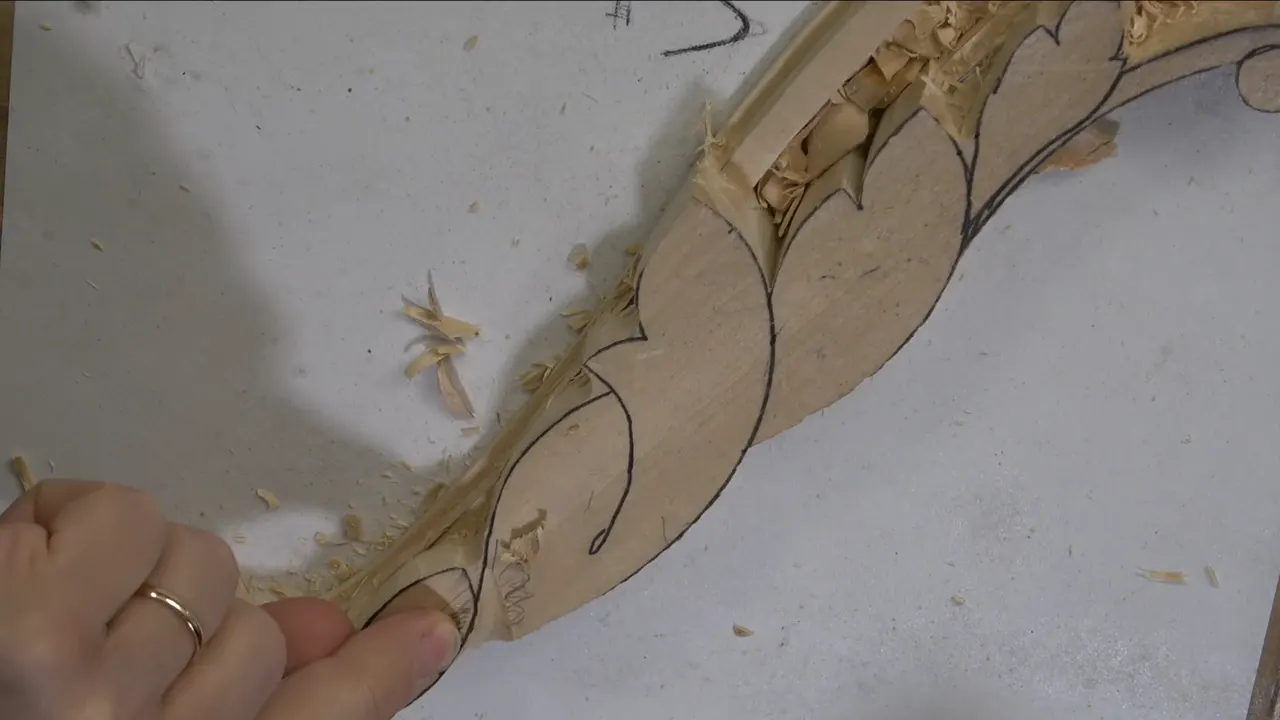
A rough side on a carving cut is the wall that goes against the grain. When I carve with a gouge, a number 11 or even a V-tool, one side comes out clean and the other side comes out rough. So in lesson 2 of Acanthus over Moldings I find my clean side first, and only then do I attack.
One wall of the channel carves clean, while the wall right beside it looks rough, from the same tool on the same pass. I let that happen on purpose, on the acanthus over this molding. I chose which wall got to be the good one.
Short answer for the rough side
- The wall that follows the grain carves clean, while the other one fights it and turns kind of rough.
- Find which side has to stay clean, then come at it from there.
- While I'm only after the overall shape, rough is fine.
- Where the grain wants to split, I chop straight down first and stop short of the line.
Why is one side of a gouge cut clean and the other rough?
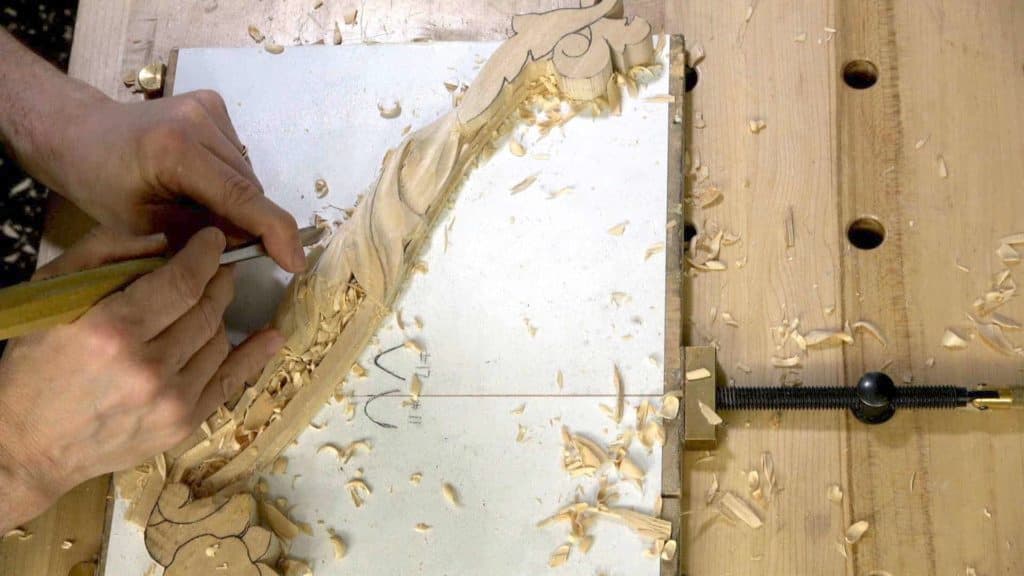
The grain of the wood runs one direction, and the tool has two sides. In the lesson I had just set the molding aside to start the acanthus, with a big number 17, 20 mm, about three quarters of an inch. I made my first passes and said, see what I'm talking about. My left hand side carved really clean. The right was kind of rough.
One edge of the tool goes with the grain and the other goes against it, and that second one is what turns rough. I had absolutely no problem with that.
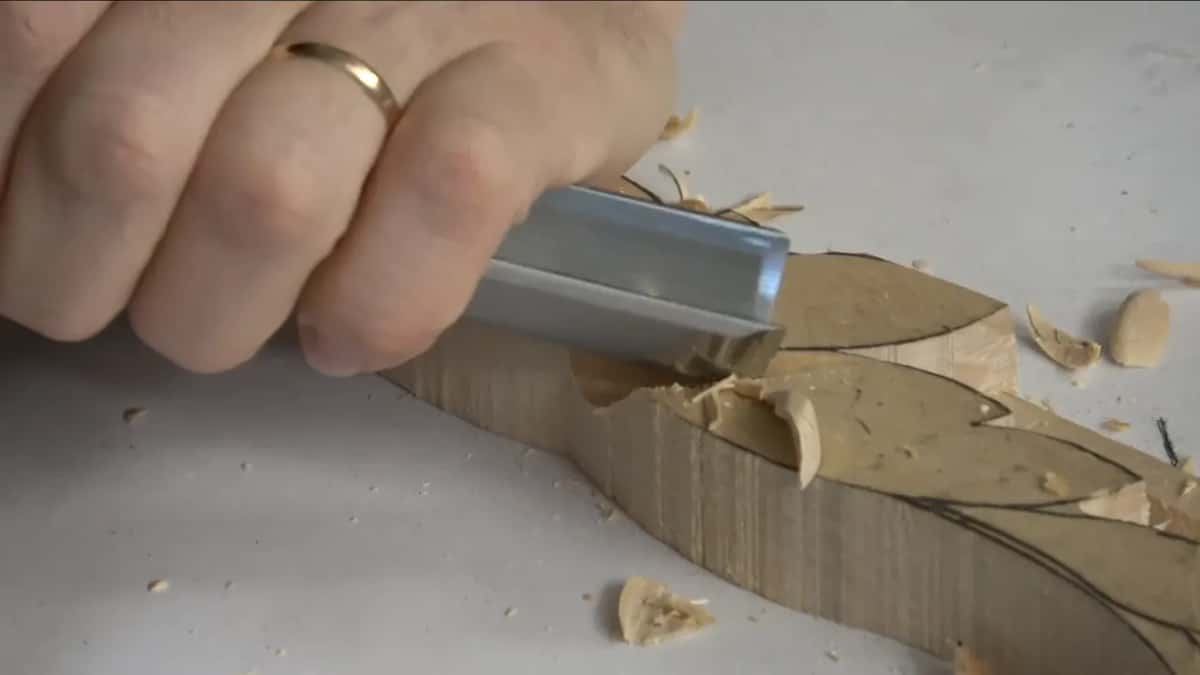
The same thing came back later, on the second acanthus element, where I ran a number 11 of about half an inch, 12 mm, along a concave all the way. My tool's left edge carved beautiful and clean. Its right edge was not that clean, and I was okay with that, as long as I got my shape correctly.
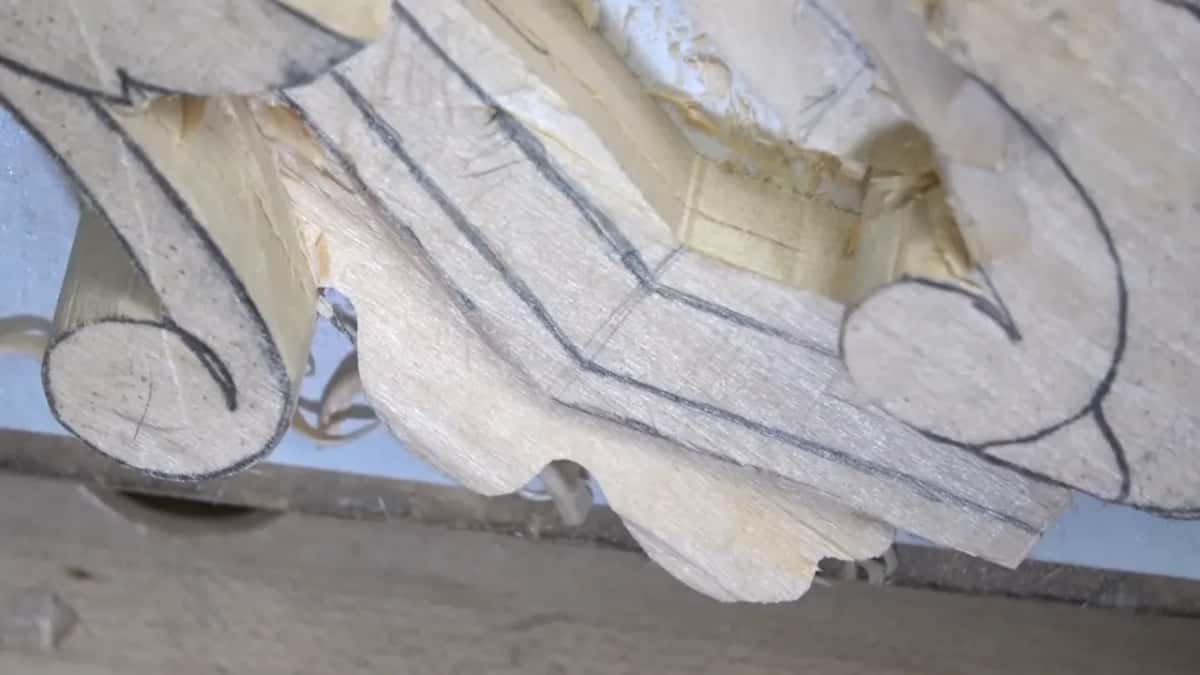
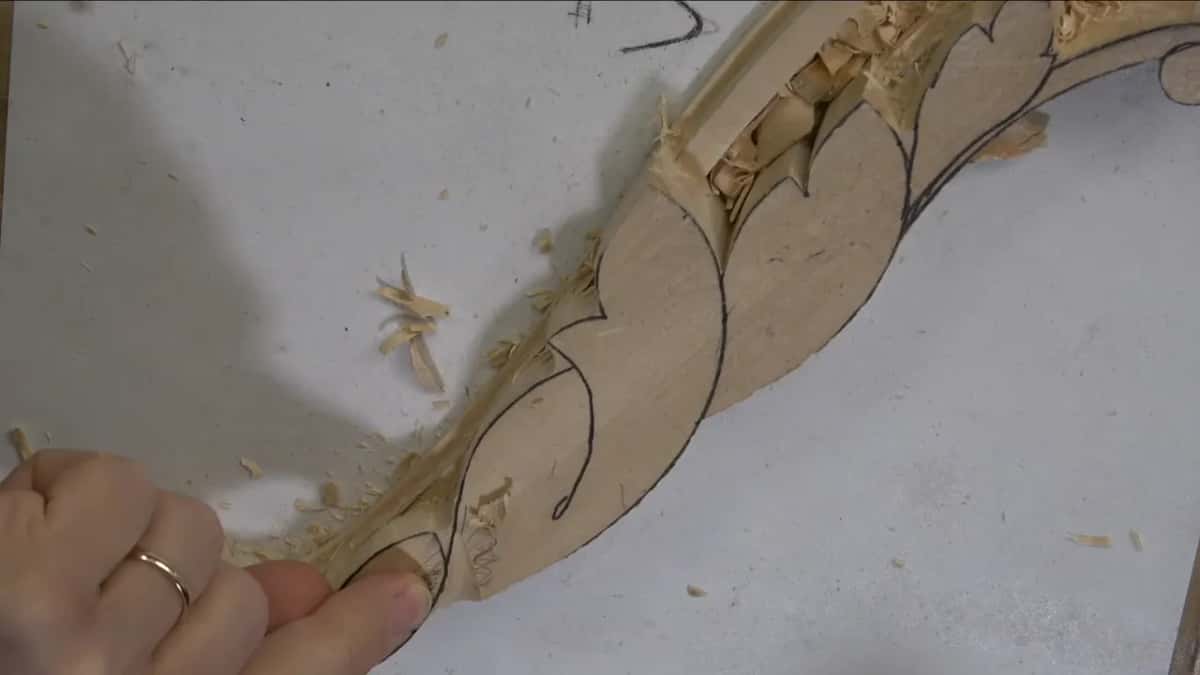
You can see it in color too. Carve the wrong way to the fibers and the color of the surface changes completely. That showed up while I shaped a little section at the start of part three, and I was fine with it, because that was just a preliminary form.
How do I pick the side that stays clean?
I look at where I need it. Here the grain runs one way, and I really needed my left wall somewhat clean, so I attacked from that position. The right hand wall I did not worry about at all.
For me it was a lot more important to get the left side cleaner than the right. I could have attacked from both sides, from both directions, and that way both walls would come out clean. On this piece I didn't need that.
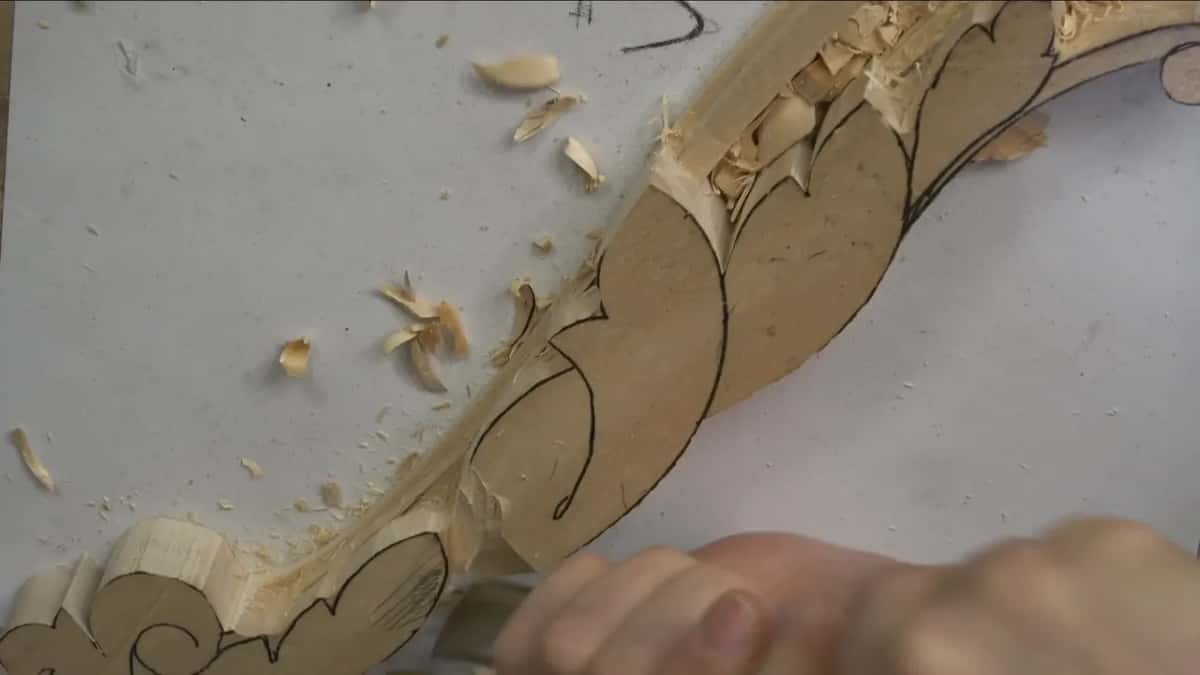
What is a number 17, and why use it here?
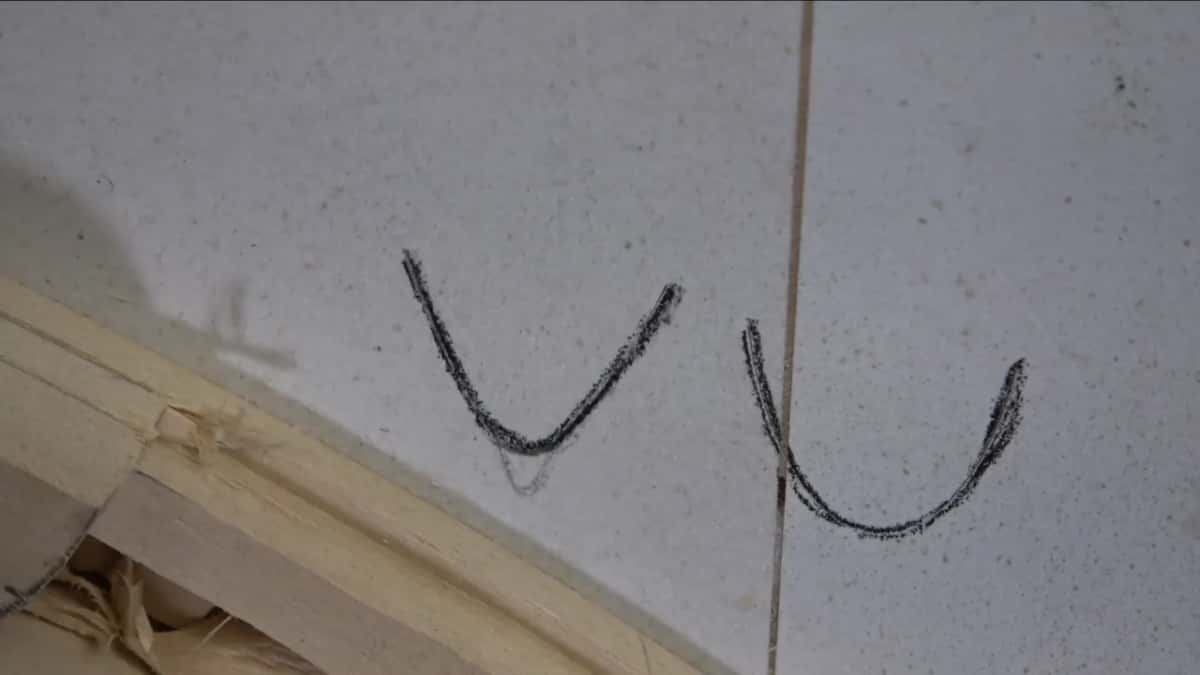
A number 17 is almost the same tool as a V-tool, but not quite. Think of a V-tool with a bigger gouge part on the bottom, so it does not go all the way down to a sharp point like a normal V. I drew both marks on the board for you, a number 17 and a number 11 of 20 mm beside it. The 11 is like a letter U. A 17 is still like a V, with that gouge part around the bottom.
I didn't have to use it. I took it because I think it's a good idea to introduce you to some new tools. To release the future molding I used a 6 mm number 17, a quarter of an inch, and for the next area I went down to 3 mm, 1/8 in. Later in the lesson I liked that it does not leave the sharp V, which I did not need there.
Any V-tool works, and so does a number 11. I picked up an old V-tool of 35 degrees, a really pronounced one, and I kind of like 35 degrees. V-tools come in 90, 60, 45 and 35 degrees. I have not seen one at 22 and a half, though an even more narrow one sounds like a good idea to me.
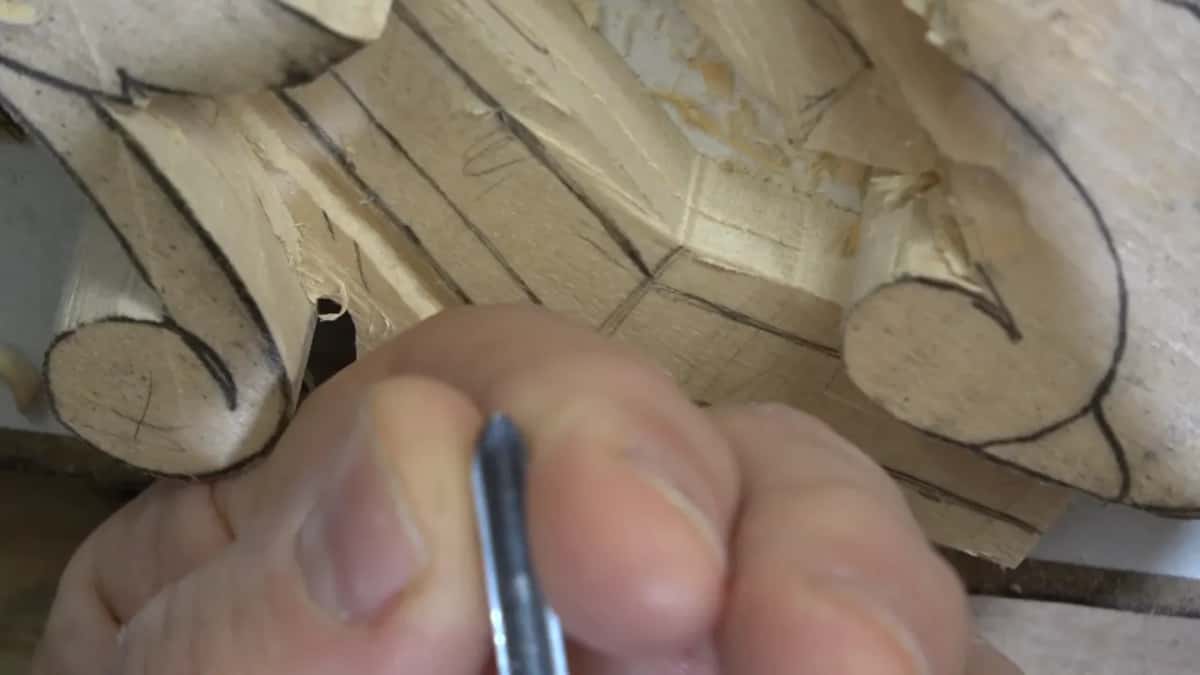
There is a reason I mostly kept the V-tool off this project, even though I really like it for undercutting. This piece is somewhat a replication of original workmanship, and the reason I gave on camera is that they did not use those V-tools in Venice in the 15th and the beginning of the 16th century. The spot I was carving would not show it anyway. That pass disappears later, so it leaves no true tool mark. For me, I'm safe.
How do I keep the tool from undercutting the line?
I hold the tool with one edge at 90 degrees to the surface, perpendicular. Undercutting right underneath that line would be a big mistake. A little later, with the V-tool, I said it again: the tool's right hand edge had to stand perpendicular, because my goal is not to undercut.
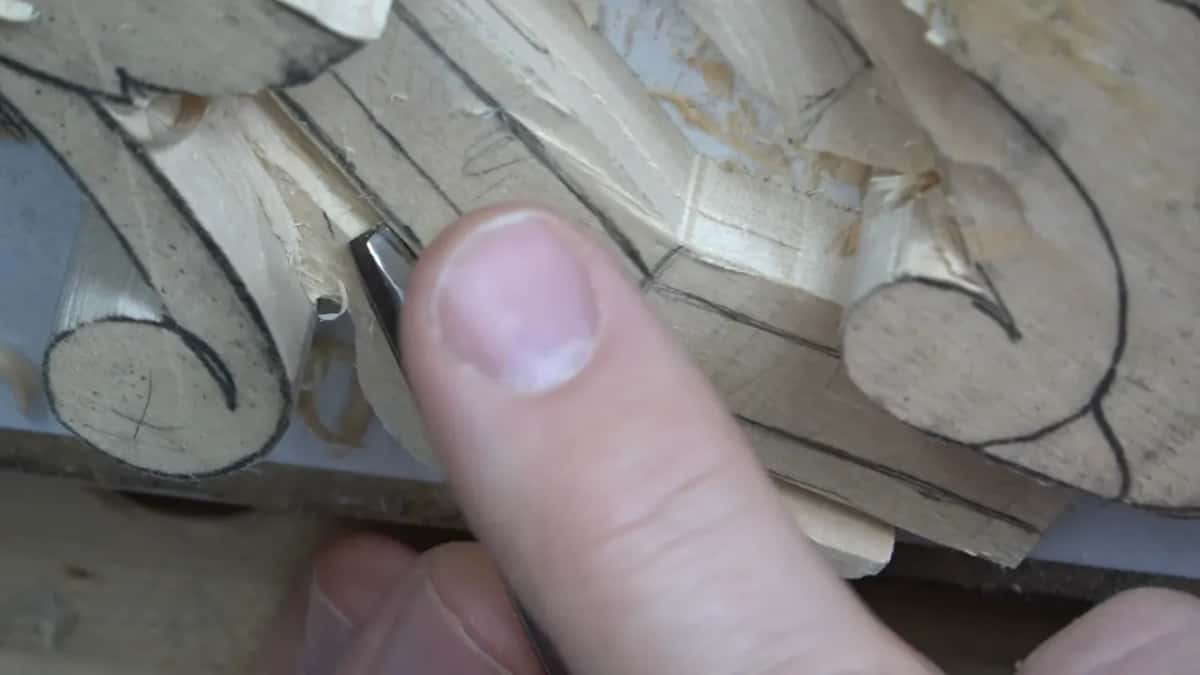
A knife gives the same result, and I carved part of that line with one just to prove the point. Multiple tools can reach the same result. But watch the knife. When you remove a chip with it, you have a tendency to go a little deeper, and that goes somewhat like undercutting.
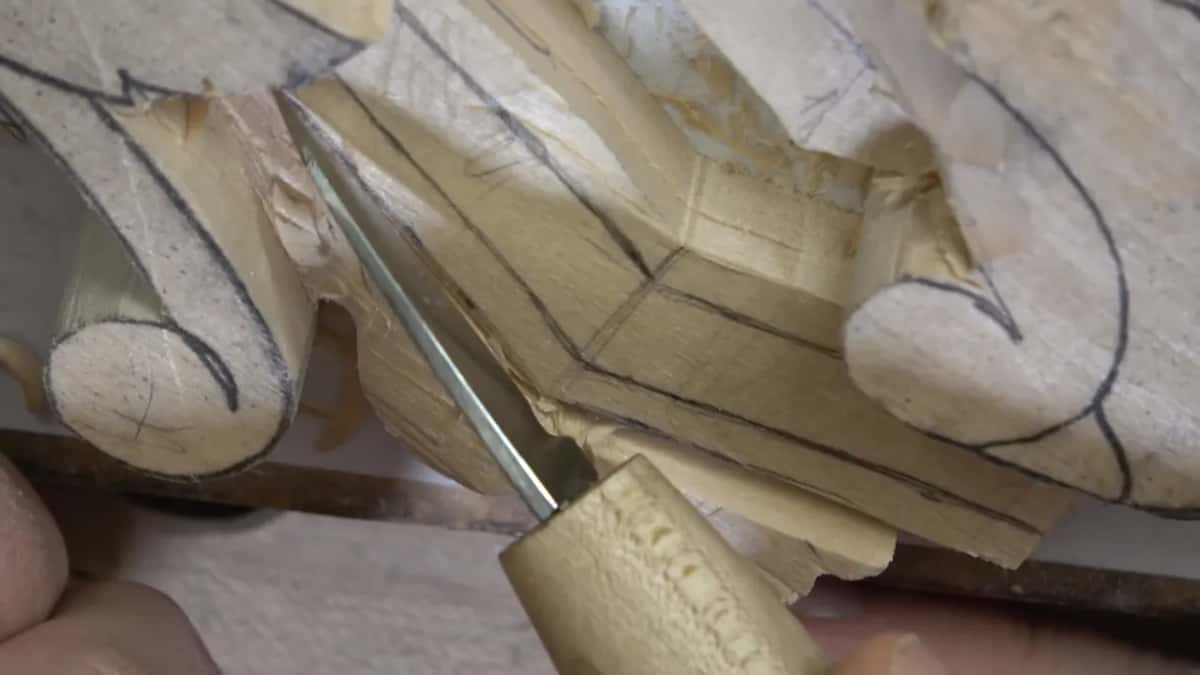
Here it was okay. This piece is paint grade, it's going to be painted, so a line there should be fine. On some details that is kind of dangerous, and you have to watch it. Then I shaved off some material I didn't need with the same knife and stopped.
What did I do where the grain wanted to split?
The sides of the molding were next. A number 11 would work, and a number 9 gives you about the same result, so I took a half inch number 9 (about 13 mm). Mind the grain direction. If I had carved the wrong way there, I would raise the grain and make big mistakes. I attacked from the left side, going toward the outside.
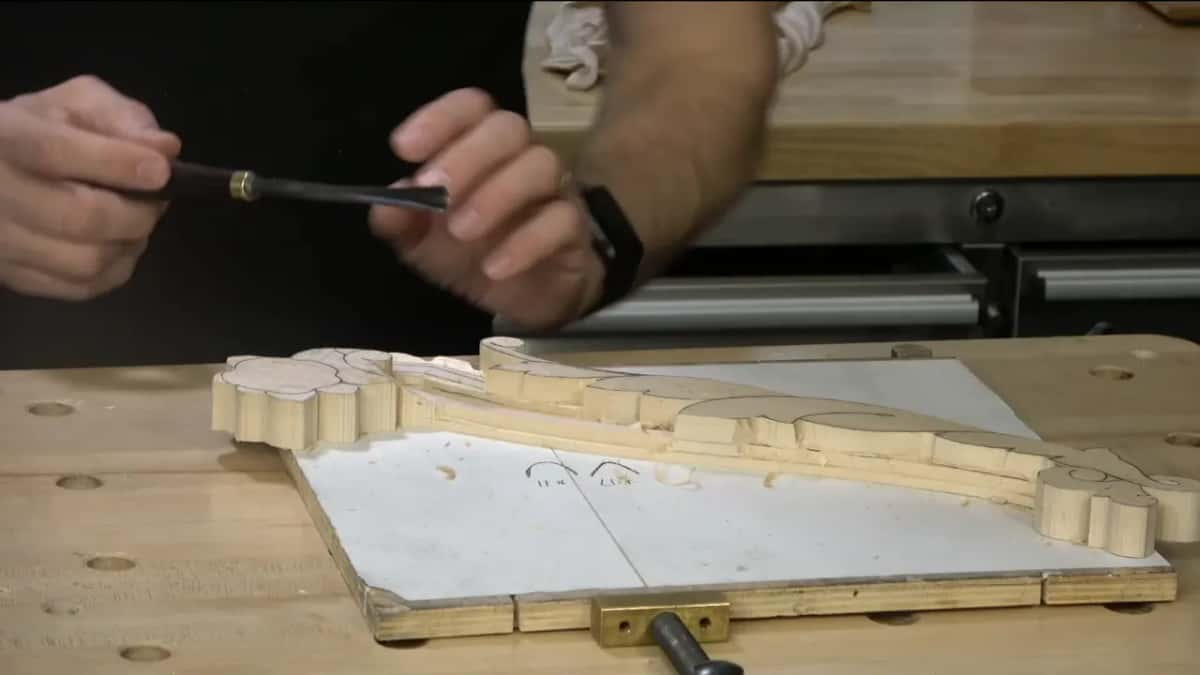
A quarter inch one followed, 6 mm. Same thing, against it again, and I was okay, I was all right. The opposite side was another story. Coming from there, the grain runs a direction where the tool catches it, and the wood splits. That is not good.
There are a lot of different ways to milk a cow, as I said, and they all get you to the same result. I used the same number 9 as before, an antique one I really like, and went straight down, 90 degrees to the surface. About one millimeter (0.04 in) before the line, I stopped.
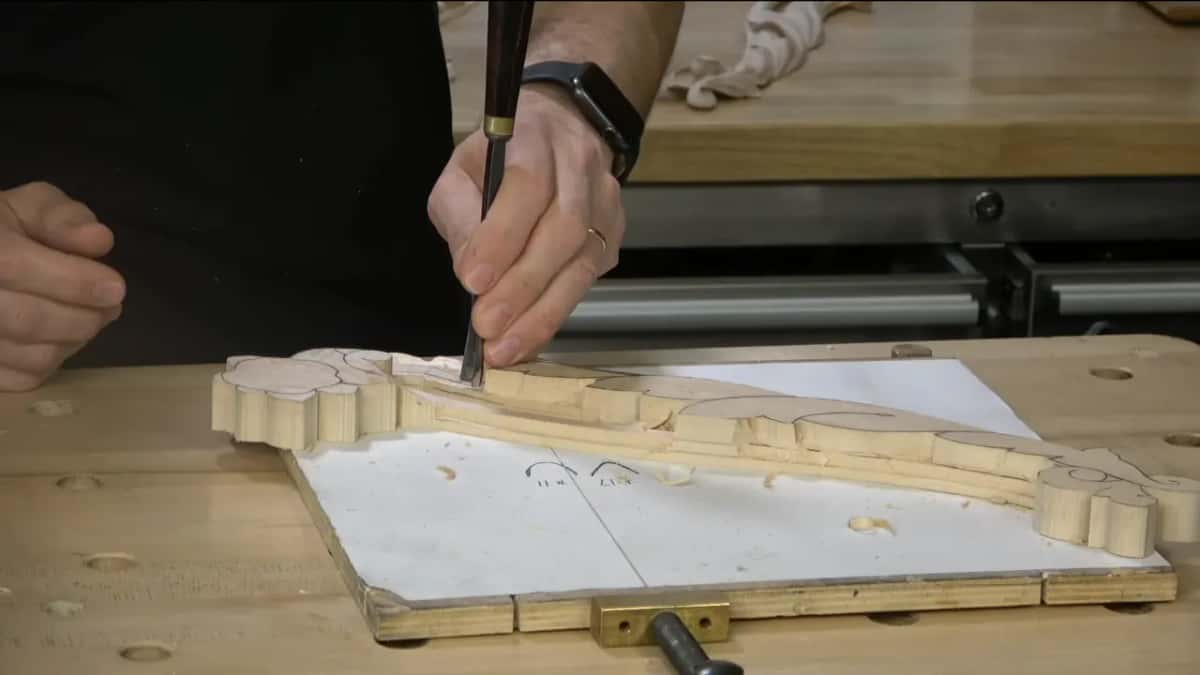
Then the mallet came in. I placed the edge almost on the line, and with each next pass I caught the middle part of the one before it, stopping just before reaching the line again. After that I went in horizontally, close to the line but not right on it, and removed that waste. I was careful there on purpose. With a 2 mm number 11 (5/64 in) I took the space between the future volute and the end of the molding.
How did the router plane and the flat tools finish it?
Next came my router plane. It was set already from the previous ones. You don't just push it like a normal router, the power equipment kind. You hold one side and pivot it, and you attack with just the corner of the blade. At least that is what I do, and I get much better results.
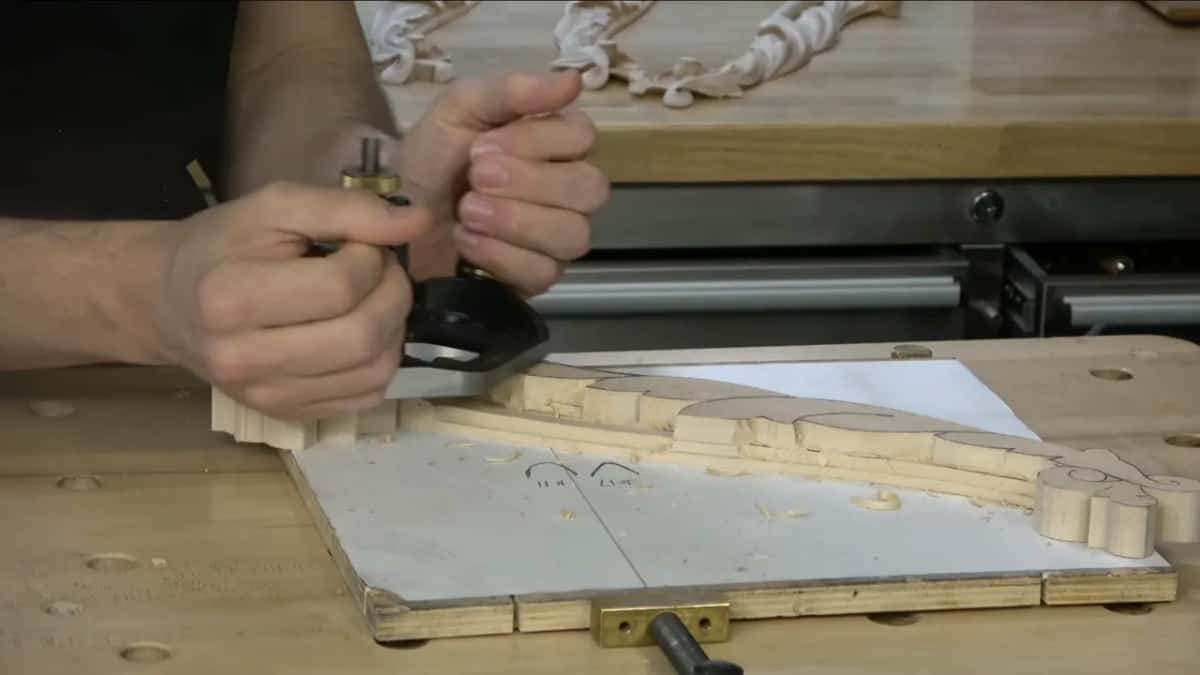
My blade was no more than an eighth of an inch (3 mm), and I really did not want to dig underneath the part being released. The next blade was 3/32 in (about 2.4 mm), for the space between the volutes, where just pushing would have been a big mistake. I checked the height, and it was the same level. My molding comes out the same on the right as on the left. I talk about the plane itself in lesson 1.
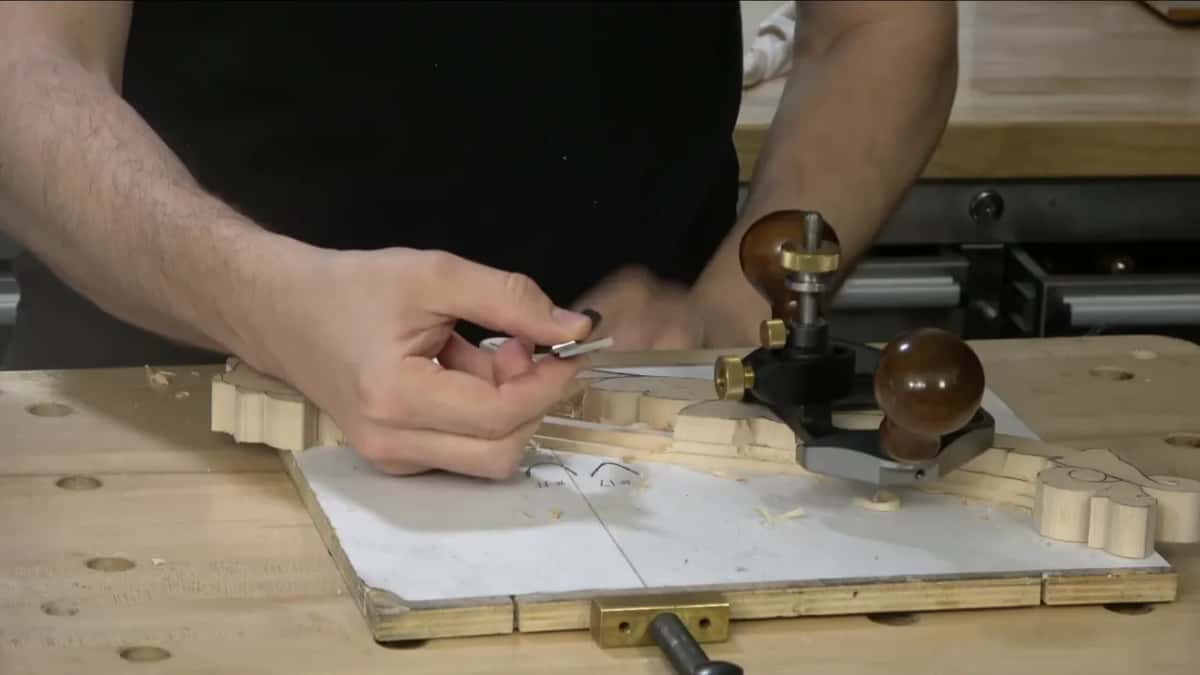
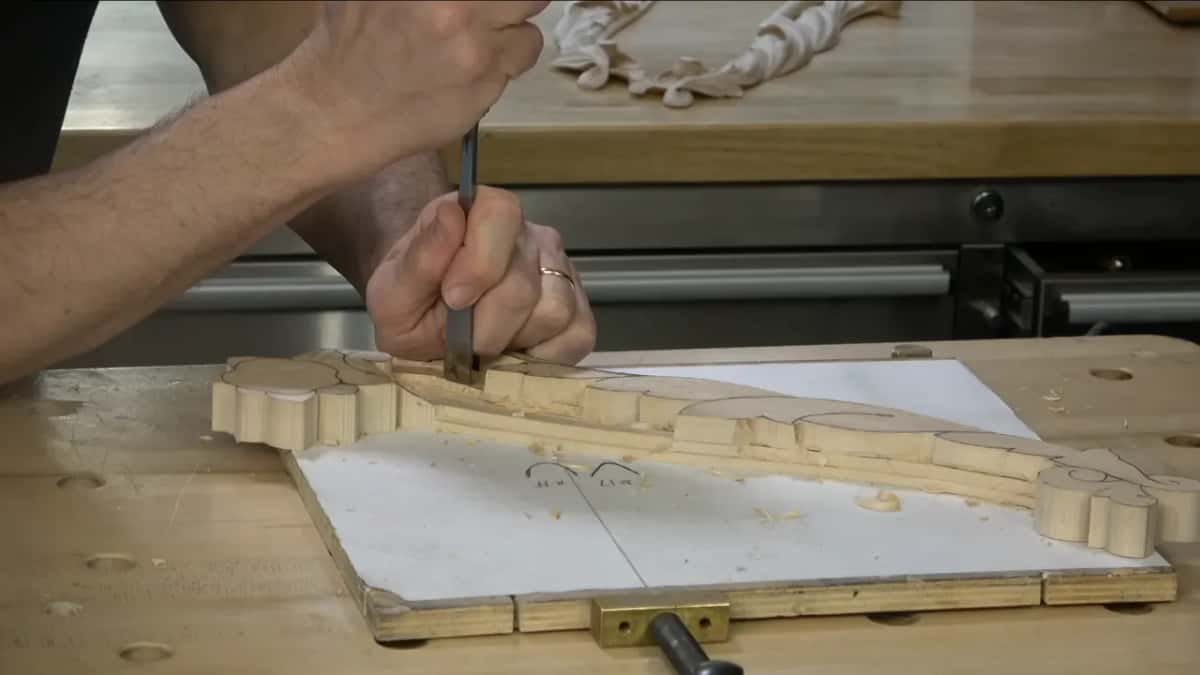
Then the line, both sides, with a tool of a lot less sweep. My number 3 is 3/4 in, by Henry Taylor, and I placed it right on the line and went straight down. Don't push too hard. Just enough pressure to remove the material, or you make a big line that will be visible.
That tool was okay along the first wall. On the other wall it was not, because it still has some sweep, and the corners dig in inside the line. So I took a number 1, about 15 mm (5/8 in), double bevel in my case. It doesn't have to be perfect. It shouldn't be wavy like a river either, since it's supposed to look like a molding, not modern art.
Which tool did what in this lesson?
| Tool in my hand | What it did on this molding in lesson 2 | Watch for |
|---|---|---|
| Big number 17 | First passes, a clean left side here | Rough side |
| Quarter inch 17 | Released the future molding from the body | No undercut |
| Half inch number 9 | The sides, with the tool heading outward | Raised grain |
| Any carving knife | Same result as the 17 on that line | Going deeper |
| Henry Taylor number 3 | Straight down on the line, held perpendicular | Corners digging |
| Double bevel number 1 | Took over where the 3 would not work | Wavy line |
| Router plane, small blade | Removed waste with just the blade corner | Digging underneath |
Is a rough wall okay to leave?
At this stage, for me, yes. In part three a 6 mm number 17 went along the slope, and I said that was somewhat rough looking, but it's okay. When the lesson closed, the whole thing did look somewhat rough, and I was absolutely okay with that. It was just the stage when I create the overall shape. No details yet.
That doesn't mean I carve carelessly. Earlier in part three I said I don't want to spend too much time on clean up later, so I want my passes really good from the first one. Both are true at once. As long as I get my shape correctly, the rough wall can stay.
The molding waits too. I did not force it, and I left it for now, to work on the acanthus first. Once those are done I can make the molding in its final form, convex in the middle with a fillet on the side. Earlier, on the deeper pass along one side, I said it doesn't need to be super clean, because I will have a chance a little later for clean up.
Does a sharp tool help on the rough side?
A sharp edge makes it okay, from what I said in this lesson. Later in part two, starting the eye, my number 11 went flute up, and the tool's right side ran the wrong way to the grain. I said that's okay if the tool is sharp. You should not hear too much.
Another course has nearly the same line. In lesson 12 of Carving Floral and Molding for the Panel I undercut with a 1 mm number 11 and said I was kind of breaking a rule again, but my tool was really sharp, so I could go that way anyway. Then I thought I could walk around and attack it from the opposite side. Maybe yes, maybe no.
And in lesson 14 of that course my skew needed to be sharpened or just stropped, so I changed it. Right after, I said I knew I was doing it against the grain, and that's why it was really rough. It is always better to attack that from the right position. How I check an edge with one finger is in lesson 4 of this course, and the sharpening course takes it from the start.
Why turn the work around?
Rotating the work is how I find the right position. It is also the safe way. Early in part three I carved toward myself, and I stopped to warn you about it right away.
Don't use the tool like I do there. Never try to carve toward yourself unless you can really lock your hands, like a dentist, and then it's almost safe. I only did it because of the position of my camera, since I don't like to reposition all the time. Be wise, and rotate the piece or the angle you attack from.
In parts two and three I said it twice, in different words. Be careful when you work with the grain. Keep an eye on what the grain does. I shaped a water drop there with a skew, any skew will work, even a knife, and I used just the back of the tool, the heel, to blend it.
Where did this molding come from?
I call this one a clover molding, and that is the common name. Convex right in the middle, and on both sides it goes downhill like a fillet. Little guides help here, patterns, whatever you call them, so it is easy to figure out what is going on. A couple of marks went on by eye, since I've done stuff like that multiple times.
My line came from a 0.5 mm mechanical pencil, a cheap one. While marking, I measured approximately five millimeters or so, 3/16 of an inch. Where one side needed to go deeper, its mark matched the mark on the opposite face, and that was the high spot, so I went lower than that mark.
What happened at the Marc Adams school?
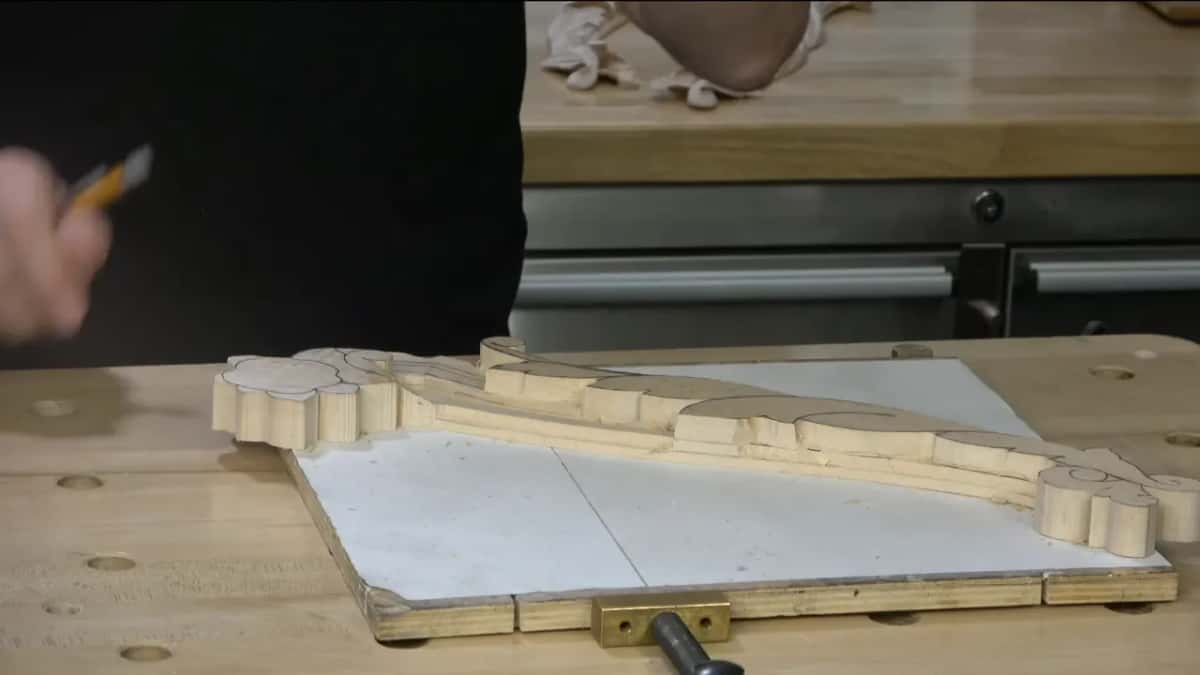
Before this lesson I didn't record for a little bit, because I was teaching at the Marc Adams School of Woodworking. Back home I just concentrated on carving and finished three of these details all together. They are going to be painted. They don't look too bad, and I kind of like that.
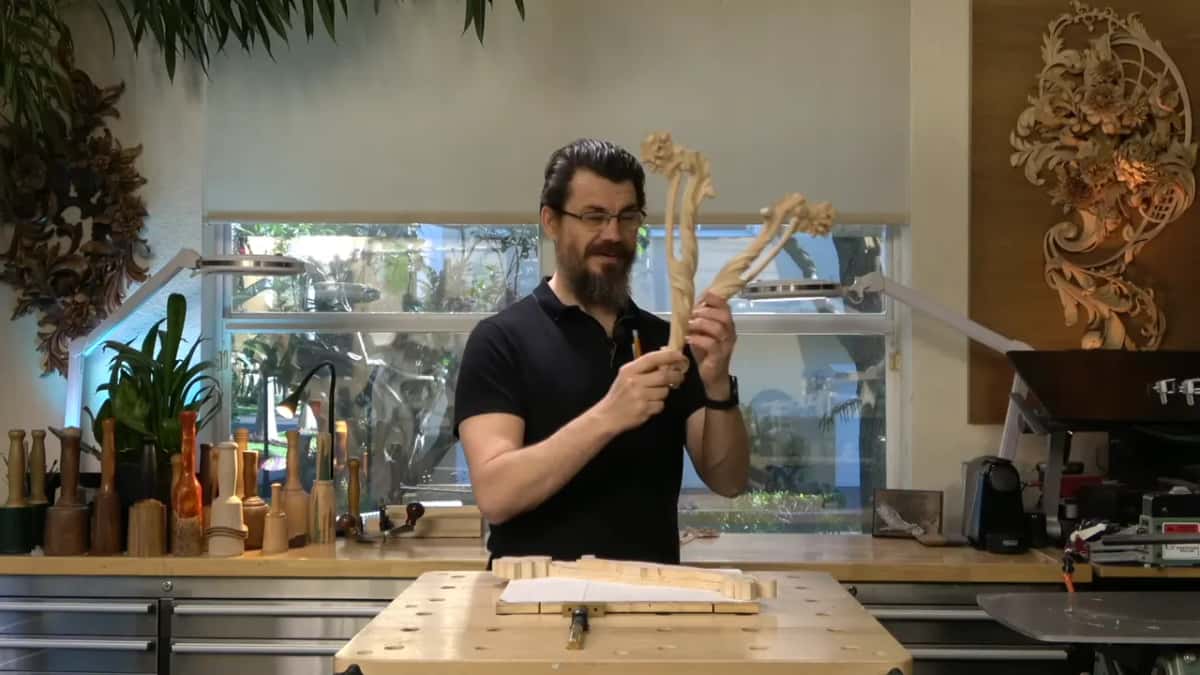
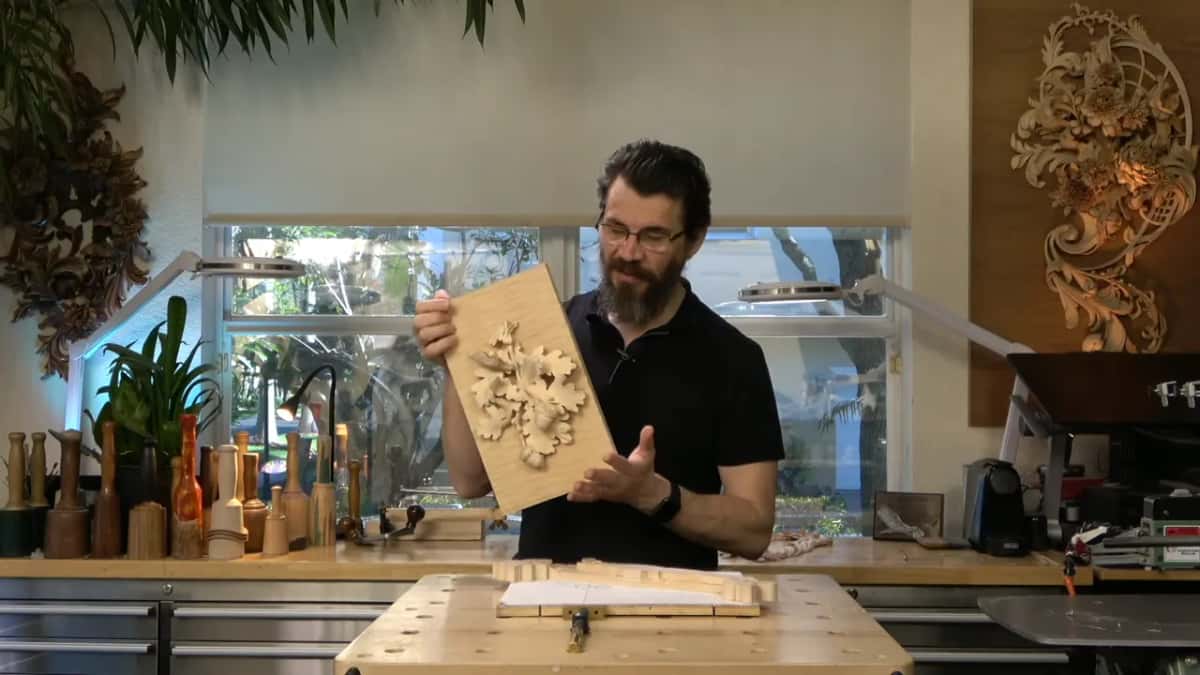
In the class we carved white oak leaves and a couple of acorns, full 3D, and we didn't finish it 100 percent. I try my best to make less complicated classes, and every time it's still more complicated than I expected. In my opinion it is an excellent project for one week in person.
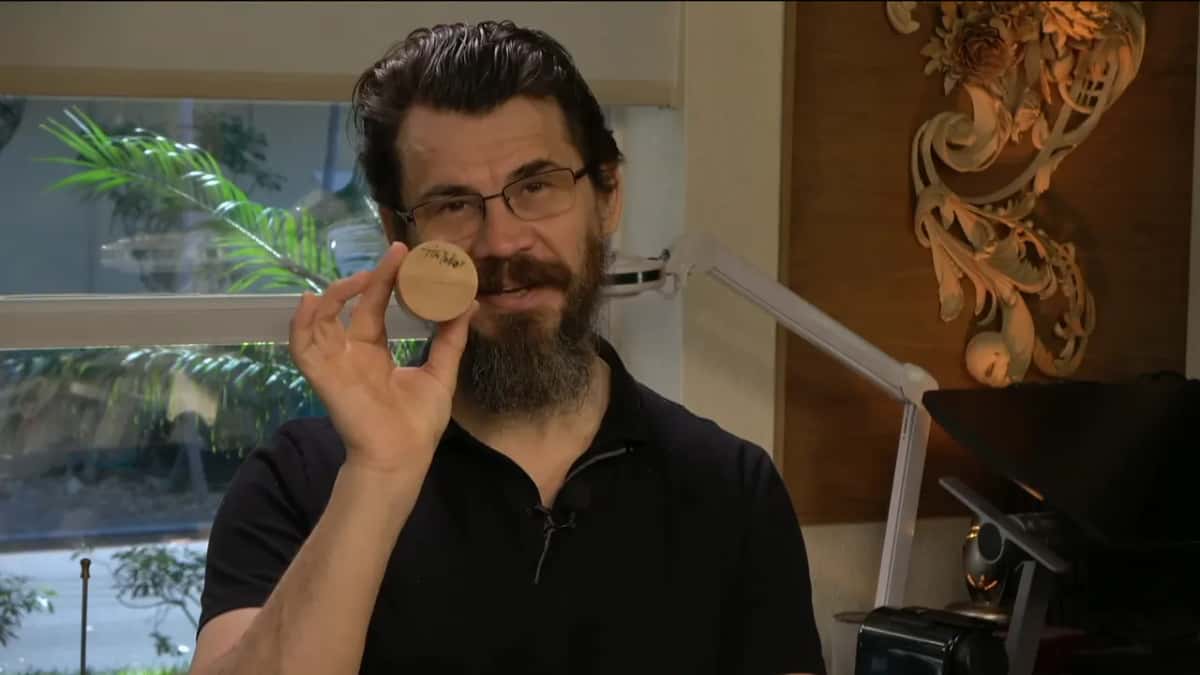
That school runs multiple classes at the same time during the week, and there is usually a class in wood turning. There is a tradition there. When I teach, whoever teaches the turning class makes a mallet for me. This time it was Tim Yoder, who is kind of famous among wood turners, and I got blessed with a teeny tiny mallet.
I'm not going to use it, because I don't want to damage it. Every day I use mallets with ugly green heads, and I do have a blue one, with some kind of silicone cover. Wood mallets I usually skip, just for the noise.
You could also use your palm and just knock, which is actually excellent. Would you like to see the clean side picked before the very first pass? And the grain deciding which wall turns rough? Then come and carve lesson 2 with me. Lesson 3 comes after it, the whole course comes with it, and Tuition opens every lesson in the school.
How it's done
- Read the grain. Fibers run one direction. Watch them before the tool goes in.
- Pick your clean side. Each pass leaves a clean wall and a rough one, so I decide which needs to stay clean.
- Work from that side. Here that was my left wall, and I did not worry about the right hand one.
- Turn the work. Turn the piece or the angle of attack. Toward yourself only if your hands are locked like a dentist's.
- Chop down if the wood splits. Straight down, about a millimeter short of the line, then horizontally to remove what's left.
- Let the rough side wait. At the overall shape stage a rough wall is fine with me. Details come later.
Frequently asked questions
Can both walls of a gouge cut come out clean?
You can get both clean if you attack from both sides, from both directions. On the acanthus I could have done that with my number 17. I didn't need to, because the left wall was the one that mattered here, and I let the right one stay rough.
Is a rough wall a mistake at the roughing stage?
On this piece I didn't treat it as one. I was creating the overall shape, no details yet, and I was absolutely okay with it looking rough. I still want my passes good from the first one, because too much time on clean up later is not what I want.
Why did the wood split from the opposite side?
From that direction my number 9 caught the grain, and the wood would split. Going from the left toward the outside was fine. From the other direction I chopped straight down first and stopped about a millimeter before the line, then came in horizontally to lift out the waste.
What to carve next