
Alexander Grabovetskiy, woodcarver, School of Woodcarving · Published 2021
What does a wood carver mean by "too thick"?
Quick answer: Workshop 112, part 3, has me saying "this is a little too thick," then naming an eighth of an inch (3.175 mm) as what I need. Other lessons use "too thick" about stems, blades, strop leather, lines, chips and a finger, and each one has its own next step.
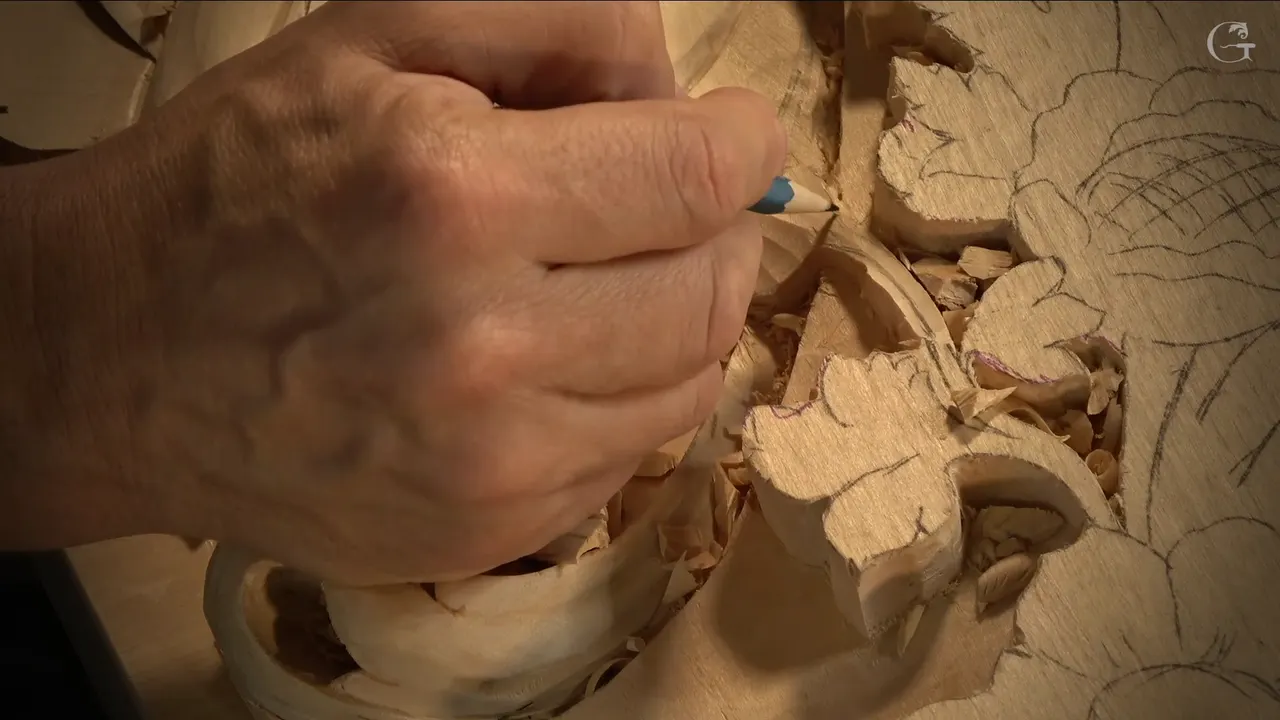

In workshop 112, part 3, I called something "too thick" then chose one-eighth of an inch (3.2 mm) as my size. The same two words come up in my other lessons about stems, blades, strop leather, lines, chips and my own finger.
Ever held a carved stem up to the light and thought it looked like a post? Ever drawn a line, stepped back and felt it shouting at you? Part 3 of workshop 112 is a short video, and the words sit near its start. Lines from my other lessons follow, each one named and linked, so you can go and watch my hands. Every size is in millimeters and inches, my figure first.
What did I say about the thickness in this part, 112-3?
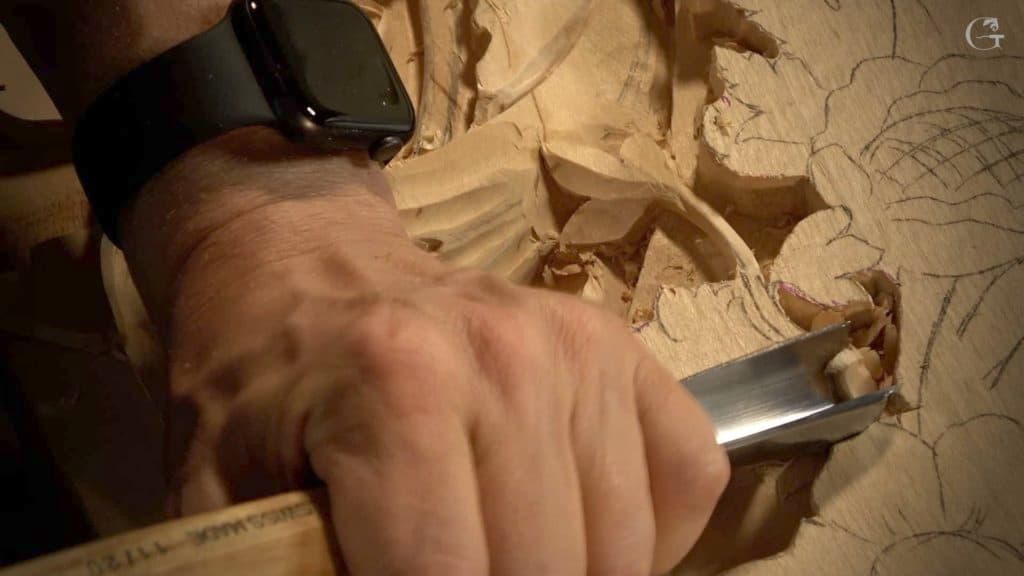
The video starts at 00:00:44 with "Okay. Beautiful." The line comes by 00:00:46: "Now, this is a little too thick, so I'm going to use only about 1/8 of an inch." My next words were "That's what I need, about 1/8 of an inch." In metric, that is 3.2 mm.
I said "this" and did not name the part, so I will not name it either. What came next was a plan: "And let me attack that with the number seven straight down cut." Then "Now, this side" and "maybe number three."

What came after the thickness line in part 3?
A new idea arrived near 00:01:37, and it was an open one. "I could go, actually, you know what?" And then: "create an open spot underneath." I put it this way: "Maybe I should because it's a supported grain, so I shouldn't have any problem." I also named "some kind of unique area" and "I'm talking about just to get that undercut underneath all the way through."

"Hope it makes sense," I added. The grain was my reason again: "along the grain, it should not be as fragile." After "just clean up a little bit," I said "I could probably leave it just like that without doing too much to it."
Then I looked at the ridge: "I think I like that middle ridge, and I don't need too many details on whatever those two parts, this one." Next: "Let me actually do that. I'm going to just create the cut right underneath."

What would I do if the thin spot got fragile?
I had a plan for that too: "if it's going to be too fragile, I can always reinforce it." My idea was to get "glue diluted with water" and "penetrate it with the glue." It is paint grade, I said: "it should not create any problem." A stain grade would change that, I said: "then it would be blotchy." And "So it would create blotchiness. It would be a mistake."
The reinforcing stayed an "if," a plan and nothing done.
Where did the spoon veiner go?
Near 00:04:01 I planned to get a spoon veiner. Then came "Let me think which one I should take. 2 millimeters, probably." And the size itself: "Number 11, 2 millimeters." That is (about 5/64 in).

My guess, at 00:04:36, was that I was almost through. Then: "So it's going to be airborne." I switched sides: "So I'm attacking that from the opposite side." By 00:05:20 the answer was in: "And yes, I am all the way through right there. So you can see."
I needed a flatter gouge next: "something like number three, and clean all that mess underneath." After that: "the 1 millimeter" (0.04 in) "to get little nicer." The spot was "Just a shadow right here, this section."

About that shadow I said it would not be visible to a human eye. Then came "I'm sorry" and I went on with "So you're not going to see that. It makes me happier. I know that I did it, and that's going to look good."
The last plan of the part was a lower level, with an outline first. "Maybe I can actually right away attack this guy. Lower that down also, and obviously, I need to outline it first." My next sentence was "much lower in this section" and then "let me get number one."
What did parts 1 and 2 of workshop 112 say about size?
Part 1 starts "Let me get big guy again, this one" then "About three inches" (76 mm). Later came "I'll take again, number 11" with "7 millimeters for start" (0.28 in). "And maybe it's a bit too big," I said. Next: "I'll grab 4 millimeters" (0.16 in). The small ones followed: "need 2 millimeters" (about 5/64 in) and "1 millimeter" (0.04 in), "which is really unnecessary in this case, but still it takes a couple seconds."
Part 2 had a high spot. "Let's lower this guy, okay, because right now it's really high," I said. My plan was to "take a number seven and 14 millimeters" (0.55 in). A letter S curvature closes the part, as a plan.
Where else in my lessons do I say a stem is too thick?
A stem comes up in lily box 2, part 13. I said "But it's too thick in this point, and I need to remove a couple sections right on the sides." The stem was the part I would keep, with "my waste on both sides."

I planned "a straight-down cut, first with number eight and three 32nds of an inch" (about 2.4 mm), "just straight down" and the stem would come to "about a 16th of an inch right here," which is 1.6 mm.
Lily box 3, part 8, goes further. The stem looked too thick to me, "in my opinion" and "I need to make sure it's a little less thickness." Right now it was "about 16th of an inch" and my aim was "no more than one millimeter" (about 1/25 in). Next came "Maybe less. Well, about maybe 1/32 of an inch," which is 0.8 mm.
Then: "if you have gouges which is going to fit the profile, so you could do that or you could use just a knife like I used before." For myself I planned "just a small gouge," "again, number three."

Is a little thick ever okay?
In lily box 11, part 9, one piece got "I need to take care of this one" then "It just doesn't look right." A little later, at 00:00:59, my words were "I am absolutely okay with that" for a spot that stays a little thick. My reason was to make sure it is "held together."

A plan followed: "maybe I should attack that from the backside and give a better shape." Then: "what I could do, just to flip this side and take out a little bit on the side."
Near 00:12:40 I called a side thick, and I said "I really don't worry about being too thick on the backside." It should "support better," I said. Then: "Let me take it little by little."
Part 10 of the same lesson puts the words on a blade. About some saw marks I said "Maybe I used just too thick of a blade." My other thought: "I could use a better blade" and a couple of cuts would take the saw marks away.

One side of that piece was "thinner versus that side" and I planned to remove "some of the excess material until I match approximately how wide it's on this side versus that side" with "by supporting with my finger."
Part 12 holds a short one. "Also, take care." I called the spot too thick, "in my opinion." Then "I'm using a knife, by the way. Just a micro knife." At 00:14:56 came "please understand the format of my school" and it is "pretty much just like taking you inside of my shop."
Part 13 has a shape in it. "See? It tapers right here. But I don't have enough taper right here" and "Although it goes underneath, but still, I need to take care of the overall shape." Then: "I could give a little twist, little curvature this way."

Can a too-thick spot give me a shadow?
Lily box 12, part 6, has one. "because I have a space right here," I said, "I can take advantage of it and create a dome underneath." "that's just for the shadow's sake," I said. And: "But shadow will be beautiful."

More on shadows: "especially on the darker woods," where "it's harder to detect those shadows." Then: "more exaggerated shadows you do" and so on. For that shadow in 112 the words were "Just a shadow right here, this section" and it is a shadow again.
Part 8 of that lesson carries the words too. "Well, it doesn't look too thick, but I know nobody's going to look underneath. Still" then "I need to use a smaller gouge" and a warning: "I'm pretty much working on my fingers, so be careful if you're going to do exactly the same like I do."
Does too thick ever mean a tool?
Tools count too. Workshop 18, part 10, gives my reason for liking one number three: "it's really thin." Of the others I said "I do have other number three by other brands, but they're really too thick, and I really need thin."
Workshop 24, part 1, gives a size with it: "I need to use three millimeters" (0.12 in), "and get even closer to the inner edge." Next: "Change the position."

My finger was the thick one in workshop 36, part 9. It kept me from "really good support on the side" and I said "So I have to just eyeball it." If it comes out "slightly off, it's not a big deal at all."

A strop comes in at workshop 89, part 7. The leather was too thick. "I need different leather," I said. After it: "so I have to just change the leather."
How thin do I want a part to be?
Workshop 77, part 5, has a number, and it comes with a finger underneath. "I can start shaving it out. Switch to micro tools or detailing tools." "I placed my finger underneath, but be careful not to cut yourself, okay?"

Then the limit: "I really need at least eighth of an inch thickness," or the part is too fragile. "Not at the edge. At the edge, it could be much less." That is the same figure as in workshop 112.
Grape onlay 11, part 1, has a cap in millimeters: "I also don't wanna make this one too thick." My cap was "no more than maybe five millimeters" (0.2 in). The widest spot got "maybe even less" and "like three millimeters or so" (0.12 in).
Furniture panel 2, part 1, does it for a border: "I don't want to make it too thick, but I still want to distinguish this border." My plan for the second border: "3/16, half of the 10 millimeter, 5 millimeters." A true 3/16 inch is 4.8 mm, so the two figures sit a little apart, and 5 mm is (0.2 in).
Does too thick show up in a design?
In furniture panel 10, part 2, a design lesson, I said "It does not look good. Too thick. And just distracts from the main movement." Then: "Could do a small acanthus flower."
Floral and molding 3, part 3, was about a line. It looked too thick to me, and I said "I am happy with what I see." Then: "a small knife, and sometimes small knives they really do the trick."
A chip had the word in furniture panel 17, part 6: "Maybe it's a little too aggressive is what I'm doing right now, but that's okay." For the chip: "too thick of a chip." After that came "my final pass" and then "that's the same depth everywhere."
And in workshop 41, part 6, I said "I really love how this one looks, but I also don't want to see it too thick." Next: "Maybe like that."


Lesson by lesson, where I said too thick
| Where and what looked thick | Next |
|---|---|
| Workshop 112-3: this, with one-eighth inch to keep | Number seven |
| A stem near 1/16 inch in lily box 3.8 | One millimeter |
| One part and one side in lily box 11.9 | Absolutely okay |
| The side with a free space, lily box 12.6 | A dome |
| Number three gouges of other brands, Venice Room 18-10 | Need thin |
| My finger, in Venice Room 36-9, kept me from support | Eyeball it |
| A part I could shave, Venice Room 77-5 | Eighth inch |
| A strop leather in Venice Room 89-7 | Change it |
| Something that distracts, in furniture panel 10-2 | Acanthus flower |
| A border in furniture panel 2-1 | Inner border |
| One piece in grape onlay 11-1, capped at maybe five millimeters | Maybe less |


Is there a part on your own bench that you keep calling thick without a figure? Every lesson named on this page opens with full access to the school. The Part 10 course page lists workshops 110 to 121, and workshop 112 has its own lesson page, between workshop 111 and workshop 113, near more wood carving.
How it's done
- Say what is too thick. I pointed at "this," and named my size right after calling it too thick.
- Plan the first tool. A number seven straight down cut was first on my list, then the side, and maybe a number three.
- Weigh the grain. About an open spot underneath, I weighed the supported grain and expected no problem.
- Go under with the spoon. A 2 mm (0.08 in) spoon veiner went in, and I came from the other side until I was through.
- Clean the mess. A flatter gouge was needed to clean underneath, and a 1 mm (about 1/25 in) for the shadow.
Frequently asked questions
Why did I plan to open a spot underneath in 112-3?
The grain was my reason. I called it supported, so I expected no trouble, and I said that along the grain the wood is less fragile. A plan with diluted glue was ready, in case the spot turned weak anyway.
Is a little thick ever okay?
In one lily box lesson I was absolutely okay with it, because the piece has to be held together. In another my limit for a stem was one millimeter (0.039 in), and I said maybe less.
Can a thick tool or leather get in my way?
Workshop 18 had number three gouges of other brands that I called really too thick, so I needed a thin one. At workshop 89 I changed a strop leather that was too thick for the job.
What to carve next