

Alexander Grabovetskiy, woodcarver, School of Woodcarving · Published 2021
Where do the concaves go on the petals of a carved flower?
Quick answer: Concave placement on carved petals is decided division by division. During lesson 135 of the Venice Room I opened on the extreme division, went inward and then came back toward myself, set the next hollow near a small dip, and made the middle one somewhat deeper. Blending gave me the convexes.
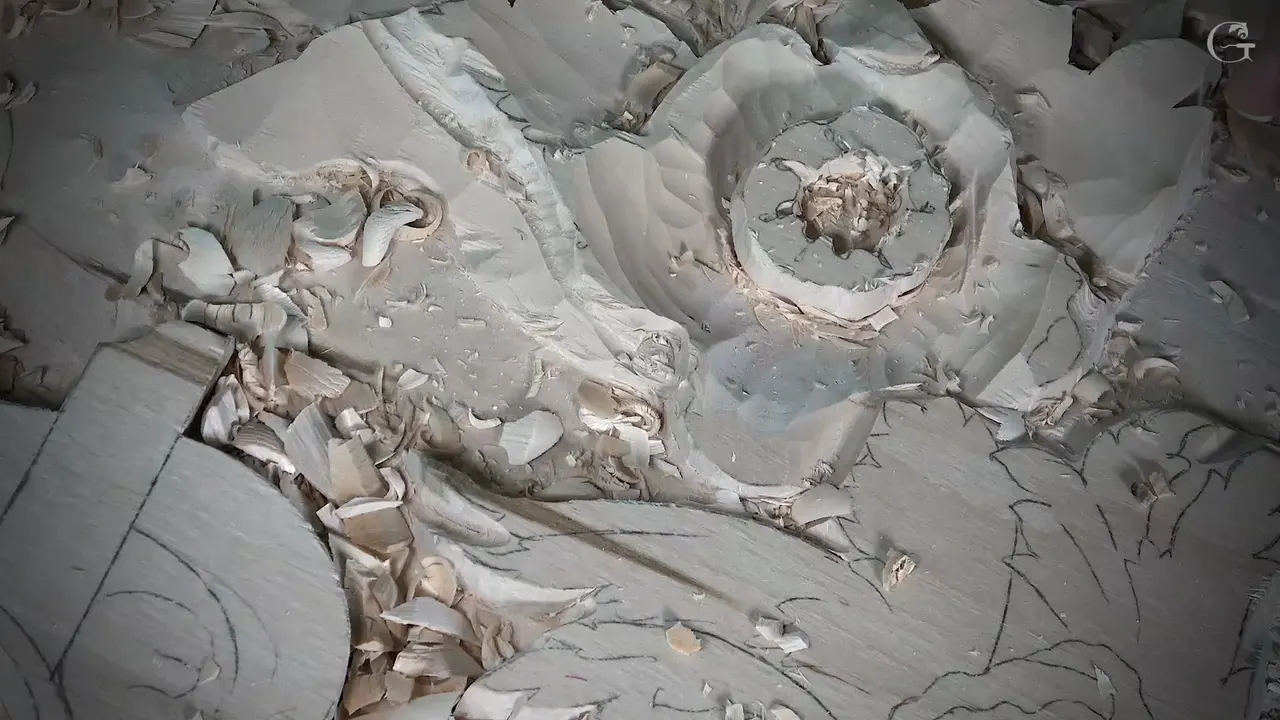
Concave placement on a carved flower is a choice you make one division at a time, with the wood in front of you. On my Venice Room flower in lesson 135, I began at the extreme division and set the second hollow next to a small dip. The one in the middle got somewhat deeper. Then the convexes came out of the blending. That is flower wood carving the way it went on camera, on one bloom of a big relief panel, and this page follows those hollows in the order I carved them.
Is there a flower on your board with its divisions marked in? Does each one still look flat, like it was pressed out of the wood? Then the hollows come next.
My own lesson comes first, concave by concave, with the gouge I named wherever I named one. After it you get what I said about hollows on petals in other lessons, on the Venetian flowers rosette and the chamomile and bow rosette, each one linked so you can watch it yourself.
Flower wood carving on one bloom, hollow by hollow
The extreme division came first, with an inward concave and then a pass back toward myself.
A second one went beside a small detail with a dip in it.
Its neighbor got a concave at its middle, somewhat deeper.
Blending made the convexes.
One more concave came at the very end of the second video, and I said it could go outward into a little convex.
Then a number 9 opened a bigger middle concave for the next one, and a side concave followed.
What was the flower like before the concaves?
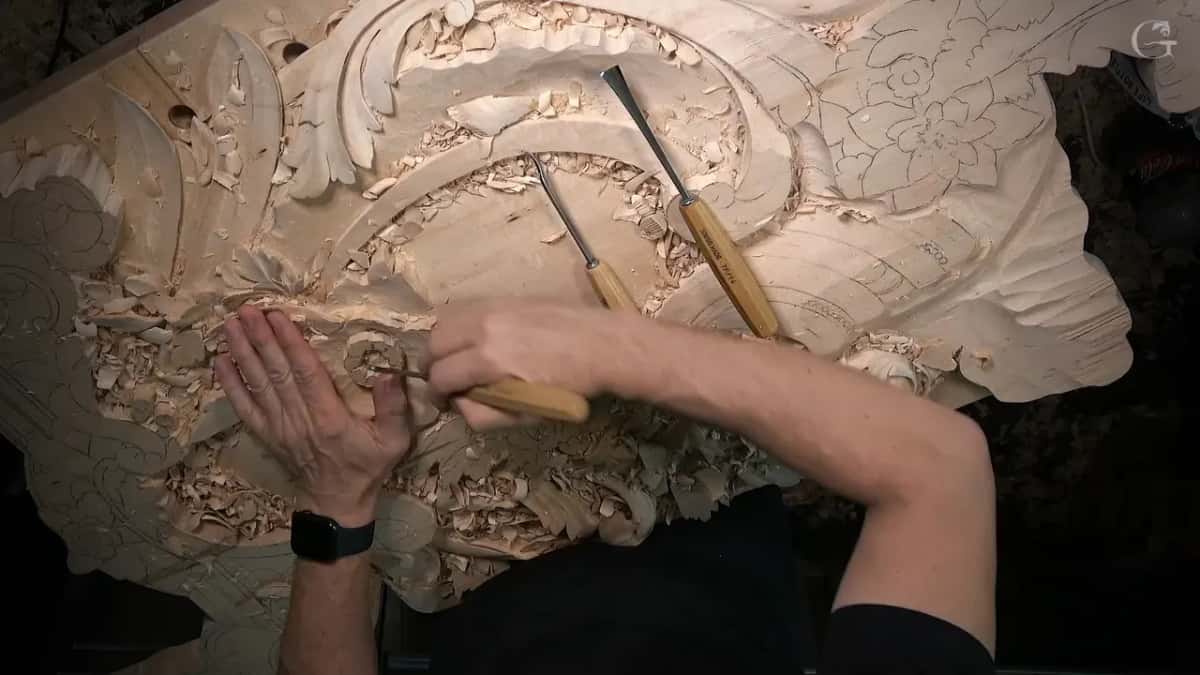
It had a domed middle with five divisions marked on it. Earlier in lesson 135 I went all around that middle with a 2 mm (5/64 in) number 11 to undercut it, took a back bend once I was limited in how far I could reach, and cleaned up with a small spoon. How that back bend was reground, and why the middle went first, are on the page for the whole of Part 12, how to carve shadows into a relief carving.
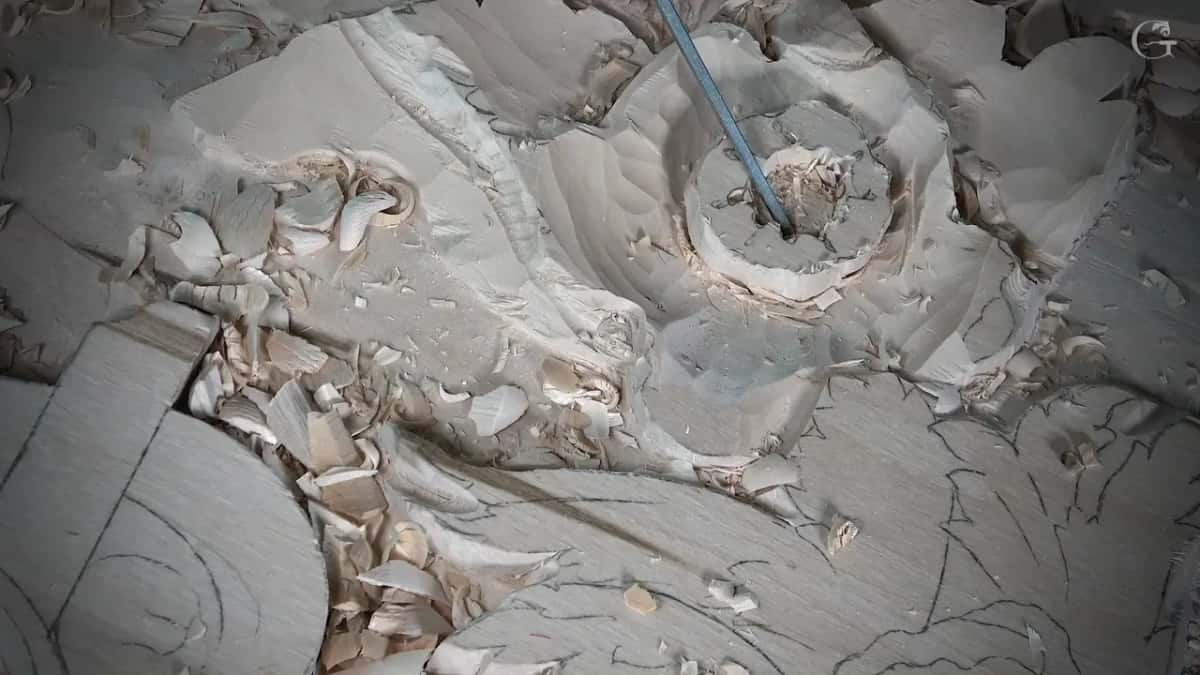
Lots of junk was still inside after that. I left it. I didn't want to blow into my microphone, I told you. The chips could wait.
Next I marked where each separation would go, because a number 7 was about to round the whole shape and I did not want to lose the locations of my separations. I called that pass a chamfer at first and fixed my own word to fillet.

Before the hollows I also said the flower does not have to be perfect, and that I don't want to see it really perfect. On a furniture panel, a page on why carved petals are left uneven makes that case with another flower.
Which division got the first concave?
The extreme one. Let me start with the extreme one, I said, and then I stopped to think where the concave would go.
My plan was still a number 11, maybe about 5 mm (3/16 in), and the job was concaves and convexes on that middle part. I made an inward concave first. Then I stepped backward and carved in the opposite direction, toward myself, and told you that would be my first concave.

Right then I told you micro tools would probably work much better in this case, like the ones by Dockyard. After that I went on to the next concave.
Where did the second concave go?
Close to a little detail, where there was already some dip. I brought that concave all the way along it, and then I said it to you plainly. It does not have to be on the same level, guys.
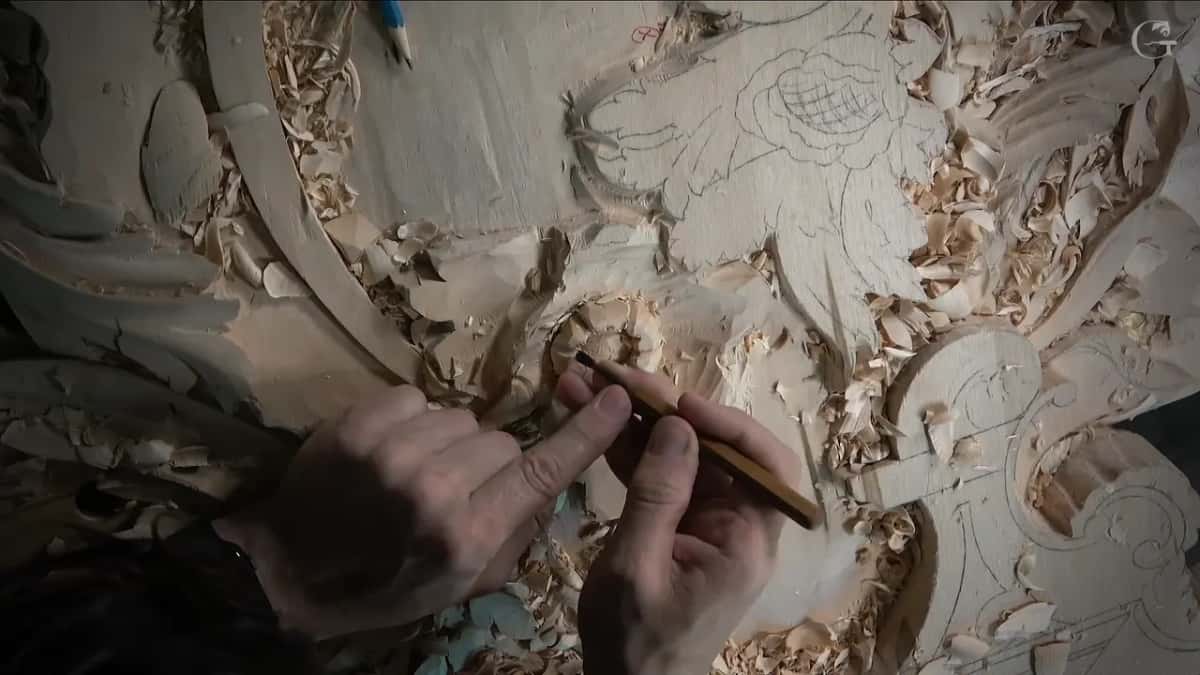
A moment later I mentioned I can go inward there, and then I said, okay, that is good.
Why was the middle concave deeper?
I thought it would look much better. On the next division I put the concave at the middle of it and said it would be a somewhat deeper concave, again going a little bit inward, and then I blended it out.

Where do the convexes come from on that flower?
From blending. Right away, I told you, I could create blending convexes, so I could blend pretty much whatever needs to be blended. That's all it's going to take, I said. Just blending.
I could have spent longer there. My words were that I can always get a number 7 and refine the overall movement, and that there is nothing wrong with spending time to make a more beautiful shape. I just don't have that luxury of time.

So my plan was to indicate the main movements and probably blend everything smoother, maybe off camera. Then came one more concave. I mentioned going outward from it, blending it and maybe creating a little convex, and the second video of the lesson stops right there.
Why a carving comes down to hollows and rounds in the first place is on a page from the Hashemi flowers.
What did the last divisions get?
A bigger middle hollow, and a number 9 for it. When the third video opened I thought out loud about the next one, a somewhat big concave right in the middle, or bigger. I'll take number nine, I said. Next to it, I added, I would just do a concave on the side, and maybe another one like that.

I stopped there and looked. Overall it did look like what I wanted to see, I said, meaning the middle part, and of course far from perfection yet.
The finish of those hollows waits. A 1 mm (1/32 in) number 11 was my choice for the undercuts right underneath, I said, to create that shadow, and half a millimeter, about 1/64 in, to make it perfect, a little later.

What comes before the concaves on the outside petals?
The separations, and only as an indication. For the outside petals I had to recreate the drawing first. I started with a number 11 of three millimeters, one-eighth of an inch, and switched to two millimeters.
It's not final depth yet, I said, because again it's not going to be on the same level. I still had to do some concaves and some convexes there. What went in at that stage was just the indication of those separations, where they will go.

How deep that whole flower went, with its undercut, is on the page for lesson 134.
Each concave on this Venice Room flower, side by side
Here is the order in one place, with the tool wherever I named one on camera.
Order | Hollow | Tool | Said |
|---|---|---|---|
First, extreme division | an inward concave, then the reverse pass | Number 11 | started on the extreme one, thinking |
Second, beside dip | beside a small detail and its dip | None named | one level is not needed, guys |
Middle of next | placed in its center and somewhat deeper | Unnamed here | I think it looks much better |
Blending, right after | blending convexes out of whatever needs blending | Tool unsaid | that's all, just blending, I said |
Then, going outward | another concave, maybe into a little convex | Unnamed again | maybe create a little convex there |
Third video start | bigger in the middle and one beside | Number 9 | I said I would take nine |
The last column holds my own words from the video, trimmed to fit a cell.

Where did the concaves go on the Venetian rosette petals?
Inside the petals, and more than one. In lesson 3 of the Venetian flowers rosette I wanted a concave over one whole section and another one right there, while the middle part of the petal stayed raised, the same idea as on the other petals. That spot was an interesting area, and I said I could not do it the normal way. So I took just a small spoon gouge. Concave number one, I said, and then concave number two on this side.
Later in the same lesson I did exactly the same as on the previous petals, just hollows on the inside, to create that extra shadow.
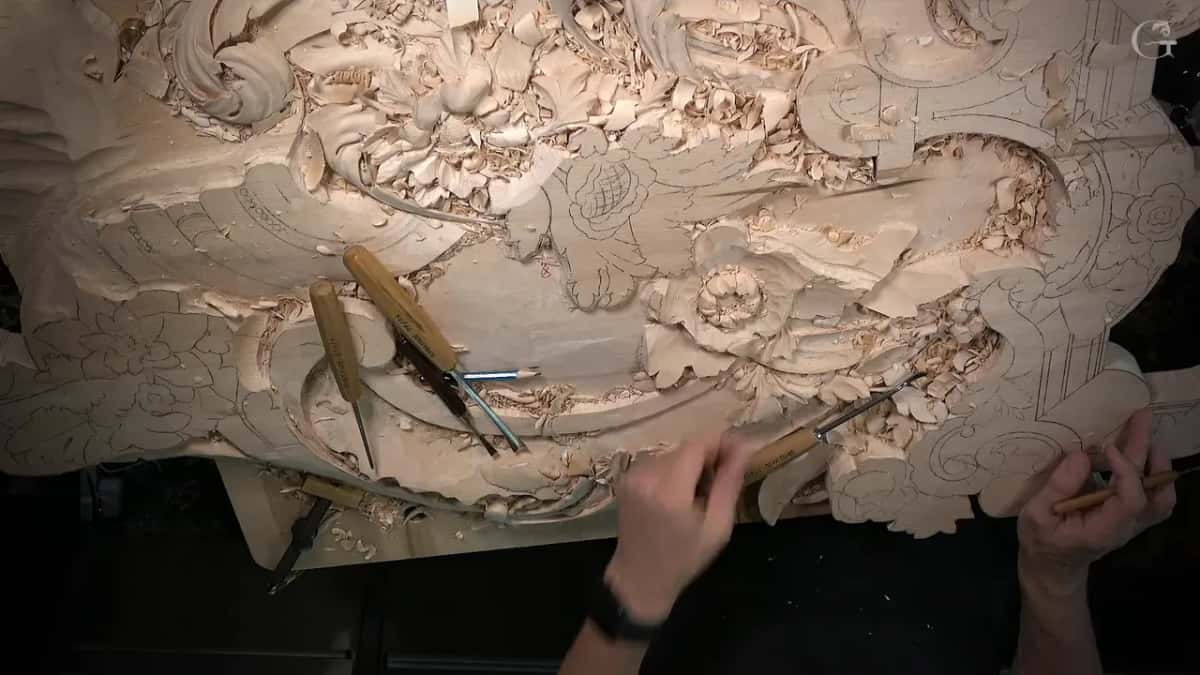
In lesson 4 a separation needed more shadow, and I said I would probably need a number 7, or a number 5, to make a concave on its side. Every time you make a concave, you create extra shadow, I said. The same lesson has me weighing it the other way round. It's not the final look, I said, since the middle would still have a raised area, a convex on the inside. I could go the opposite direction too, I said, and just do a concave in there instead. Maybe I should.
Can one petal take two or three concaves?
A petal can take a few, I said of the Venetian rosette, as long as each one is deep enough to cast that shadow. Back in lesson 3 I put some concaves inside one petal for an even deeper shadow. It doesn't need to be one or two, I said. I can create two, three concaves, and they give a beautiful movement, in my words.
They still need blending together. I don't want to leave those ridges really sharp, I told you. Blend them. For that it all depends what tools you have, but I really like to use the back bends. Blend and clean.
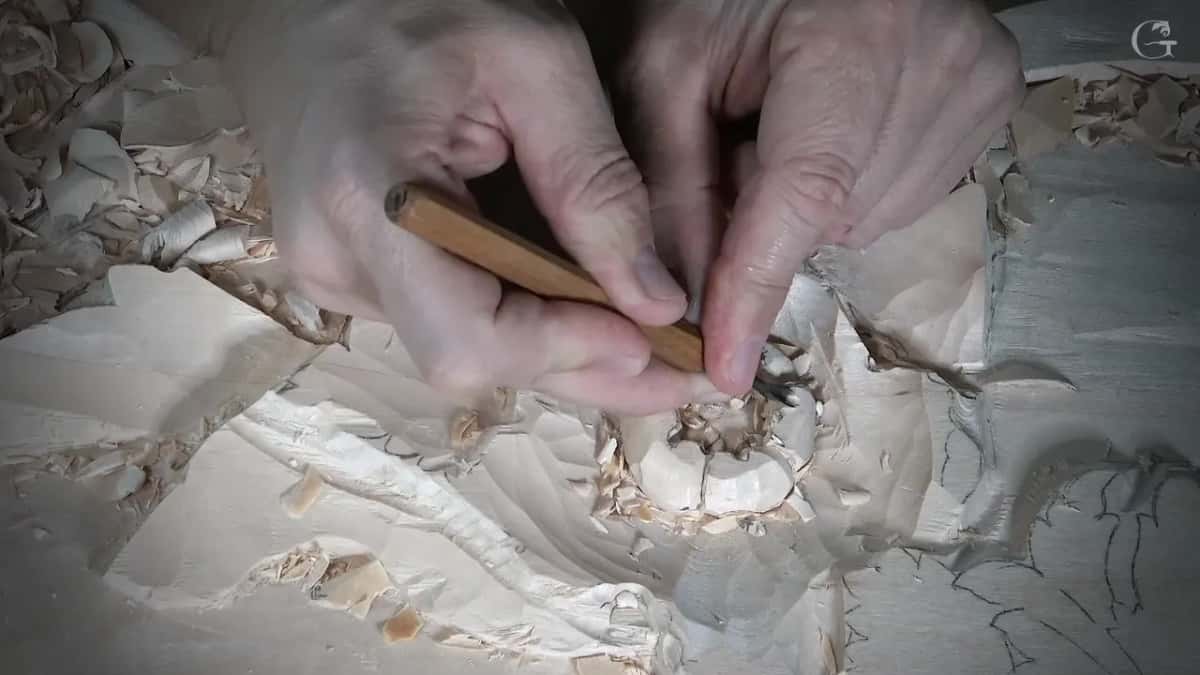
The chamomile and bow rosette, lesson 4, gave the bigger petals what I called a double concave. The middle stays a little higher, with concave and concave beside it, but almost not detectable. I said it would not be a really exaggerated one, so don't get too excited about it, and I planned some concave on both sides with maybe a number 3 or so.
Why did the chamomile concaves get deeper near the middle?
I wanted each one like a folding spot, and I said that would give me a really nice movement. Across that chamomile rosette the concave went on the inside of each petal, at the middle of it, and the closer it came to the future dome, the deeper it got. Toward the edge it was a lot less concave.
I used two millimeters of number 11, about 5/64 in, toward that future dome, and said I can work it from my left side and my right side. I can take a knife to the mess it leaves, I added.

After that narrow concave I went to a much wider one. A number five or seven will work, I said, it doesn't really matter, but it has to be blended really nicely. Where one tool did not give me enough concave, I changed to maybe a number 5 or 6. One of them I took all the way to the edge, because I was tired of that black line and didn't want to see it anymore.
For the blending itself you're going to need a number 11, I said, maybe slightly bigger, one-eighth of an inch, for a really smooth transition to a deeper concave.
How do the convexes show up on a rosette petal?
By carving the concaves beside them. To create that convex, create your concaves, I said in lesson 5 of that rosette. That's it.
Earlier in that lesson I pointed out a bulging area inside the petals, like a convex area, and did the same inside every one of those movements so the flower would look really 3D. I wanted a convex on both of the visible petals and then second-guessed my own word. Not petals, but whatever. Well, it is petal, I guess, but please forgive me if I'm wrong, I said.
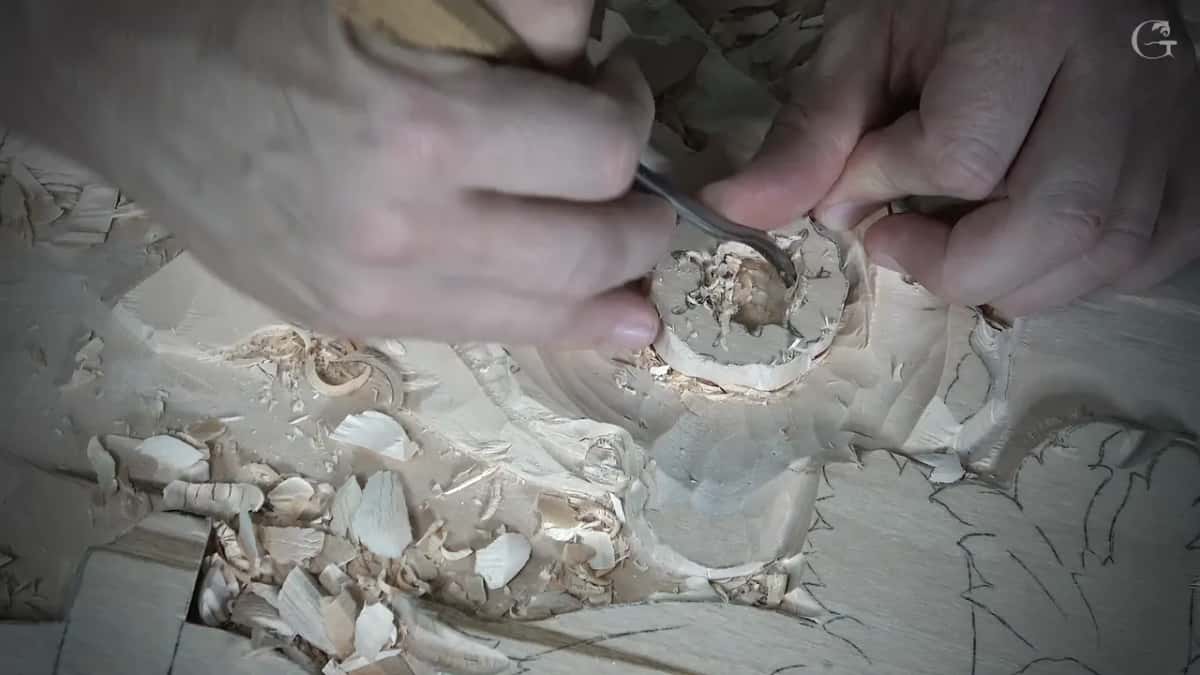
A small tool made the concave, carefully, closer to that line, and it was good, I said, that I was raising the edge slightly. Super deep concaves were not needed there. With two concaves done I needed the convexes, and for a convex I really like to use some kind of back bend, a small one.
Can a concave sit right at the edge of a petal?
On the Venetian rosette I showed one that did. I love carving flowers, I said in lesson 3 of that rosette, and you can do beautiful stuff with them. Next I told you I could make a small concave right at the edge of one area and drop it a little closer to the background, and I showed you. Just go like this, boom, and it's going to look really natural. Once it's undercut, it will look really, really nice.

Which pages cover the rest of the flower?
A small flower on the floral and molding panel, built petal by petal, has its own page on how to carve a small flower in relief. Hashemi flowers, lesson 44, had me saying I don't have to do the same concaves on every one of them. On a lily box filler flower in lesson 12 of the lily box course, one petal had a concave in the middle and another a convex in the middle with two concaves on the side. A relief flower's middle, rounded and then opened, is covered on the page about the center of a relief flower.
Where can you watch lesson 135?
In the three videos of lesson 135 of the Venice Room, carved in the Venetian style, with my hands in the wood carving for every concave in the first half of this page. The hollows start partway into the second video and carry on into the opening of the third. Lesson 134 comes right before it, and lesson 136 right after, in Venice Room Part 12.
Every lesson named on this page opens with tuition to the school, monthly or yearly, and it renews automatically until you stop it. Would you like to see which division gets its concave first? Hear me think it through before the gouge goes in? The second video has it.

How it's done
- Start at the extreme division. On that flower I thought first about where the concave would go.
- Go inward, then come back. An inward concave came first, from a roughly 5 mm number 11. Then I stepped backward and worked the other way, toward myself.
- Use the dip that was there. The second concave went next to that small detail and its dip.
- Take the middle one deeper. Next came the middle one, a little inward and somewhat deeper, and I blended it out.
- Blend for the convexes. Right after it I blended, and the convexes came out of that. Blending was all it took, I said.
- Reach for a number 9. When the third video opened I took a number 9 for a big hollow at the center of the next division, then a concave beside it.
Frequently asked questions
Which concave came first on the lesson 135 flower?
I gave it to the extreme division. I made an inward concave using a number 11 of maybe five millimeters, 3/16 in, then stepped back and worked the other way, toward me. That pass, I said, would be my first concave there, on the middle part.
What tool made the big middle concave?
A number 9, early in the third video. I thought out loud about a somewhat big concave right in the middle, or bigger, and took the nine for it. Next to it I planned a side concave, and maybe one more like it.
Did those concaves all sit at one level?
On that flower I told you the level could change with each concave. The middle one on the next division went somewhat deeper, and the second concave followed a dip that was already in the wood, close to a little detail.
What to carve next