
Alexander Grabovetskiy, woodcarver, School of Woodcarving · Published 2021
Is a glued-up block as good as solid wood for carving?
Quick answer: A glued-up block is carving wood made from thinner boards glued in layers, the way I built the big boards for one Venetian room. Glue-ups can go either way, I said on a livestream, depending on how they are glued. When I carved workshop 136, a block glued onto a flower crossed my mind, and I chose not to.
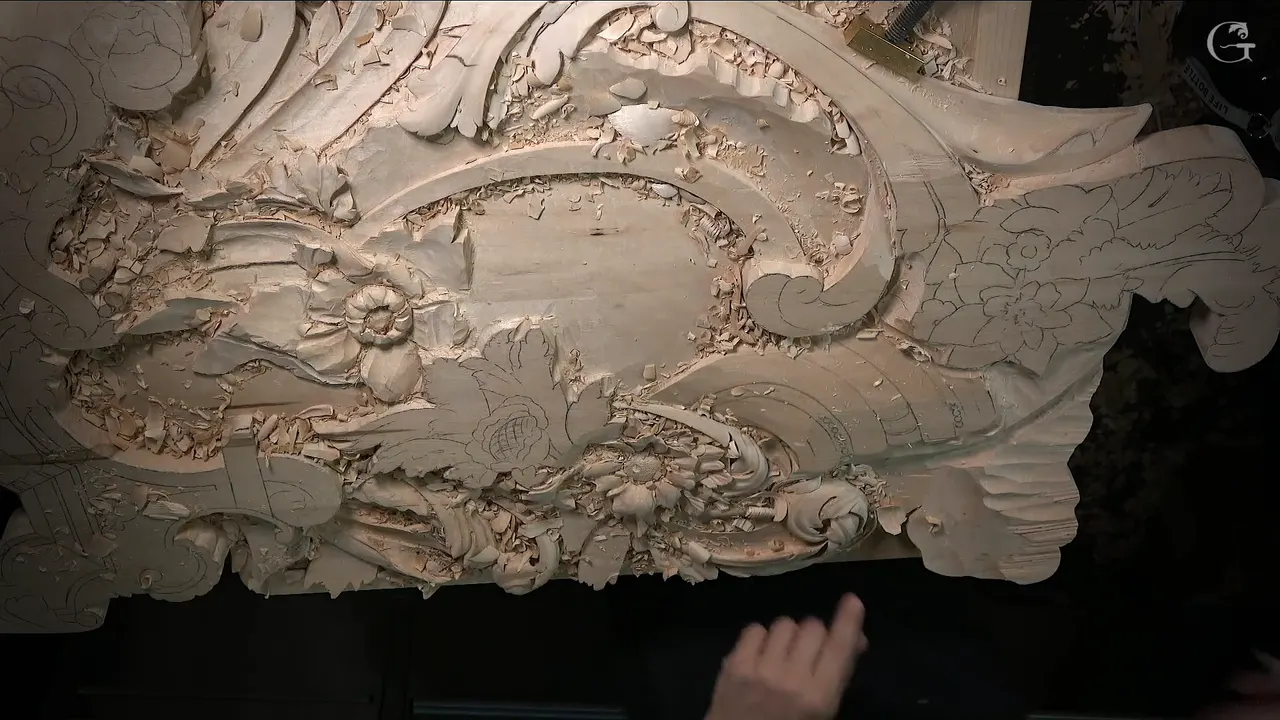
A glued-up block is a carving blank made from thinner boards glued together in layers, and whether it is as good as solid wood depends on the gluing. Somebody asked on a livestream if glue-ups are more stable or less. It could be both, I said, and it all depends how you glue them together.
Maybe your design wants depth and your board is thin. I know that spot. Here is lesson 136 of the Venice Room, where I thought about gluing a block onto a flower, and four livestreams from April 2020.
Laminating wood for carving, in the words I used on camera
- On the second flower of workshop 136, gluing a block on top to pop it higher crossed my mind, and then I let the idea go.
- For a board like the Venice room, I would not use one big piece of solid wood. I laminate.
- Thinner boards save money, while a four inch plank costs a lot, which I called not wise.
- A thick board moves a lot more.
- Stable or not comes down to the gluing, in my words.
- The glue I named for inside work is Titebond II, and Titebond III I keep for things going outside.
- Once the block is carved and blended, you will not see the glue line.
Have you seen a relief carving stand high off its background? Did it look like one piece of wood to you? The big Venice room boards look like that too, and they are boards glued on boards.
What did I decide about gluing in lesson 136?
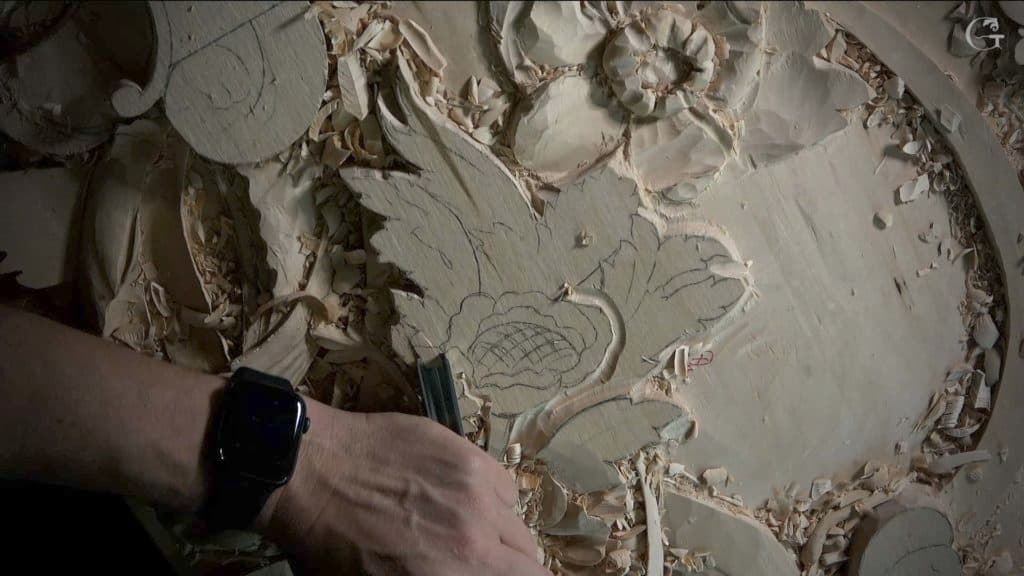
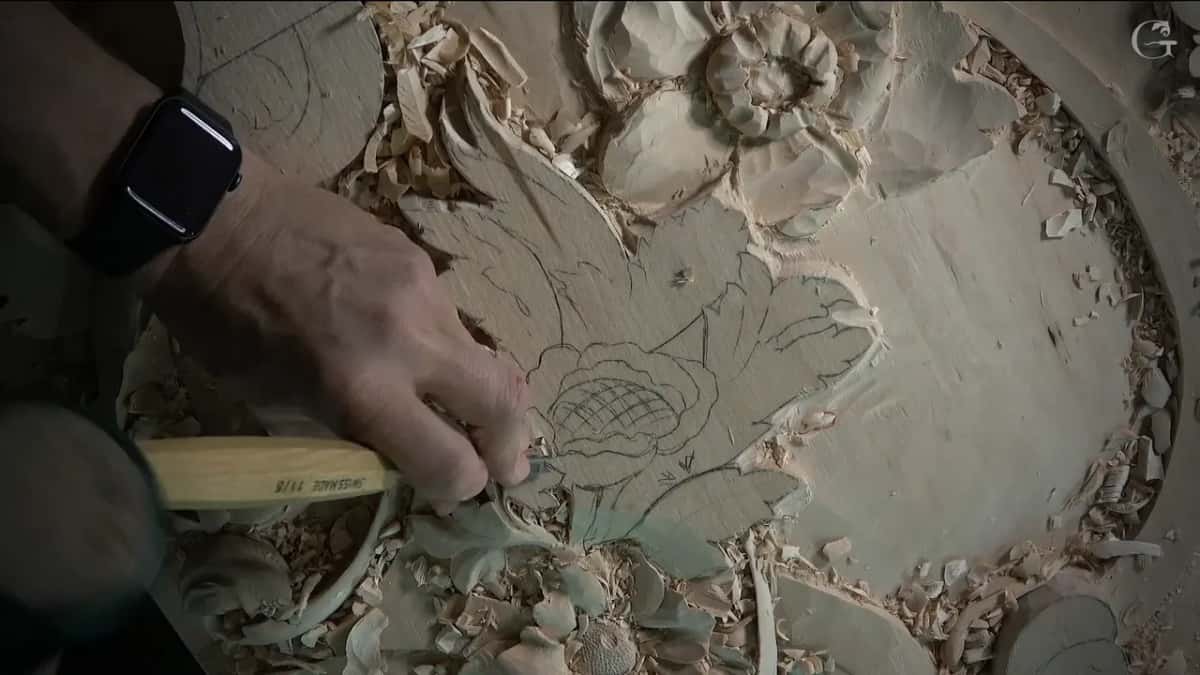
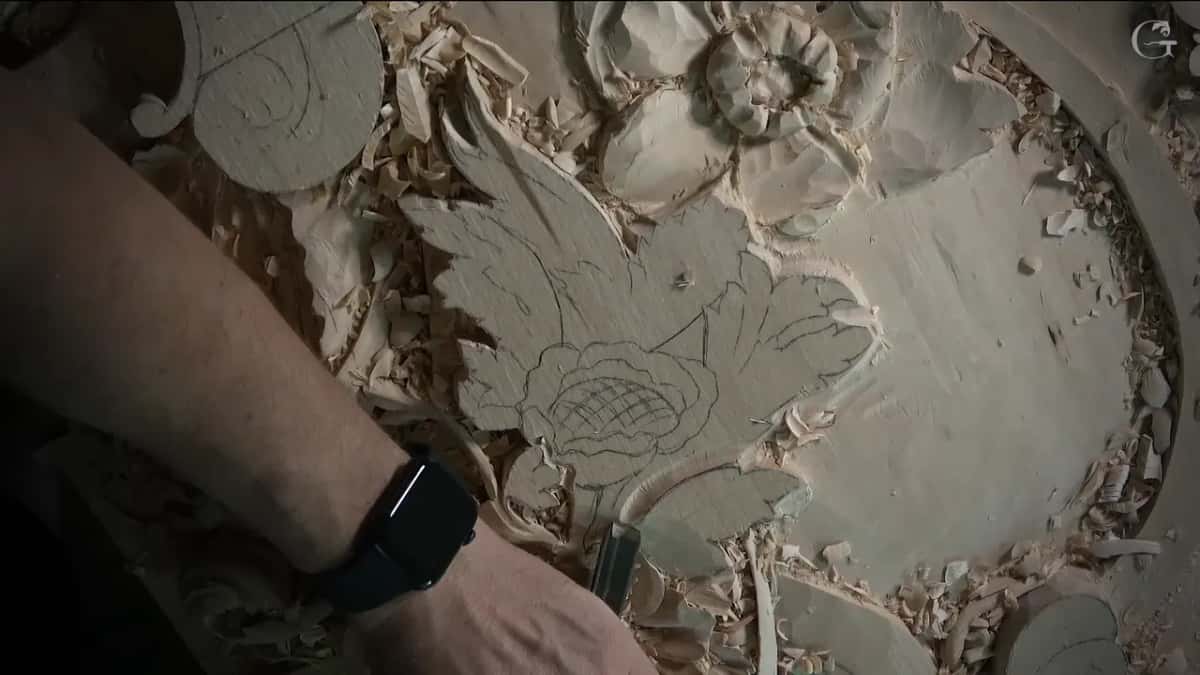
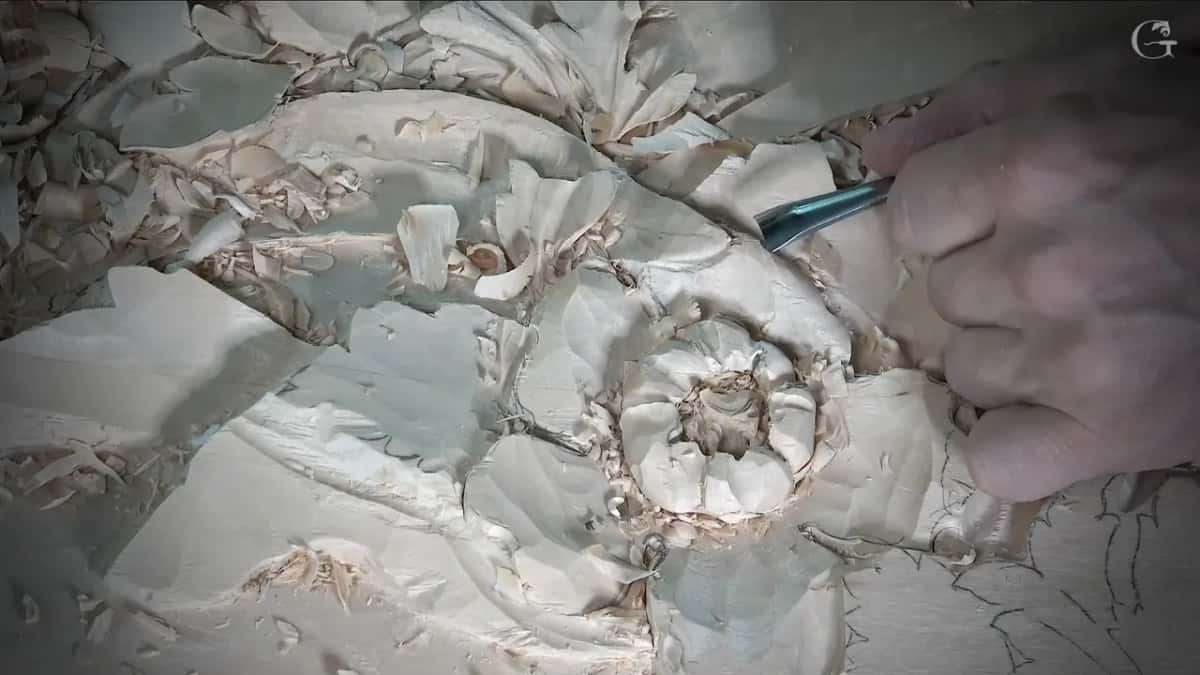
I decided not to glue. That is the short version. Near the end of the lesson I start the second flower on the panel, and while the gouge went around it I told the camera what I had in mind. At the beginning, what I wanted to do, I wanted to glue up right on top of this flower and just pop this a little higher. Next came the honest part. I was not sure if I should do that or not, I said. I think I'm going to be okay without it.
That was the whole reason I gave at that spot, and I will not dress it up into a longer one. No lecture followed. The next thing I did was take a 30 mm tool, about 1 3/16 in, and work the other side of the flower much lower. I'll take 30 millimeters, I said, and that part can go much lower.
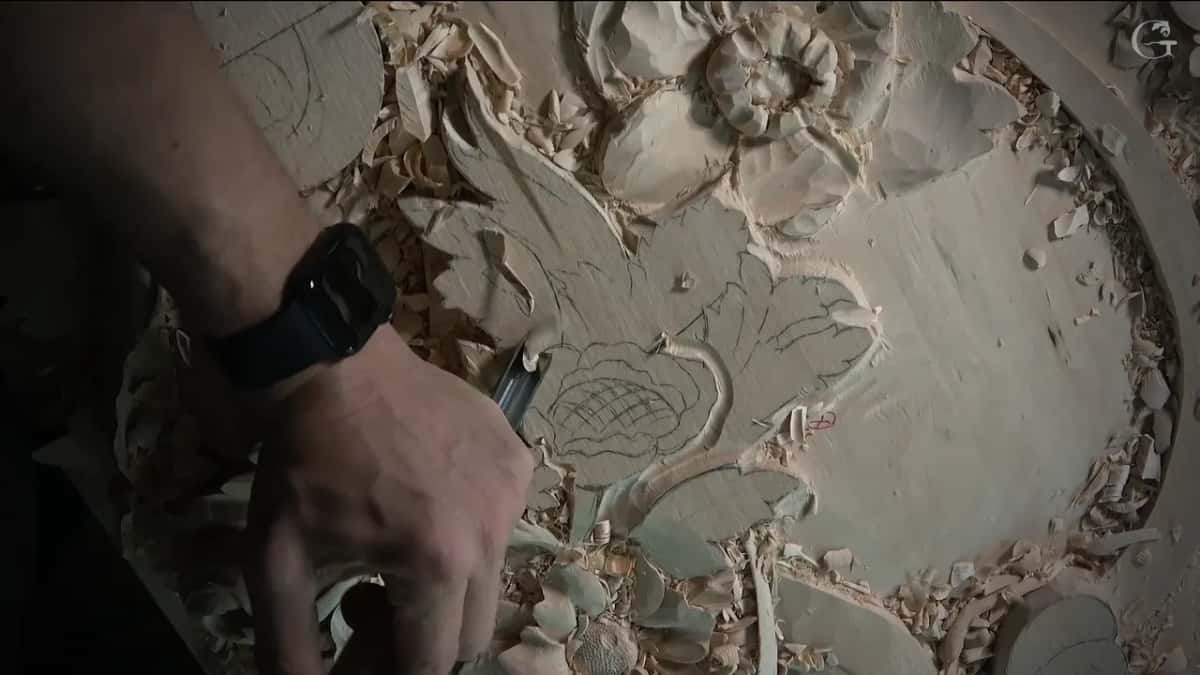
One side sat beside a high spot. I cannot be too deep in that section, I said, because of it. The other side could go as low as I wish, and then I corrected myself, not too low, but much lower. In one more spot I went almost half an inch, maybe 12 mm, to match about half an inch on the opposite side and reveal the middle part of the flower. How that depth works on a flower is on my lesson 134 page, while raising a shape by digging the wood beside it is lesson 127.
So on that flower the glue stayed in the bottle. I took the wood around it lower instead, and that is where the video ends.
What else happens in lesson 136?
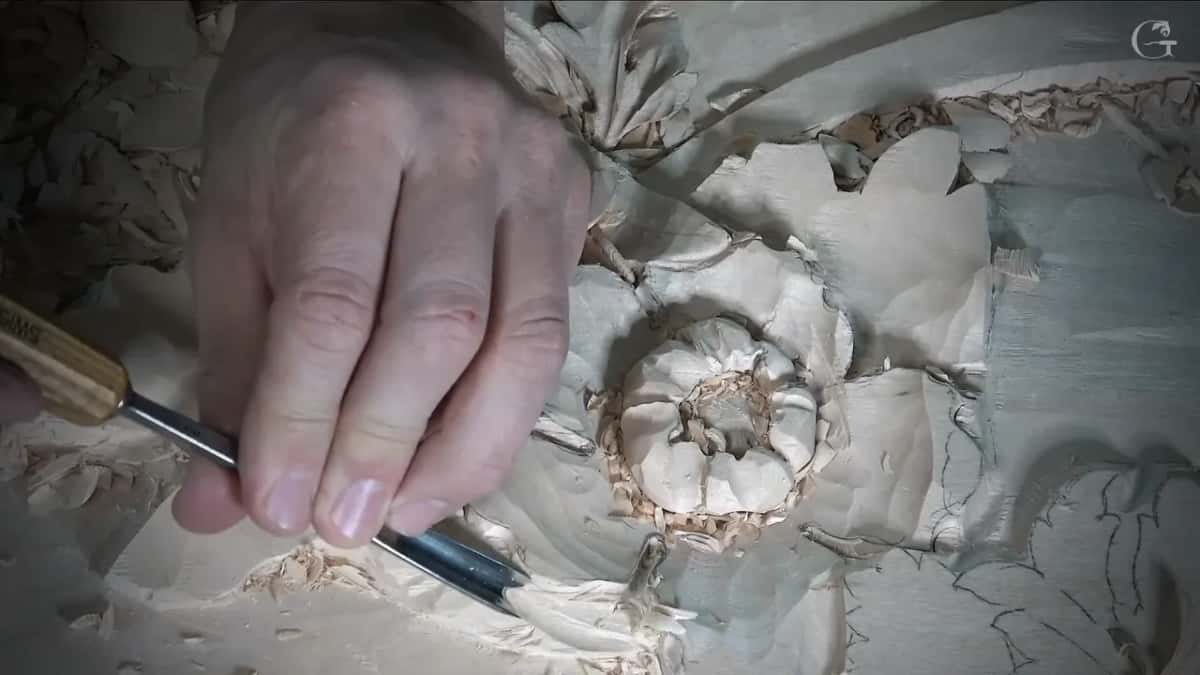
Most of the lesson is the first flower, and its petals get sloped in different directions. Early in the first video I looked at it and said you can see how it takes shape, and that doesn't look too bad at all. That gives me a movement, I said, a lot nicer movement. A number 2 gouge about 5/8 or 3/4 of an inch wide, 16 to 19 mm, turned upside down, made the sloping movement, and I said a number 3 would work as well. Before I lowered one side, I took care of the surrounding area first, since all of it had to come down a little too.
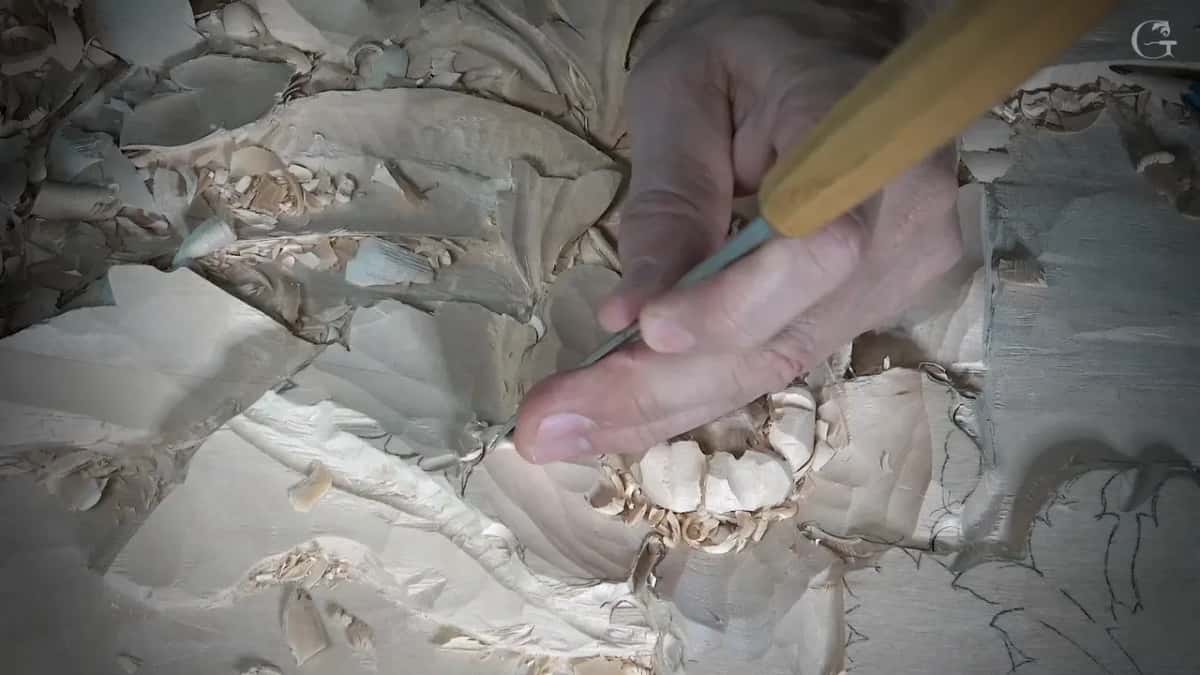
Rolling those petals and setting in the eyes with a small number 8 belong to the page for all of Part 12, so here are only the small moments from 136 that are worth your time.
- The number 9 was right there, so I used it, and I said I don't like the idea of tools right on top of my piece. Not the best idea.
- One roll could not go any deeper because of a really high area beside it. That's probably my limit, I said.
- I have to be careful not to overdo it.
- A rolled part does not have to be plain, I said, and some concave could go on it too, otherwise it will not look nice.
- Before one roll I stopped. Let me think first, I said, and a few seconds later, I made the decision.
- My plan, I said, was to rotate my table and put a couple of concaves and convexes on three more of them.
- Another concave went on one of them, not the whole length, but somewhat, and the tool turned upside down made the convex beside it and blended it.
- Next to the eyes I popped a pipe, not really, really pronounced, but somewhat pronounced.
- With a number 11 at 10 mm, 3/8 in, laid almost flat on the surface, I got what I called the true rolling feel, and I said I can always undercut from that point.
- Some of the eyes were for off camera, I said, because it's just redundant. Same idea.
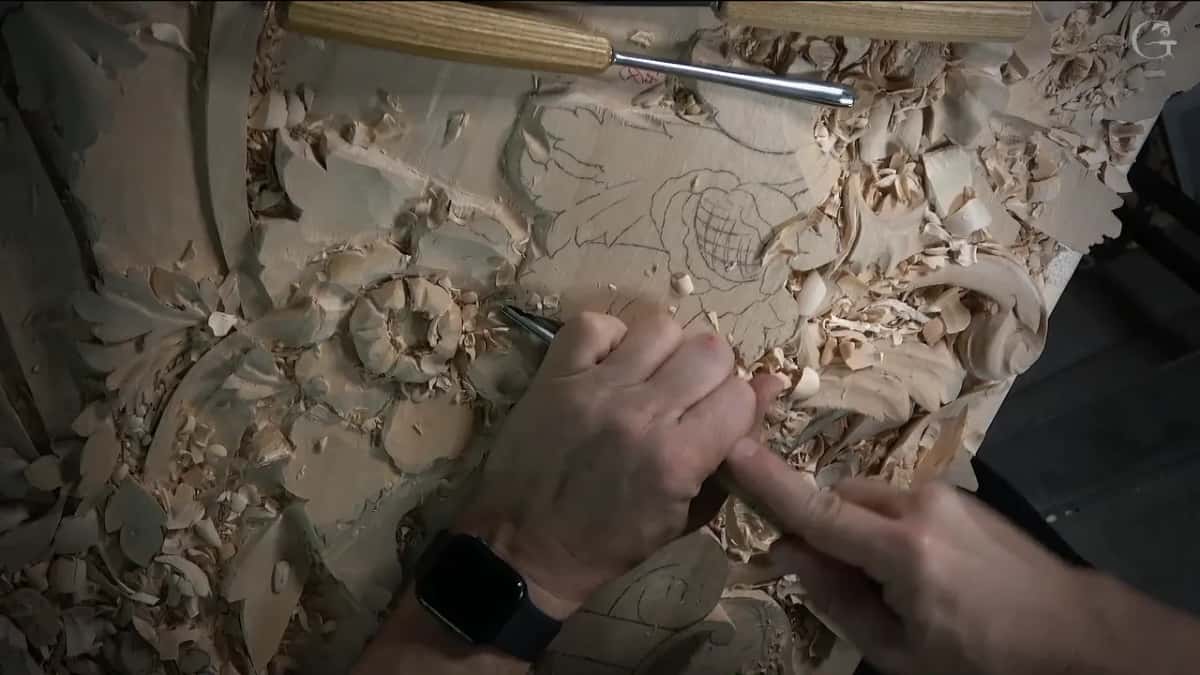
Late in the second video I said I did not want what we call the boat technique or spoon technique, where you start from the edge and dig it out, because it will not look as organic. Why that scoop looks wrong is on the spooning page. The hollow has to go all the way to the edge.
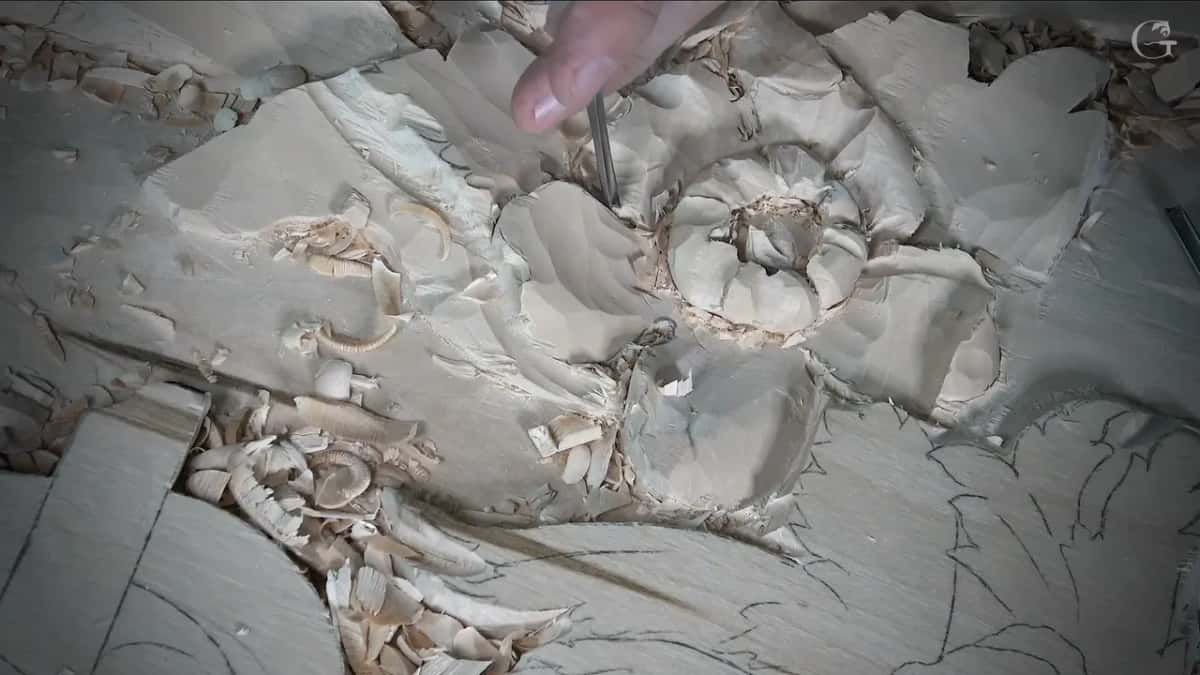
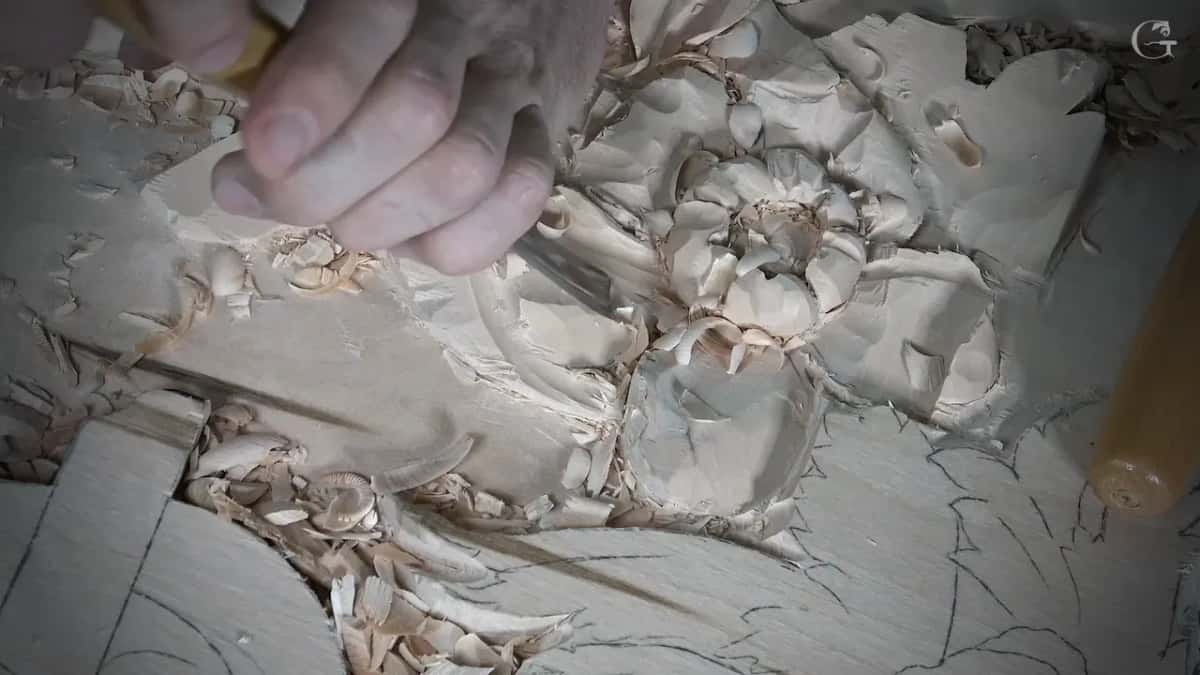
Then the view from above. It doesn't look too bad, I said, one more flower to go. The cleanup of that first flower I said I would do off camera, and I went right away to the second one.
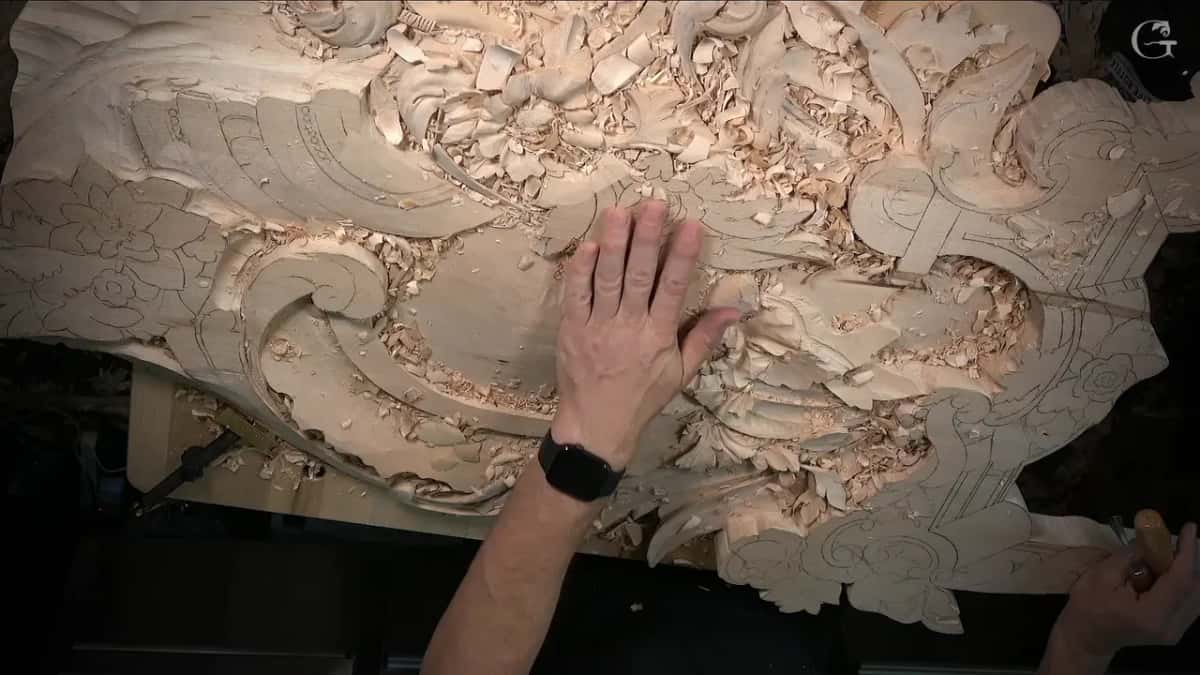
The idea for that second flower came from a 15th century building in Venice, and I said on camera that I have no idea what kind of flower I drew. We talked with the client, and yes, sure thing, they wanted it. Above it sits a leaf that is somewhat like an acanthus, which is not really acanthus. The flower has a stem too.
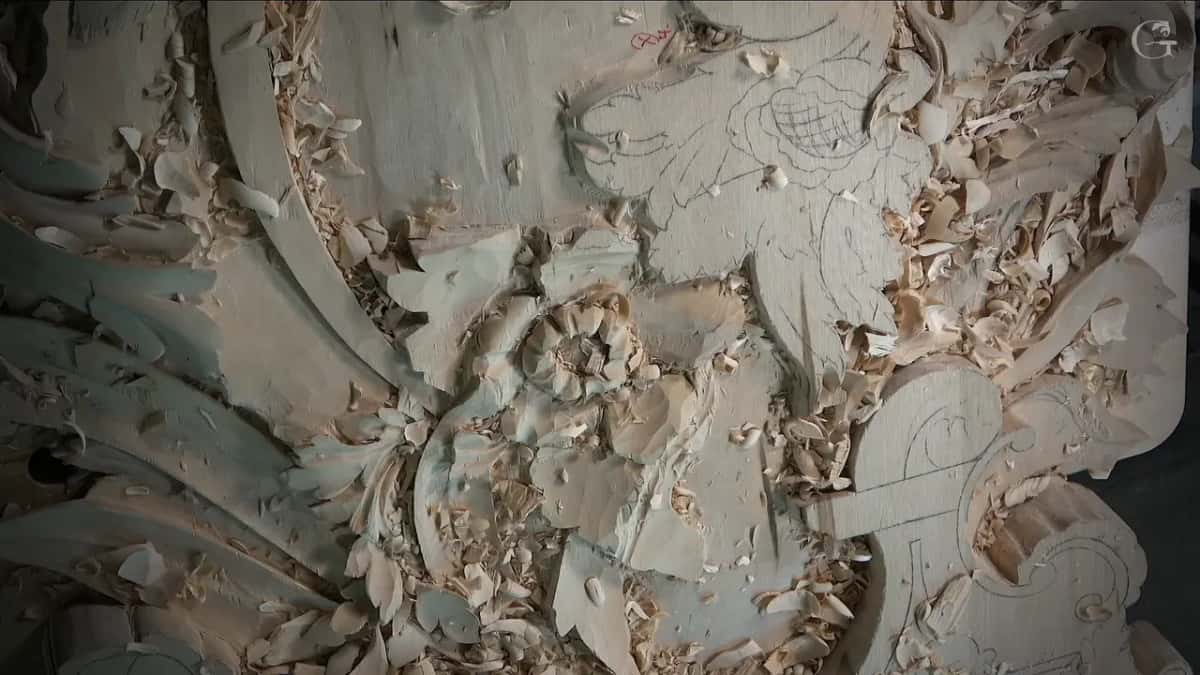
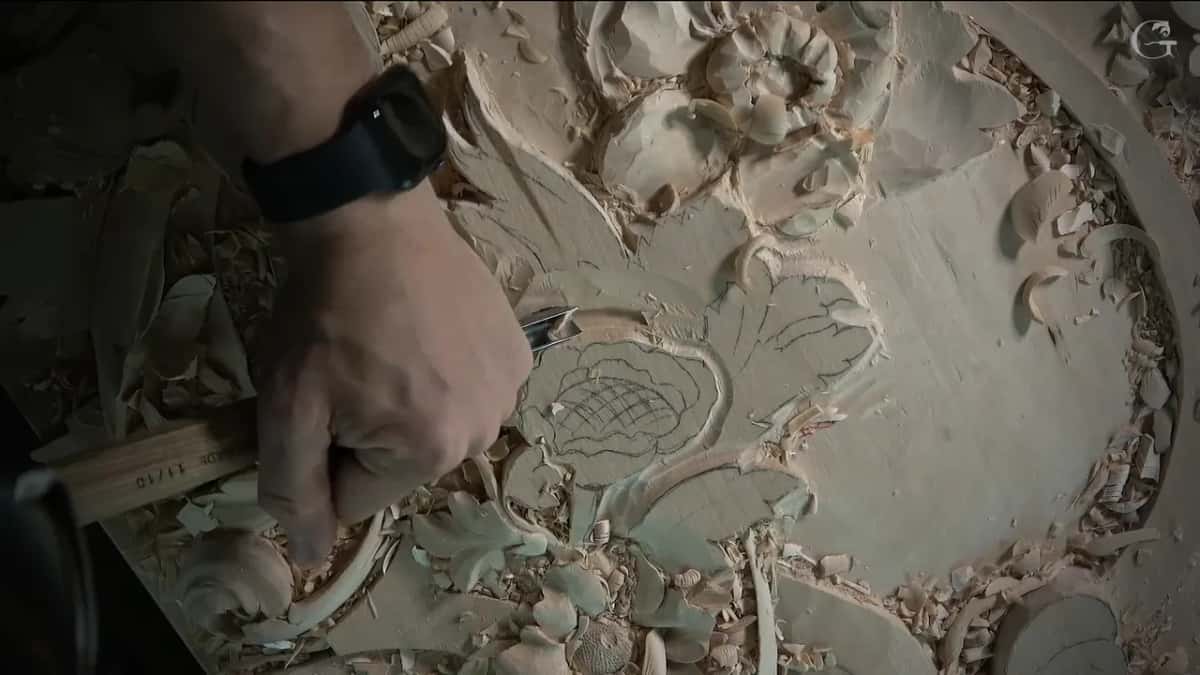
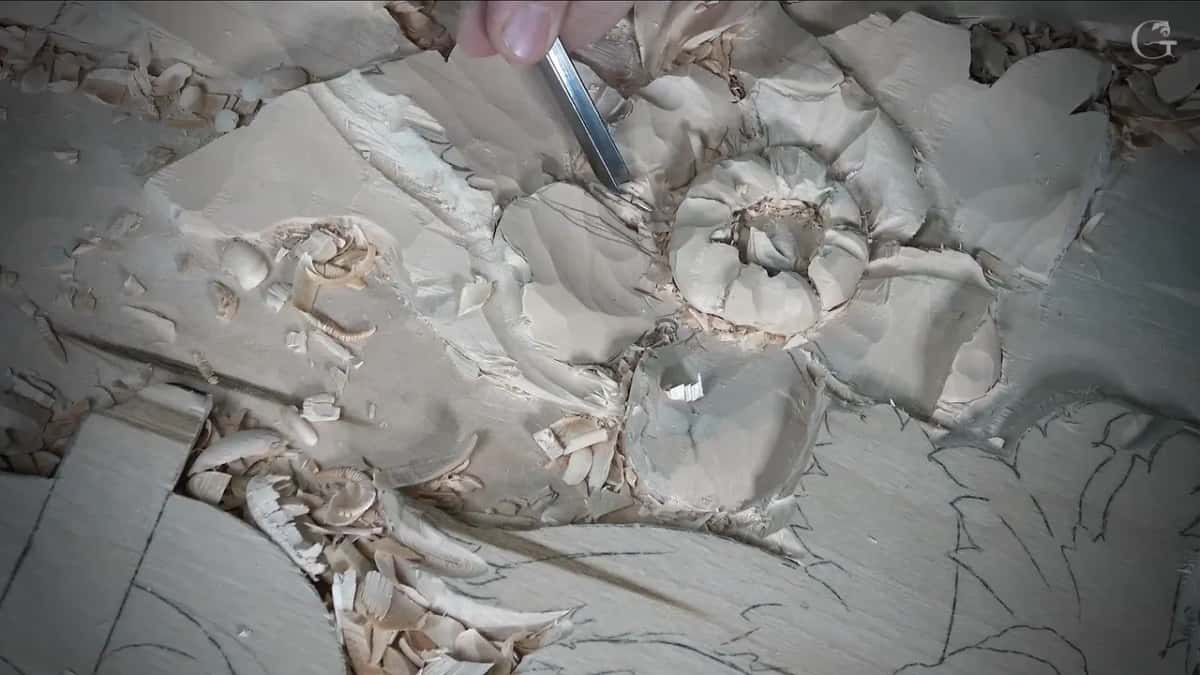
A little leaf lies over that flower, so I outlined it first with a smaller tool, a number 11 at about 5 mm, 3/16 in. Just an indication of it. That part would be much lower anyway, I said, but I want to be safe. A much bigger tool, maybe 12 mm, 1/2 in or so, could take out that section, I said. After that came the glue thought you read above.
Is a stack of thinner boards cheaper than one thick plank?
Thinner boards cost less, and I said so while the camera ran on the April 2020 livestream about lighting a carving bench. A big piece is difficult to find, I agreed. But you can always glue together. Just get a couple small pieces and glue them together. Laminate.
Then I pointed at the board on my bench and said, this is not the solid wood. I would not use a big piece like that. It went together in multiple layers, each board about two inches, eight quarter stock. I'm just building up, and building up again, I said, and the layer count is on the Livestream events page.
The money part is plain. You save money if you buy thinner pieces instead of sixteen quarter lumber, which is four inches thick, about 100 mm. I could buy four inches thick for that piece, I said, but I would spend a lot of money, and that would not be wise. They charge a lot for the thicker piece.
| Choice | Words | Source | Result |
|---|---|---|---|
| Glue on top | I wanted it, then went without it | Lesson 136 | Other side went lower, 30 mm |
| Four inch plank | They charge a lot for thicker pieces | Lighting livestream | Not wise, I said, for that |
| Thinner laminated boards | You save money and just build up | Same stream | Two inch layers, one by one |
| Stable or not | Either way, and the gluing decides it | Movement livestream | On how the boards go together |
| Glue for inside | Inside work gets Titebond II, not III | April 5 | Yellow line hidden once blended in |
| The next layer | I waited to still work around it | Lighting stream | Pretty soon, I said, not yet |
Does a thick solid board move more than a glue-up?
A thick board moves a lot more, I said on that same lighting stream, and I pointed to the grain for the reason. I drew the rings on the end of a four inch block to show it. This one is going to move, I said, and this one is going to move. To get the same block from a lamination, you alter the grain, different directions, and how I turn the rings is written up on the livestream page linked above.
During the April stream about wood movement, somebody asked straight out whether glue-ups are more or less stable. My answer was not a clean yes. In my case, it could be both, I said, and it all depends how you glue those boards together.
The width was a glue-up too. I did not have boards that wide, about 25 inches, maybe 26, I said, 64 to 66 cm, and I did not remember exactly. So there were three boards glued together in some places, four in others, two in others.
One more habit came up in that stream. Before the glue, I try to figure out the best position for each board. And I never place glue-ups close to an opening. I lay them almost like brick. What a board does over the seasons is in the Wood Handbook from the Forest Service, if you want the science under it, and pierced vine work carved from one solid piece is on a Grape Onlay page.
Can you see the glue lines after you carve?
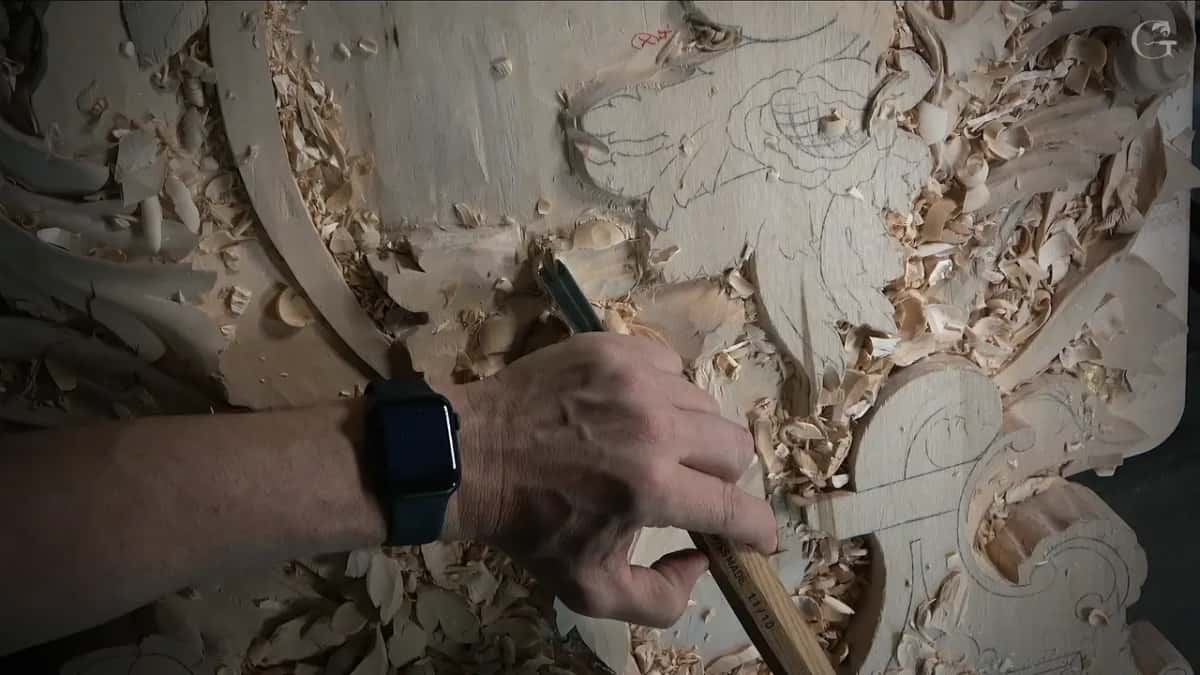
Hardly. Glue lines ran everywhere on that board. Those are glue lines, I said, maybe you can detect them, and you usually don't see them. In the April 5 livestream I pointed at one on the board I was carving. That is a glue line, I said, and if I did not tell you, once I carve it and blend everything, you are not going to be able to see it. It will look like part of the wood grain.
The glue I named there dries yellow, which brings us to which bottle.
Which glue did I name for gluing up carving boards?
Titebond II. I called it a normal carpenter's glue and said it's just a brand, and that's what I like, really strong. I don't use much Titebond III unless my project goes outside, where the weather will hit it, because III is made for the outside.
Inside a house I stay away from III for one reason I gave. When it dries, it leaves a brown mark. The II leaves a yellow one. II is a little higher level of the original Titebond, I said, and I glued with Titebond many years ago, and that still holds perfect.
When do you glue on the next board?
On one board I waited, and I said why. The piece was rising toward the ceiling, with a layer still to come. I'm going to glue another board on top, I said. I just didn't want to do it right now, just in case I have to go around and work on it. So I did not glue yet. Pretty soon.
On another April stream, about using plastic to put a carving design on the wood, the same thing came up. It is easy to transfer a design onto a piece of wood that is flat, I said. But my design goes all the way to the ceiling, and I still have to extend, I still have to glue, and it will be higher. And there is a curvature.
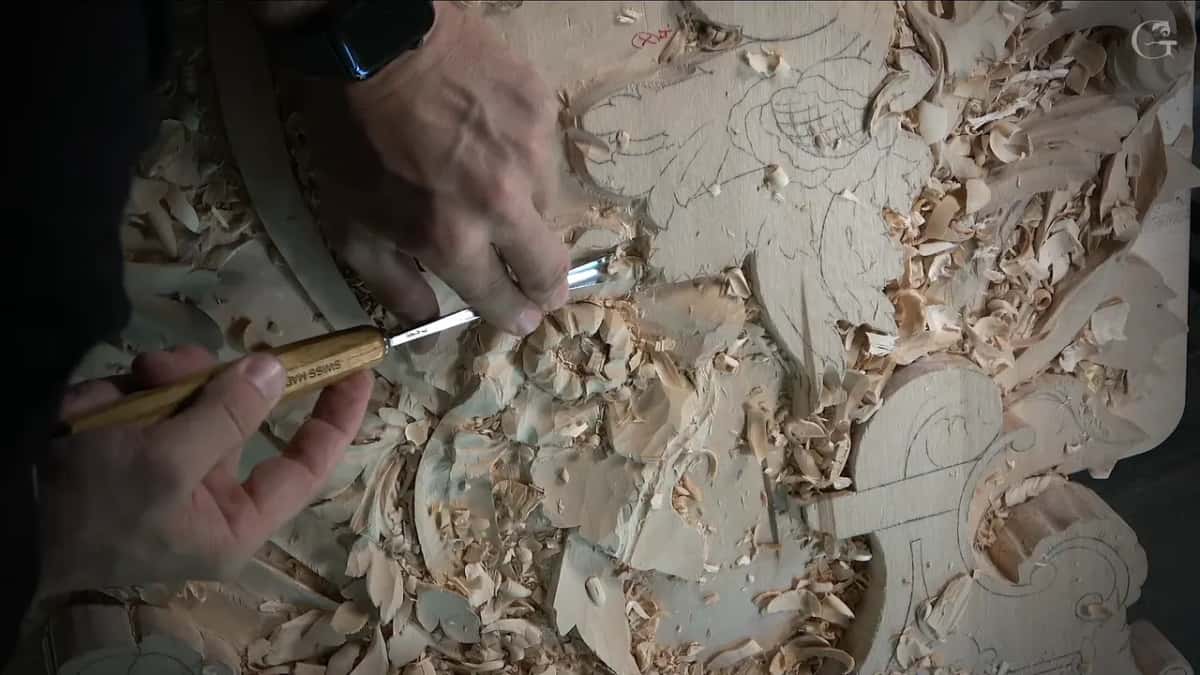
So the Venice boards grew in steps, and lesson 136 is the moment I thought about one more small step on one flower and let it go. Gluing offcuts back on for height across a whole panel is its own story on the Hashemi flowers page, and how a big Venice board begins, with its layers glued before any carving, is the Part 1 page.
Where can you watch lesson 136?
In the three workshop videos of lesson 136, pass by pass, from the sloped petals of the first flower to the glue thought on the second. Lesson 135 comes right before it, lesson 137 right after, and the four April streams sit together in the livestream lessons. Every video in the school is open with tuition to the school, monthly or yearly, renewed automatically until you stop it.
How it's done
- Get thinner boards. Just get a couple small pieces and laminate them, I said, since thinner pieces save money next to sixteen quarter stock.
- Find the best position for each board. Before any glue goes on, I work out how each board should sit, and I never place a glue-up close to an opening.
- Pick the glue for where the piece will live. For work that stays inside, Titebond II, and III only when the project goes outdoors.
- Build the block up. One board goes on another, layer after layer, the way my big boards for that room went together.
- Leave the top layer off while you work around. On one board I kept the next layer off for a while, and I said I did not want to glue it yet.
- Carve and blend over the line. On my April 5 board, carving and blending were what would hide it.
Frequently asked questions
What glue did I name for gluing up boards?
A normal carpenter's glue, Titebond II, on the April 5 livestream. I use Titebond III only when a project goes outside into the weather, since III dries with a brown mark. My old Titebond glue-ups from many years ago still hold perfect, I said.
Does a thick board move more than laminated boards?
A lot more, in my words on the lighting stream, and the reason sits in the grain. I drew the rings of a four inch block to show what will move. With a lamination you just alter the grain different directions.
Will the glue lines show once the block is carved?
You are not going to see it after carving and blending, I said on April 5. Glue lines ran everywhere on the board in the wood movement stream as well, and you usually don't see them. I said my own line would look like the grain itself.
What to carve next