
Alexander Grabovetskiy, woodcarver, School of Woodcarving · Published 2021
What is a cleanup cut in wood carving?
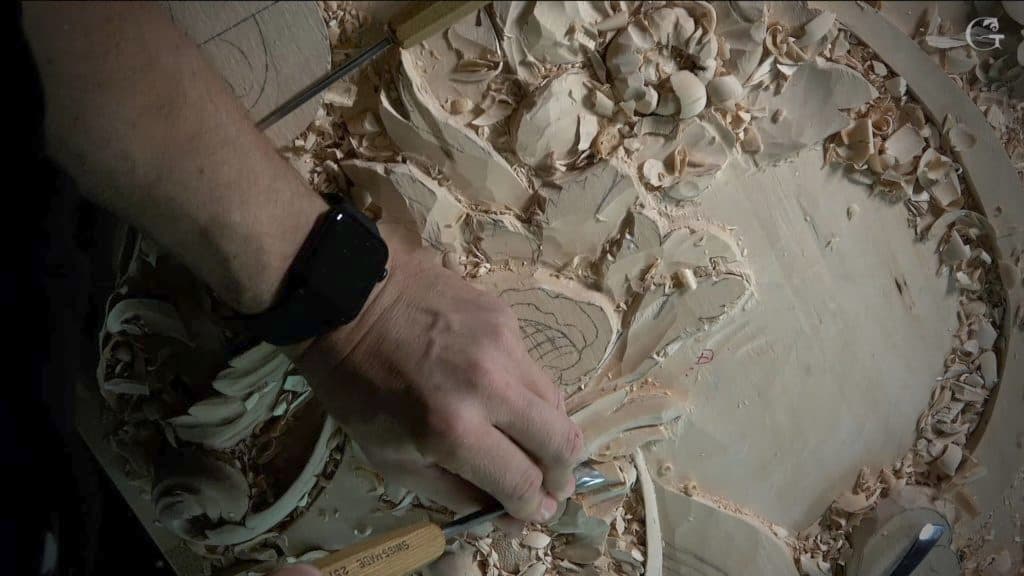
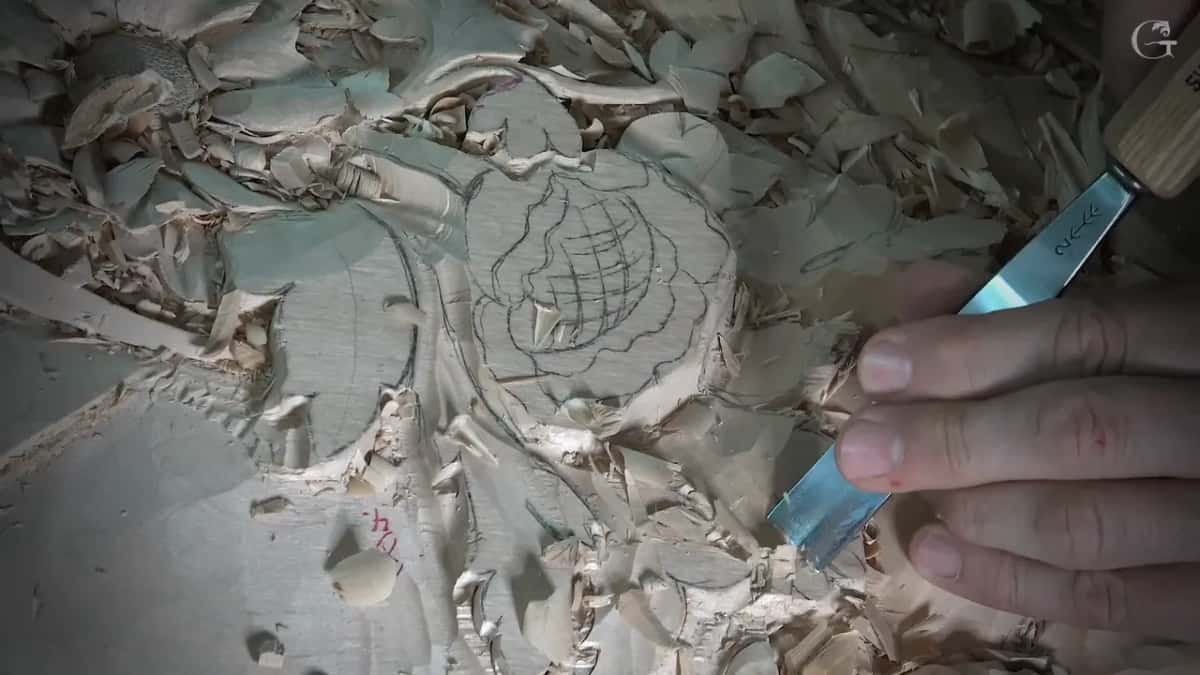
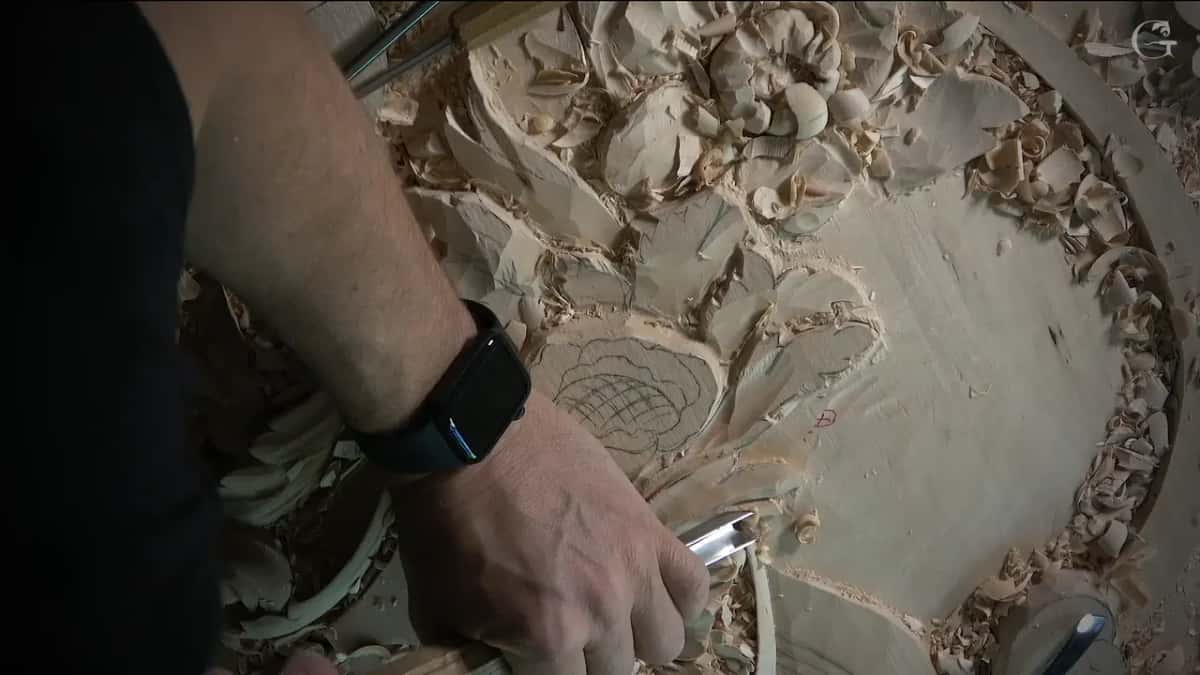
Quick answer: A cleanup cut is a pass with a flatter tool that cleans a surface where choppy work would do no good. In lesson 137 of the Venice Room, one leaf was lying pretty much on the surface. I set a #3 skew on it and gave it a cleanup cut.
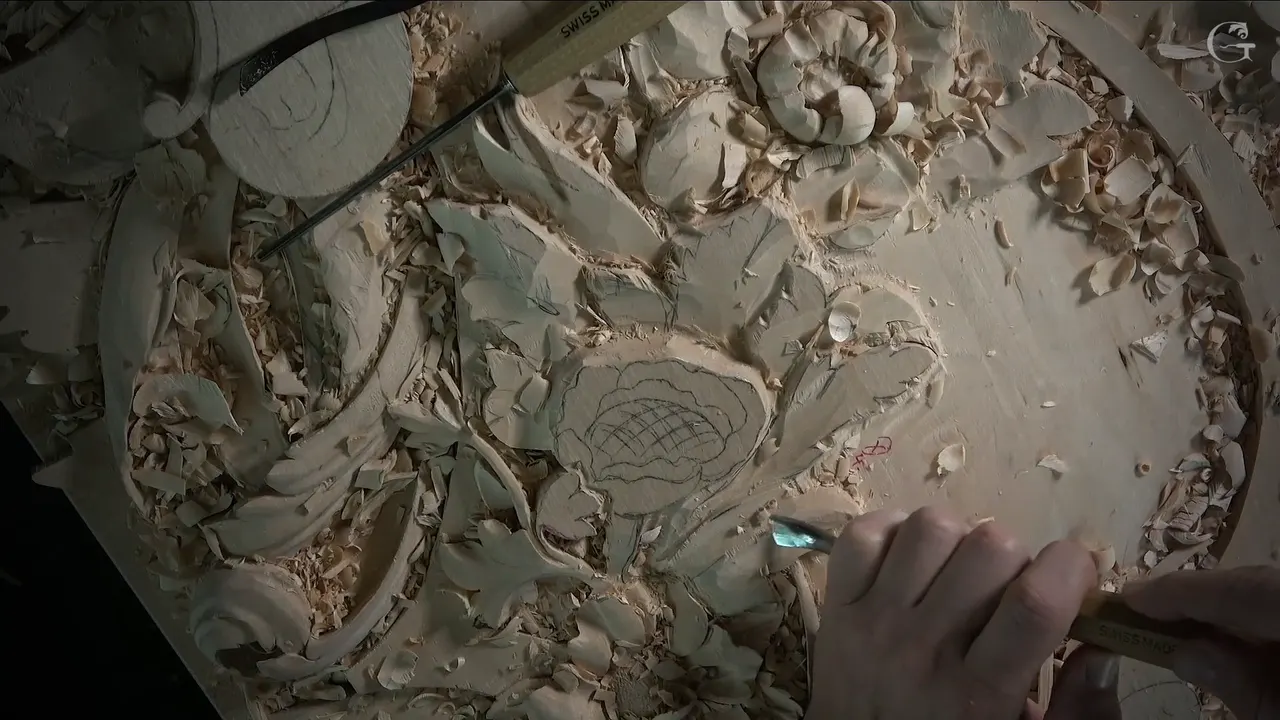
A cleanup cut is a pass with a flatter tool that cleans a surface where choppy work would not be good. In lesson 137 of the Venice Room one leaf lay very close to the surface. Choppy work there would not be good anymore, I said. So I reached for another tool, a flatter one, a number three skew, and gave that leaf a cleanup cut. If you want to know how to smooth wood carvings without chopping into them, this is the pass I mean.
Have you roughed out a leaf and found its face covered in little chop marks? Does that leaf sit so low that one more stab makes you nervous? Then the next pass has to clean, and a flatter tool is the one to pick up.
Lesson 137 comes first below, with the skew and the passes on either side of it. After that come my own words on cleaning cuts from three other courses, each one linked so you can watch it on the bench where I said it.
Cleanup cuts in six short lines
- The cleanup came after the preliminary shape.
- One leaf lay so near the surface that choppy work was out.
- My tool was a skew.
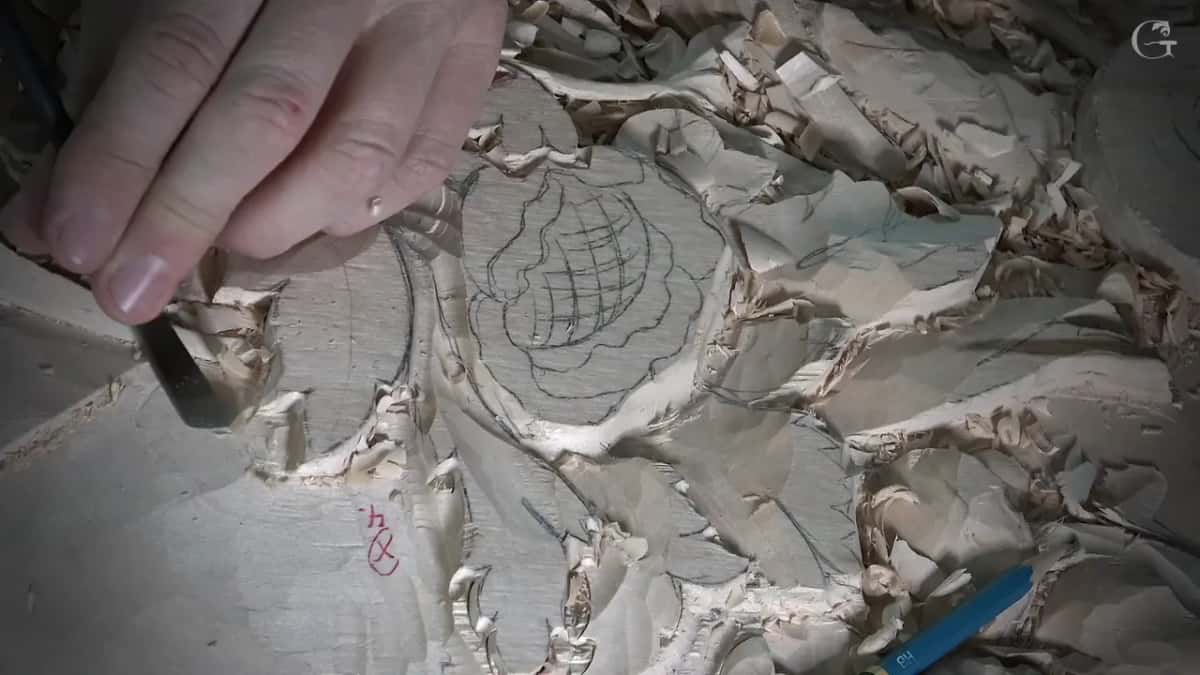
- A Greek acroterion's cleaning cuts took some ridges out and barely any material, in my words from that lesson.
- Do not force it, I said on a flower rosette.
- At a chamomile rosette, with the outside still to clean, I told you there was nothing special about cleaning.
What was the cleanup cut in lesson 137?
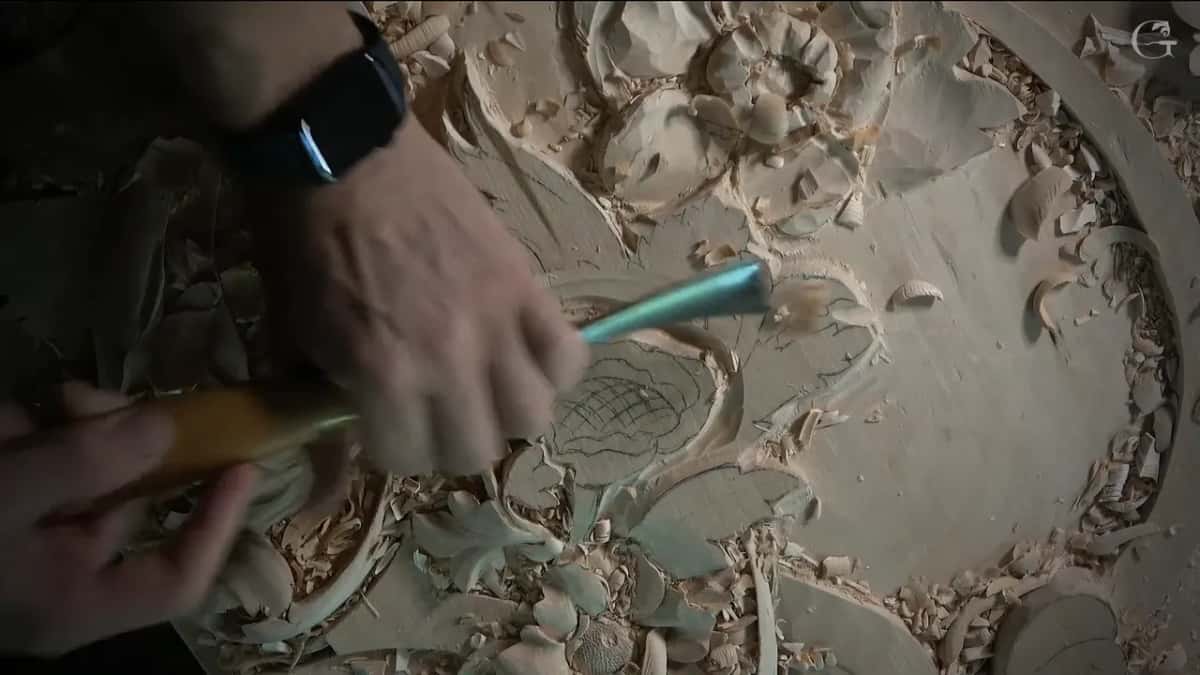
One skew pass over one leaf, in the second of the three parts. By then I had a preliminary shape. I said it was time to clean everything and give the final shape and separations, concaves and convexes, although this one would not get too many of those. The concaves, convexes and separations were all still ahead of me. I started on a leaf that is not acanthus, one I called an acanthaceae movement instead.
That leaf needed care. I had to be careful how close I was getting to the surface, because it was pretty much laying right on top of the surface. That meant I cannot do choppy work, I said, and it is not going to be good there, no bueno, not anymore at least.
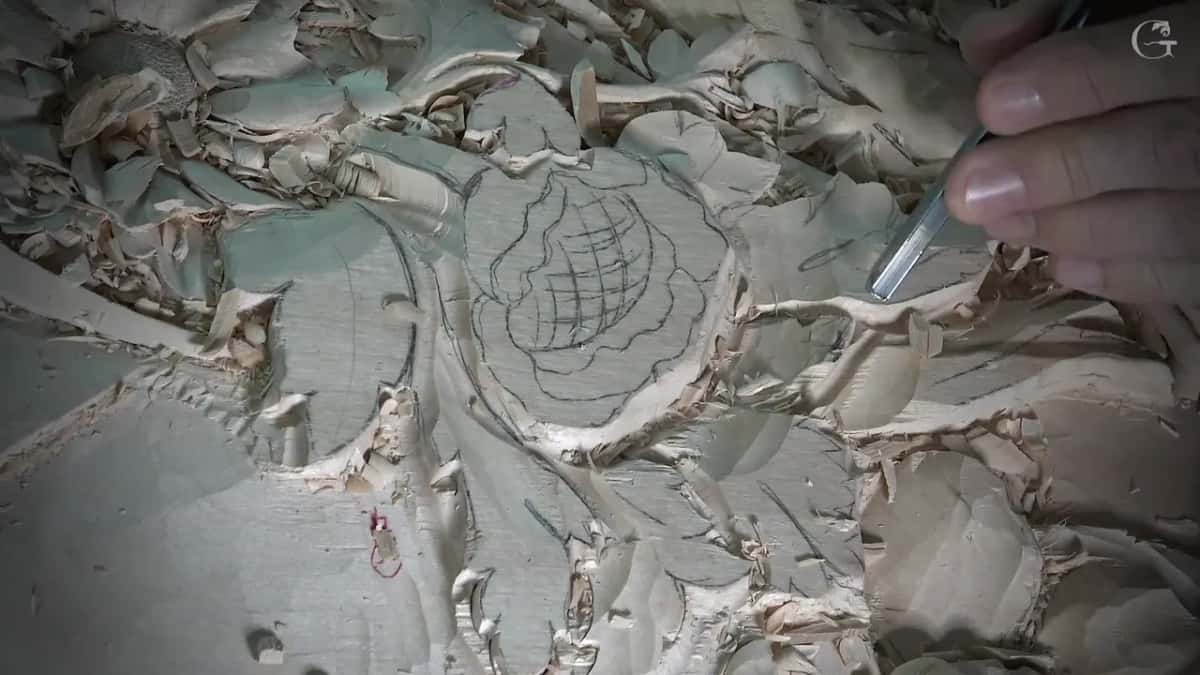
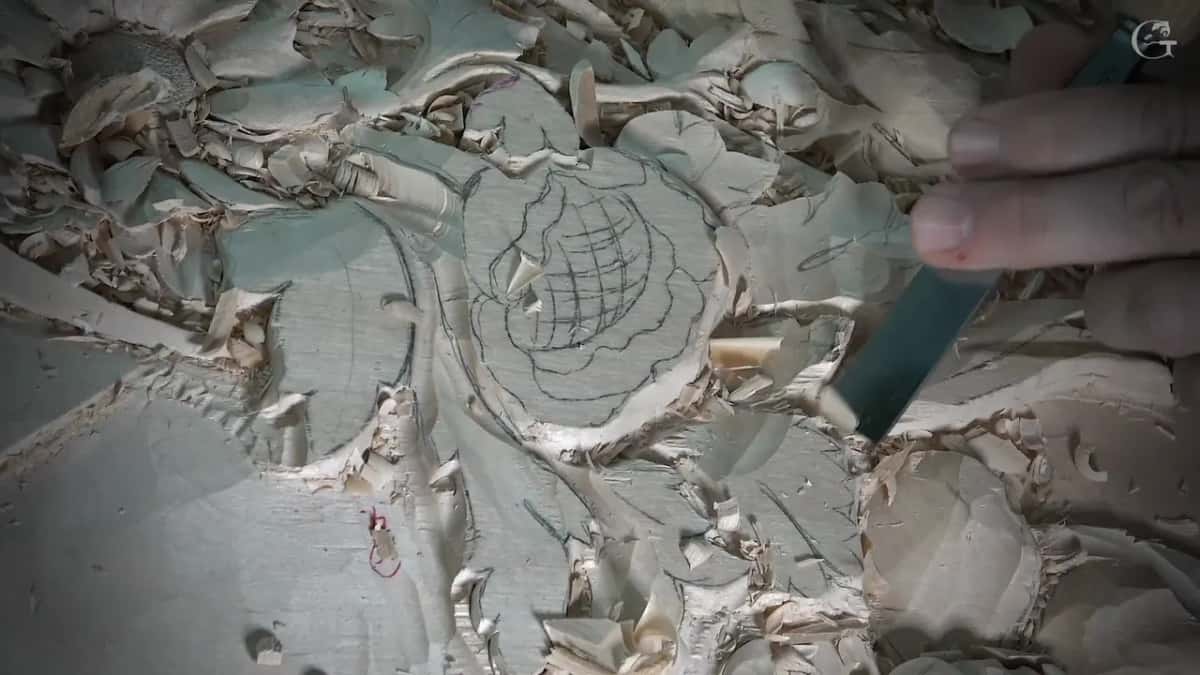
I needed something flatter. Probably just a skew, I told the camera, a number three skew. Then I gave it a cleanup cut and said, here you go.
The outline was already set by then. In the first part I had said I know I'm not lost. For me it's just a matter of cleaning, but I know the outline is there.
Why could I not chop that leaf?
The leaf lay almost on the surface, and I had to watch how close I came to it. That was the reason I gave on camera.
Earlier, in the first part, I got careful at another spot. Have to be careful, I said. But actually I'm safe. This area is a little lower, so I should be okay.
Lower meant safe on that spot. In part two the leaf sat on the surface itself, and chopping it was out.
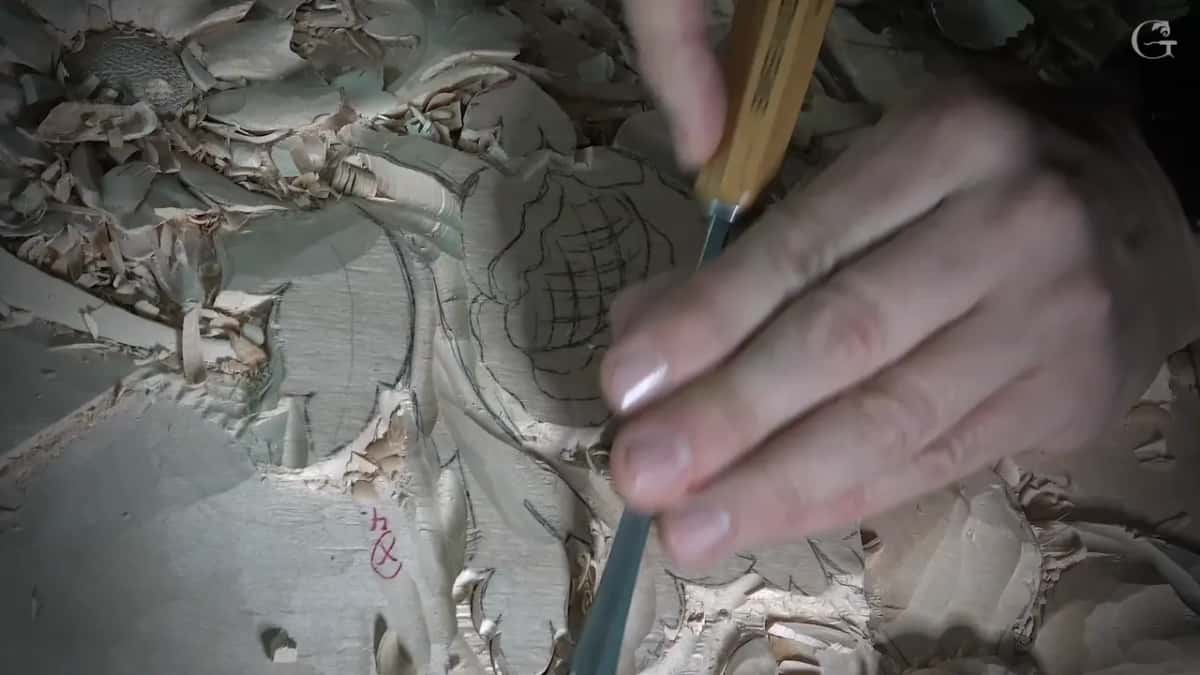
Right after the skew I said what I wanted that leaf to look like. I still want to make it feel like it is laying right on top of the main body of the work, I said.
Which tool makes a cleanup cut?
Flatter ones, mostly, and between the Venice Room and three smaller benches I have named more than one. The skew in lesson 137 was a #3. At the Chamomile and Bow Rosette, lesson 4, I was about to clean on the outside a little later, and I said there is nothing special about cleaning. All I'm going to do, I said, is take a small, flatter gouge or even a chisel.
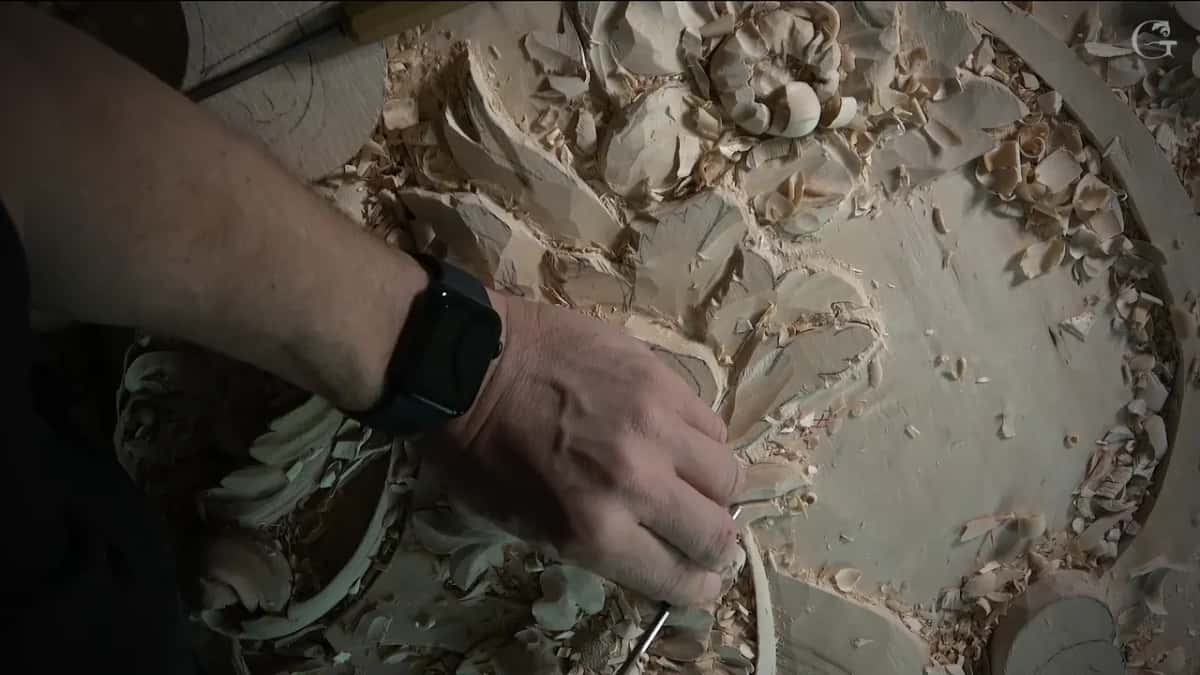
On the fourth lesson of the Greek Acroterion, a smaller grounding tool went in after the cleaning cuts to work its way inside one area. That grounding tool, I said, is still a number three in English measurement, on the English chart, the British chart. Just before that, I said it looked like this leaf needed to be a little smaller. So two of these tools were a number three, one a skew and one a grounding tool.
And on a rosette, the knife I had been using did the job. My words in lesson 6 of the Flower Rosette were that exactly the same knife can be used for refinement, just nicely. Just remove the small facets, I said, and whatever material you don't really need.
How do you smooth wood carvings with a cleaning cut?
You take off almost nothing. Making my cleaning cuts on the acroterion, I said I was just barely removing any material, just taking some of the ridges out.
So the job is small, a ridge here and a facet there.
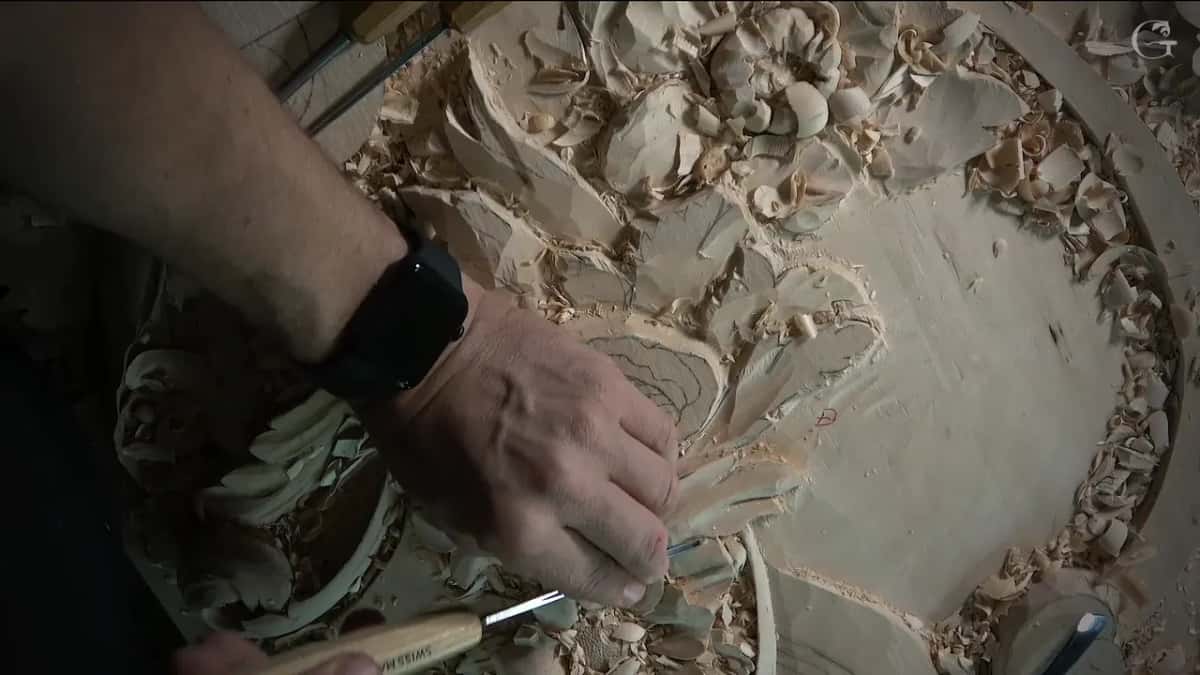
On that same flower rosette, in the lesson with the knife, I called the work a matter of refinement. How to make it look more finished, I said, just the cleaning cuts and so on.
My own lesson 137 put it another way. Working the separations in part three with a 2 mm (5/64 in) number 11, I said all that inside will be clean, and the same level as that.
What came before the cleanup in lesson 137?
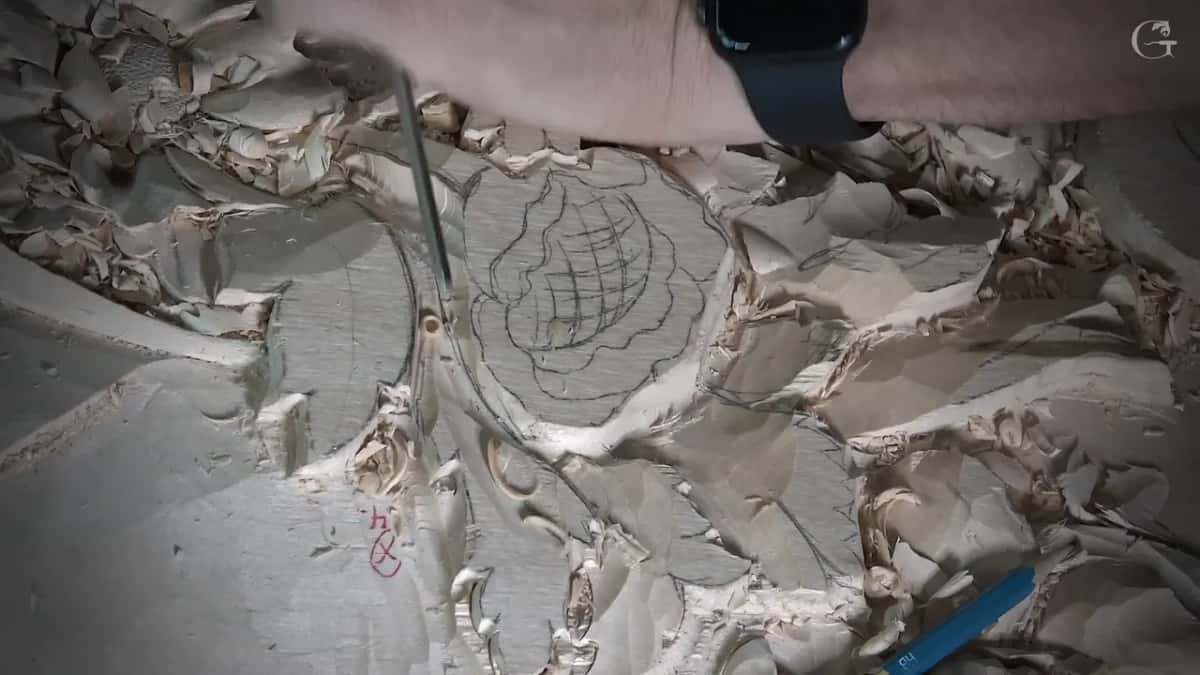
Roughing, with a lot of small choices in it. I needed depth, so I took a number seven and removed some surrounding material. Some lines I kept on purpose and said so. One spot I would probably leave like that for now, I said. After that I stopped to think. What should I start? I went with the surrounding first and meant to jump on the flower after, and I redrew everything from my iPad.
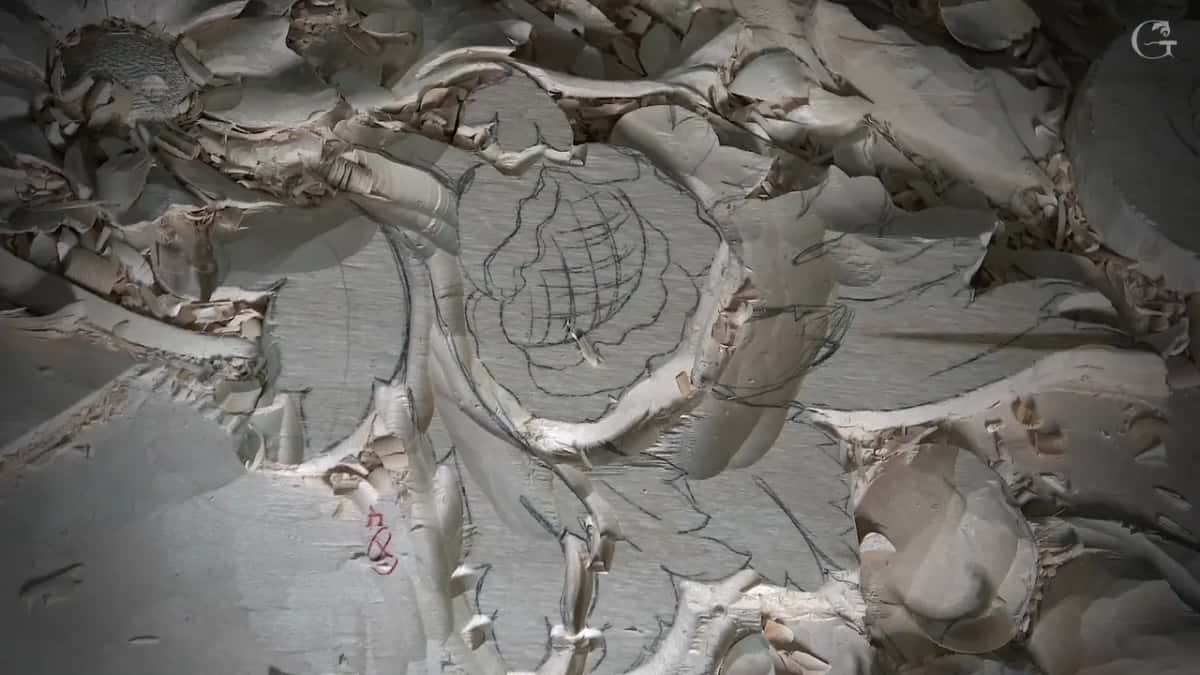
These movements are not acanthus, I said, but they still have the same flair, with some small areas of eyes and pipes. One part we did not need was going to go all the way down to the surface. Some spots I had to relieve, like triangles.
Then came the edge. I don't want to lose the edge of it, I said. So a number seven, 14 mm (9/16 in), went straight down on the movements I did not want to lose. On some spots, not everywhere, I applied the same classical rule of letter S curvatures.
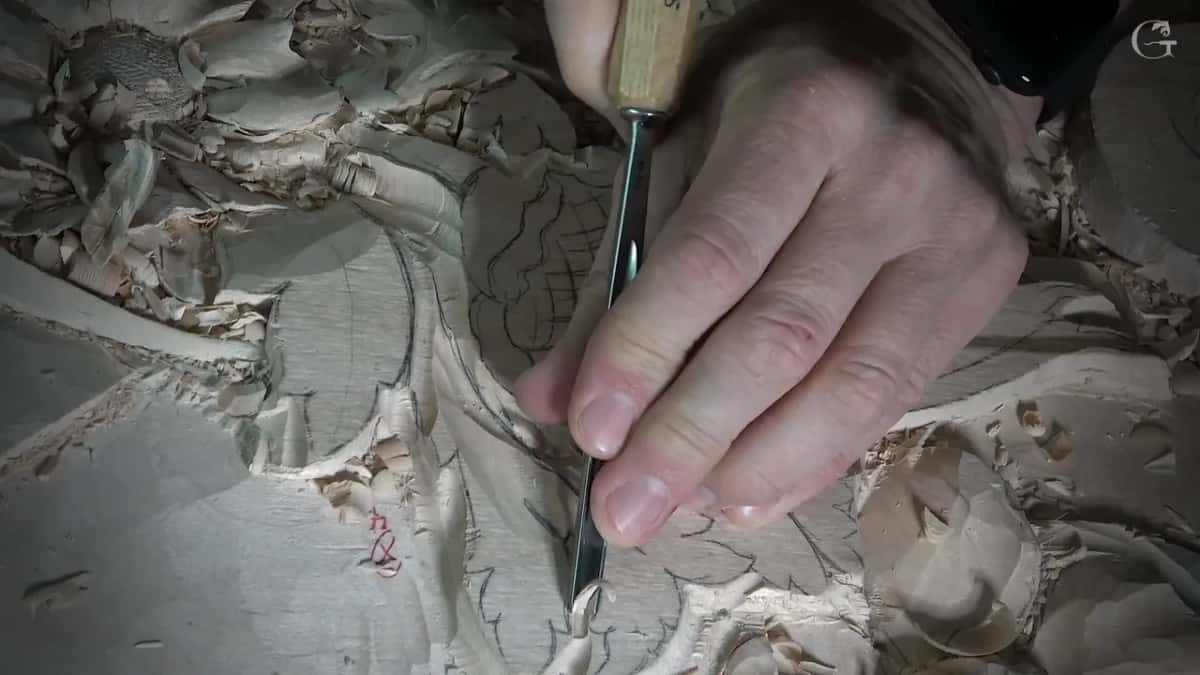
Next was a slope. I lowered one part so it would slope one way, and told the camera I was not sure you would catch that. That is high, that is low. The number seven set that slope carefully.
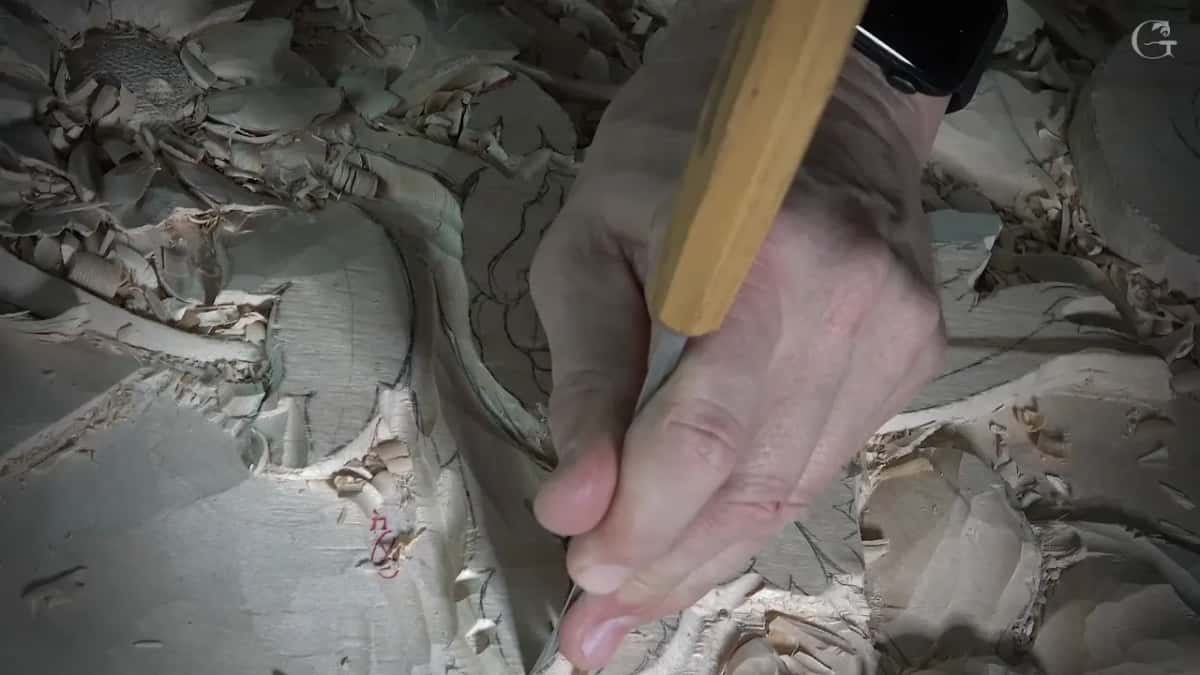
I outlined the main form first, even where separations would come later. I could outline right away this little guy, I said, and after it I outlined the other side. Once I saw I could safely slope one piece underneath its neighbour, I said it would create a beautiful shadow underneath, and that all that could go much lower. In part two a little bigger tool, a number two, took out more of that material and cleaned the area. One side I tucked under a little guy beside it to make some variations. From above it looked like mess, I said, but it's okay. You get an idea. The preliminary cut, a light first pass that only shows where a shape will go, has a page of its own.
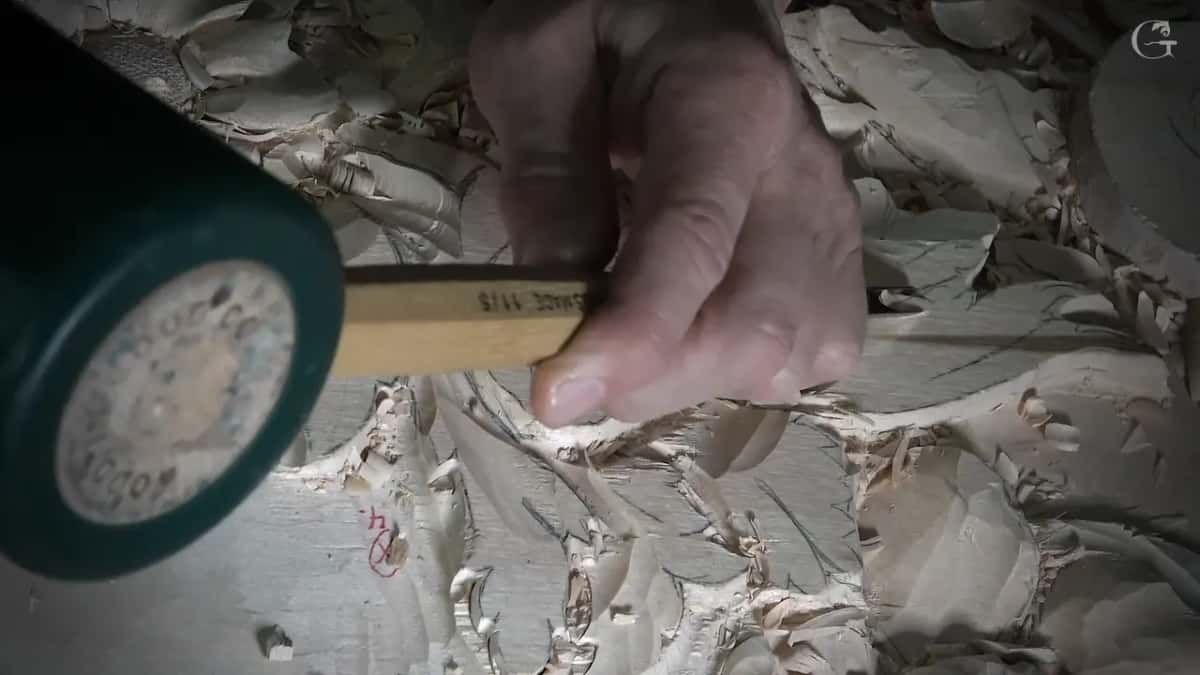
What did the leaf get after its cleanup cut?
Two big concaves, a boundary and a back bend for the middle. Right after the skew I said, well, you know what, I could take a number 11 at 2 mm and go right away and somewhat undercut. I did not want a deeper undercut yet, I said, because I still had convexes and concaves to create. At least it gave me the boundary, and I said I would do the same idea on the next spot.
Then the middle. A couple of concaves came next, same as on an acanthus leaf, I said, big ones, with a 30 mm (1 3/16 in) number 11, and I sliced the first one. Another followed on the other side. That is the main shape, I said, and it would give me beautiful shadow casting.
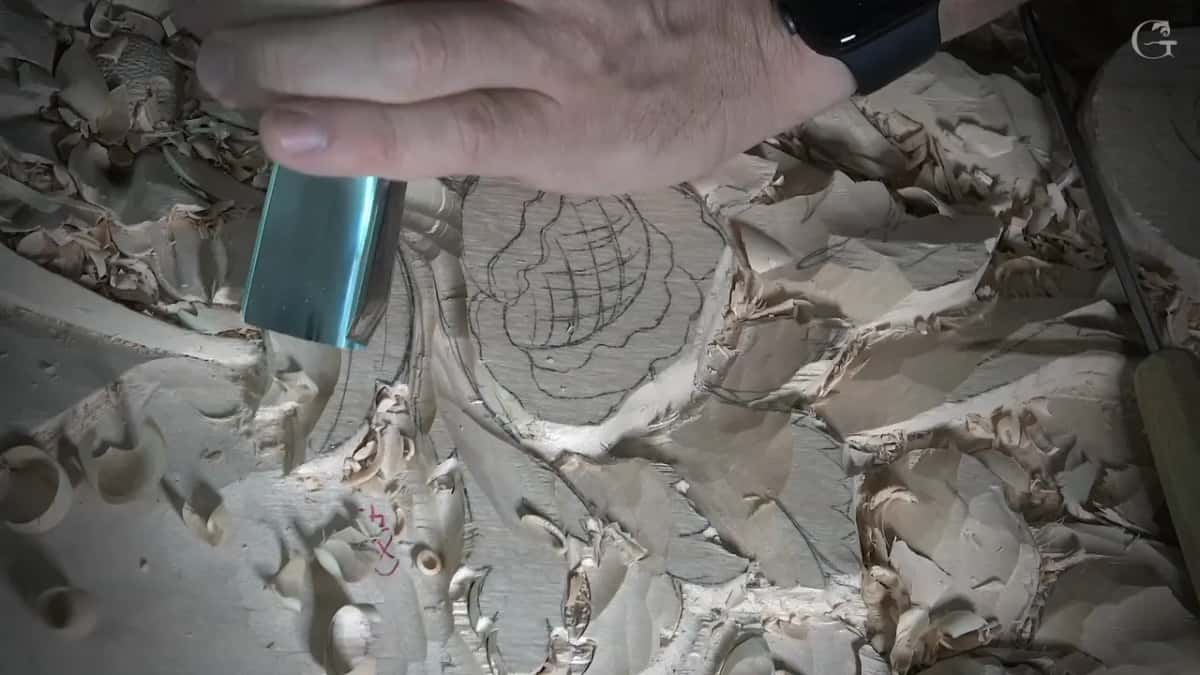
I took a back bend to blend the middle part. It was a good idea to attack that from the right position, I said, and then I tripped over my own words. Maybe I need to sharpen it, I said. Okay, I just confused you. I don't need the sharp middle line, but I need a sharp tool.
Part three brought the separations. The same 2 mm number 11 made the shadow lines, and a 1 mm (1/32 in) prolonged them. At one point I said 3 mm (1/8 in) would work also, for a little bigger shadow or deeper shadow. Blending everything, and going all around to undercut, I left for a little later.
Before that I cleaned the edge and went pretty much underneath one side right away with the 2 mm. I could use 1 mm now, I said. That's probably what I should use, 1 millimeter, but let me also take care of this junk.
Near the end came a small concave, from a 12 mm (15/32 in) number 11. Not much, but a little bit. Just some movement, I said, and I think that is enough. Seen from above at the close of that part, I said I've got a kind of mess again all over, and I don't like that, so I moved on to the next one and saved the cleaning for later.
When should a cleaning cut go a little deeper?
When your first pass stopped short. On one flower rosette in lesson 5 I found a spot where I needed to go a little deeper. I didn't go too deep on my first pass there, I said, so I took my knife.
That's a good practice also, I said. Just not to force it. If you need to make a cleaning cut, just make the cleaning cut, and I meant if you need to get a little deeper before the final pass. Just good practice.
Can a cleaning cut go against the grain?
On one flower rosette mine did, and I said so while it happened. Again, on this side, just cleaning cut, I said. I was going against the grain right then, but I felt confident. No problem, I added. I said that about one pass on one side of one flower.
Why be careful with a rosette's cleaning cuts?
It felt almost like working with jewelry, I said. Back in lesson 3 of the Flower Rosette the words were, make my cleaning cuts, just go around. Again, I have to be really careful here.
Every cleanup from these lessons, side by side
| Tool | Job | Lesson |
|---|---|---|
| A skew, number three | cleaned one leaf lying low on the surface | Venice Room 137 |
| The same knife | took off small facets and wood I did not need | Flower Rosette 6 |
| A smaller grounding tool | got inside one area after the cleaning cuts | Greek Acroterion 4 |
| My knife | went a little deeper where I needed it | Flower Rosette 5 |
| Gouge or chisel | for cleaning the outside, the gouge small and flatter | Chamomile Rosette 4 |
Five lessons, and in each one the job was cleaning.
Where does the cleanup sit in the order of work?
In 137 it followed the preliminary shape. The outside of the chamomile rosette I put off until later. You don't have to watch it, I said, I can do that off camera, there's no reason. When to clean a whole carving is a question with a page of its own.
Where can you watch lesson 137?
You will find lesson 137 in Part 12 of the Venice Room, which runs from workshop 132 to 143. Before it come lesson 135 and lesson 136, and lesson 138 comes next. You can see the cleanup cut about four minutes into the second of its three parts. The first part is the roughing, with the #7 at 14 mm going straight down and the high and low slope. The second has the #2, the skew and the two 30 mm concaves. The third is the separations, in 2 mm and 1 mm, and a small 12 mm concave.
The three other benches are here too: the Flower Rosette, the Greek Acroterion and the Chamomile and Bow Rosette. Every wood carving lesson named on this page opens with full access to the school.
Want to see the skew touch that leaf? Would you like to hear why I said no bueno before I picked up the skew? Watch the second part of lesson 137, where a relief leaf lying that low got its cleanup cut.
How it's done
- Finish the preliminary shape. That shape came first in lesson 137, and the cleanup followed.
- Check how close you are to the surface. That leaf lay nearly on it, and choppy work there was no good.
- Pick up a flatter tool. Mine was a skew, and on another bench I named a chisel as one more choice.
- Take off barely any wood. Some ridges came out, the way the cleaning went on a Greek acroterion.
- Do not force it. Where a spot wants a little more depth, take the knife and give it that pass.
Frequently asked questions
Is a cleanup cut the same as a cleaning cut?
On camera I use both names for one job. The Venice Room lesson calls it a cleanup cut, while a flower rosette and a Greek acroterion call them cleaning cuts. Each time the pass cleans up what is already there, on a surface I have mostly shaped.
What tool do you use for a cleanup cut?
My leaf in the Venice Room got a #3 skew, which I called a flatter tool. For the outside of a chamomile rosette I named a small, flatter gouge or even a chisel, and a flower rosette got its refinement from the knife I carved it with.
Can you chop a leaf that sits close to the surface?
Not the one in lesson 137. Sitting almost on the surface, it left me no room for choppy work, so a flatter tool cleaned it instead. Earlier in that lesson a lower spot let me keep going, and on that one I said I'm safe.
What to carve next