
Alexander Grabovetskiy, woodcarver, School of Woodcarving · Published 2021
What is a preliminary undercut in wood carving?
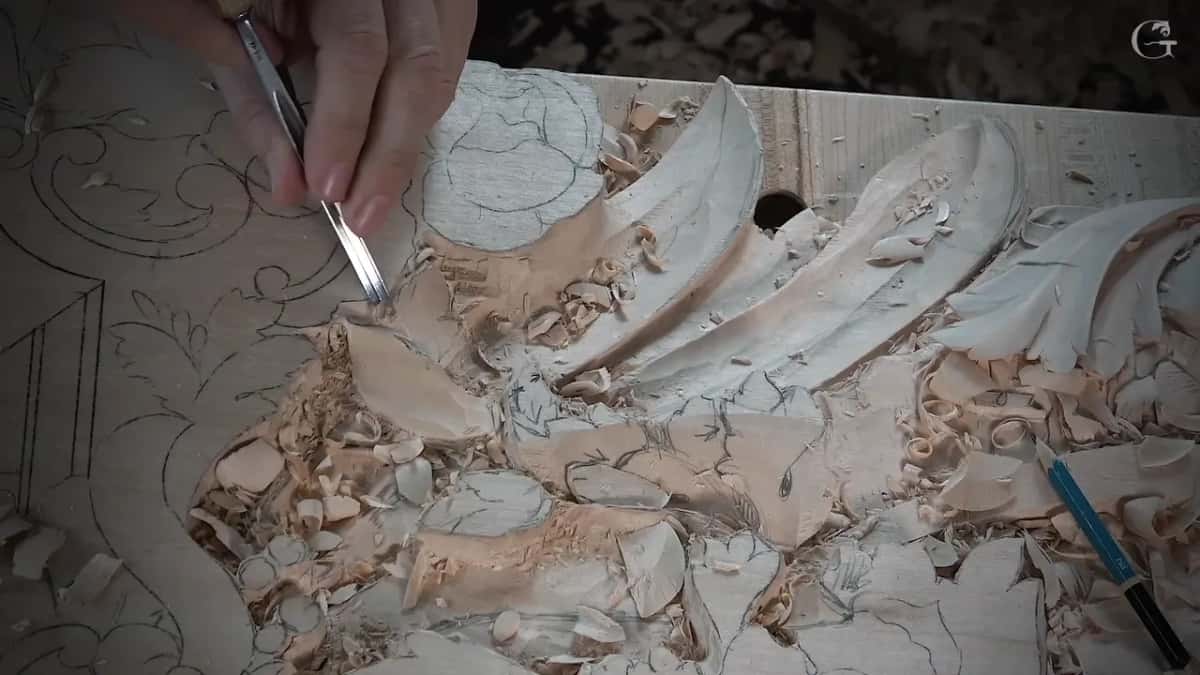
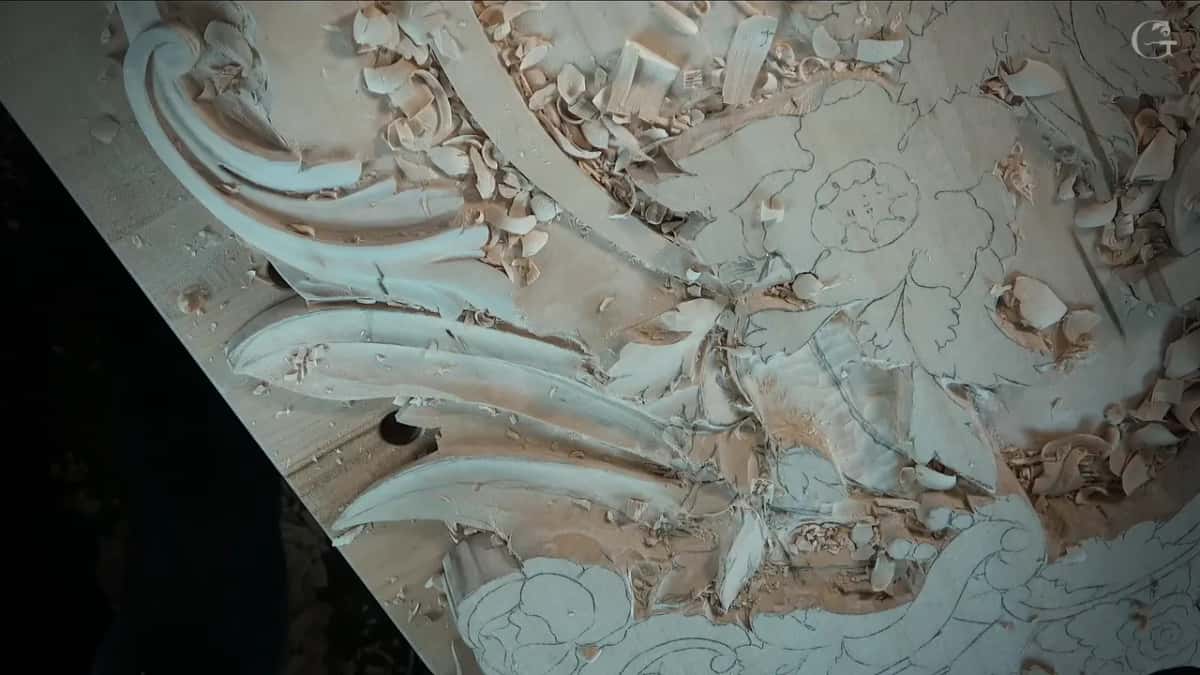
Quick answer: A preliminary undercut is my first undercut under a leaf, made before the top of it has its final shape, and on camera I call it preliminary for that reason. In lesson 132 I used a 5 mm number 11 and kept a wall of wood behind it for the concave and convex shapes still to come.
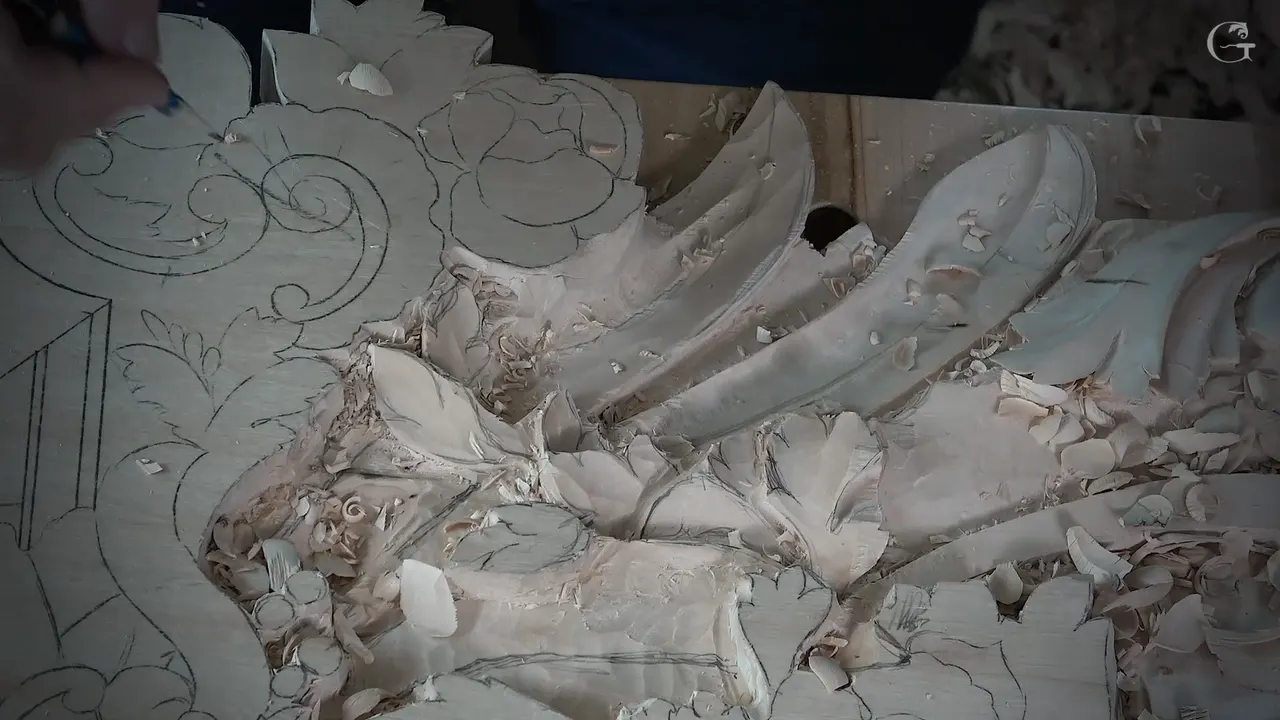
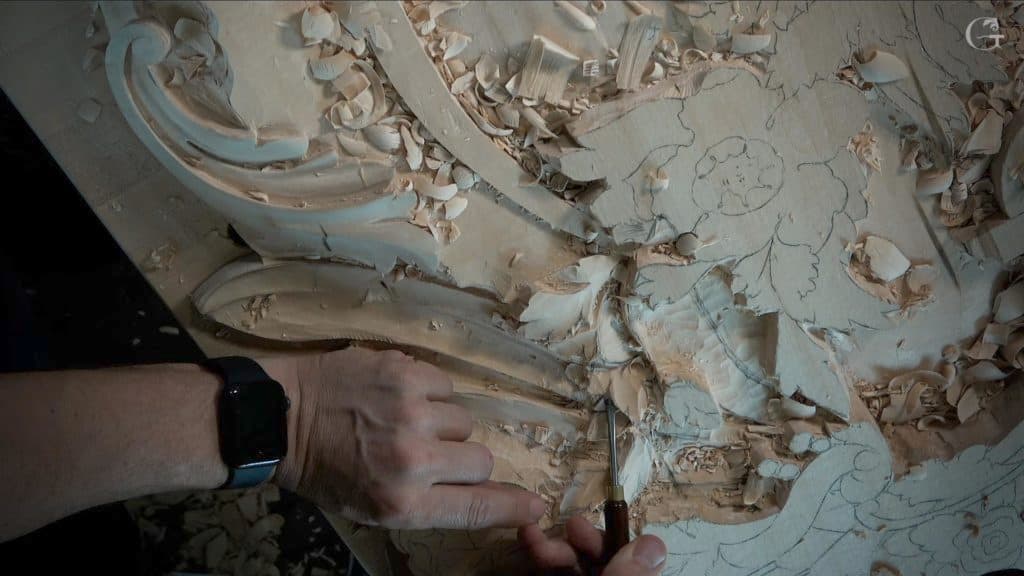
A preliminary undercut is the first undercut I make under a leaf while the shape on top is still rough, and it is not the final one. During lesson 132 of the Venice Room I made a few of them with a 5 mm (3/16 in) number 11. On camera I told you plainly that those undercuts were preliminary. So if you came looking for undercut relief carving, this page is about the early stage of it, the one where I leave wood behind on purpose.
Would you like to see a little shadow beneath the leaf before the leaf is done? And keep enough wood there to shape it later? This page starts with lesson 132. After it come my own words on the same stage from eleven other lessons, on a rosette of flowers, a modern acanthus, a tray and a vase, each one linked so you can watch it.
What a first undercut means on my bench
- It goes in beneath a leaf whose top is still rough, and I call it preliminary, with the final pass still to come.
- My tool for it in lesson 132 was a number 11, 5 mm wide.
- A wall stayed behind it, since the hollows and rounds on top were still ahead of me.
- Later I planned a 2 mm (about 1/16 in) tool to blend everything.
- Some lessons show me starting one at once. Others show me waiting.
- When I waited, I said what for, a full block in one place and the concaves in another.
What did I carve in lesson 132?
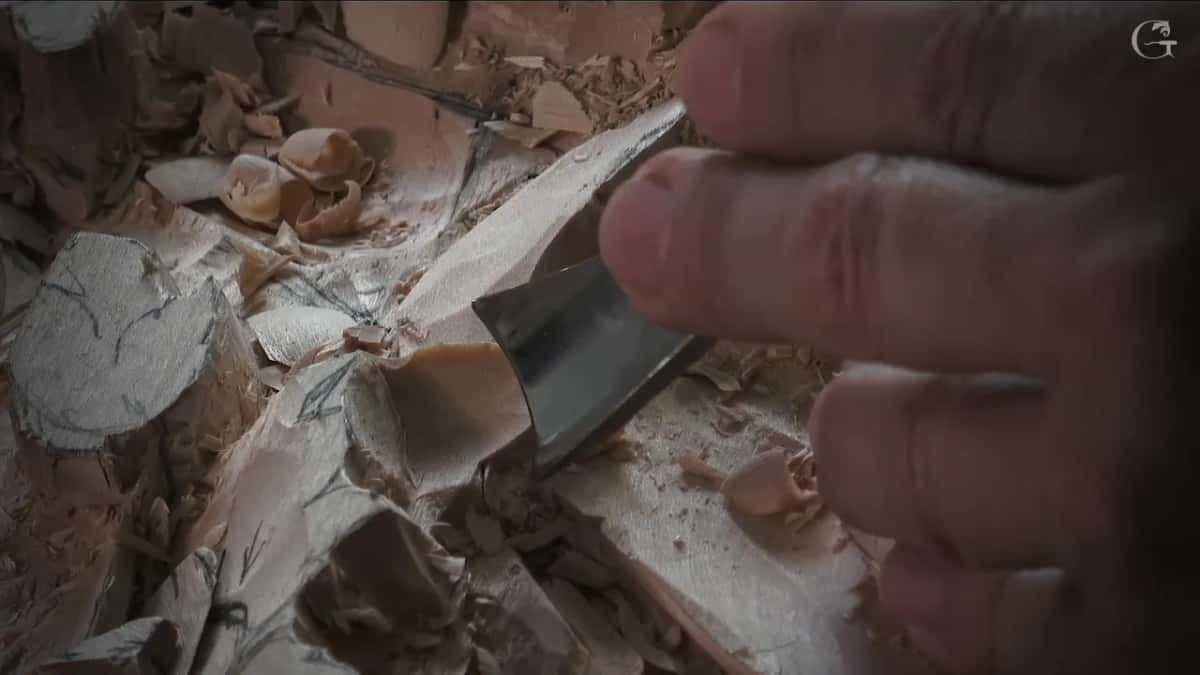
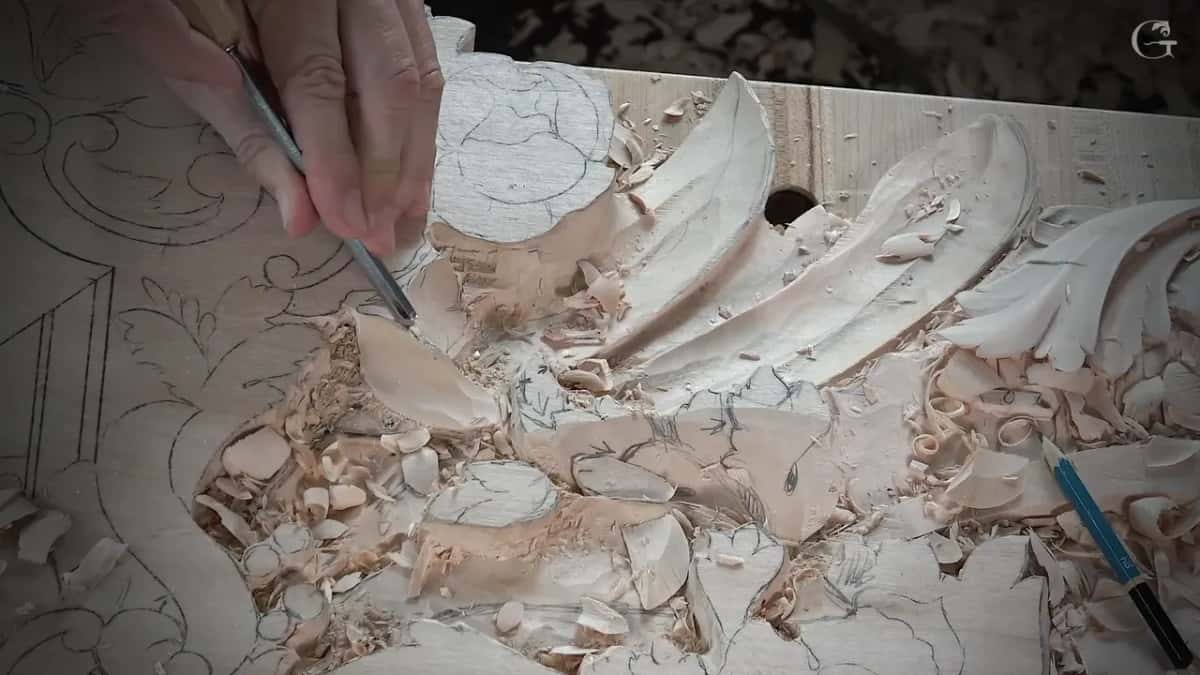
First a number 7 worked the ridge of one small leaf. Then the 5 mm eleven went in under it. "I'm going to attack underneath of this leaf," I told you, hoping you would see what was going on. Right after that came a second thought. Later on, or even then, I could go a little deeper, maybe 2 mm more.
Still, some wall stayed there, and the reason went on the record with the camera running. "I'm still leaving some wall right here, the thickness to the highest spot, because I still have to establish concaves and convexes. So those undercuts are preliminary. It's not like the final look what you're going to see."
Then I hit a little bit right on the line of the leaf above, and said, "And I like it so far."
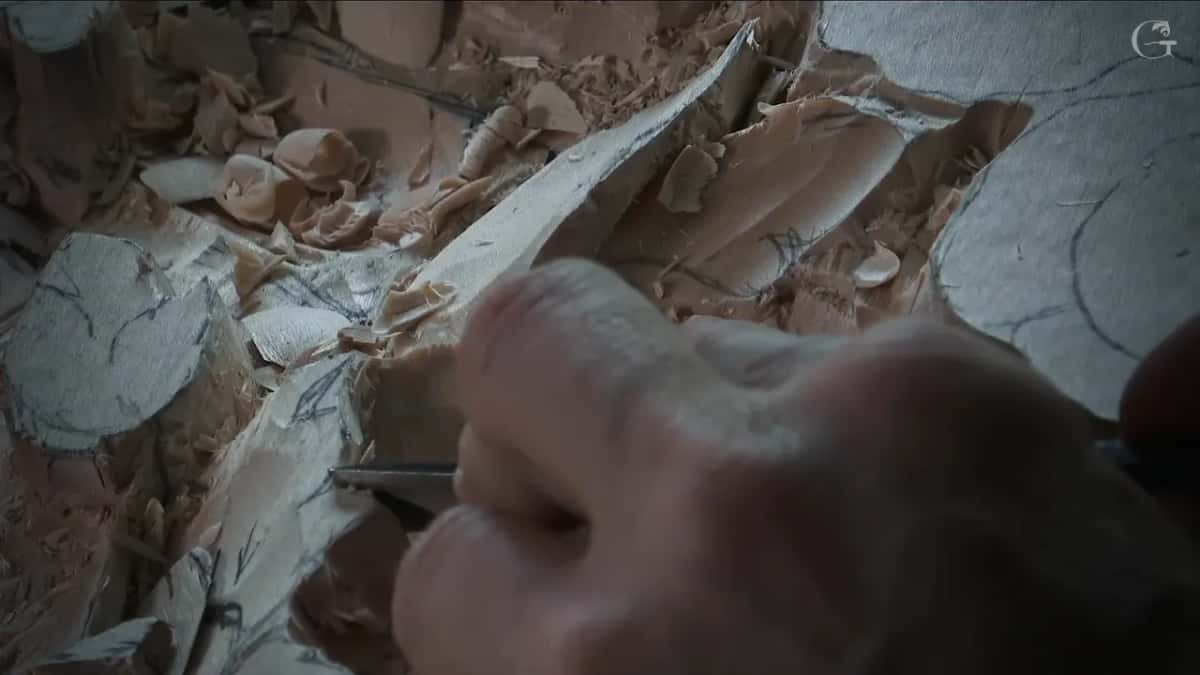
Earlier, in part 1, I thought out loud that I could probably undercut right away under one line, and that it wouldn't be the final shape yet but would give me an idea. I also dug one hollow there with a 3 mm and then a 2 mm eleven. Two little leaves are lying right on top of that spot, so I cannot go too extreme, I said. "But it's already extreme. It's already giving me a beautiful shadow."
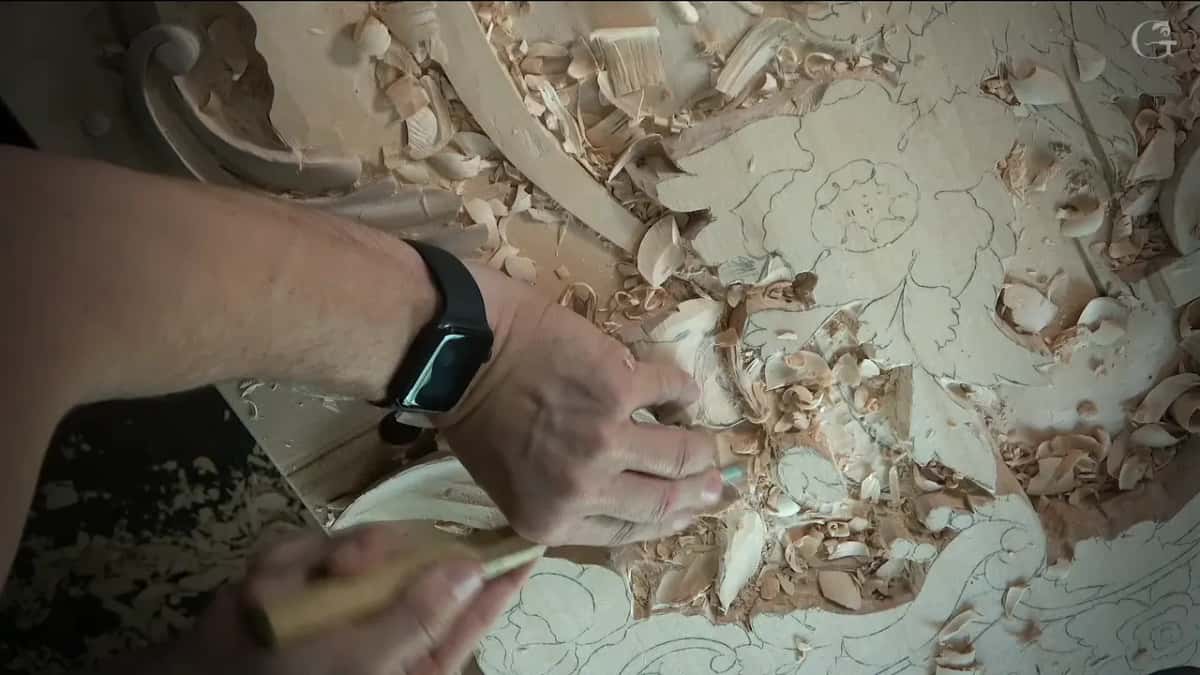
Part 2 brought another one under a different line, with the same tool. From that close the camera almost doesn't show what I'm doing, and I admitted it out loud. "So it's a preliminary. I'm going to leave it like that."
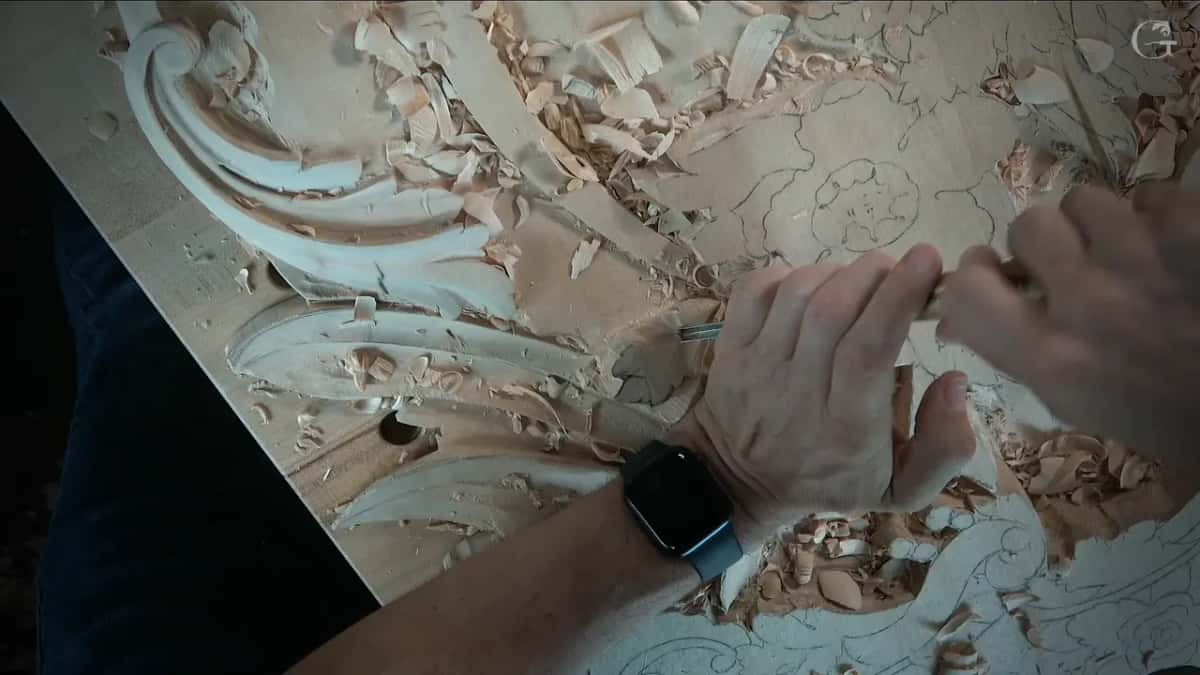
Part 3 had one more. After undercutting beneath an area with that eleven, I said a 2 mm tool would come later and blend everything. I undercut the other side at once as well, and then came the main shape, everything redrawn, and after that the details.
Why leave a wall behind the first undercut?
The leaf on top still needed its concaves and convexes. That was my reason in lesson 132, given at the spot with the wall still standing, and it is why the word preliminary fits.
On the Tray of Blessing, lesson 3, one spot got the same treatment. I said I could probably take my 3 mm (1/8 in) number 11 and start undercutting somewhat, but still keep some thickness, because later on we're going to add some more details. The other half followed in the next breath. "But nothing prevents me from undercutting right now."
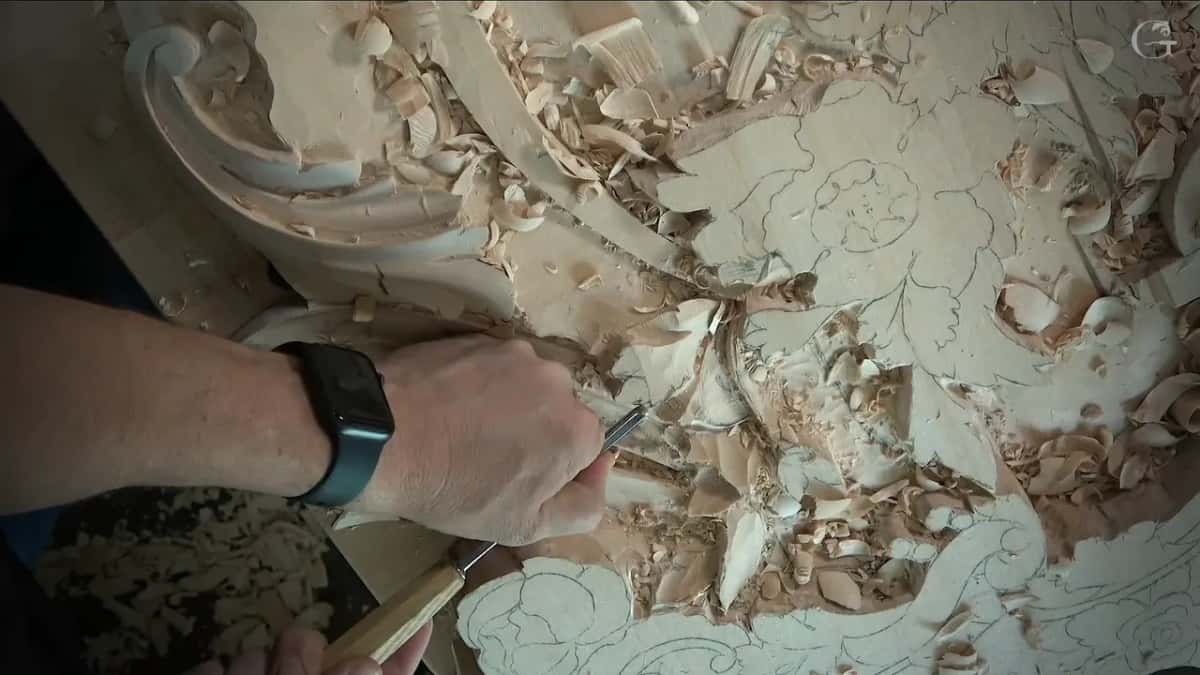
In lesson 5 of that tray I held it back for a reason of its own. "I am not undercutting yet, not so much inward," I said. The concaves had to be carved and blended together first.
Lesson 129 of the Venice Room has a page of its own about the wood you keep for a concave, if you want that side of it.
Is a preliminary undercut the same as a preliminary cut?
What lesson 124 calls a preliminary cut is a different thing, a light first pass on top that shows where a shape will go, and that lesson has its own page.
Both turn up in 132. In part 1 I made a preliminary outline of one detail, not at its final height, only to show that something will be there. A few preliminary passes with a 3 mm eleven followed, and a plug cut with a number 9 would give exactly the same result, I said. Those passes work down from the top of the wood. An undercut goes in under the edge.
When did I wait, and when did I start right away?
Both happen in my lessons, and each time I said something about it right there at the bench.
The Cabernet Sauvignon tray, lesson 5, shows the first kind. With the flute at about eleven o'clock I carved slightly underneath, "creating undercut pretty much right away." "See how deep shadow, I'm guessing, but I'm not on the line yet," I said next. You can always make it wider later, I added, so it is better not to stay on the line right away.
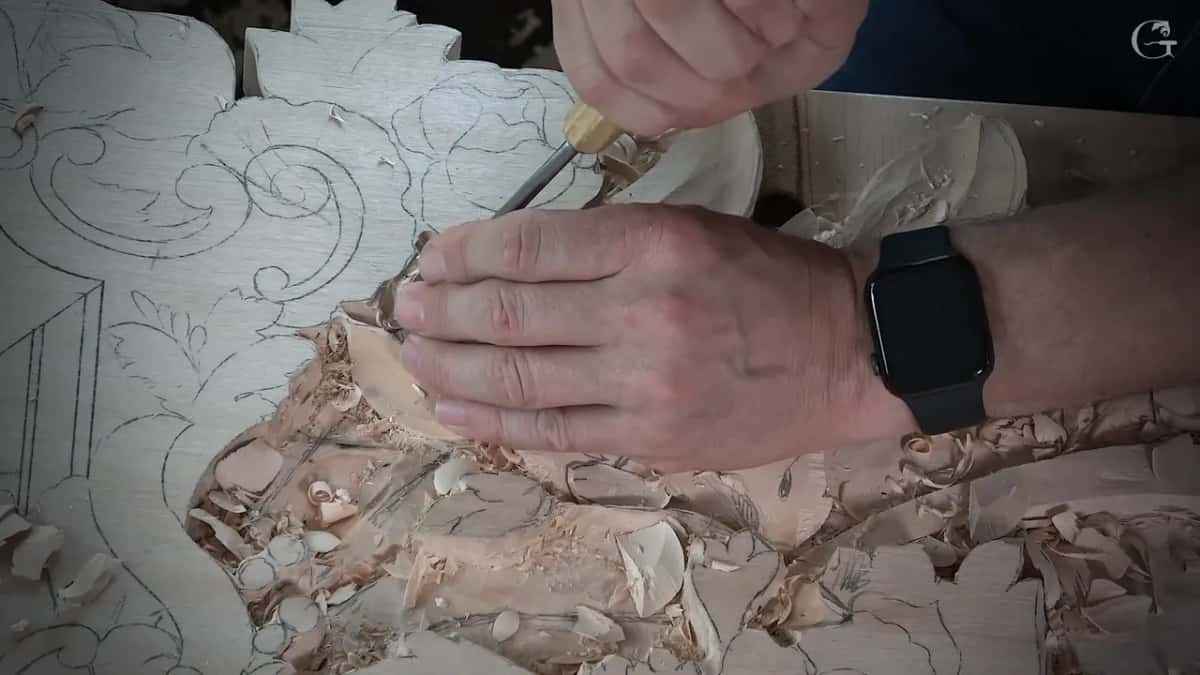
Modern Acanthus, lesson 4 has one area about to be undercut when I said, "I really want to see the shadow." About a minute later a 3 mm eleven came out for undercutting, "if you feel like it's the time for you to do it." A couple of passes would do, I said, as an indication of the spot you don't go below.
The same tray, in lesson 2, has the other side of it. You can grab a smaller tool and start undercutting, "but don't undercut too soon before you see you do have a full barrel, you have a full block." Otherwise it gets too squished. A second later I softened it. "I mean, it's not gonna look bad, but it's not gonna look like a full 3D."
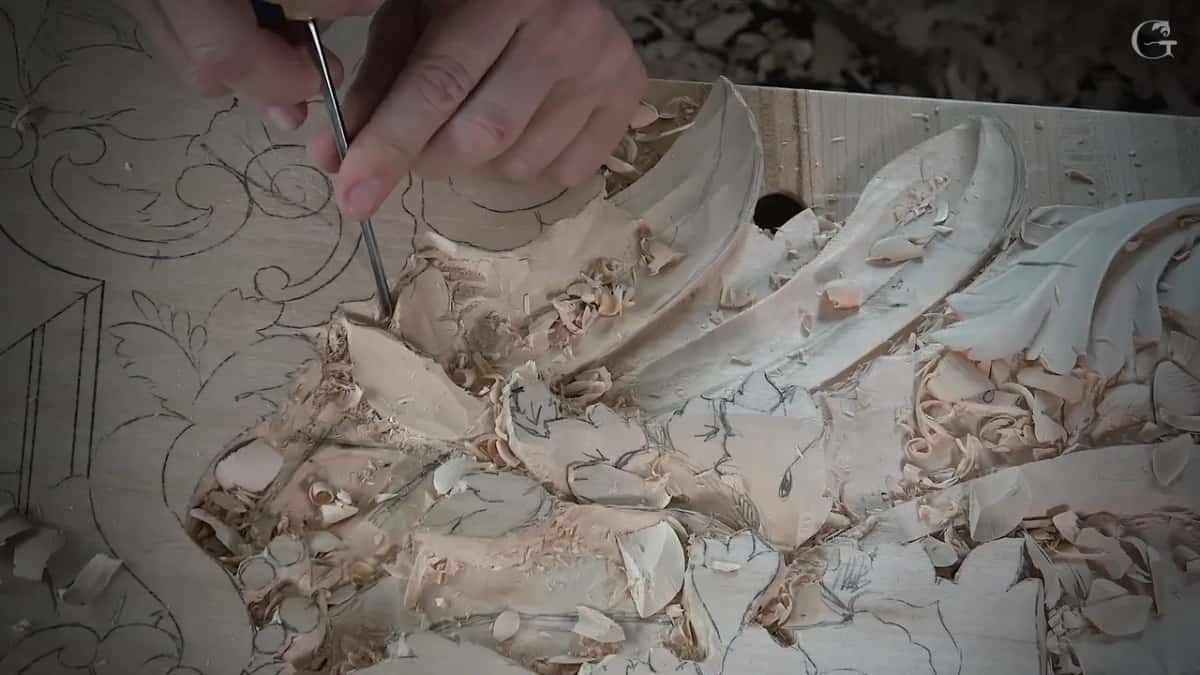
Rosette lesson 4 of the Venetian Flowers course was short about it. "I'm not going to undercut yet. A little later." And then, "In the preliminary, I can see how it's going to look."
The vase with grape leaves, in lesson 2, had me holding off too, and I said, "It's going to be too early to undercut." "We will undercut, by the way, but it's a little too early."
Rosette lesson 6 shows the waiting from the other end, where I took the wood down, "not all the way, all the way down," and said I still keep my distance, because the undercut comes later and I don't want to damage my background.
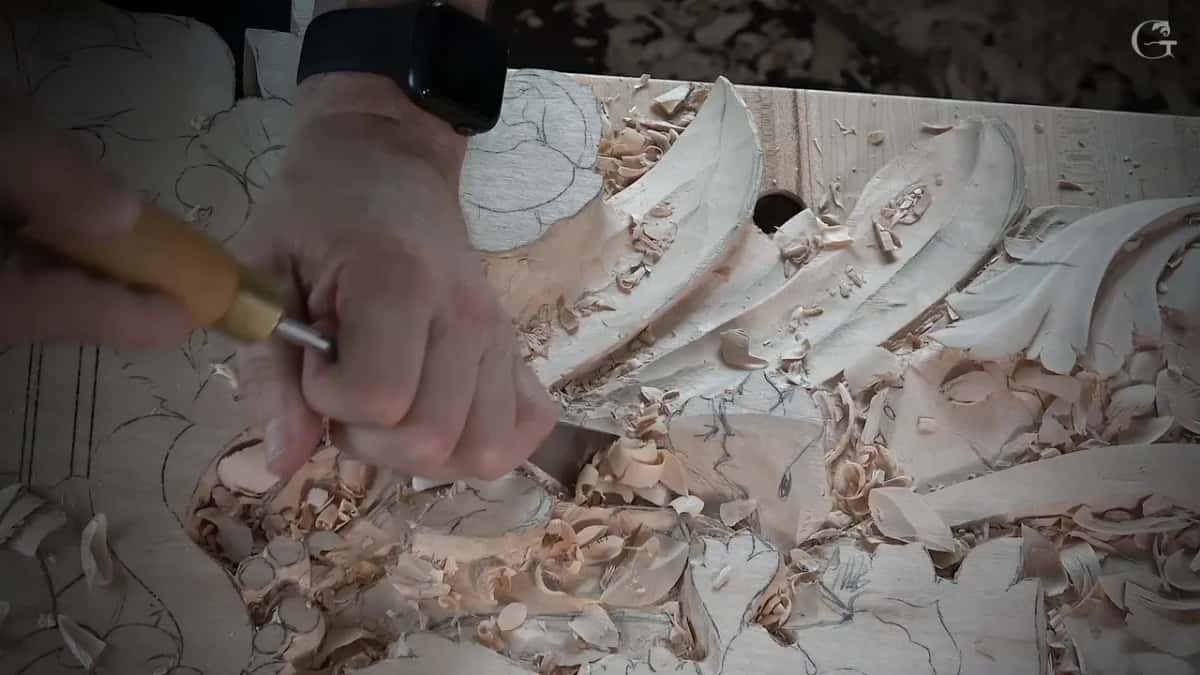
One warning about depth came in lesson 5 of Modern Acanthus. Don't undercut too deep, I said, because it gets really hard to reach later on if you don't have the right tool.
Undercut relief carving, the first stage and the final one
In these lessons the first undercut keeps pointing at a later one. With a smaller one of about 2 mm in Venetian Flowers Rosette, lesson 3, I said I was going to preliminary undercut. Obviously, I said, the undercut would be much deeper later on, and I still had not made the decision how I would do certain areas. A few minutes on, same lesson, nearly the same words. "Again, that is just a preliminary undercut." Later on, I said, I would go much deeper.
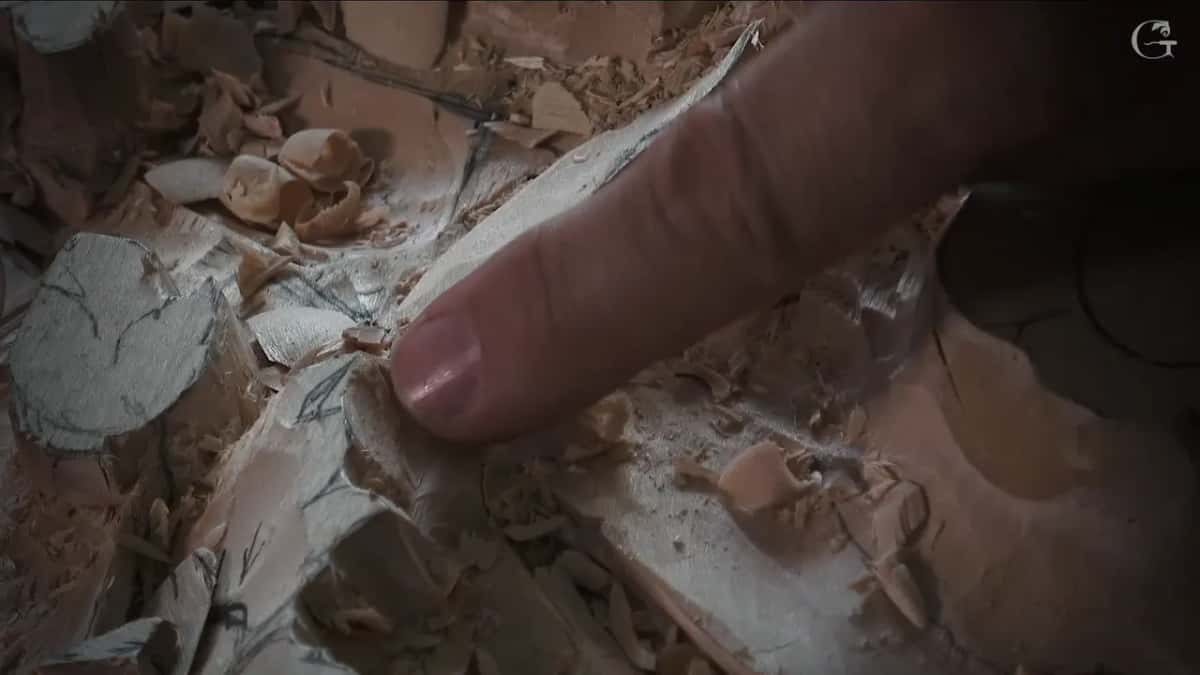
In the fifth lesson of that rosette I picked up a number 17 of 3 mm to start. "That is a preliminary undercutting. It's not the final undercutting." My final undercutting, I said, would not happen on a video, on a camera, so there was no reason to show it to you, and anyway it is not a beginner's project.
Back in lesson 132 the promise was the same. "Once I going to undercut, so you'll see it much more clearer," I said about that small leaf. And lesson 6 of Modern Acanthus put the payoff in plain words. That undercut was already done, and it was a lot easier to create the final shape for me.
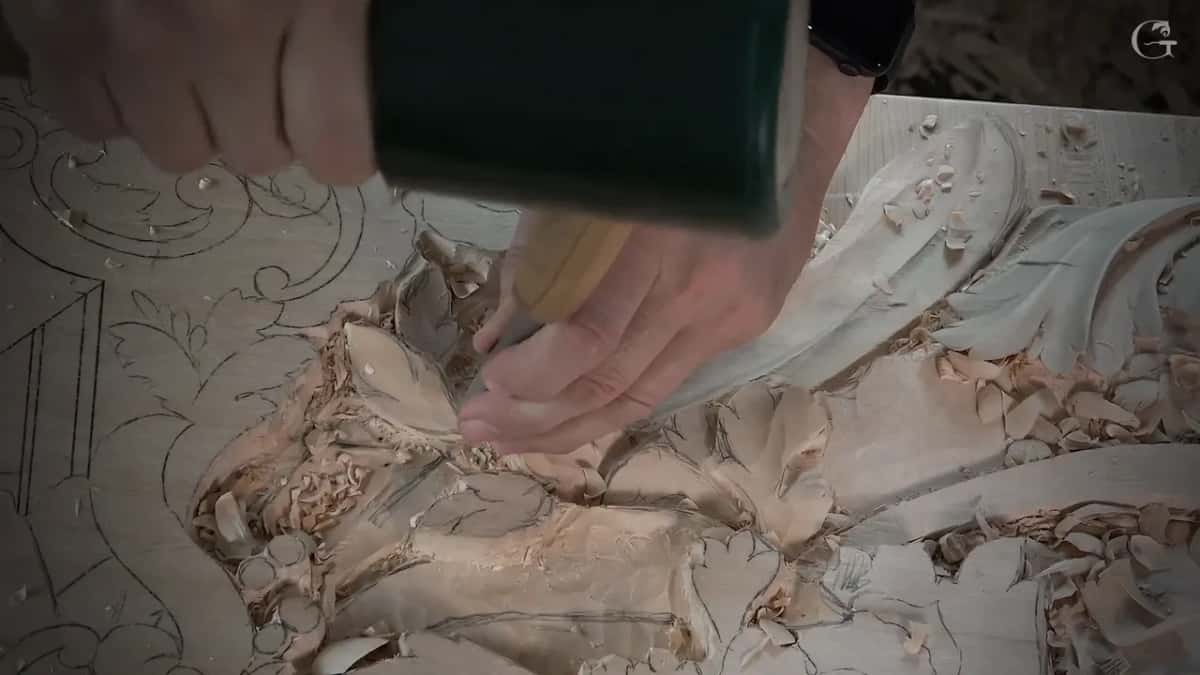
Which tools made the first undercuts?
Most of them came off a number 11, in small widths. The tools below are the ones I named on camera, lesson by lesson.
| Where I carved it | What I said about that first undercut | The tool I named |
|---|---|---|
| Venice Room, lesson 132 | under a small leaf, with a wall kept for the shapes on top | Eleven, 5 mm wide |
| Venetian rosette 3 | preliminary this time, and much deeper undercut later on, I said | A smaller one, 2 mm or so |
| Venetian rosette 5 | preliminary, and the final undercutting stays off the video | Number 17, at 3 mm |
| Modern acanthus 4 | a couple of passes, if you feel like it is the time for it | An eleven of 3 mm |
| Tray of Blessing 3 | a start under one spot, keeping some thickness for details later | My number 11 at 3 mm |
The widths are the ones I said out loud. Where I only said a smaller one, that's all the table says, and the number 17 stays a bare number because I gave nothing more at that moment.
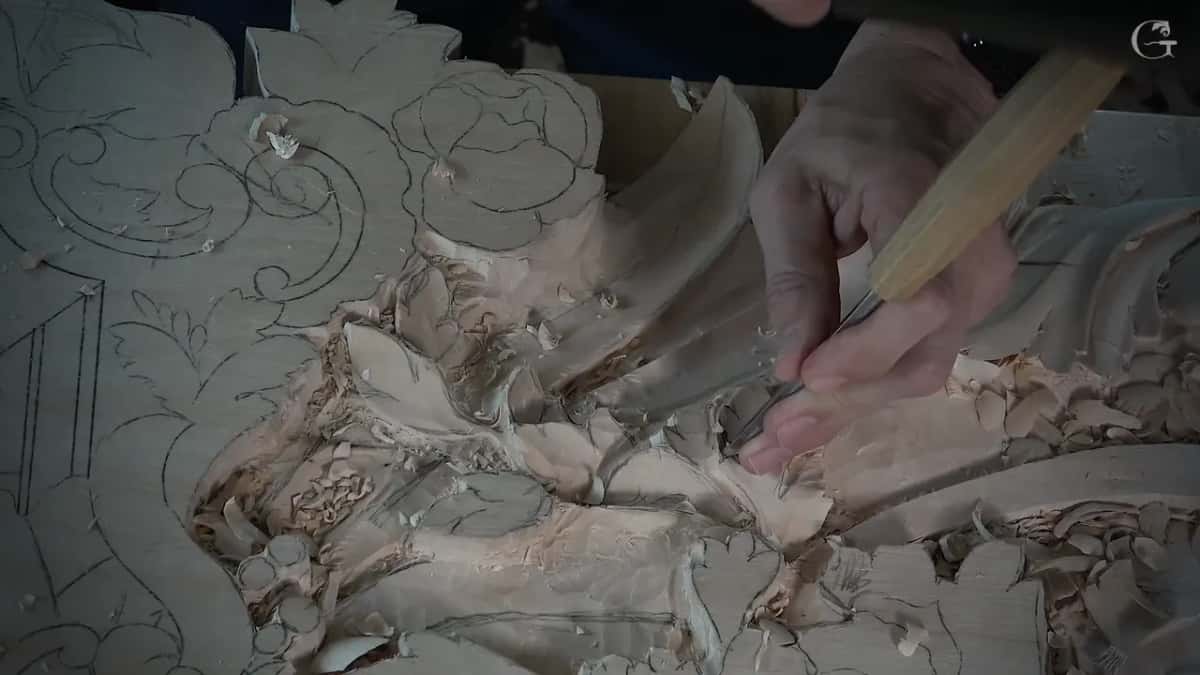
Around those undercuts in 132 there was other work, and it came in this order. A second leaf went down under the line of the leaf above it with a number 11 of 12 mm, about half an inch, and I got the mallet for part of that. All that leafage, I said, was going to be somewhat like a 3D, and it would give me that real depth. Next came the choice of which side takes the concave, and a number 7 of one inch, 25 mm, raised one part a little higher. Maybe not even a concave, I said, I could do a convex on that side, and only after that did the next preliminary undercut go in.
What else is on the bench in lesson 132?
The lesson opens with a small mistake. I was going against the grain, not the best way, and said I needed to attack from the opposite side. First I called it a twist, then fixed my own word, not twist but rotate, and I apologized for it.
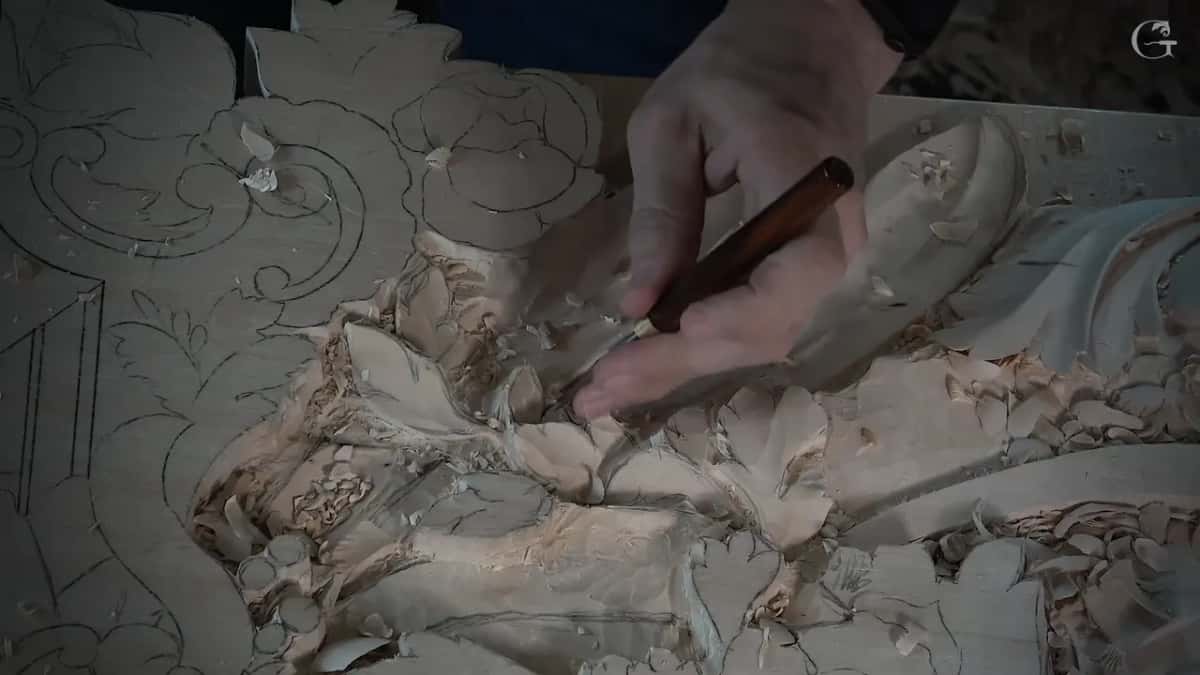
A bit later some tools got cleared away. "I don't need to see those tools on top of my work," I said, and picked up the 12 mm eleven again, the same guy I used before. Near the end of part 2 a smaller eleven came in, about 5 mm. An eye would go there, I said, with another eye right beside it.
In part 3, once the lines were back, I made a bunch of relief cuts and chopped out one area with a bigger tool, like 12 millimeters or so. Care was needed not to get too low, because that is part of a long leaf going on both sides. "So I can't get too excited about it." A 3 mm tool came next. Then I named the next one a small micro tool, stopped, and said no, a detailing tool, a Peter Benson, and it went after the triangles.
One side of a leaf got what I called a preliminary movement, not final yet. It runs downhill and lies almost on top of my long leaf. It could roll this way or that way, both legit, and since it will be seen from one side, it made sense to roll it a little toward that side.
At the very end came a reminder that these are not acanthus leaves, though I still apply some traditional rules to them, like a letter S. You don't see it, I said, but it is there. After that a number 7 of about 14 mm (9/16 in) went to a few more spots.
Where does lesson 132 sit in the course?
Lesson 132 opens Part 12 of the Venice Room, twelve workshops, 132 to 143, in the same room. The lesson before it closes Part 11, and lesson 133 comes right after. For the question beside this one, Roman acanthus, lesson 9 has a page on why undercutting is done last.
Every wood carving lesson named on this page opens with Tuition to the school. In 132 you watch the 5 mm eleven go in under the leaf of a relief and stop short on purpose, with the wall still there.
Would you like to watch that first pass before you make your own? Hear what I say while I make it? It happens in part 2 of lesson 132.
How it's done
- Shape the ridge first. A number 7 gave the small leaf its ridge before anything went under it, in lesson 132.
- Go under with a small eleven. Then a 5 mm number 11 made the preliminary undercut underneath the leaf. On camera I called it that.
- Leave the wall standing. Keep some wall at the highest spot, since the shapes on top still have to be established.
- Go about 2 mm deeper, now or later. I told you I could go a little deeper right then and still leave the wall.
- Leave it as a preliminary. Stop there for now and leave it like that, the way I did in part 2.
- Blend it later. Later a smaller size, 2 mm, blends everything. I said that in part 3, before the lines were redrawn and the details began.
Frequently asked questions
Is a preliminary undercut the final undercut?
My lessons keep the two apart. During lesson 132 I called mine preliminary and said it is not like the final look, and in the fifth lesson of the Venetian rosette I said the final undercutting would not be shown on video.
Which tool went under the leaf first in lesson 132?
A number 11 of 5 mm, about 3/16 in, went under it, right after a number 7 had worked the leaf's ridge. A little more depth was possible right then, I said, and later a 2 mm tool would blend everything.
Why keep a wall of wood behind a first undercut?
During 132 I left some wall at the highest spot, because I still had to establish the concave and convex shapes. For the tray I said I would keep some thickness, because later on more details were coming. Both reasons point at work still to be done on top.
What to carve next