
Alexander Grabovetskiy, woodcarver, School of Woodcarving · Published 2022
What is a slicing cut in wood carving?
Quick answer: A slicing cut is a pass where the gouge travels sideways across the grain while it moves forward, so only a sliver of the edge is working at any moment. The fibres part one by one instead of being crushed together, which is why a sliced face shines and a pushed one tears.
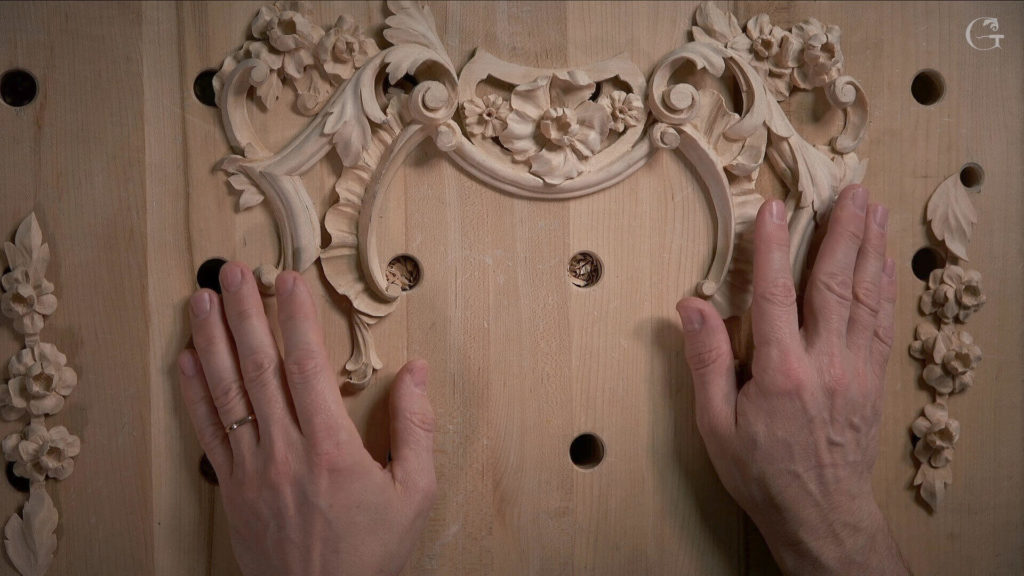
Two carvers can hold the same gouge, sharpened the same morning, and walk away with different surfaces. One pushed. The other sliced. You hear the difference before you see it, and the wood shows it afterwards in a face that either shines or looks scuffed.
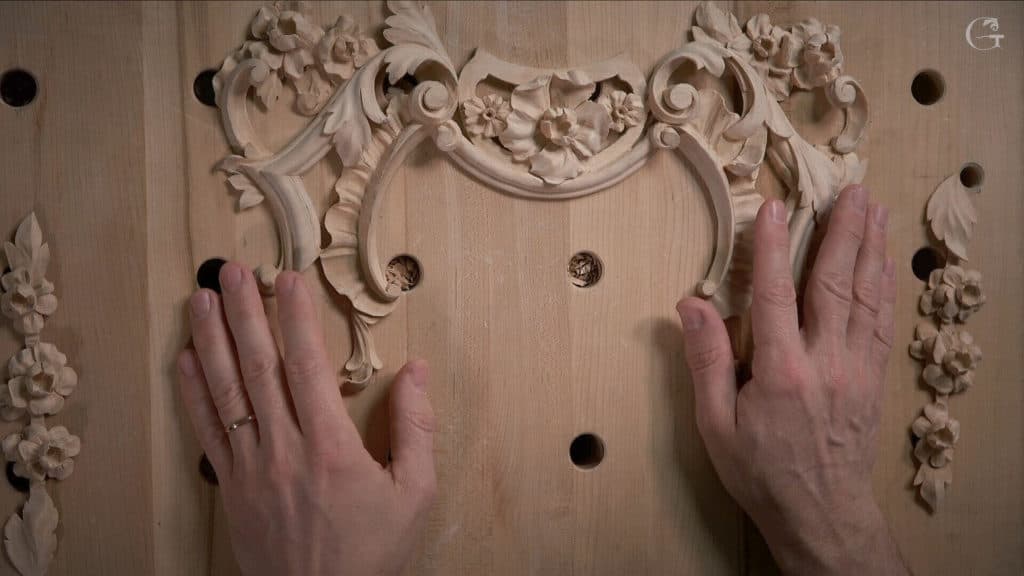
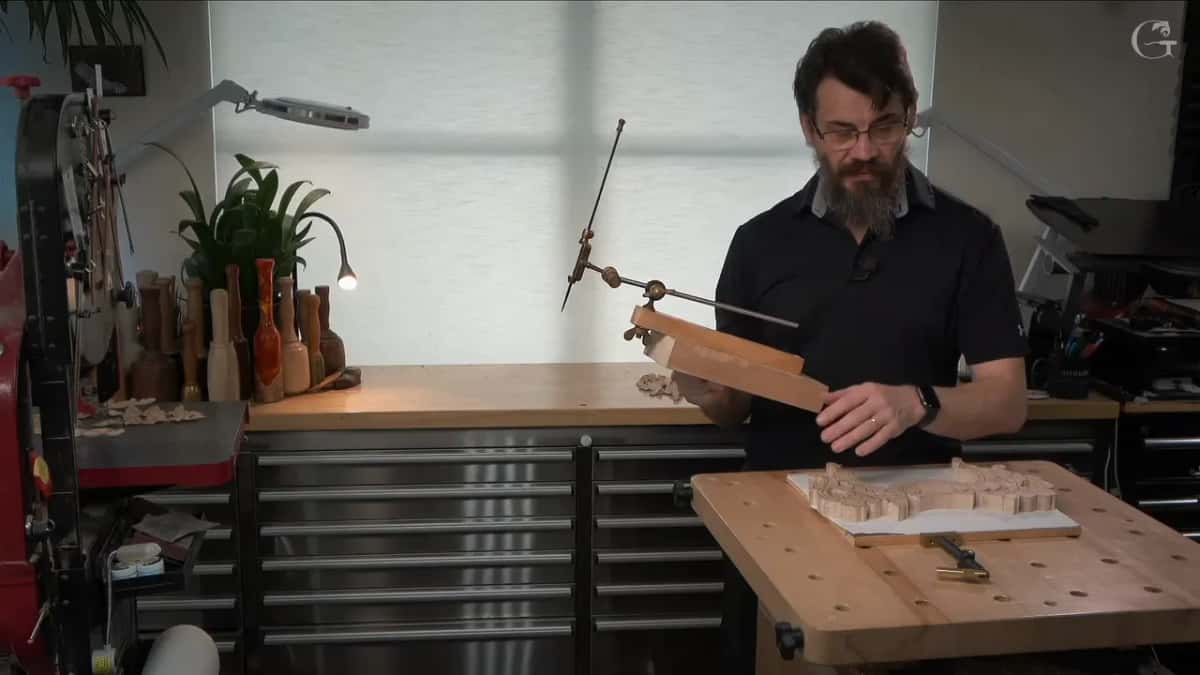
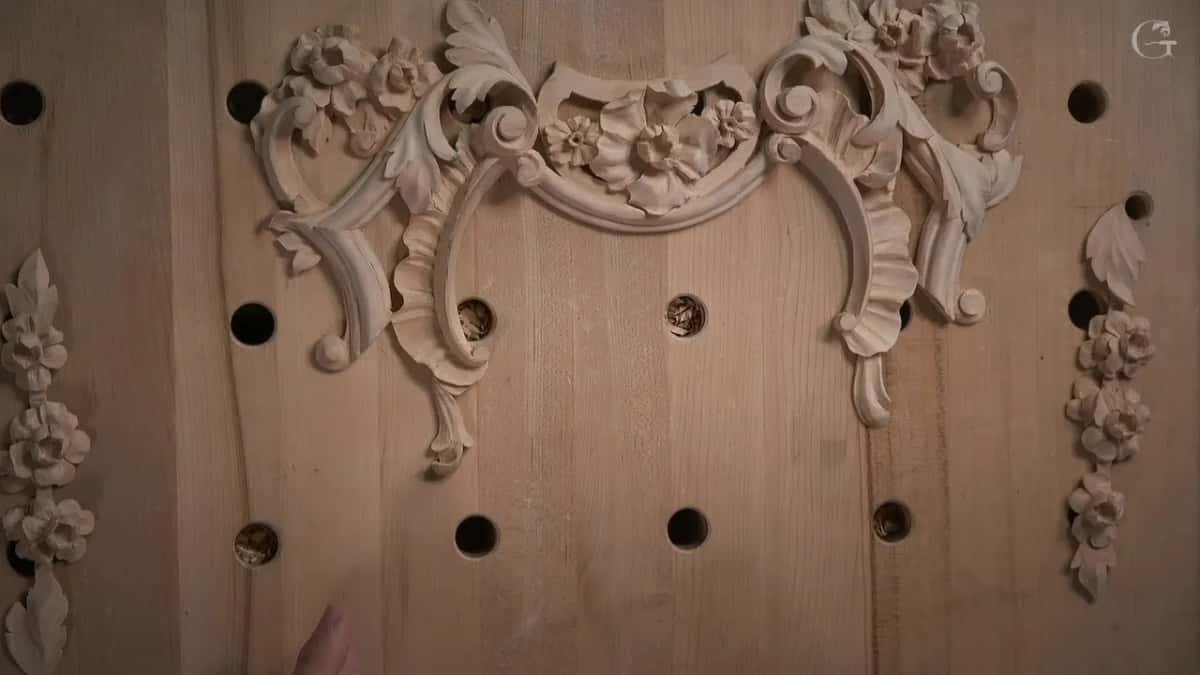
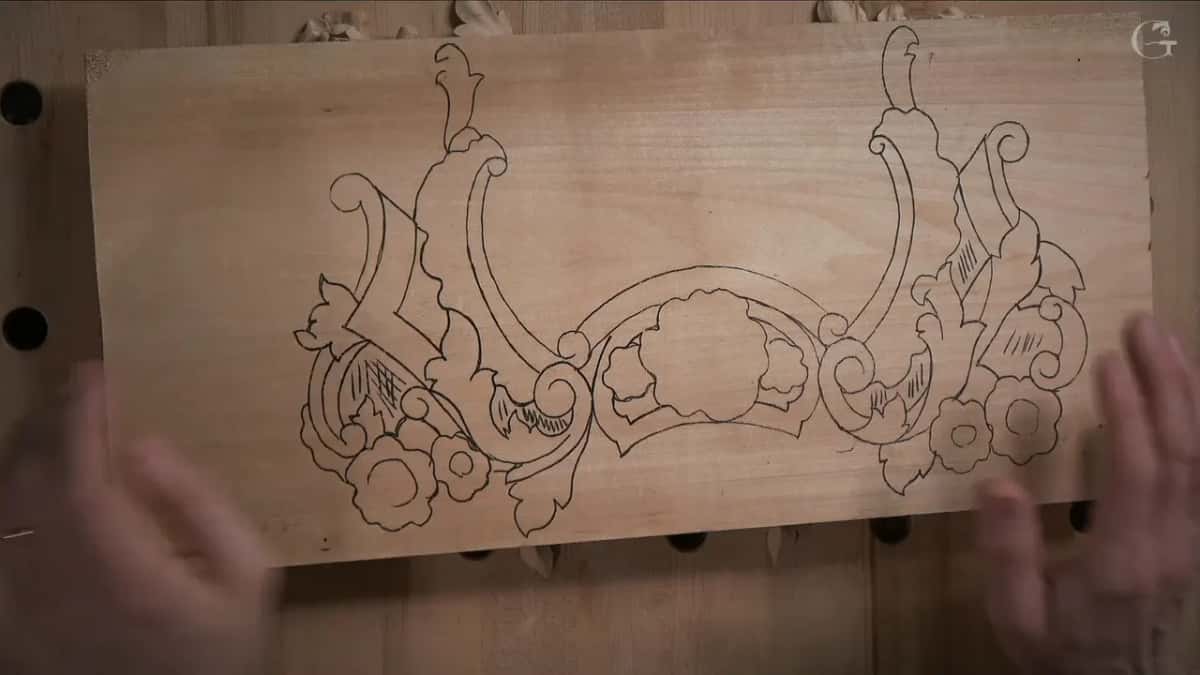
What sits on my bench belongs to a Venetian style room I have been carving for a long time. The upper part is done. A small rosette is done, and the big rosette is done, and this new detail goes in right above the one I finished before it. On its own it is not the prettiest thing I have made. I like it anyway, because of what happens around it: a molding, a miter, and another molding running downhill from there.
Before any of that, there is one habit to get right, and it is the habit this workshop is built on. Every time the edge moves, it slices. It never pushes.
Before the first gouge touches this panel
- Slice, never push. Short travel still slices.
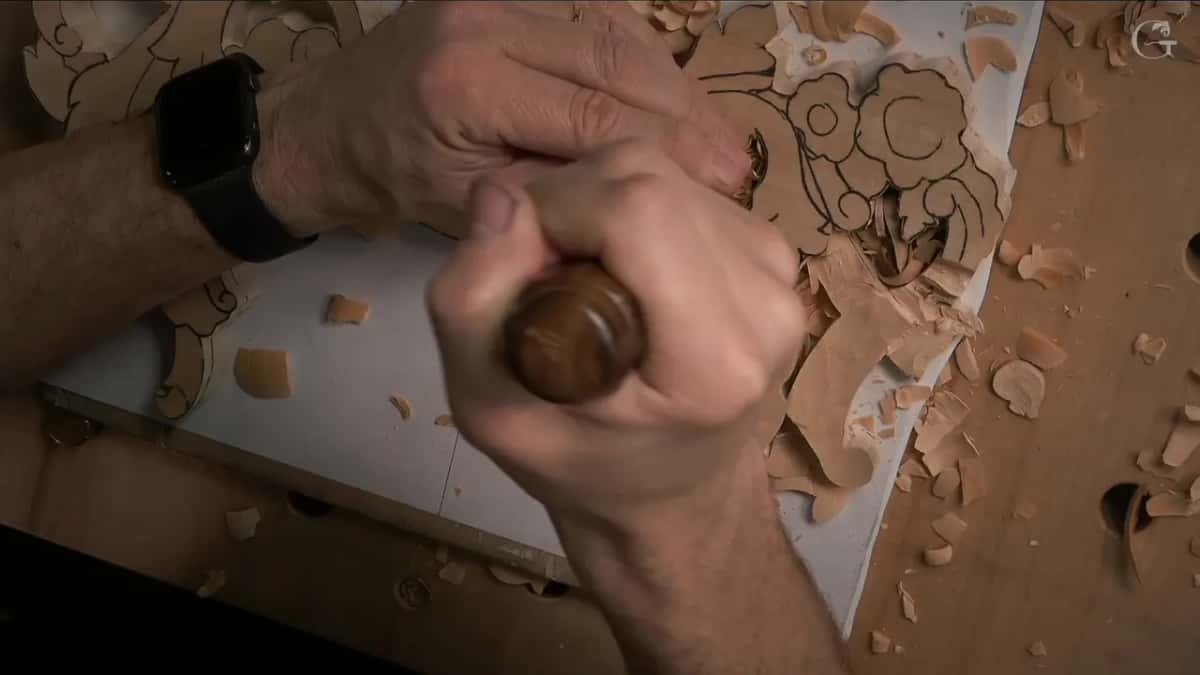
- Outline first with a small gouge, a number 11 or nine, then work back to the line.
- Stay off your pencil line, then clean to it.
- A face that shines back at you means the edge is still doing its job.
- Basswood, one board, around 20 millimetres.
- Tight corners get relieved before anything above them is shaped.
Why does pushing a gouge tear the wood?
Test this on a scrap board this afternoon and it settles the argument faster than I can. Push a gouge and the whole width of the edge meets the fibres at once. Every fibre gets the same blunt arrival, so the ones running the wrong way tear out instead of parting. You feel it as resistance in your shoulder, and you see it afterwards as a dull, fuzzy face that no amount of stropping will fix, because the damage is under the surface.
Slice and only a small piece of the edge is working at any moment. There is the whole trick. The edge travels sideways across the wood while it travels down into it, so the fibres get severed one after another rather than crushed together. Less force reaches your arm, and far less reaches the wood. On basswood the difference is obvious within one pass, and on anything harder it decides whether the panel is worth finishing at all.
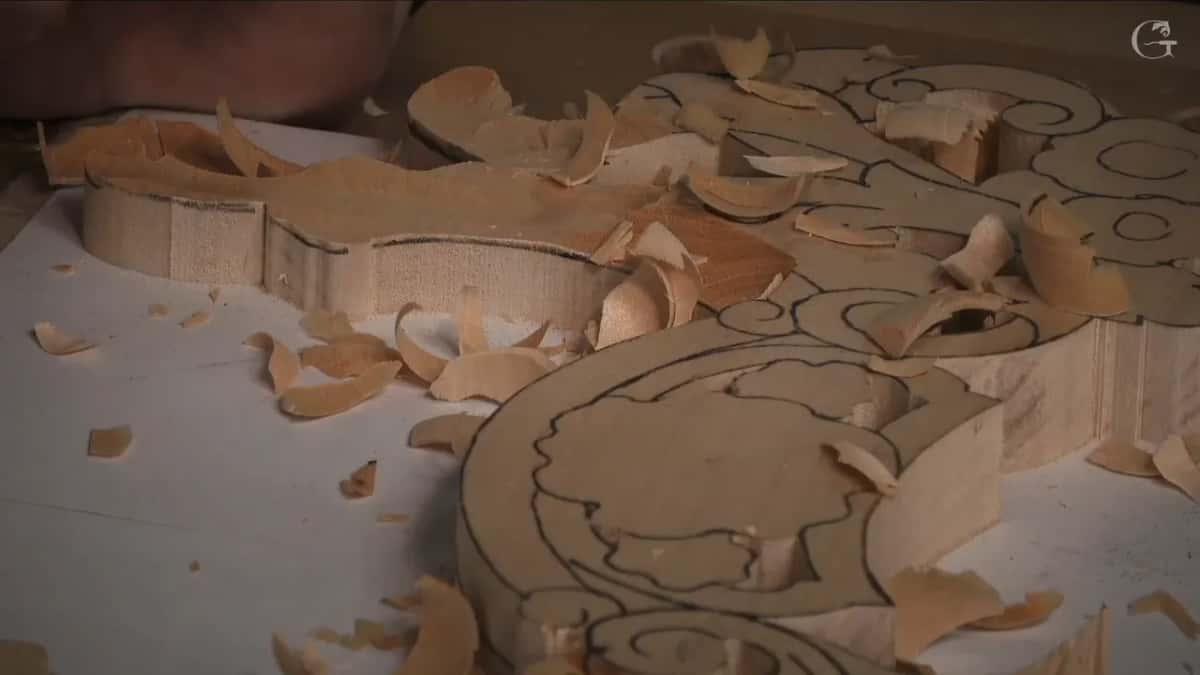
Here is how I say it at the bench: not just pushing it, pretty much slicing it. Sounds small. Not small at all, and it is the single thing I correct most often when I teach somebody in person.
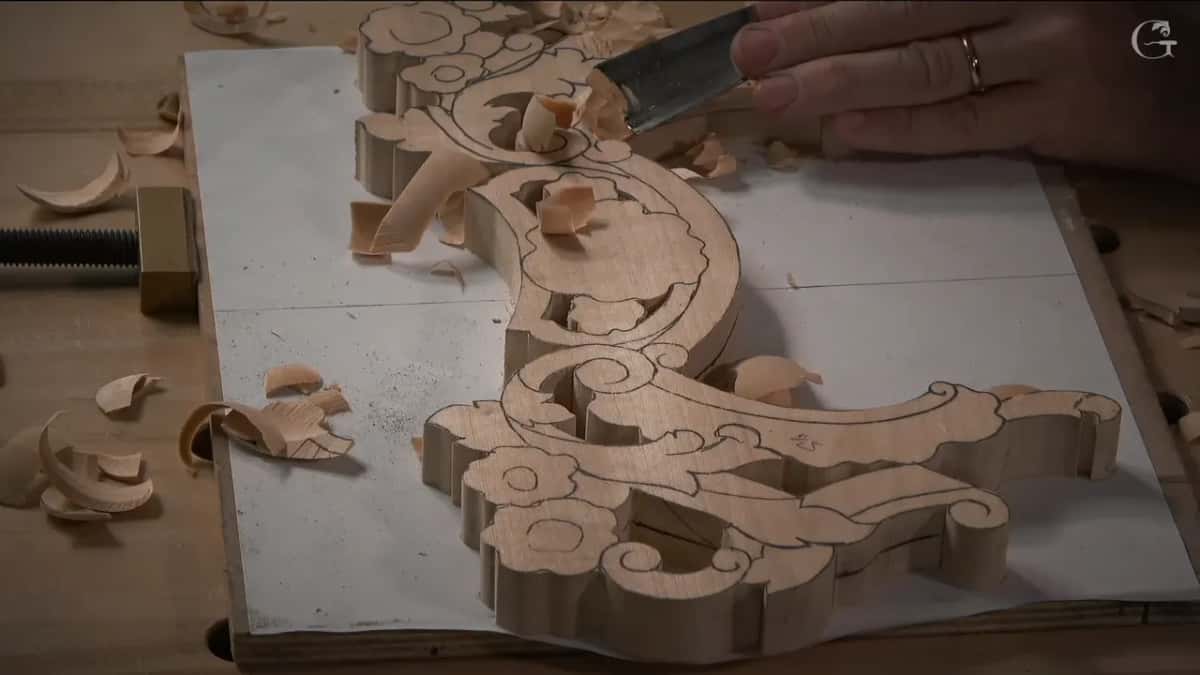
What does a slicing action look like on a real gouge?
Take the long one first. You start on one corner of the tool, and by the end you are somewhere at the other corner. Start left, travel across, finish right. The tool has rotated through the wood while it moved forward, and that rotation is the slice.
It does not matter which corner you begin from. Left or right, take your pick, as long as every pass is a slice.
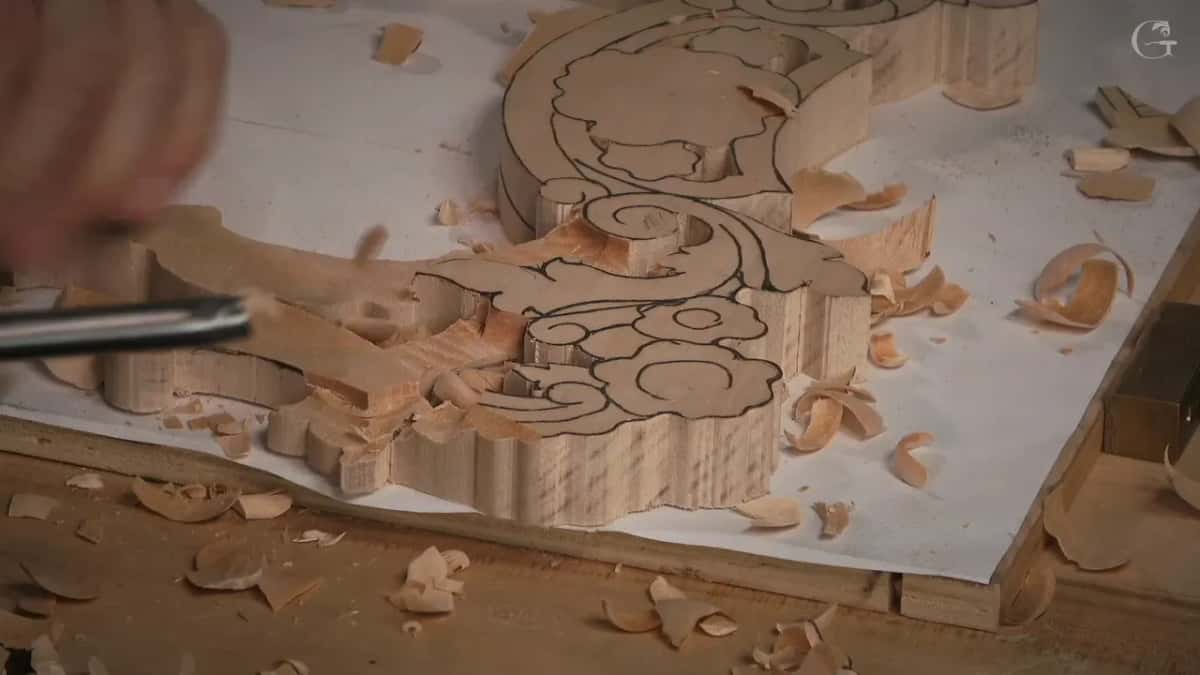
Now the short one, which is where people get lazy. Short means you are not running the tool out to its far point. But travel 10 millimetres and you still slice. You begin somewhere on the edge and end somewhere else along it. Otherwise, pushing.
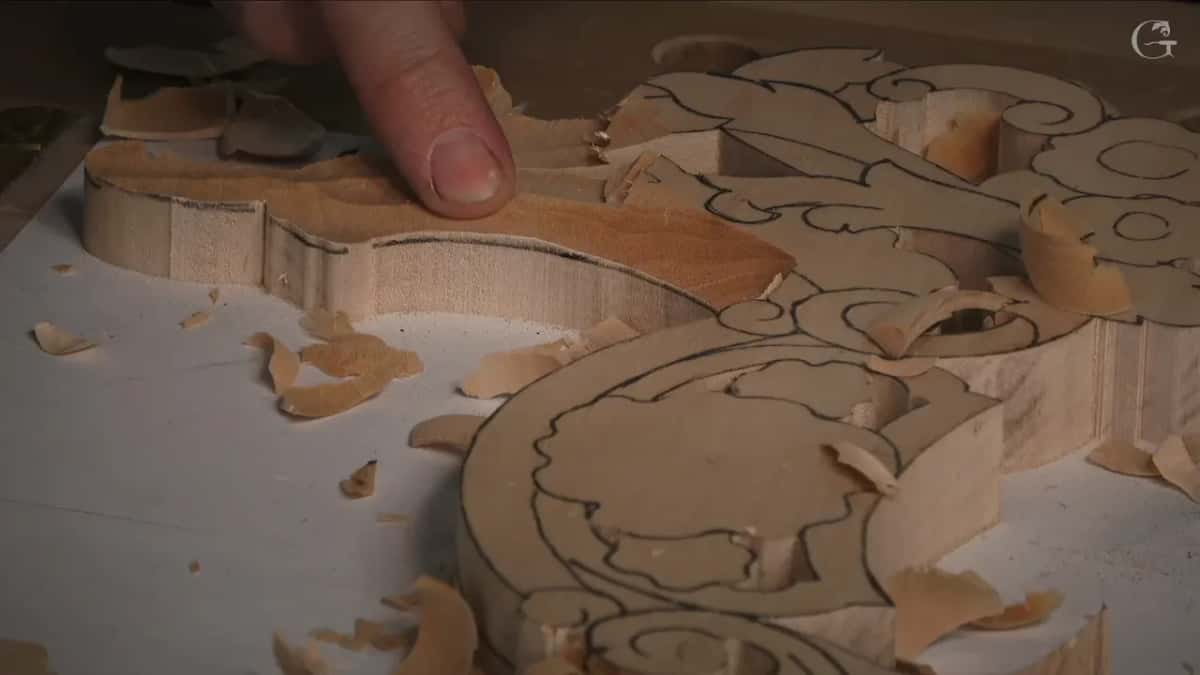
Are the two sides of a symmetrical panel really identical?
They look it. They are not, and this is the part that catches people who assume a mirrored design is a mirrored carving.
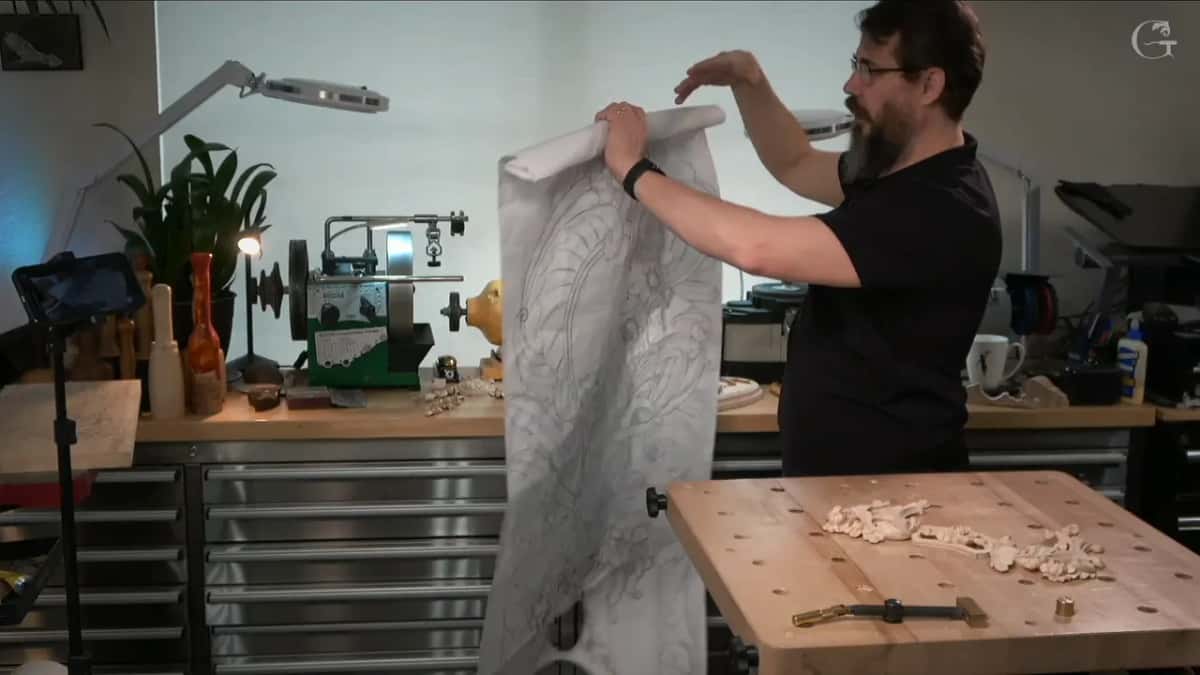
Look along this scroll. It runs out, then twists and rolls over on itself, and it is a genuinely nice movement to follow with a gouge. Then look at the same scroll on the other side. A little different. Not by much, and not anywhere a customer would ever point at. But the two sides are not one shape printed twice. It looks like both sides are the same, but they are not, and even the movement on the left hand side of the first piece differs from the movement on the right hand side.
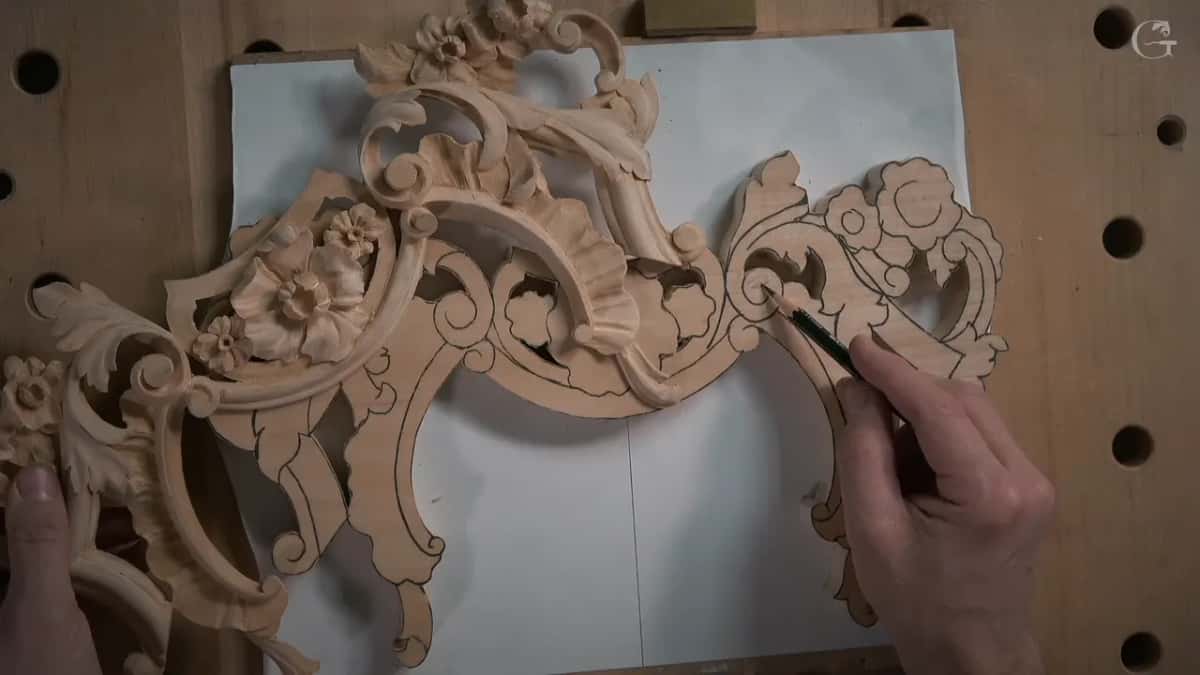
So the drawing decides more than the gouge does here. Where the scroll turns, how far it rolls, which leaf passes over which, all of that is settled on paper and only then carved. So I do not start by flattening things into a nice symmetry. The asymmetry is the design, not a mistake to correct.
The measuring is the opposite case. Heights carry across both sides unchanged, so the depths get transferred rather than re invented, and the shapes do not.
Should you carve straight down to your line first?
Sometimes it is fine. Generally it is not the safest way, and I say that having just done it on camera and then talked myself out of it.
The safer order is to outline first. Come in with a gouge, make the outline a little away from your pencil line, and only then work back and clean right to it. You can always take more off tomorrow. Putting it back is a phone call to the client. That gap you leave does not have to be much either. A pencil line is wide, and half a line of daylight between the outline and the mark is enough room to come back in cleanly with the same tool.
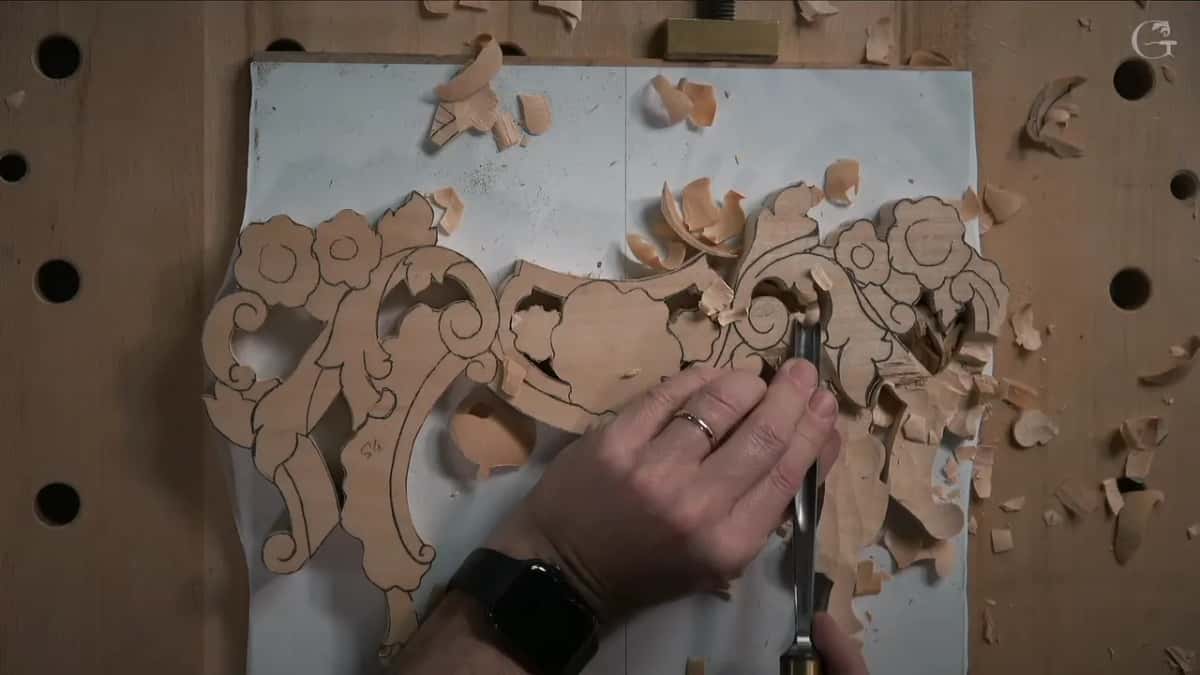
Watch where the outline goes near anything that will sit on top later. On this panel a scroll passes over its neighbour, so I stay well clear of the part that is going to lay over it. Get careless there and you carve away the shape you needed two hours from now.
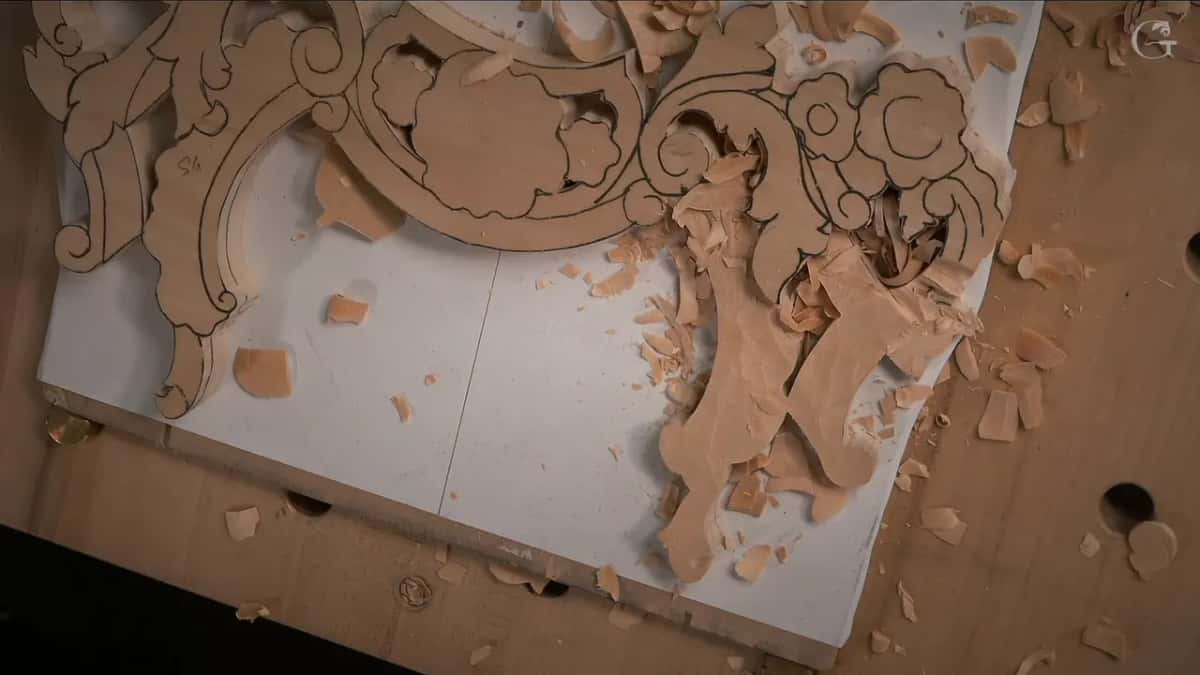
Which gouge numbers do the outlining here?
A number 11 and a number nine both work, and that choice matters less than people want it to. I reached for the number nine on this panel partly to prove it. The number 11 is not the only gouge that works here, and multiple tools will do the job.
The one I used measures 10 millimetres, a number nine, about three eighths of an inch. For the deeper straight walls I moved to a number seven, wider at roughly one inch and an eighth, which lands at 28 and a half or maybe 30 millimetres depending on whose ruler you trust.
| Tool | Size on my bench | Its job on this panel |
|---|---|---|
| Number nine | 10 mm across the sweep | Outlining a hair off the drawn line |
| Number 11 | Any of the small ones | Same job, and I admit to reaching for these too often |
| Number seven | About 28 to 30 mm | The deep walls |
| Skew | Small | Cleaning the ground so a pencil can go back on it |
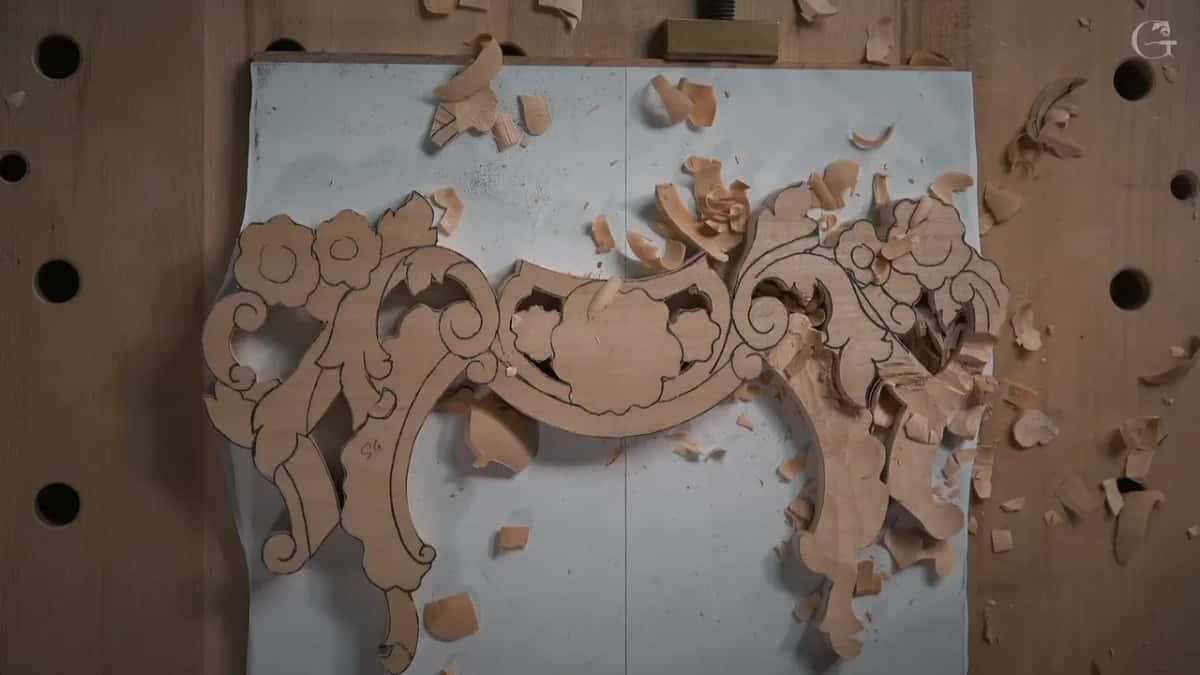
Notice there is no magic in that list. Four tools, and the biggest decision is width, not number. Somebody starting out could get through most of this panel with two of them. A wall of gouges is lovely to own and completely optional at this stage.
How do you free a tight triangle between two shapes?
You relieve it. Where two movements meet and leave a narrow wedge between them, that wedge has nowhere to go and the tool starts fighting you. So I go in first and take the corner out, straight down inside the triangle, before I shape anything around it.
That is how I call it, a relieving move. It sounds like a small housekeeping job and it decides whether the next twenty minutes are pleasant. An acanthus movement folds over itself constantly, so this panel is full of those wedges, and every one gets relieved before the shape above it gets touched.
Not past the mark, though. In a place where the form has to rise up to a marked height, I do not keep going past the mark. I know exactly how deep it will be because I know where it rises to, and the measured points put that number on the wood before the gouge arrives.
Is a shiny surface proof that a tool is sharp?
It is the proof I trust most, and it costs nothing to check. Look at the face you just carved. If there is no trail behind the edge and you can see the grain through a surface that shines back at you, the tool is sharp.
A second test costs nothing either. Listen. A gouge straight off the strop makes a sound going through basswood that a tired one cannot fake, and on the recording you can hear it from across the shop.
A blunt edge tells you the opposite way. Scuffed white streaks, torn fibres standing up, and a surface that looks sanded before you sanded anything. Go to the stones instead of pushing harder. Pushing harder is what people reach for, because force feels like progress, and it is the fastest way I know to turn one dull gouge into an afternoon of repairs.
Does the ground need cleaning before you draw on it?
Not really. I do it anyway.
Once the outlining is done I take a skew and tidy the ground around the shapes. Do you need to clean it? Nothing bad happens if you skip it, and plenty of good carvers never bother. But I like to create a fresh canvas, because the next thing that happens is a pencil going back on that wood, and a clean surface takes a line honestly. If somebody is standing over you and the clock is loud, skip it. Nothing breaks.
Basswood at 20 millimetres, or something else?
Same wood as everything else in this room. Basswood, limewood, linden wood, and in my first language lipa, which are four names for one tree.
The thickness runs about 19 or 20 millimetres, roughly three quarters of an inch, and sometimes a little thicker at 20 to 22. It does not really matter. Three quarter inch material is fine, four quarter if you are in the United States and speak that way, one inch is fine, and thicker still if you want the flowers to stand up higher off the ground. Mine was the thinner one.
Everything here comes out of one board, with the outline sawn first, so a scroll saw or a bandsaw earns its keep before any gouge does. Then one detail that saves a bad afternoon. The blank gets stuck down to plywood, and I take my measurements off that plywood rather than off the bench, because every blank came from the same board at the same thickness.
The piece alone is nothing special, so why carve it well?
It never stays alone, and that is the whole answer. Put a molding under it and a miter at the corner, let the molding run down, and now you are looking at a door, or the raised panel for one, or a surround for a mirror, or a picture frame. For a furniture maker that is the whole point: small carved details plus molding, arranged differently each time, and the composition is new again.
This is also why the first workshop is about slicing rather than about flowers. Everything that follows in this course, and in the Venice Room and in acanthus over moldings, sits on top of an edge that travels sideways.
And this detail is not a standalone ornament in my shop either. It joins a rosette I finished earlier, with more volutes and small flowers waiting elsewhere in the room for their own positions. I keep the finished pieces apart from the bench on purpose, because a shop full of loose carved parts is a shop where something gets knocked onto the floor. What you are looking at in this workshop is one tile of a much larger picture, and the reason its heights have to be right is that the piece beside it is already carved and is not going to move.
And the relief here is shallow for the amount going on inside it. Twenty millimetres is not much room. Every millimetre of it has a job, which is exactly why the first pass stays off the line and why nothing goes below a marked height. You can see the same discipline running through the furniture panel workshops, on a bigger board.
Inside the school the rest of this sits close by. The floral and molding course carries fourteen workshops. Go to first carves for beginners if a gouge is new in your hand. Design explains why the scroll moves the way it does, and modern acanthus takes the same leaf somewhere else entirely.
You have a board, a sharp gouge, and an hour. Access to the school hands you the rest.
How it's done
- Saw the blank and put it on plywood. The outline gets sawn before any gouge arrives, and the work sits on plywood rather than straight on the bench, because every blank came off one board at one thickness.
- Read the reference heights first. Measure the molding heights and the high spots off the finished piece before carving anything, so the depths are known numbers rather than opinions formed halfway through.
- Outline beside the pencil line. Come in with a number nine or a number 11 and outline a little away from the mark. Half a pencil line of daylight is enough to come back cleanly later.
- Relieve the tight triangles. Where two movements meet and leave a narrow wedge, take that corner out straight down before shaping anything above it. Skip this and the tool fights you for an hour.
- Drop the deep walls with a wider gouge. Drop the deep straight walls with a wider gouge, a number seven of roughly 28 to 30 millimetres, and stop at the marked height rather than a hair past it.
- Clean the ground with a skew. Not required and I do it anyway. A tidy ground takes a pencil line honestly, and the next thing that happens here is drawing.
Frequently asked questions
Can a beginner carve flowers over a molding?
Yes, if the gouge is sharp and the first pass is a slice. The shapes here are not hard. What separates a good result from a torn one is the habit in your wrist, and that habit is worth building on a scrap board before it is worth building on a panel somebody paid for.
Do you need a scroll saw to make the blank?
Something has to saw the outline, and a scroll saw or a bandsaw both do it. The piece is carved from one board, so the sawing only frees the silhouette. After that every shape inside it comes from the gouge.
Must a short pass slice as well?
Yes, and this is where most people quietly give up on the idea. A short pass just means you are not running the tool out to its far point. Even travelling about 10 millimetres at once, you start somewhere on the edge and finish somewhere else along it. Anything else is a push.