

Alexander Grabovetskiy, woodcarver, School of Woodcarving · Published 2022
How do you carve a lobe from both sides so it looks like it is rolling?
Quick answer: A lobe that reads as rolling is one I carved from two directions, not one. In lesson 3 I worked one side in small passes, then went at the other side using a 20 mm (3/4 in) number 9, for the true feel of a roll.
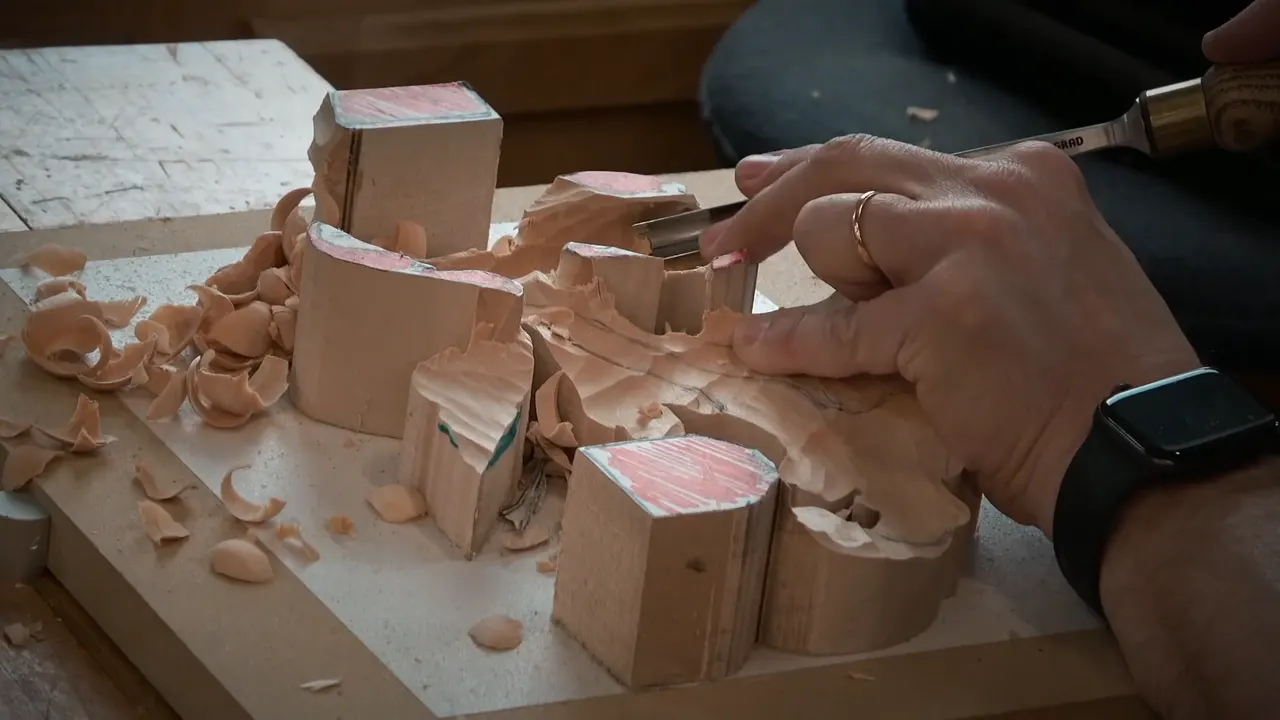
A lobe that rolls is a lobe I attacked from the opposite side too. In the first video of lesson 3 I worked one side first, then went at the other side, because I wanted the true feel that it is really rolling. My tool was the 20 mm (3/4 in) number 9, and I kept the passes small.
Does your lobe still look flat after you hollowed it? Does it stand at one height across its whole width? Then it may need a second side, and this page shows how I gave it one on my modern acanthus. Further down are eight other carvings of mine where I rolled a leaf or a petal, each with a link to its lesson.

The rolled lobe in six lines
- One side went down first, until I said that was enough from that side.
- I turned to the other side next, wanting a real roll.
- The wide number 9 took the opposite side, and the narrow one did the next.
- My passes stayed small and shallow.
- About an inch (25 mm) of wood stayed under it.
- Step one was scooping the lobe out, and a number 7 started the roll.
How do you carve a lobe from both sides so it looks like it is rolling?
You work one side down in small passes, stop when it has had enough, and then come at the lobe from the opposite side. I followed that order. "That is enough from this side," I said, and I moved over.
For the other side I picked up the tool I had just used, the wide number 9, and attacked just like that, little by little. Then came the line that makes this hard. My gradual movement at that spot was really important, I said, and I did not want to lose it. But I also really wanted to get in and create the rolling motion.
I checked that they had that point.
The next side would get the same treatment, I said, with the narrow number 9, 10 mm (3/8 in). Later I went back to the wide tool for a better curvature on another hollow.
How small are the passes on a lobe like this?
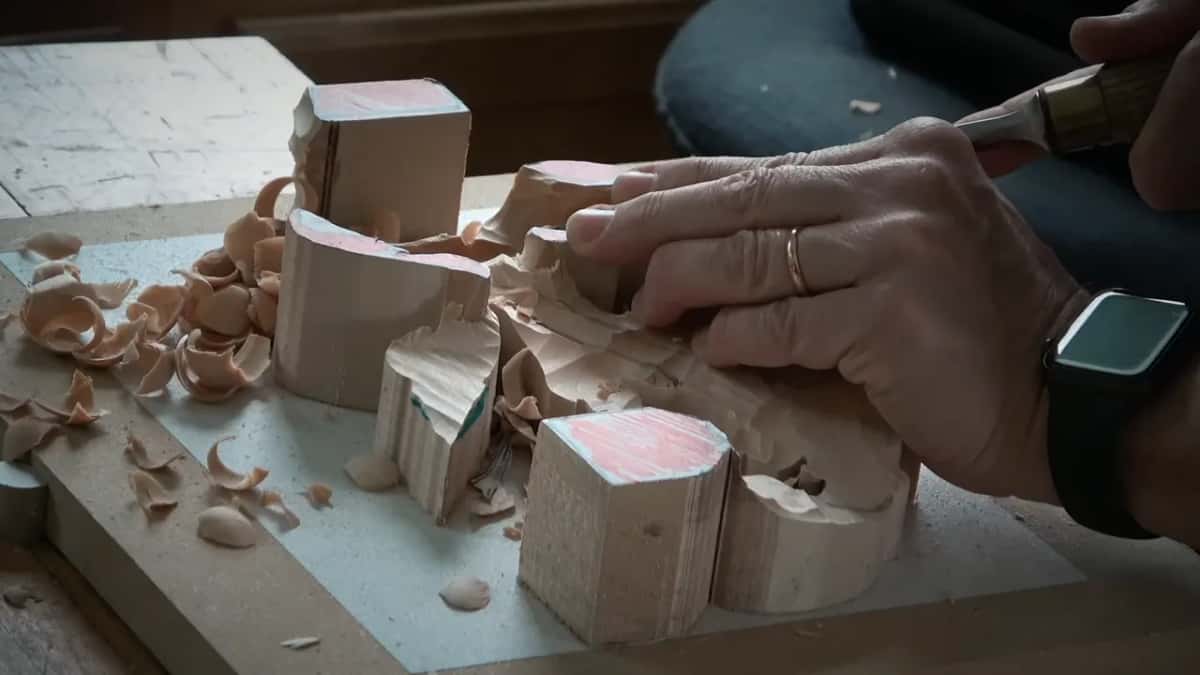
Small enough to stay shallow. I called them small, small passes. A few minutes on I put a number on it. Not even a sixteenth of an inch (1.6 mm), maybe a sixty-fourth (0.4 mm). It looks fast, I said, but the less material you take, the faster you finish.
One mistake of mine is on camera. Please don't repeat it, I told them. Talking too much while I carved was the slip, and the whole thing had to be lowered down.

How much wood stood under all this? About an inch (25 mm) from the background, at that point. Later it would go deeper, I said, and we would create some motions right inside of it.

Which tool went on which side?
The table lists the moves of this video in the order I made them. The last column holds my own words from the bench.
| Piece | Move | Words |
|---|---|---|
| The opposite side | the wide tool once more, and taken gradually | really want to get in |
| The next side | a narrow nine used on the next side | Exactly the same we're gonna |
| Keeping passes small | taking small small passes and staying quite shallow | not even going too deep |
| Scooping the lobe | ready to roll once the scooping was finished | create like a spoon almost |
| The first roll | number 7 flipped upside down for the rolling | gonna start a rolling motion |
Five moves, in the order I made them.

What comes after the scoop?
Before any rolling, the bigger tool had left many marks inside the lobe. Cleaning a bit was enough, I said, since we still had details to work inside. Closer to the line the same tool took really tiny passes. It does not have to be perfect.
Once both sides sat near the line, I said I was ready to roll it. That was step number one, I said. Scoop the lobe out and make it a spoon, almost. Next came the number 7, 14 mm (a little over 1/2 in), which I flipped upside down to begin a rolling motion.
The last video of the lesson tells what I was after. One part is not undercut, I said. It is just rolling. Earlier in that video I traced the path for the class. It goes up, then it goes down. Could they see it?
Which side do you look from to check a roll?
Look at it sideways.
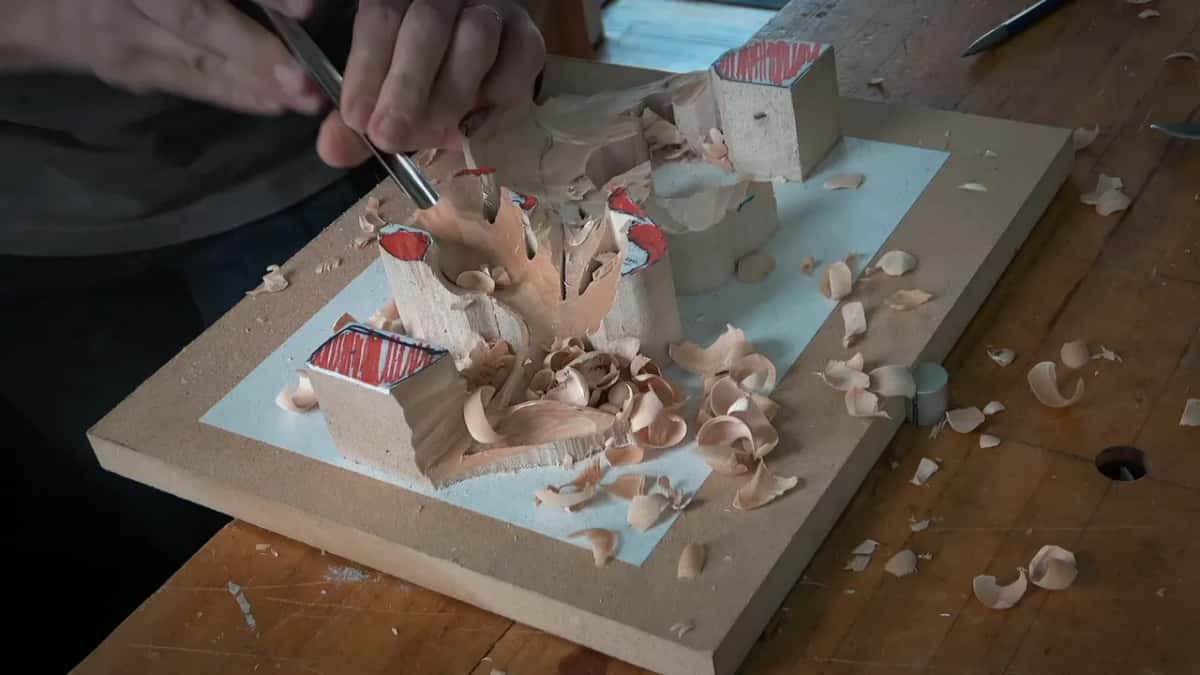
Video two has me saying you have to view it from the side, so you see whether it rolls, and in my case it was better to use one particular side. I planned to start undercutting right below that part.
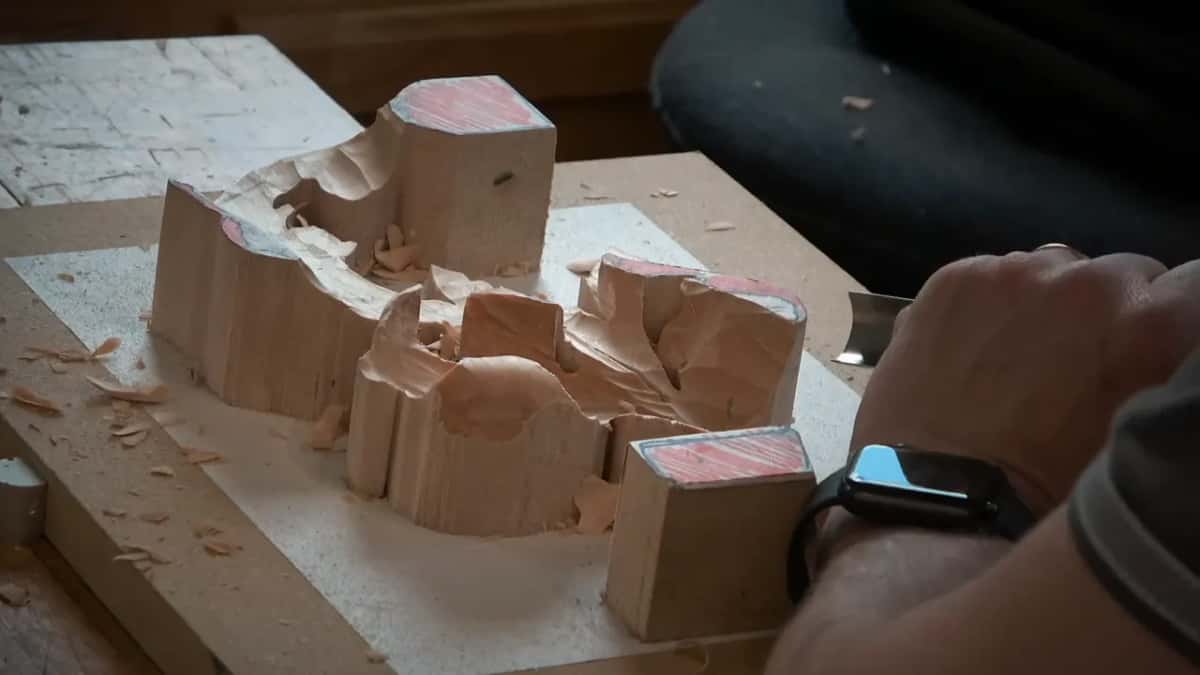
On the second side of that leaf the idea was the same, except it would not be a spoon inside. It would be just the one side raised up, I said. I could have gone the opposite way and made my stem lower, with the leaf only a little bit on top. I thought it would look nicer to drop the whole section and use the whole two inch stack, 51 mm, for more 3D motion. That one went down to about a quarter inch, six millimeters, above the background.
There I took the wide tool and went in slowly, side-on. The grain was going up as a direction, so I said maybe it was a good idea to be smart and attack from that side. First I wanted the overall movement, really nice motion, before any undercut. They could watch the motion develop on the camera.
Before that I had asked them whether they could see how it rolls. A really nice transition in how you roll it, I said, is what it has to be. The previous tool refined the pass. No sandpaper, I reminded them.
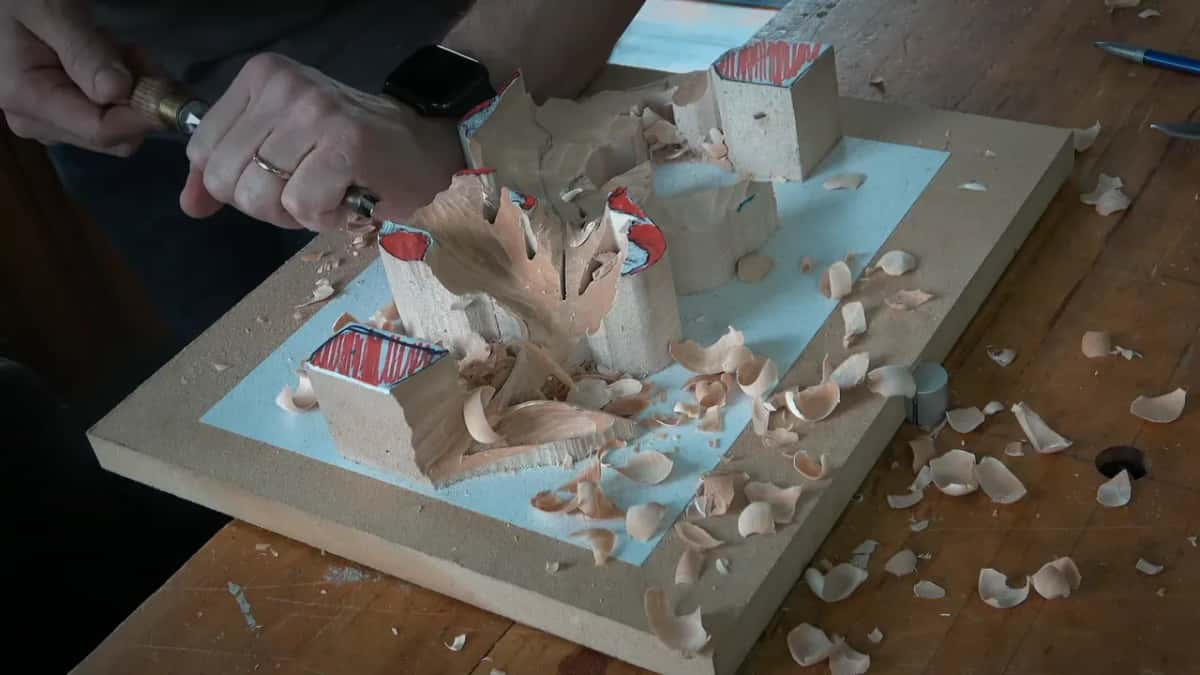
The third video does the same with a flip. A preliminary pass with the narrow number 9 left about six millimeters. Next the piece had to be flipped, so I came at it the opposite way. The same number 9 went in really carefully, right underneath, and kept about six millimeters, a quarter inch. Don't be too crazy about it, I said.
The neighbor got the bigger tool. I dropped only one of its sides, because the other was going to be my high spot. The low side went down far, to about a quarter inch above the background, like a track. One part goes this direction, I said, and the other goes up.
It opened with a repeat for anyone who had missed the start. We were going to roll this piece up, I said, and this part would go inside, so we took some material out from the top first. That little part would curl up. Don't take too much material out of it, I said, because we still had to dig inside. Little by little, I said.
How far should you roll before the line goes flat?
Far enough to see the shape move, and short of a straight line. My Floral and Molding course carries something close, in lesson 6, about one type of cut. For that cut, that section should not be rolled too much. Look straight at that piece after too much rolling and the feel is lost, since it looks like a straight line. Lower it a little bit, I said, but not as much.
Further on I checked my previous piece to see how deep it rolled. It rolled a little differently, so I thought about changing the design slightly, starting the movement from farther back, which might look more organic. Not sure, I said. On the next move there I rolled a bit the other way, and yes, I said, I knew I was working against the grain. That ridge would be higher, so I needed a concave cut.

My Carving Hazelnuts course warns about the other direction. Digging too deep can roll it inward, I said, and then it will not look right. There is some kind of center. The nut has to feel like it grows from that center. There I also went downhill and rolled a shape outward, with a number 3 about half an inch (13 mm) wide. At another moment I was not sure the camera could catch how one of them rolls backwards slightly. In my opinion, I said, it should look really good.
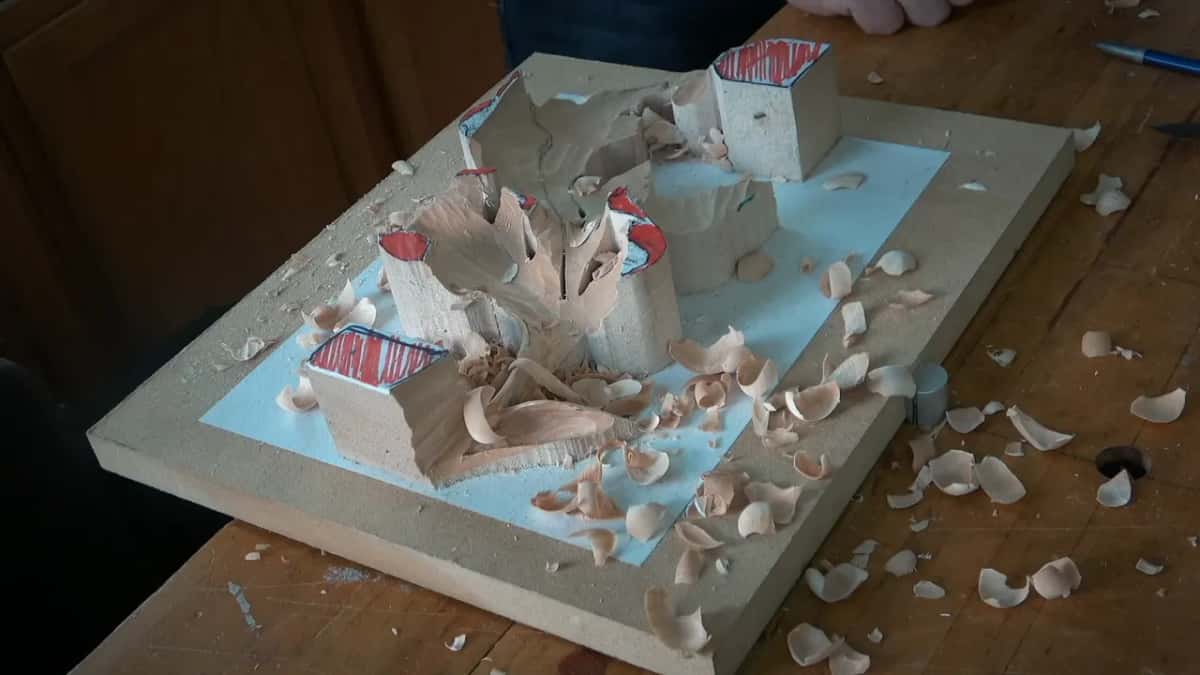
Lesson 26 of the furniture panel course starts from one point and walked backward, to avoid rushing it. My number 11 excavated until it felt like a roll, and you could already detect the shadow, even before I attacked the other side. Later the same tool undercut, so you could see it really roll. Then a number 3 at 12 mm (just under 1/2 in) blended it better.
At lesson 27 of the panel, the same 12 mm size rolled another shape, a little under half an inch. A big tool like that can damage the background if you dig too deep, I warned. It is always better to stop right before it, I said. That side got a little more rolling, until it really did roll.

What makes a roll feel real from underneath?
With a little undercut right under the line. Lesson 28 of the same course made rolling my next step. The number 3 spoon gouge made pass after pass, until the overall look pleased me. Right underneath the line I had to undercut. Otherwise it would not feel as if it rolls. It was not really an undercut, but it left a sharp line, and that was what I needed.

The 11 could exaggerate the motion, I added, flute at about 11 o'clock. A few rules were broken there, I said. Do not worry about that if you do not feel comfortable. Soon after, with a small undercut in a tricky area, it already felt like a roll from underneath. Around the thirteen-minute mark I said another part rolls underneath as one continuous movement, so I excavated it first with a number 8, about 3 mm (1/8 in).
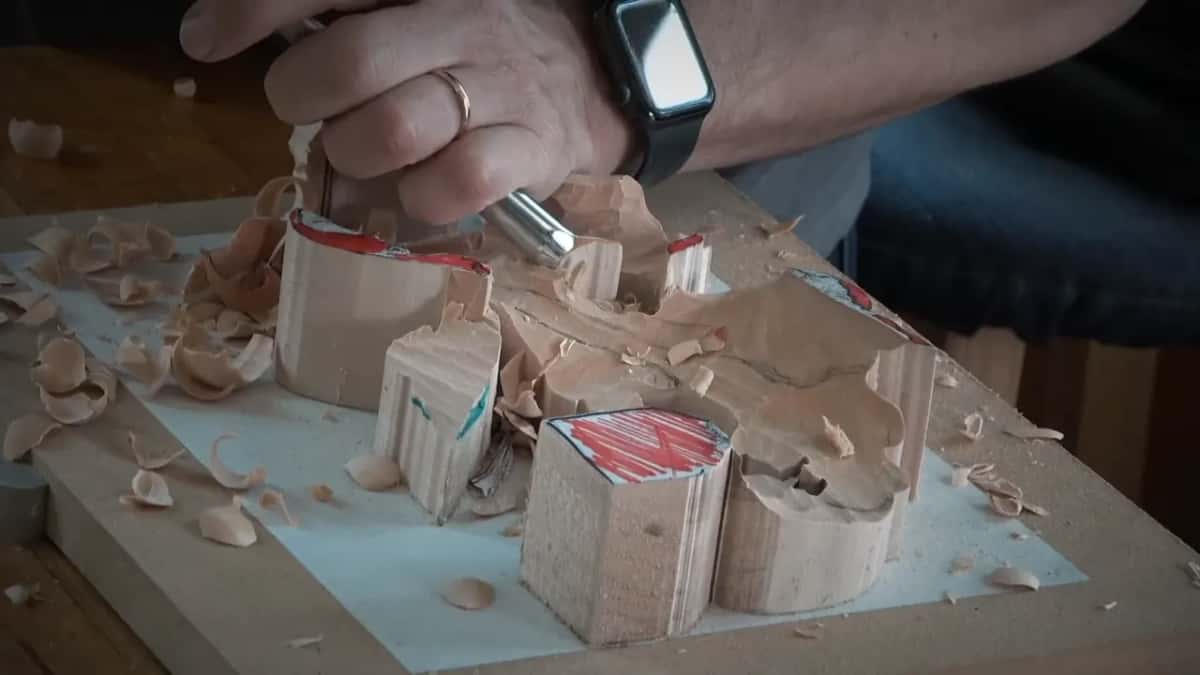
At my Grinling Gibbons class in Maine, class 7, a number 2, a flatter tool, rolled the edge of a petal. That was only a blend, I said, with no undercut yet. A smaller tool of about 1 mm (1/25 in) would undercut underneath the petal later, but first I wanted to see the development of it. The petal's other side was to be excavated inside, to make it flip over. Twelve minutes in, I said to imagine the real flower and how it is supposed to roll. I undercut underneath that side right away.
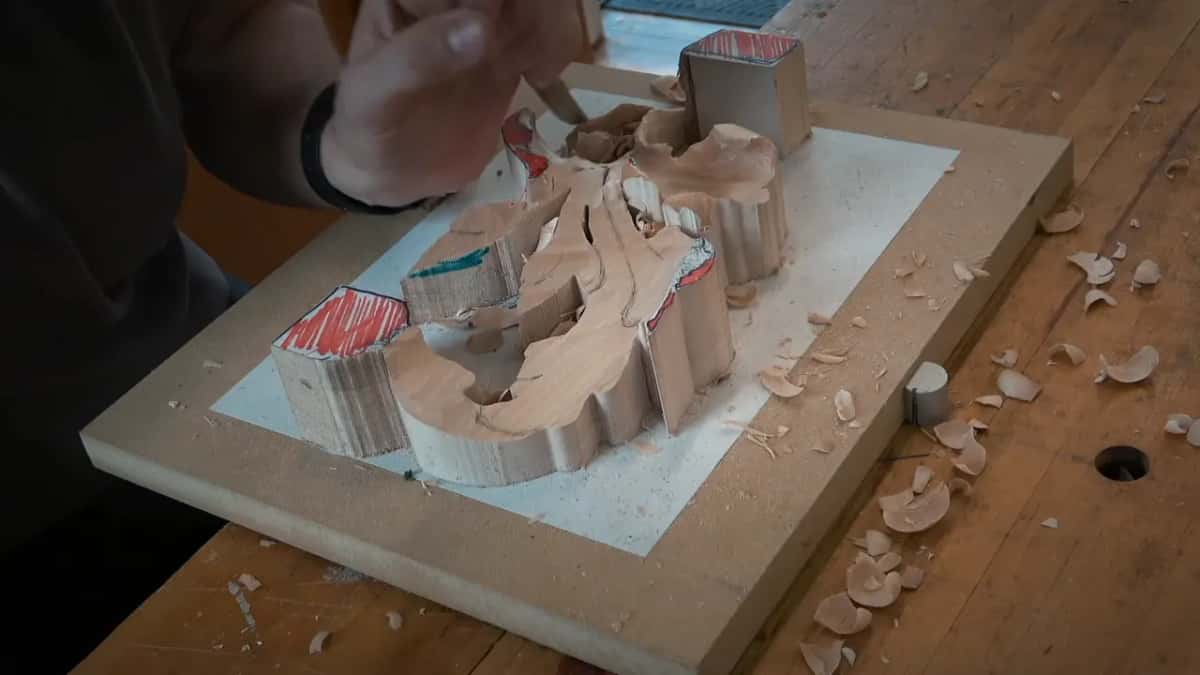
My Byzantine acanthus, lesson 7, shows the same idea on a leaf. It has to look as if it is raising up from that point, going up and up, and rolling down again. I kept the arc of the edge I had made, with no going below it. Everything else we roll, and give a roundness. On one side it would not blend all the way. There it rolls underneath and makes a bowl effect, so it really has to be rounded completely.
For the Tray of Blessing, lesson 2 I rolled a piece underneath slightly, using a number 2. Some people struggle to roll it. A smaller tool can start the undercut, but don't undercut too soon, before the shape is full, I said. Otherwise it gets too squished and does not look fully 3D. That flip pleased me, since it gave a really good shadow right there. Around the eight-minute mark I said you should be able to detect how it just rolls, and that maybe I should drop one side a little more, because I thought it would look better.

Where can you watch the whole lesson?
This page covers one video, the first of three in lesson 3 of Carving Modern Acanthus. The leaf starts in lesson 2 and keeps going after this one. A gouge that is new in your hand is where First Cuts for Beginners begins.
A word on this page may be new. There is a short page on relief carving and one on the craft of wood carving. The gouge is a kind of chisel, and wood grain is what I keep an eye on. Two more pages cover an undercut and sculpture in general. The acanthus leaf is tied to the Corinthian order, and it is a classic ornament. The Maine class is about the carving of Grinling Gibbons.
Have you got a gouge and a block of wood on your bench? Can you take one side of a shape down in small passes, and then walk around to the other side? Then you already have the first move of this lesson. If you want to sit beside me for the rest of it, start at the bench.
How it's done
- Finish one side in small passes. Take the first side down gradually, and stop when you have had enough from it.
- Turn to the other side. Go at it with the 20 mm number 9, three quarters of an inch, for the true feel of a roll.
- Keep the gradual movement. Losing it at that spot was the worry, and I still wanted to get in and make the rolling motion.
- Repeat the idea on the next side. The same treatment went on there, using the 10 mm number 9, three eighths of an inch.
- View it side-on. You really have to view it that way to know that it rolls, and I planned to undercut underneath that part.
- Scoop it, then roll it. Step one was to scoop the lobe out like a spoon. A number 7 at 14 mm then started the rolling motion.
Frequently asked questions
What gives a lobe its roll?
Take one side down first, then switch to the opposite side. Each got a number 9, one wide and one narrow, worked gradually, so the lobe gets the roll twice over.
How deep should each pass be when you roll a lobe?
Shallow. I said I was not even going too deep, not even a sixteenth of an inch, which is 1.6 mm. I guessed maybe a sixty-fourth, about 0.4 mm. Less material off, faster job, I said.
Which way do you check that a lobe really rolls?
From the side. I told the class you really have to look that way, to tell whether it rolls. I started undercutting that part, low down, and asked them to watch the motion develop on the camera.
What to carve next