

Alexander Grabovetskiy, woodcarver, School of Woodcarving · Published 2022
Why drop one side of an acanthus leaf lower than its stem?
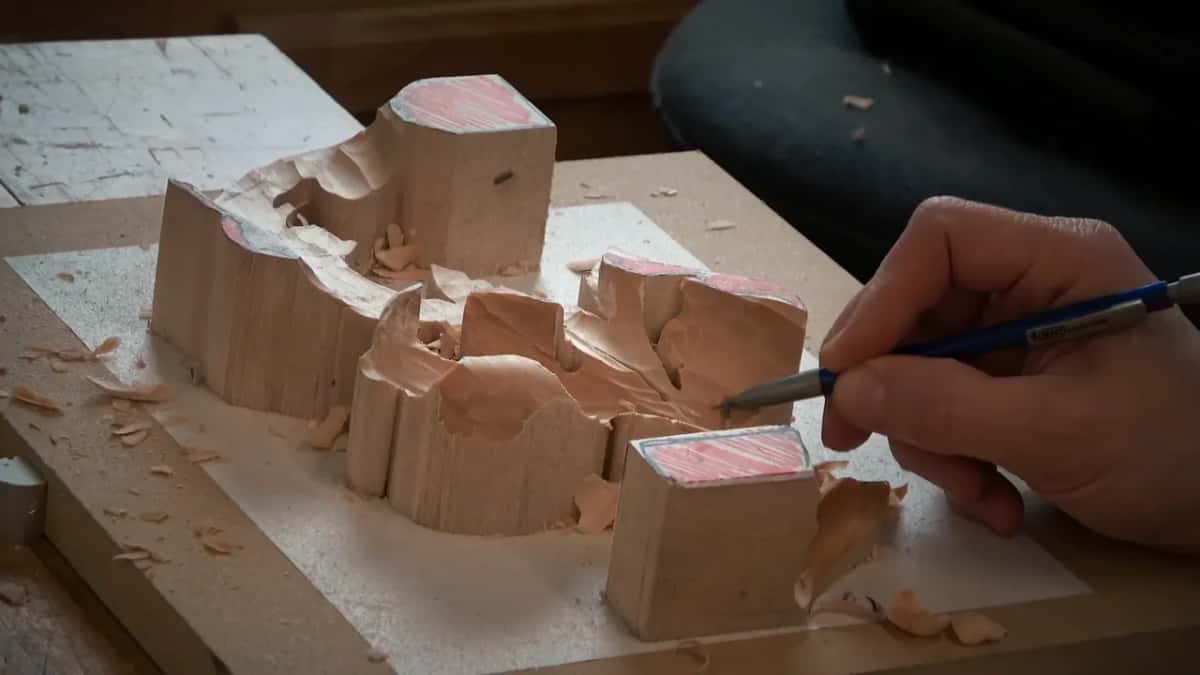
Quick answer: Dropping one side of an acanthus leaf lower than its stem is a choice about which part stays high. On my leaf the section came down, the stem line stayed above it, and the whole two inch (51 mm) stock went to more 3D motion. I set the low spot close to a quarter inch (6 mm) off the background.
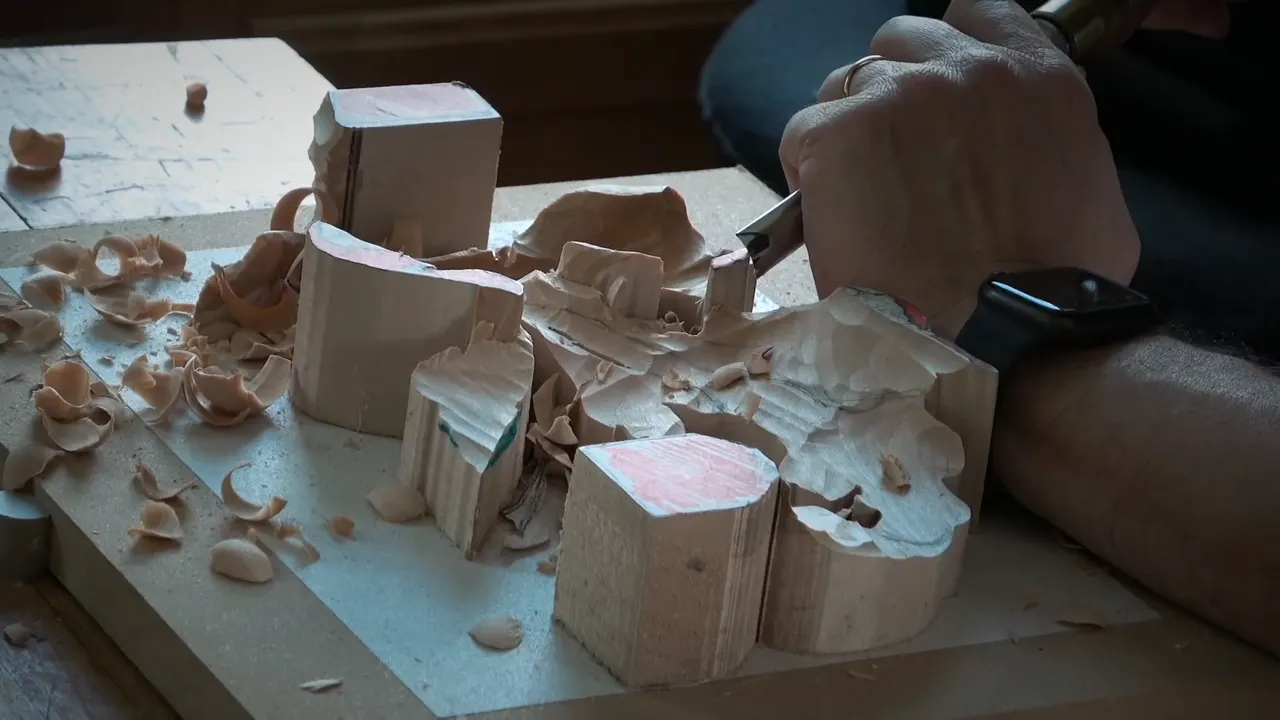
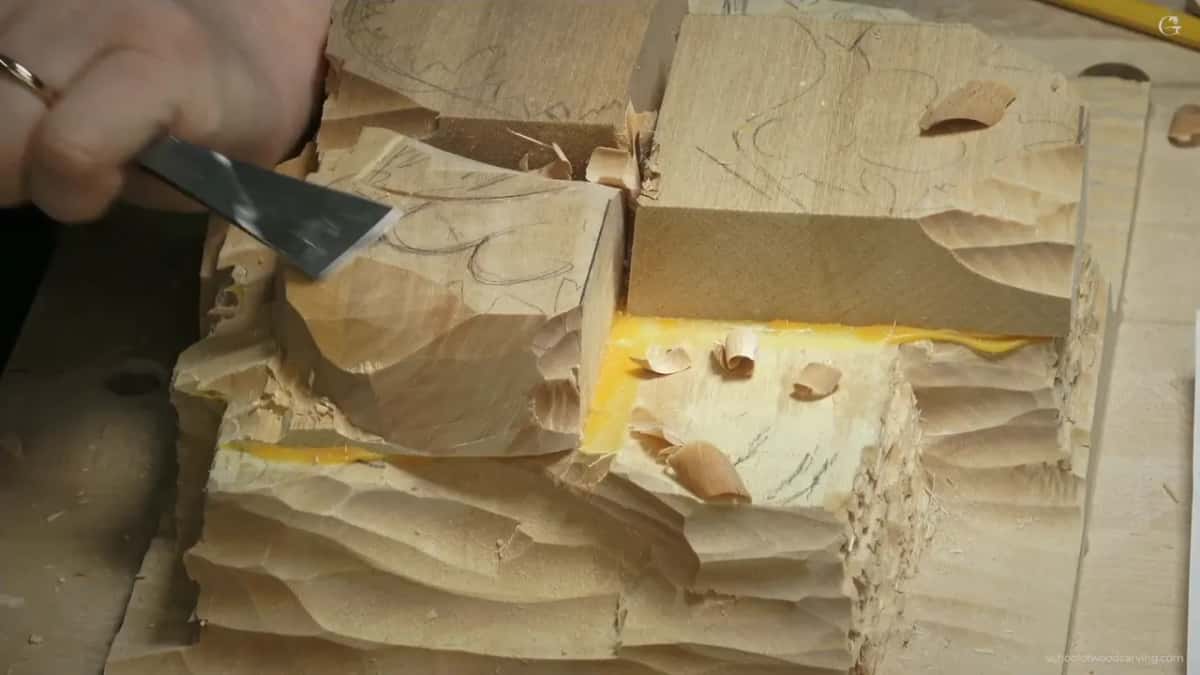
Dropping the leaf side below the stem is how I went after more 3D motion out of two inches (51 mm) of wood. In this video I dropped the whole side, left the line of the stem standing above it, and said the low spot would go down to about a quarter inch (6 mm) from the background. That makes this the second video of lesson three in Carving Modern Acanthus, a course built from a 1903 design.
Have you ever carved an acanthus leaf where every part sits at the same height? Does it still look flat when the outline is right? Then the question for your board is which part goes down past the stem. I answered it out loud on camera, and here is what I said.
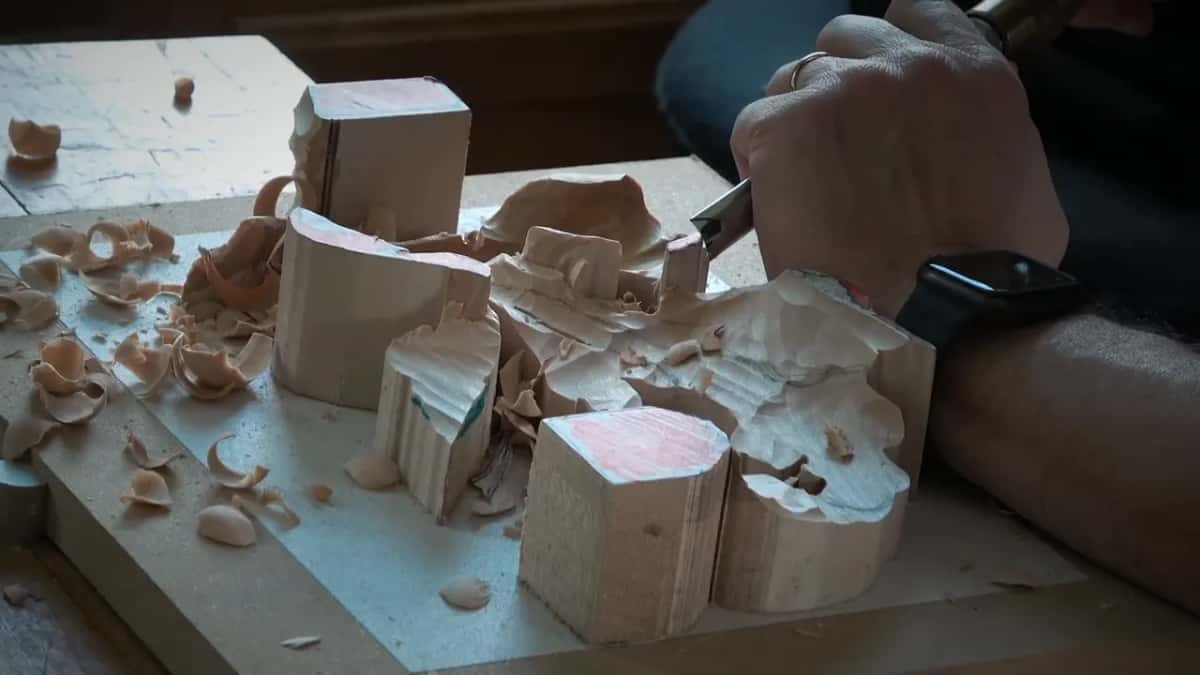
What I did on this leaf
- I called one line my stem and dropped the section beside it.
- I could have lowered the stem instead.
- I chose to drop the whole section, so the whole two inch stock would add 3D motion.
- I stopped at one low spot.
- I told the class to give the dropped line some curvature.
- Motion first, undercut second.
Why lower a leaf side under the stem line?
I pointed at a line and called it my stem. Next to it sat the section I wanted to drop, slightly below that line. My reason was short. I thought it would look nicer if I dropped the whole thing and used the whole body of the two inch (51 mm) stock, because that creates the 3D motion that I was after. After that I added: I think it is going to look nice.

Could the stem have gone lower instead?
Yes. The other direction was open to me, and I said it out loud: I could do my stem lower. The section would then sit just a little bit on top. I kept my first plan.
Either way, the leaf and the stem end at different heights. The choice on camera was which of them steps down, and I picked the leaf.
How far down does the section go?
Down to about a quarter inch, or 6 mm, from the background, at that one spot. The class was meant to see it, not to take my word. I stopped to get the spot into view, then asked if they could see it now.
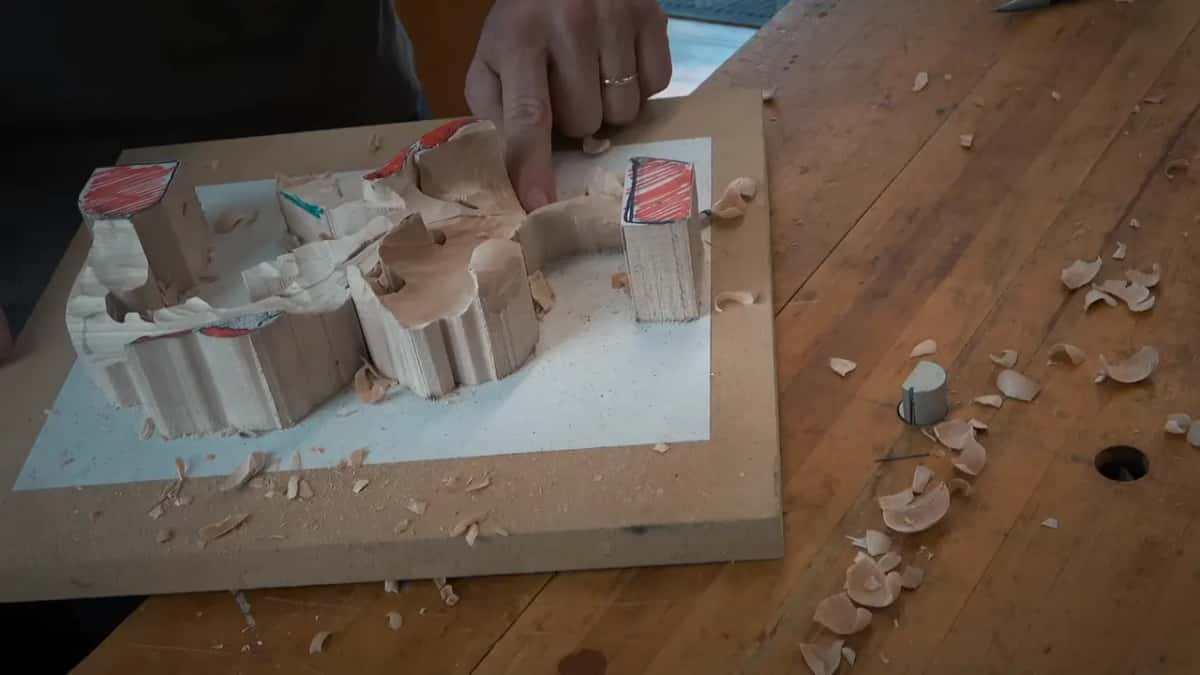
The following video repeats the number. I said I would leave approximately a quarter inch, six millimeters, before I hit the background, and I asked if that made sense. Right after it I went for the neighbor with a number 9, 20 mm (3/4 in), and planned to drop pretty much only one of its sides. That one would be my high spot.
My Hazelnuts course gives the same kind of numbers for a different carving. The final background there is about five millimeters, about 3/16 of an inch, with a higher line of approximately six millimeters (1/4 in). You can hear those numbers in my own voice on the Hazelnuts page for lesson 2.
Why does the dropped line need a curve?
The line could not run straight. It needed some curvature, I said, and later it would make sense, because we would create a stem going inside the leaf. Underneath, the idea was to excavate exactly like the opposite side.
Which comes first, the motion or the undercut?
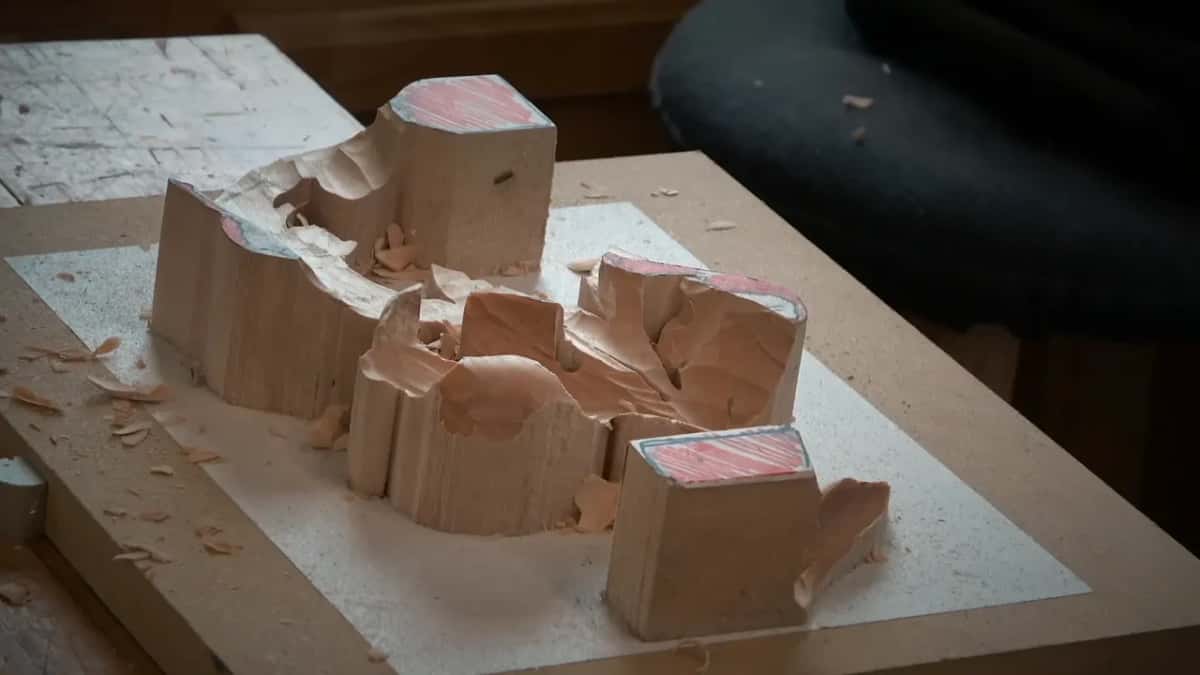
On this side the motion came first. I planned to start undercutting underneath that part, then reached for the number 9, 20 mm (3/4 in), gouge. The idea was to attack slowly from one side. I wanted the overall movement before anything else, a really nice motion, and the undercut waited behind it.
Earlier I had given the class a way to check. When you check whether it is rolling or not, I said, you really have to look from the side, and in my case it was better to look from that one. Then, while I worked, I asked the camera: can you see how the motion develops?

In the first video of this lesson I came at a side from the opposite direction, because I wanted to create the true feel of a really rolling shape. The gradual movement was something I did not want to lose. That spot was really important. On another hand, I really wanted to get in.
The first side of this video had its own roll, and I liked it: a really nice transition, how you roll it. The other side was a different job, raised on one side only, with no spoon on the inside.
Which tool did I grab before the drop?
Before the drop I said I could grab the previous tool, the number 9, 10 mm (3/8 in), to refine that pass. Then I reminded the class of a rule for the whole project: we are not going to use any sandpaper.
Why work this out on the wood and not on paper?
I work in stages. Stage one is the overall shape. I look at it from all the points of view, and only then do I change anything. When you draw in 2D, it does not matter how long you work. In real life you see the carving from different angles, and you realize it is better to change a little bit.
That is why I warned against overdoing it. Overdo it and you get frustrated, because later we could change the design.
Can a mistake force the whole area down?
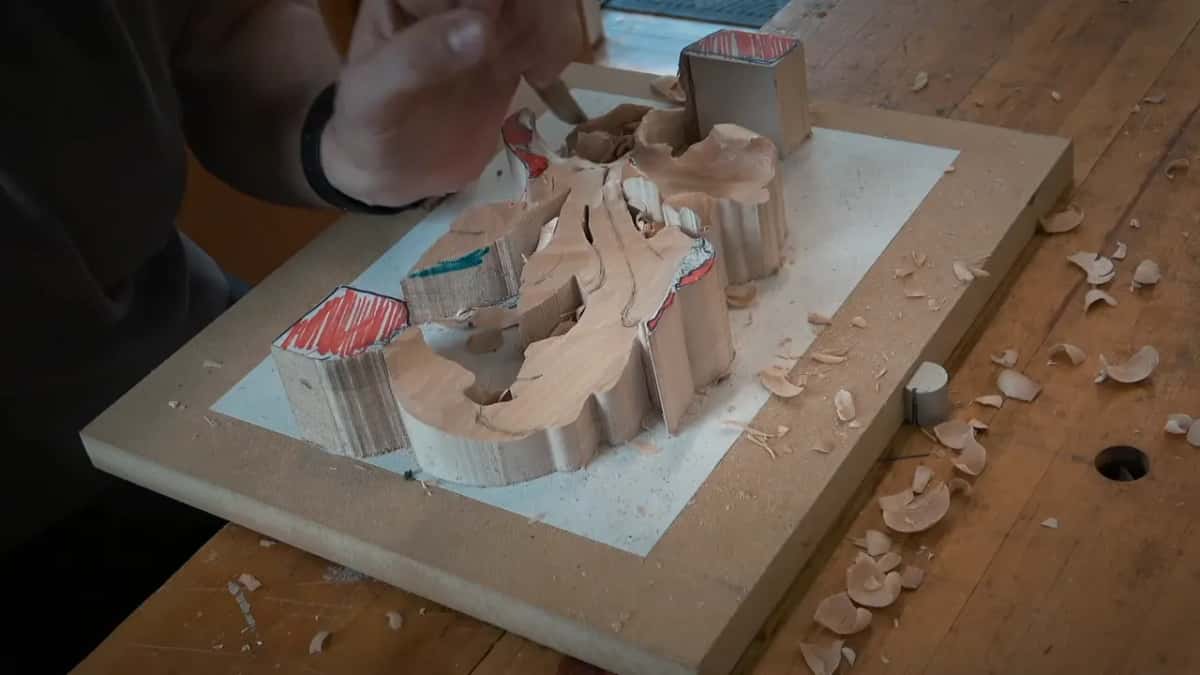
It can, and one did in the first video of this lesson. I was taking small, small passes, not even going too deep, and I was talking too much. I made a mistake. Now the position had to be lowered, I said, so the whole thing had to be lowered down. Please do not make the mistake I did.
What do you watch while you excavate underneath?
Underneath, the plan was the same as on the opposite side. Then came a warning about one section: be careful how you attack it, because that little thing is real fragile.
The video that follows does a similar drop on a curl. With a number 7, I said, I would knock one side down as much as I can, almost to the background, not all the way but really far. I presented the flute of the tool at about ten o'clock, and for anyone who does not know, the flute is right in the middle of the tool.
Where else did I lower one part so another could stand higher?
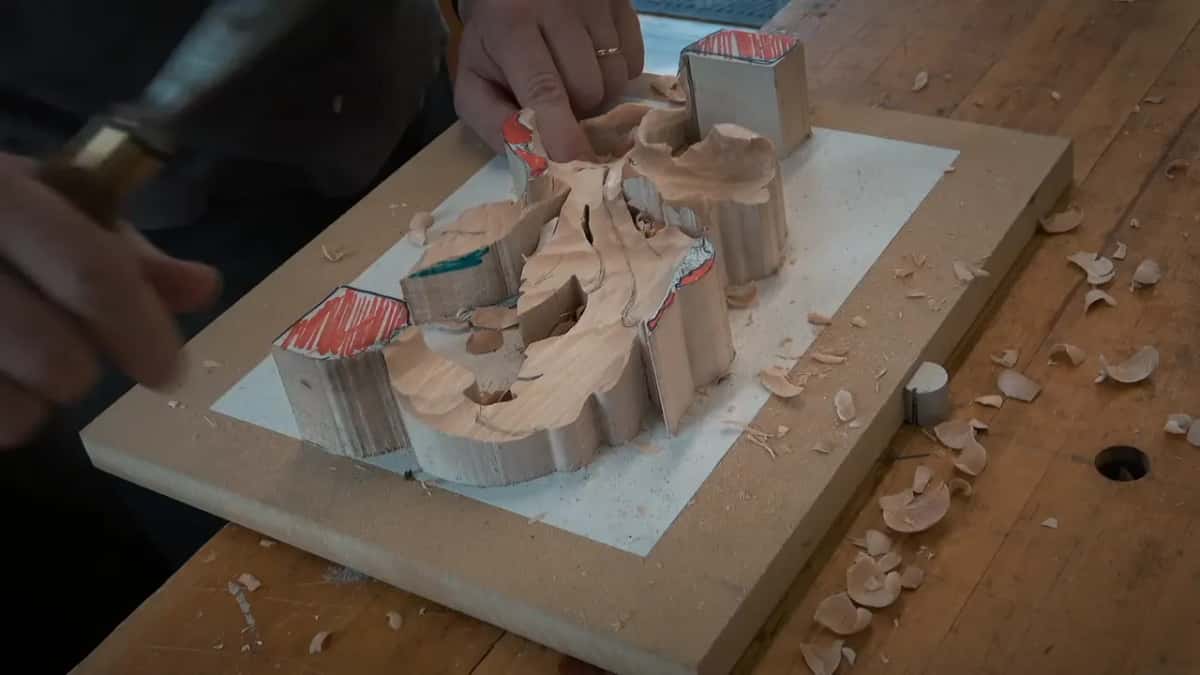
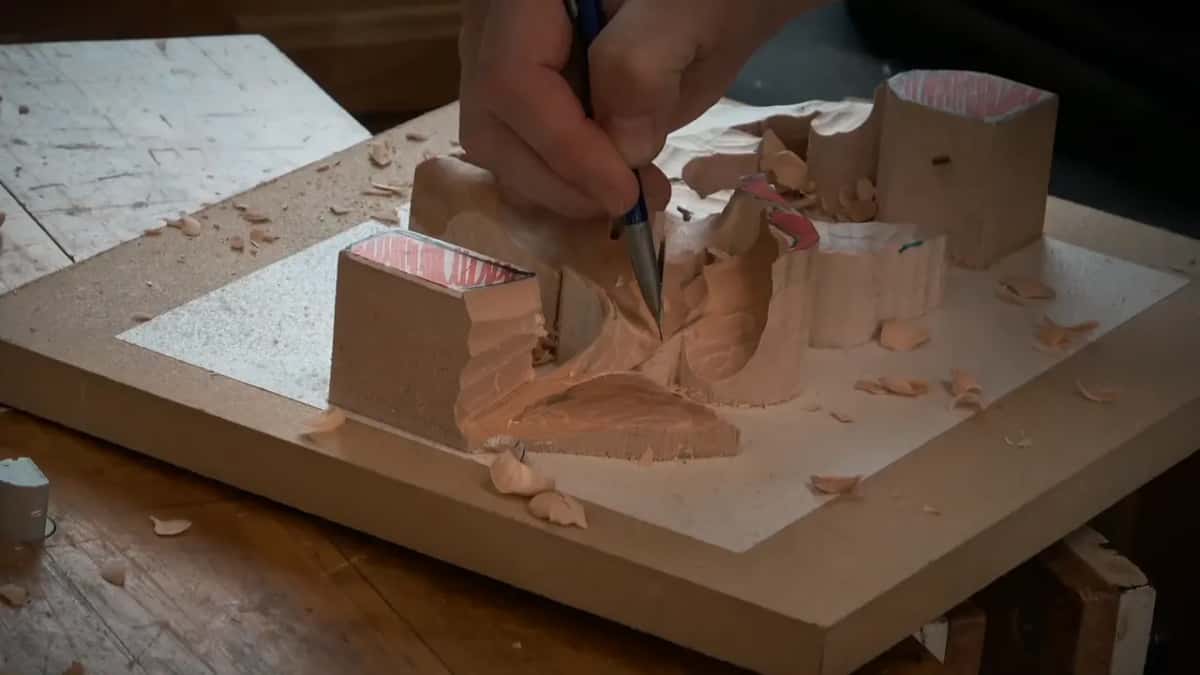
I have lowered one part below another in other courses too. Here are the ones that sit closest to this leaf, in my own words.
What happened in the Venice Room?
In Venice Room workshop 130 I outlined right on the line with the number 11 and then said, yes, it has to be lower than the leaf. I did not have to blend it really low. One option was to lower down only one side and give that side almost a concave going one way, while the tip of the leaf could be much higher, going all the way above the flower. Later in the video I added that this side of that leaf has to reach the same level as that side. You will find the whole video on the lesson 130 page.

In workshop 21 I explained why I made two parts uneven. I wanted an even more three-dimensional look, and a part moved a little higher with its neighbor a little lower creates the illusion of movement. Next I had to decide which section sits on top of which. Either one could go on top, and that way round looked better to me, this one over that one, maybe sloped a little more. That workshop is on the lesson 21 page.

What did I do with a petal and a panel?
Over on the Lily Box I was making up my mind how to see a petal. A movement downhill, a little bit more, was one option, and I was not sure how that would look. Then the idea came: one part rides a little on top of my design, but this part can be lower, much lower, and that gives even more dimension. I decided to do it, carefully.
I took the number 9 again, a quarter inch (about 6 mm), and removed a chunk for the concave on that side. Once it was there, it went downhill, so I measured it and hoped I had not taken too much material. The page is the Lily Box lesson 10.

On a furniture panel flower I took a number 3, one-eighth of an inch (about 3 mm) wide, and made the pass run downhill. It would give me, I said, more three-dimensional feel. I could lower this side, and exactly the same went on that side, going downhill, and then one side was to go even lower. The goal was to pop the middle part, because the middle part should be the focal point, in my opinion. That lesson is on the Furniture Panel 21 page.

Another panel video gave the idea a name: multi-level carving. There are multiple levels, even in a relief furniture style carving, and I called the idea really, really nice. The area in front of me was much deeper, an eighth of an inch, or 3 mm. The full video is on the Furniture Panel 18 page.

How do I keep a leaf higher than what sits beside it?
In Hazelnuts lesson 2, as I began the first blocks, I pointed out that the stem is higher than the hazelnuts, the leaf is going to intersect a bunch of them, and the leaf is higher than they are too. That is really important. I still had to get the full size, a full 3D, so I asked where the leaf would sit, and where the hazelnut.
My habit there is a really deep undercut underneath the leaves, because it gives a really good shadow. Further into the video, on the husk, the plan was to lower one section, then another, and that would leave the high spot, still a little under the leaf itself.
In a Hashemi Flowers lesson I planned for a part to sit a little under the leaf. A V tool, number 16, 6 mm (about 1/4 in), made my separation cut, and I was not afraid to go even lower. Not a big deal, I said. The reason I gave: this has to be lower than that side. That one is on the Hashemi Flowers lesson 5 page.

In the Grape Onlay lesson some shapes were going to be higher than the one I was shaping, but not as high as the main spot, and I said they would still have 3D motion. The Tray of Blessing ran the idea the other way round: one part of the piece goes somewhat above the stem, another part below it, almost overlapping the backside, with the stem hiding in. More complex, I said, but I think it will give us beautiful motion. The pages are the Grape Onlay lesson 1 and the Tray of Blessing lesson 4.
What numbers did each lowered part carry?
This table keeps what I said in one place, next to the course each one came from.
| Where it came from | What I lowered below something else | Tool used | Depth or size I gave |
|---|---|---|---|
| Modern acanthus 3-2 | The leaf side that dropped under my stem | Gouge, number 9 | Quarter inch, about six millimeters, above the background |
| Venice Room 130 | A side of a part beside the leaf | Outline with number 11 | Size not said, only one side lowered |
| Venice Room 21 | One part lower and its neighbor higher | Not named | A slight difference in height |
| Hashemi Flowers 5 | A part lowered below the leaf beside it | Separation cut | V tool number 16, 6 mm, a quarter inch |
| Furniture Panel 21 | Both sides of a flower going downhill | Gouge, number 3 | One-eighth of an inch, about 3 mm |
| Lily Box 10 | A petal dropped much lower than the rest | Number 9 again | Quarter inch, which is about 6 mm |
| Hazelnuts 2 | Nuts kept under the stem and leaf | Not named | Final background 5 mm, about 3/16 in |
What will you check on your own leaf before you carve?
Which line on your leaf is the stem? Could the section beside it drop and still hold a curve? Would a quarter inch, or 6 mm, leave you wood to undercut? If the answers sound like yes, then the video I described is waiting for you.
This video shows me setting up the drop, and the third lesson page holds all three videos. The course page has the rest of the leaf, and the craft behind it is wood carving, a kind of sculpture. Open the video with your Tuition and watch the side come down.
How it's done
- Name the stem line. I pointed at one line and called it my stem. The section next to it was the one I wanted to drop.
- Choose which part drops. Either the stem or the section could step down. I picked the section, so the full thickness of the stock could carry the motion.
- Make the motion first. With the number 9 I would attack slowly from one side and shape the overall movement before any undercut.
- Stop short of the background. I said the low spot would stop a quarter inch short of the background, six millimeters, and showed the class where it was.
- Give the line a curve. The dropped line, I said, needs some curvature, since a stem will go inside the leaf later.
- Excavate underneath with care. Underneath, I would work like the opposite side, with care around the fragile little section.
Frequently asked questions
Must the dropped side go below the stem?
It could go the other way. I told the class the opposite was possible: a lowered stem, with the section just a little bit on top. I went with dropping the whole section, since that used all of the stock and looked nicer to me.
How close to the background does the dropped side go?
Approximately a quarter inch, six millimeters, at one spot, and I stopped to show it to the camera so the class could check. The part after this one repeats that figure as the wood I leave before the background.
Should the line where I drop the leaf run straight?
Make sure it is not a straight line, that was my rule for the class. It has to have some curvature, and later it makes sense, because we create a stem going inside that leaf. Meanwhile we excavate underneath, as we did on the other side.
What to carve next