

Alexander Grabovetskiy, woodcarver, School of Woodcarving · Published 2022
How do you protect a small carved detail while you texture the ground around it?
Quick answer: Protecting a small carved detail while you texture the ground is a matter of order and direction. I dug my ladybug first and kept it standing while the ground went in. Then I flipped it, worked inward from the outside, exposed the bug, and took a slight undercut under its edge.
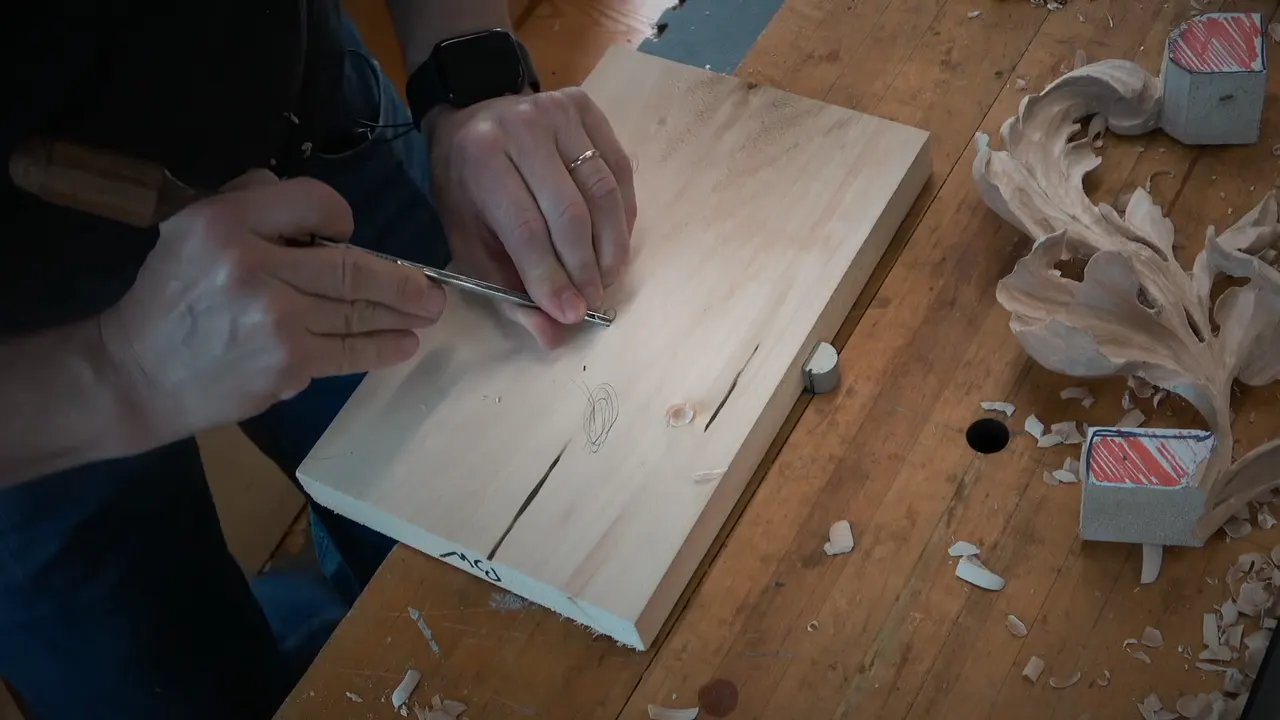
Protecting a small detail as you texture the board around it comes down to order and direction, and on my ladybug I dug the bug first, left it standing, and carved inward from the outside. It happens in the second video of lesson eight in Carving Modern Acanthus, my class on a design from 1903.
Ever spent an hour on one small shape, then watched a gouge slip across it? Do you want the board around a bug, a flower or your own signature covered with marks, and the little thing still sitting there when you finish? I will walk you through the order I used on the ladybug, then show how I handled the same worry on a furniture panel, a Corinthian leaf and a Hashemi flower.

What keeps a small detail safe while the ground goes in?
Order comes first. I dug the ladybug before I touched the ground, and I did not finish it until the ground was worked. I said it plainly: it's not the end, because before we finish that ladybug we have to work on the background.
Then came the warning, a short one. Just keep an eye on it, I said, and don't carve that thing away. Direction comes second, and once I turned the board over to work around the bug, I told my class how to travel: always work from outside inward, because it's safer.
Exposing it was the last move. I need to expose that ladybug, I said, and after that a slight undercut under its edge made the shadow. The legs still had to go in, I said, so no big mess.
The ladybug's order of work
- Digging round the bug came first, with a 3 mm (1/8 in) number 11, only a couple of millimeters deep.
- A 14 mm number 7, about 9/16 inch, rounded it with its corner and drew the head and wings.
- Ground strokes covered the board while the two glue spots stayed bare.
- When the strokes came close, I flipped the board and worked outside first.
- Exposing the bug, a slight undercut and the legs came last, all with the same corner.

Why dig the ladybug first?
The bug went first in my video. First of all, I told the class, you really have to dig around it using a number 11, and mine was 3 mm wide, about 1/8 inch. Keep it shallow, I said: not so deep, don't do too deep.
How deep did I go? A couple of millimeters, no more than that (roughly 0.08 in). I also asked them not to create a huge one, so the bug stayed small.
After the dig, I took a number 7 of 14 mm (9/16 in) and went at the bug with just its corner, to round it. A little later the same corner separated the head from the wings, and I put a line right in the middle for the wings. It was the same tool, and I used only a corner of it.

Rounded, with a head and one line for the wings. Then the ground was next.
Where do the glue spots sit next to a detail?
Right beside it, on my board. At the start of the video I said I was going to leave a couple of spots for the glue, and the ladybug could go somewhere right there. Back in the first video I had laid the carved leaf on the board and traced, approximately, where each gluing spot would touch, and you can watch that in lesson eight.
When the number 7 started across the ground, I said I would leave the gluing spot alone. My plan was to cover the whole thing, with no flat areas except the gluing spots.

How close should the ground strokes come to the bug?
Close, then closer, and the strokes change. Closer to the bug, I said, our strokes are going to blend. Careful, I added, when I get to the ladybug. Stroke length and spacing are a different question, and another page of this school covers them.

I'll go around the bug, I said, because you don't have to watch the whole process. Then the board went over.
Which way should the gouge travel near a detail?
The edge is where a gouge catches. Always work from outside inward, I said, because it's safer. And do not carry that stroke all the way from that side, or you'll catch the edge, and it's not going to look good.
That warning showed up again on a furniture panel, in lesson 18 of the furniture panel course. I advised against going toward an edge, because you can actually catch the edge and split it, and that can create a problem. The only reason I did it that way on camera was that I did not want to switch my camera, and I did not want to waste time. Better always to carve from the edge inward, I said, and much safer.

Sharp tools came into that answer too. If your tools are really sharp, I said, you should not catch it, and you should be fine, but only with really, really sharp ones.
When do you expose a detail?
After the ground nearby is worked. By then I had come in very near my ladybug, so I took the same number 7, the 14 mm one, and undercut slightly underneath it. The point was pretty much just to create the shadow around that thing. Only the corner went in.

Just be careful, I said, and don't make too much of a mess, because we still have to create the legs. Refining the bug was possible, I said.
A half millimeter makes a better undercut, I said in the next video, if you own one. The third part of this lesson has it.

How do you shape the legs without losing the bug?
With the corner again. A cut down like that creates a small shadow line, I said, and I asked the class if they could see it. Obviously the legs the same, I said, just the corner.

Nothing else touched the bug after that. The rest of the video goes to the ground around it, and the legs come last.

How much extra wood do you leave beside a small detail?
About a millimeter on each side, on that same panel. I worked around a curly detail and said I would stay away approximately a millimeter, about 0.04 inch, on both sides, maybe a little less. It would be tiny at the end, I said, but I needed the extra material for now.
Then came the reason. I don't want to carve that on the line right away, because I can always make it smaller, even later. If I carve too much, I can't make it bigger. It's impossible. That is the whole argument for leaving wood next to a detail, in my own words from lesson 18 once more.

Earlier in that same video I talked about the knife. When I outline with it, I try to stay shallow, because smooshing your fibers inside is no good, and all you're doing is making an initial outline to get your gouge in.
A second knife pass over the first outline is possible, and I said I'm not the biggest fan of it in this case. The point of the knife digs inside the wall and leaves a mark. It won't look nice once you work on details, and most of the time it will show.

How deep do you chop around a detail at first?
Shallow, at first. Lesson 15 on that panel had me chop around my design with a number 2 of 12 mm (roughly 1/2 in) and said to keep it shallow. If I go a little too deep, that's okay too, I said, because I can always shave it.
Around that flower I wanted to stay shallow, I said, because I'd undercut it later. That's why you see a little mess. It's not my final detail yet.
Why work the ground first and the details second?
On that panel I did it in that order. If you ask me why I do my background first and then work on details, I said, it's a lot easier to determine, and to play with the depth of all the moldings, before I start digging inside of the flowers.
I admitted the temptation. Sometimes I jump and start carving the flowers and all the details. But I found the best way is to work the background first, as nicely as possible, and then work the details, so all the flowers and all the movements.
Does that contradict the ladybug? My bug was only dug and rounded before the ground went in, and I finished it after the strokes. The panel got its details after the ground. Two videos, two places in the order, and one worry behind both.
What changes when the ground sits close to another carved part?
The depth stops. Lesson 19 of that course had a spot really close to a molding, so I could not go really deep in that area. I warned them to take care there, and be mindful of it. My number 11, 1 mm wide (roughly 1/25 in), had just gone around my flower.

For the undercut there I went around first, straight down, so no wall would show. And be careful not to dig inside the background, I said, because otherwise it's going to be a big mistake, you will see it later, and it will be really hard to clean.
I liked what the shadow did. I like that extra shadow casting, I said. The 1 mm gouge went around, and then a number 11 of half a millimeter (about 1/50 in) followed.

A filler flower in lesson 18 needed a round stroke, and I said I really didn't want to destroy this point. Then a little deeper pass, without going too deep. As I said before many times, I want to protect my background, and it's always easy to overdo it.

Does a mallet make outlining a small shape safer?
Maybe. My first tool in lesson 19 of the same course was a number 11 that was 1 mm, and I said it might be safer to do the outlining with the help of a mallet. You can see I'm barely hitting my mallet, I said, and I can actually safely go around like this.

Should a carved detail go all the way down to the ground?
On the volutes in lesson 16 of that course, I said I'd go in carefully, but not much, because we're going to develop something different inside, not down to the background yet. There are a couple of ways to do that. You could go right to the background, I said, but then it looks like it's glued on, and I really don't want to make it look like that.
There's nothing wrong with gluing a part on, I said, but for people who understand how it's supposed to look when it's done the way it used to be done, they will know.

Later in that video A number 11 cleaned away the curly chips I had made with a router plane. By the way, I was stopping short of the background there, I said.
Why leave a thin layer of ground until the end?
My Corinthian leaf, in Corinthian acanthus lesson 6, had about 1/16 of an inch (1.6 mm) left before the final background line, and the time had come to remove it.
The reason for leaving that material came next. When we carve on the outside and make details, sometimes your tool digs into the wood, inside of the background, and it doesn't look too good. So we left 1/16 inch, and at the final stage we removed all those nasty tool marks.

The way I did it is worth watching. I used a number 5, and said a number 7 would work too. Place your tool right on the line, I said, and make your move inside, against the grain, working from outside toward the center. Don't worry about the ridges. Then a number 3 slices them down.
What do you do around a detail when the grain fights you?
Go around carefully. In the Hashemi course, flowers lesson 47, I said to just go around carefully, because I was working against the grain, and that just creates the movement backward. I could use a gouge there, I said, but the knife will work.
Where did I protect a detail, and how? A short table
| Where | How I looked after the detail | Size | What I said at the bench while I worked |
|---|---|---|---|
| Modern acanthus 8-2 | Worked the ground before finishing the bug | 14 mm | Just keep an eye on it |
| Modern acanthus 8-2 | Flipped the board, then worked outside inward | Number 7 | It's safer, I said to them |
| Furniture panel 18 | Stayed a millimeter off the curly detail | 1 mm | Need the extra material for now |
| Furniture panel 19 | Outlined the flower using a number 11 | Number 11 | Be careful not to dig inside |
| Corinthian acanthus 6 | Left a thin layer until the end | 1/16 inch | Sometimes your tool digs inside the ground |
| Hashemi flowers 47 | Went around carefully, since the grain fought | Knife | That just creates the movement backward |
What should you look at on your own carving?
Where does your hand come from when it nears the detail, and which edge is it going to catch? Does the ground run close to anything you want to keep? Have you left a little extra wood beside it, or are you already on the line? When those answers sound like a yes, this second part is the one to open.
It is the second of three videos. The eighth lesson page holds all of them, along with the Carving Modern Acanthus course page. Want to know how I roughed that leaf out in the first place? Lesson one shows it. The idea of putting a bee or a signature into a piece came up in Byzantine acanthus lesson 1 too. Ground strokes on a board like that are covered in Grinling Gibbons lesson 6, and I cleaned my dining table apron with a tiny V tool in the apron lesson. The craft behind all of it is wood carving, the verb is carving, and it is a branch of sculpture and woodworking. The gouge belongs to the chisel family, a mallet gives it a push, and a relief lives on shadows and shavings. An acanthus is a leaf shape, a ladybug is the little visitor, a shadow outlines it, and the grain decides which way your stroke can safely go. Open it with your Tuition and watch where my gouge stops.
How it's done
- Dig round the detail. Dig around the shape with a 3 mm number 11, about 1/8 inch wide. Small is the goal, and shallow, a few millimeters at the most.
- Shape it with a corner. Held by its corner only, a number 7 of 14 mm (9/16 in) rounds the body. That corner parts the head from the wings and draws the line between them.
- Work the ground first. Cover the board with the same number 7 and stay off the glue spots. Watch the detail so you do not carve it away.
- Flip the board near the detail. Start at the outside and work in. A stroke carried in from the detail's own side catches the edge and spoils the look.
- Expose it, then undercut slightly. Take the same corner under the shape to make a shadow around it. Keep the mess small, because the legs still have to go in.
- Finish with the legs. Use the same corner for each leg, just the corner. A cut down like that creates a small shadow line, and a half millimeter, if you own one, gives a better undercut.
Frequently asked questions
Which direction is safer around a small detail?
Outside inward, I told my class, and I called it the safer way. On the ladybug I turned the board over and warned them not to carry a stroke in from that side, since the gouge snags the edge and the surface does not look good afterward.
How far from a detail should the first ground strokes stop?
Around a curly detail on my furniture panel I stayed about a millimeter (1/25 in) away on both sides, maybe less, because I needed extra wood there. The detail would end up tiny, I said, so that wood was only for now. Take too much off, I said, and you can't make it bigger.
Does a mallet help when you go around a small carved shape?
In one panel video I said it might be safer with a mallet, then showed that I was barely hitting it. The first outline came from a number 11 of 1 mm, which is 0.039 in, and I could safely go around the flower that way.
What to carve next