

Alexander Grabovetskiy, woodcarver, School of Woodcarving · Published 2019
What is a wall on a carved petal?
Quick answer: A wall in wood carving is the blunt flat left along a petal's rim when the top surface and the undercut fail to meet. Mine measure roughly a millimetre. Some carvers keep them deliberately. I take every one down to a sharp edge instead.
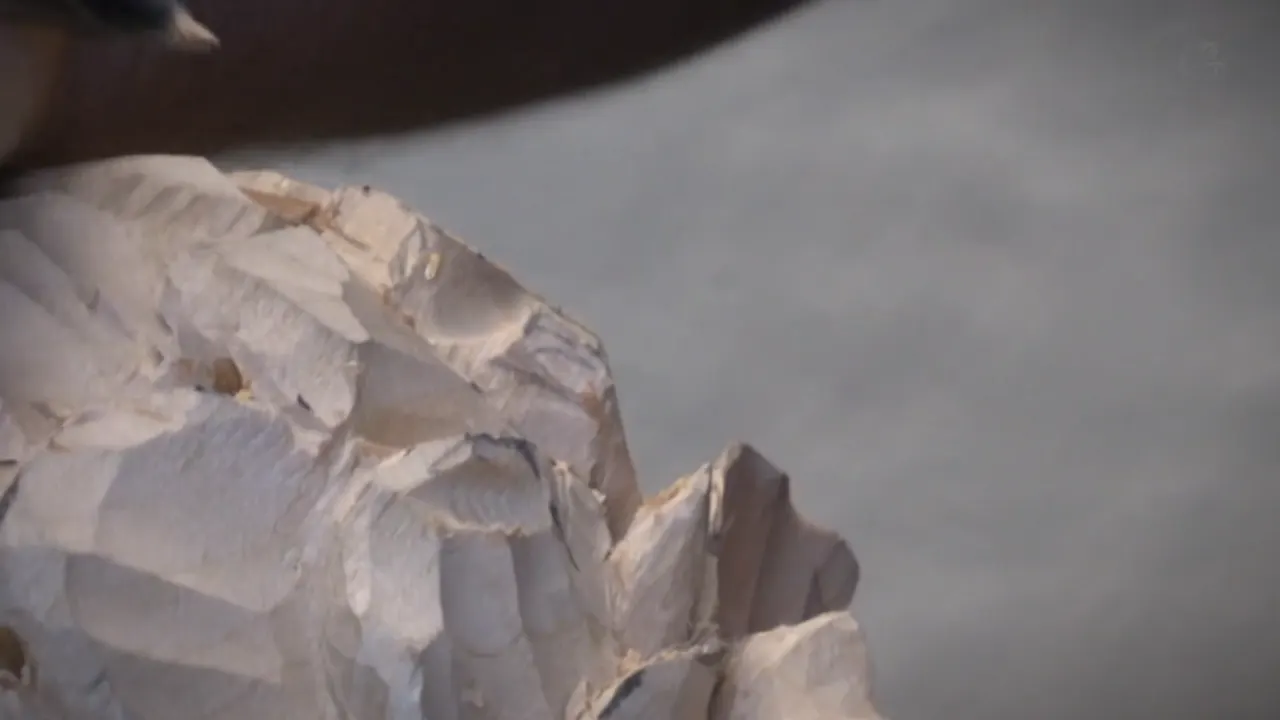
The blunt little cliff left along a rim, where the top surface and the undercut never quite met. Mine run about a millimetre. I hate the look of them and I take every one down.
Look at a carved petal edge on. Does it come to a line, or does it show you a little cliff?
That cliff has a name in my shop. Lesson 47 of the Hashemi flowers panel is nine parts of hunting them down, and partway through I stop and explain the word three separate times, because nobody taught it to me either.

What this lesson is chasing
- A wall is the flat left where two surfaces miss each other at the rim.
- One millimetre is enough to spoil it.
- Plenty of carvers leave them on purpose and call the result stylish.
- Attack from inside, from outside, or from both sides at once, until no flat survives anywhere on the rim.
- Levering an edge sideways is how carvers snap them off.
- Waves everywhere, because that is what stops your flower looking like mine.
So what is a wall, exactly?
My own explanation, given on camera because the word is not standard: this section right here, I call it a wall.
Picture the rim of a petal in section. The carved face runs above. Underneath it lies whatever the undercut managed to reach. When those two surfaces arrive at the same line, the edge is sharp and the wood reads as thin as paper. When they stop short of each other, a flat survives between them, square to the light, and the petal suddenly looks like what it is: a lump of lime with a shape cut into it. How thin a carved leaf should go covers the target the rim is aiming at.

How big is one?
A sixteenth of an inch on the first petal I measure, and something nearer one millimetre on the next.
That is small enough that it never shows in a photograph and large enough to kill a carving in daylight. Square wood catches a hard thread of light along its whole length, so instead of an edge dissolving into shadow you get a bright seam outlining every petal. Once you have seen it on somebody else's work, you cannot stop seeing it.

Do some carvers leave them deliberately?
They do, and I say so in this lesson rather than pretending my way is the only way.
Carvers do keep that band on purpose. It makes the work more stylish, is how they would put it, and on a stylised leaf or a piece of graphic ornament they have a point: a crisp flat band reads as a deliberate line rather than as an unfinished edge. My work is not going that way. I want two surfaces meeting at a genuinely sharp point, every time, and I am willing to spend the hour it costs. Whether a carved flower has to look realistic is the same fork in the road, one step earlier.

Which side do you attack it from?
Either. Usually both, and the order depends on which face you already like.
Work from outside and you take the carved surface down to the rim, which risks the shape you spent an hour on. From inside you undercut further until the underside rises to meet it, and that costs thickness. On this flower I try the inside first with a knife, see how deep I can get, then clean the last of it from outside. Attacking one side alone almost always forces you into the other anyway, because taking the face down moves the rim and the undercut no longer reaches it.

Taking one down
| Where you come from | Tool | Cost |
|---|---|---|
| Outside | Knife | You shave the carved face you already liked |
| Inside, undercutting further | Number seven | Thickness |
| Both sides, going back and forth between the two of them | Whatever is in your hand at the time | Time, and nothing else |
| Neither | None | A bright seam round every petal in the piece |

Waviness, and why it matters
Another word I am not certain about, and I say as much before using it anyway.
Waves along a rim, and across the face, and round the side of a petal too. More of them means a more unique flower, and that is the whole argument for doing this work at all. A rim carved as a clean arc belongs on a cabinet door. Send it in, out, back in, then lift it at the end belongs on something grown. I keep saying the word because there is no better one, and because it is the difference you can see from across a room. Telling whether a carved line flows is how you check one.

Will two carved flowers ever match?
Never, and I find that the best thing about the work.
Try to replicate a flower you carved before, copy it as closely as you can manage, and it still comes out different. Every one is an absolutely different flower. Which means your peony will not look like mine even if you follow all nine parts of this lesson, and it also means you cannot fail by deviating. There is no limit to what you can do here as long as you have patience, and patience is genuinely the whole requirement.

Does a flower make other carving easier?
My claim in this lesson, and I stand behind it: manage a complicated flower and every other project becomes really, really easy.
This kind of carving is challenging and I agree that it is. What it trains is the thing that no simpler project trains: holding a shape you cannot see all of, deciding depth by feel, working a tool in a space with no room, and knowing when to stop. An acanthus leaf after this feels orderly. So does a relief panel, and mouldings and rosettes stop frightening you too. Why the peony is the hardest flower to carve makes the case from the other end.

Why does cranking break an edge?
It loads the thinnest part of the petal sideways, and I admit on camera that I do it too.
Cranking is levering the tool against the wood to pop a chip out instead of carving it free. On a rim thinned to a sixteenth of an inch, that sideways force has nowhere to go but straight through the wood. I found myself guilty of the habit while filming this, which is why the warning is in there twice: do not crank against the edge, because you will break it. Almost no pressure at all is the standard on work this thin. Hoiking in wood carving is the same move under its British name.

Can a gouge do a drill's job?
It can, and that trick saves getting the drill out mid-petal.
Take a small number eight, stand it on the spot where you want the deep point, and rotate it. Repeat that a few times and you have bored yourself an opening, then bring the sides in until they all arrive at it. Hook the waste out as you go. The result is the same low point a tapered bit gives you, made with a tool already in your hand. The vanishing point cut covers where those openings come from and what they are for.

When does a micro gouge need a strop?
The moment it stops cutting cleanly, which on this work is sooner than you expect.
Partway through the lesson I notice my micro gouge needs buffing, go to the leather, and come back saying it is much better. Nothing dramatic happens in between. The tool simply stopped severing fibres and started pushing them, and on a petal a millimetre thick pushing is how you lose the petal. A few passes on leather and the tool comes back. Skipping that is how an hour of good work turns into a torn rim you cannot repair. Sharpening on a piece like this is not a session at the bench, it is something you do four or five times an hour without thinking about it.

Do peonies curl outward?
Not often, and I break the rule anyway.
You do not usually see many curl outs on this type of flower. That movement belongs to roses, where the outer petals turn back on themselves. Carve one onto a peony, though, and it gives the piece a three dimensional look that the flower would not otherwise have. Once in a while, in some spots, I think it is worth the small lie. Not everywhere. Botanical honesty is worth something, and so is a petal that catches the light.

How close should two petals sit?
Close enough to touch in places, a long way apart elsewhere, and never the same gap twice.
On this side of the flower one petal is almost lying on top of its neighbour, so no big space cut goes in there at all. Elsewhere a deep excavation opens a real gap. Varying that is what stops the flower looking machined, and it is the reason I did not drill openings everywhere when I had the chance. How many petals a flower should have sets the counting behind it.

What does blending mean here?
Too many ridges, too many facets, too many tool marks, then passes that soften the lot.
I use a micro knife by Ashley Iles, from the Peter Benson collection, and take smoother transitions across the surfaces I have just cut. Not all of them. Some tool marks earn their place by catching light, which is the whole reason this flower never meets sandpaper. Pfeil and Henry Taylor make knives in the same range, and any of them will do the work if the edge is right. Carved in basswood, the surface holds those marks beautifully.

Why mark a rim in red?
To make the flat visible while you work on it. Half the red in this lesson is me marking walls.
Wood is one colour and a square millimetre of it sits in shadow most of the time, so the band hides in plain sight until the flower is in daylight on somebody's wall. A red or pink mark along the rim solves that. It also marks waste generally: I run the marker over an area that has to go, then carve until no colour survives. The pink has to be gone, as I put it near the end. When it is gone, so is the job. Pencil would do the same work and I would lose it in the shadows, which is exactly the problem the marker solves. What to do when cleaning rubs out your centre line is the other half of marking a piece you intend to carve away. Ordinary permanent marker does it, and since nothing here is ever going to meet abrasive paper, the marks have to be carved off rather than rubbed off.

The triangle of waste
A wedge of wood left stranded when a petal curls out, sitting behind the rim and touching nothing.
Curl a rim outward and the grain behind it no longer belongs to any surface. A triangle is what remains, and it has to come out without the tool ever touching the edge in front of it. A number eleven at one millimetre goes in from the side, as deep as it will travel, without pressure. Miss that wedge and the curl reads as a thickening rather than a lift.
How do you decide, exactly?
Work, feel and logic. Those are the three words I use when somebody asks, and there is nothing behind them.
Partway through this lesson I apologise for going quiet, then explain why: it is just pure work. What logically looks good, and what logically does not. Nobody handed me a system or a proportion rule to measure it against. Forty years of carving turns into a judgement you make in two seconds and cannot defend on paper, and the only way to build one is to make several thousand of those judgements badly first.
What this lesson leaves you with
Petals whose rims end in a line rather than a band, and a flower that has stopped looking carved and started looking grown.
Telling when a petal is thin enough is the next problem along, and letting the wood decide which way a petal curls is where these movements came from. Go and look at the foliage in the V and A sculpture rooms and check the rims of the leaves. Almost none of them show you a band.
How it's done
- Find the band by looking edge on. From the face a rim always looks finished. Turn the flower until you are looking along the petal and the flat shows itself.
- Try the inside first. A knife under the rim tells you how much undercut is available before the petal gets too thin to keep.
- Clean the rest from outside. Take the carved face down until it arrives at the same line. Taking the face down moves the rim, so expect to go back underneath.
- Keep the pressure off. Almost none at all. Prise a tool against a rim this thin and the force goes sideways into the wood.
- Strop the micro gouge when it stops slicing. A dull edge pushes fibres instead of severing them, and pushing is how a millimetre thick petal comes off.
- Leave some tool marks alone. Blend the ridges that read as roughness. Keep the ones that catch light, because nothing here is going to be sanded.
Frequently asked questions
What does a carver mean by a wall?
The flat standing proud at a rim where the carved face and the undercut stop short of one another. Around a millimetre is typical, and it catches a hard thread of light.
Should a carved petal edge be left square?
It gets left deliberately by some, who call the effect stylish. On work meant to look grown rather than drawn, two surfaces meeting at a sharp point is worth the extra hour.
How do you remove a wall on a carving?
Work the rim from underneath with a knife, then bring the carved face down to that same line from above. Alternating between the two is usually unavoidable.
What to carve next
- Carving Hashemi Flowers
- Telling when a petal is thin enough
- Letting the wood decide which way a petal curls
- The vanishing point cut
- Why the peony is the hardest flower to carve
- Does a carved flower have to look realistic
- How many petals a flower should have
- Hoiking in wood carving
- Telling whether a carved line flows
- How thin a carved leaf should go
- When cleaning rubs out your centre line