

Alexander Grabovetskiy, woodcarver, School of Woodcarving · Published 2022
What do you do with a shape you cannot identify in an old carving design?
Quick answer: A shape you cannot identify in an old carving design is still carved, by where it sits rather than what it's called. In my classes I gave one such shape a layer, dropped one lower, and kept the line of one so it stayed. On the Maine Gibbons panel I said you can name it anything.
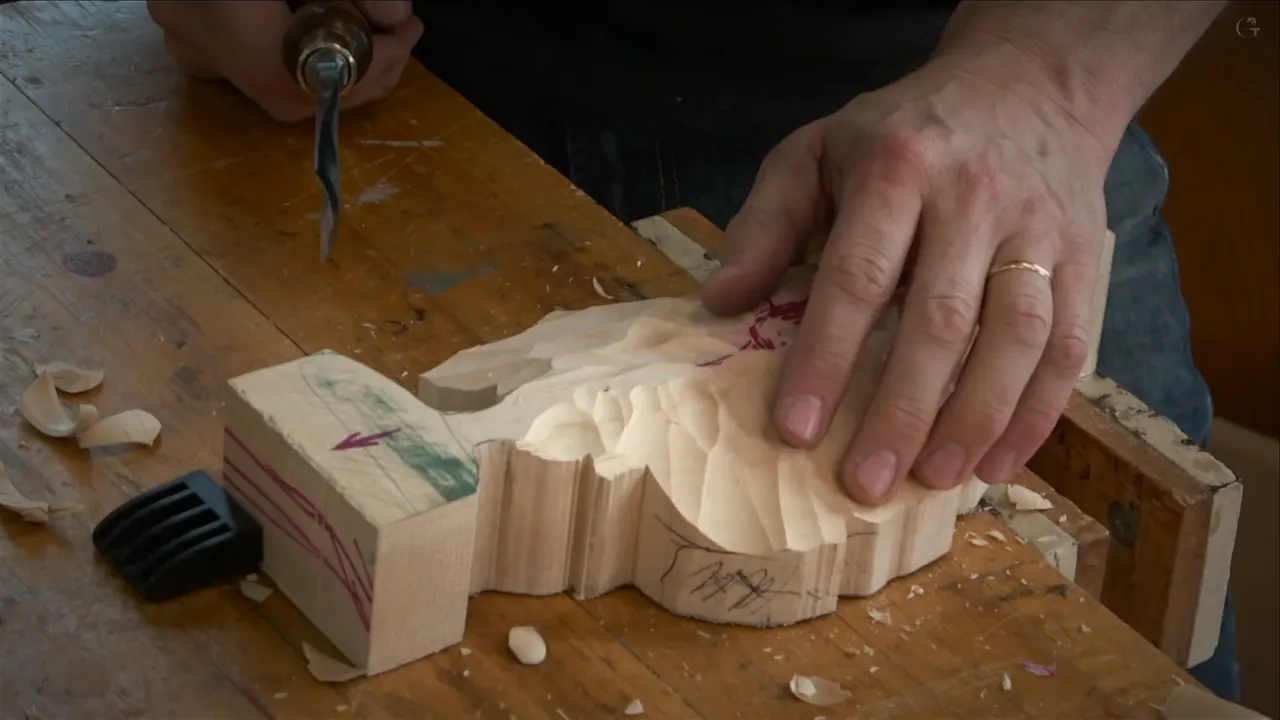
A shape you can't name in an antique carving design still gets carved, and what decides it is where that shape sits, not what it's called. During Maine class 2 we went over a picture of the Grinling Gibbons original, one section at a time. On the second block I found another, smaller kind of flower. It wasn't the tulip. I didn't know it, and I said so.
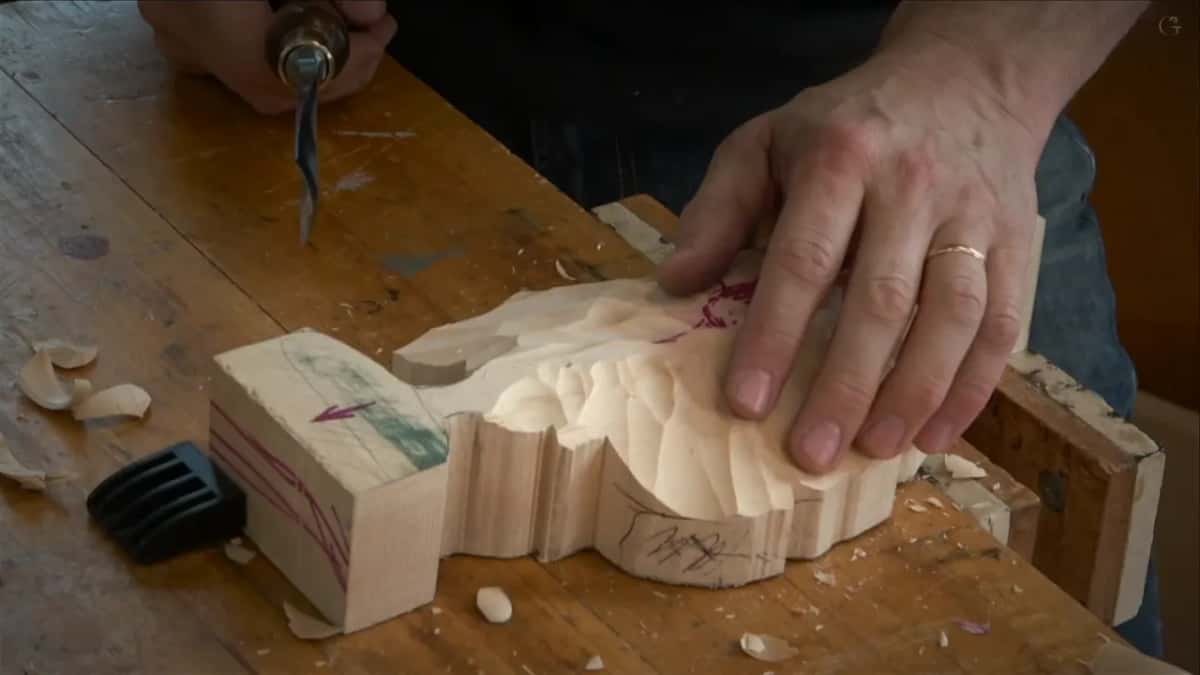
Have you ever looked hard at an old carving and found one little thing you couldn't put a name to? And would you still like it to sit right once the panel is done? Then the question to ask is where it goes. I've answered that three ways on camera, in a handful of lessons, and you'll see each one here with the class where it happens.
My three moves for a shape I can't name
- A layer comes first. Class 1 of the Maine course had a shape I still couldn't explain, and it went on the upper layer with the flowers around it.
- Lower, if that's where it belongs. One detail in class 11 stumped me, but I knew it belonged lower down.
- Its line stays when it runs under something. A double line on my furniture panel ran right underneath, so I kept it.
- And the name can wait. That little Maine flower could be called anything, I said.
What was the little flower on the second block?
Honestly, I still don't know. We were going over his picture section by section, and on the second block there was another, smaller version of the flowers. It's not the tulip, I told everyone. I have no idea what that is, this little guy.
It wasn't a rose either, since Gibbons has no roses on this panel. Doesn't really matter, I said. You can name it anything.
Even so, a moment later I said I still want to see what is gonna be.
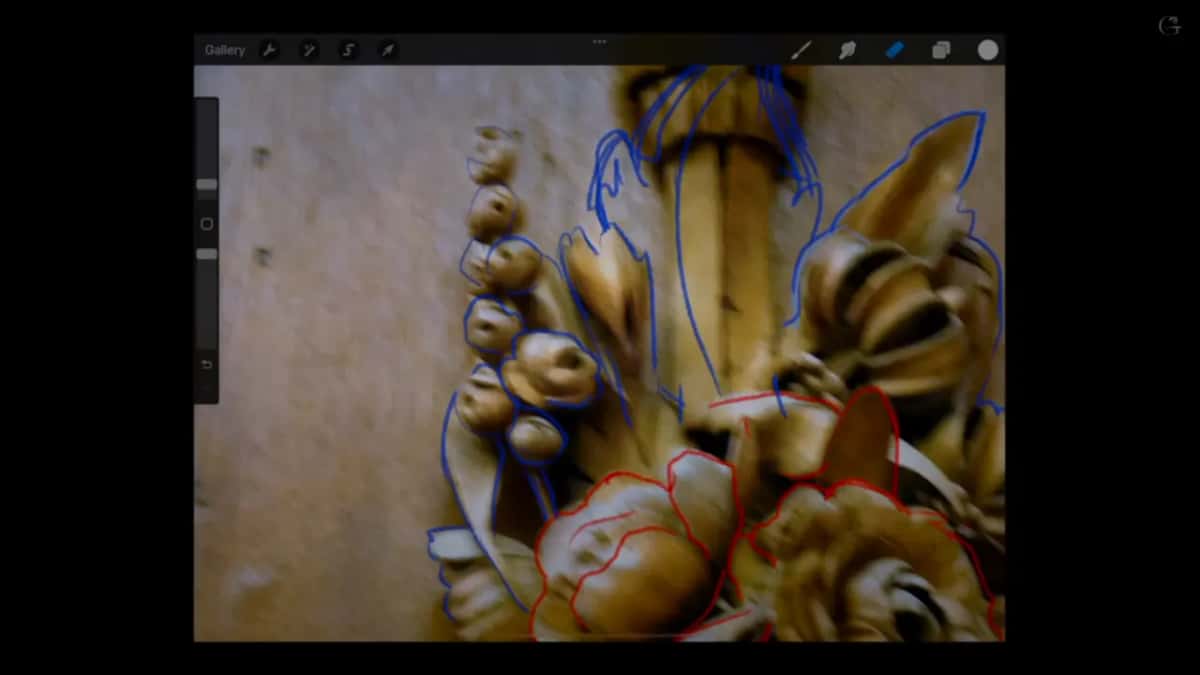
Gibbons was born in 1648 to English parents in Holland, his Wikipedia page says, and most of his work is in lime wood. The same page says he is widely regarded as the finest wood carver working in England, with work at the Royal Hospital Chelsea and at Trinity College, Cambridge. The picture we worked from was of his own carving, so we were reading wood that somebody carved more than three hundred years ago, from a photo.
How do you read a carving design from an old photo?
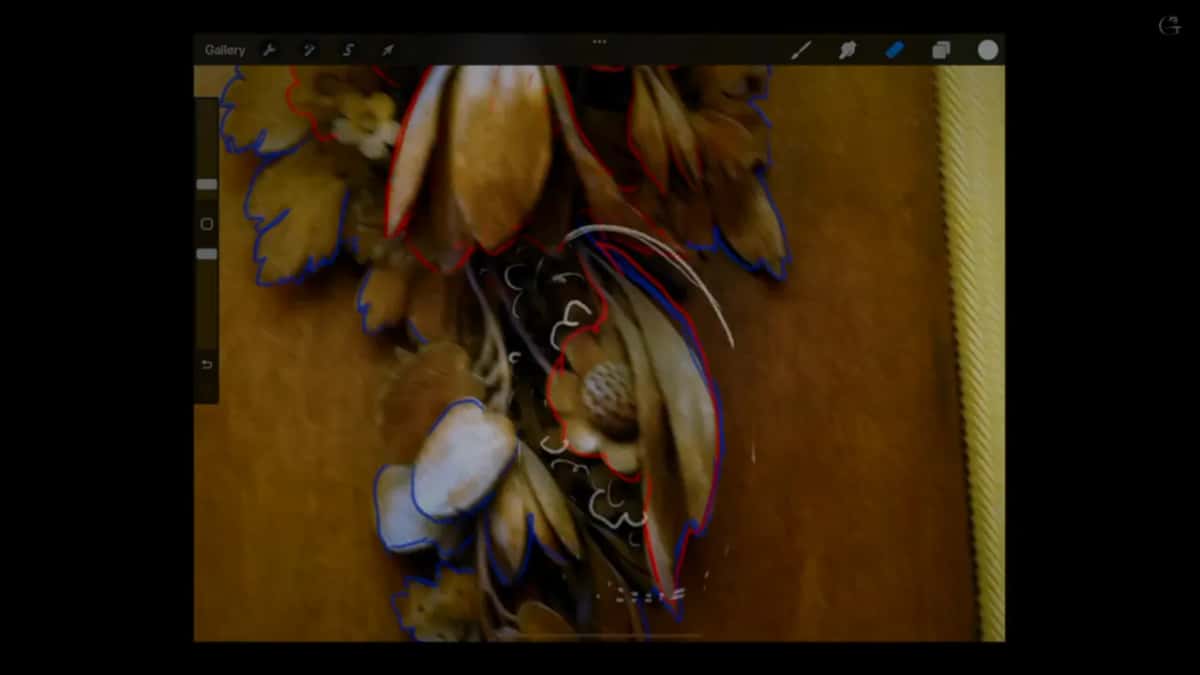
Slowly, one section at a time. That's how we went over the Gibbons picture in class 2. Here's the parsley, I'd point out, here's a bunch of filler flowers right underneath, and now the lower part. In the video you can see that picture on an iPad, with red and blue outlines drawn over his carving. Then I stopped and said, let me double check the area, in case I missed something.
A lot hides in the dark parts. If you look closely, even in the darker spots, there are small flowers all through it. They go in all the way, I said, and kind of fill the space. I wasn't sure everyone in the room could see them. You should be able to, I said.
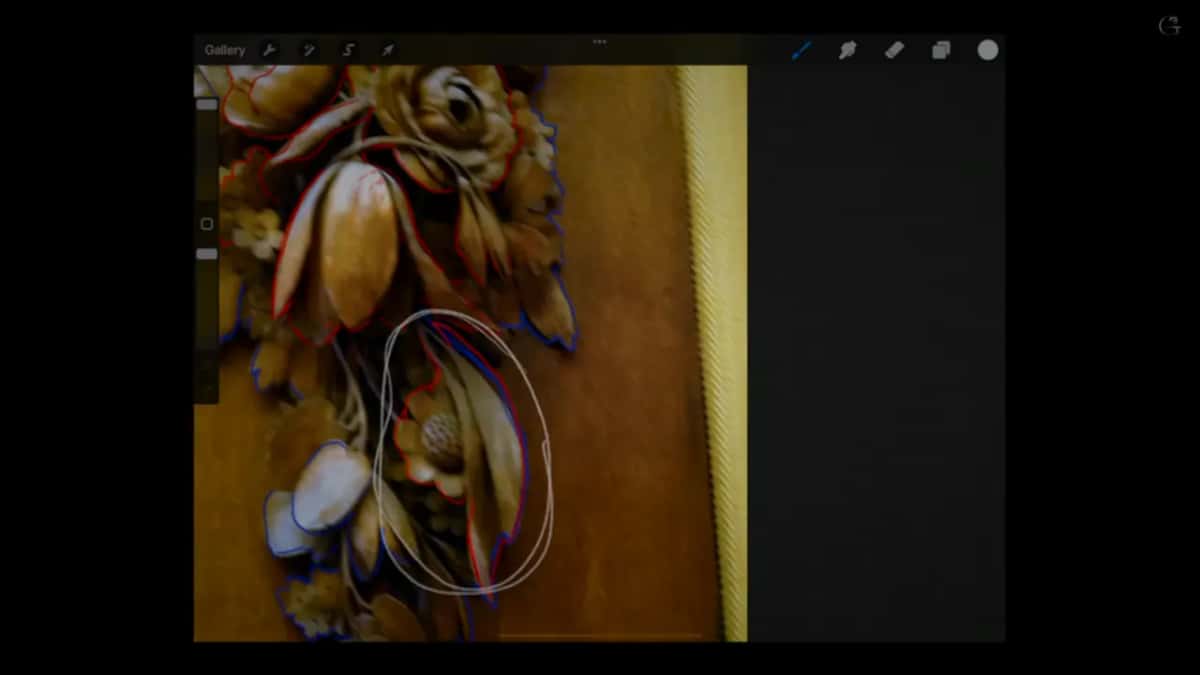
Later in the course I'd show the original on an iPad, so the class could look at the piece they were working on. That was class 14.
Sometimes the picture only takes you part of the way. Class 12 brought a small parsley leaf in the original picture, and right beside it a flower of some kind. Mine wouldn't be exactly what he originally had, only a couple of petals sticking out. I have to be mindful how much material I have, I said, and I really don't have too much.
And when I forget, I go back to it. One time in class 11, I honestly couldn't remember what one little thing was supposed to be, so I needed his picture again.
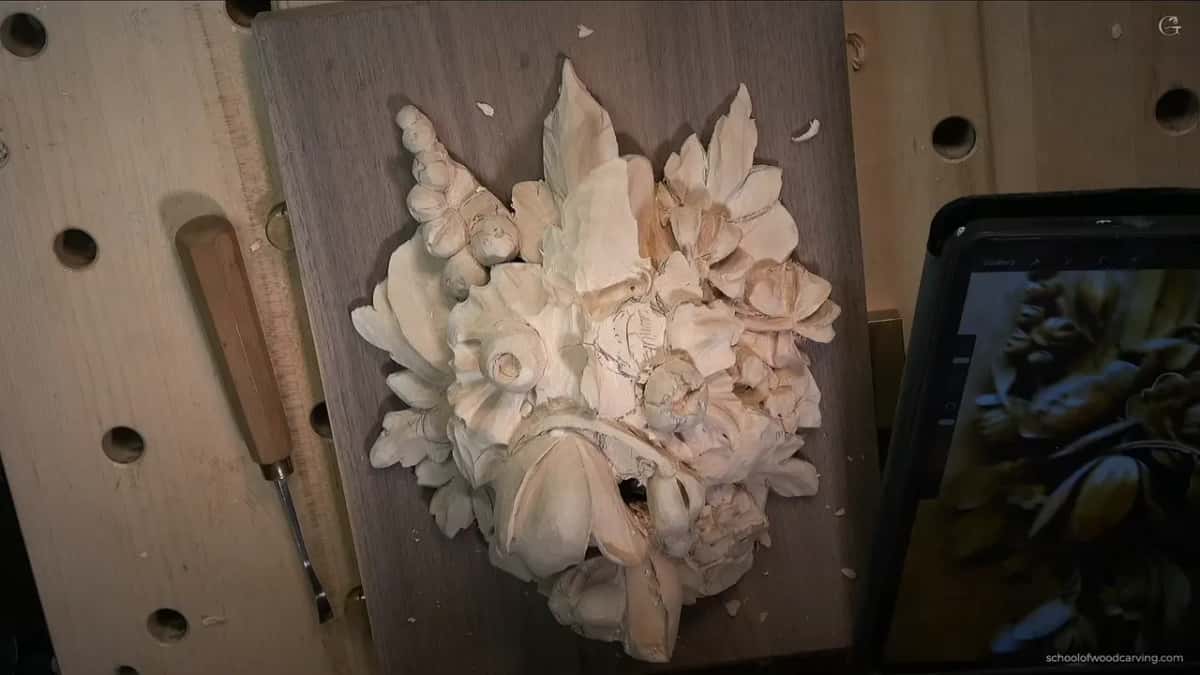
Looking close pays off in a photograph like that. Back in class 3, on a group of flowers, I said if you look closely at that detail, there is a stem. And that stem goes down about half an inch (about 13 mm).
Which layer does an unknown shape go on?
The one it sits on in the picture, and you don't need a name to see that. My first Maine class, class 1, had us sorting the whole design into two layers of relief, and I was marking the upper one in red. This piece is going to be upper layer, I said. Am I right? That whole thing is upper layer, and that flower is upper layer too, I told them. Whatever that thing is, also upper layer.
Red was my color for it, so I could see exactly what was going on. Then, a little later, it happened again. Looks like there's something going on, I said, which I still don't know what that is, but that's still upper layer.
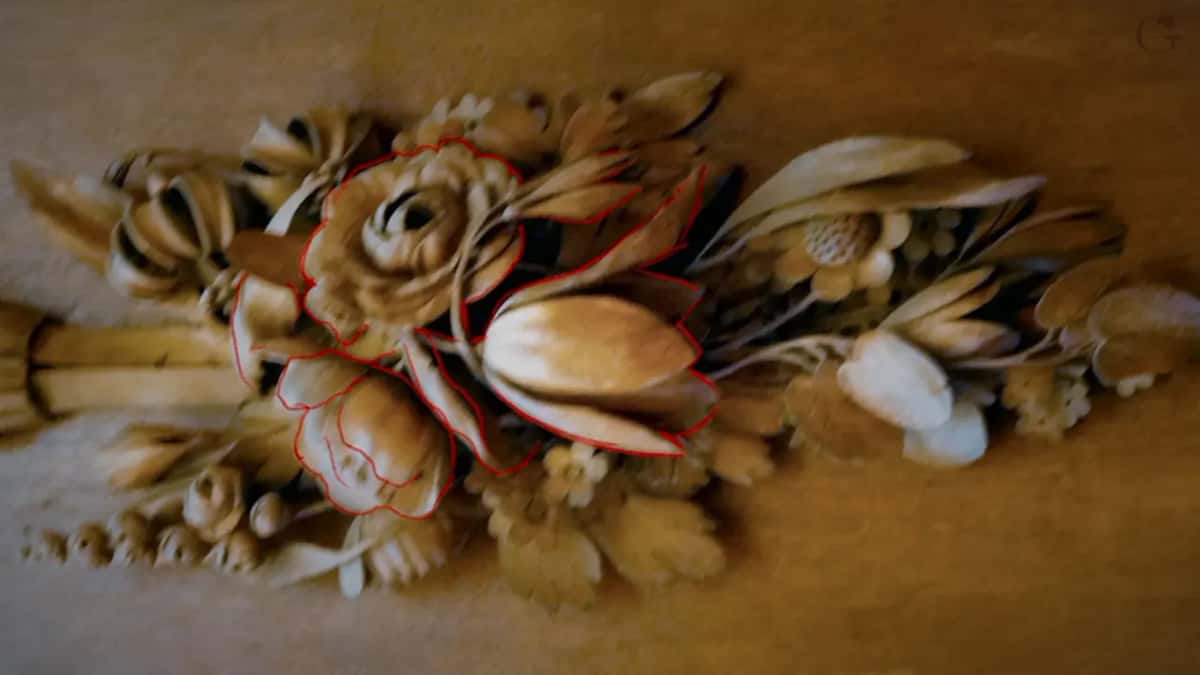
That's why we did the work on the back. Everybody understands why we're doing what we do, I asked at the start of the second video of class 2, why we excavated on the backside? The upper piece will sit right on top of the first layer.
Height gets a mark of its own. Three points on the drawing mean it goes up. That came up in class 2, and class 6 brought it back: if you see three points, it's going up.
On this panel each layer is its own board of 2 inch stock (about 51 mm), with a 1 inch board (about 25 mm) behind for the background. A couple of spots where the two boards touch are enough for the glue. So once a shape has its layer, you know which board it comes out of.
When do you drop an unknown shape lower?
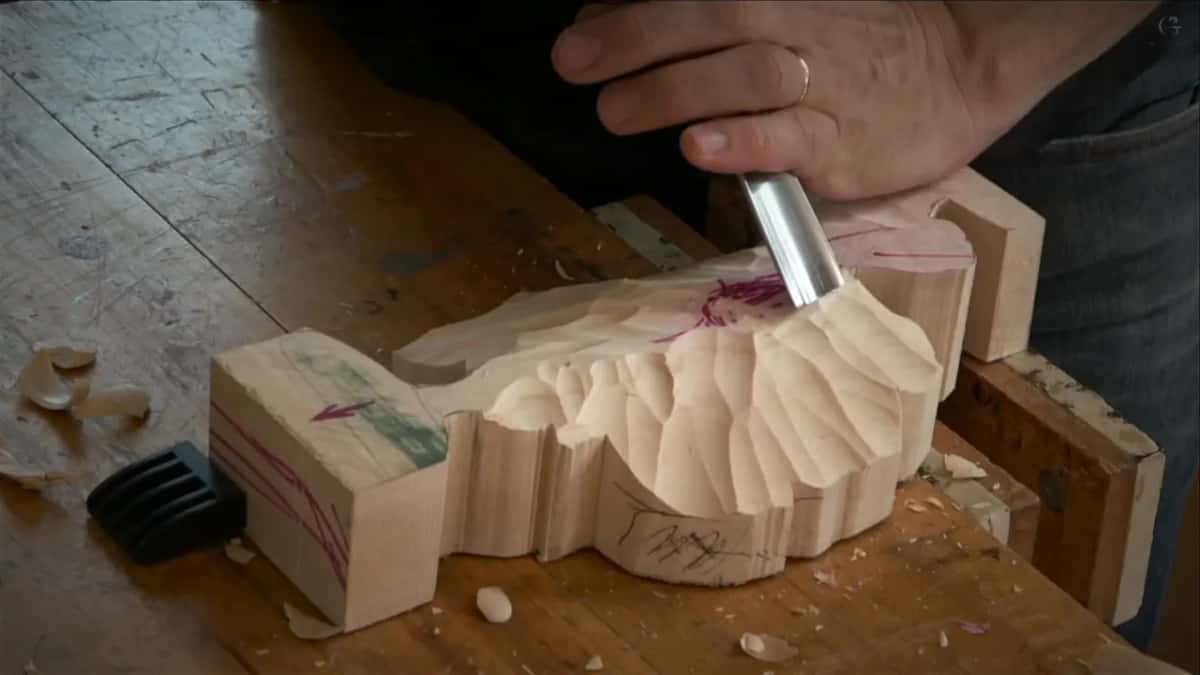
Let me tell you a story from class 11, where I was giving a flower its roundness with back bent gouges, an approach I really like, and I stopped to check his picture. I wanted to make sure I understood what the detail was.
Honestly, I was really surprised. I studied that detail in the photo, and I still couldn't tell what it was. What I did know is that it's supposed to sit quite a bit lower. So that's what I was going to do, drop it.
There was also another petal sticking out somewhere, and a couple of movements I still had to fix. Not fix, exactly, I said. I just don't want to lose it. Actually I do have the detail right there, I added, but obviously this needs to be dropped.
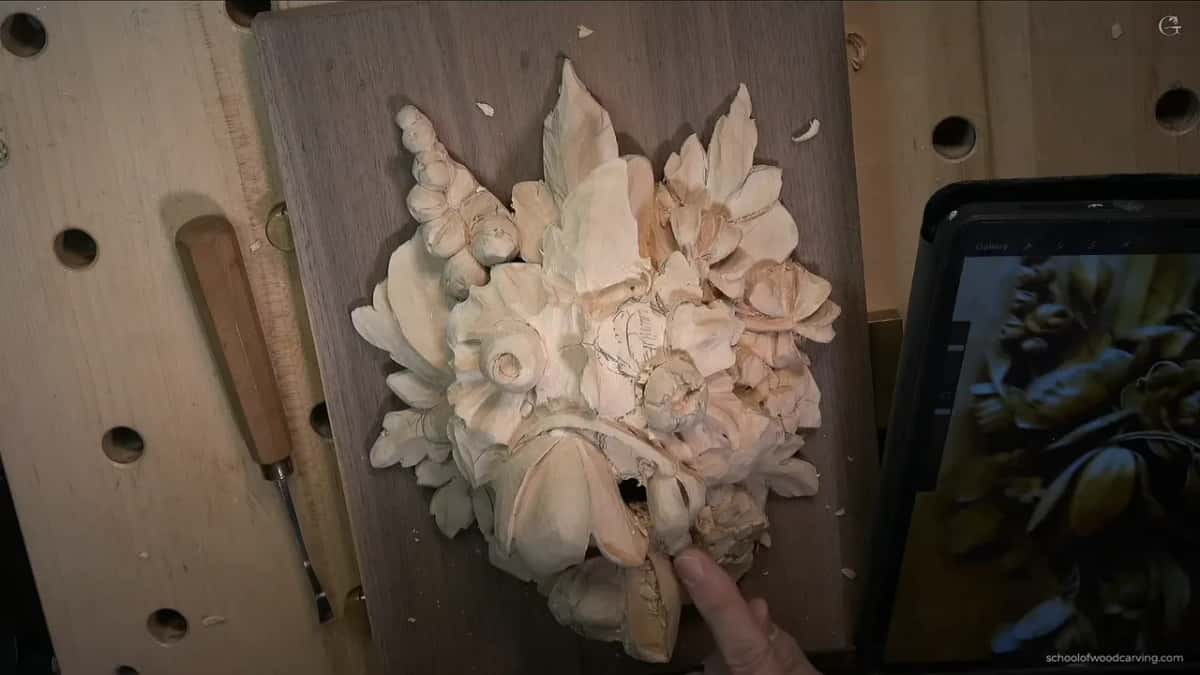
The next part of that class brought a little thing to drop that I couldn't name either. First I said I have about a quarter inch, about six millimeters, for one petal to make some movement, and it's a good idea to know what you have below. Then: now I have to drop that little thing. I couldn't say what it was, and that's all right, I said. Maybe it's gonna be some kind of leaf.
I said I'd use probably a number three or a number four, something like that. I need to drop it from the right position, I told you, and it was not really convenient. Then, that's enough. Now I have to excavate the inside.
A minute later in that first part of class 11, two other bits looked too bulging to me. Let me double check, I said, I just want to make sure. So it's gonna be dropped down, just like this, and then I have to create an inside. I said it would be part of this petal.
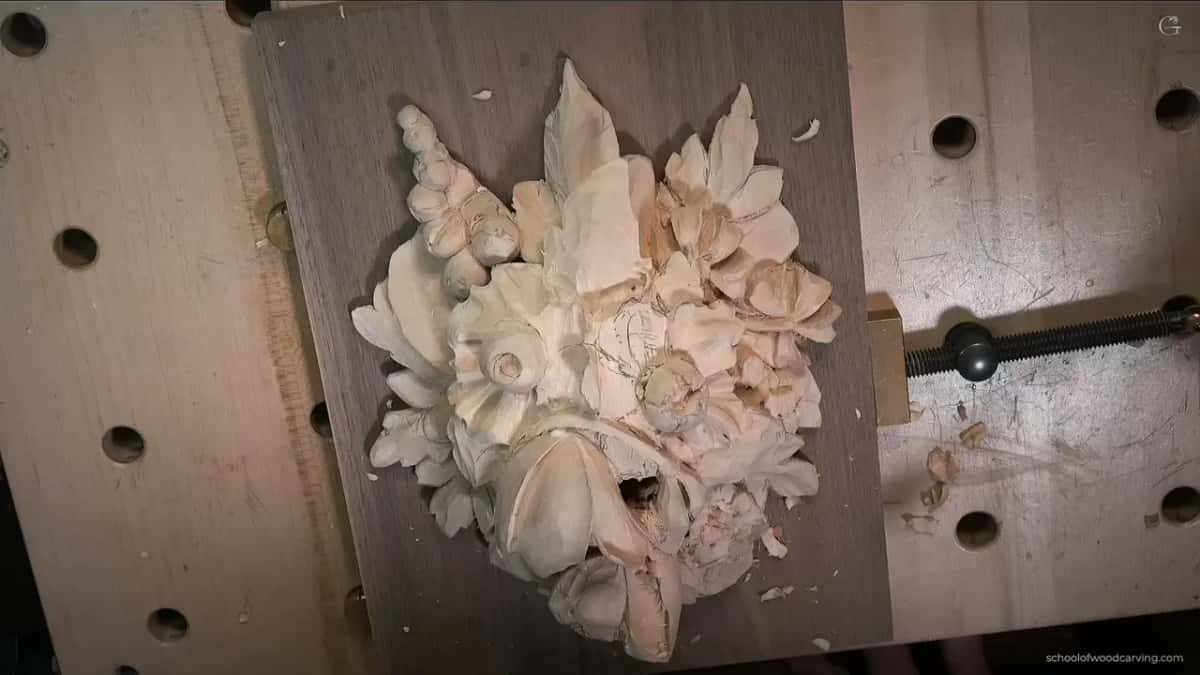
Why keep the line of a shape you don't understand?
One part of it might run under something, and once that wood is gone, so is the line.
This one was on my furniture panel, in lesson 26, right after I'd finished one element and said I was happy with it. The next area had an interesting movement I couldn't explain. It was just like a double line.
One of the lines went right underneath the other one. On camera you didn't see it, so I showed it to you piece by piece, this one, this one, this one. I don't want to lose it, I said, and that spot would be somewhat the deepest one, in my words.
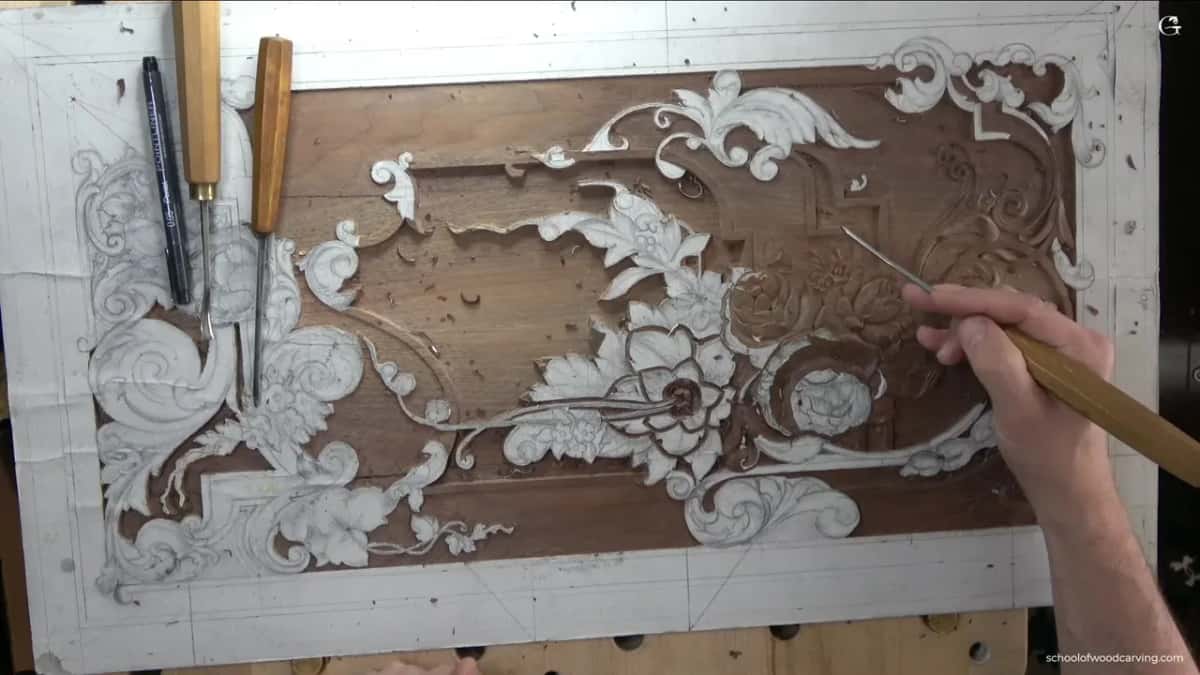
The tool changed twice within about a minute. I grabbed a number 11 at two millimeters, then said no, it's not gonna be number 11. A number nine, and a plug cut. My first try was 3 mm, one eighth of an inch. I could actually use even smaller, I said, but let me try this one. I stopped to move the camera so you could see better, and placed right inside, 3 mm was too big. So the plan became a number nine at 2 mm (about 0.08 in).
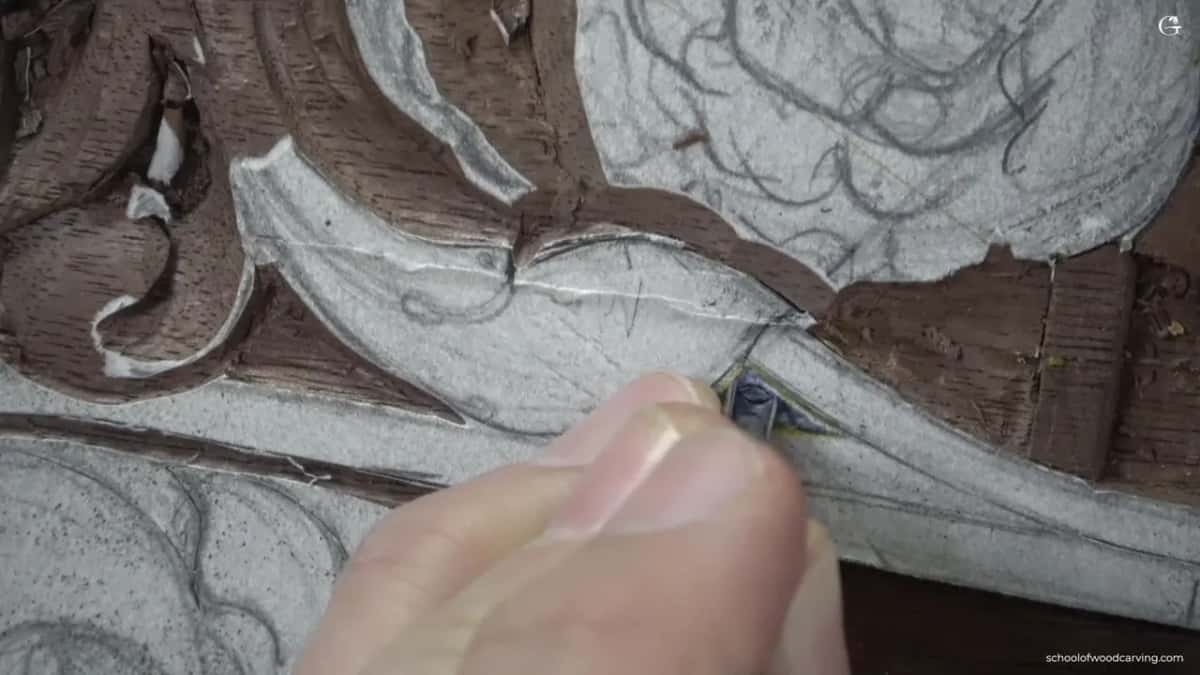
Same habit on my hazelnuts, lesson 2, when a marker came out and I found the husks. There would be a husk there too, I said. That husk had to stay, since it's going to go underneath, so I need to outline it. Approximately, I added. I'm just looking at the picture, and I don't have to be exact.
On my olive wood lily box the same thing happens with a marker in hand. The overall movement was still a little too high. I got my marker again and redrew some of the lines, since I really didn't want anything lost.
The furniture panel course had another one in lesson 25. The plan for one flower was a center that looks full 3D, with those areas dropped down, and tendrils would grow from inside, I said. Right after, I wasn't even sure what to call that part.
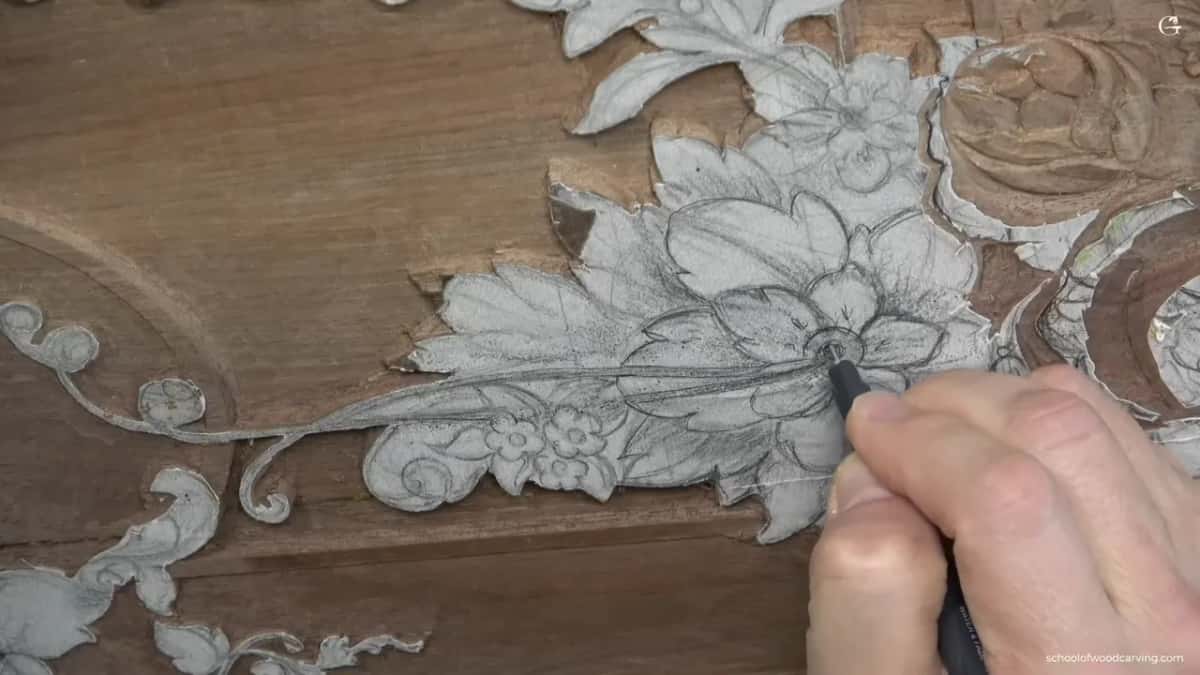
What did we add from his picture?
More small flowers. In one section his picture showed a lot more of them than we had, and I wanted to go and do whatever he'd done, and put them in. They're not going to be the same, I said, and then we counted.
The lower layer had room for more as well. I see another parsley and some fillers there, I said, which we can add later.
Class 12 showed one more difference. His original, in the picture, is really narrow and long, and ours is wider, because we decided to use the whole block of wood.
We did make some changes to his design, I said that day. Later, in class 15, I put our panel at about 80% still authentic to his original work.
Which move fits which unknown shape?
Here they are side by side. Each row is one moment on tape, with the class where you can watch it.
| Move | What I saw there and what I did about it | Class |
|---|---|---|
| Mark its layer | unnamed shape went on the upper board | Gibbons class 1 |
| Drop it lower | knew it was meant to sit lower | Maine class 11 |
| Keep its line | a double line that ran under another | Furniture Panel 26 |
| Name it later | said any name would do just fine | Gibbons class 2 |
What else did we find on the first layer in class 2?
Plenty that did have a name. A few parsley leaves, one that's maybe some kind of acanthus slash parsley, a bunch of flowers, and two flowers that face down. One spot, I said, would get a different flower development. Lower down there were a couple of smaller tulips, leaves that looked strange to me, and a lot of stems. Small flowers showed up there too, and again we would do exactly the same as he did.
Two of those stems sat in one section, and one of them was hidden. Keeping both mattered to me. Any questions so far, I asked the room.
I didn't put too many details on it. I just positioned things approximately, and I told the class you don't have to get everything right now.
Someone asked me a question at that point, and my answer was about place too. It's going to go right on top of the block, I said, see it right there. We'd carve around it first and work out its final look later.
One flower's high spot wasn't the whole flower, I said, only the part close to where the flower begins. I'd chopped there slightly, just to clean off the red marks.
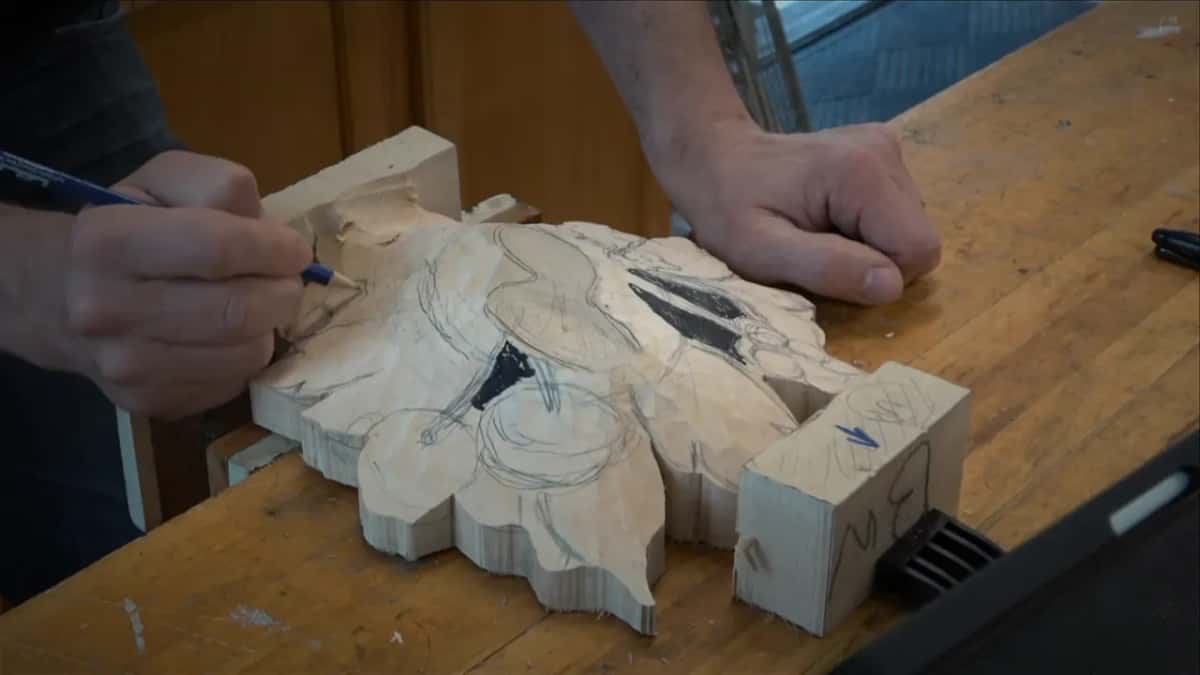
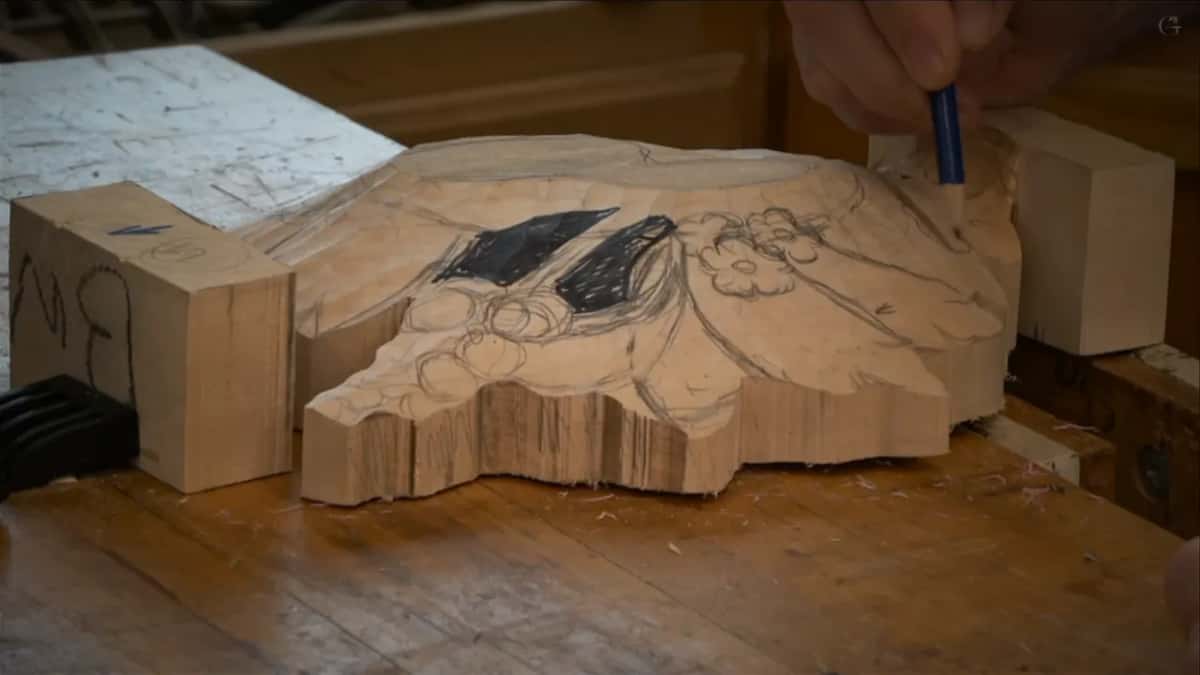
In class 2 this walk through his picture is the middle video of three. The first one shapes the second layer, and the third starts digging the deep spots, the ones marked black.
If you'd like to watch the whole walk through his picture, the Grinling Gibbons course has eighteen classes and a final assessment, and the full class videos open with Tuition.
How it's done
- Go back to the original. Before going on in class 11, I checked the old photo for a detail I had forgotten.
- Mark its layer. Even unnamed, one shape in class 1 still got marked upper layer.
- Drop it if it sits low. One unknown detail in class 11 belonged quite a bit lower, so I set out to drop it with probably a three or four.
- Save a line that runs under. In furniture panel lesson 26 one of two lines ran under its neighbor. Keeping it meant that spot became the deep one in the plan.
- Let the name wait. For the unnamed bloom on the Gibbons panel, the name could be anything, I said.
Frequently asked questions
Can you carve a flower when you don't know what kind it is?
I did, on the Maine copy of a Gibbons panel. One small flower on the second block wasn't the tulip and wasn't a rose, and I couldn't say which flower it was. The name doesn't really matter, I said, but I still wanted to see what it would turn into.
How do you tell which layer an unknown carved shape belongs on?
By where it sits in the picture of the original. During my first Maine class I was marking the upper layer in red, and a shape I still couldn't explain went on it too. Whatever that thing is, I said, also upper.
What gouge drops a small detail lower on a carved flower?
In class 11 it was probably a number three or a number four, something like that. I needed to drop the little thing from the right position. Just before, I'd said I had about a quarter inch, about six millimeters, for one petal's movement, and that it's a good idea to know what you have below.
What to carve next