

Alexander Grabovetskiy, woodcarver, School of Woodcarving · Published 2022
What angle do you hold a carving gouge at to round a small shape?
Quick answer: Rounding a small shape with a carving gouge is a matter of about 45 degrees to the surface, not 90 straight down, with one corner in the wood. In Maine class 3 I held a 14 mm number 7 that way, sliced around with that corner, then came back from the other side.
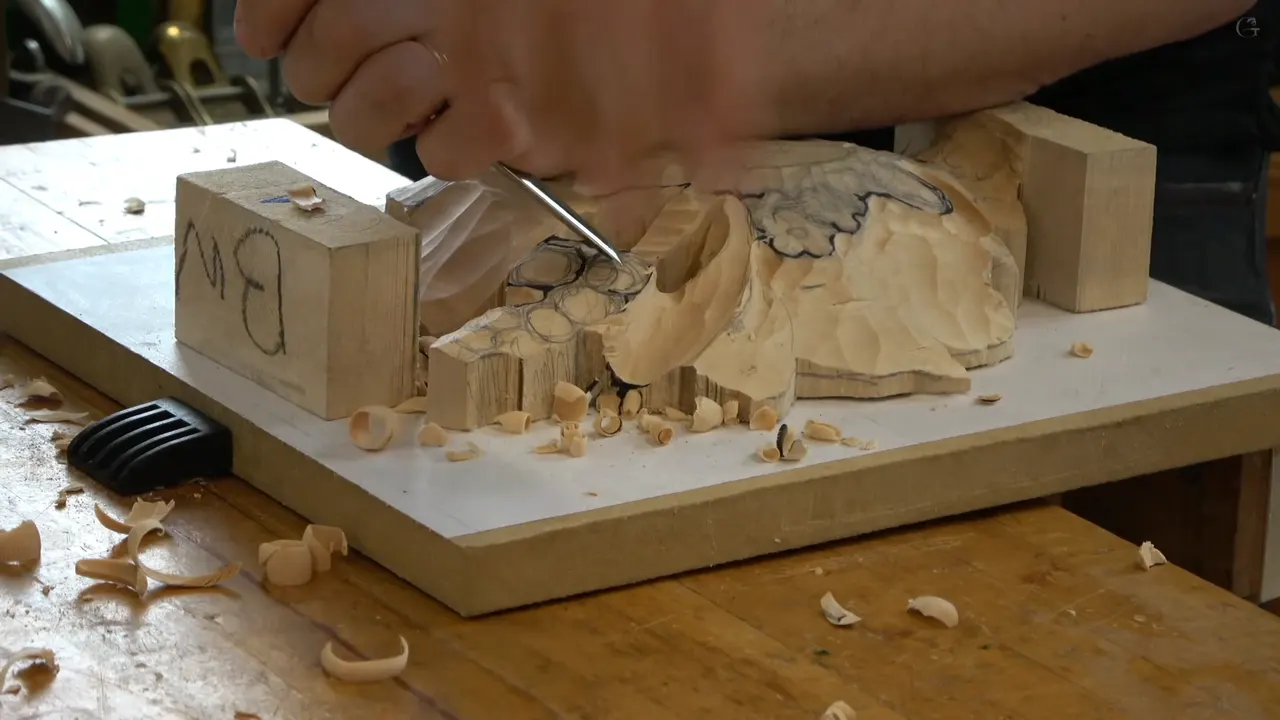
The carving gouge angle I use to round a small shape is about 45 degrees to the surface, with one corner in the wood and the rest of the edge up out of it. In Maine class 3 of my Grinling Gibbons course, a layered relief, I held a number 7, 14 mm wide, like that and started turning a cluster of flat spots into little flower domes. Part of the tool went in, not all of it. The roundness showed up right away, pretty much.
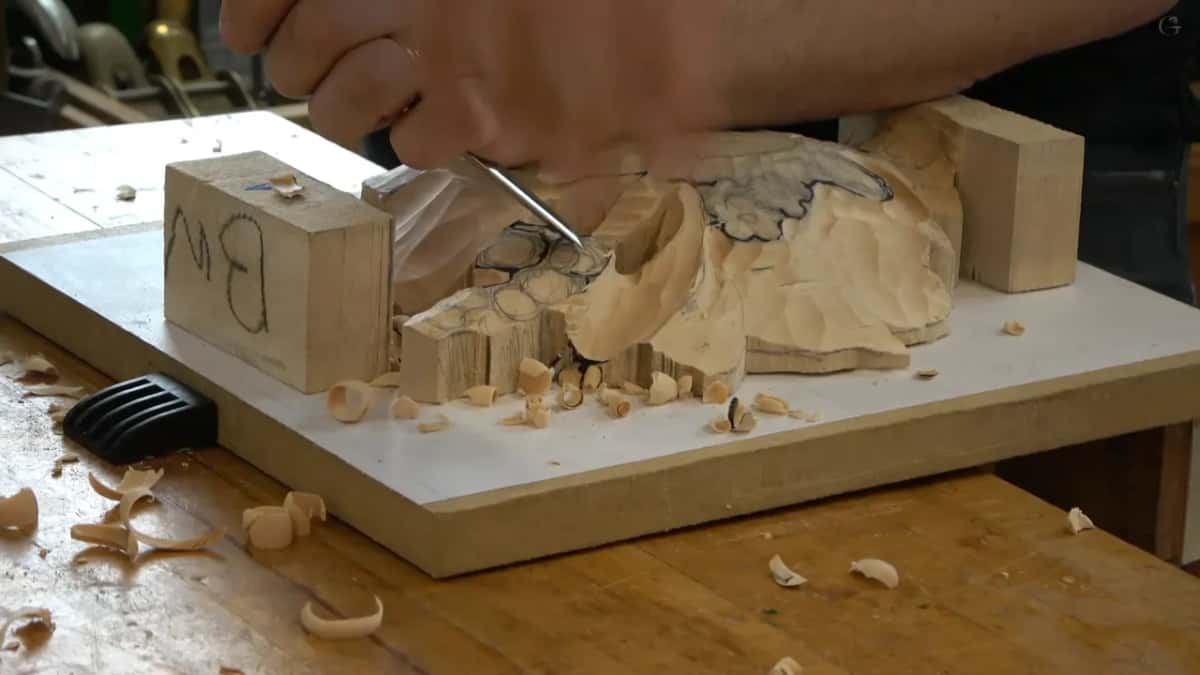
Would you like a small round shape to look round after the very first pass you make on it? And no torn wall to clean? Then tip the gouge over and let a single corner do the work.
Below is the angle the way I gave it in Maine, then the same corner on berries, grapes, a step and an acanthus pipe from other courses of mine. Near the end you'll find the spot where that corner chips, and what I grabbed to clean it.
The corner and the tilt, in six lines
- Roughly 45 to the surface, not 90 straight down.
- One corner goes in first.
- That corner then slices around while the rest of the edge stays out of the wood.
- The waste stays put, and I come in again from the opposite side to connect the two passes.
- Deeper comes later.
- Digging in on the inside, the corner can chip, and a number 11 cleans it up.

Why tilt it to 45 instead of 90?
Ninety straight down is outlining, and a round shape has no use for an outline. My grape onlay lessons call it another mistake I saw, people going around a grape with the tool held straight down. You don't want to go 90 degrees down, I said there, because it'll be a sphere.
Outline it anyway and you damage the side, and after that it's impossible for you to clean it later.
Part one of that lesson has it too. I said I'm not placing my tool like 90 degrees and pushing it down. In that one spot it was probably okay and I could have done it, but in most of the cases it's absolutely no good idea.
The number itself turns up in lesson 31 of my furniture panel. I pointed at the tool on camera and said see that, 45 degrees approximately, which means I'm not going to do 90, about 45.
This 45 sits between the tool and the face of the wood. My words in Maine were the same, the tool approximately 45 degrees toward the surface. Carving at 45 to the grain is a different subject.

How did I round the Gibbons flowers?
With the number 7 I had used before, 14 mm, which I called a little bigger than half an inch. We would make those flowers into domes, I told the group, but start only on one corner first, go in with just that corner and then slice around.
I set it down near 45 and began the excavation. See what I'm doing, I said, I'm using only part of my tool.
Then the opposite direction. I didn't want to remove the waste yet, so I jumped to the other side, did exactly what I'd done on the first one, and connected those two passes. After that I came in from one more direction too.
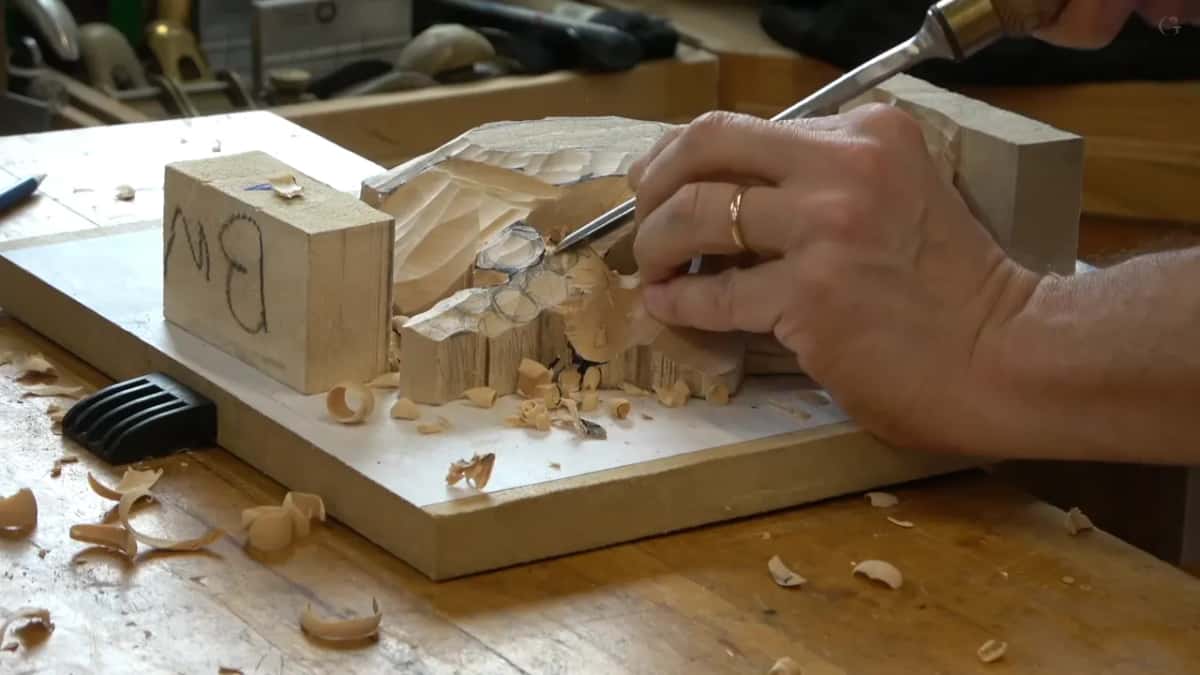
Around all of them after that. Same gouge, same operation, and I asked everybody not to push too hard right away. Take your time, I said.
Each flower would be somewhat like a round dish, I said, not necessarily a true ball. A flower gets some movement inside later on, so if the rounds aren't perfect, I told them, it's actually better that way.
How much of the edge goes into the wood?
Part of it, and how much is the whole question. I'd said only part of my tool was in, and a few minutes later I called it a matter of how much of the tool you are using.
At one point I started to say the angle and caught myself. Not the angle, the corner of your tool, and you just work your way around it.
Tray of Blessing lesson 8 has it twice in a row. I'm using only the corner of the tool, I said, pointing it toward the line I drew from the sides, and I wasn't going in with the whole body, just a corner.
Lesson 7 of that tray has me changing position first and then going in on the corner alone. The main idea, I said, is not to push too hard and not to take too much material at once. Small, tiny, really shallow passes, and you can blend that a little later.
Dig too deep there and you lose that overall shape.

Does the angle stay put the whole time?
It moved, on the tray. In the last part of lesson 8 I pointed out that I was changing the angle. My first angle was almost flat, pointing outward, and now I was pointing slightly inward, but still with nothing in the wood except that corner.
Change the position and attack it with the right angle, I said. Sometimes you can even go against the grain if the tool is sharp, so it's not a problem. Just make sure you don't outline it like that.
Furniture makers usually have that big problem, I said. They try to outline first.
Earlier in that lesson I asked for one angle on both sides of a grape. Whatever you've got on the other side, try to keep it here as well.

Does the angle change on a really tiny shape?
The same 45 came back with a much smaller seven. There were three really small, tiny ones on the furniture panel, berries this time instead of grapes. First I took away some of the material around those three, and I said they'd look really nice.
My number 7 there was marked six millimeters (about 1/4 in), and it's actually more like five millimeters (about 3/16 in), but that's not a big deal, I said. Any of those five or six millimeter tools will work.
I used it pretty much upside down, with the flute going downhill. I started at its corner, didn't push with the whole body, and presented it at about 45, so the 14 mm tool in Maine and this little one went in at nearly the same tilt.
What I was after was a triangle movement on the side, and I said that applies to grape carving as well. For those berries the triangle came first, and the corner did it. You can always make it deeper later, I said, and it's going to be much, much better.
Grain came up there too. If you're able to control its direction, that would be nice, I said, but it's not always possible.
Is it the same move on grapes and berries?
Back in Maine I said that if you like grapes, or a grape vine, it's exactly the same technique, with pretty much the same tool. It's just a matter of rounding them, I said, and I showed how quickly it goes. Grapes come out a little longer than those flowers.
The Cabernet Sauvignon tray is where I said I usually use just the number 7, and the one in my hand was 14 mm. I dug first at the triangle, toward the connecting spot, then a second pass and a third.
Then the corner went around. I'm not forcing, I said, I'm not going grape by grape, I go all around. Some excess came out after that, bit by bit, since it can go deeper later.

Where should the corner go in first?
At the triangle where shapes meet. Up in Maine I wanted a little triangle where three flowers come together, with no big separation between them.
Grape Onlay lesson 1 has the clearest version. Concentrate on this particular triangle, I said, and dig with the left hand side corner of my tool inside of it. Place the corner inside that triangle, this side, that side and that side.
In the next part I went at it again and said to avoid square connections. It's not always possible. But if you see those triangles clearly, you have to start with them.
The tray of grapes got the same rule, said once more. Stay away as much as possible from quads, because a triangle gives you a much better result.
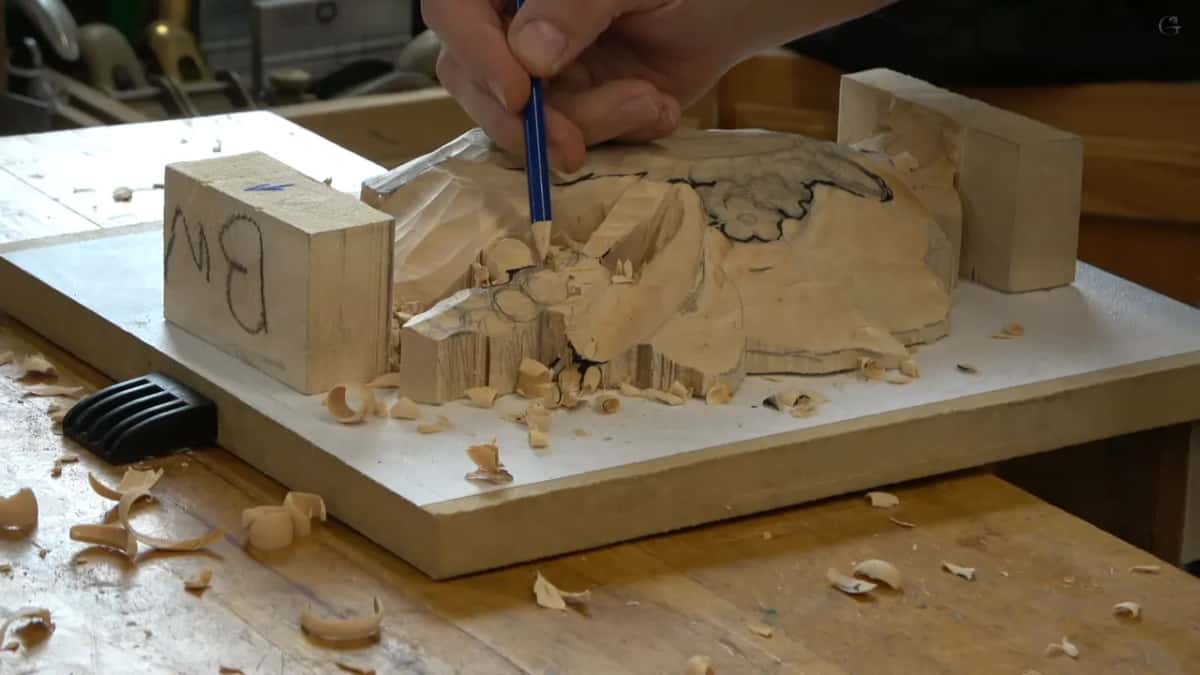
Why slice instead of pushing the corner in?
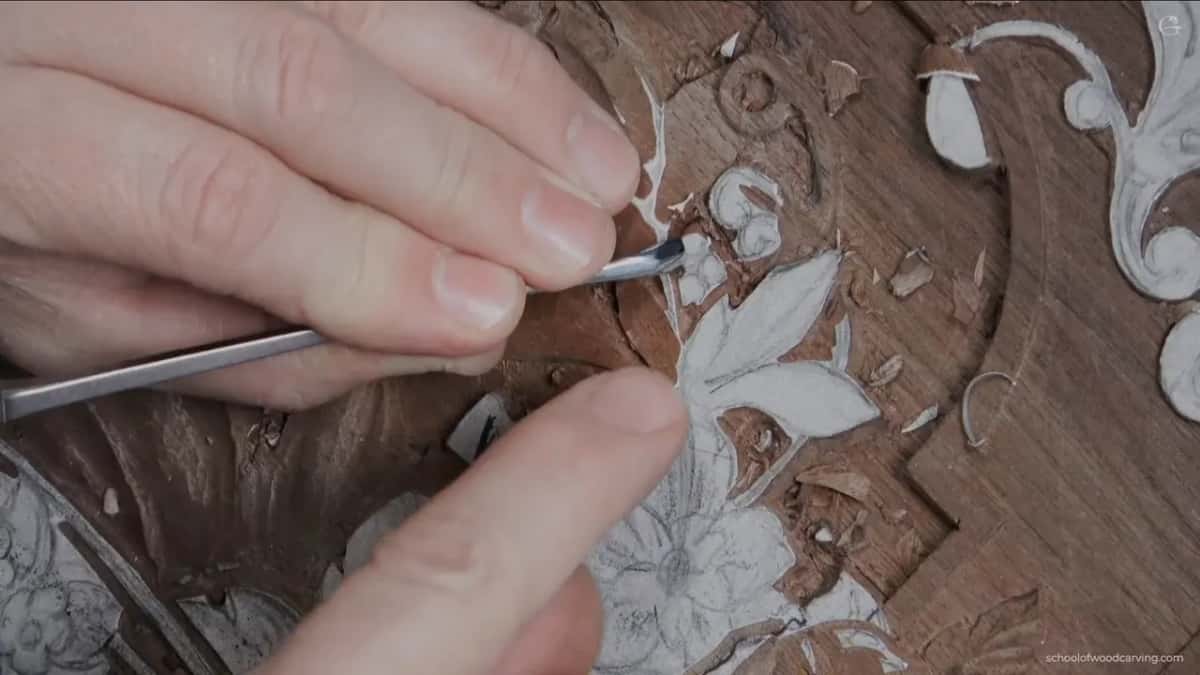
A slice leaves the side clean. On that onlay I dug in using the right corner of my tool and then sliced, changed position, put the corner in again and sliced again. I'm slicing, not pushing, I said, really important.
It's just impossible to clean those afterward, I said there, so it's better to carve them clean from the beginning.
The first part of that lesson says it with the corner already in. Even then I wasn't pushing it down, I said. I put the corner in and make a slicing motion, and you can see how clean it gets.
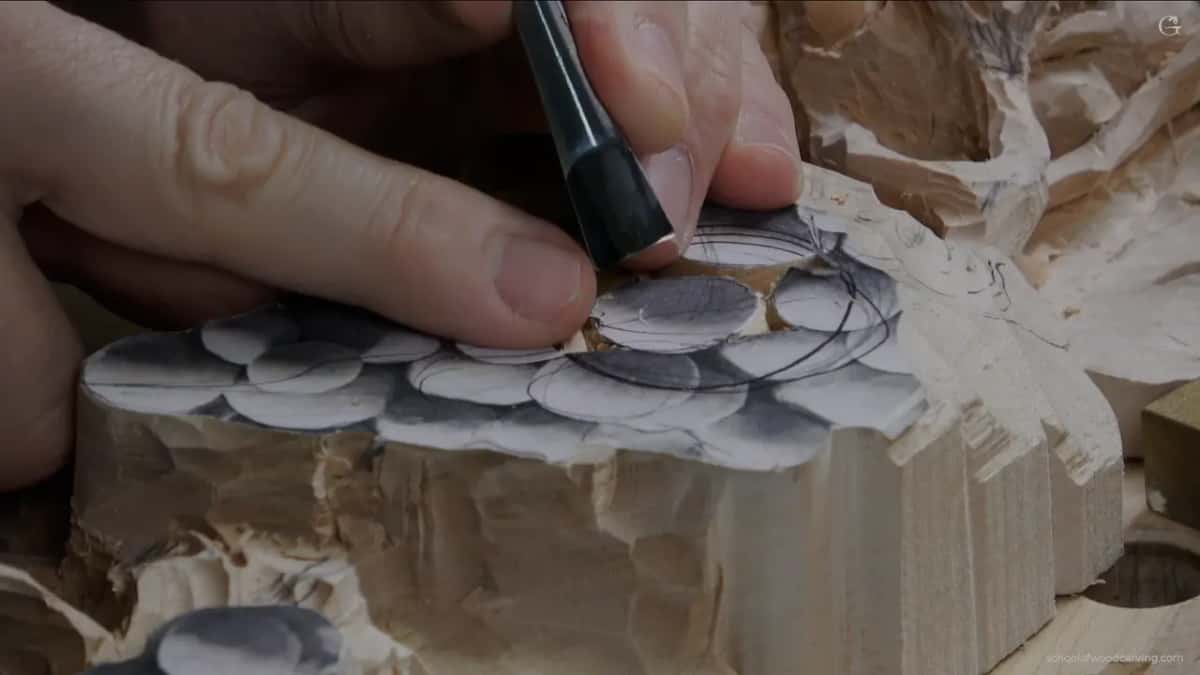
How does a corner pass turn into a full round?
Slowly, and by going around. Back on the onlay I said I wasn't trying to get the whole shape right away. Little by little I go around and set up the overall oval shape.
Once my triangles were in place, I went from the outside inward toward the true sphere shape again.
Lesson 2 of the onlay adds the warning. When you dig in, keep that corner shallow at first. Deeper can come later, I said, but going deep at once damages the neighboring grape, and that's really hard to fix later.
Maine had a next operation too, taking each flower to its cleanest point. I didn't show that one, and I told the class to go ahead and do it.

Where does the corner chip?
On the inside, where the corner digs in. My floral panel, lesson 14 shows it, and I pointed at the wood and said you can see it's already chipping. When you dig in with the corner on the inside, there's a tendency to break, so you have to be careful doing it the way I did it there.
Attack it like that, one of the corners digging in, and one little move is already chipping the fibers close by. Or the grain.
The fix was a number 11 veiner, 5 mm (about 3/16 in), to clean that area up. Maybe it was a little too deep, I said, I don't know. But I'd blend it more. A smaller 11 at 4 mm (about 5/32 in) went in after it, and the four actually worked much better.

How small was the smallest flower in Maine?
About a quarter inch (about 6 mm). I showed everyone where it would sit, and said that meant one part there had to drop pretty much all the way to a quarter inch.
When that video opens I asked if they were keeping the pace. It's still one step, I said, just outlining, and if you understand what I'm doing you can catch up right now. It shouldn't take you too long, I added later, by the way. Near the end I said I wouldn't do too many small details.

Can the corner work on shapes that aren't round?
On the furniture panel and on a leaf it did. Lesson 37 of the furniture panel has me with a number 3 of a quarter inch (about 6 mm), blending all over, from this side this way and from that side that way. Only the corner, I said, twice.
Lesson 26 had one section that was barely anything, and I took it with that corner, bit by bit.
Modern Acanthus lesson 5 put it on a pipe of an acanthus leaf. I'm using just the corner of the tool, I said, just a corner, and blend it.

Which carving gouge angle did each small shape get?
Here is each one with the gouge I named for it and the lesson where it happened.
| Small shape | Gouge and how I held it | Where it happened |
|---|---|---|
| Maine flower domes | a 14 mm number 7, near 45 | Gibbons class three |
| Three tiny berries | five or six millimeter seven, upside down | Furniture panel 31 |
| Cabernet tray grapes | the 14 mm seven, only its corner | Tray lesson 8 |
| Onlay grape cluster | right corner dug in, then sliced around | Onlay lesson one |
| Floral panel chip | an 11 at 5 mm, then 4 | Floral lesson 14 |
| Acanthus leaf pipe | the corner alone, then blended it in | Modern Acanthus 5 |
If any of this made sense at your bench, every class of the Gibbons course is open with tuition. The whole panel lives on the Grinling Gibbons course page, and the other small shapes are in my Grape Onlay, Tray of Blessing, furniture panel, floral and molding and Modern Acanthus courses, all in my wood carving school.
How it's done
- Pick a seven that fits the shape. A 14 mm seven did the flowers in Maine, and the tiny berries on the panel in lesson 31 got a much smaller one, marked six millimeters.
- Tip it to about 45. One corner goes in, the tool tipped near 45 and nowhere near 90.
- Slice around on that corner. Everything but that corner stays out of the wood while it travels around the shape.
- Work the opposite side next. The waste stays where it is. I go round to the opposite side, do the same, and connect the passes.
- Go deeper a little at a time. Shallow passes first, because going deep at once damages the grape next to it.
- Clean a chipped spot with an 11. Where the corner chipped inside, an 11 of 5 mm cleaned it, then one of 4 mm.
Frequently asked questions
Is 45 degrees an exact number for a gouge?
Approximately, and I said that word in both lessons on this page. In that Maine class the tool sat about 45 toward the surface, and on the furniture panel I pointed at it and said 45 degrees approximately. Lesson 31 added that 90 was out, about 45.
Which gouge rounds small flowers in a Gibbons panel?
A seven of 14 mm, a bit over half an inch, the same one I had used before in that class. For three tiny berries in my furniture panel course, I went to a much smaller seven, marked 6 mm, and held it about the same way, up on its corner.
Why does the corner of a gouge chip the wood?
Digging the corner in on the inside tends to break the fibers close by. One little move on the floral panel and it was already chipping. I cleaned that area with a 5 mm number 11 veiner, and a 4 mm one worked much better after it.
What to carve next