

Alexander Grabovetskiy, woodcarver, School of Woodcarving · Published 2022
Should the setting in cut be the same depth all the way around?
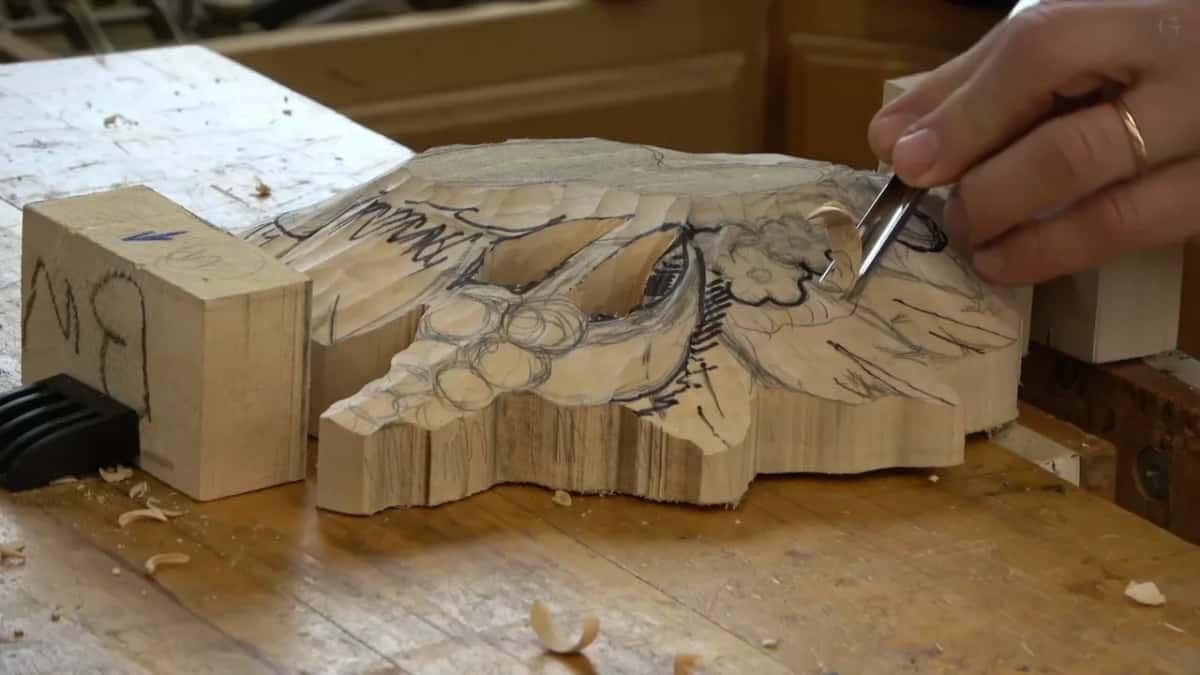
Quick answer: The depth of a setting in channel is, on my Grinling Gibbons panel, a figure I changed as I worked along the outline. Judging by the picture, I gave it a quarter inch or so (about 6 mm), up to 3/8 (nearly 10 mm), and dropped it a little more under a hanging flower. One point stayed shallower.
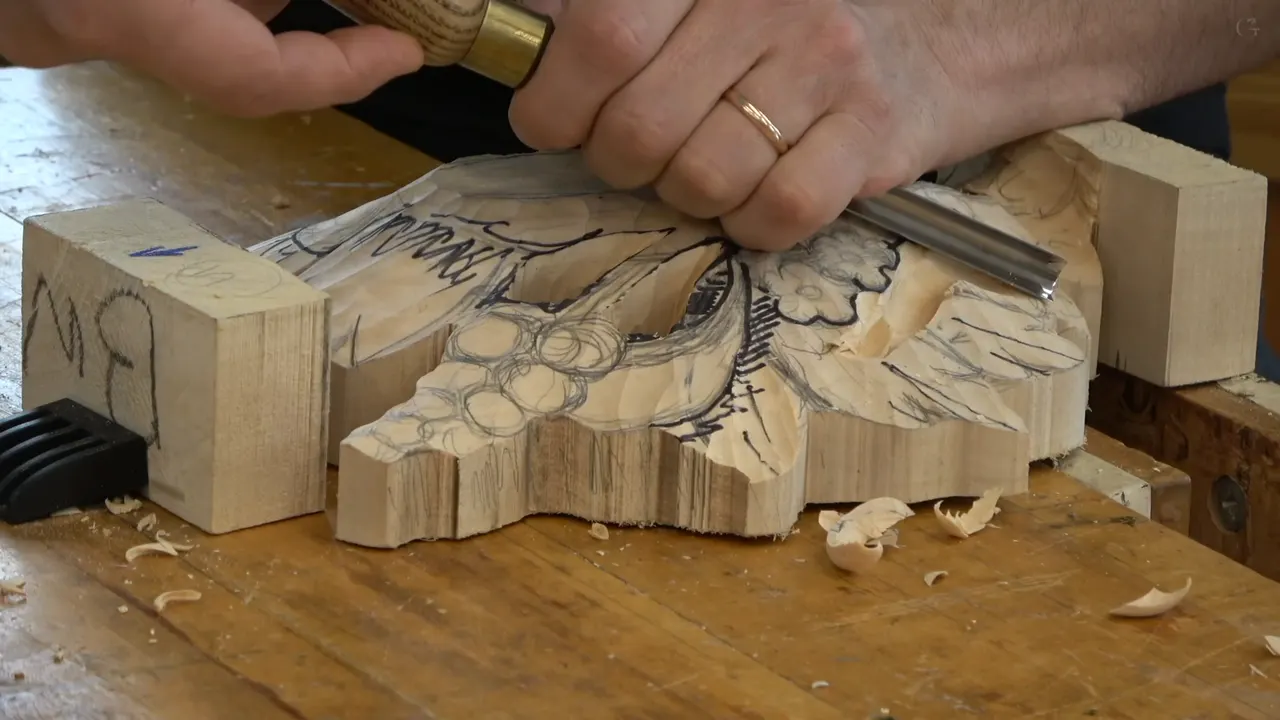
Setting in depth is a figure I changed as I went around the flowers on my Grinling Gibbons panel. In class 3 of the Maine course I read it off the picture, about a quarter inch (6 mm), or a little more, maybe 3/8 inch (9.5 mm). One side went a little deeper, because a flower hangs upside down there, and at one point it didn't have to be too deep. So relief carving depth, for me, went spot by spot.
Have you got the picture of your design lying on the bench, right beside the wood you are about to carve? Can you find the spot where a flower hangs down? Then you already hold the two things I used to pick the depth. Here are the depths I gave around those Gibbons flowers, and the ones I gave on other pieces in other courses, with what I said about each one while I worked.

What moved the depth of my outline up or down
- The Gibbons depth came from the picture.
- On the second side, below a hanging flower, the channel got a little deeper than on the first.
- Two parts going lower got no outline.
- Where something still had to grow next to the line, or an undercut was coming later, I kept the pass shallow.
- A shell let me go deeper.
- Moldings on the furniture panel got only 1/32 of an inch (0.79 mm).
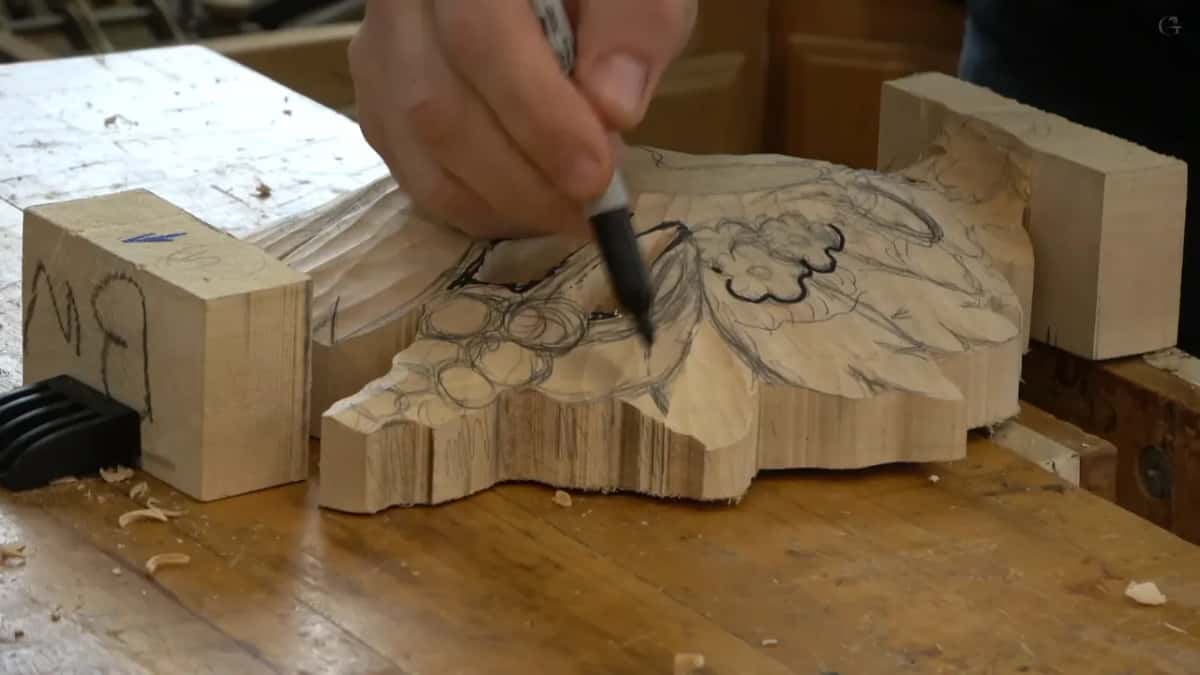
How deep did the channel go around the Gibbons flowers?
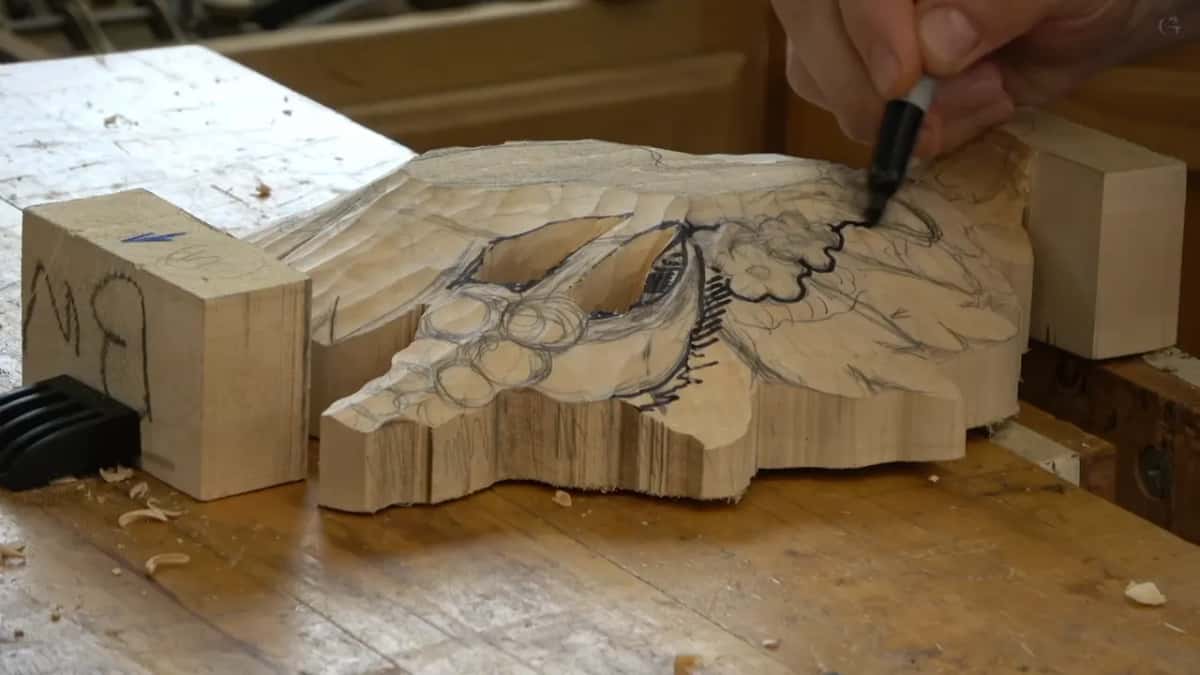
Around a quarter inch, or a bit more. Step number one in that class was the outline, and I gave it its name for the room. It's called setting in the main idea, I said. Before any details, a number 9, 10 mm wide (about 0.39 inch), made a channel around those flowers and some of the details.
How deep? Looking at the picture, I told them, maybe about a quarter inch (roughly 6.4 mm), or even a little more, maybe 3/8 of an inch (about 9.5 mm), with that outline. I went slow. A channel that is too deep will create a problem later on, I said.

Keep an eye on it, I asked them, and don't fall asleep. Really important. Then, before the channel went in, I traced the outline with a black marker, so everyone would understand much better.

Why did the outline go deeper on one side?
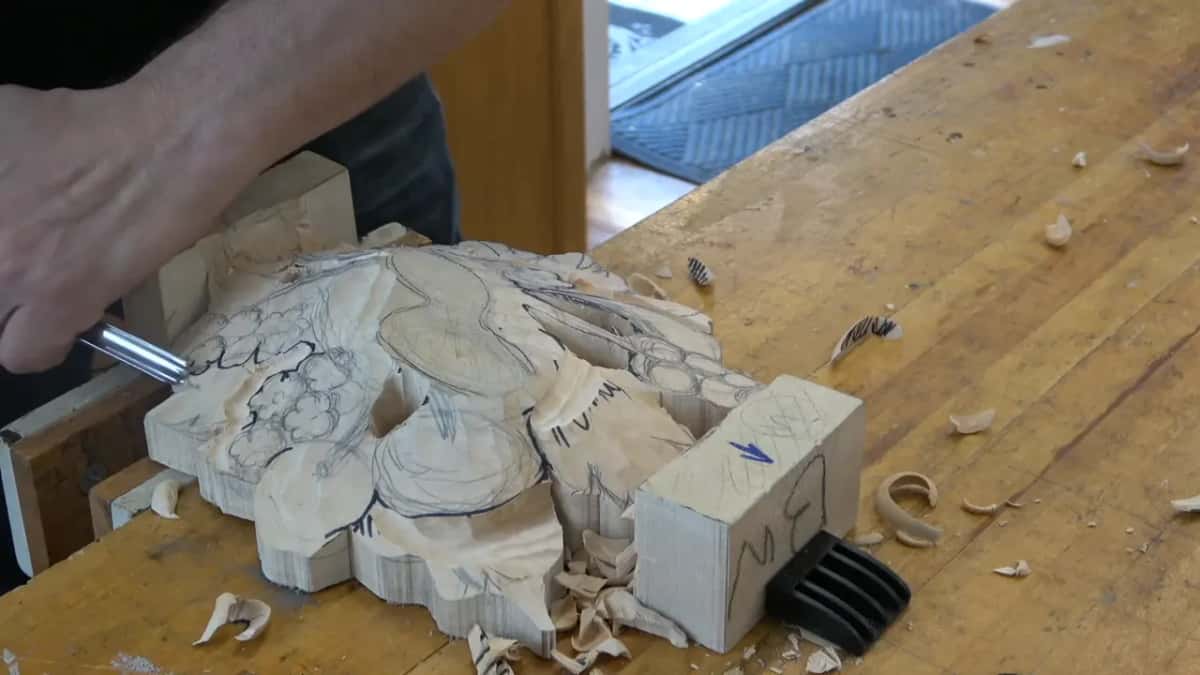
A flower hangs upside down on that side. I finished the first side, jumped to the other one and did exactly the same idea, a bunch of short passes, and set that in. This side will be a little deeper, I said, because we have a flower which is hanging upside down.
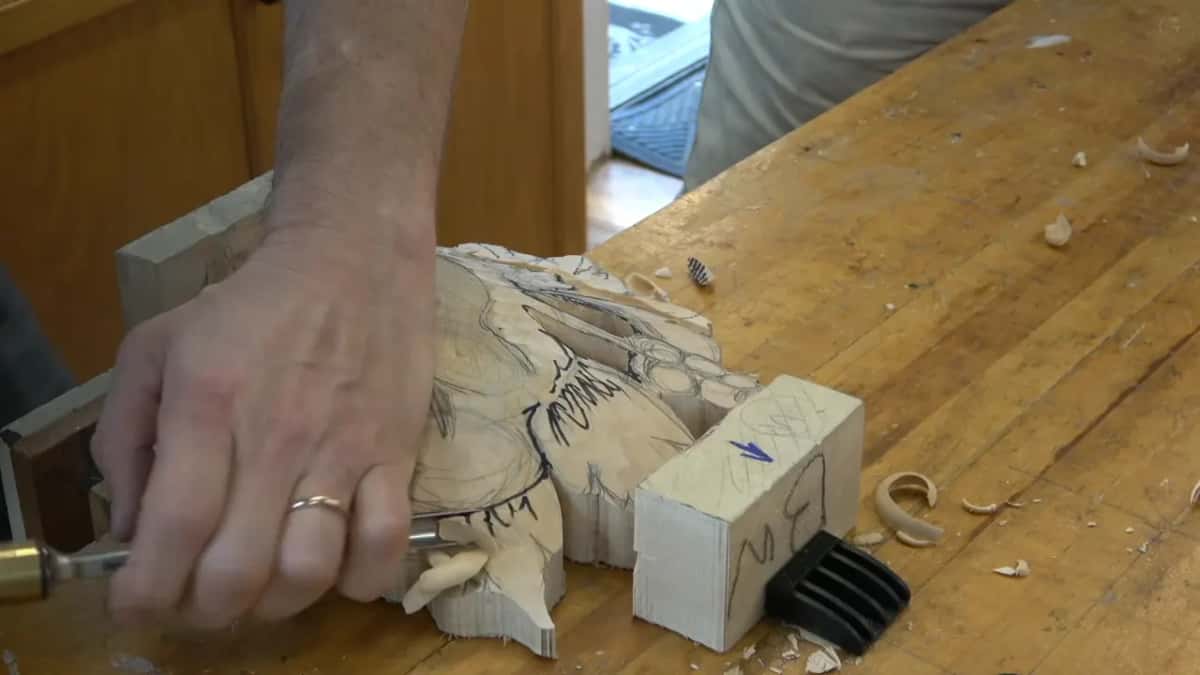
Right at the next point it went the other way. It won't be as deep there, I told them, no need to go too deep. So one outline around one group of flowers went deeper in one place and shallower in another, inside about fifteen seconds of the video.
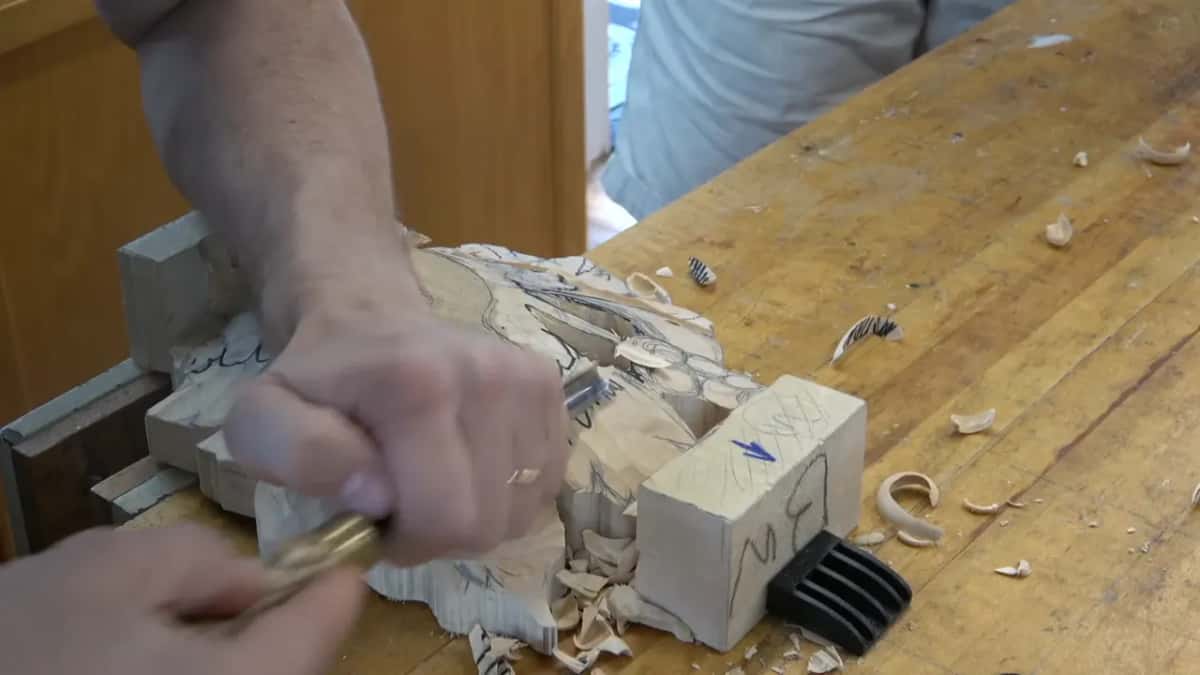
Which parts of the drawing got no outline at all?
Parts that were going to sit lower. Partway through marking it, I stopped myself and said, well, actually, we're not outlining this, this one will be lower. That one will be lower too. We work around them.
Other spots did get an outline, and one area, I said, we would lower down slightly, not much. The lowering itself is the next step, and it comes later in the same class.
What kept the channel from going too deep?
Short passes, with slicing on every one. Each pass started on one side of the tool and finished on the other. Right hand or left hand, it doesn't really matter where you begin, I said. By the time you finish, it's just the opposite side.
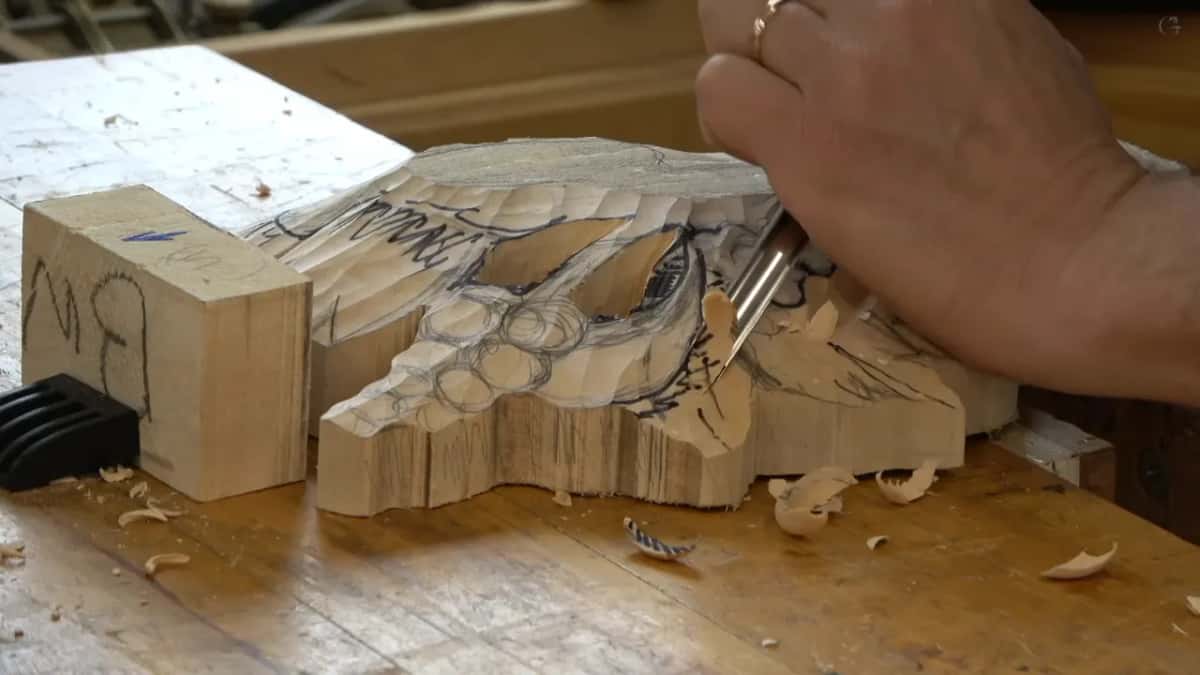
We don't need long ones. I made short ones around those future flowers, and even on a short one I was still slicing. That is the most important, I told the class.
Is there a depth limit for one pass of the gouge?
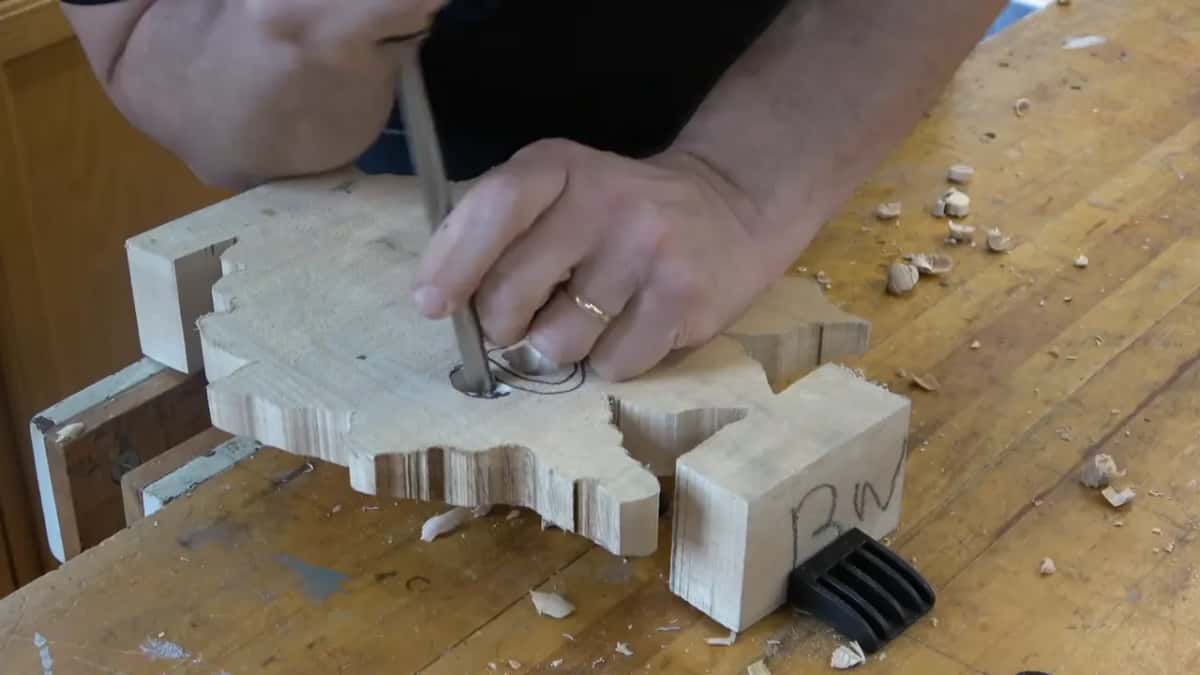
For a plug, yes, and the same video opens on one, before the outline ever starts. Sometimes you are not going right through, but you still need a really deep one, a big hole. With one plug I take maybe a quarter inch, near 6 mm. That's the deepest I go. Then a little by little, down. Abuse the tool, I said, and you're going to break it.

Going right through at that point isn't a needed step either, because you can miss the spot, the way you can miss with a nail gun if you never trained to shoot from the back in millwork installation. To go through, flip it over and work from the back side. You could use a drill if you wish, but this is a good technique to learn.
When should the outline stay shallow?
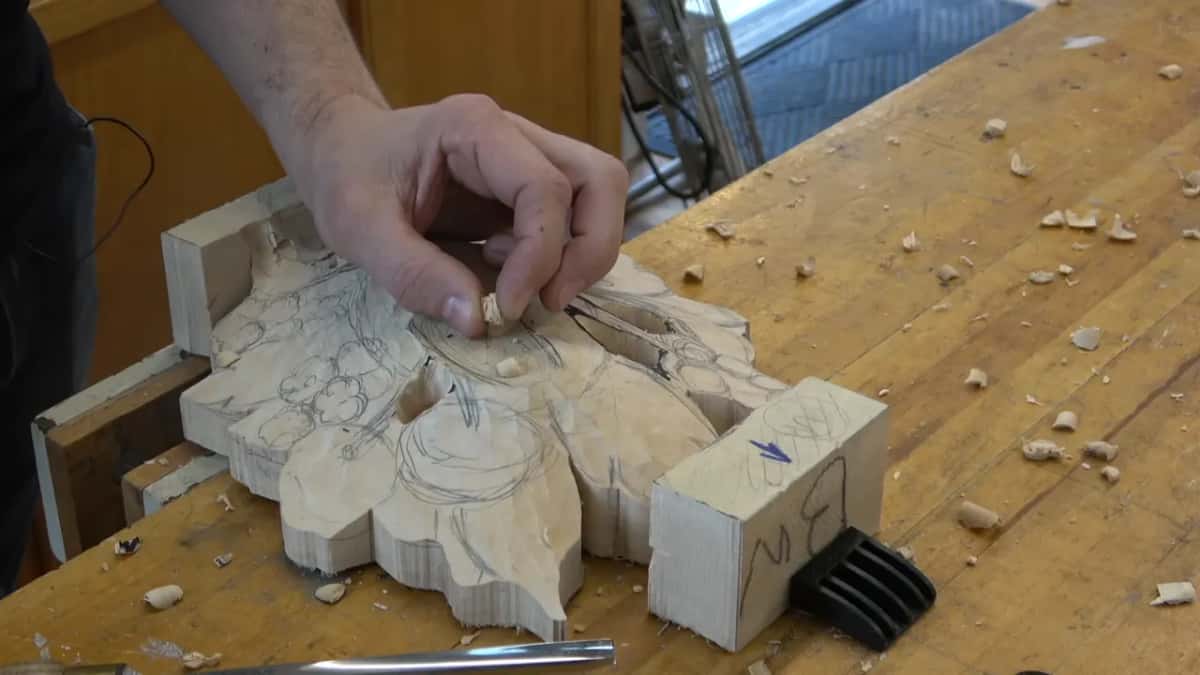
When something still has to grow next to it. On a Venice Room section, in workshop 53, I set in the main idea with a 15 mm number 11, about 5/8 of an inch. I didn't want to go too much, too deep, because I still had to develop something in the area between two high spots. Otherwise it's too deep an excavation, too much of a void, and that's no bueno, I said. That is not good.
Two leaves there were supposed to sit much lower than the line I was pointing at. So I said I'd attack them right away, with a bigger eleven, 30 mm (about 1 3/16 in). That's not going to distract my eye, I said, and I get a much better idea of what the overall development should look like.
The furniture panel had a different reason, the undercut. I took a 1/8 inch (3 mm) number 3 in lesson 18, outlined a little more, and said it's important for me not to go too deep, because a little later we're going to undercut. I didn't want to make that mistake, digging too deep.
One tiny spot there was a really important area not to mess up, I said. A number 11 was what I needed for it, carefully, across the grain, to take some of that spot out. Every little detail in this type of carving counts. Close to the final depth, I believed, so I checked it with the router plane.
Workshop 62 of the Venice Room had the same thinking. I outlined one side and was really careful how far down I went, because I didn't want it too deep. Yes, I will undercut it, I said, but I still have about three millimeters (close to 1/8 in) right there, and I'm keeping it. For now, at least.
On a volute in workshop 156 I planned to outline it right away and keep the pass maybe two, three millimeters (about 0.08 to 0.12 in) deep, no more than that. I meant that one pass, the depth I was taking right then.
Where can a setting in pass go deeper?
Next to a part that ends up much deeper anyway. In workshop 40 of the Venice Room the outline could go in right away, I said, and here it's much deeper, because it's a shell. I could safely go deeper, then, with no problem. A few seconds earlier, on a leaf flipping over, I could have gone a little past a quarter inch (about 6 mm), but I really didn't need to.
Lesson 18 of my furniture panel showed a side like that. With a 3 mm eleven, near an eighth of an inch, I outlined the same way as before, but I could be a little more aggressive on this side, because that side will end up much deeper. I wasn't really worried about making it too deep.
There was a catch, though. Because that side was going deeper, I wanted to stay a little bit away from the line, slightly, not much. It's safer for me. I can get close, but just slightly off.
On the bouquet in lesson 25 my outline was about a 16th of an inch (about 1.6 mm), no deeper, again with a number 11. Then one area could take more, because I wanted it close to half a sphere, and the background there was deep enough. Five millimeters (about 3/16 in) or so, if I wanted. I was at about 3 millimeters (just over a tenth of an inch) and said I had to be really careful, because I was already really deep.
Relief carving depth at the outline in eight spots
Each row is one spot, with the depth or the limit I gave out loud and the reason I gave with it.
| Piece | Depth | Reason |
|---|---|---|
| Gibbons class 3 | about 1/4 or 3/8 in (6-9.5 mm) | deeper below hanging flower |
| Venice Room 53 | not too much, not too deep yet | space between high spots |
| Shell, workshop 40 | much deeper right away, it's a shell | safe with no problem |
| Furniture panel 18 | 1/8 in (3 mm) number 3, shallow | undercut comes later on |
| Same panel, later | 3 mm (0.12 in) eleven, more aggressive | that side goes deeper |
| Moldings, lesson 19 | no deeper than 1/32 in (0.8 mm) | deep is big mistake |
| Bouquet, lesson 25 | a 16th inch (1.59 mm), no deeper | one area went deeper |
| Floral and molding | maybe a couple of millimeters (0.08 in) | no space, lower acanthus |
What decides the depth when two parts sit side by side?
On my floral and molding panel it was the space a lower part left me. There, in lesson 10, I went along the line with a number 11 of 7 mm, a little bigger than a quarter of an inch. A couple of millimeters deep, maybe (about 0.08 in), I said, and it doesn't have to be really, really accurate. That side could go much lower than two millimeters, because it ends up much lower. Right there, though, I didn't have much space, because a lower acanthus movement sits there. I could not go like the other side. So, I said, let me use the same tool and attack the upper acanthus on its side.
The Hashemi flowers had a part hiding behind the main part of the structure, and I planned to undercut it later. A V tool marked where it would go underneath. I outlined it next and said I could actually go deeper, maybe an eighth of an inch (3.2 mm). Maybe even 3/16 (about 4.8 mm) would give it more of a three dimensional look, I said. Let's do that. Why don't we?
How shallow can the outline be?
On moldings, about 1/32 of an inch (about 0.8 mm). In lesson 19 of my furniture panel I had to lower some moldings that much, and I gave two ways, with no right or wrong between them. First a 1 mm (about 0.04 in) eleven, outlining but not as deep. Try not to go deeper than 1/32 inch, I said, because really, really deep would be a big, big mistake.
A flatter gouge came next, just a number 1, held at about 45 degrees. It went gradually toward that outline until it reached the same depth, without touching the middle part. The second way was a router plane.
Is that difference even visible? Not as much as you would think, I said. I meant the depth of that area against the depth of the middle part. But if you have people who are really going to look, and they are really picky about it, they will see that.
Do you know the final depth before you start?
In the first Venice Room workshop I didn't, and I said so. Some carvers would call this stage setting in, I said in workshop 1, where we are trying to set the overall design in. I wanted a really deep excavation in one spot. And how deep? I don't know yet, I said, it could change. Right then I was about one inch deep, 25 millimeters, at the deepest spot.
A little later I called the same stage roughing in. What setting in means as a stage, with a one inch gouge on a leaf, is in my Roman acanthus lesson. Why an outline stops short of the floor is in lesson 36 of the furniture panel.
Which half of the Gibbons panel did I set in first?
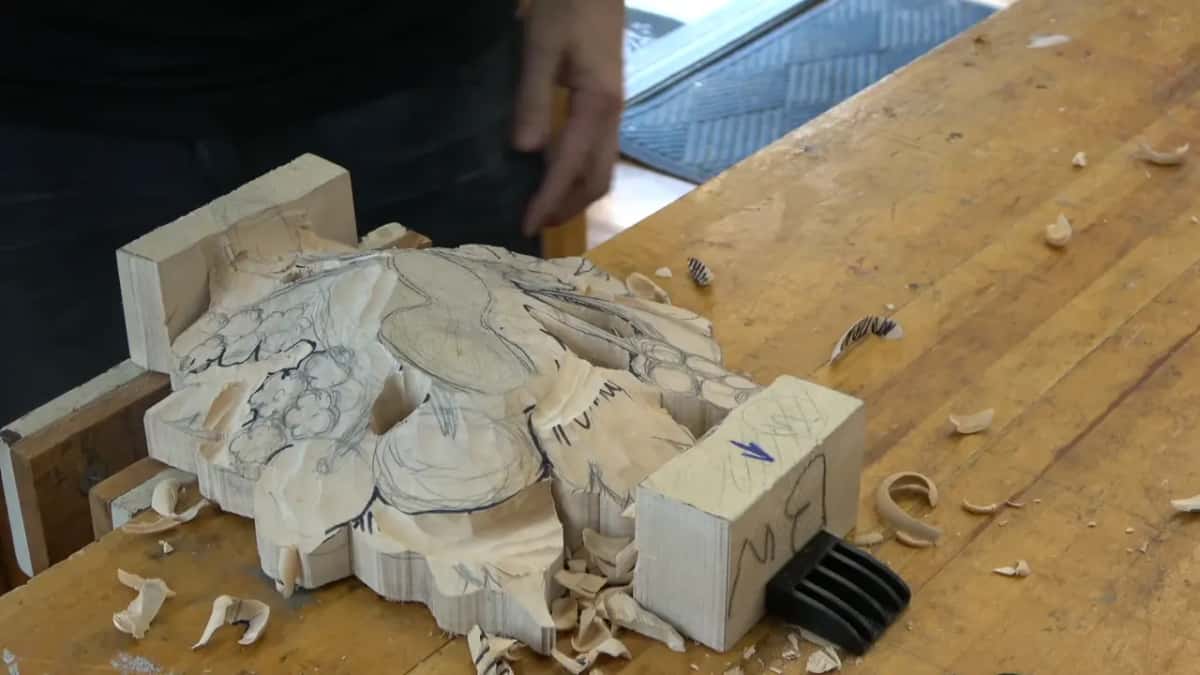
The left one was my pick. As far as I could see, I said, the easier side to start would probably be the left. Let's concentrate on one side first, then on another, I told the class, and it doesn't really matter which. The second side came later on, with exactly the same idea.
By class 3 I had moved from one step at a time to two, because I really wanted the panel to look like something, and not a pile of firewood. If it doesn't look nice, I said, we're going to burn it on Friday, like we did the last time. At the end I asked the room, really important, do you understand that step? It was just the outlining step, number one.
Every pass of that outline is in class 3 of the Grinling Gibbons course, between class 2 and class 4, and undercutting gets its turn in class 5. Every class of this carving course is open with tuition.
How it's done
- Look at the picture first. Before the channel goes in, I judge its depth from the picture of the design.
- Leave out what sits lower. Parts that are going to be lower get no outline on this pass. Work around them.
- Run the channel with short passes. My 10 mm (0.39 in) number 9 goes all round the group. Each short pass begins at one corner of the edge and ends at the other, still slicing.
- Go deeper where a flower hangs. On my second side the channel took a bit more depth, below that hanging one.
- Stay shallow where you can. At the next point it didn't need much. Go slow, since a channel taken too deep now gives you trouble later.
Frequently asked questions
What depth does the setting in channel get around carved flowers?
Roughly a quarter inch, close to 6.4 mm, and some spots up to 3/8 (9.53 mm), on my Gibbons panel. I judged that from what the picture showed. Going deeper with the outline at this stage creates trouble later, so I took it slow.
Which gouge carved the channel around the Gibbons flowers?
A number 9, 10 mm wide (0.39 in). I took short strokes with it, and each stroke began at one corner of the edge and ended at the other. Even on the short ones I kept slicing, which I called the most important part.
Can a setting in outline be deeper on one side?
In lesson 18 of the furniture course one side was headed much deeper, so I let a 3 mm (0.118 in) eleven work a little more aggressively there. With that extra depth coming, I wanted to stay slightly off the line, because it's safer for me.
What to carve next